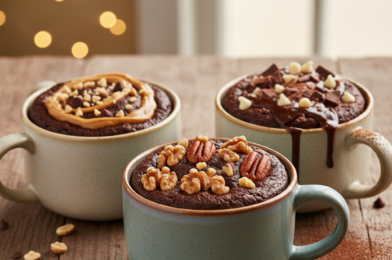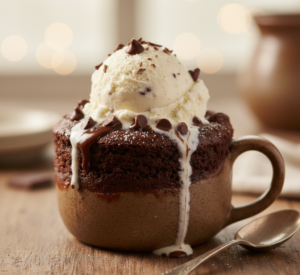
If you’re looking for the ultimate show-stopping dessert for Valentine’s Day, these layered chocolate mousse brownies for Valentine’s dessert ideas are exactly what you need. Imagine a rich, fudgy brownie base topped with a cloud-like layer of silky chocolate mousse—all finished with a glossy chocolate topping or fresh berries.
This dessert is everything romance should taste like: indulgent, smooth, and deeply chocolatey. Whether you’re planning a romantic dinner at home or surprising someone special, these layered chocolate mousse brownies for Valentine’s dessert ideas are guaranteed to impress.

Why You’ll Love This Recipe
There are plenty of reasons these layered chocolate mousse brownies for Valentine’s dessert ideas deserve a spot on your dessert table.
- Combines two desserts in one: brownies + mousse
- Perfect for romantic occasions like Valentine’s Day
- Rich, fudgy, and creamy textures
- Make-ahead friendly for stress-free entertaining
- Bakery-style presentation at home
This dessert looks fancy, but it’s surprisingly approachable for home bakers.
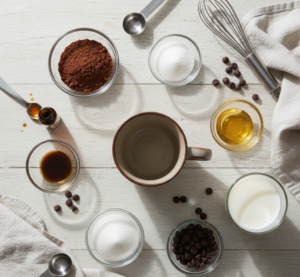
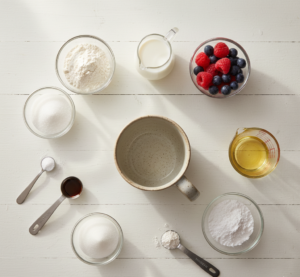
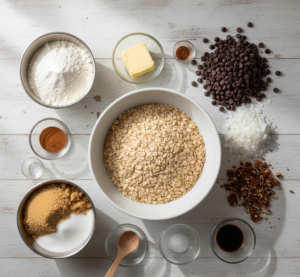
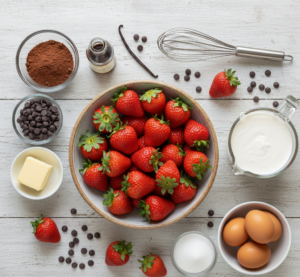
Ingredients
To make these layered chocolate mousse brownies for Valentine’s dessert ideas, you’ll need three main components:
For the Brownie Base:
- 1/2 cup butter
- 1 cup sugar
- 2 eggs
- 1/3 cup cocoa powder
- 1/2 cup all-purpose flour
- 1/4 teaspoon salt
- 1/2 teaspoon vanilla extract
For the Chocolate Mousse:
- 1 cup heavy whipping cream
- 1/2 cup semi-sweet chocolate chips
- 2 tablespoons powdered sugar
- 1/2 teaspoon vanilla extract
Optional Topping:
- Melted chocolate drizzle
- Fresh strawberries
- Chocolate shavings
Ingredient Notes
The magic of layered chocolate mousse brownies for Valentine’s dessert ideas comes from texture contrast. The brownie layer should be dense and fudgy, while the mousse is light and airy.
Using good-quality chocolate makes a huge difference in flavor. Semi-sweet chocolate balances the sweetness of the mousse, while cocoa powder intensifies the brownie base.
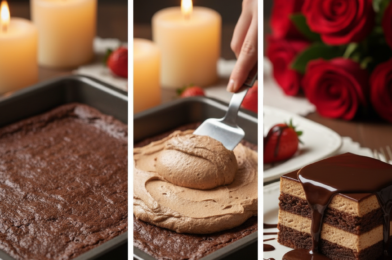
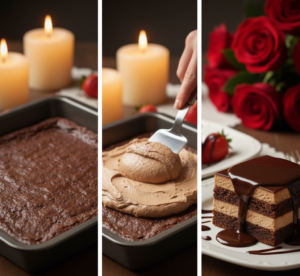
Step-by-Step Instructions
1. Make the Brownie Base
Preheat oven to 350°F (175°C). Melt butter and mix with sugar. Add eggs and vanilla, then whisk in cocoa powder, flour, and salt. Pour into a lined baking pan and bake for 20–25 minutes. Let cool completely.
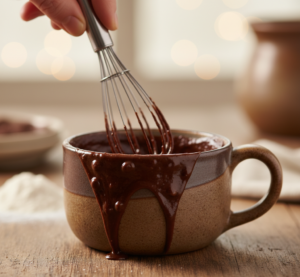
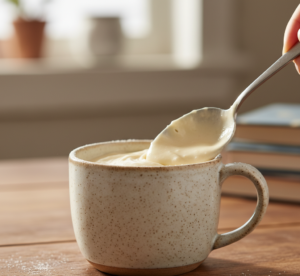
2. Prepare the Chocolate Mousse
Melt chocolate chips and let cool slightly. Whip heavy cream with powdered sugar and vanilla until soft peaks form. Gently fold melted chocolate into whipped cream.
3. Assemble the Layers
Spread mousse evenly over cooled brownies. Smooth the top and refrigerate for at least 2–3 hours until set.
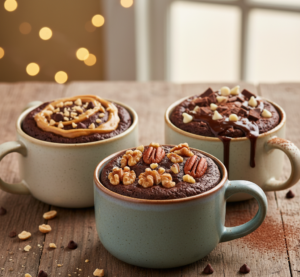
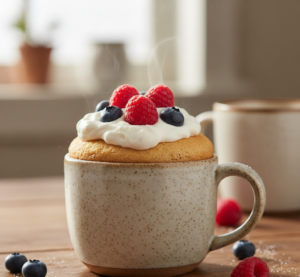
4. Add Toppings and Serve
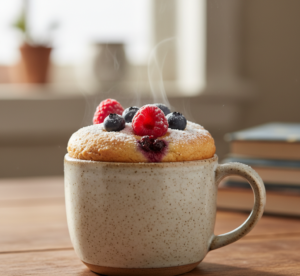
Top with chocolate drizzle, berries, or shavings before slicing and serving.
Tips for Perfect Results
To make the best layered chocolate mousse brownies for Valentine’s dessert ideas, keep these tips in mind:
- Always cool brownies completely before adding mousse
- Use chilled cream for better whipping
- Don’t overmix mousse—fold gently
- Chill long enough for clean layers
- Use a sharp knife for clean slices
These small details make a big difference in presentation and texture.
Variations
One of the best things about layered chocolate mousse brownies for Valentine’s dessert ideas is how easy they are to customize.
White Chocolate Version
Replace dark chocolate with white chocolate for a sweeter twist.
Raspberry Layer
Add fresh raspberries between brownie and mousse layers.
Mocha Flavor
Add espresso powder to enhance chocolate depth.
Nutty Crunch
Sprinkle chopped hazelnuts or almonds on top.

What to Serve With It
These layered chocolate mousse brownies for Valentine’s dessert ideas pair beautifully with:
- Fresh strawberries
- Espresso or coffee
- Vanilla ice cream
- Champagne or sparkling juice
These pairings enhance the romantic dessert experience.
Storage & Reheating
Proper storage keeps your layered chocolate mousse brownies for Valentine’s dessert ideas fresh and delicious.
- Store in the refrigerator for up to 4 days
- Keep covered to prevent drying
- Do not freeze (mousse texture may change)
- Serve chilled for best flavor
They taste even better after resting overnight.
Common Mistakes to Avoid
Avoid these mistakes when making layered chocolate mousse brownies for Valentine’s dessert ideas:
- Adding mousse to warm brownies
- Overwhipping or underwhipping cream
- Skipping chill time
- Using low-quality chocolate
- Cutting before fully set
Avoiding these ensures perfect layers every time.
FAQs
Can I make these brownies ahead of time?
Yes! They’re perfect for making a day in advance.
Can I use boxed brownie mix?
Absolutely—it works well if you’re short on time.
Why is my mousse runny?
It likely wasn’t whipped enough or the cream was too warm.
Can I freeze them?
Not recommended due to mousse texture changes.
Final Thoughts
These layered chocolate mousse brownies for Valentine’s dessert ideas are the ultimate romantic treat—rich, creamy, and absolutely unforgettable. They combine the best of two worlds: fudgy brownies and airy chocolate mousse.
Whether you’re celebrating Valentine’s Day or simply want a luxurious dessert to share, this recipe delivers elegance without stress. Once you try these layered chocolate mousse brownies for Valentine’s dessert ideas, they’ll become your go-to special occasion dessert.