If you’re tired of overpriced snacks and want something delicious without breaking the bank, this guide to cheap and easy savory snacks to make at home is exactly what you need. From crispy bites to cheesy treats, these snack ideas are simple, affordable, and incredibly satisfying.
Whether you’re feeding a family, hosting friends, or just need something quick between meals, having go-to savory snacks at home saves both time and money. The best part? You don’t need fancy ingredients—just pantry staples and a little creativity.

Why You’ll Love These Cheap and Easy Savory Snacks
There are so many reasons to rely on these cheap and easy savory snacks to make at home:
- Budget-friendly ingredients
- Quick and simple recipes
- Perfect for all ages
- Great for meal prep or last-minute cravings
- Easy to customize
These snacks prove that delicious doesn’t have to be expensive.
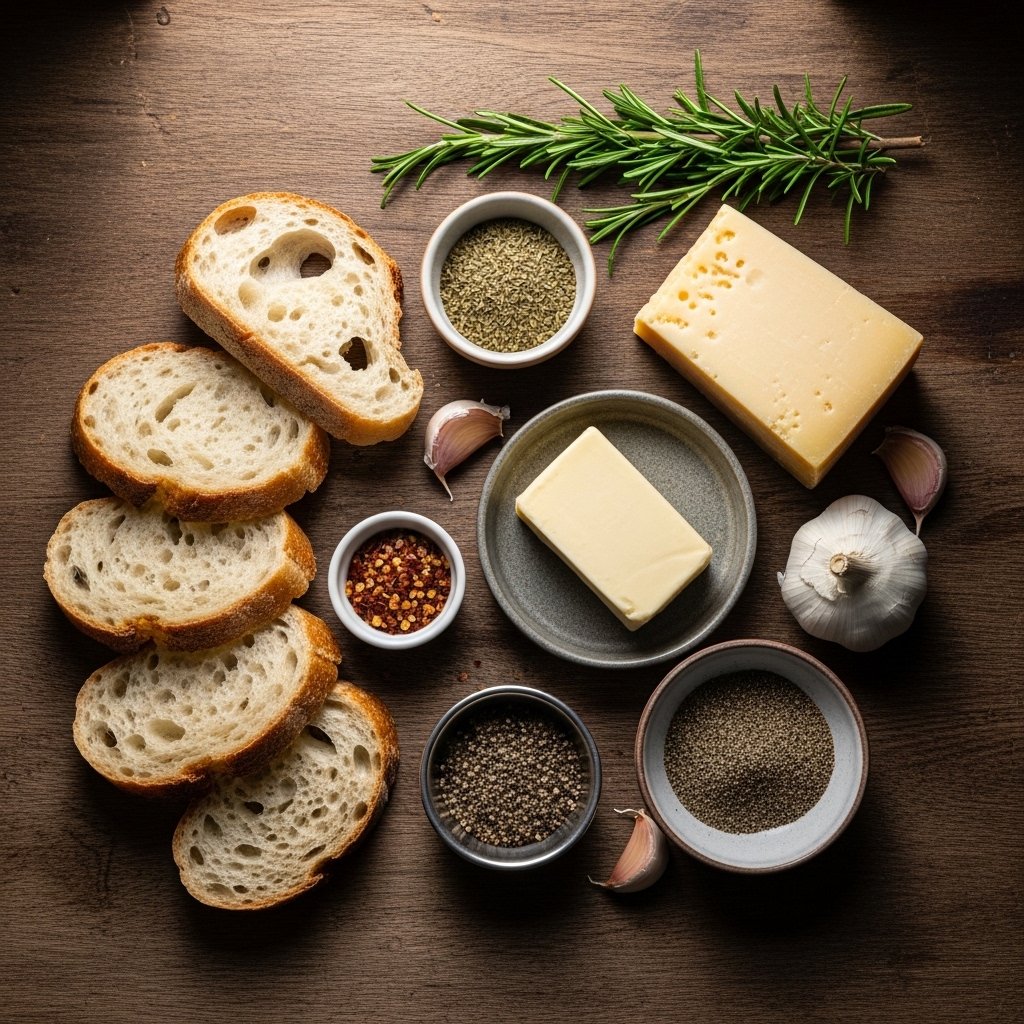
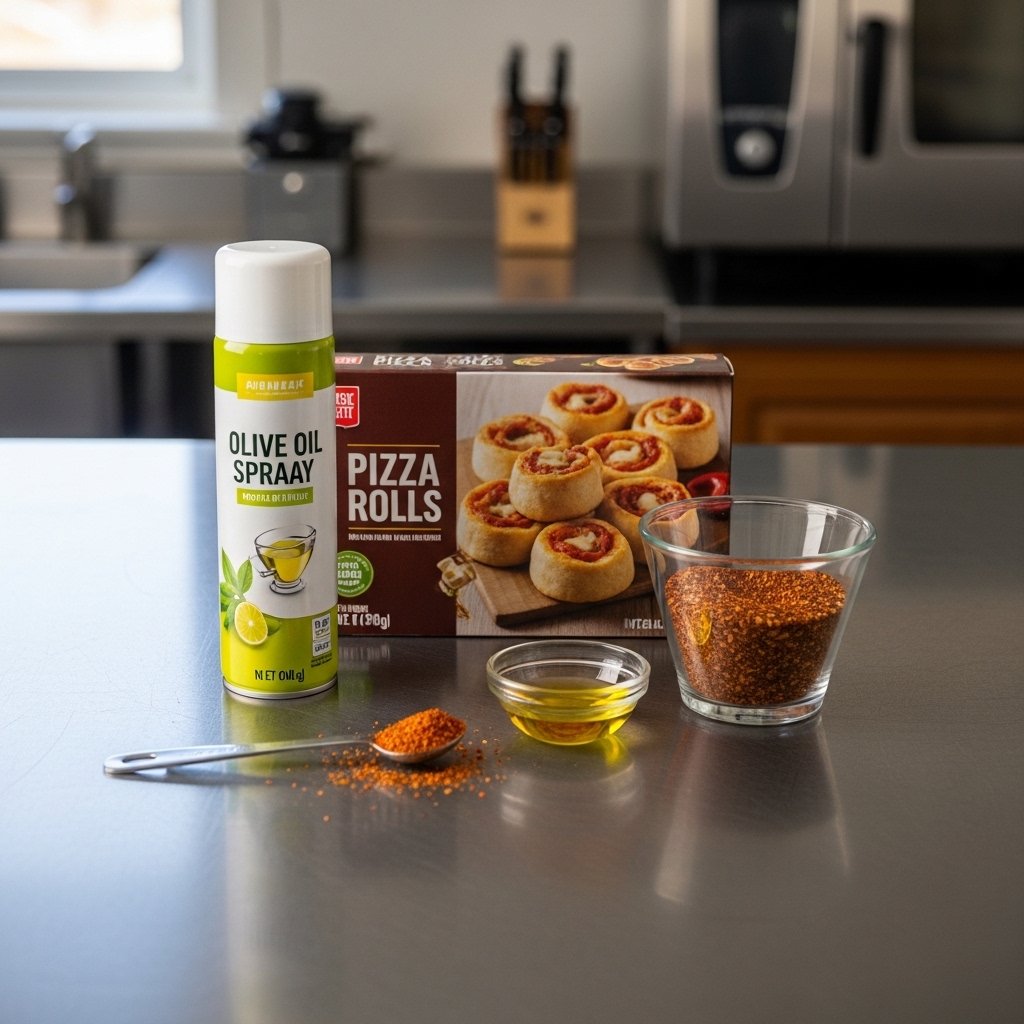
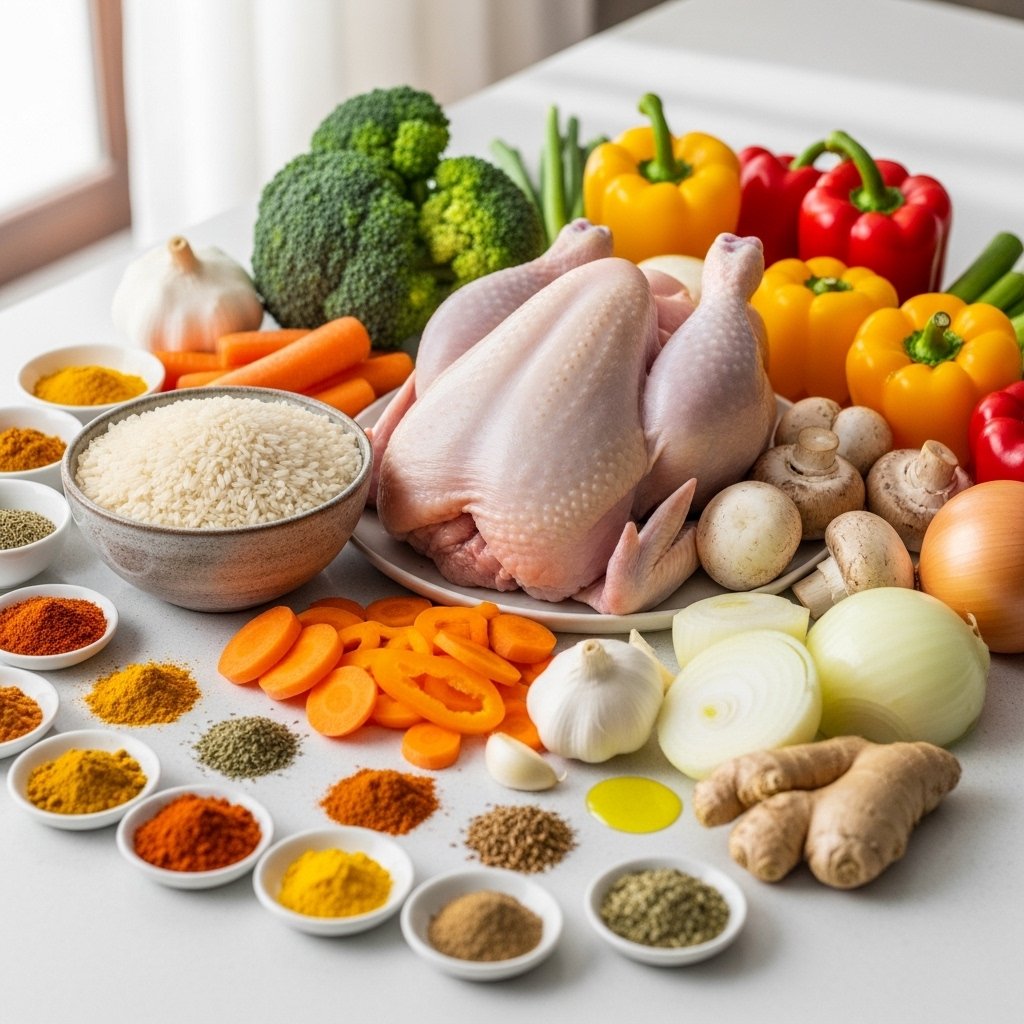
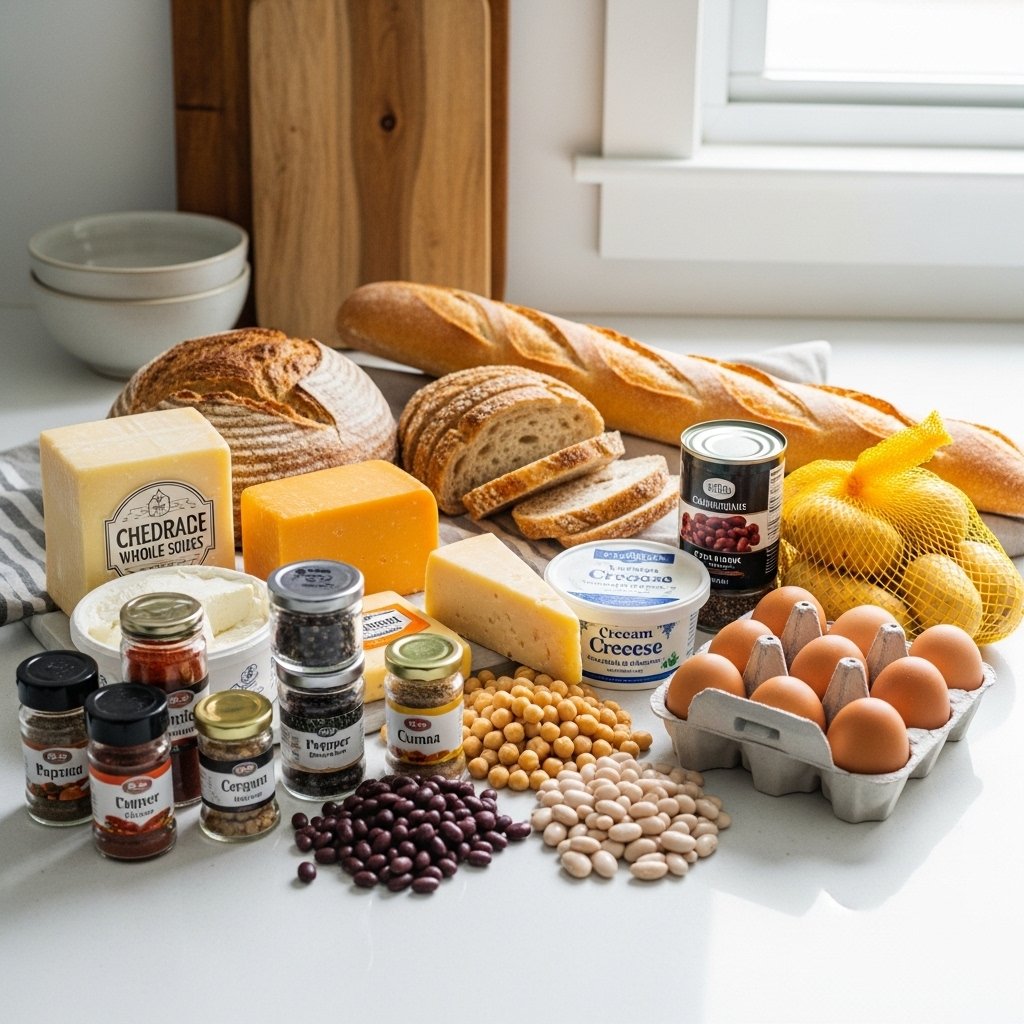
Essential Ingredients for Savory Snacks
Most cheap and easy savory snacks to make at home use everyday ingredients like:
- Bread, tortillas, or crackers
- Cheese (cheddar, mozzarella, etc.)
- Eggs
- Potatoes
- Canned beans or tuna
- Basic spices and herbs
Ingredient Notes
The beauty of these cheap and easy savory snacks to make at home is flexibility. You can swap ingredients based on what you have available, making these recipes perfect for reducing food waste and saving money.
Simple ingredients like potatoes, bread, and eggs can be transformed into dozens of delicious snacks with just a few spices.
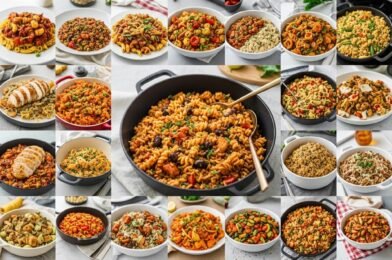
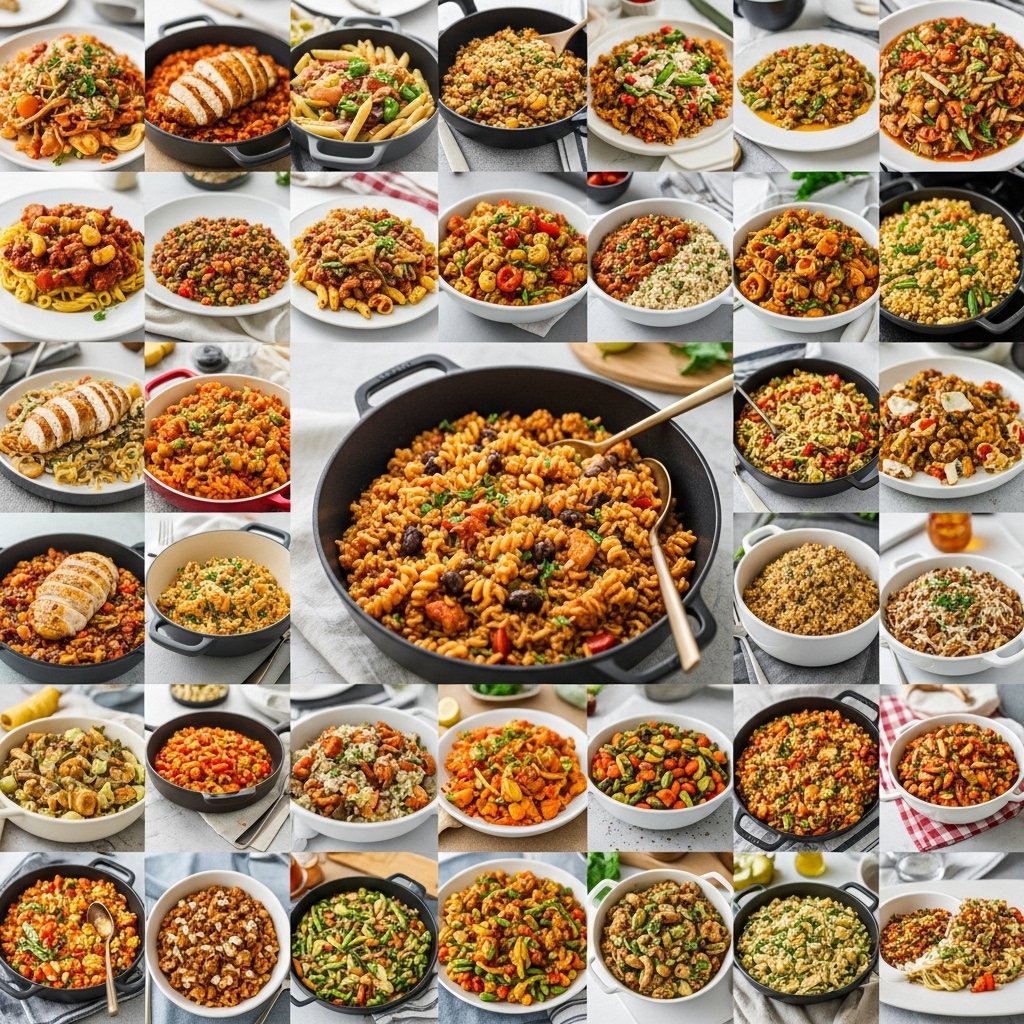
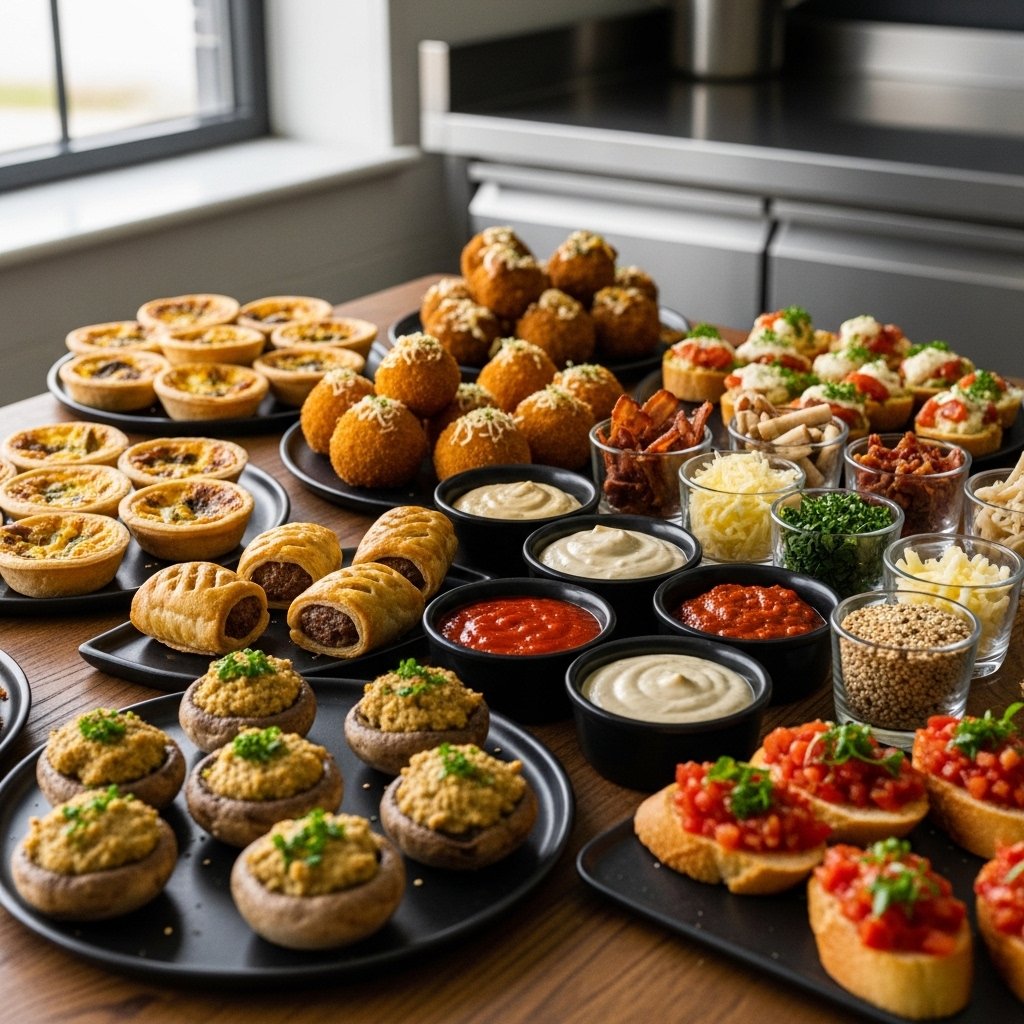
40+ Cheap and Easy Savory Snack Ideas
Here are some of the best cheap and easy savory snacks to make at home:
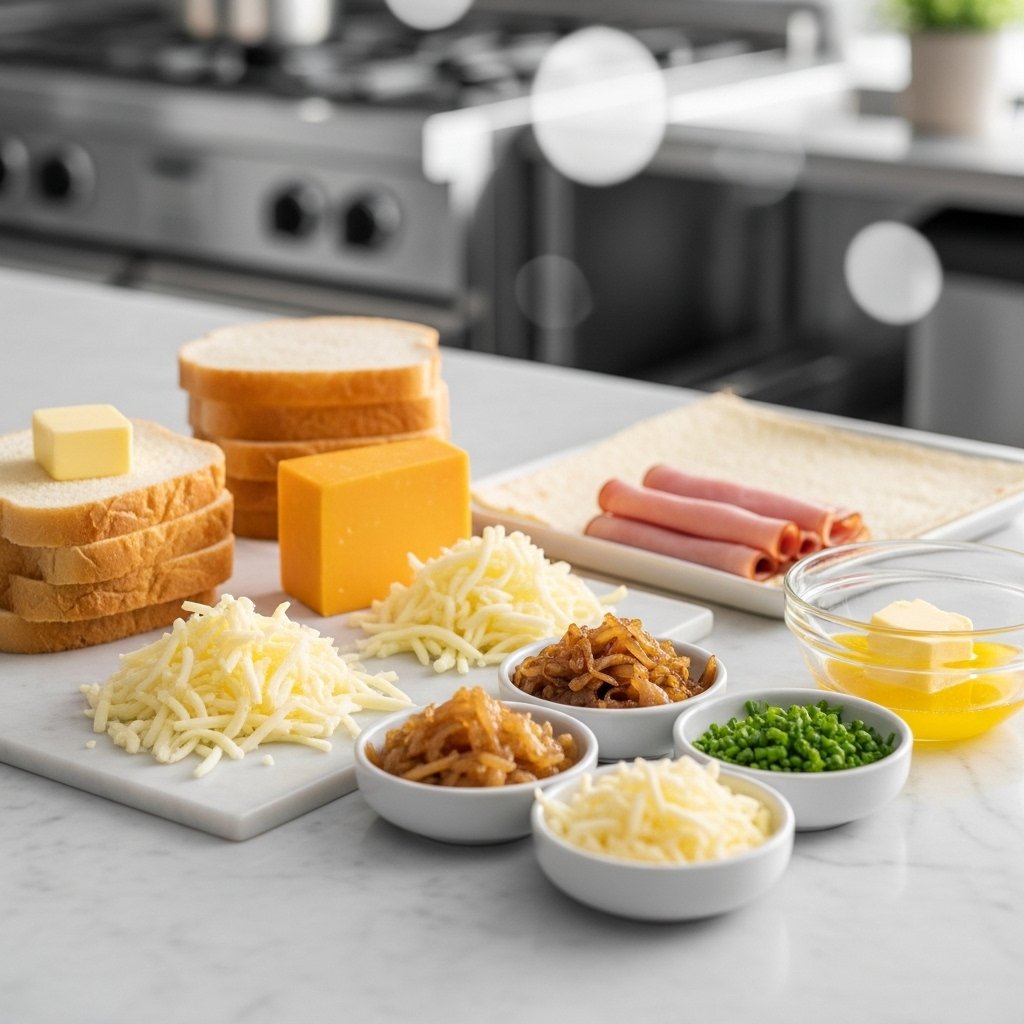
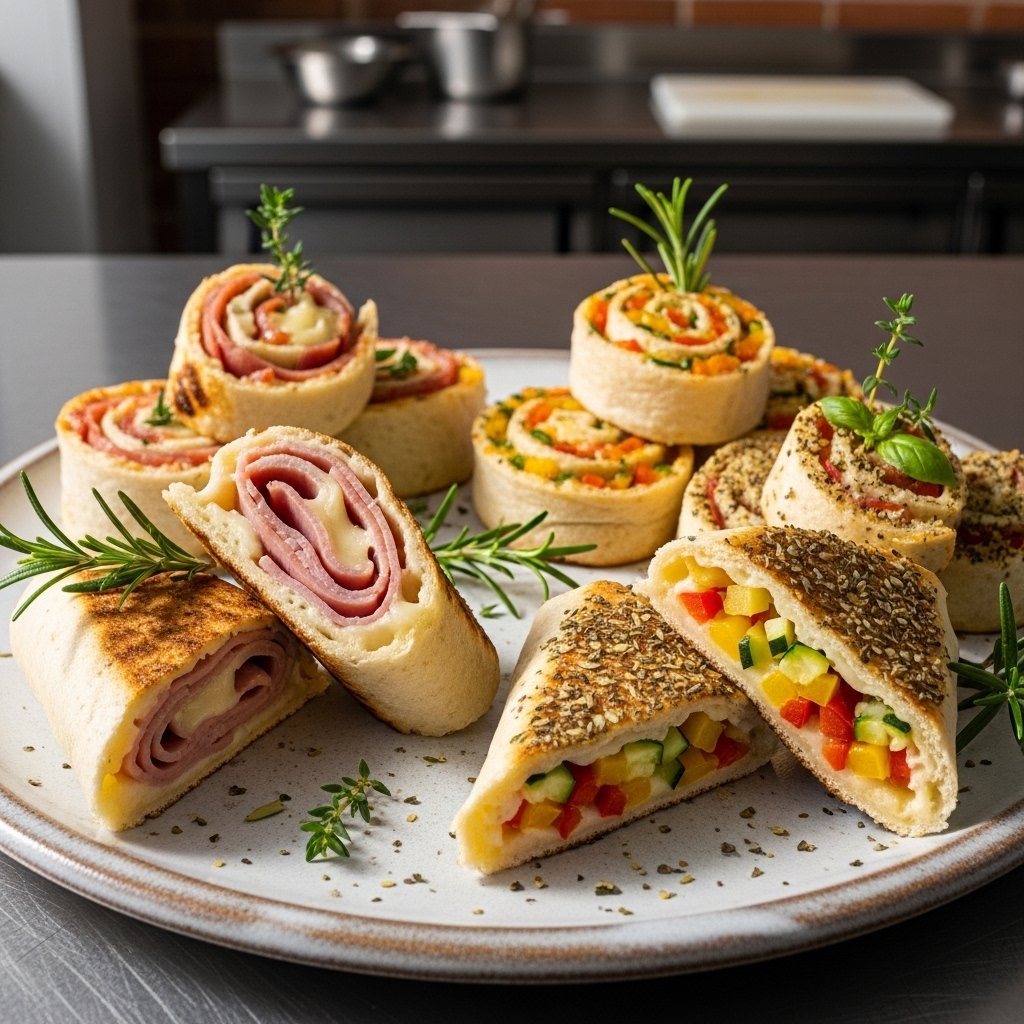
🥪 Bread-Based Snacks
- Grilled cheese sandwiches
- Garlic bread
- Cheese toast
- Sandwich roll-ups
- Mini pizza bread
🥔 Potato Snacks
- Crispy potato wedges
- Homemade fries
- Mashed potato balls
- Potato pancakes
🧀 Cheesy Snacks
- Cheese quesadillas
- Mozzarella sticks
- Cheese bites
- Stuffed bread rolls
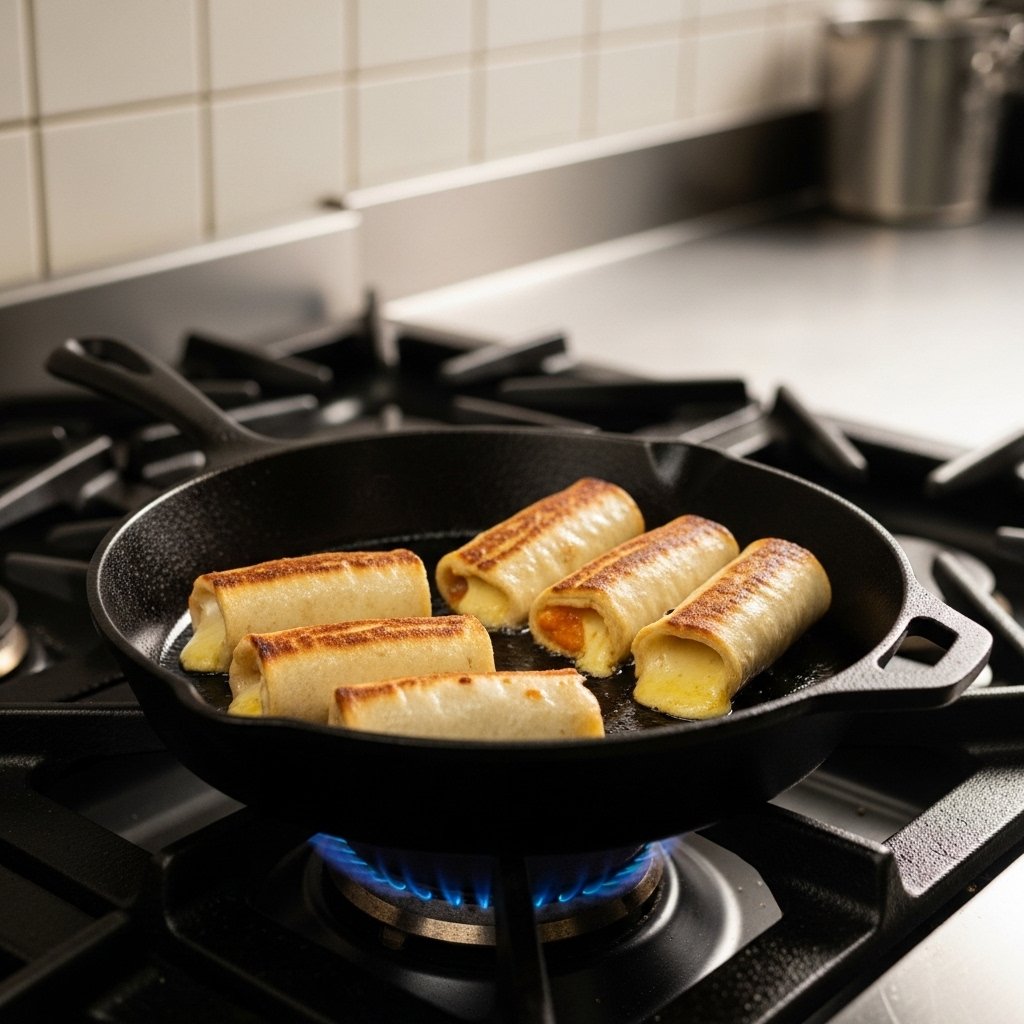
🌮 Quick Wraps & Rolls
- Tortilla wraps
- Egg rolls
- Chicken or veggie wraps
- Spring rolls
🍳 Protein-Packed Snacks
- Boiled eggs with seasoning
- Egg muffins
- Tuna sandwiches
- Chicken bites
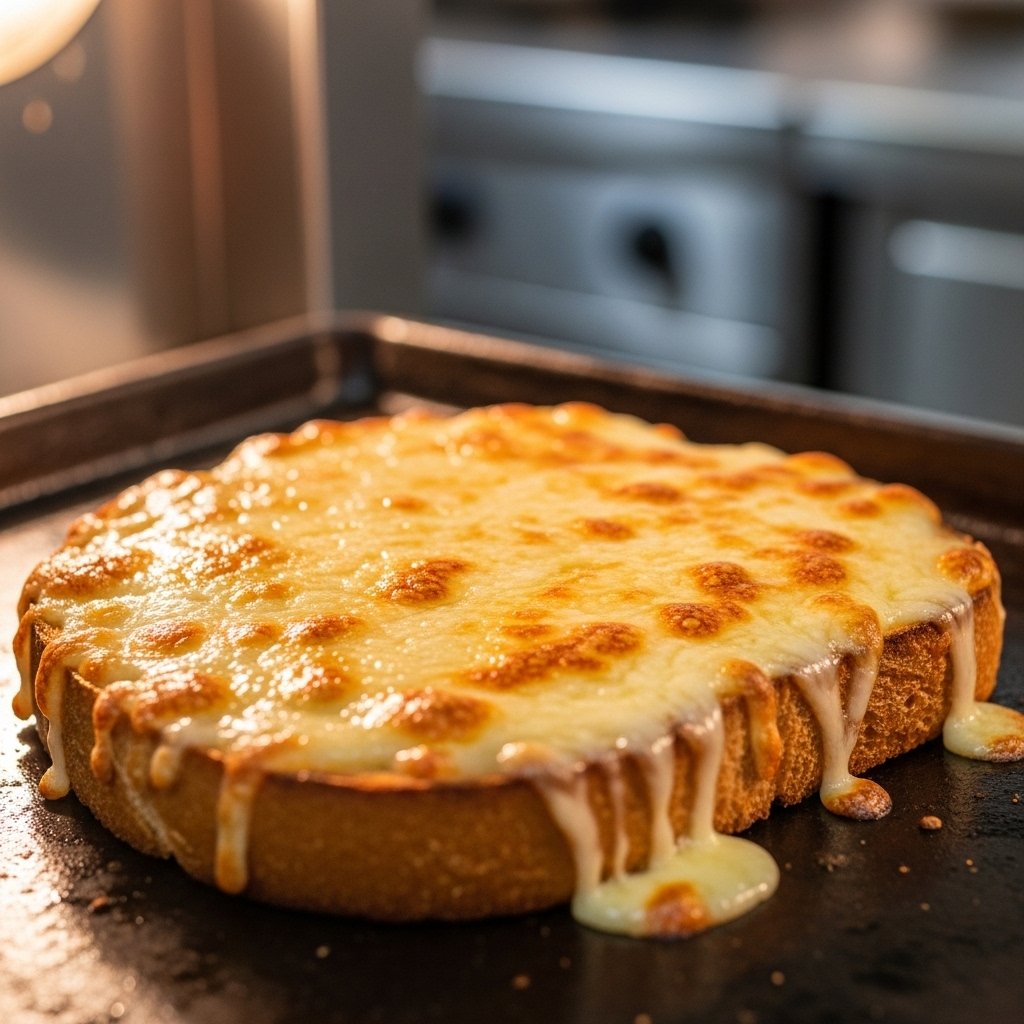
Step-by-Step Example: Quick Cheese Toast
Here’s one of the easiest cheap and easy savory snacks to make at home:
1. Prepare Bread
Place slices on a baking tray.
2. Add Cheese
Top with shredded cheese.
3. Season
Sprinkle herbs or chili flakes.
4. Bake or Toast
Cook until cheese melts and turns golden.
Tips for Perfect Savory Snacks
To make the best cheap and easy savory snacks to make at home, keep these tips in mind:
- Use fresh ingredients for better flavor
- Don’t overcrowd pans or trays
- Season generously
- Experiment with textures (crispy vs soft)
Small improvements can make simple snacks taste amazing.
Variations and Customizations
These cheap and easy savory snacks to make at home are endlessly customizable:
- Add spices for bold flavors
- Use leftovers creatively
- Mix different cheeses
- Add sauces or dips
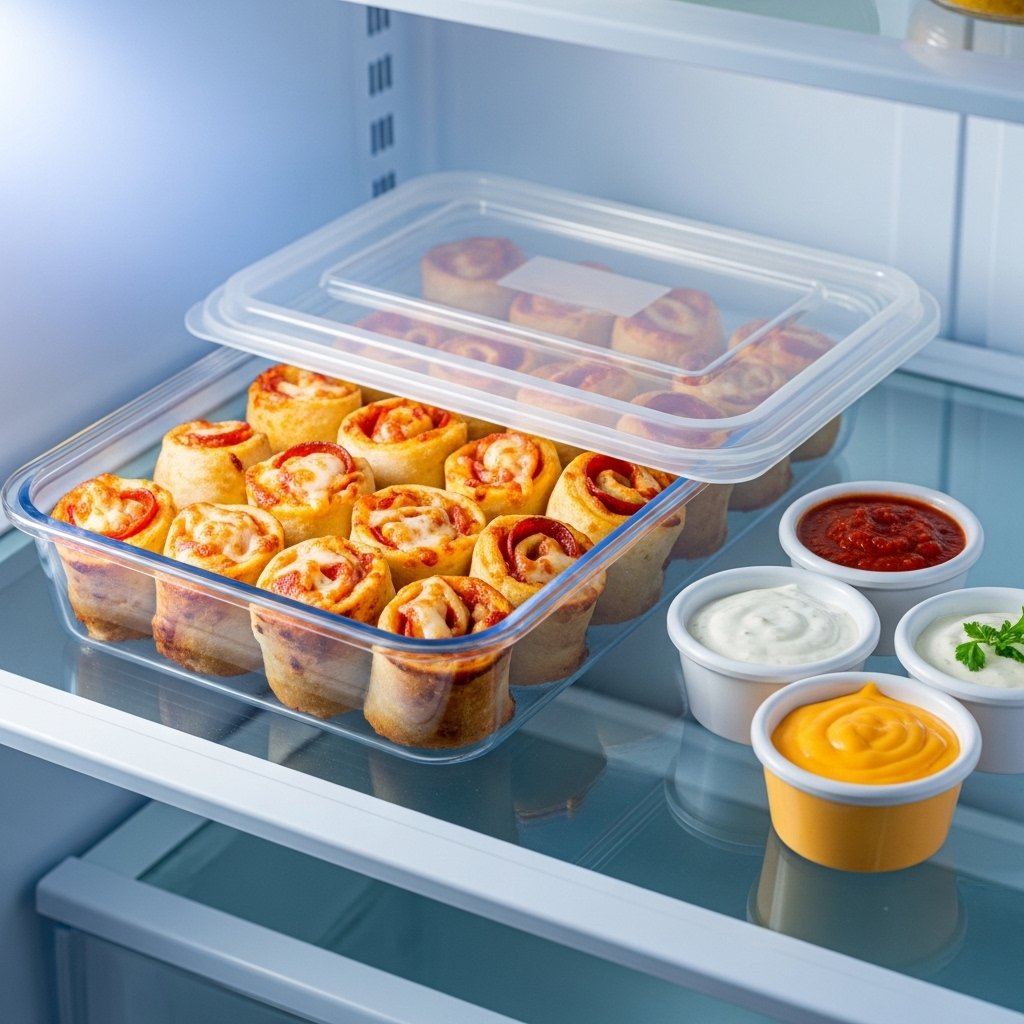
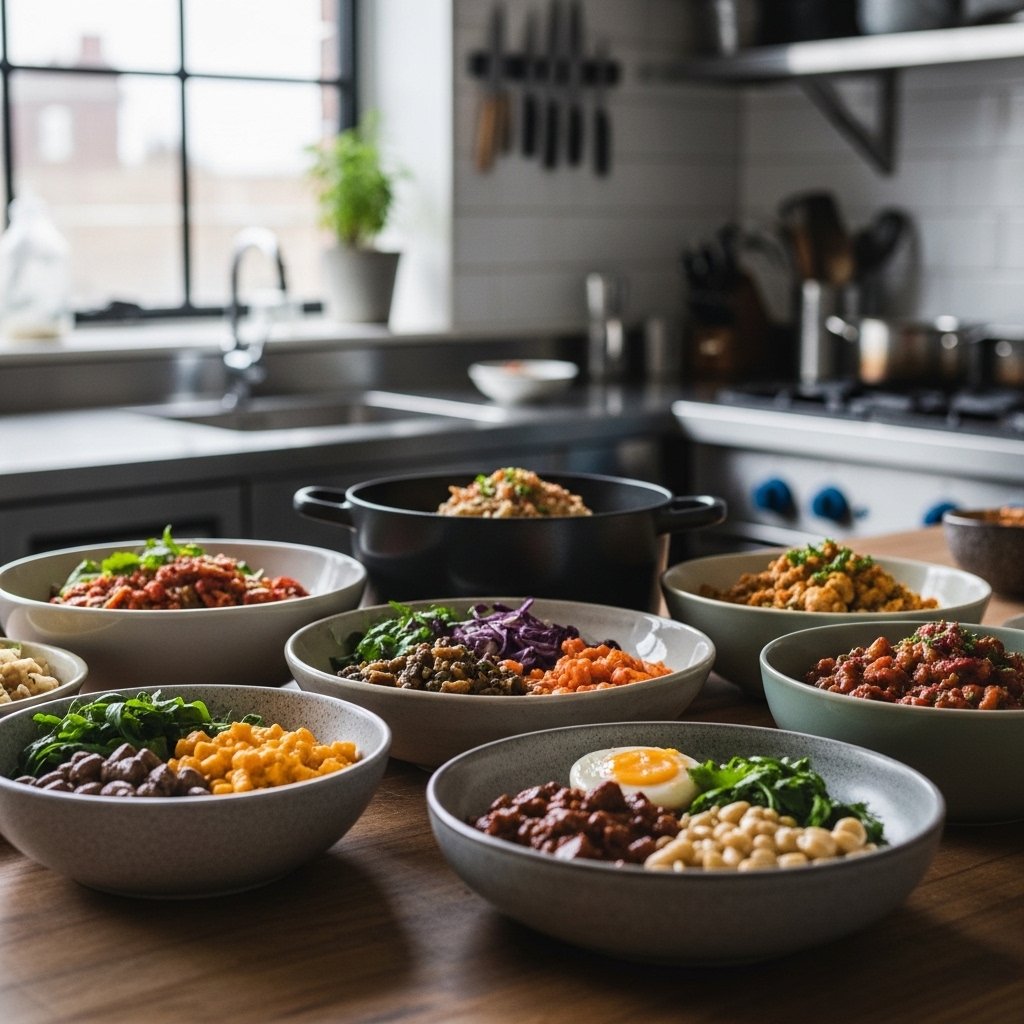
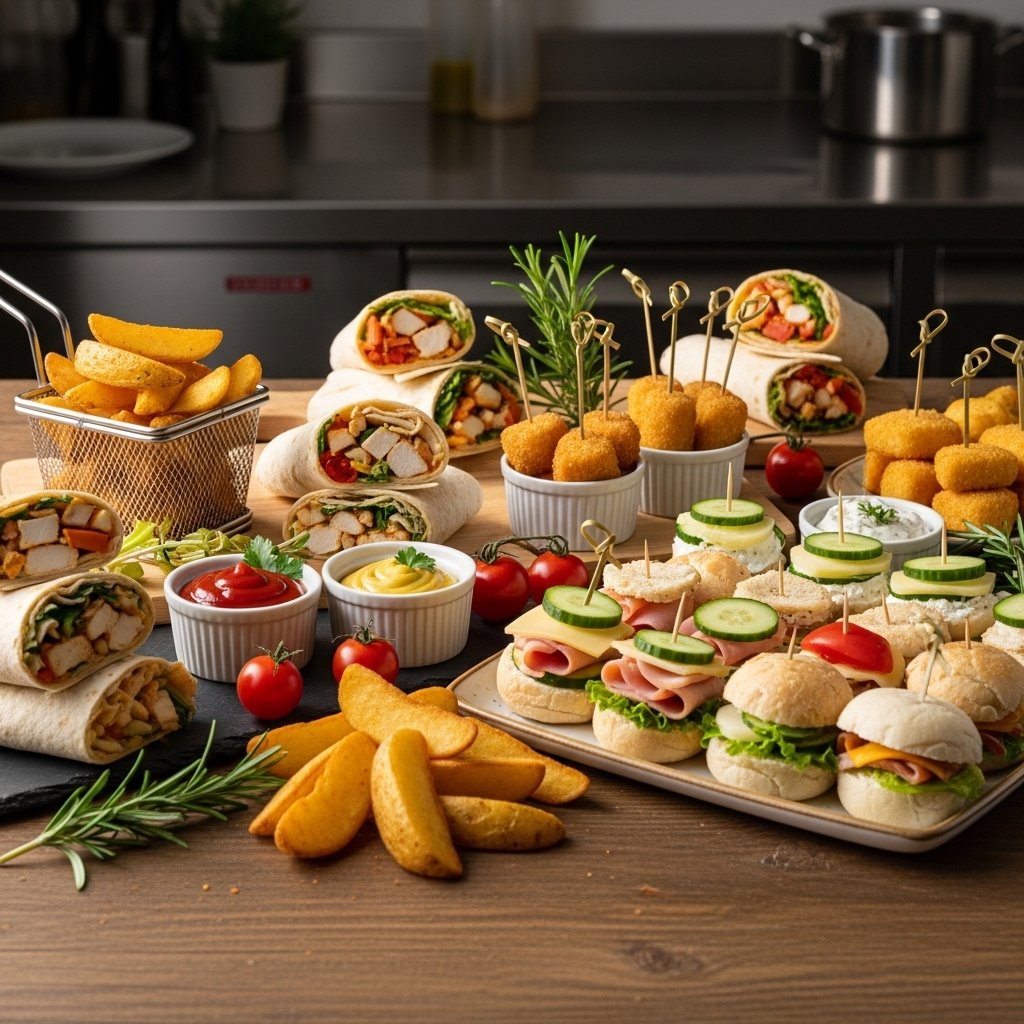
What to Serve With Savory Snacks
Pair your cheap and easy savory snacks to make at home with:
- Dips like ketchup, mayo, or ranch
- Fresh salads
- Soups
- Refreshing drinks
These additions turn snacks into complete mini-meals.
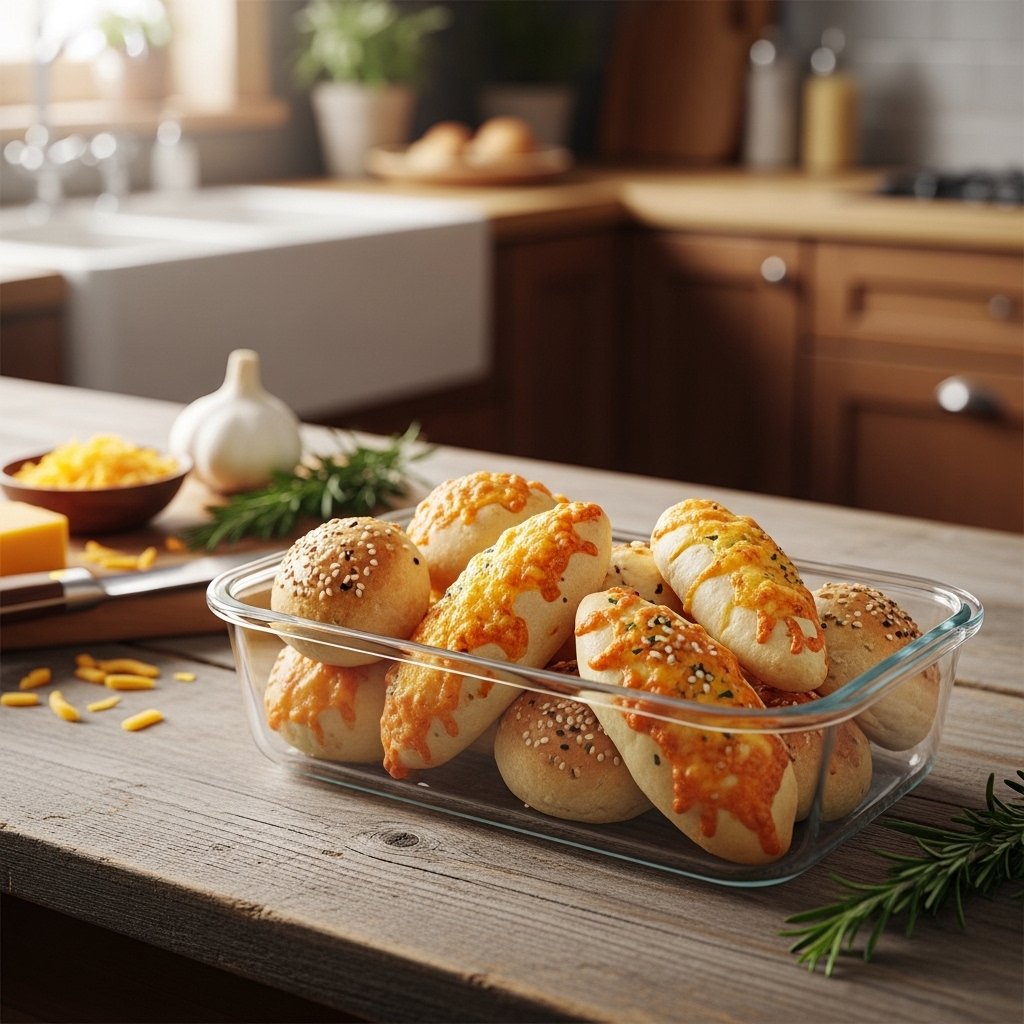
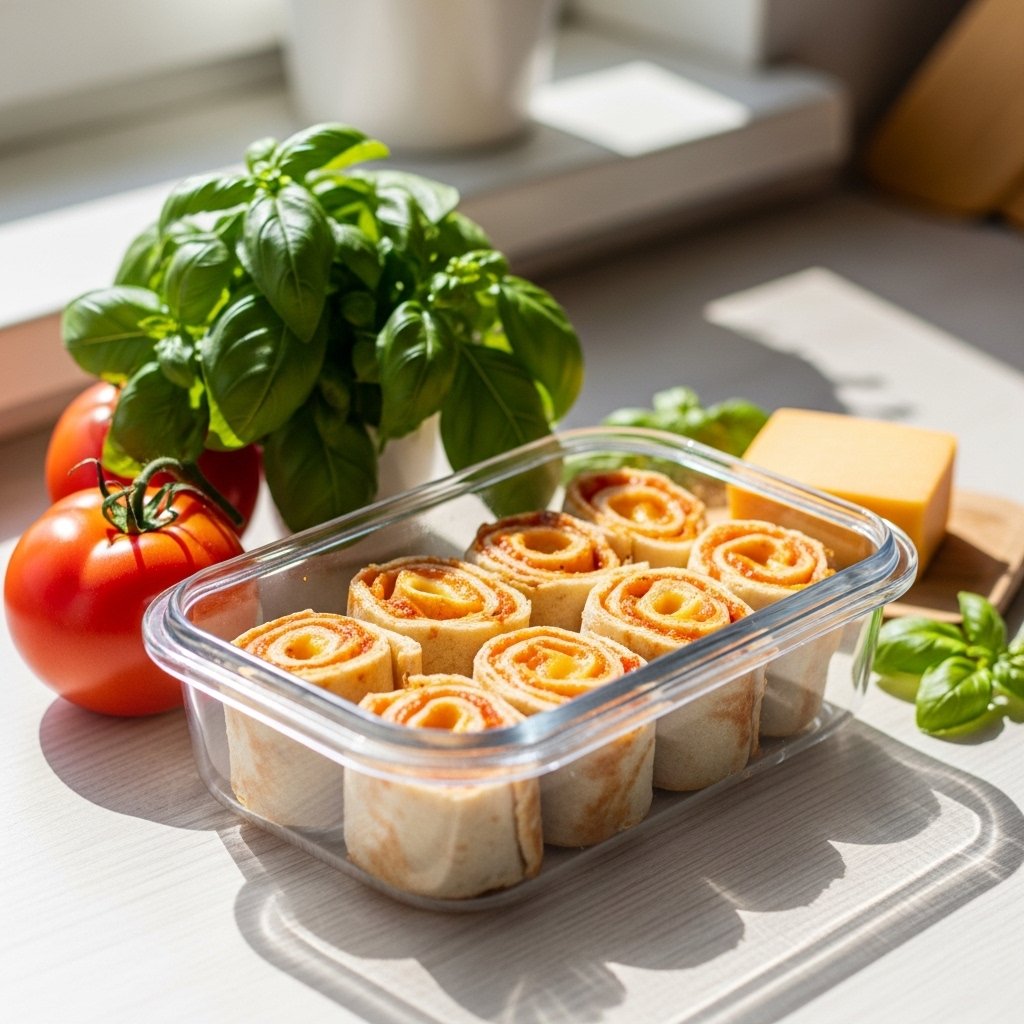
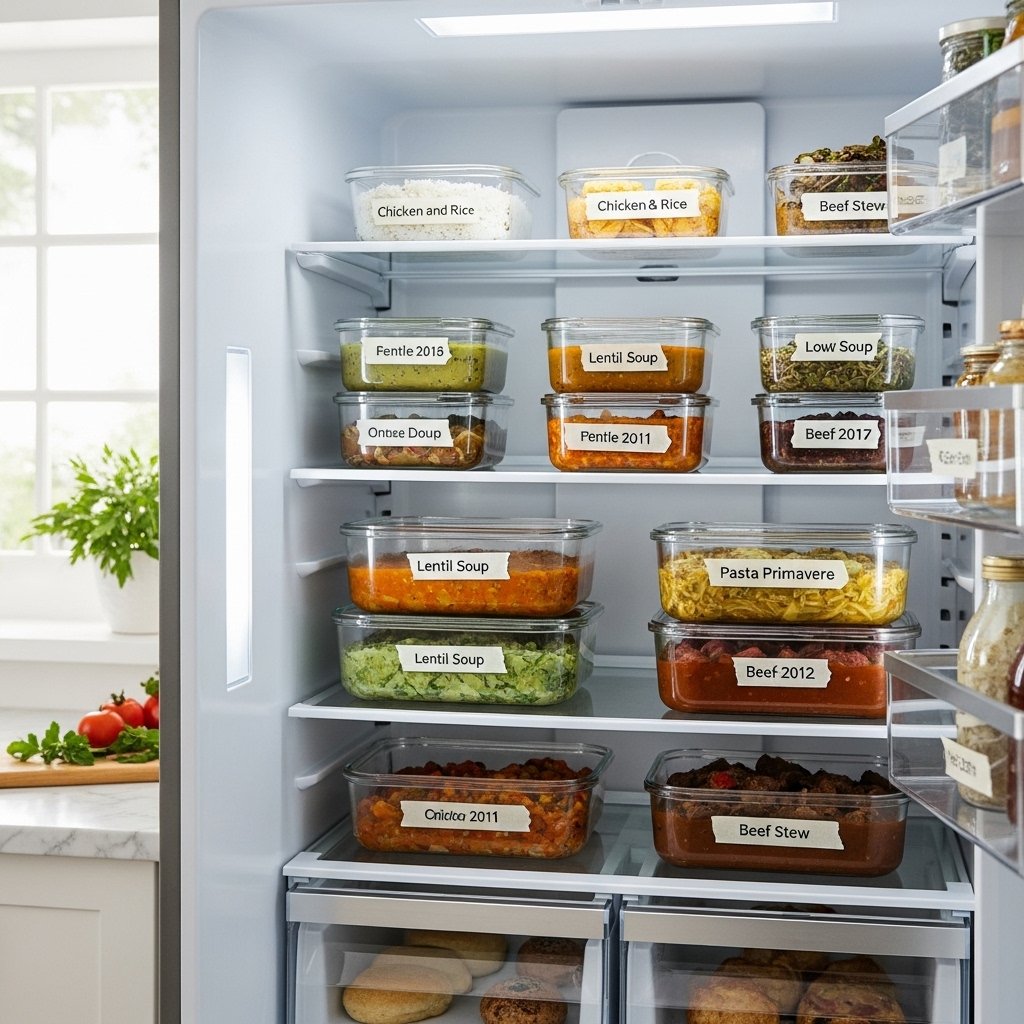
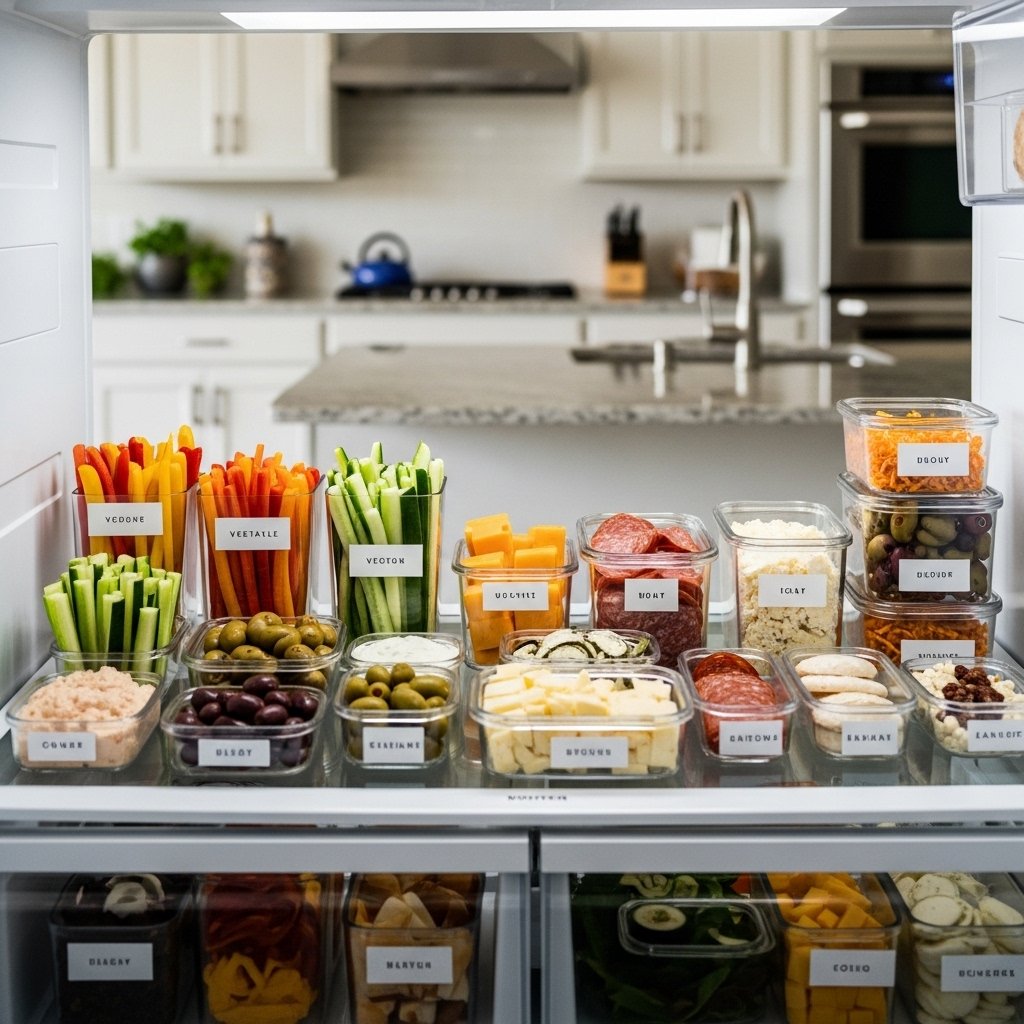
Storage & Reheating Tips
To keep your cheap and easy savory snacks to make at home fresh:
- Store in airtight containers
- Refrigerate for up to 2–3 days
- Reheat in oven or air fryer for crispiness
- Avoid microwaving crispy snacks
Common Mistakes to Avoid
When making cheap and easy savory snacks to make at home, avoid:
- Overcooking (burns quickly)
- Using too much oil
- Skipping seasoning
- Not preheating cooking equipment
Attention to detail ensures better results.
FAQs
What are the cheapest snacks to make at home?
Bread-based snacks, potatoes, and eggs are among the most affordable.
Can I meal prep savory snacks?
Yes! Many snacks can be prepared ahead and reheated.
Are homemade snacks healthier?
Usually yes, since you control ingredients and portions.
What’s the fastest savory snack?
Cheese toast or wraps can be ready in under 5 minutes.
Final Thoughts
These 40+ cheap and easy savory snacks to make at home show that you don’t need a big budget to enjoy delicious food. With simple ingredients and quick methods, you can create satisfying snacks anytime.
Whether you’re cooking for yourself or sharing with others, these ideas will keep your kitchen exciting, affordable, and full of flavor. Try a few today and discover just how easy homemade snacks can be!