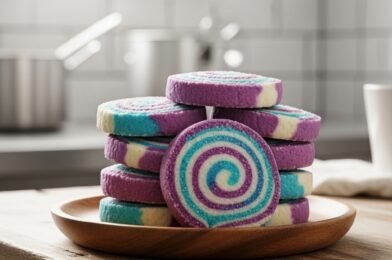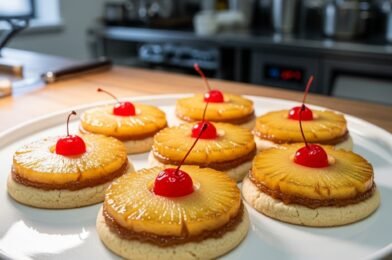
If you love the nostalgic flavor of pineapple upside down cake, you’re going to fall in love with these pineapple upside down sugar cookies that delight every bite. These cookies take everything you adore about the classic dessert—sweet caramelized pineapple, bright cherries, and buttery richness—and transform it into a fun, handheld treat.
Perfect for parties, bake sales, or simply satisfying a sweet craving, these cookies are as beautiful as they are delicious. Each bite delivers a balance of soft sugar cookie texture and juicy, caramelized fruit topping that feels both comforting and exciting.

Why You’ll Love These Pineapple Upside Down Sugar Cookies
These pineapple upside down sugar cookies that delight every bite are truly special:
- A creative twist on a classic dessert
- Soft, buttery cookie base with juicy fruit topping
- Beautiful presentation perfect for gatherings
- Easy to make with simple ingredients
- Kid-friendly and crowd-pleasing
They’re the kind of dessert that sparks conversation and keeps everyone reaching for more.
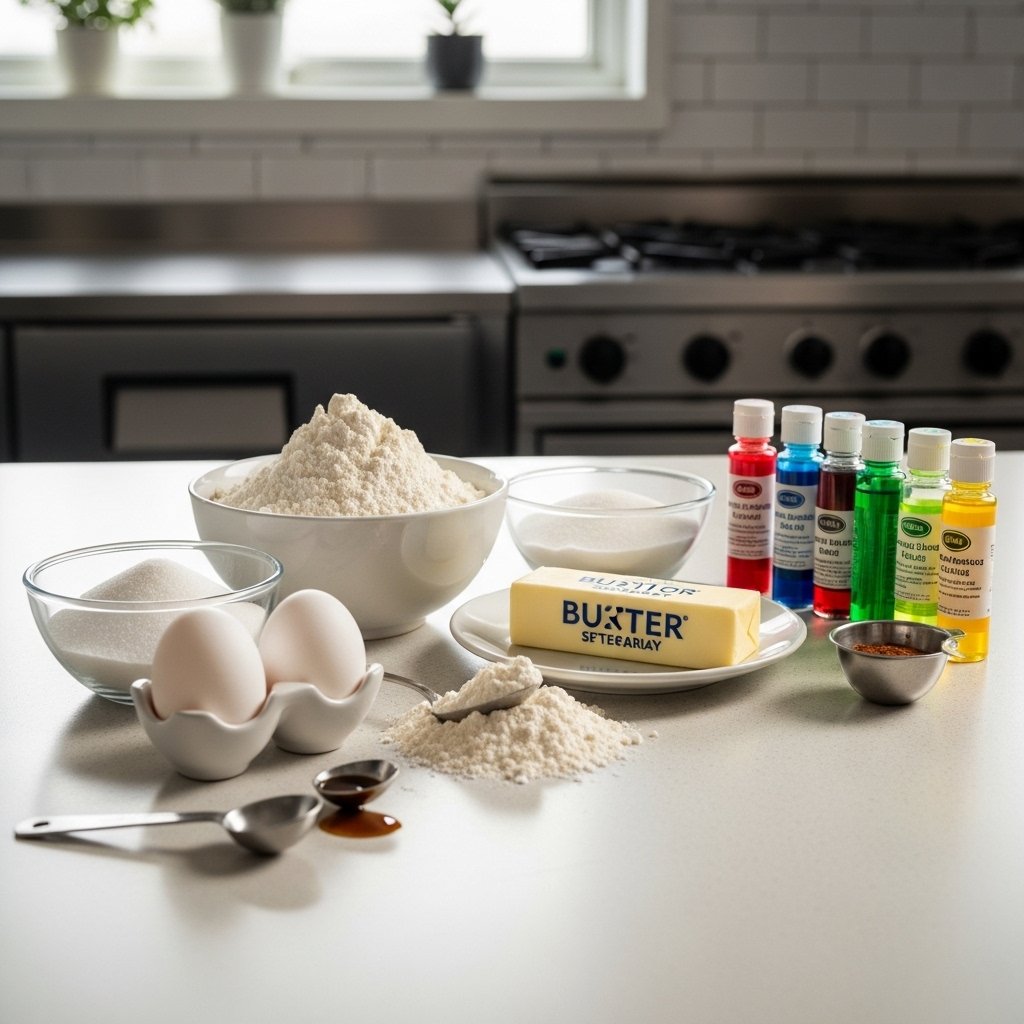
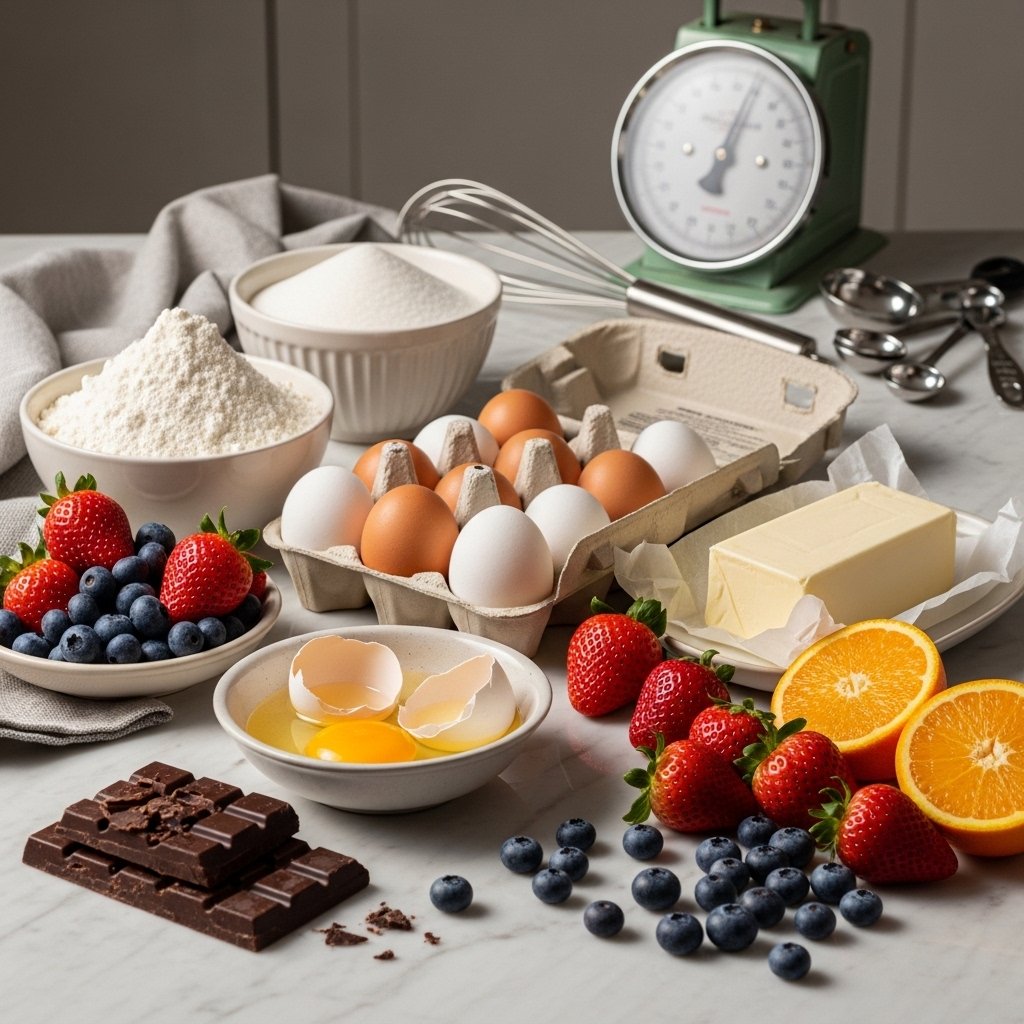
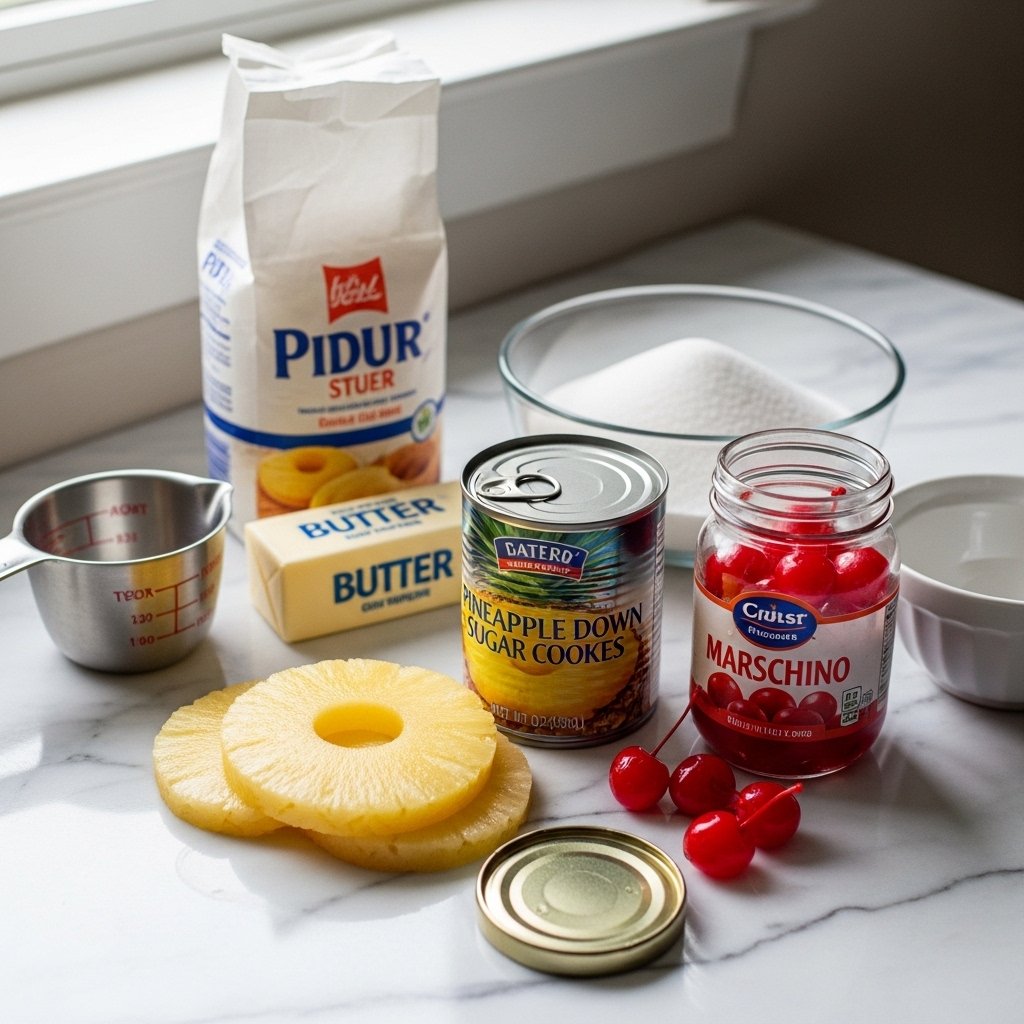
Ingredients You’ll Need
To make these irresistible pineapple upside down sugar cookies that delight every bite, gather:
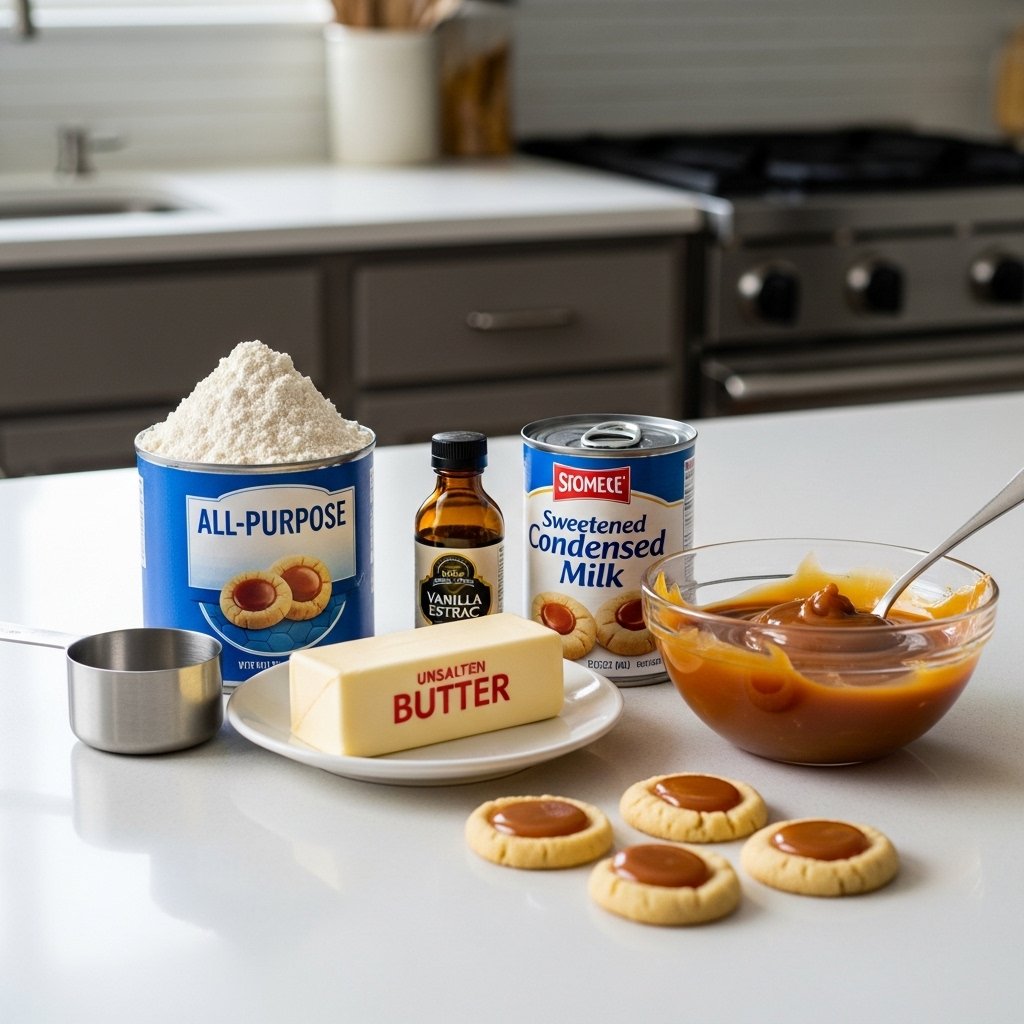
- All-purpose flour
- Butter (softened)
- Sugar (granulated and brown sugar)
- Egg
- Vanilla extract
- Pineapple slices (canned or fresh)
- Maraschino cherries
- Baking powder and salt
Ingredient Notes
The key to perfect pineapple upside down sugar cookies that delight every bite lies in the balance of flavors. Brown sugar helps create that signature caramelized topping, while pineapple adds a juicy, tangy contrast.
Make sure to pat pineapple slices dry to avoid excess moisture, which can affect the cookie texture. Using high-quality vanilla extract also enhances the overall flavor.
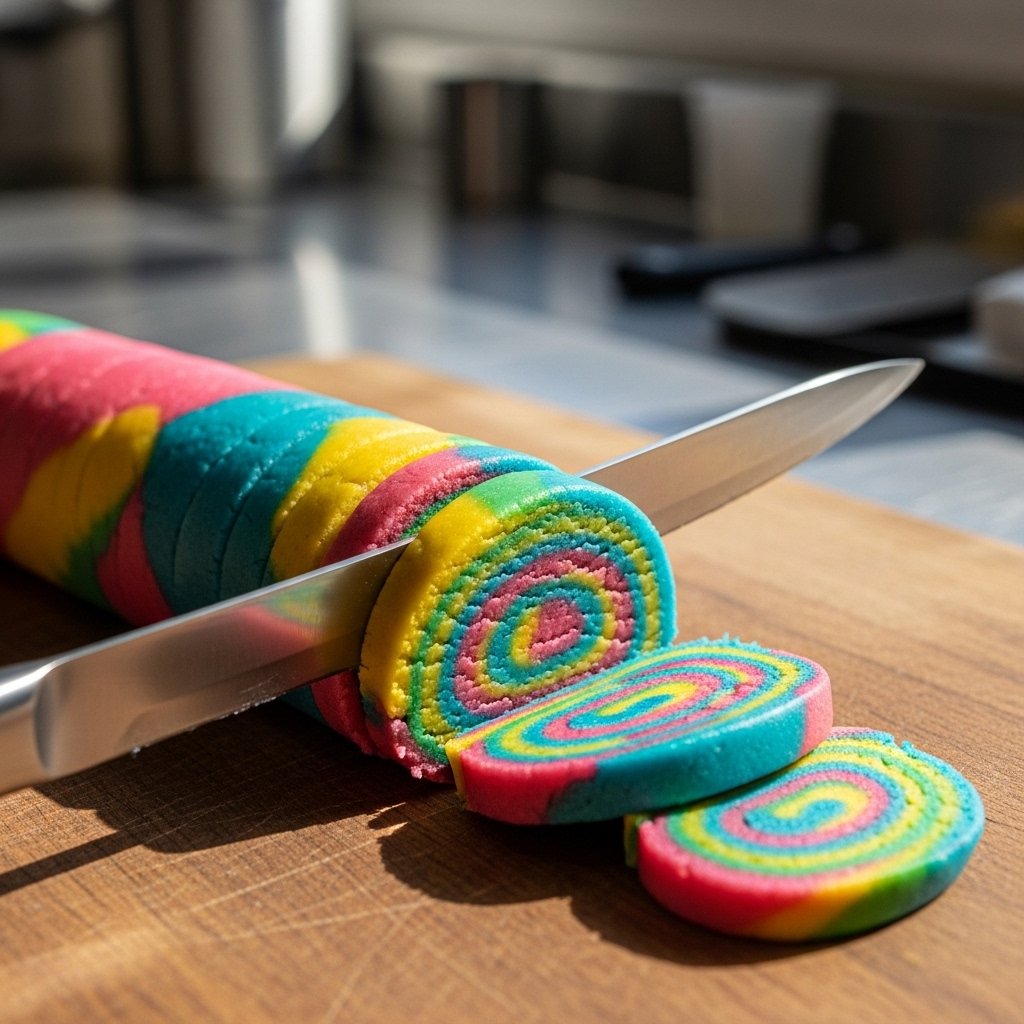
Step-by-Step Instructions
1. Prepare the Topping
Place a small amount of melted butter and brown sugar into each section of a muffin tin or baking pan.
2. Add Fruit
Place a pineapple piece and a cherry in each section.
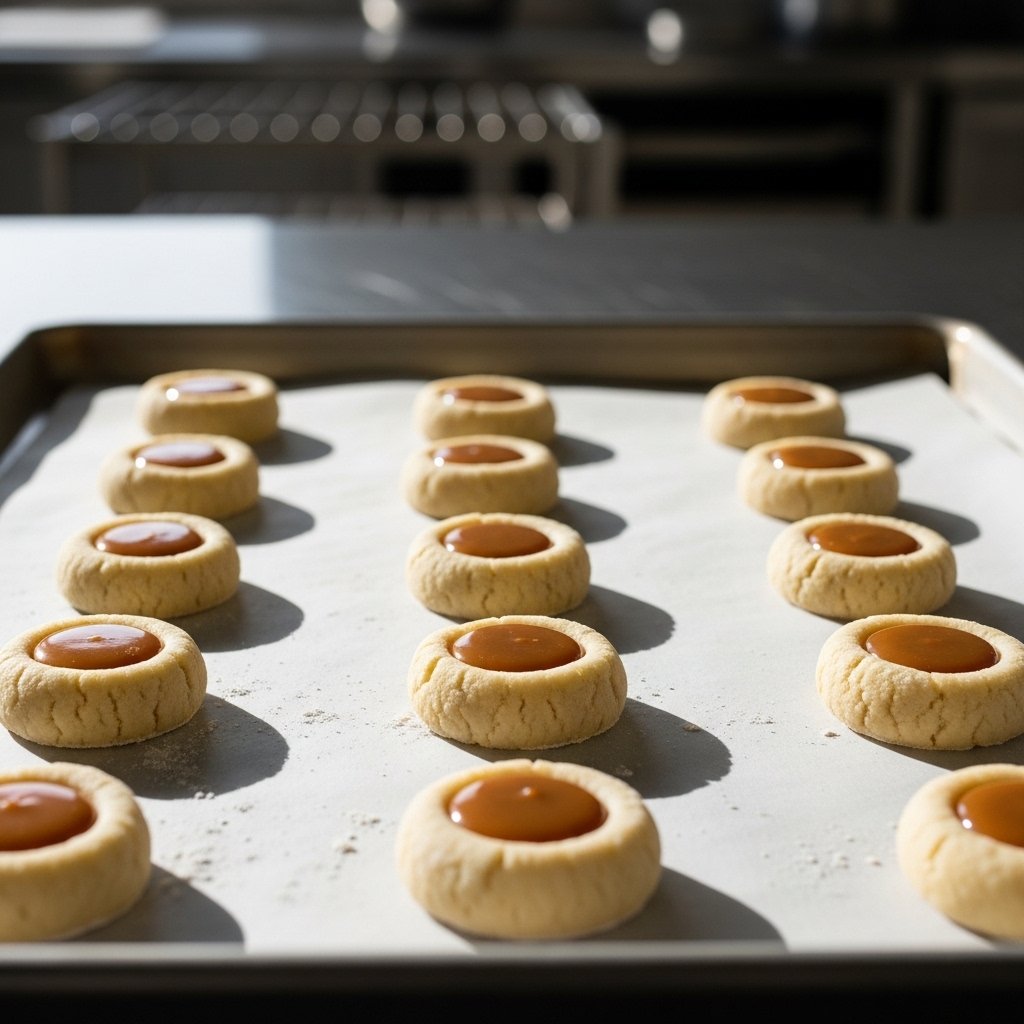
3. Make the Dough
Cream butter and sugar, then mix in egg and vanilla. Add dry ingredients to form a soft dough.
4. Assemble
Scoop dough over the fruit layer and gently spread.
5. Bake
Bake at 350°F (175°C) for 12–15 minutes until golden.
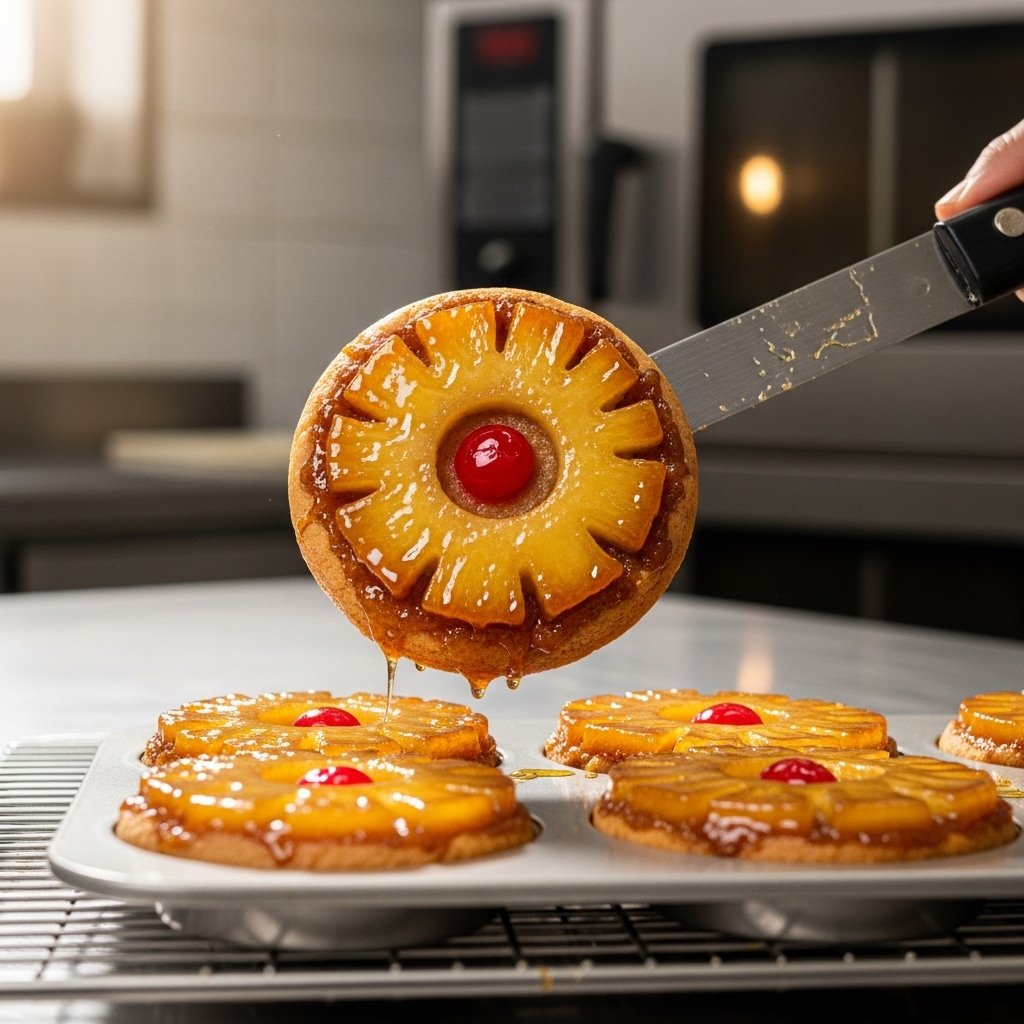
6. Flip
Let cool slightly, then invert to reveal the caramelized topping.
Tips for Perfect Results
To master these pineapple upside down sugar cookies that delight every bite, follow these tips:
- Don’t skip greasing the pan well
- Use evenly sized pineapple pieces
- Let cookies cool slightly before flipping
- Avoid overbaking to keep cookies soft
These small details make a big difference in texture and presentation.
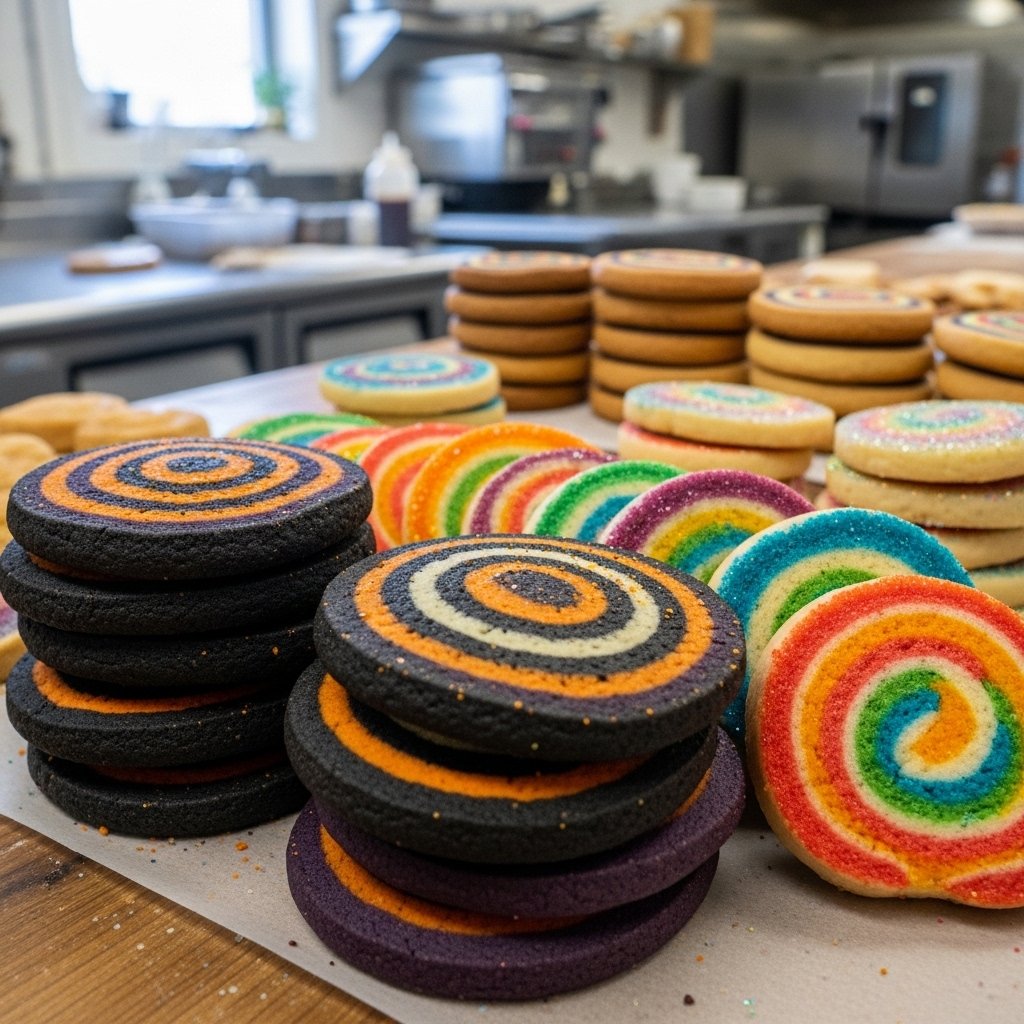
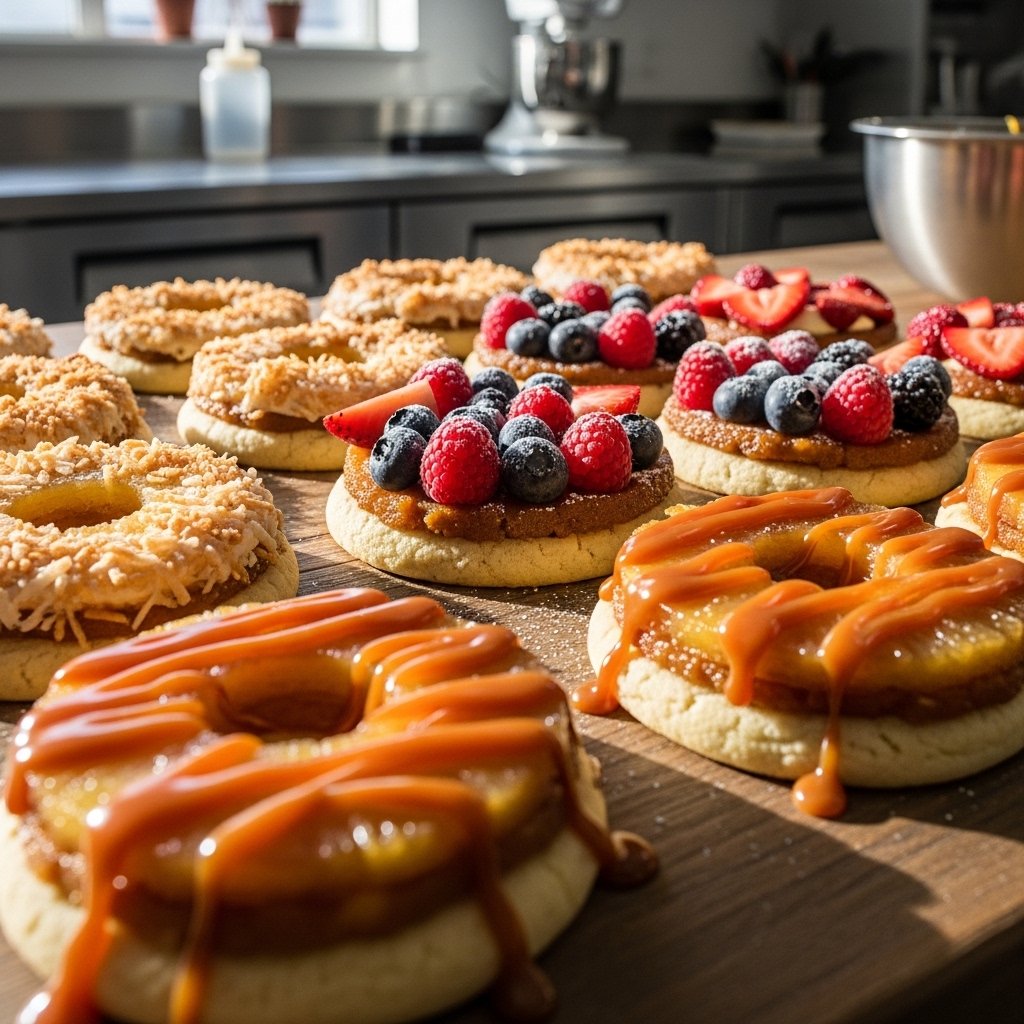
Variations and Customizations
You can easily customize your pineapple upside down sugar cookies that delight every bite:
- Use crushed pineapple for a rustic look
- Add coconut flakes for a tropical twist
- Swap cherries with berries
- Add a drizzle of caramel or glaze
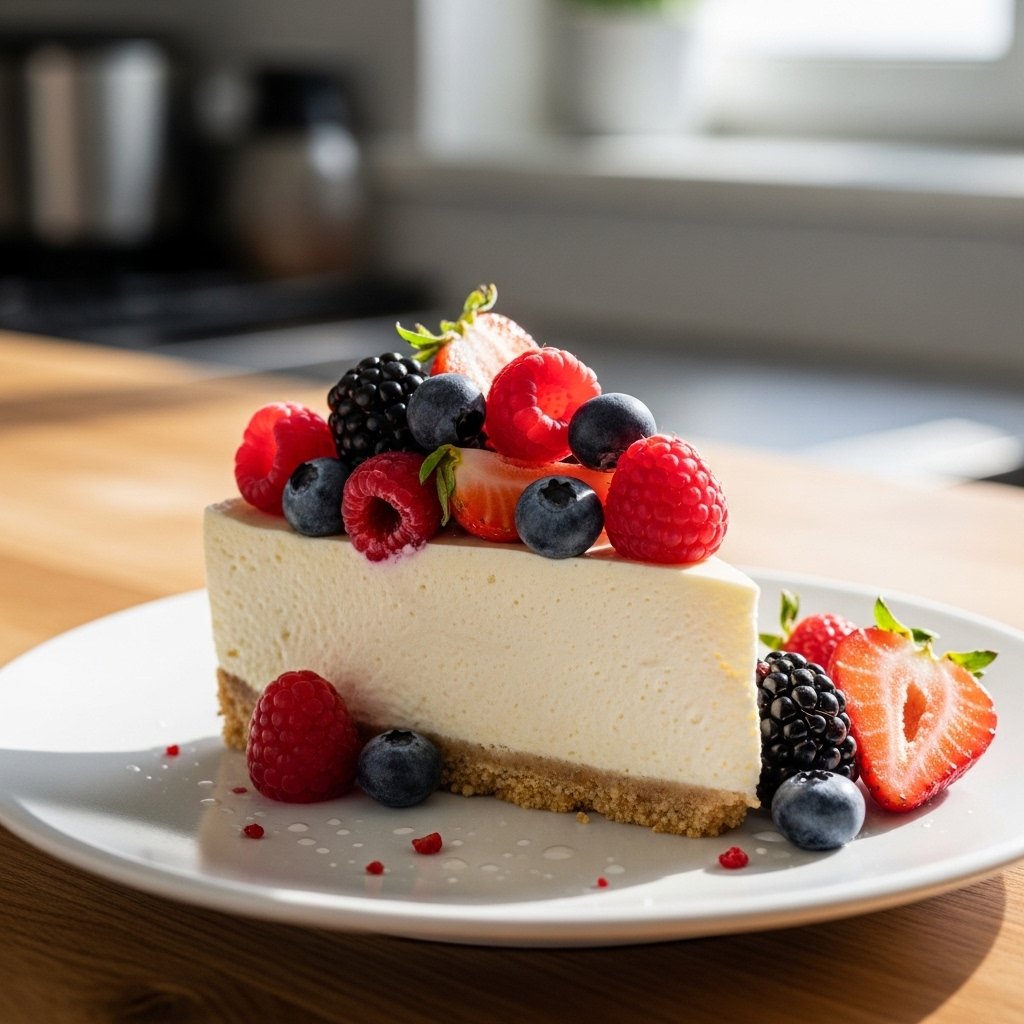
What to Serve With These Cookies
Pair your pineapple upside down sugar cookies that delight every bite with:
- Vanilla ice cream
- Whipped cream
- Coffee or tea
- Tropical fruit salad
These pairings enhance the sweet and fruity flavors beautifully.
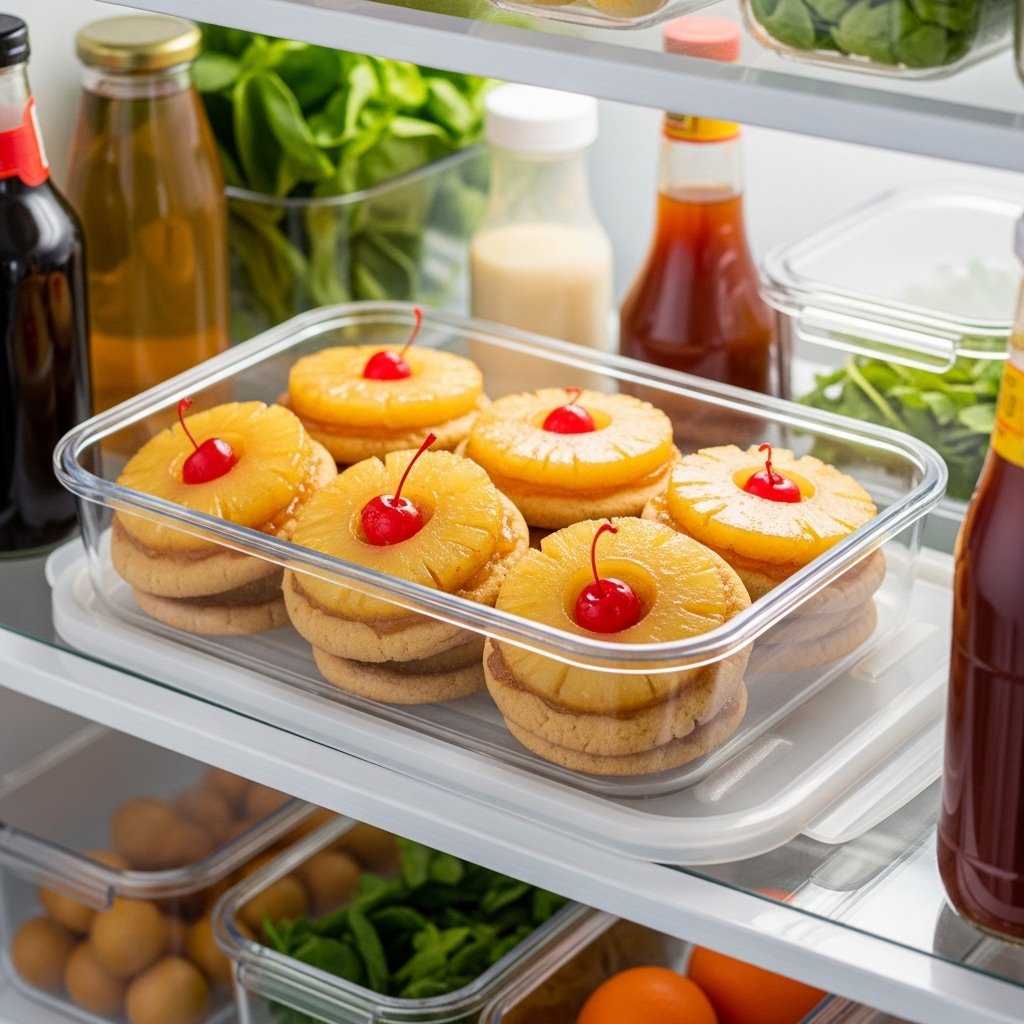
Storage & Reheating Tips
To store your pineapple upside down sugar cookies that delight every bite:
- Keep in an airtight container in the fridge for up to 4 days
- Reheat slightly in the microwave for a warm treat
- Avoid stacking to preserve topping
Common Mistakes to Avoid
When making pineapple upside down sugar cookies that delight every bite, avoid:
- Using overly wet pineapple
- Skipping the flipping step
- Overfilling with dough
- Not greasing the pan properly
Avoiding these ensures perfect results every time.
FAQs
Can I use fresh pineapple?
Yes! Just slice thinly and remove excess juice.
Why did my cookies stick to the pan?
The pan may not have been greased well enough—use butter or nonstick spray.
Can I make these ahead of time?
Absolutely! Store in the fridge and reheat before serving.
Can I freeze them?
Yes, but freeze without toppings for best texture.
Final Thoughts
These pineapple upside down sugar cookies that delight every bite are the perfect combination of classic flavor and creative presentation. They’re soft, sweet, and bursting with tropical goodness in every bite.
Whether you’re baking for a party or just want to try something new, these cookies are guaranteed to impress. Once you make them, they’ll quickly become a favorite in your recipe collection!