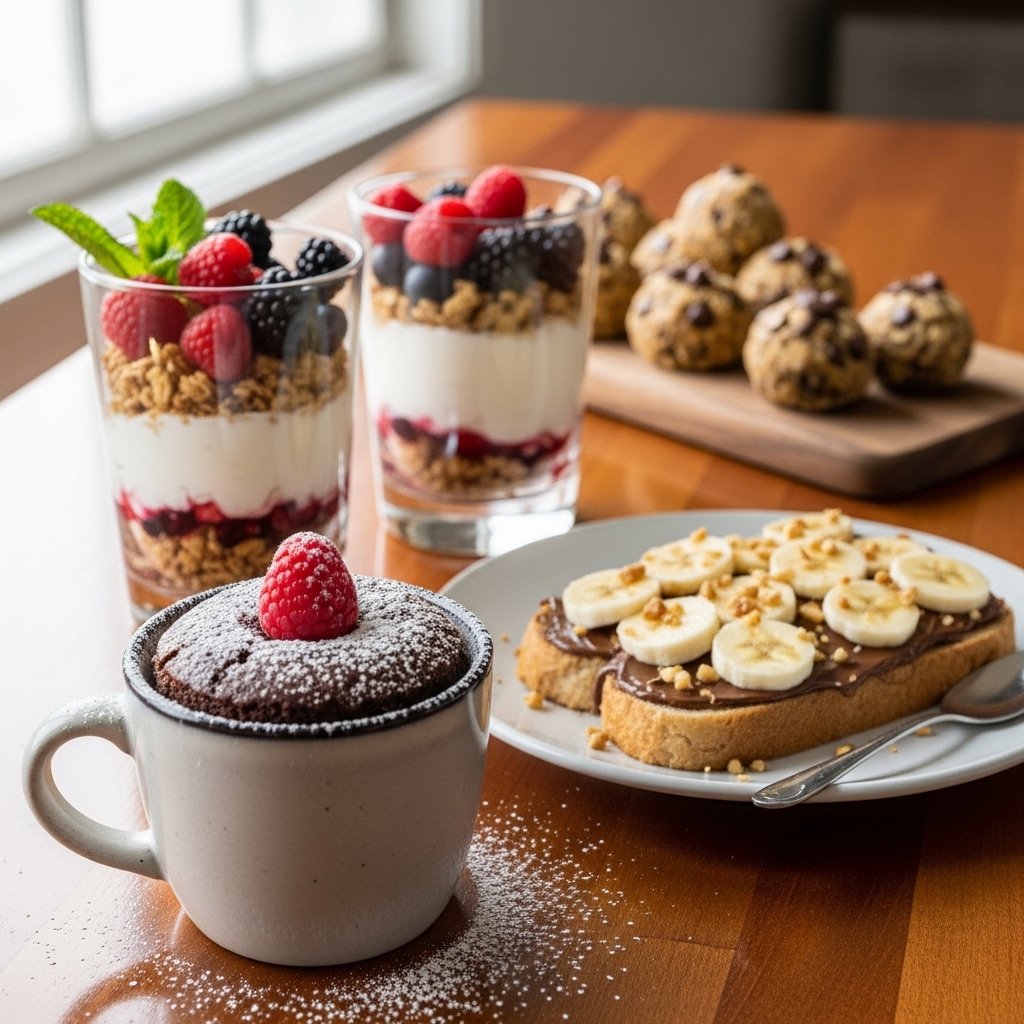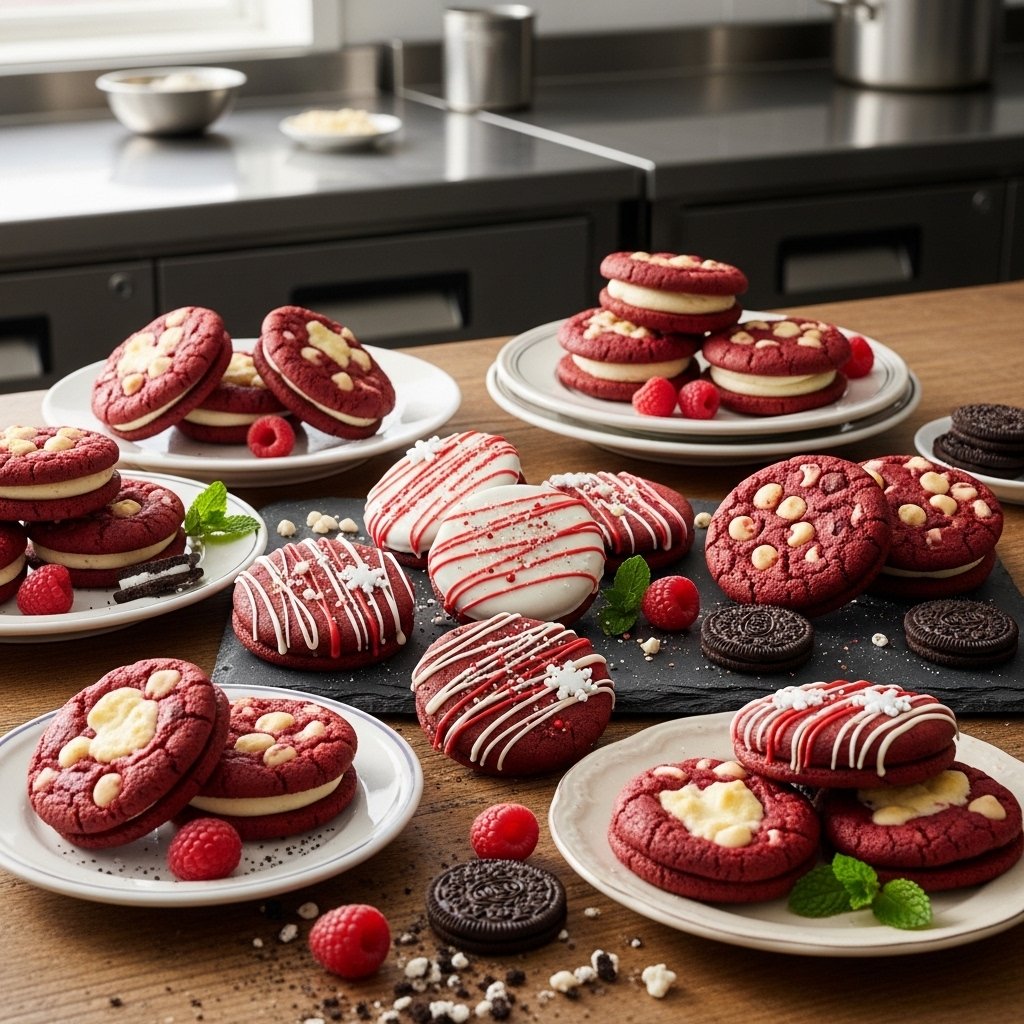
If you’re craving something sweet but don’t want to turn on the oven, these no-bake chocolate balls are the perfect solution. They’re rich, chocolatey, and incredibly easy to make using just a handful of pantry ingredients. Whether you need a quick dessert, a party treat, or a snack to satisfy your sweet tooth, this recipe delivers every time.
What makes these no-bake chocolate balls so appealing is their simplicity. With no baking required, minimal prep time, and endless customization options, they’ve become a favorite for busy home cooks and dessert lovers alike.

Why You’ll Love These No-Bake Chocolate Balls
There are so many reasons to love these no-bake chocolate balls:
- No oven required
- Ready in under 15 minutes
- Perfect for meal prep or snacks
- Easy to customize with different flavors
- Kid-friendly and beginner-friendly
These treats are not only delicious but also convenient for any occasion.
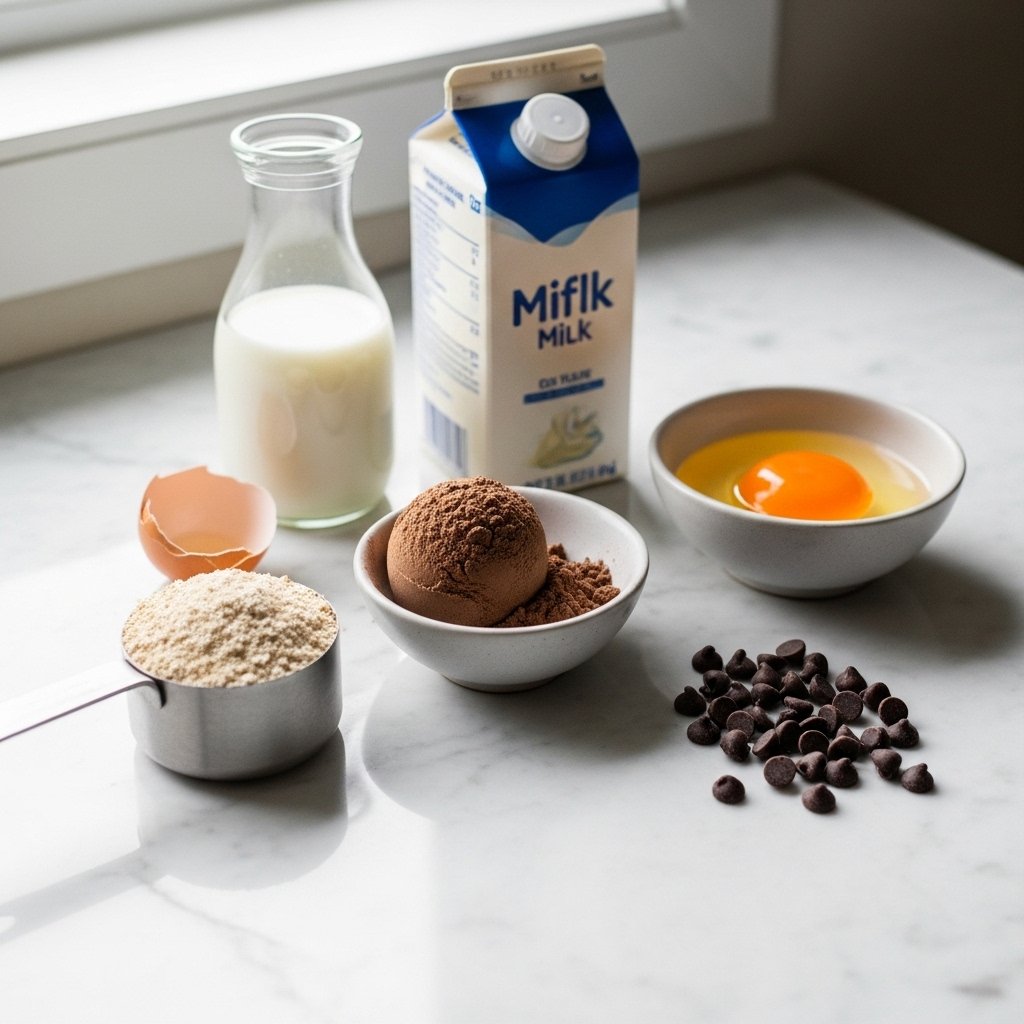
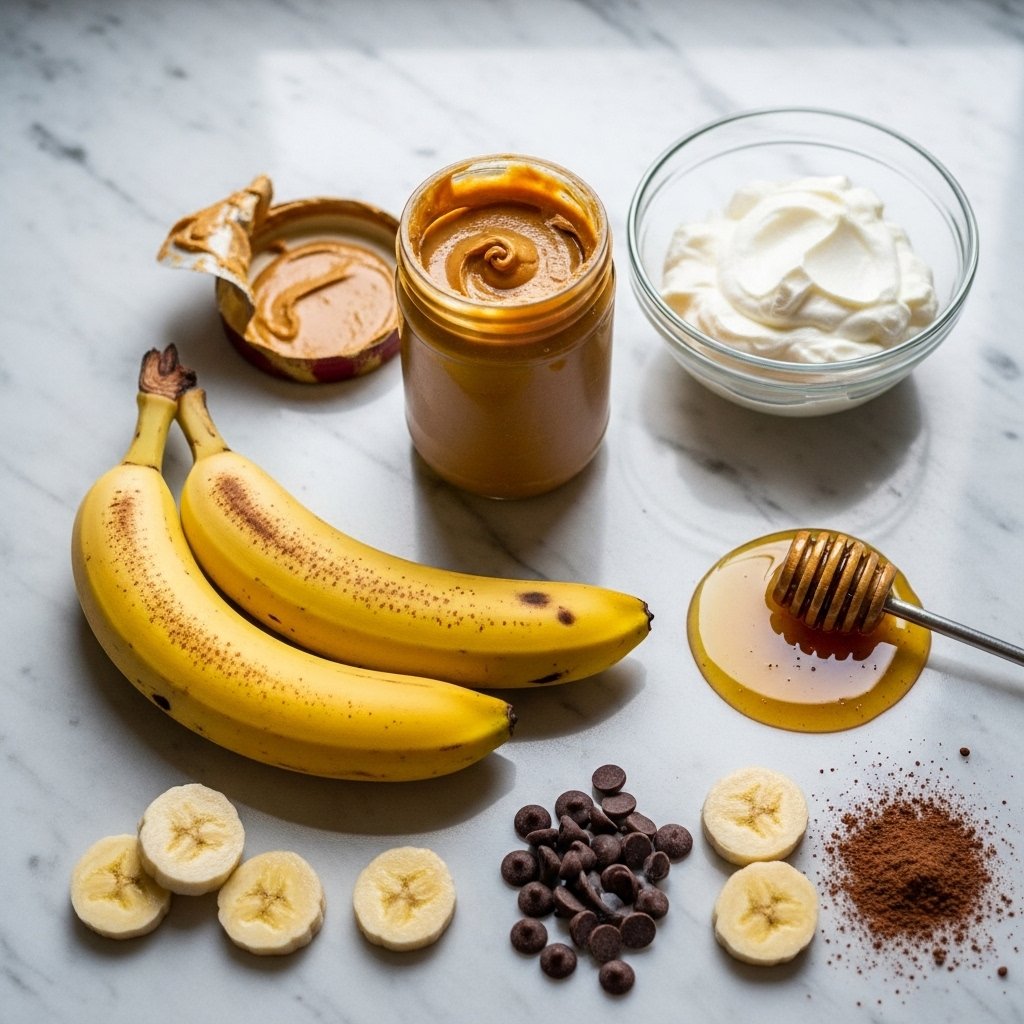
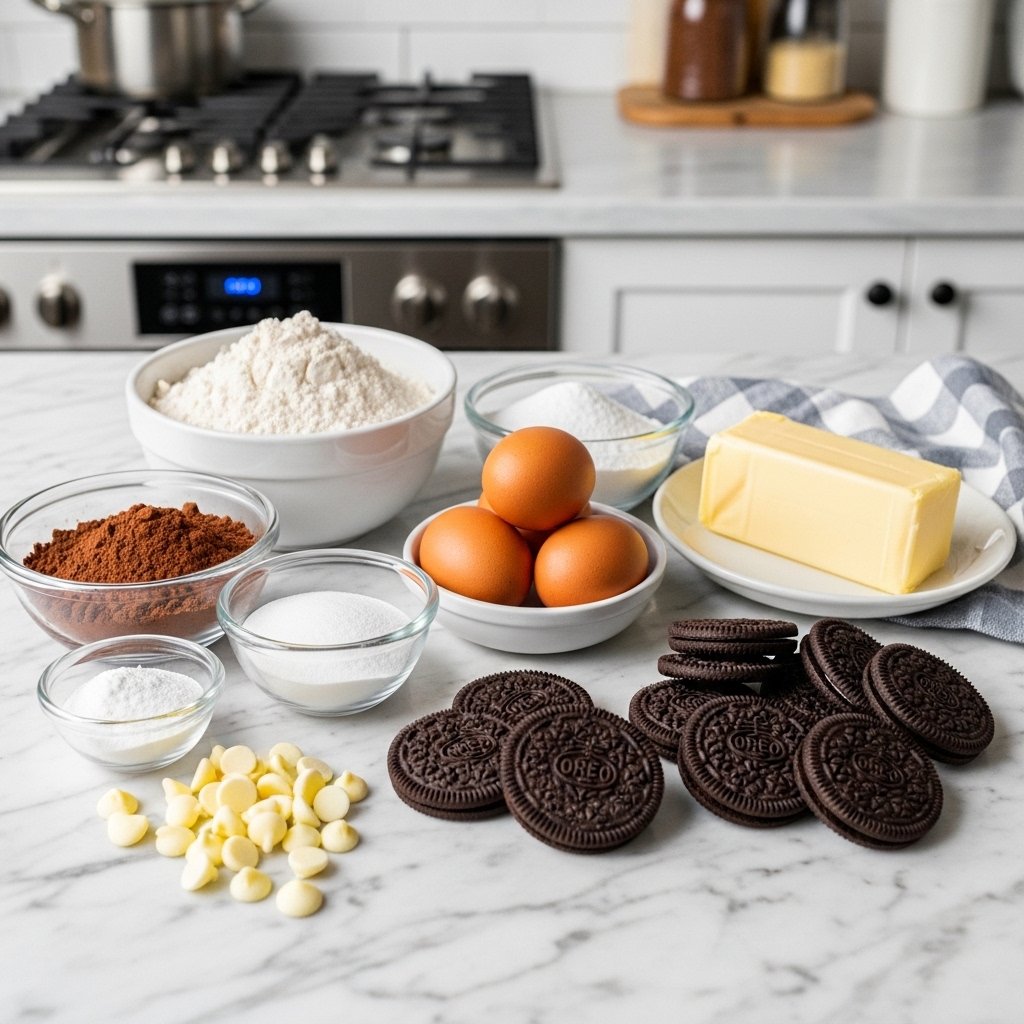
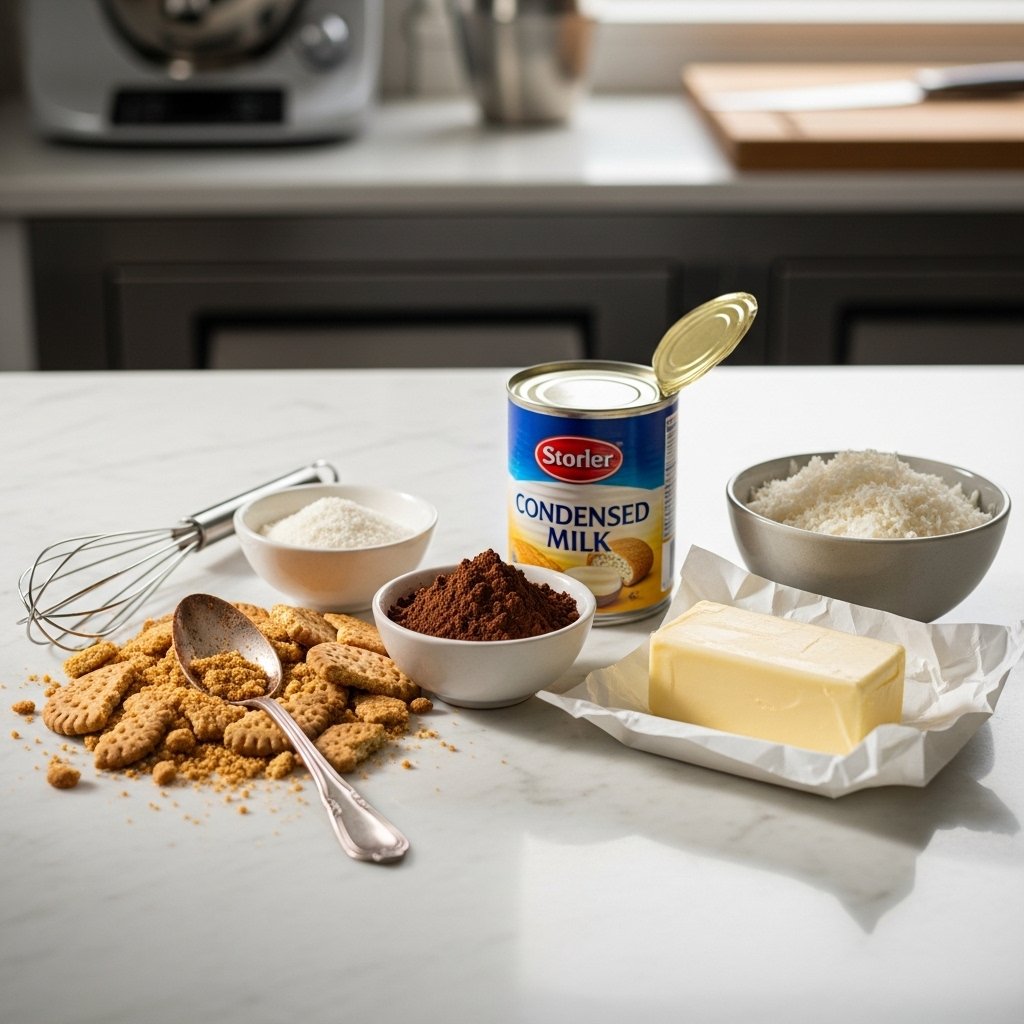
Ingredients You’ll Need
To make these delicious no-bake chocolate balls, you’ll need:
- Crushed biscuits or graham crackers
- Cocoa powder
- Sweetened condensed milk
- Butter (melted)
- Optional: shredded coconut, chopped nuts, chocolate chips
Ingredient Notes
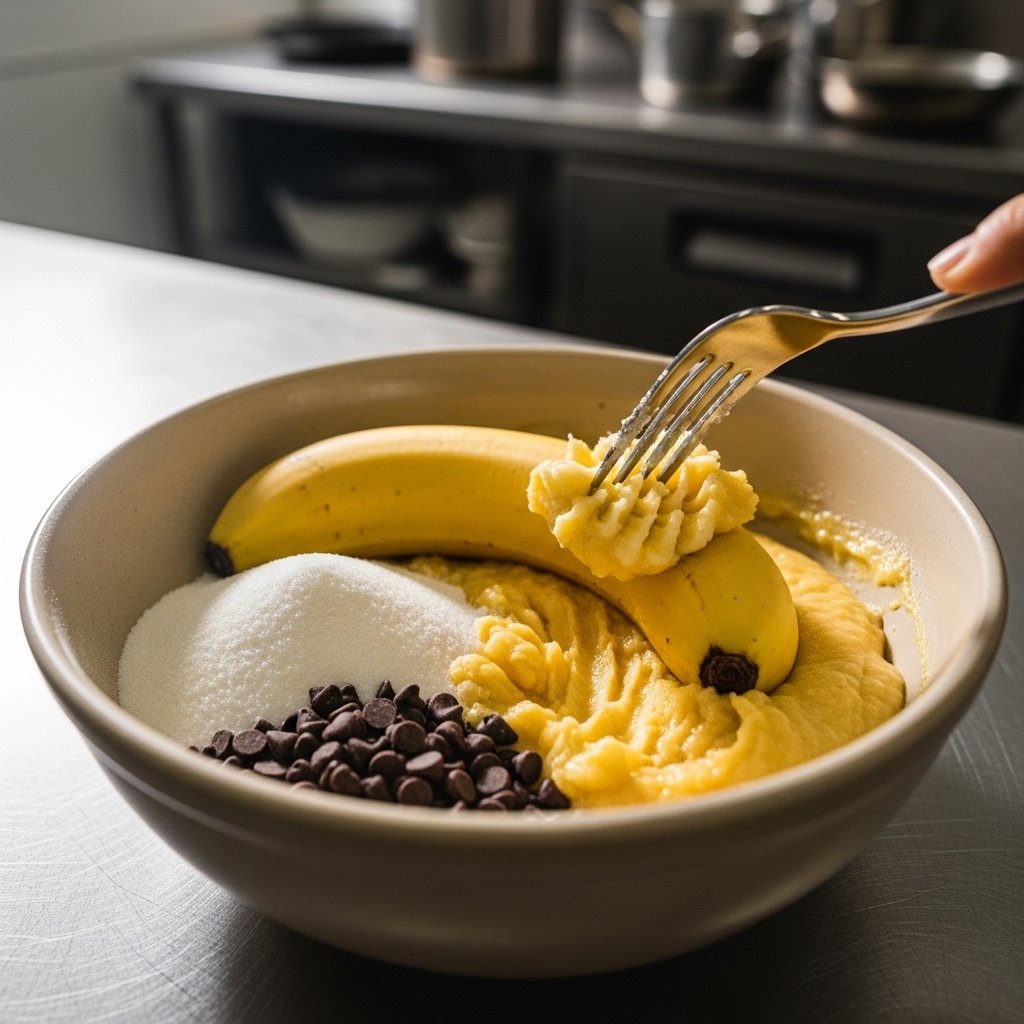
The base of these no-bake chocolate balls is crushed biscuits, which provide structure and texture. Cocoa powder adds a deep chocolate flavor, while condensed milk binds everything together and adds sweetness.
You can easily adjust the sweetness or texture by modifying the ratio of ingredients or adding extras like nuts or dried fruit.
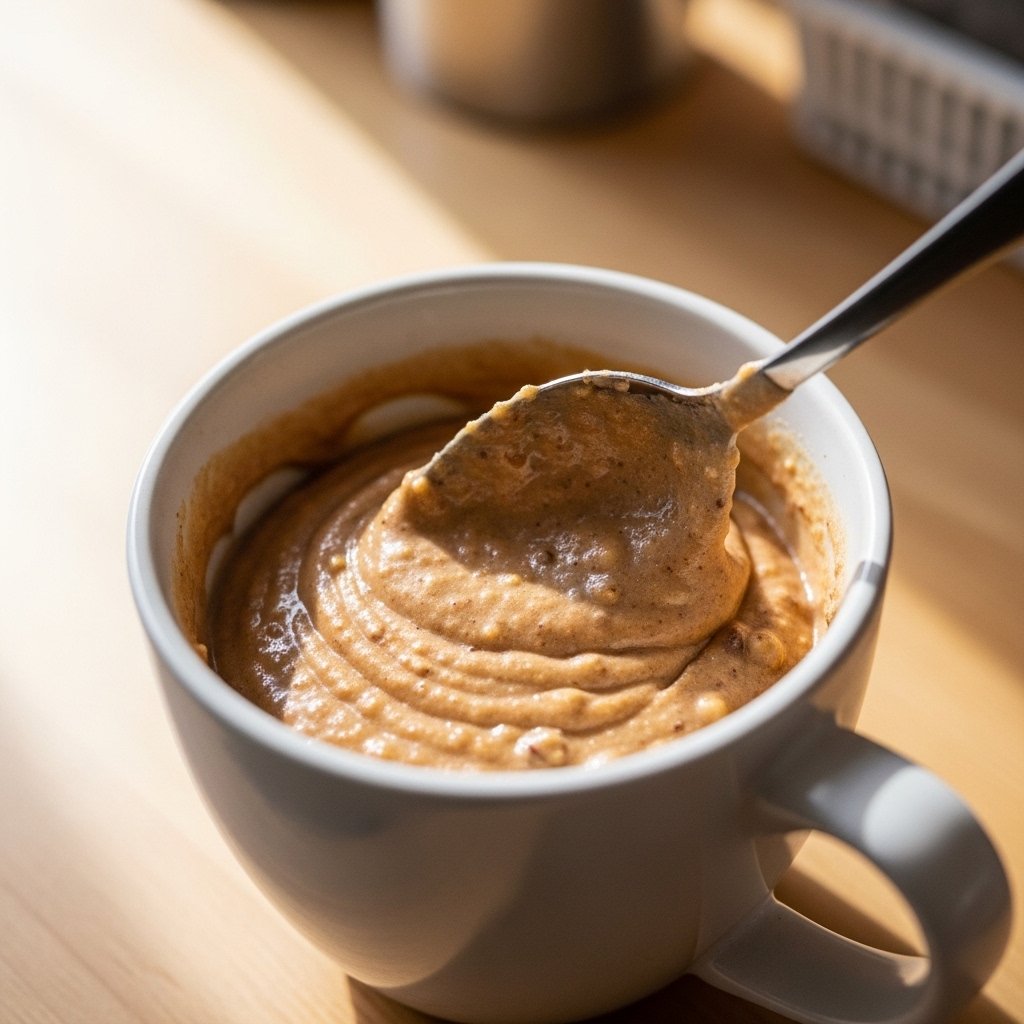
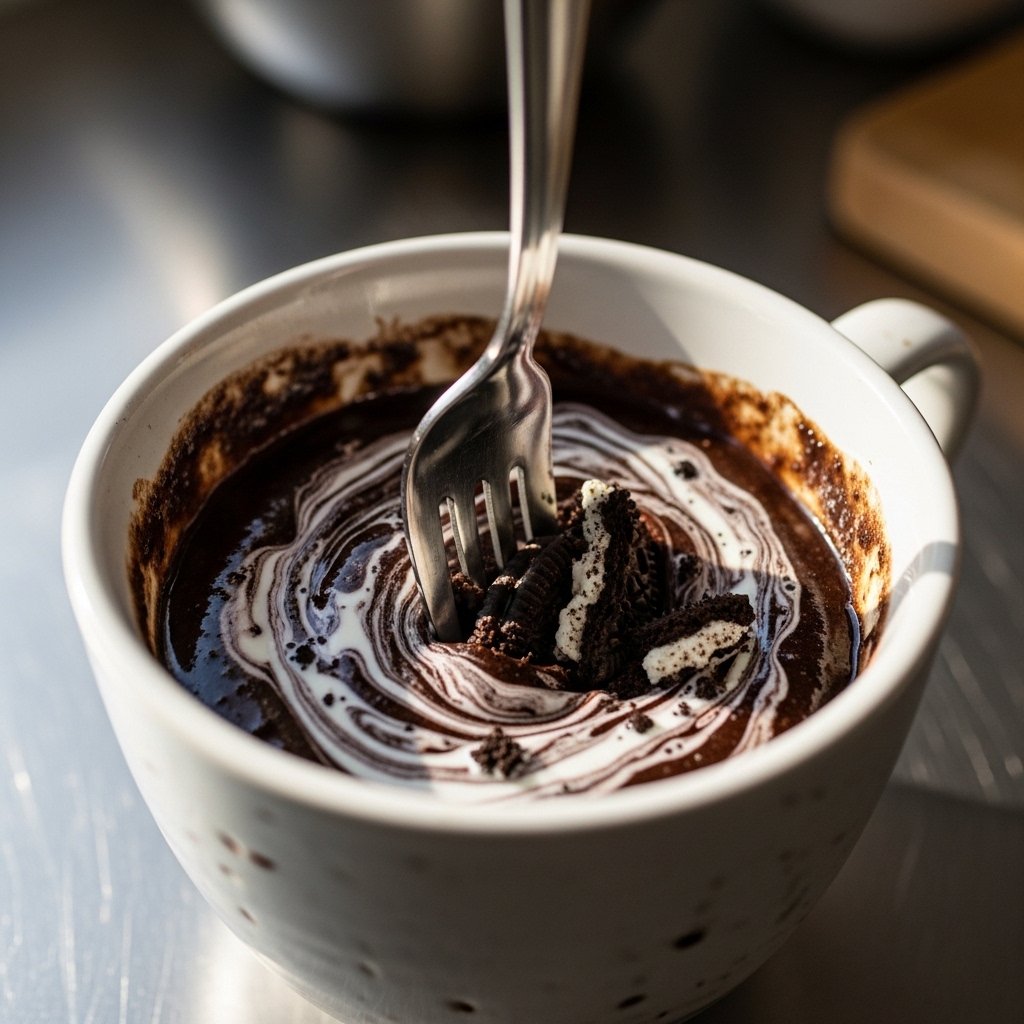
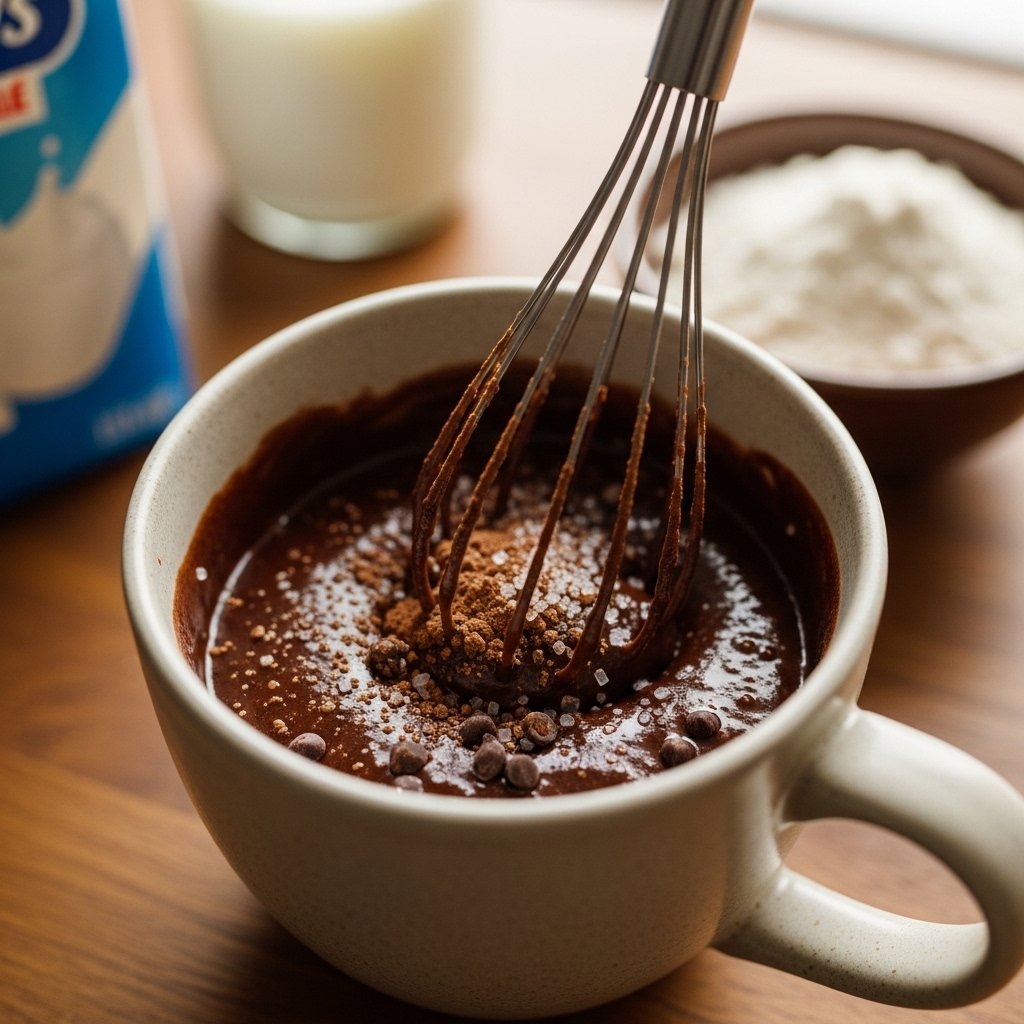
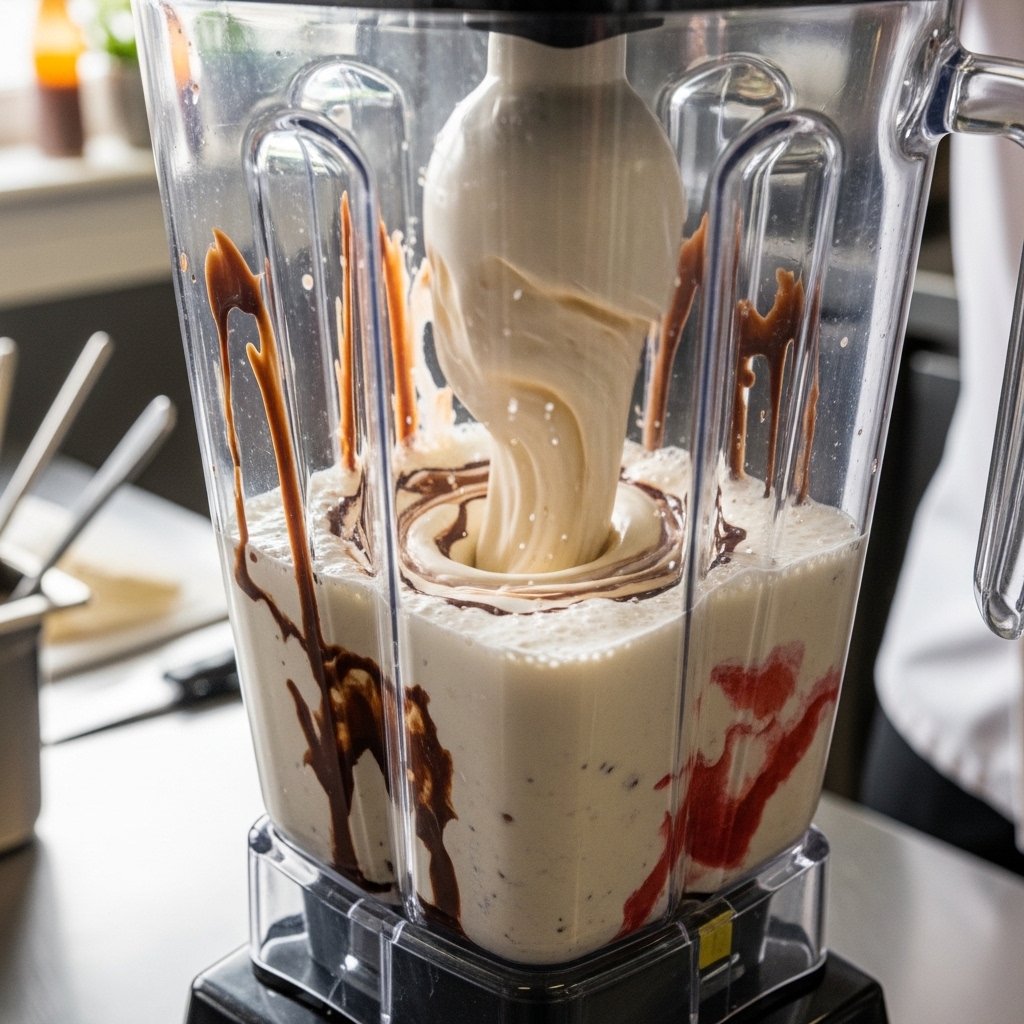
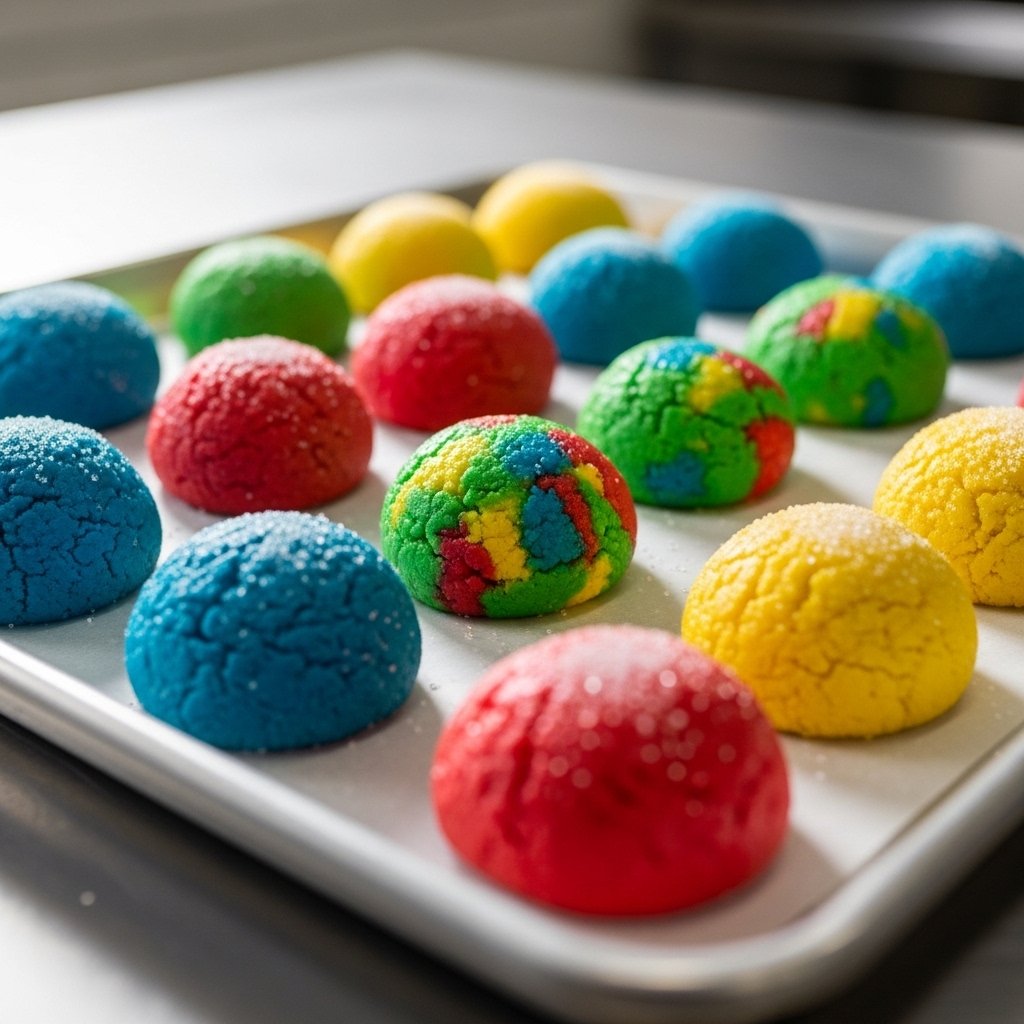
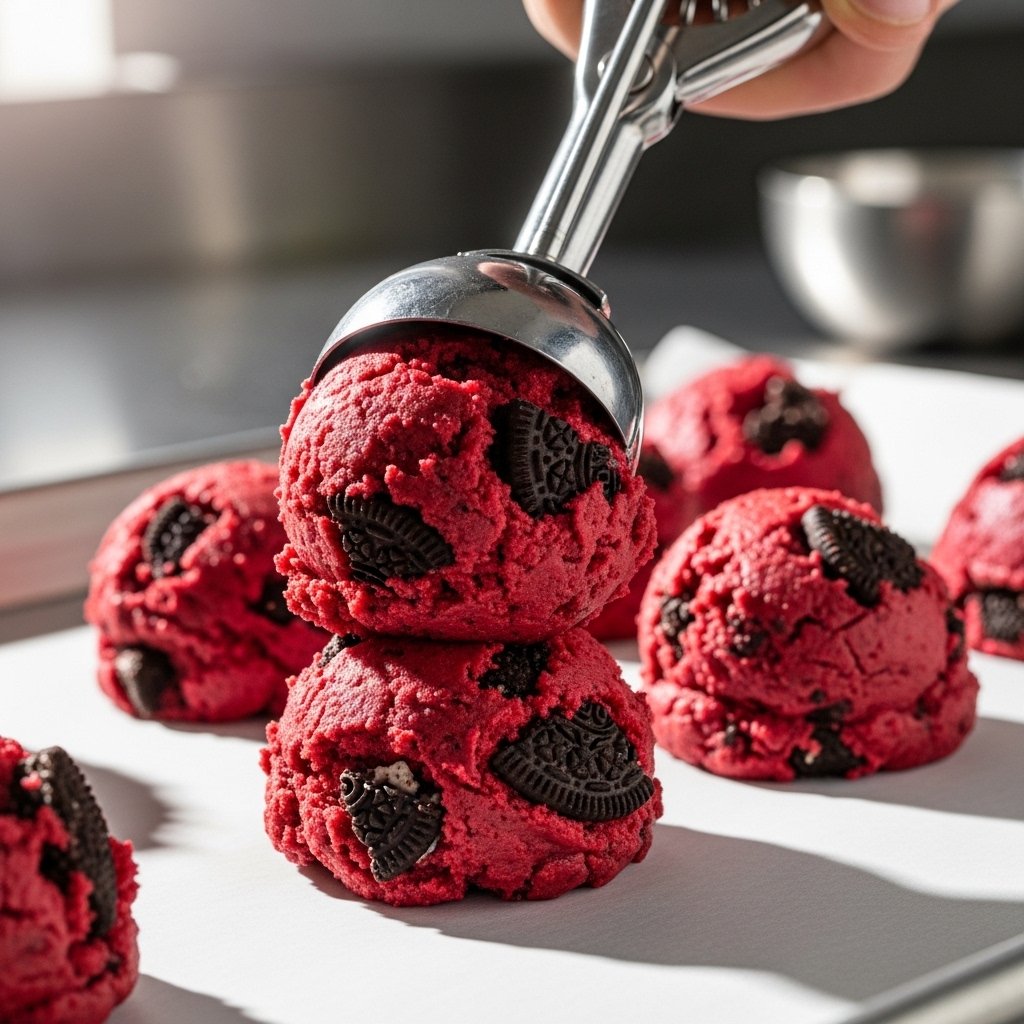
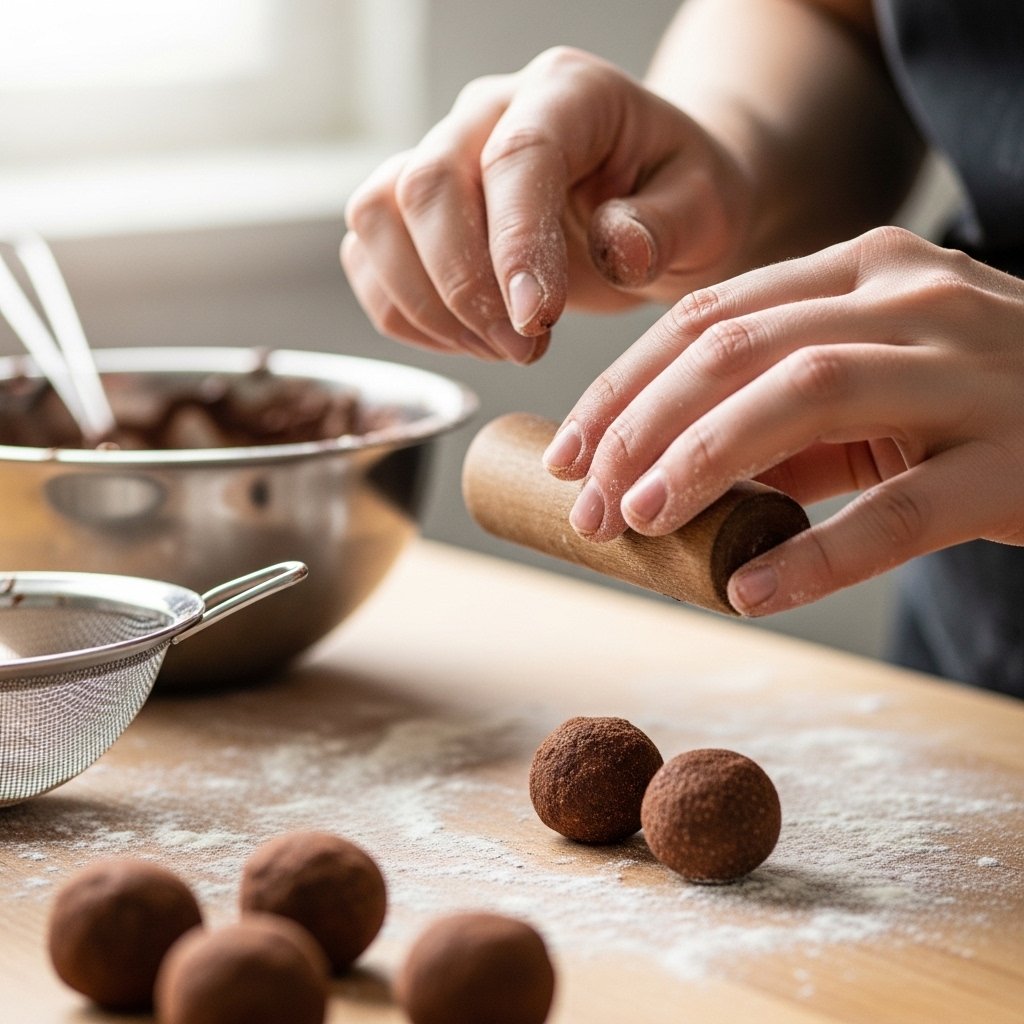
Step-by-Step Instructions
How to Make No-Bake Chocolate Balls
- Crush biscuits into fine crumbs
- In a bowl, mix crumbs with cocoa powder
- Add condensed milk and melted butter
- Stir until a thick dough forms
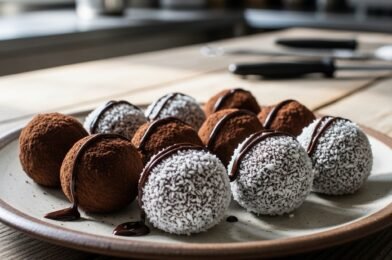
- Roll into small balls
- Coat in coconut, cocoa powder, or sprinkles
- Chill for 10–15 minutes before serving
These simple steps make perfect no-bake chocolate balls every time.
Tips for Perfect Results
To make the best no-bake chocolate balls, keep these tips in mind:
- Use finely crushed biscuits for a smooth texture
- Chill the mixture if it’s too sticky
- Roll evenly sized balls for consistency
- Don’t skip chilling—it helps them firm up
These small tricks ensure a perfect result every time.
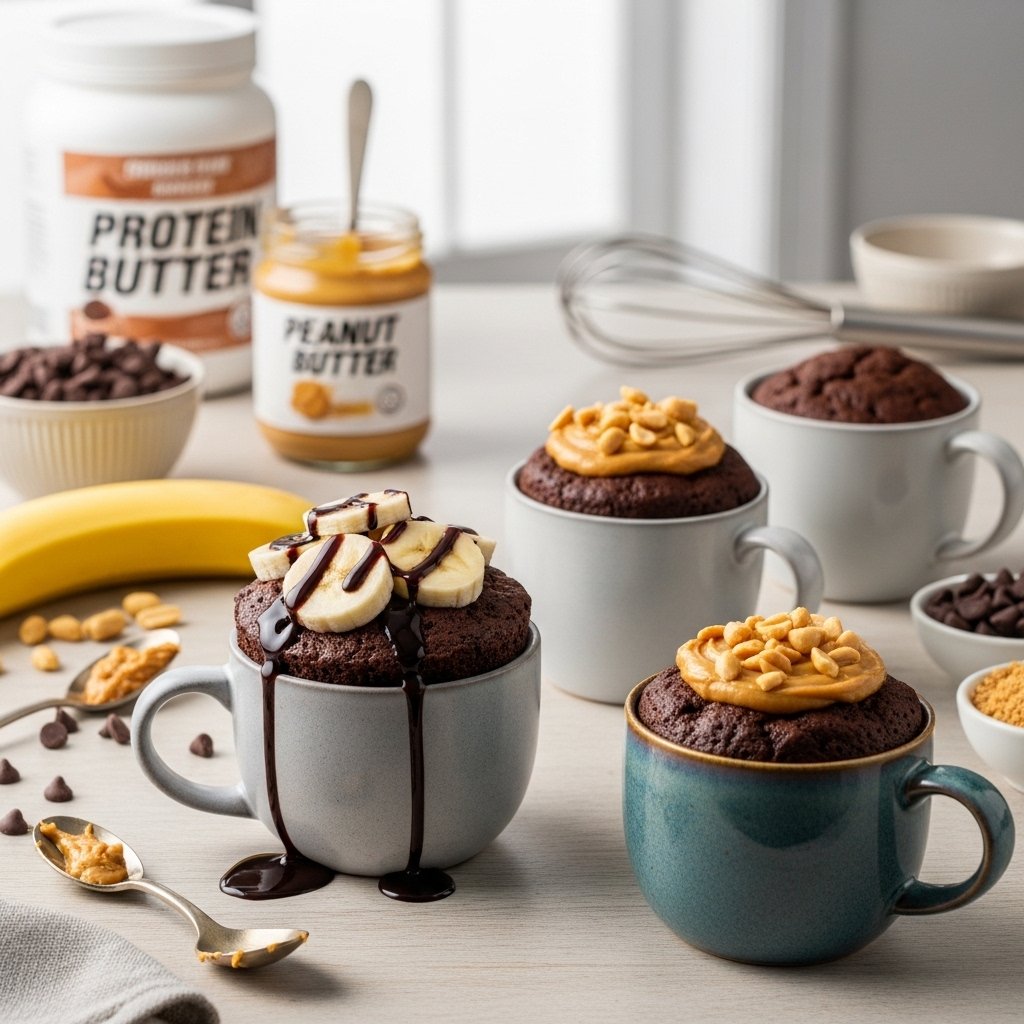
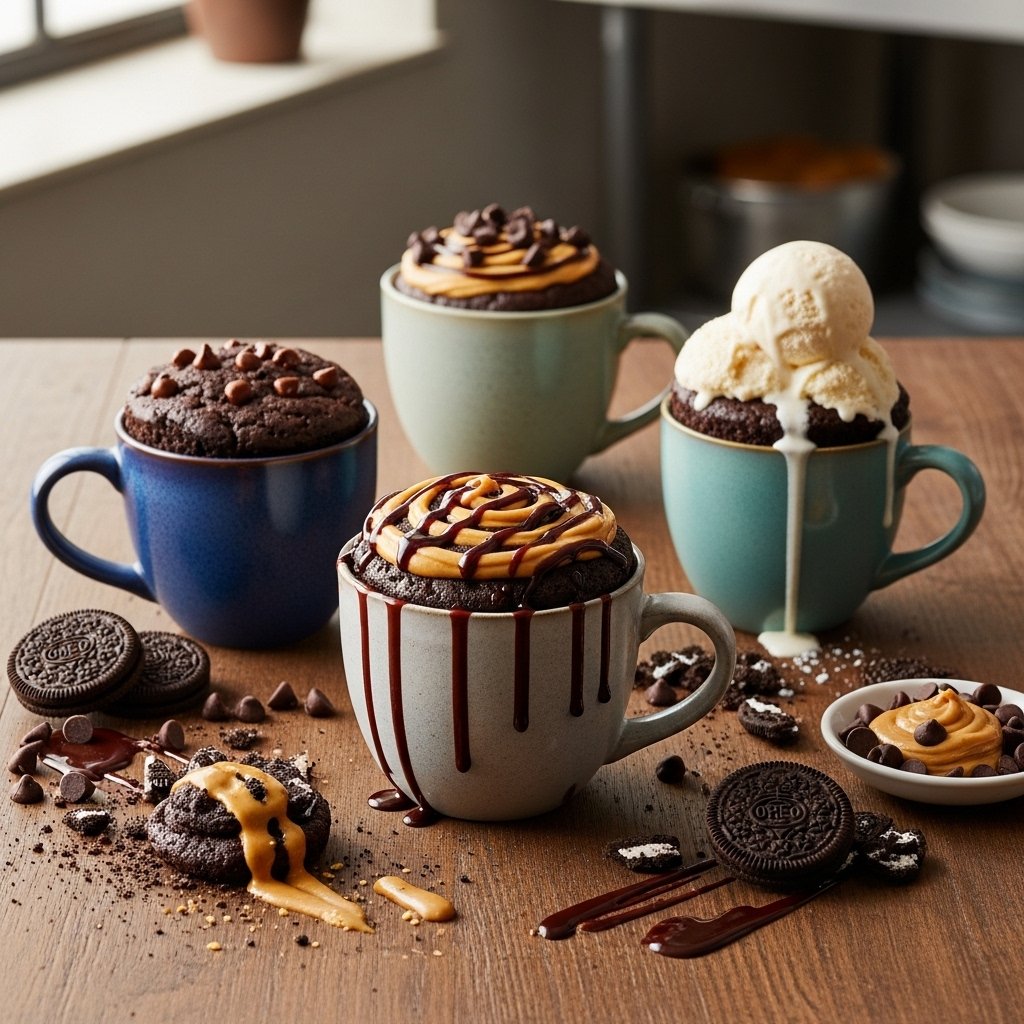
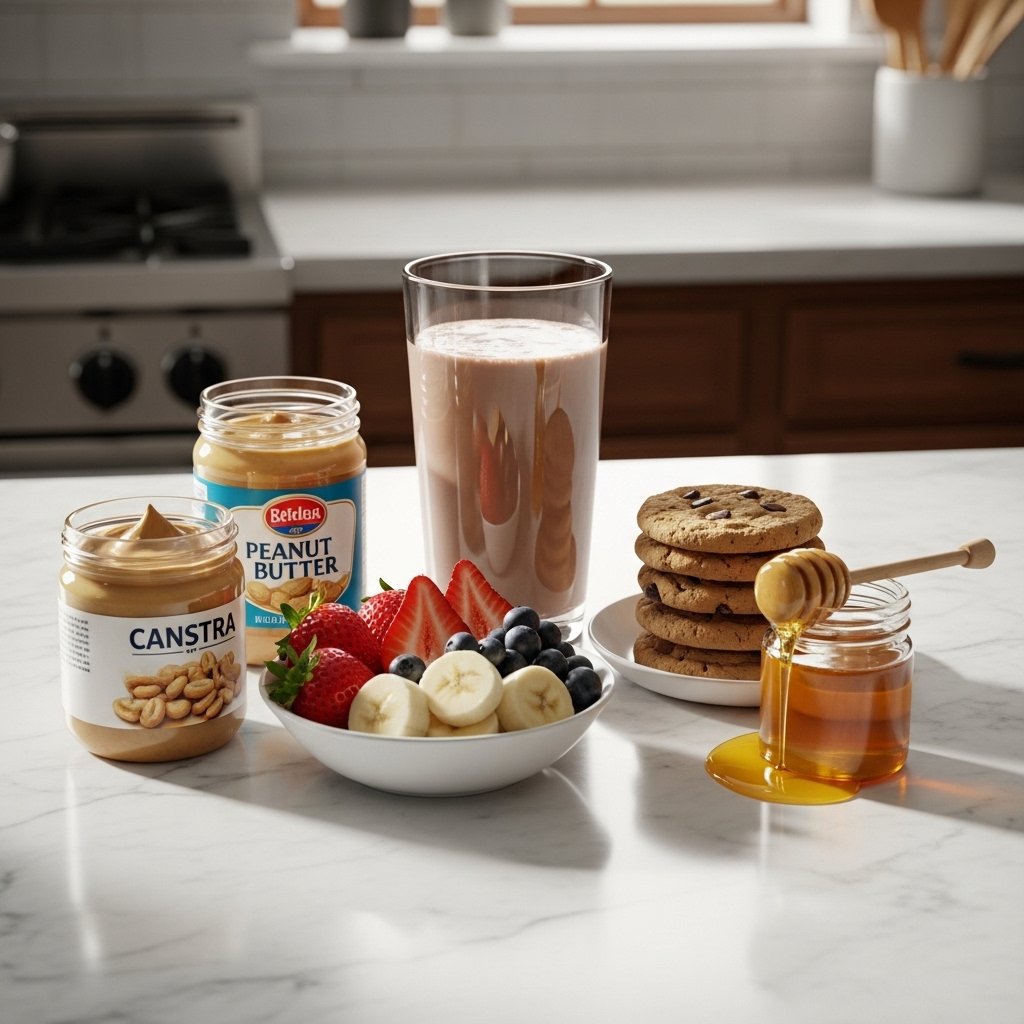
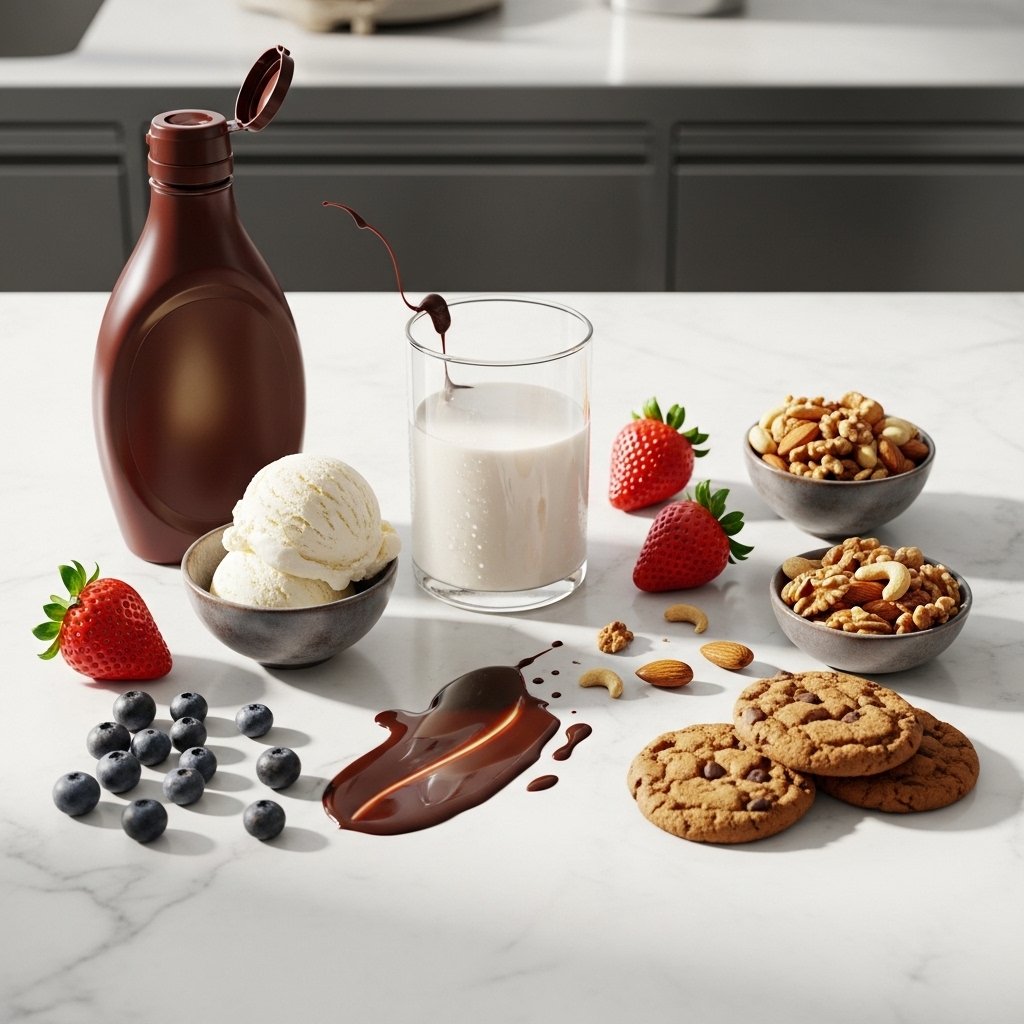
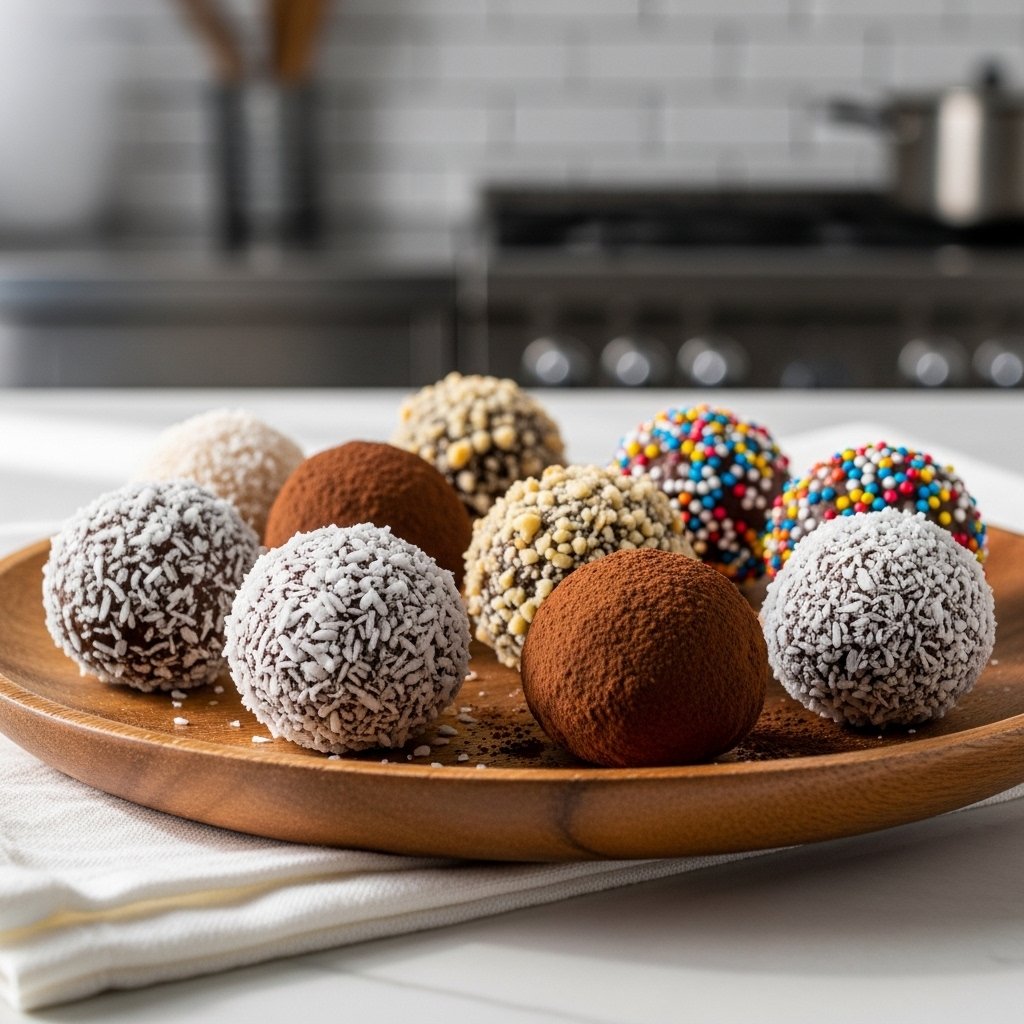
Variations and Flavor Ideas
One of the best things about no-bake chocolate balls is how versatile they are:
- Add peanut butter for a creamy twist
- Mix in chopped nuts for crunch
- Use white chocolate instead of cocoa
- Add espresso powder for a mocha flavor
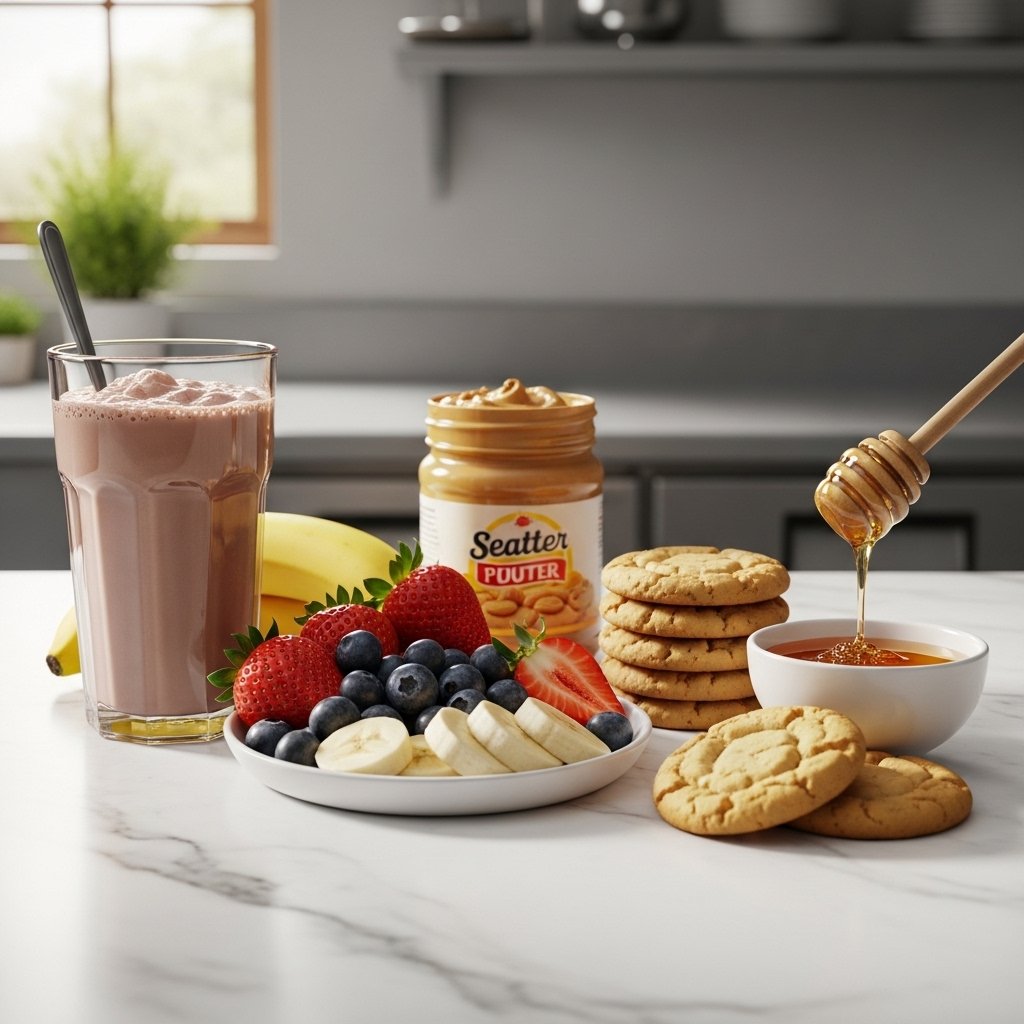
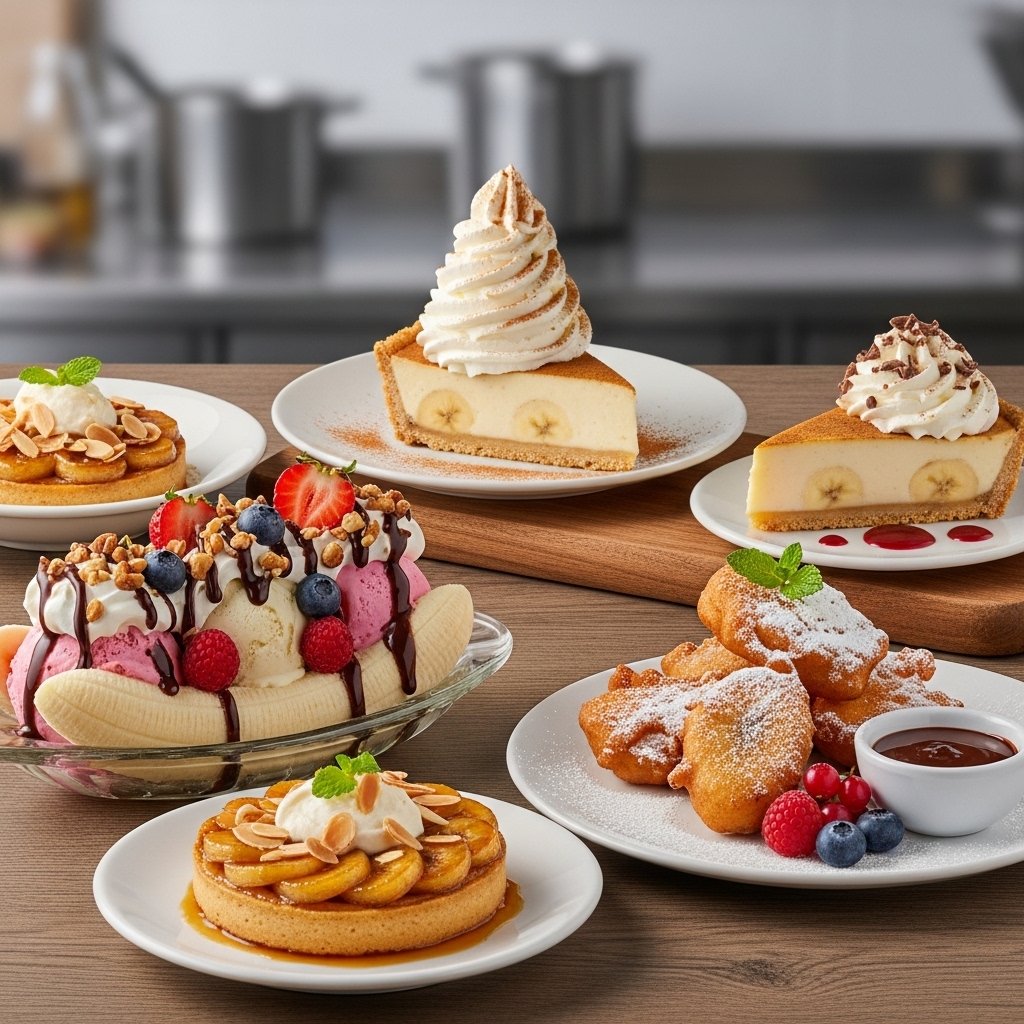
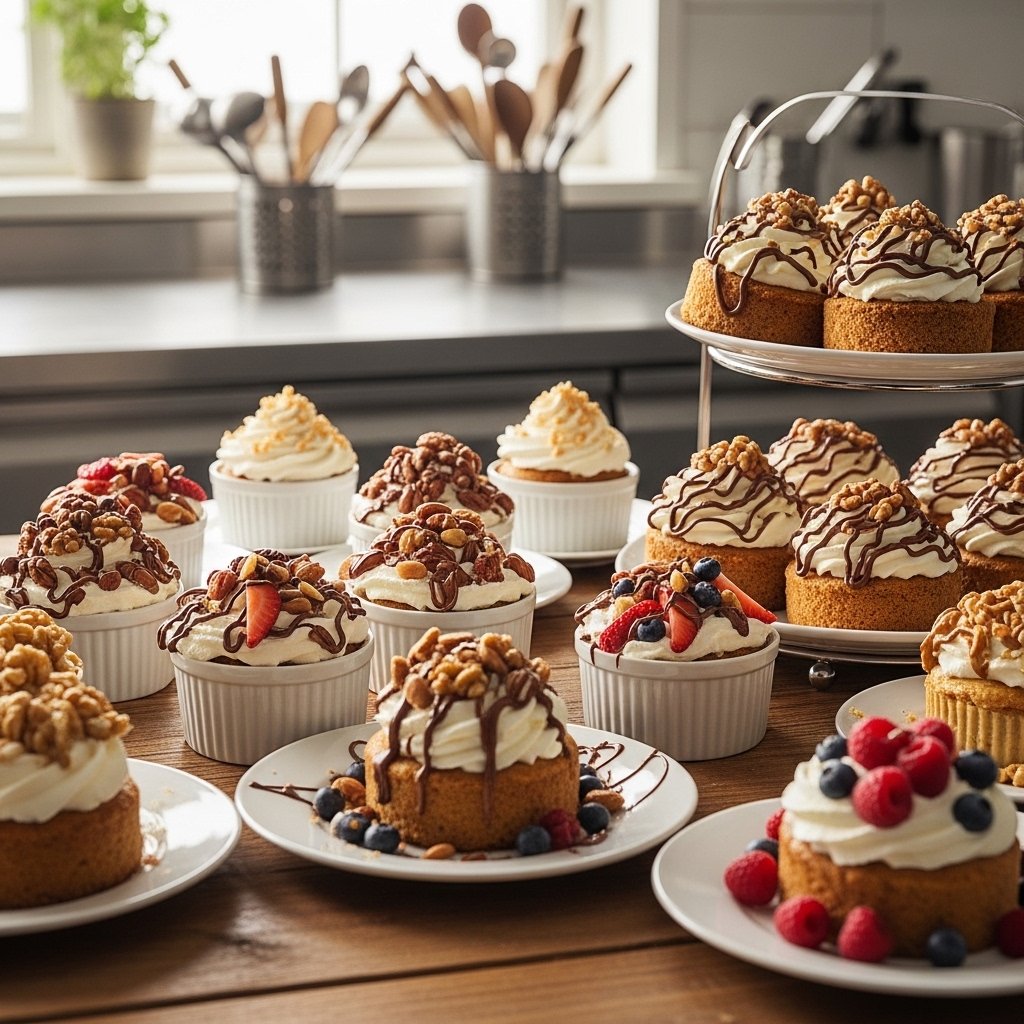
What to Serve With No-Bake Chocolate Balls
These no-bake chocolate balls pair wonderfully with:
- Coffee or espresso
- Milk or hot chocolate
- Fresh fruit
- Ice cream
They’re perfect for parties, dessert platters, or afternoon snacks.
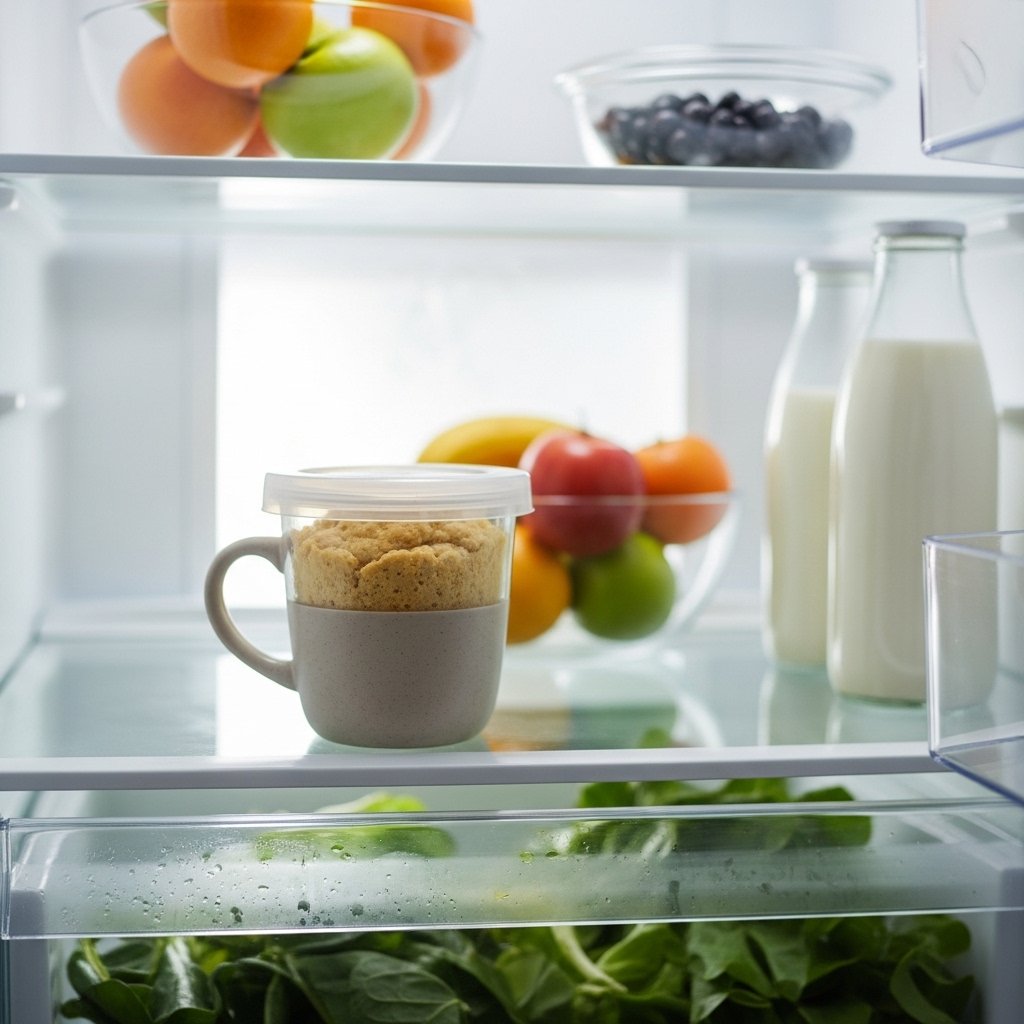
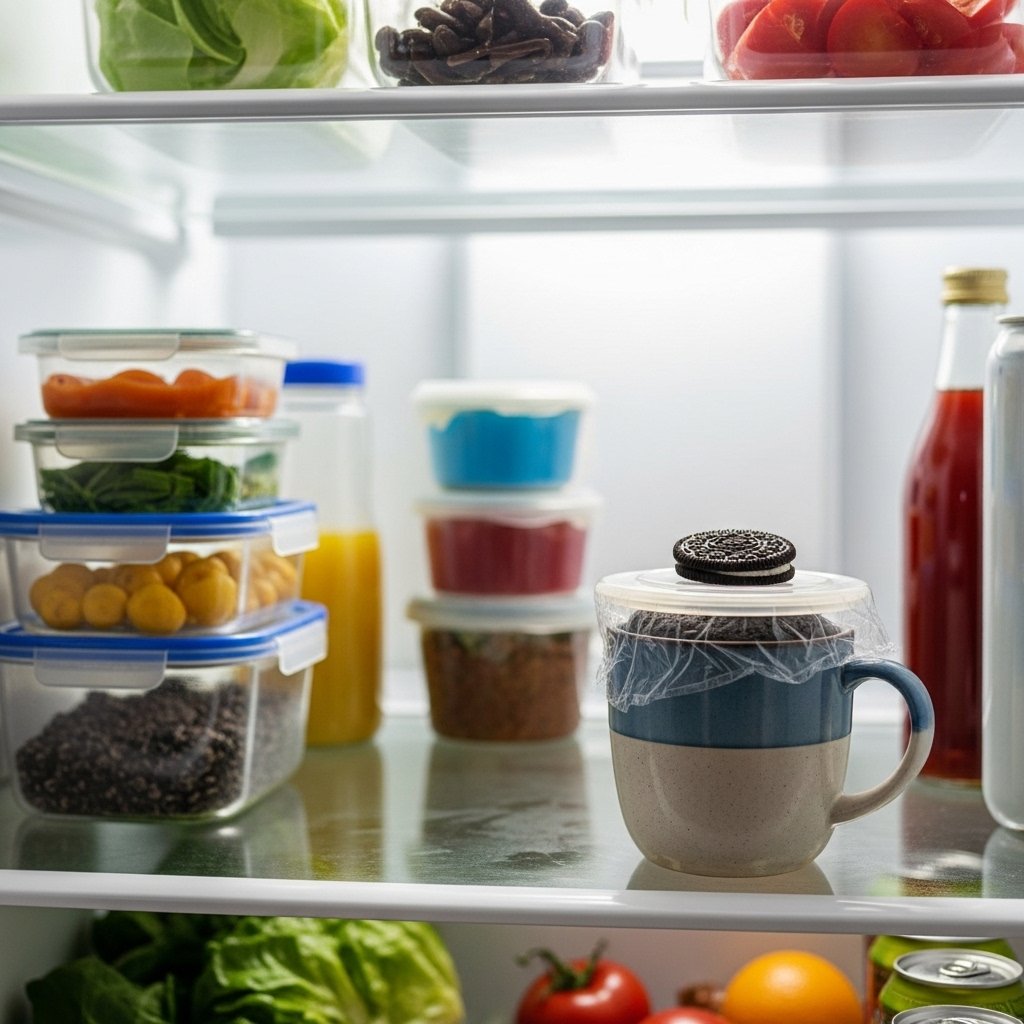
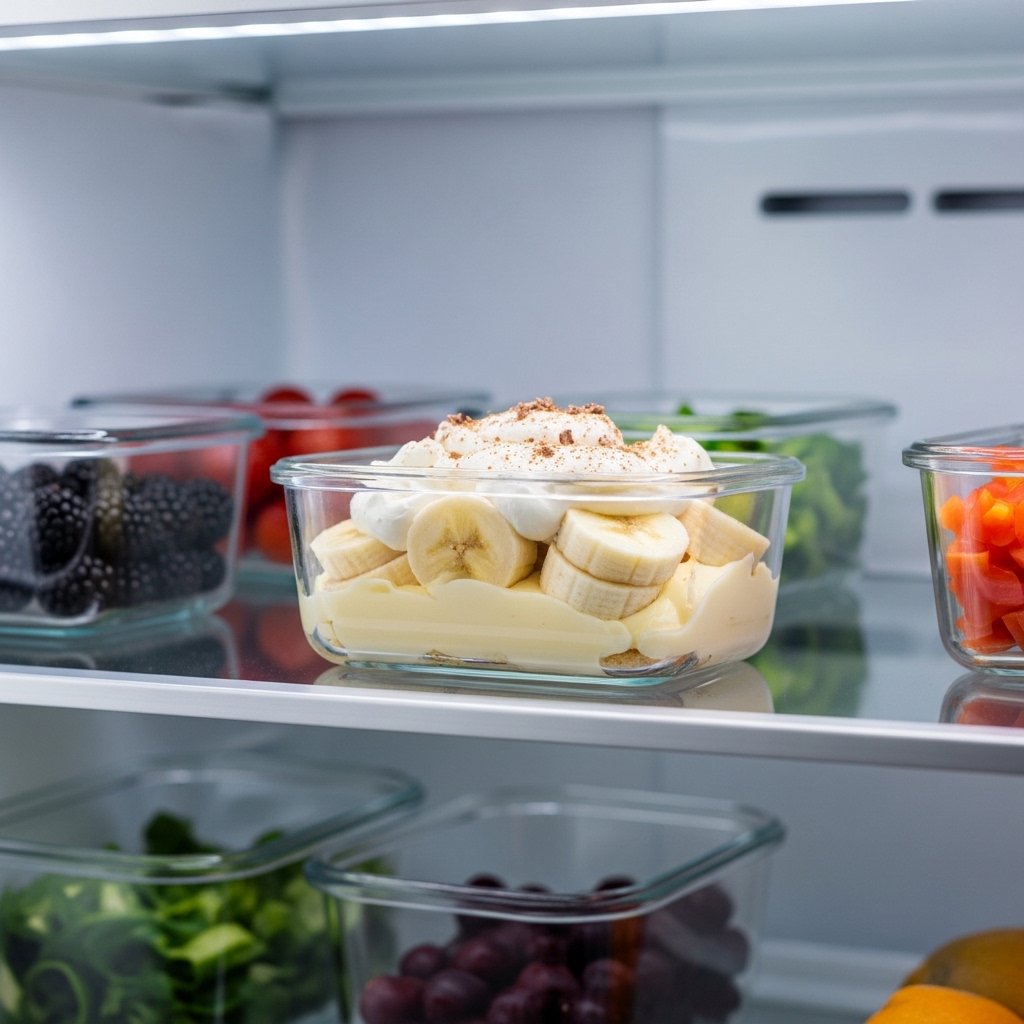
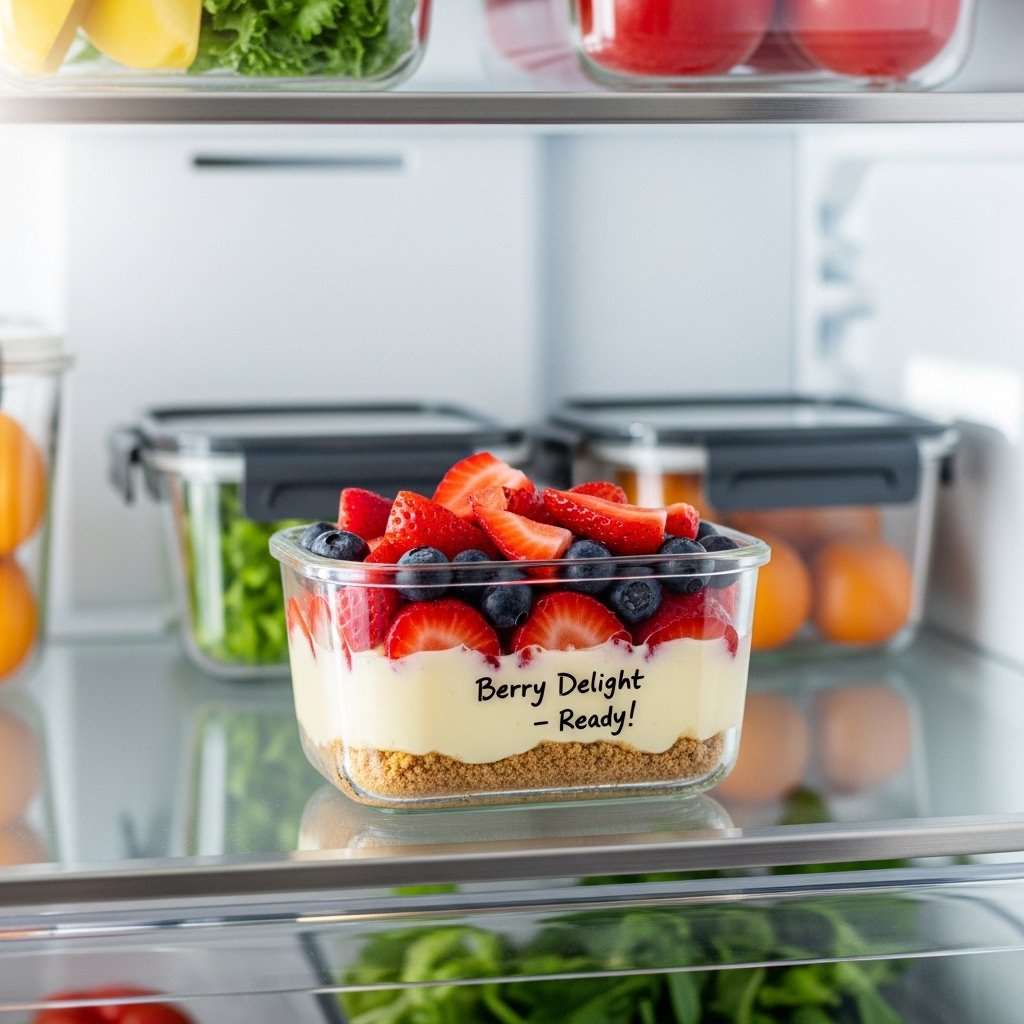
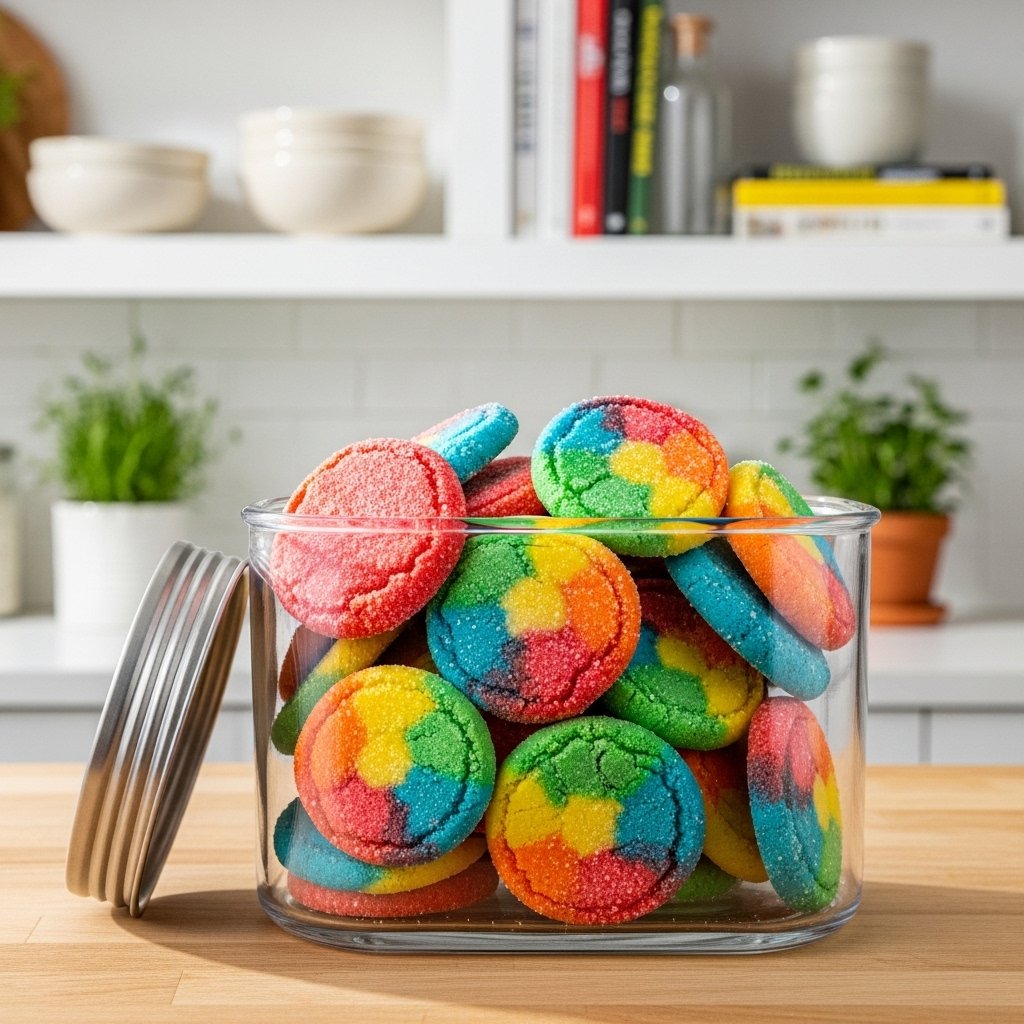
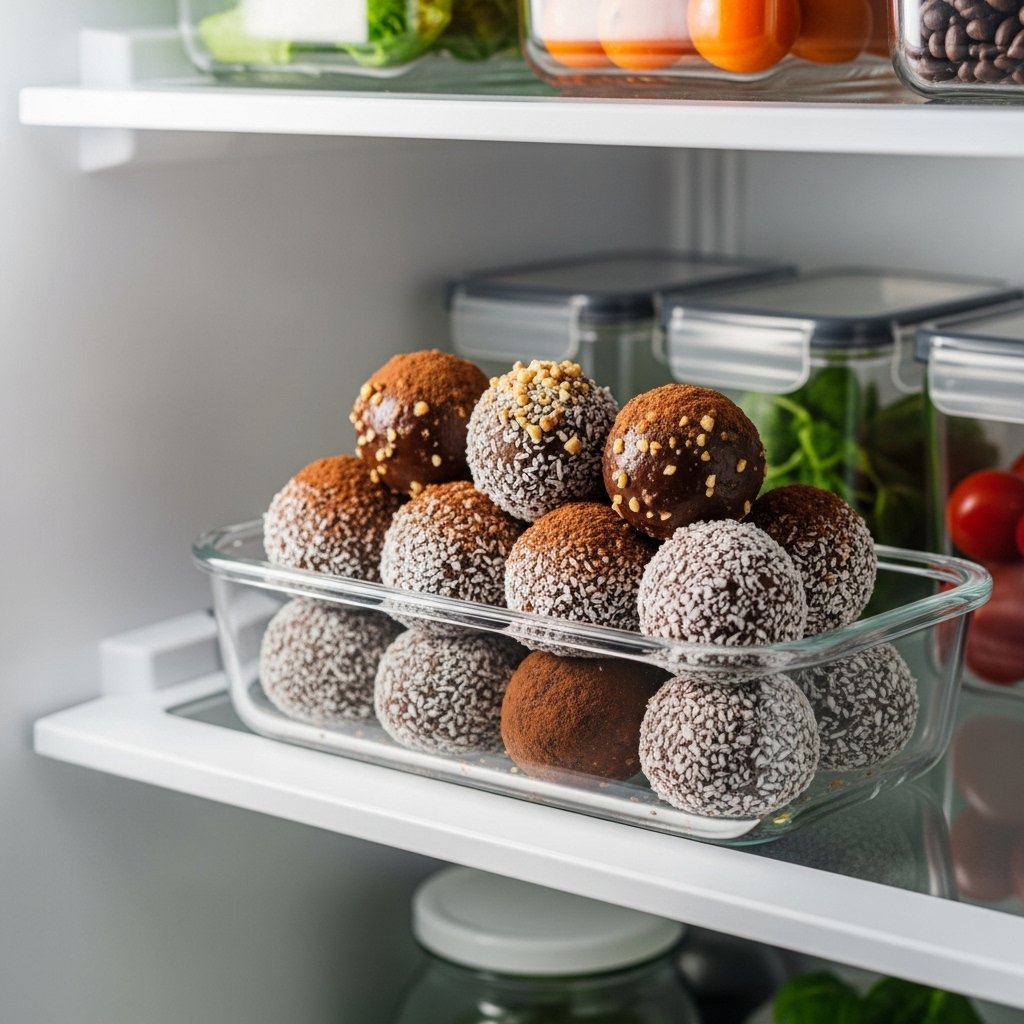
Storage & Reheating Tips
These no-bake chocolate balls store beautifully:
- Keep in an airtight container in the fridge for up to 1 week
- Freeze for up to 2 months
- No reheating needed—serve chilled or at room temperature
Common Mistakes to Avoid
When making no-bake chocolate balls, avoid:
- Using too much liquid (makes mixture too soft)
- Not chilling before serving
- Skipping coating for texture
- Making uneven sizes
Avoiding these mistakes ensures perfect texture and flavor.
FAQs
Can I make no-bake chocolate balls without condensed milk?
Yes! You can use honey, maple syrup, or nut butter as a substitute.
How do I fix a sticky mixture?
Add more crushed biscuits or chill the mixture before rolling.
Can I make them healthier?
Absolutely—use oats, natural sweeteners, and dark chocolate.
Do they need to be refrigerated?
Yes, refrigeration helps them hold their shape and stay fresh.
Final Thoughts
These no-bake chocolate balls are the ultimate easy dessert—quick to make, incredibly delicious, and endlessly customizable. Whether you’re preparing a snack for yourself or a treat for guests, this recipe is guaranteed to impress.
With minimal effort and maximum flavor, it’s no wonder these chocolate bites are a go-to favorite. Try them once, and you’ll find yourself making these no-bake chocolate balls again and again!