Let’s be real—after a long day, the last thing anyone wants is to spend hours in the kitchen. That’s where these 15-minute dinners come in. They’re fast, flavorful, and designed to make your evenings easier without sacrificing taste or quality.
Whether you’re juggling work, family, or just want something quick and satisfying, these 15-minute dinners are the perfect solution. With smart ingredient choices and simple cooking techniques, you can have a homemade meal on the table in no time.

Why You’ll Love These 15-Minute Dinners
There are so many reasons to rely on 15-minute dinners:
- Perfect for busy schedules
- Minimal prep and cleanup
- Budget-friendly ingredients
- Family-friendly meals
- Endless variety
These meals prove that fast food can still be homemade and healthy.
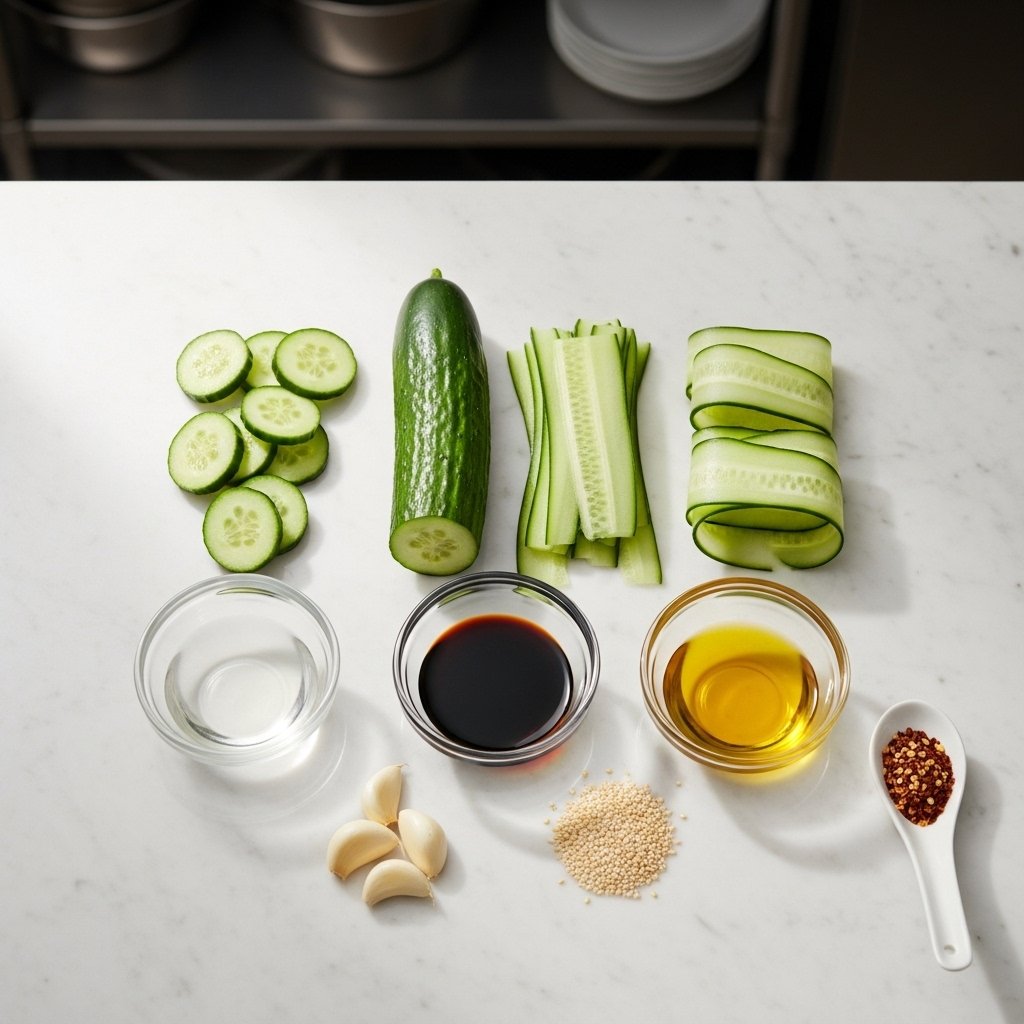
Essential Ingredients for 15-Minute Dinners
To make the most of 15-minute dinners, keep these staples on hand:
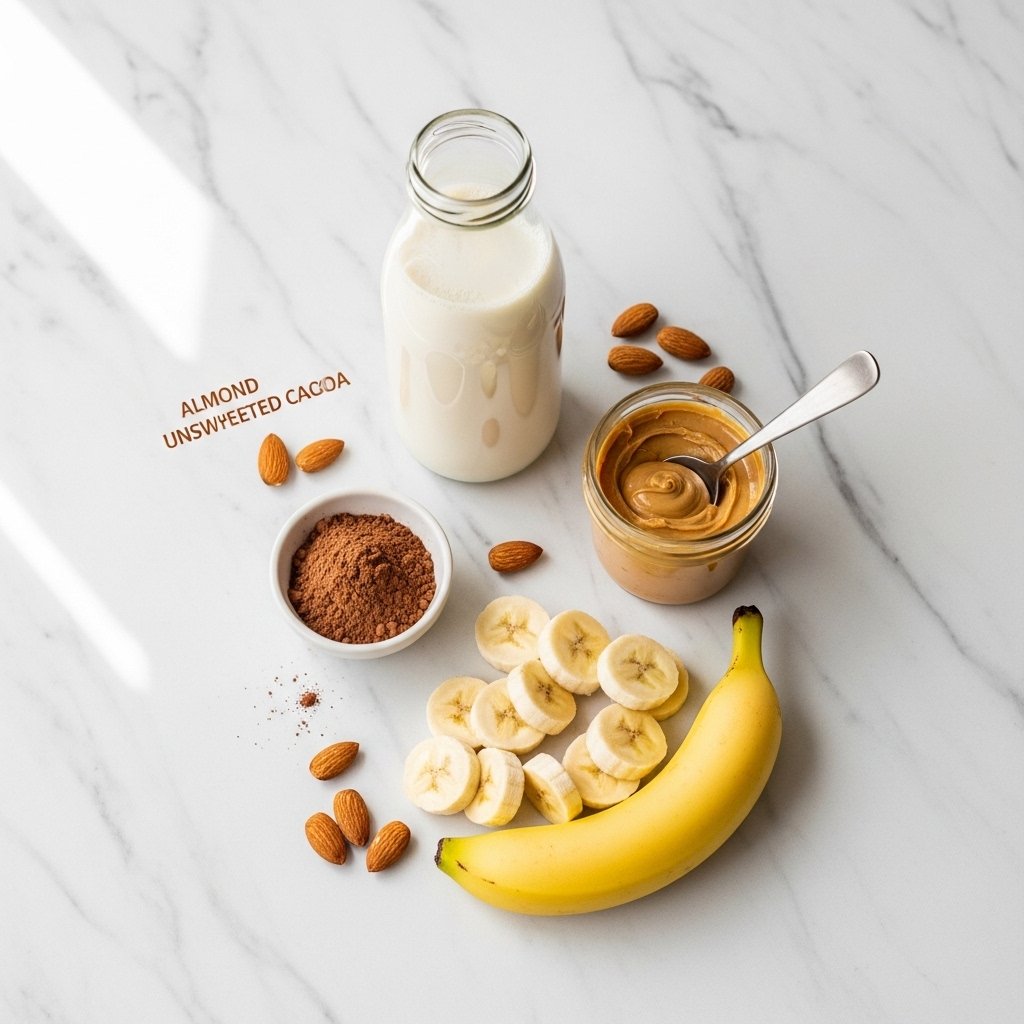
- Pre-cooked proteins (chicken, shrimp, tofu)
- Fresh or frozen vegetables
- Quick-cooking grains (rice, quinoa)
- Pasta
- Sauces (soy sauce, garlic sauce, marinara)
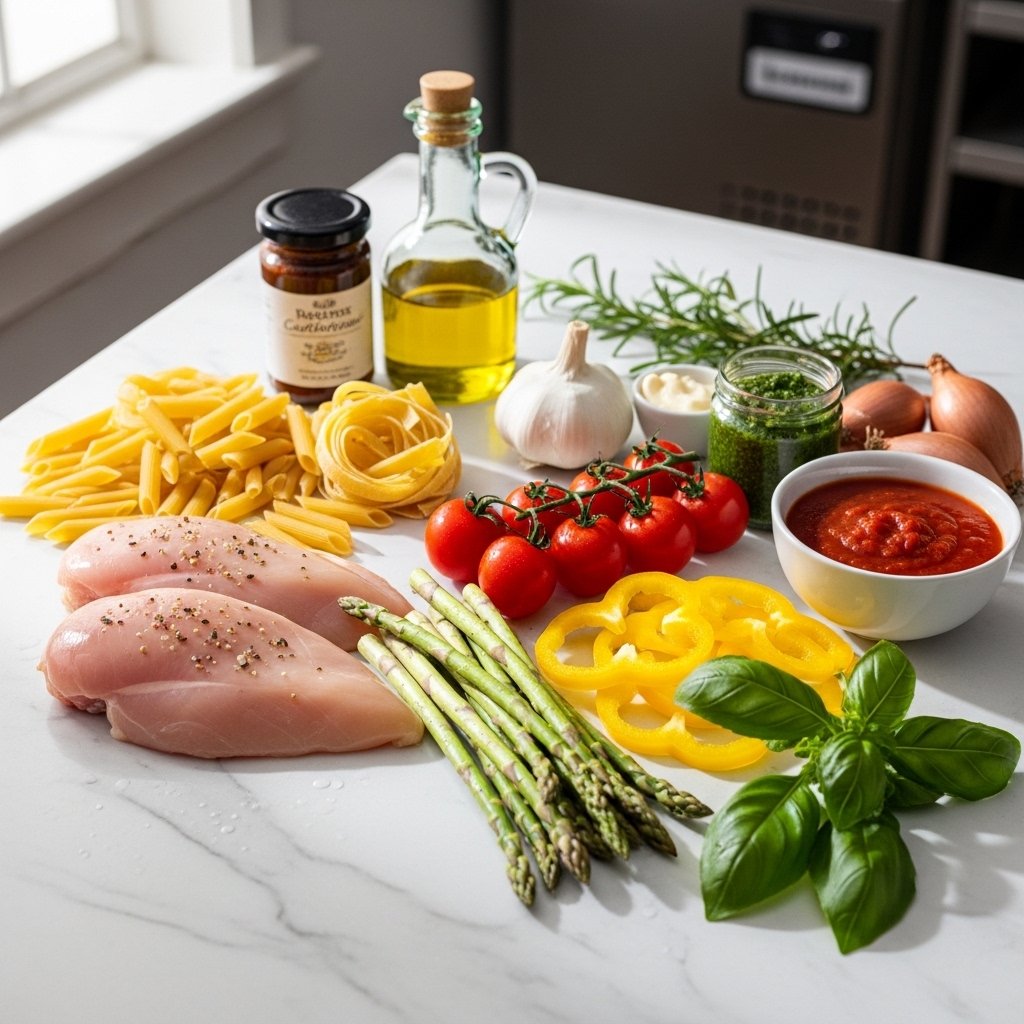
Ingredient Notes
The secret to successful 15-minute dinners is preparation. Using pre-cut veggies or leftover proteins can cut cooking time in half. Pantry staples like sauces and spices help you build flavor quickly without complicated steps.
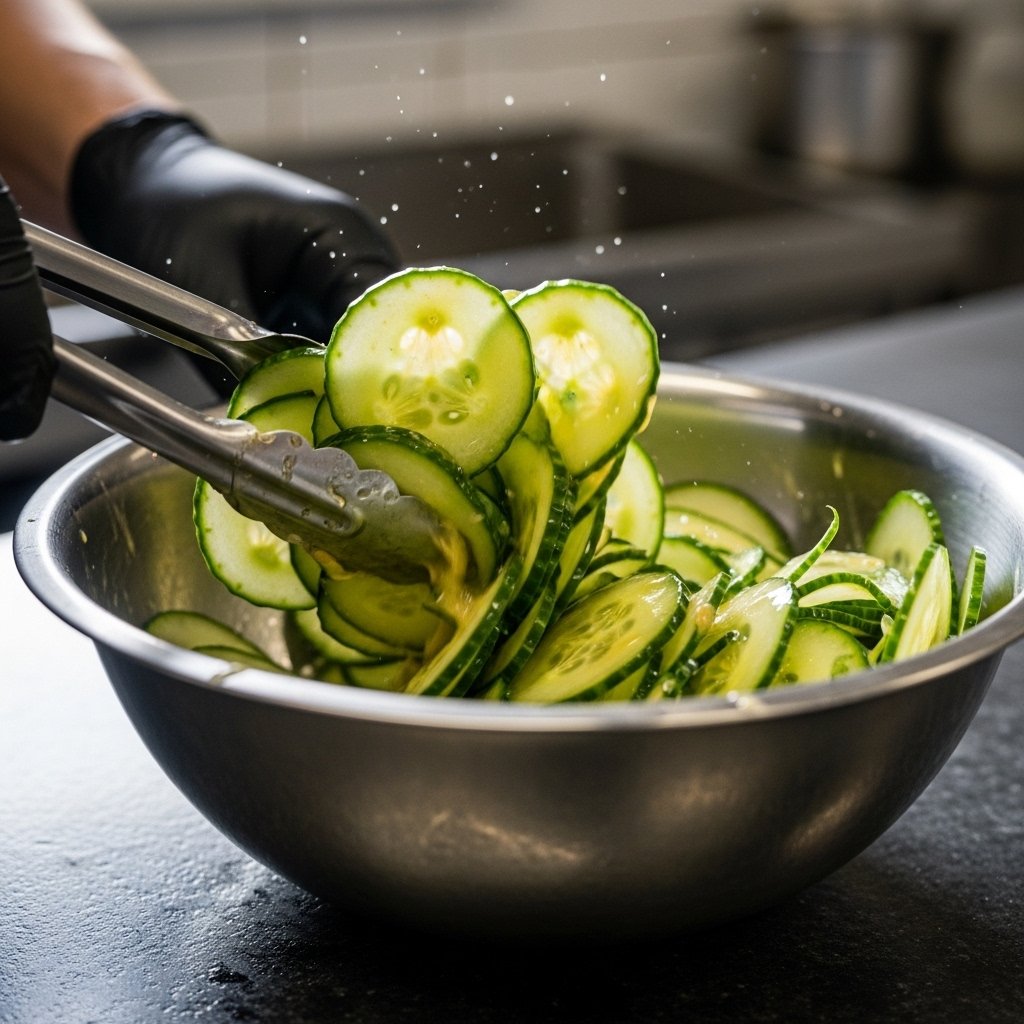
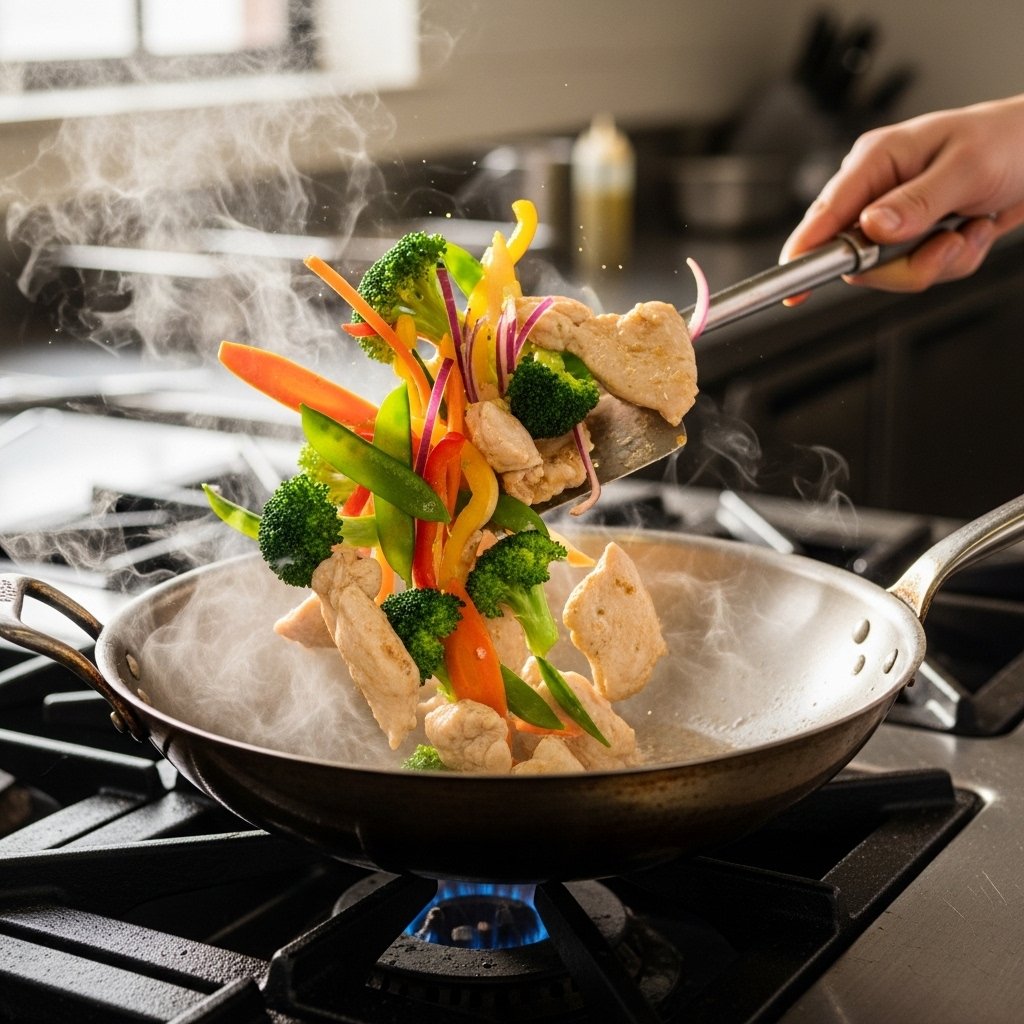
Step-by-Step: How to Build a 15-Minute Dinner
Simple Formula for Quick Meals
- Choose a protein (chicken, shrimp, eggs)
- Add vegetables
- Pick a base (rice, pasta, or bread)
- Add sauce or seasoning
- Cook quickly over high heat
This formula helps you create endless 15-minute dinners with ease.
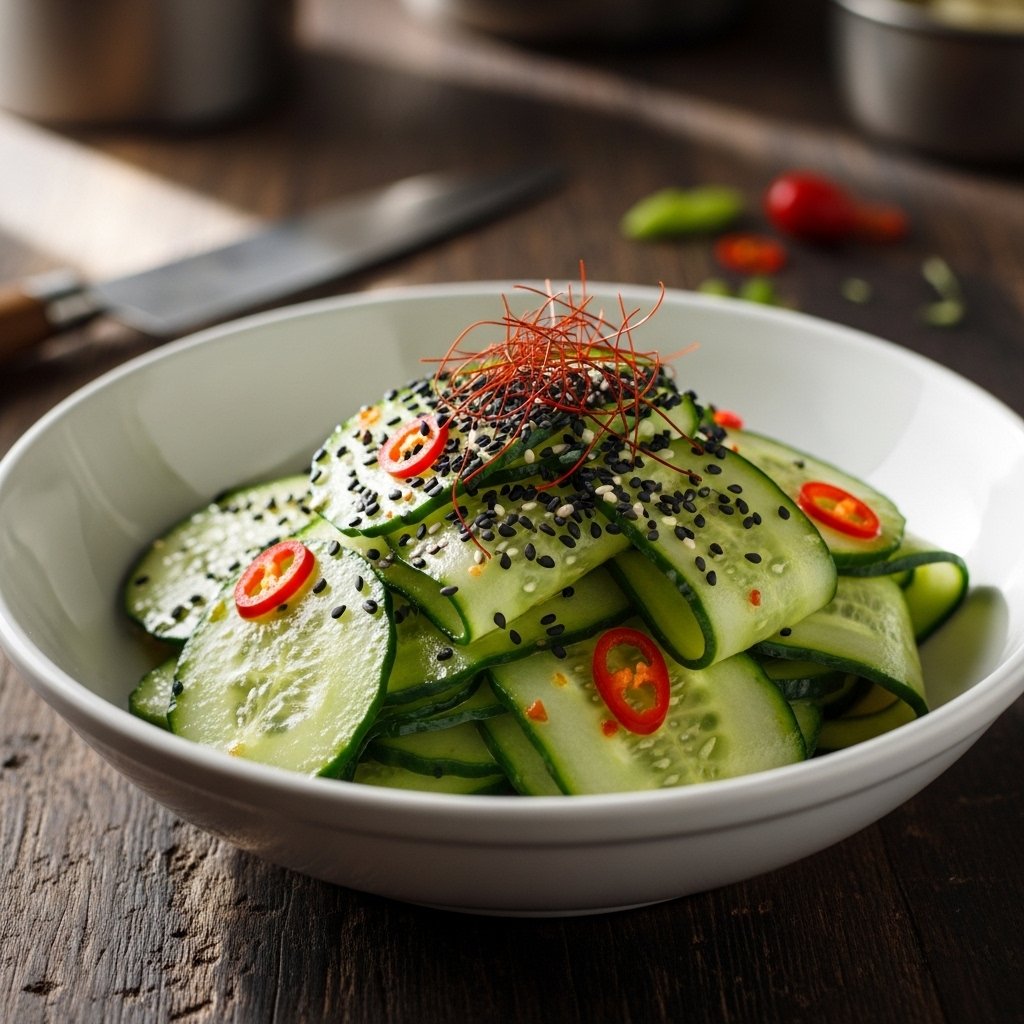
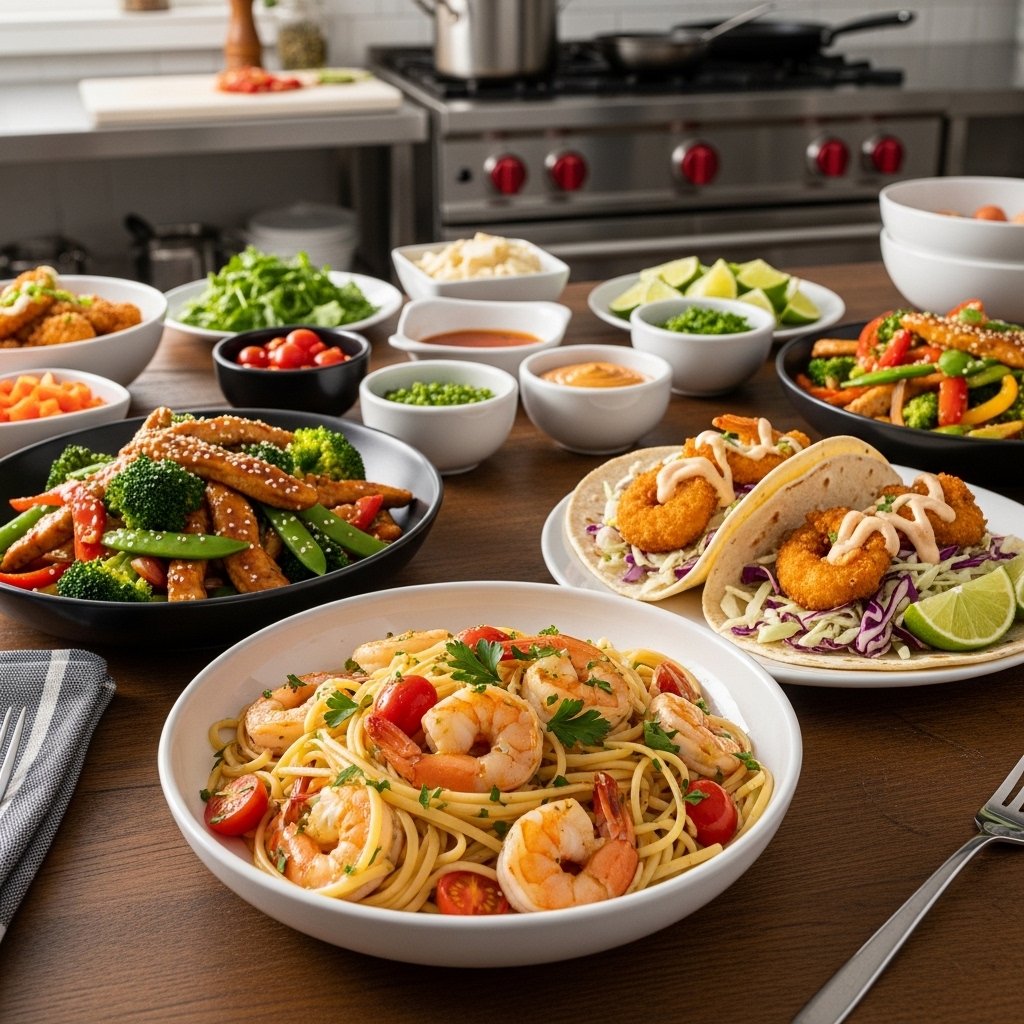
Popular 15-Minute Dinner Ideas
Here are some easy 15-minute dinners to try:
- Garlic butter shrimp with rice
- Chicken stir-fry
- Creamy pasta with spinach
- Tacos with pre-cooked meat
- Egg fried rice
These dishes are quick, delicious, and satisfying.
Tips for Perfect Results
To master 15-minute dinners, follow these tips:
- Prep ingredients before cooking
- Use high heat for faster cooking
- Keep recipes simple
- Don’t overcrowd the pan
These strategies ensure speed and flavor every time.
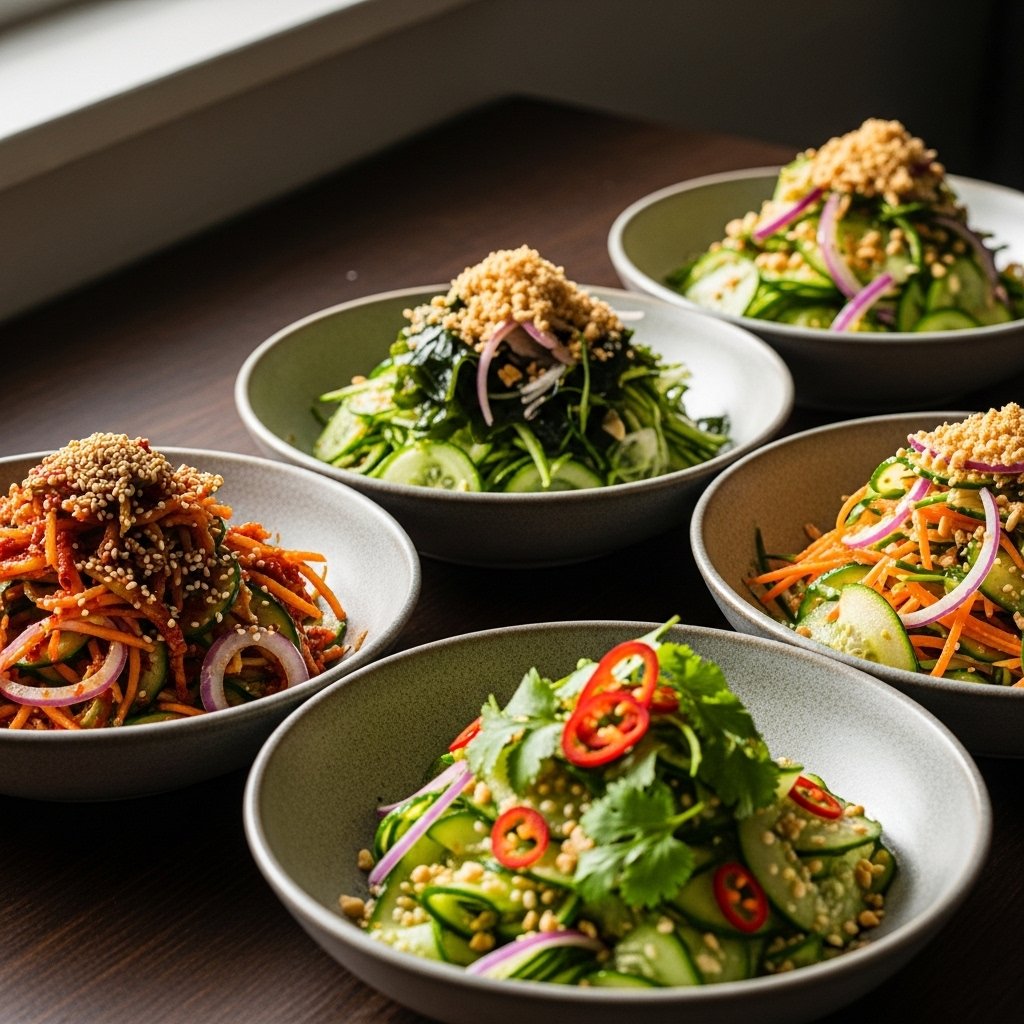
Variations and Customization
One of the best things about 15-minute dinners is flexibility:
- Swap proteins based on preference
- Use seasonal vegetables
- Adjust spice levels
- Try different sauces for variety
This keeps your meals exciting and never boring.
What to Serve With 15-Minute Dinners
Pair your 15-minute dinners with:
- Simple salads
- Bread or rolls
- Fresh fruit
- Light soups
These sides complete your meal without adding much time.
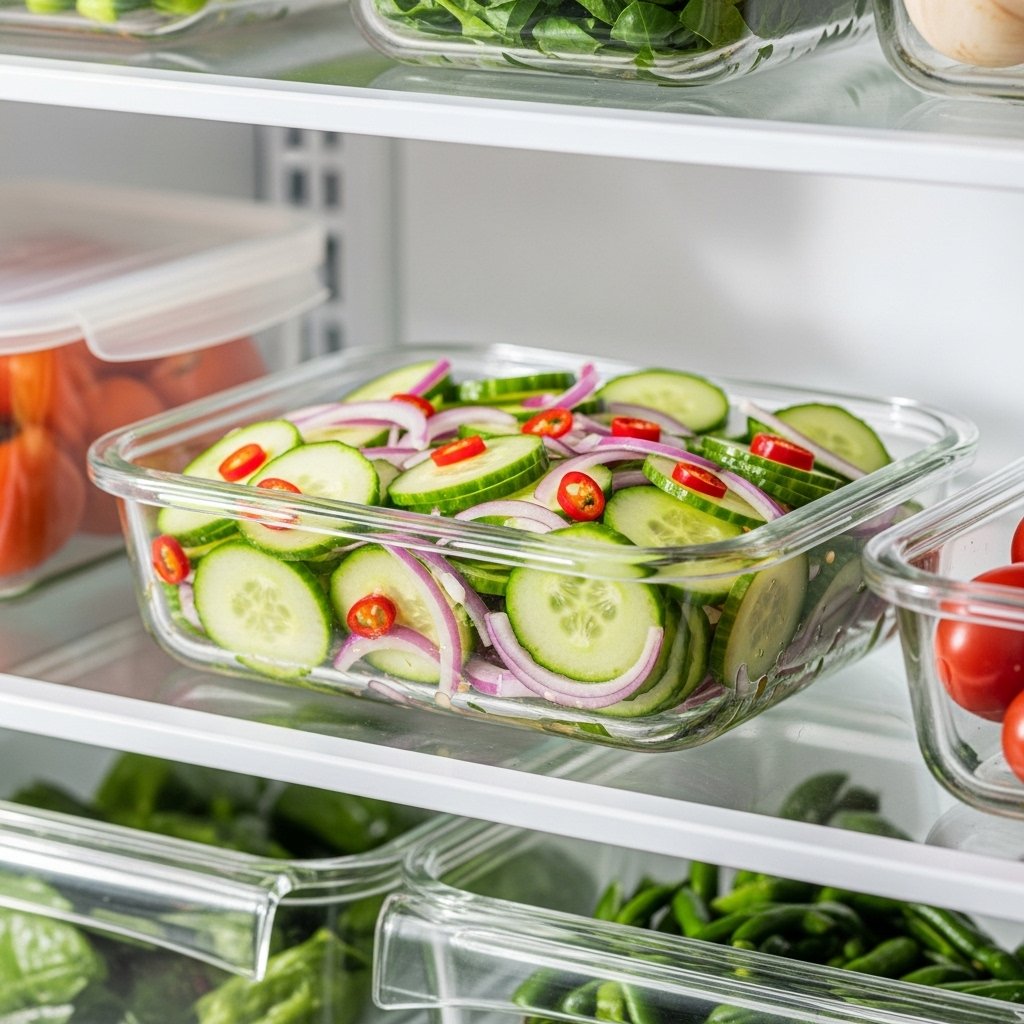
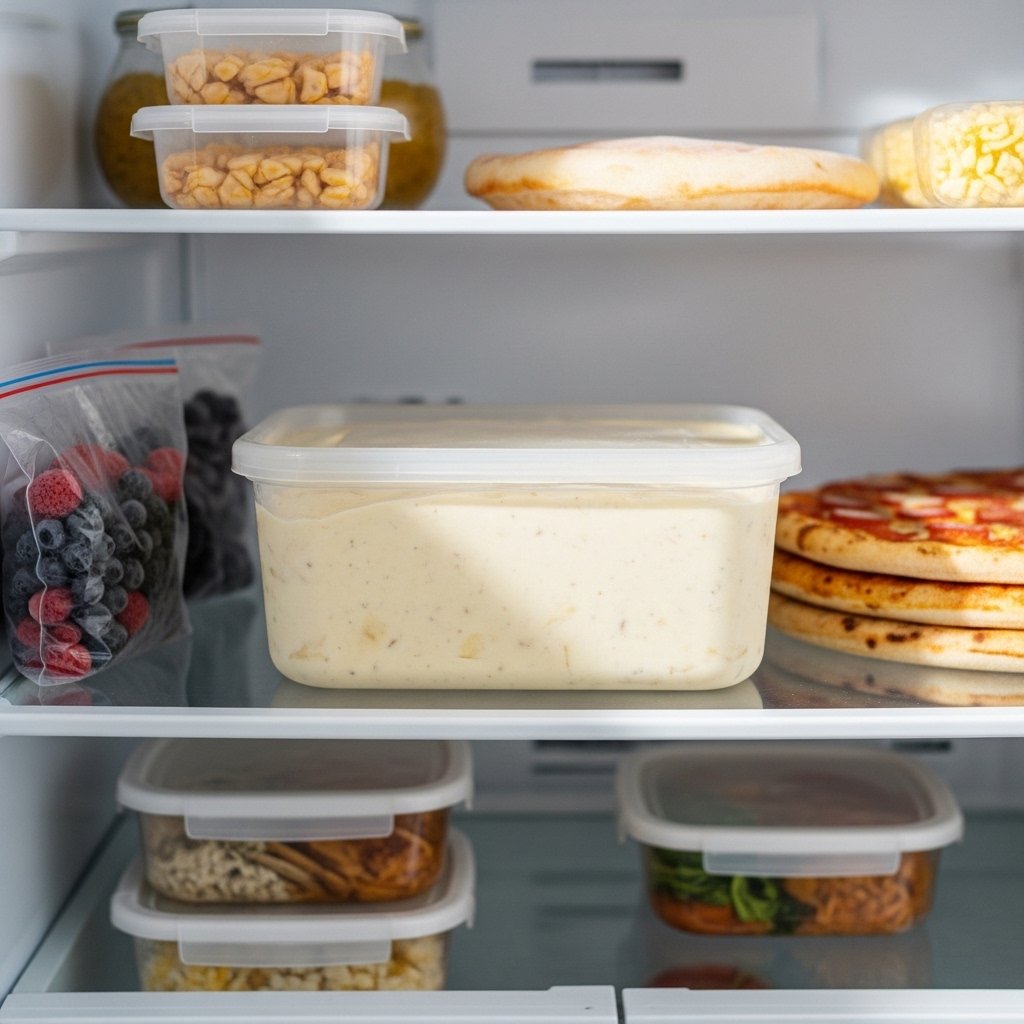
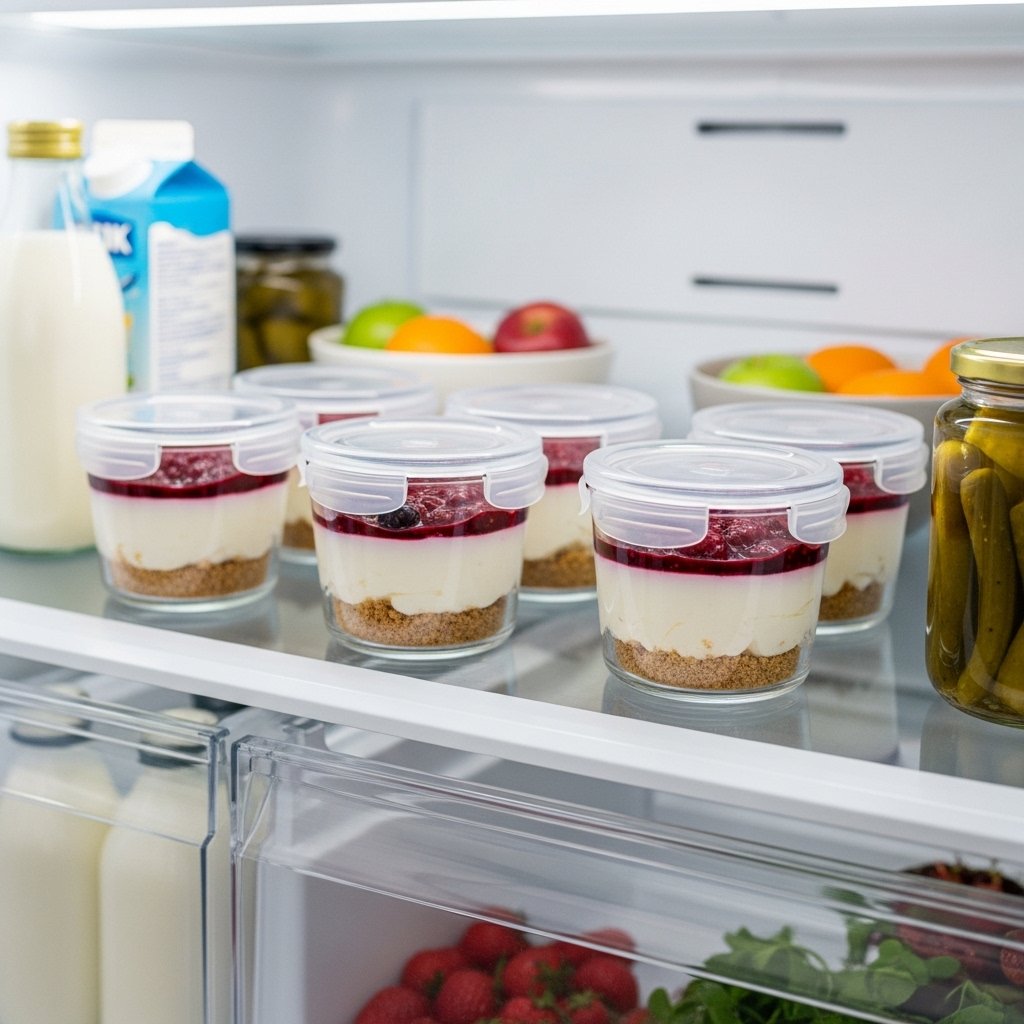
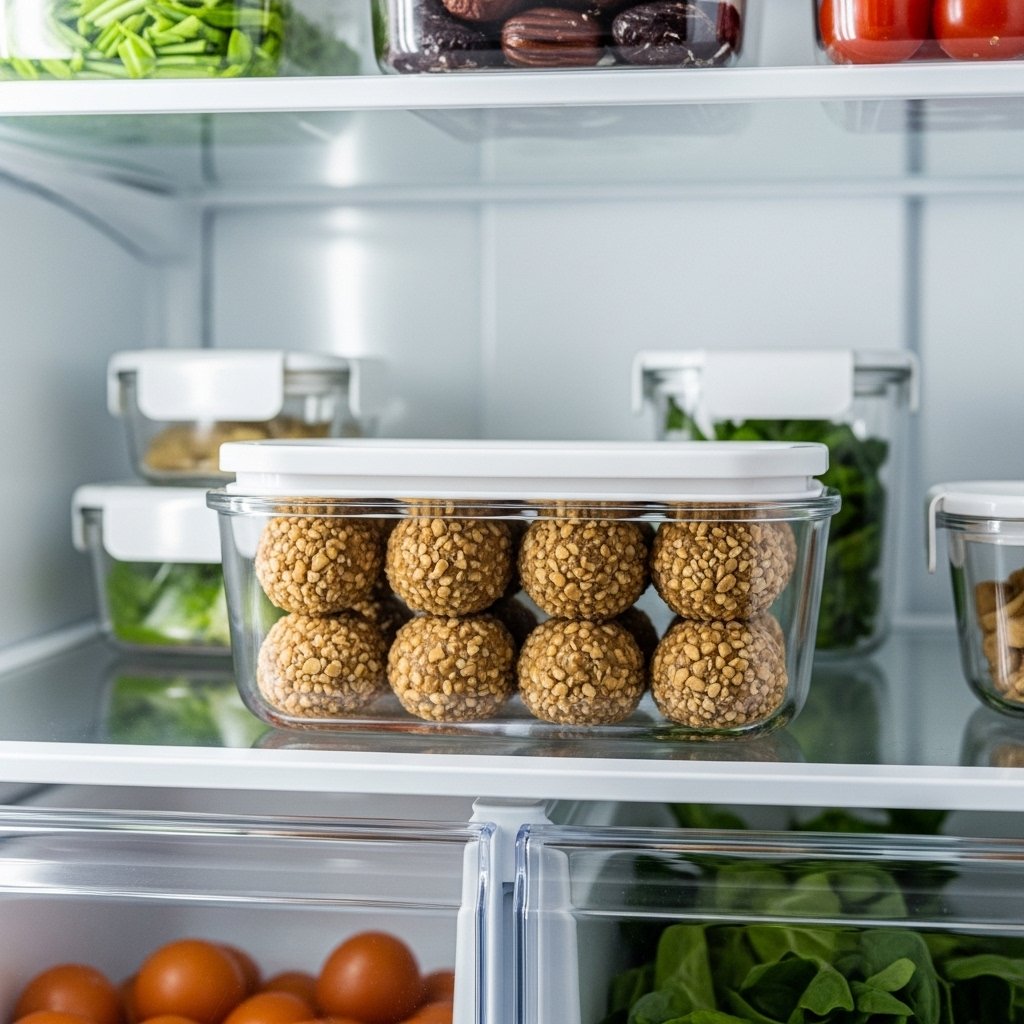
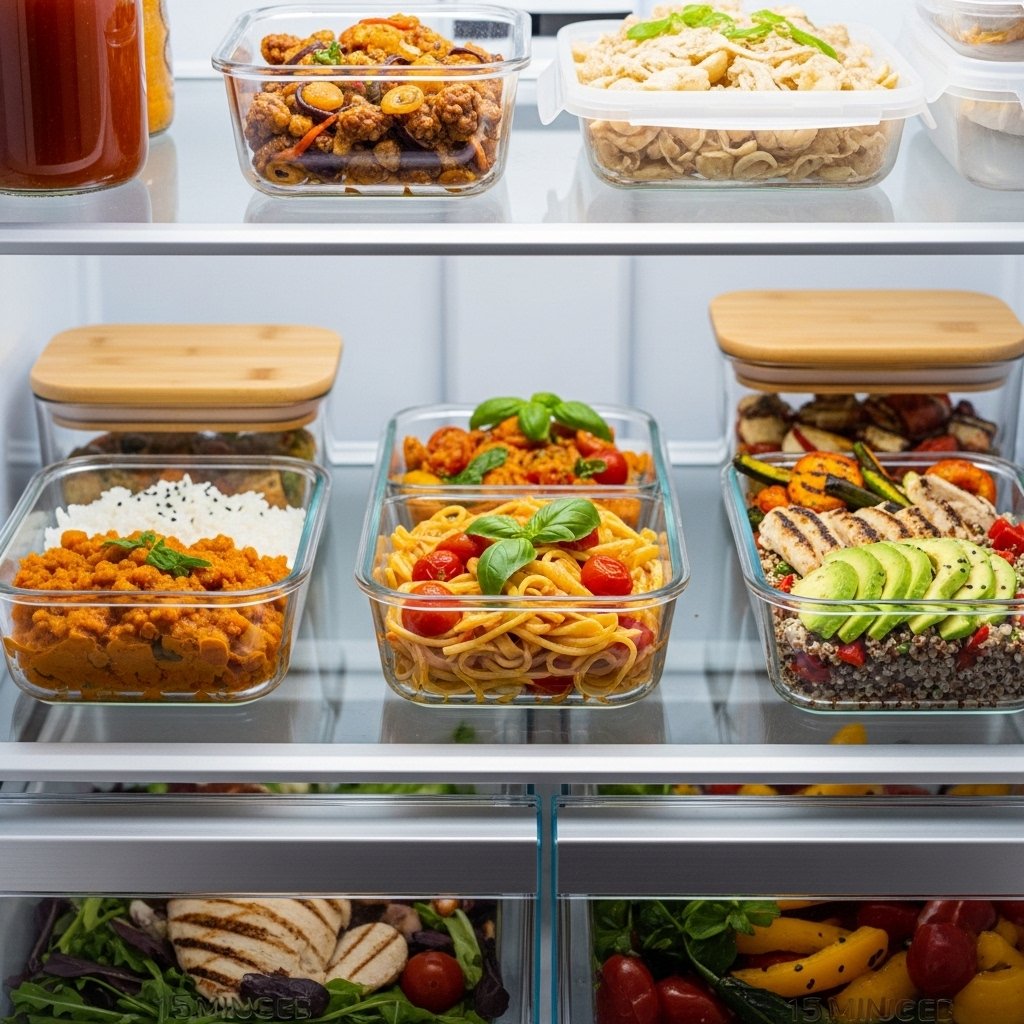
Storage & Reheating Tips
For leftovers from your 15-minute dinners:
- Store in airtight containers
- Refrigerate for up to 3 days
- Reheat in a pan or microwave
Common Mistakes to Avoid
When making 15-minute dinners, avoid:
- Overcomplicating recipes
- Not prepping ingredients first
- Cooking at low heat
- Using too many ingredients
Keeping it simple is the key to success.
FAQs
Are 15-minute dinners healthy?
Yes! They can be very healthy with balanced ingredients.
Can I meal prep 15-minute dinners?
Absolutely—prep ingredients in advance for even faster cooking.
What’s the best protein for quick meals?
Shrimp, eggs, and pre-cooked chicken are great options.
Can beginners make these recipes?
Yes! These meals are perfect for all skill levels.
Final Thoughts
These 15-minute dinners are a lifesaver for anyone with a busy schedule. They’re quick, easy, and packed with flavor, proving that you don’t need hours to create a delicious meal.
With a little planning and the right ingredients, you can enjoy homemade dinners every night—even on your busiest days. Once you start making these 15-minute dinners, you’ll wonder how you ever lived without them!