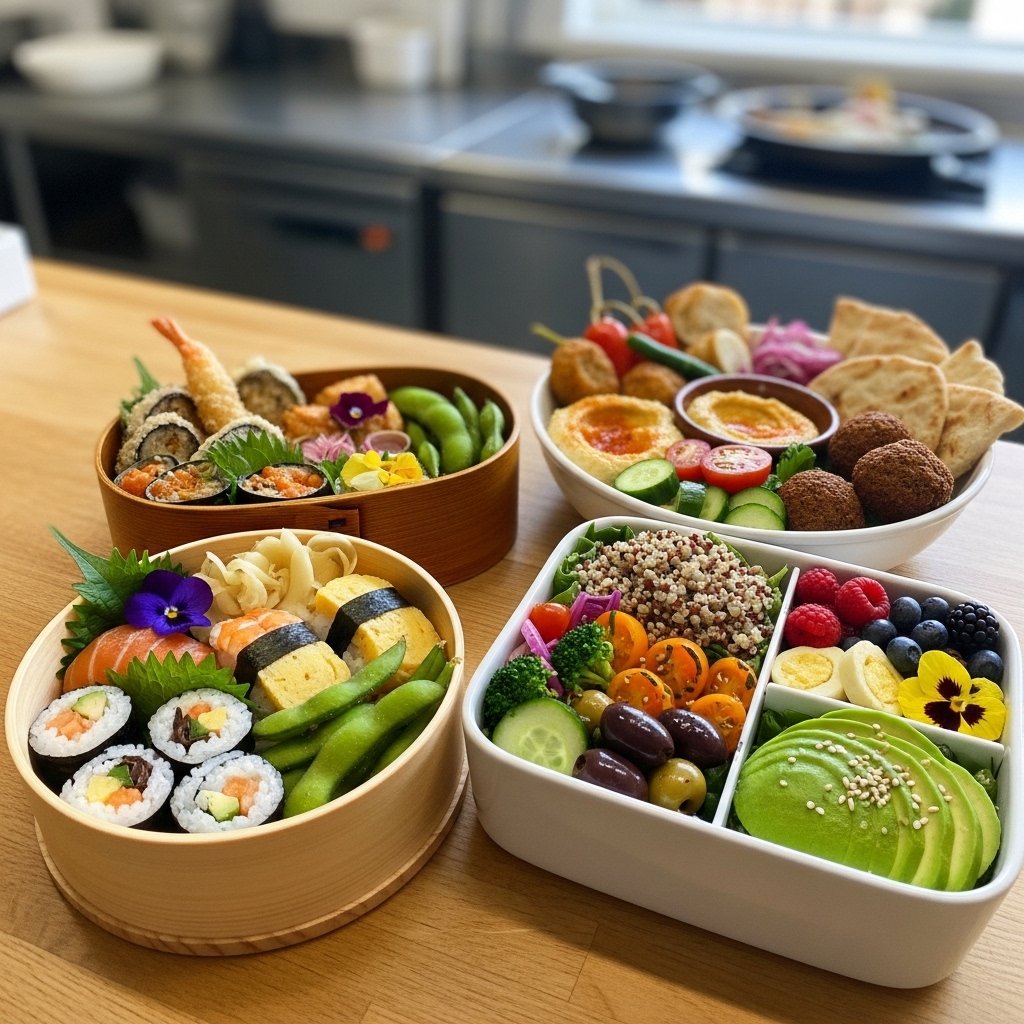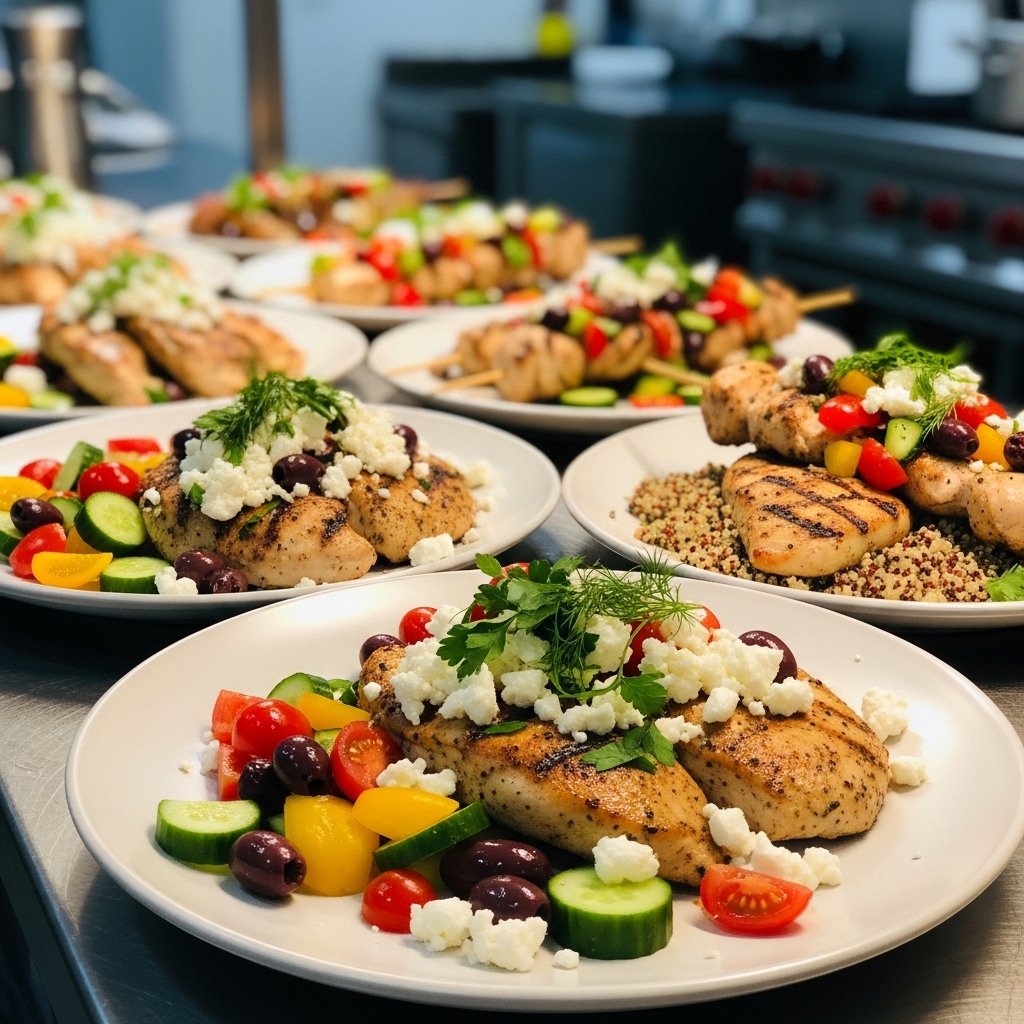
When it comes to midday meals, nothing beats the comfort and flavor of incredible homemade lunches. Whether you’re working from home, packing a lunchbox, or feeding a hungry family, having a lineup of easy and satisfying lunch ideas can completely transform your daily routine. Homemade lunches aren’t just healthier—they’re more affordable, customizable, and often far more delicious than takeout.
In this guide, I’m sharing everything you need to know to create incredible homemade lunches that are quick to prepare, packed with flavor, and perfect for any lifestyle. From wraps and bowls to hearty salads and warm comfort meals, these ideas will keep your lunches exciting all week long.
Why You’ll Love Incredible Homemade Lunches
There are so many reasons why switching to incredible homemade lunches is a game-changer. Not only do they save you money, but they also allow you to control ingredients and portion sizes while exploring flavors you truly enjoy.
Here’s why you’ll love them:
- Healthier than most takeout options
- Budget-friendly and cost-effective
- Easy to customize for dietary needs
- Perfect for meal prep and planning
- Endless variety to avoid boredom
Once you get into the habit, you’ll wonder how you ever relied on store-bought meals.
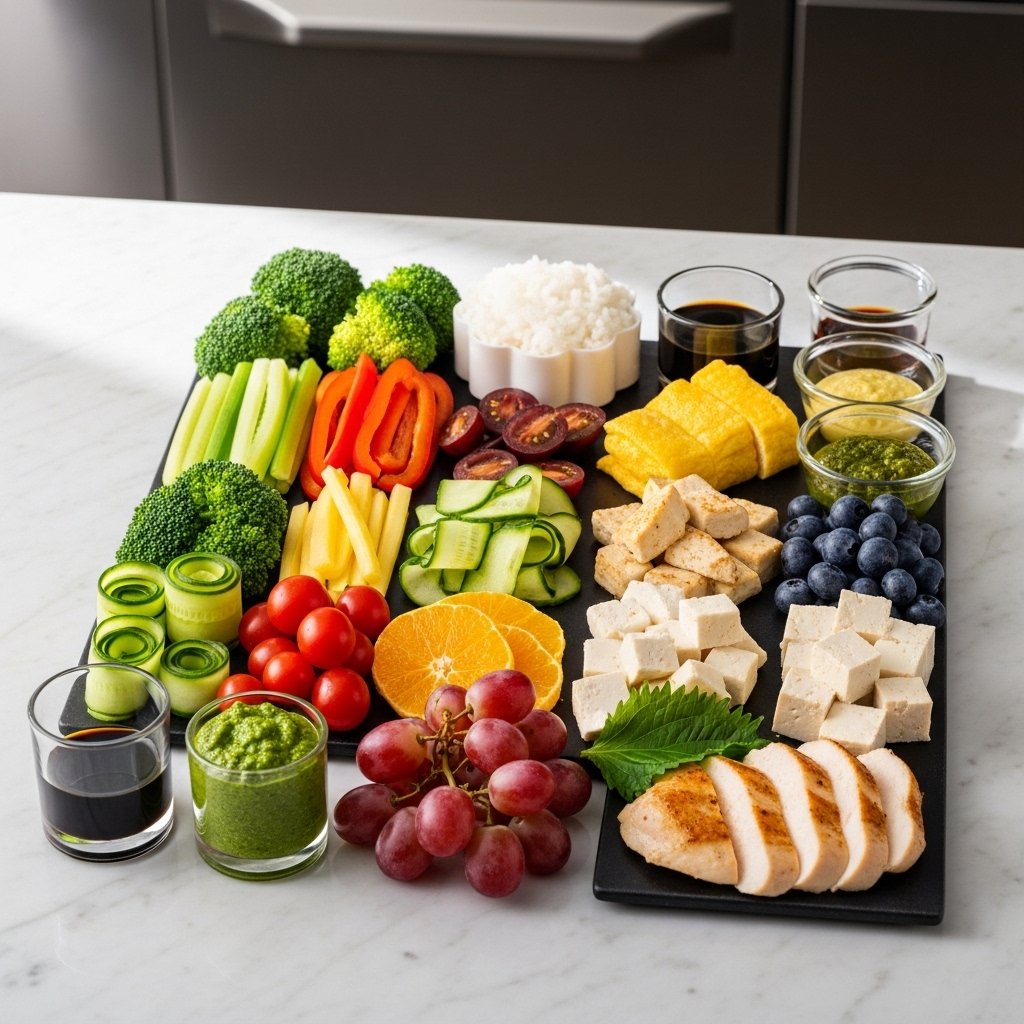
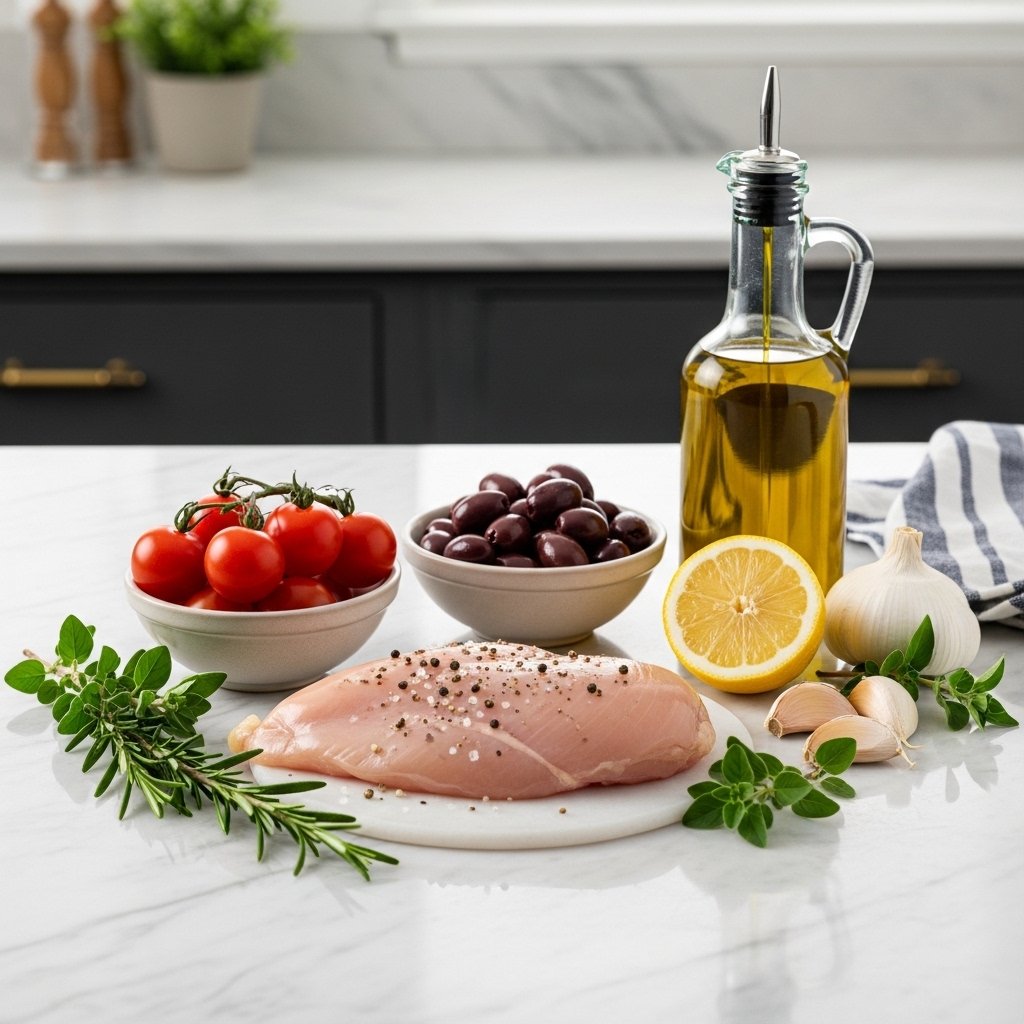
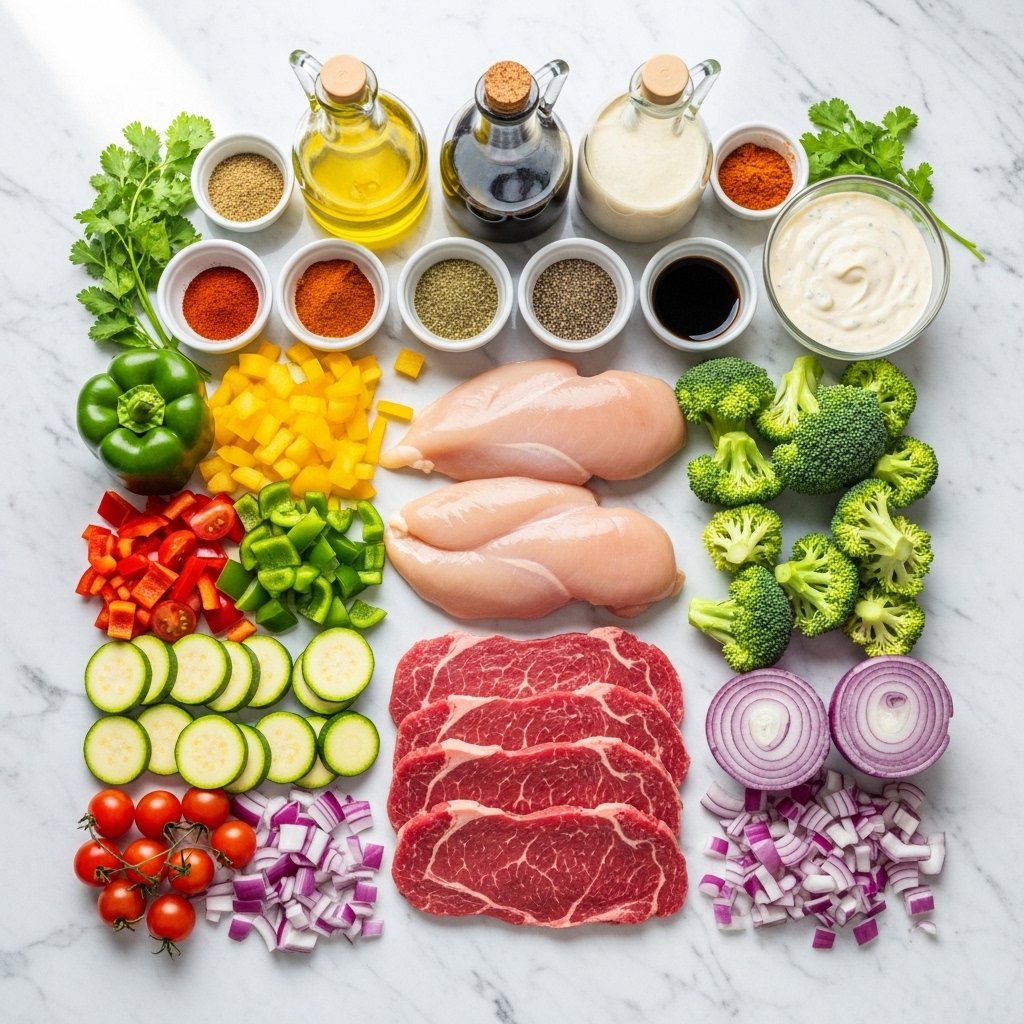
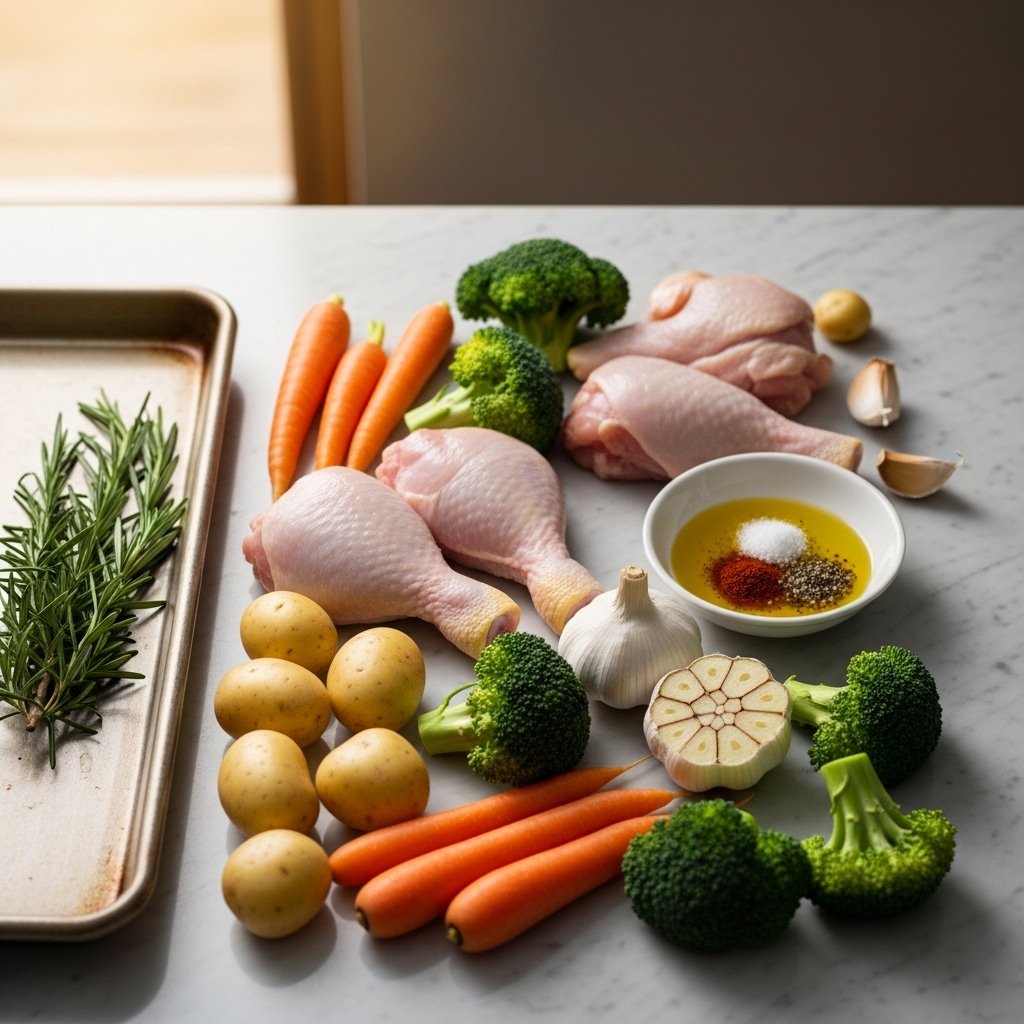
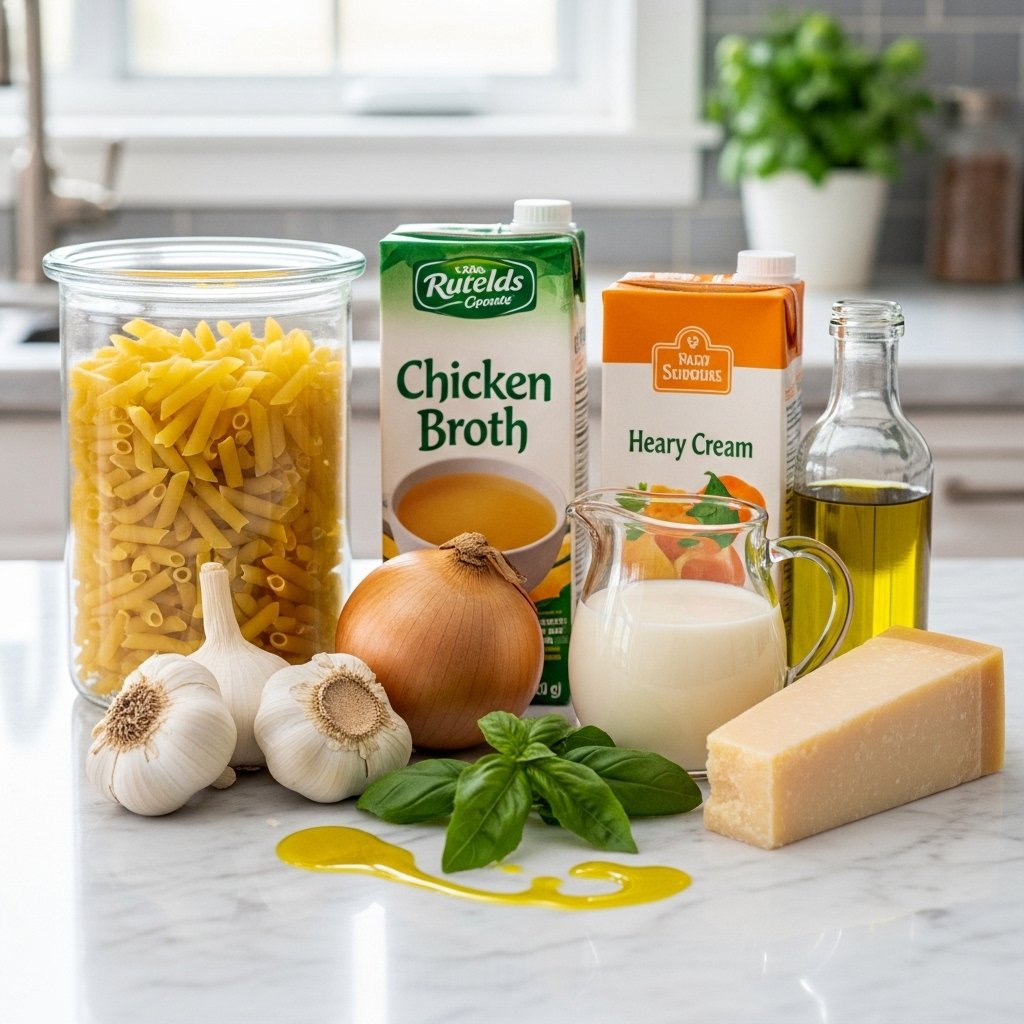
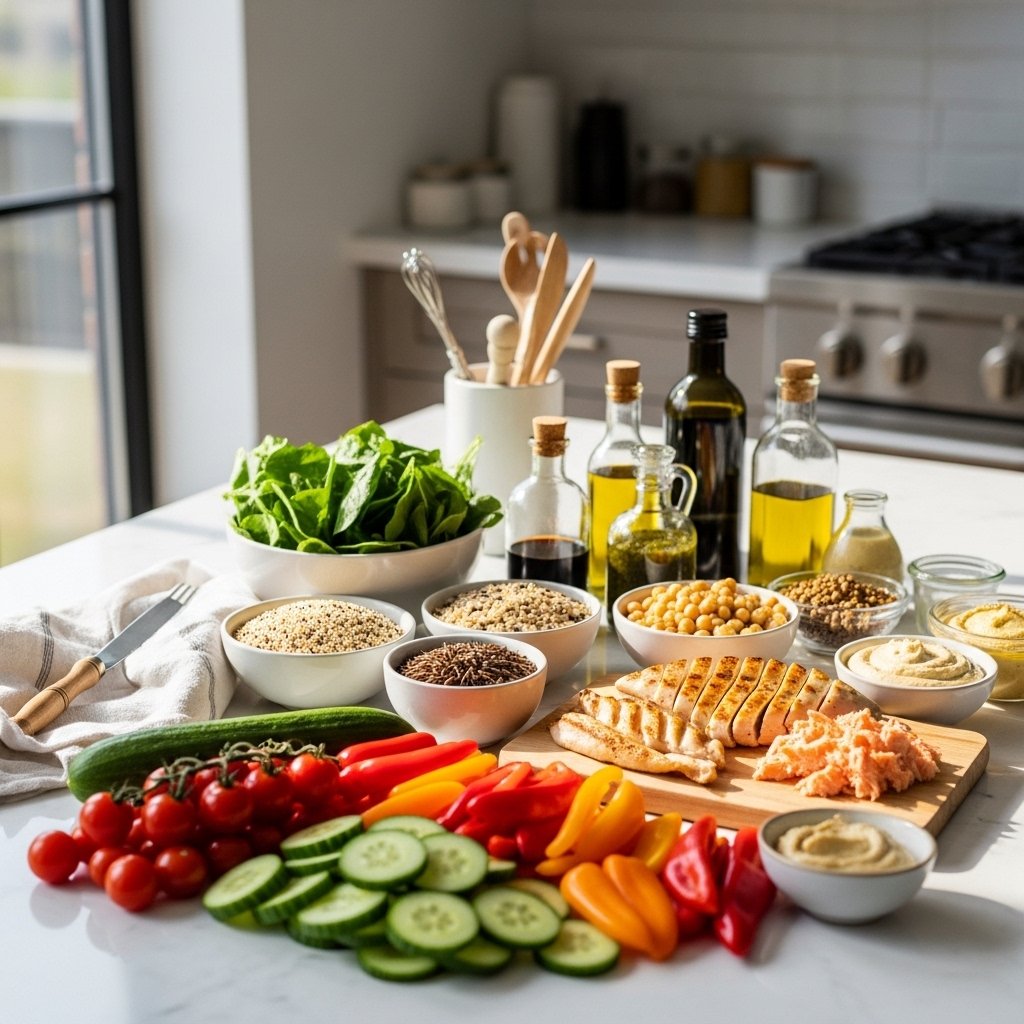
Essential Ingredients for Homemade Lunch Success
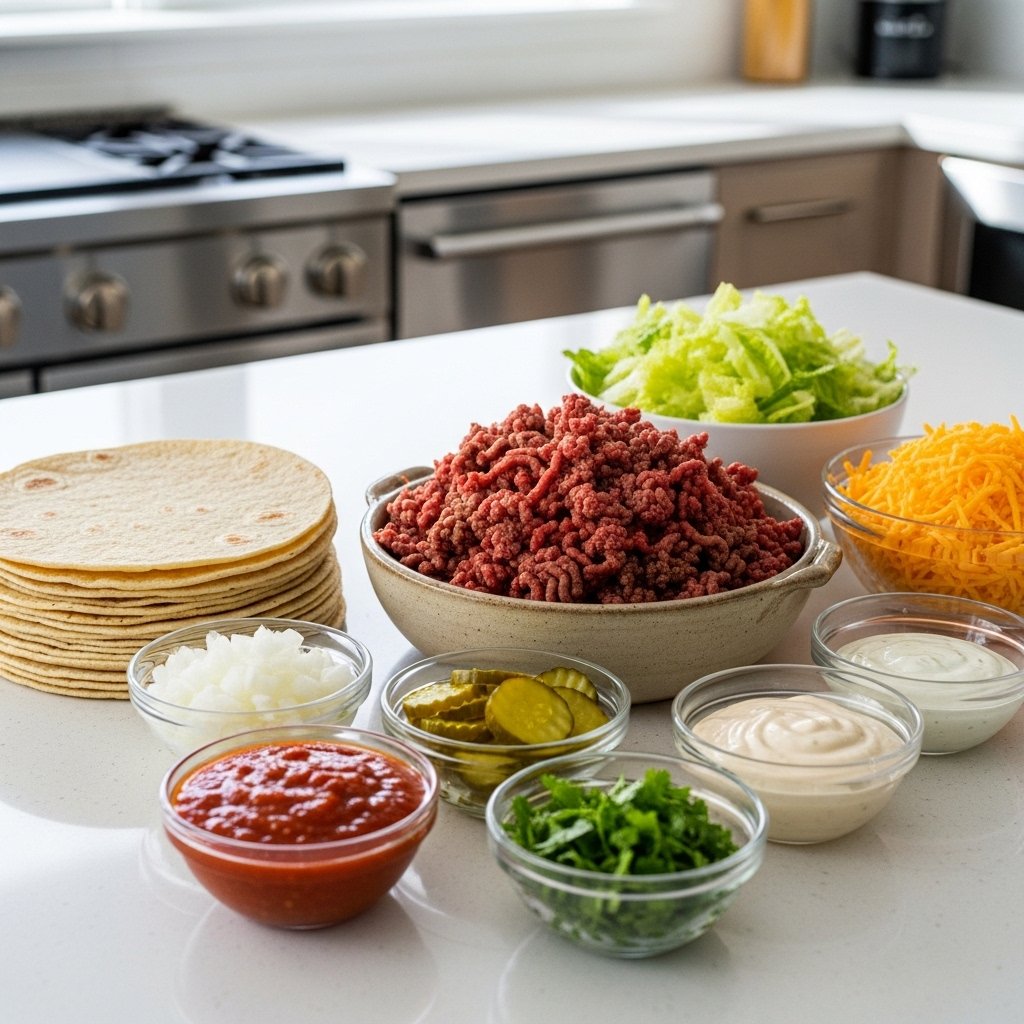
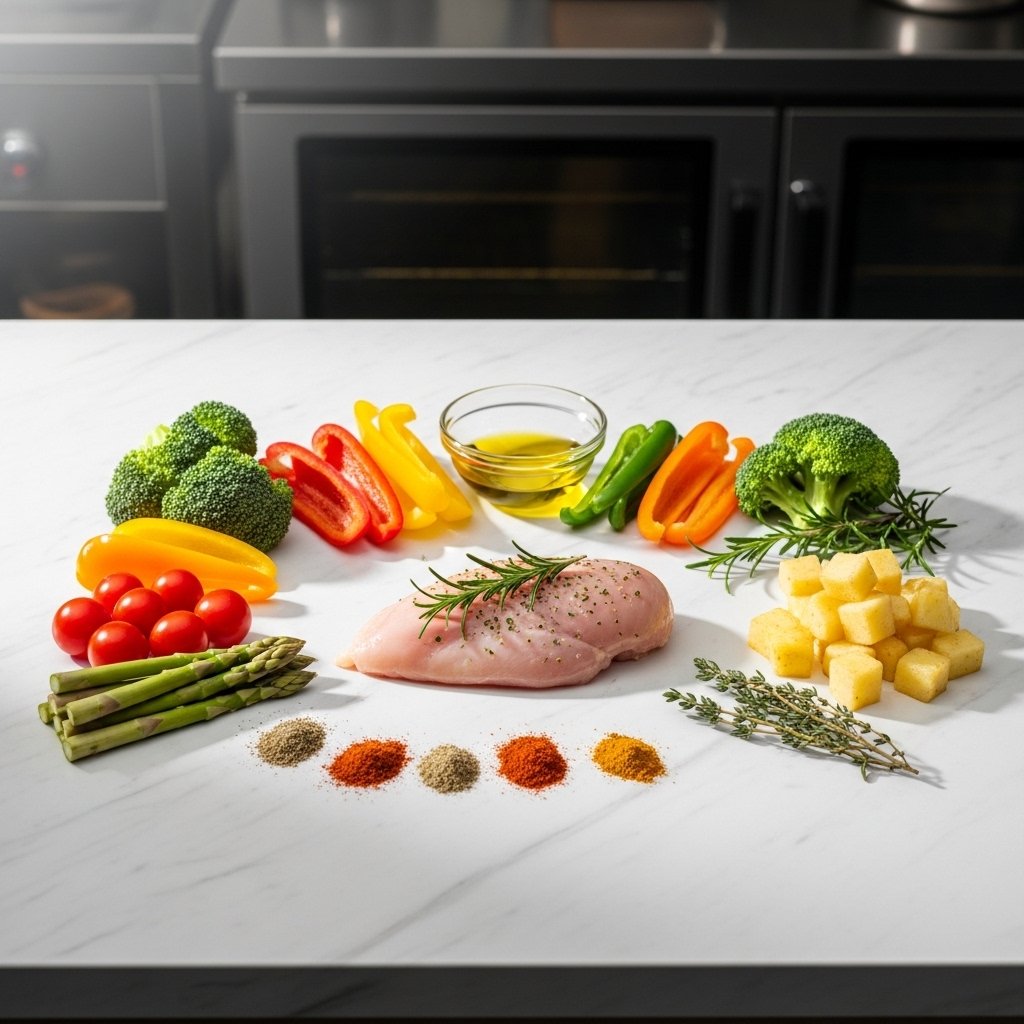
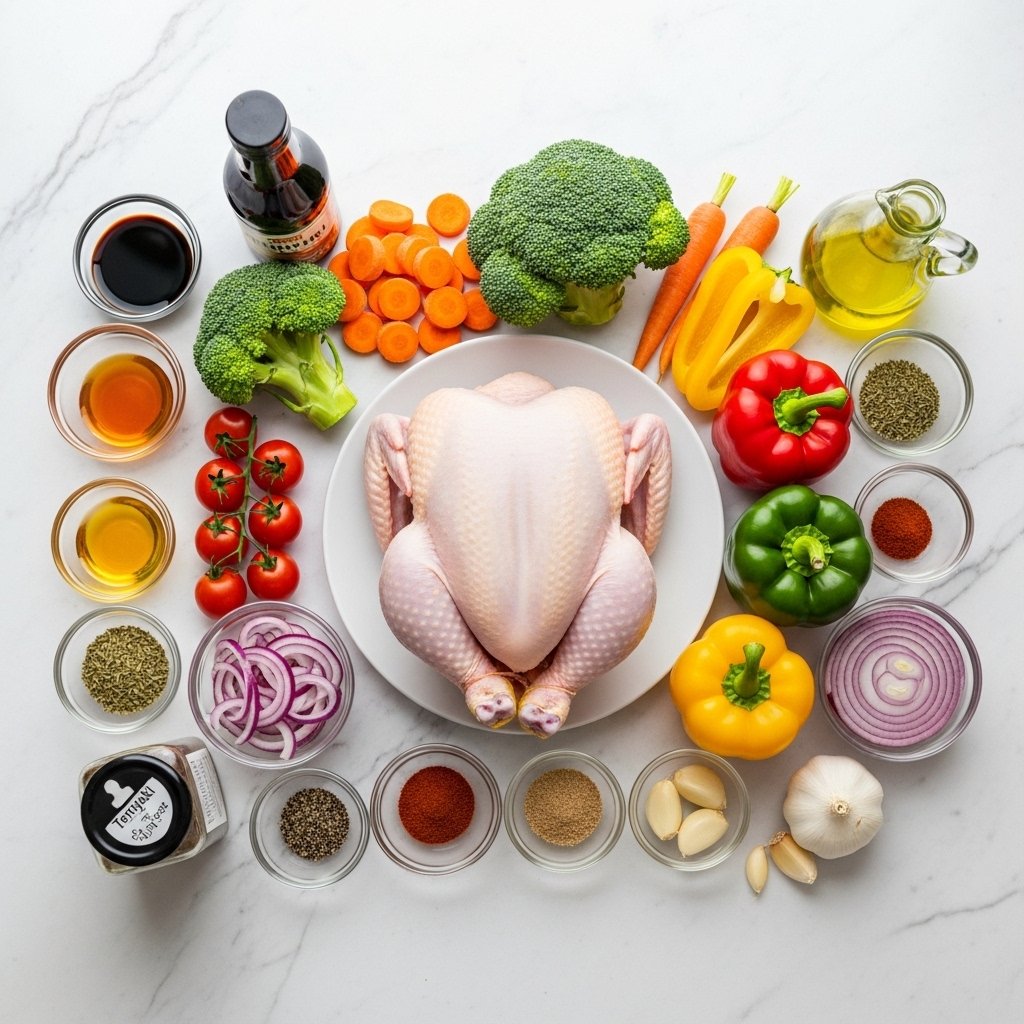
Creating incredible homemade lunches starts with stocking your kitchen with versatile, fresh ingredients. Having the right staples on hand makes meal prep faster and more enjoyable.
Must-Have Ingredients:
- Lean proteins (chicken, turkey, tofu, eggs)
- Fresh vegetables (spinach, cucumbers, peppers, carrots)
- Whole grains (rice, quinoa, whole wheat bread)
- Healthy fats (avocado, olive oil, nuts)
- Flavor boosters (sauces, herbs, spices)
Ingredient Notes
The secret to truly incredible homemade lunches is using fresh, high-quality ingredients. Crisp vegetables add texture, while balanced proteins and grains keep you full and energized throughout the day. Don’t underestimate the power of a good sauce or dressing—it can completely elevate even the simplest meal.
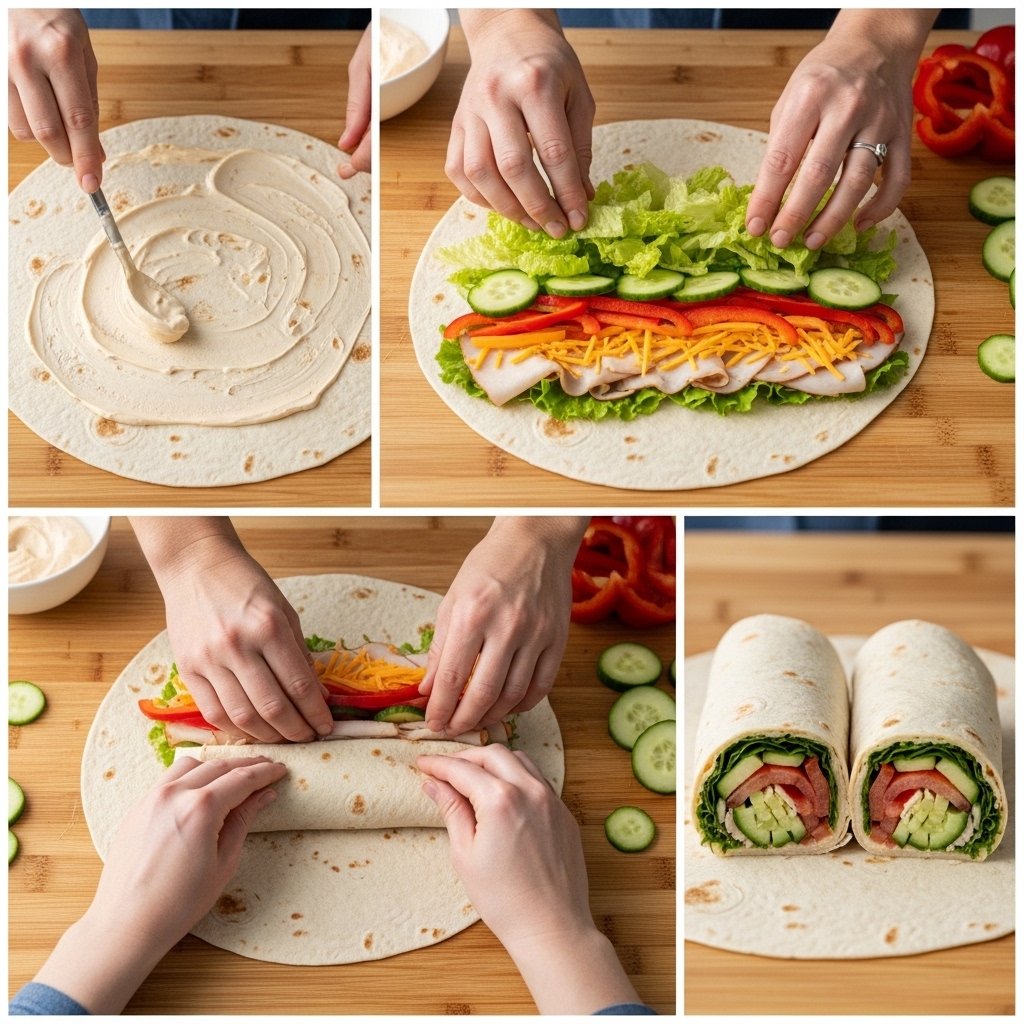
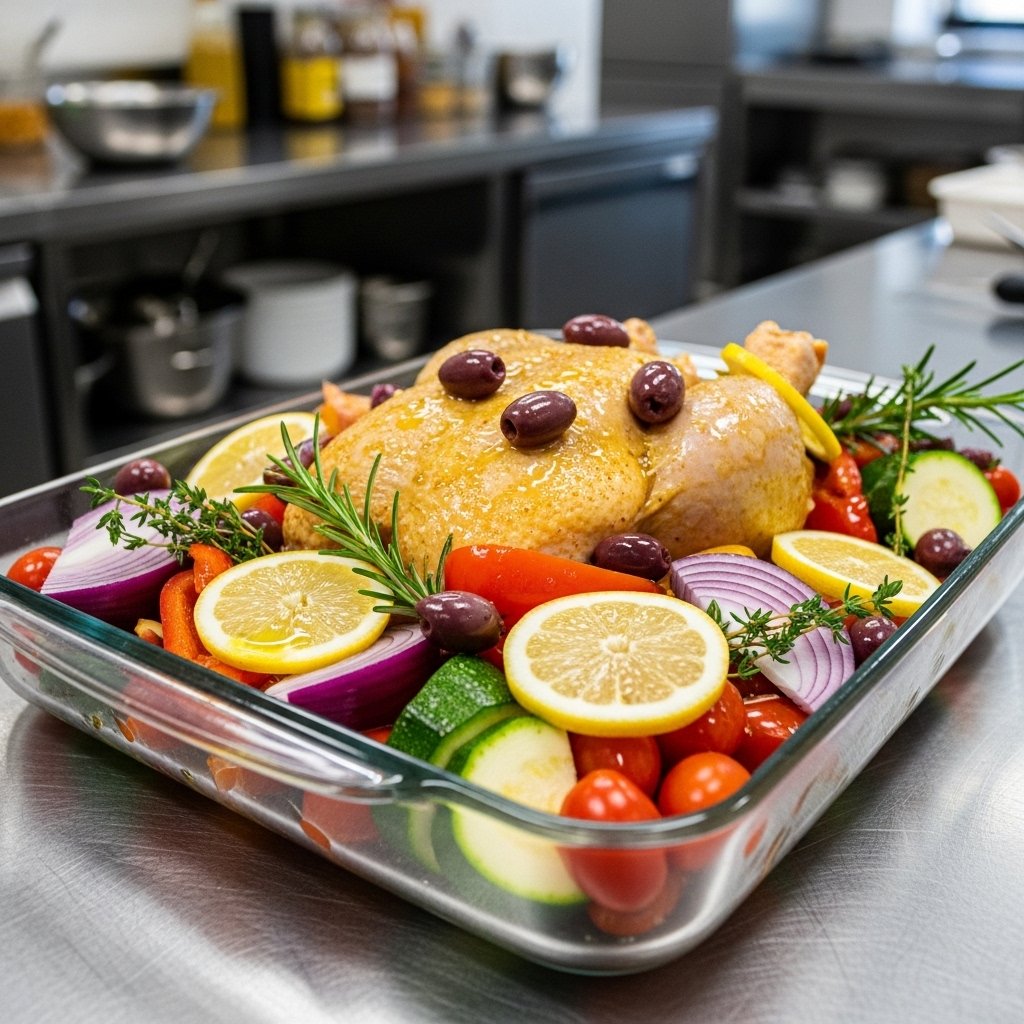
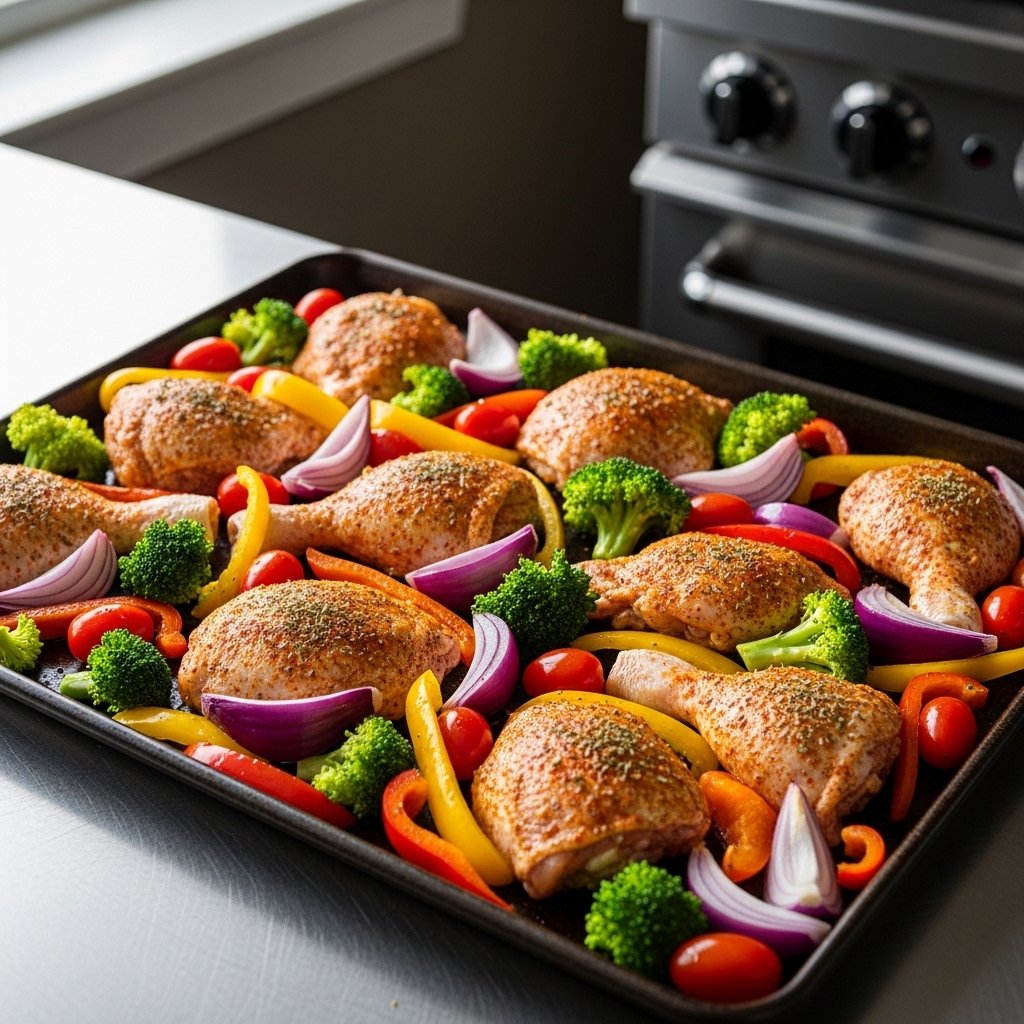
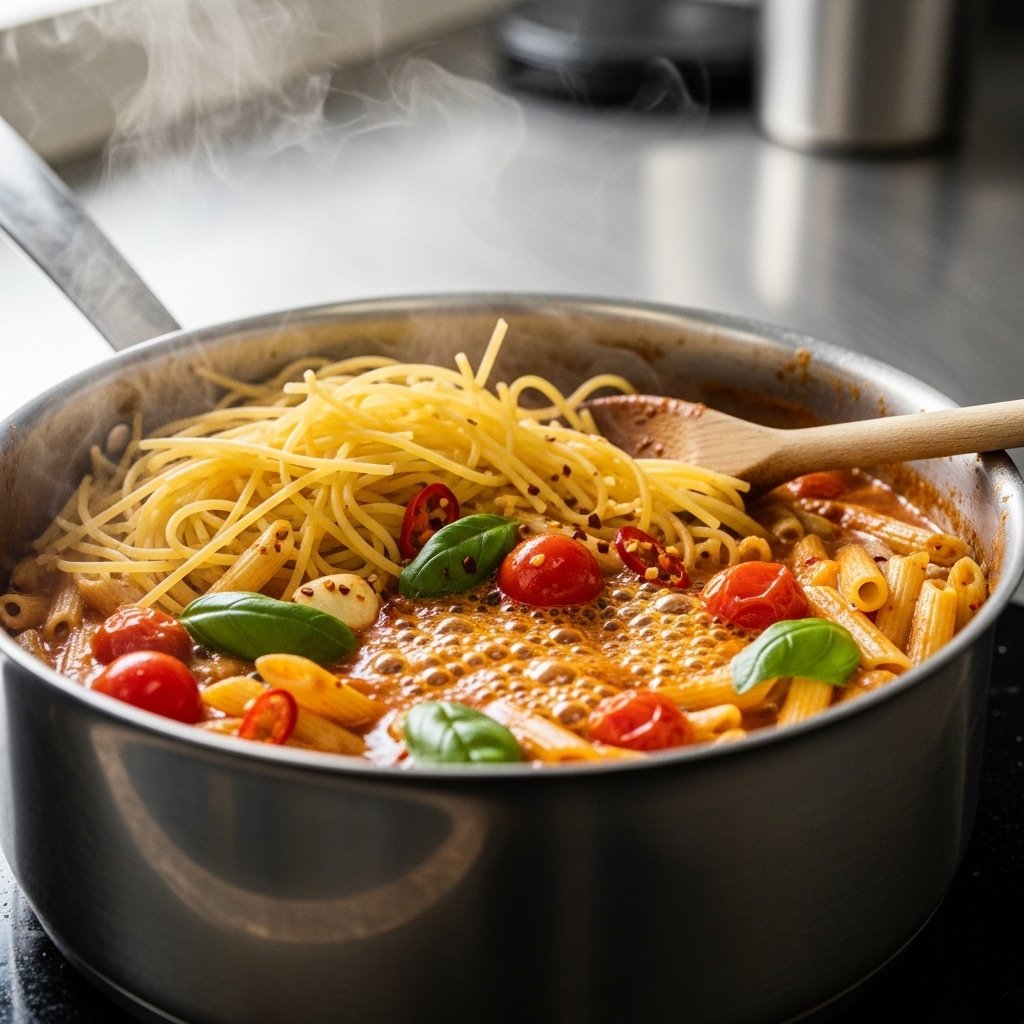
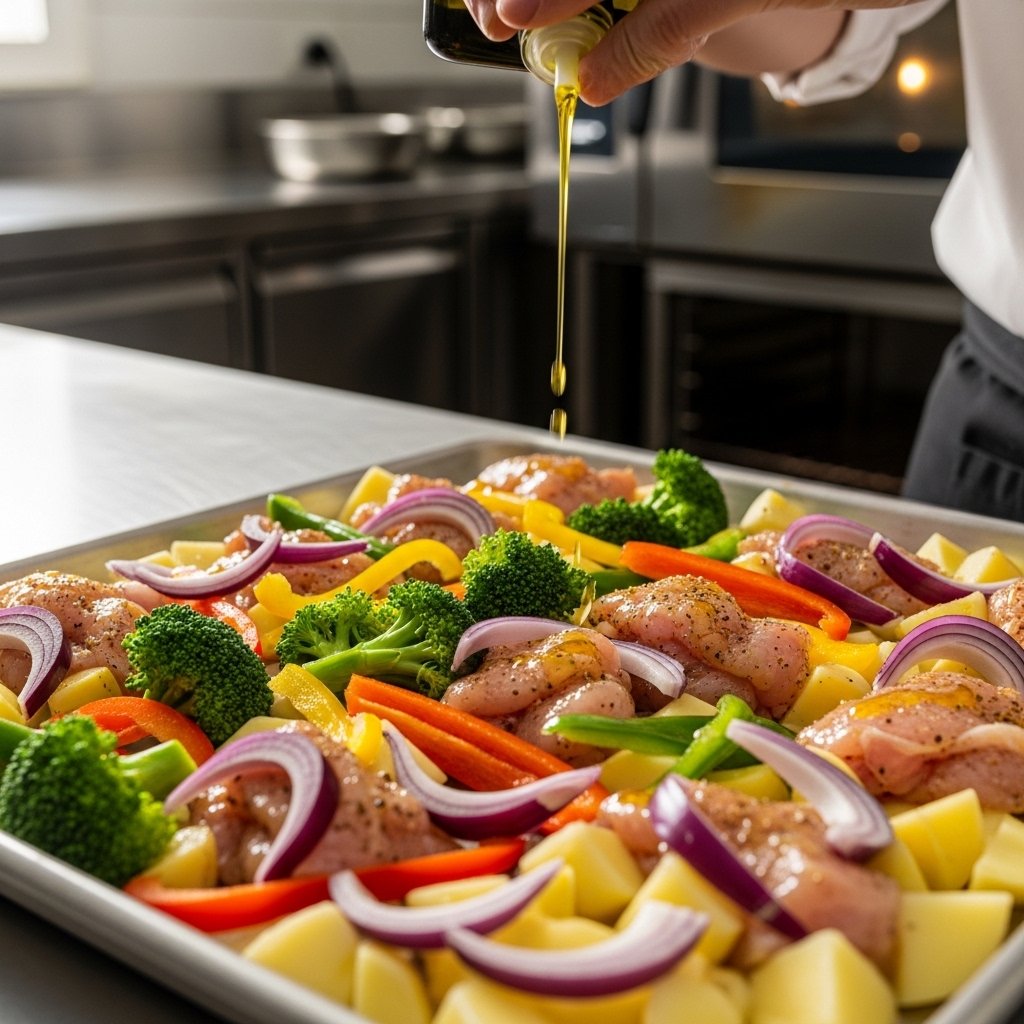
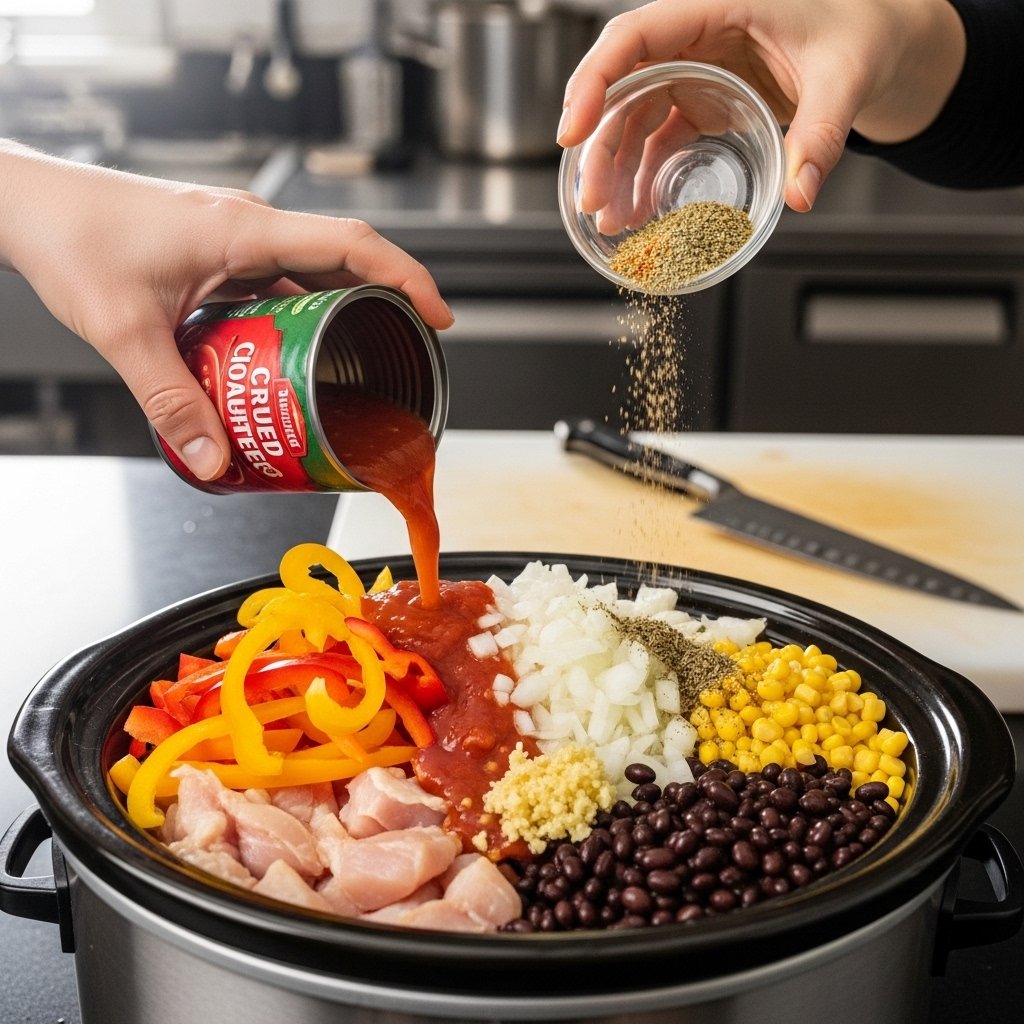
Step-by-Step: Building the Perfect Homemade Lunch
Creating your own incredible homemade lunches doesn’t require complicated recipes. Follow this simple formula to build balanced and satisfying meals every time.
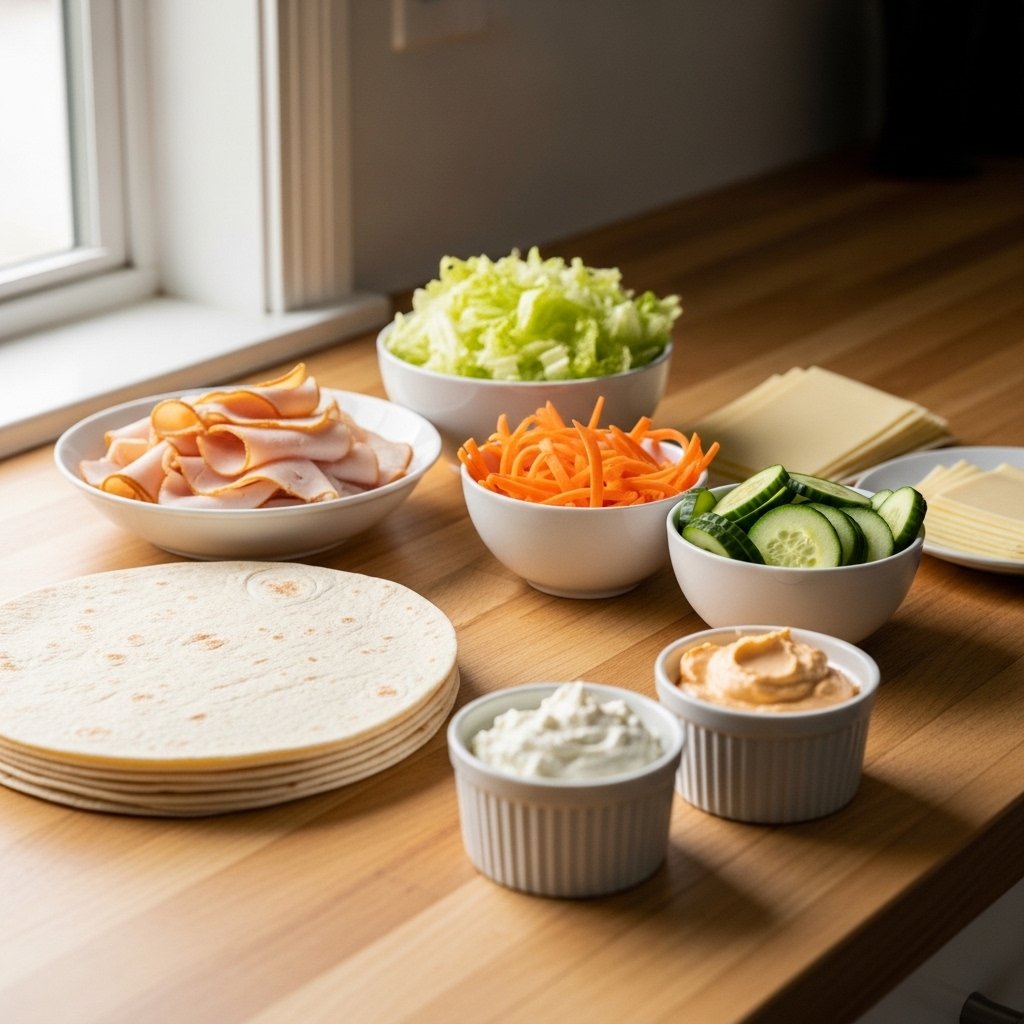
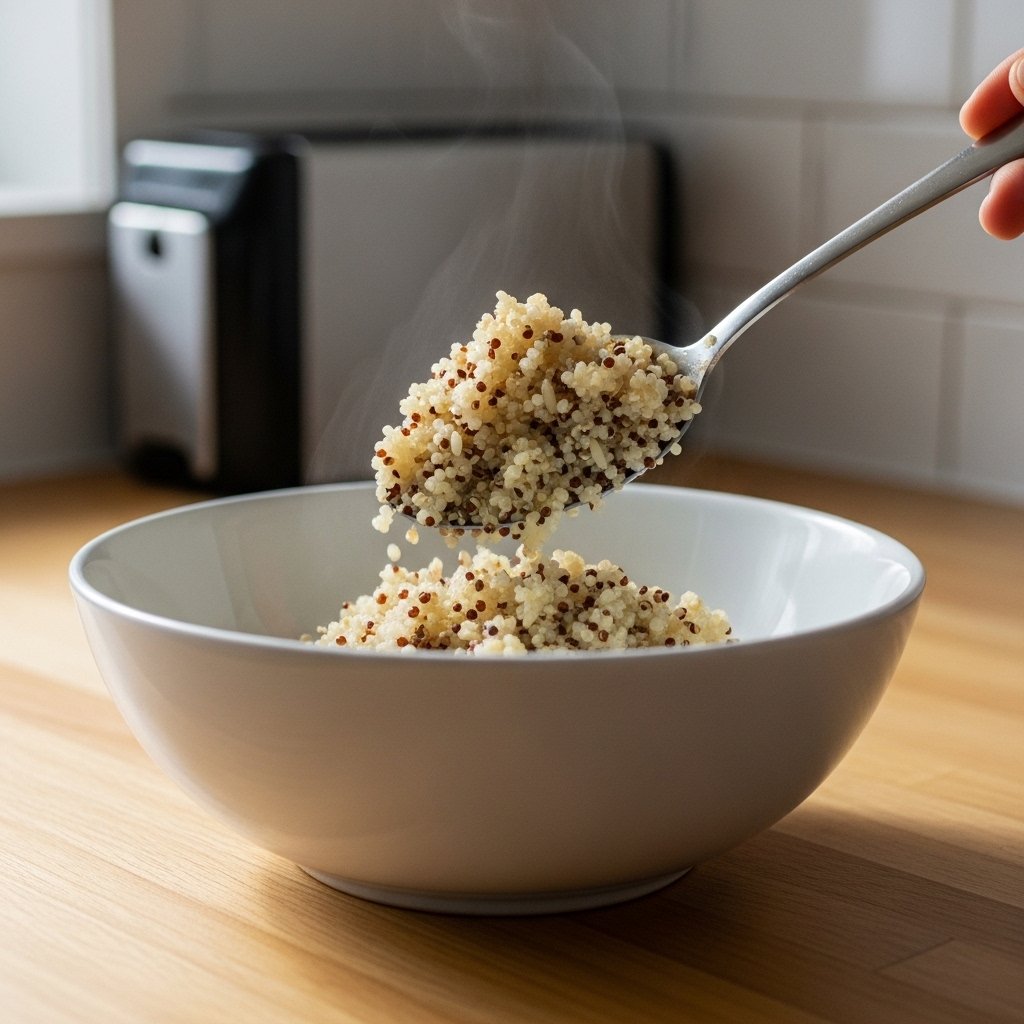
1. Choose Your Base
Start with a base like rice, pasta, bread, or greens.
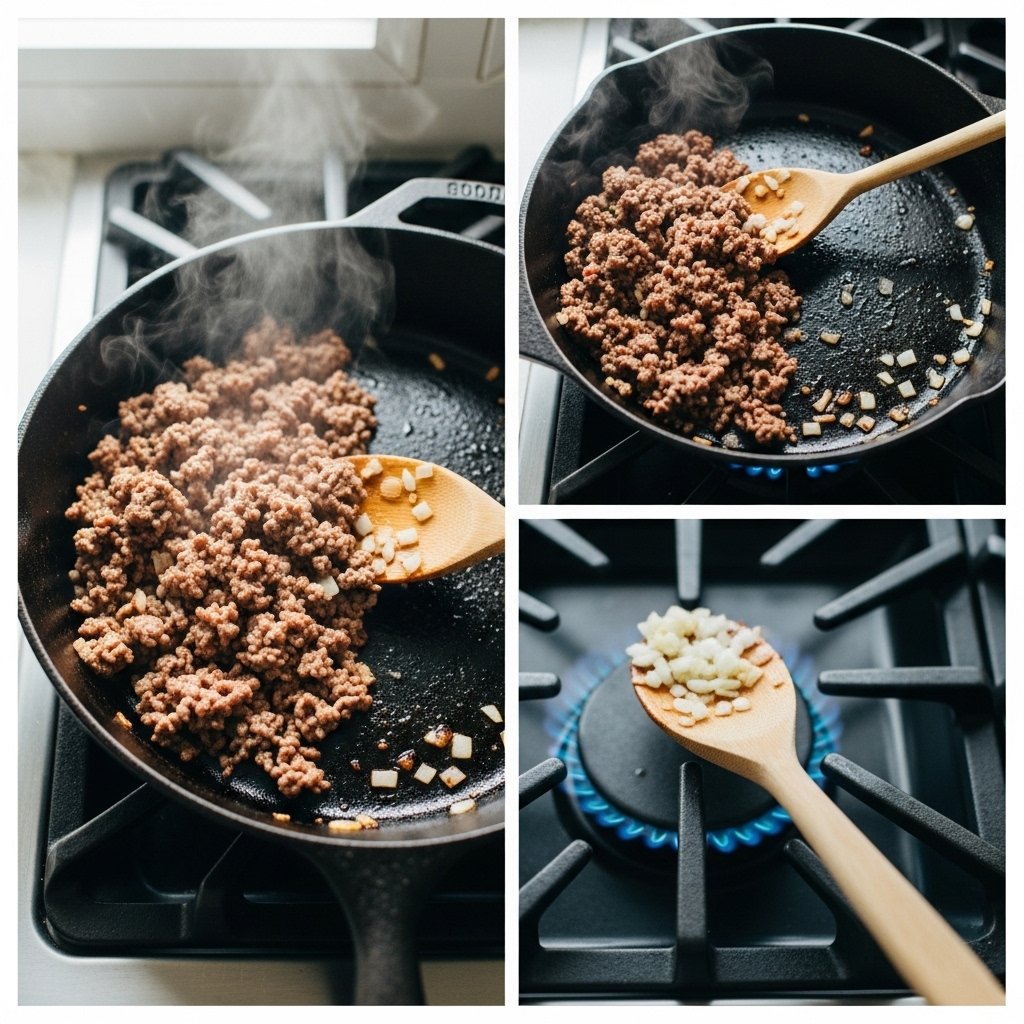
2. Add Protein
Include grilled chicken, beans, tuna, or eggs for staying power.
3. Load Up Veggies
Add a mix of crunchy and fresh vegetables for texture and nutrients.
4. Finish with Flavor
Top with sauces, dressings, or seasonings to bring everything together.
Tips for Perfect Results
To consistently create incredible homemade lunches, keep these expert tips in mind:
- Prep ingredients ahead of time for faster assembly
- Keep flavors balanced (salty, sweet, tangy, savory)
- Use airtight containers to maintain freshness
- Mix textures for a more satisfying meal
- Don’t forget seasoning—it makes all the difference
These small details can turn a simple lunch into something truly memorable.
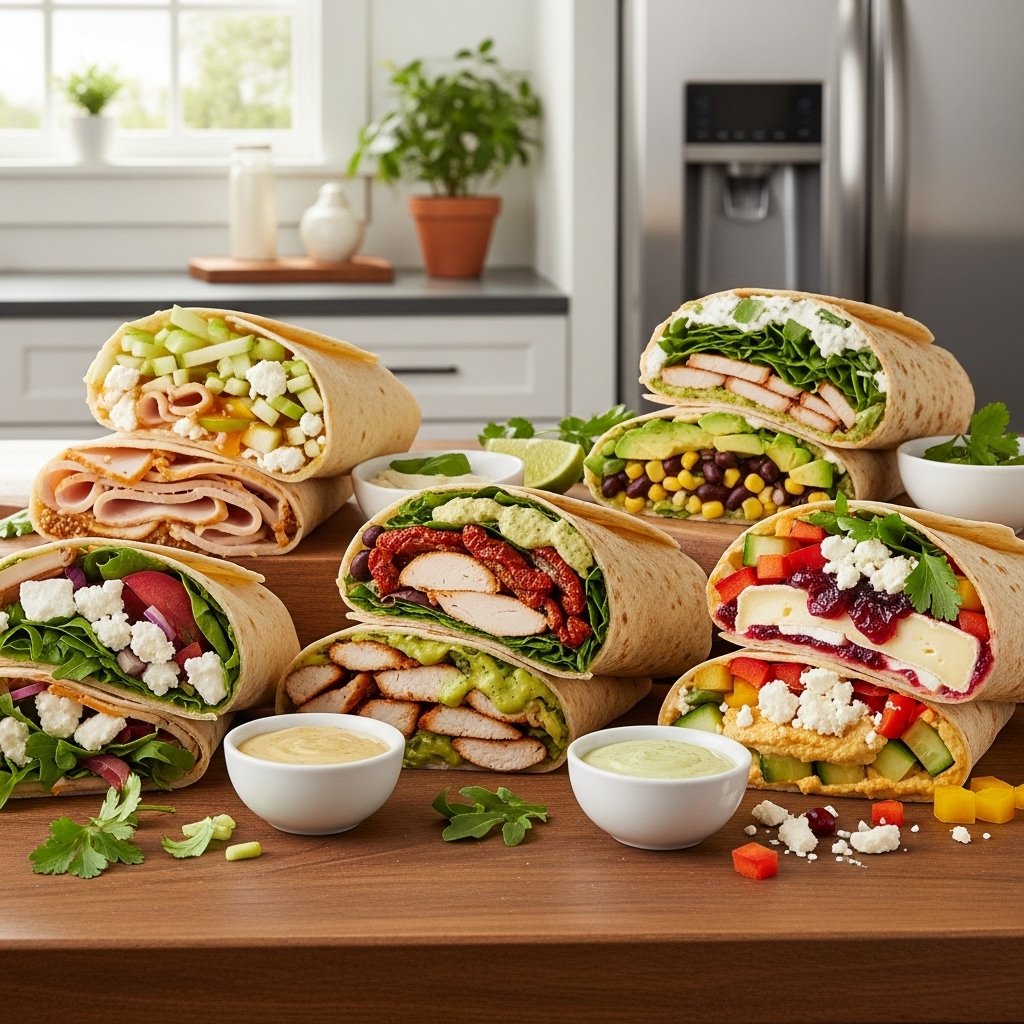
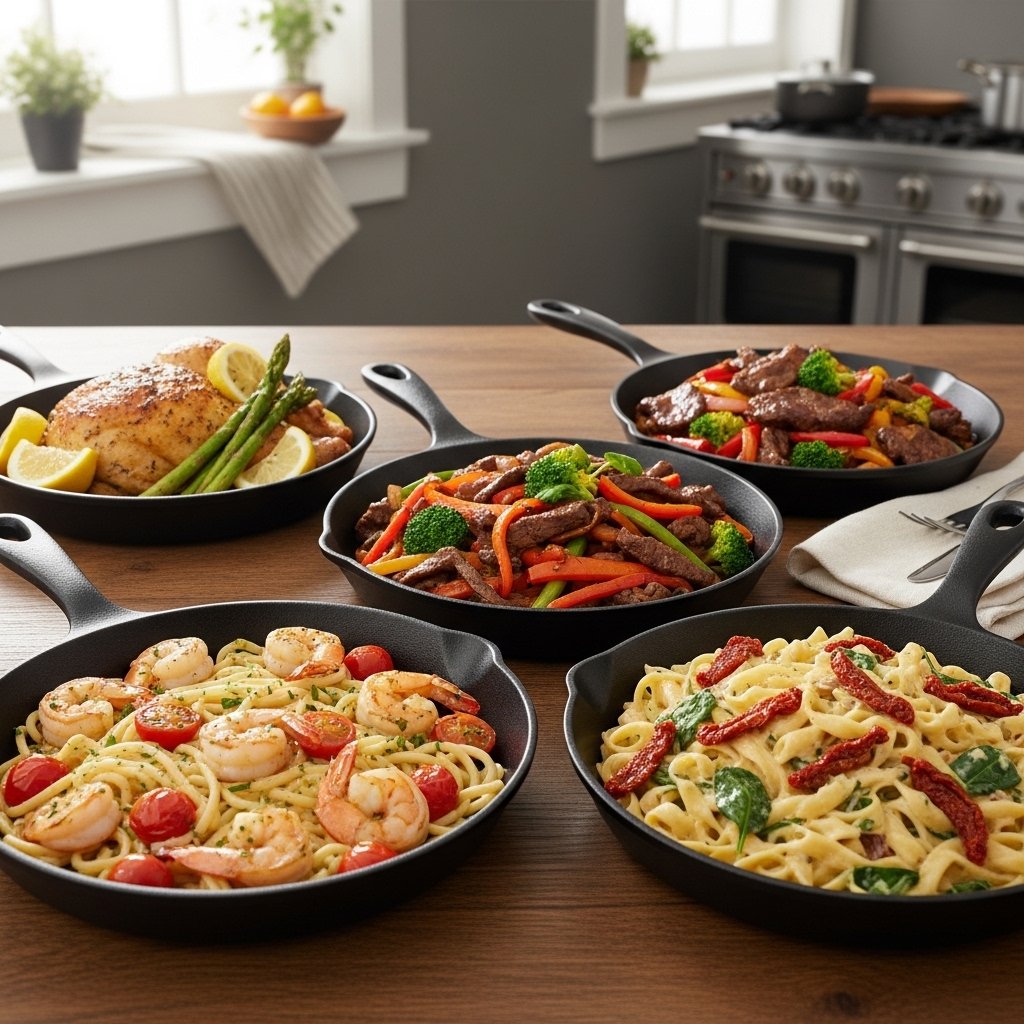
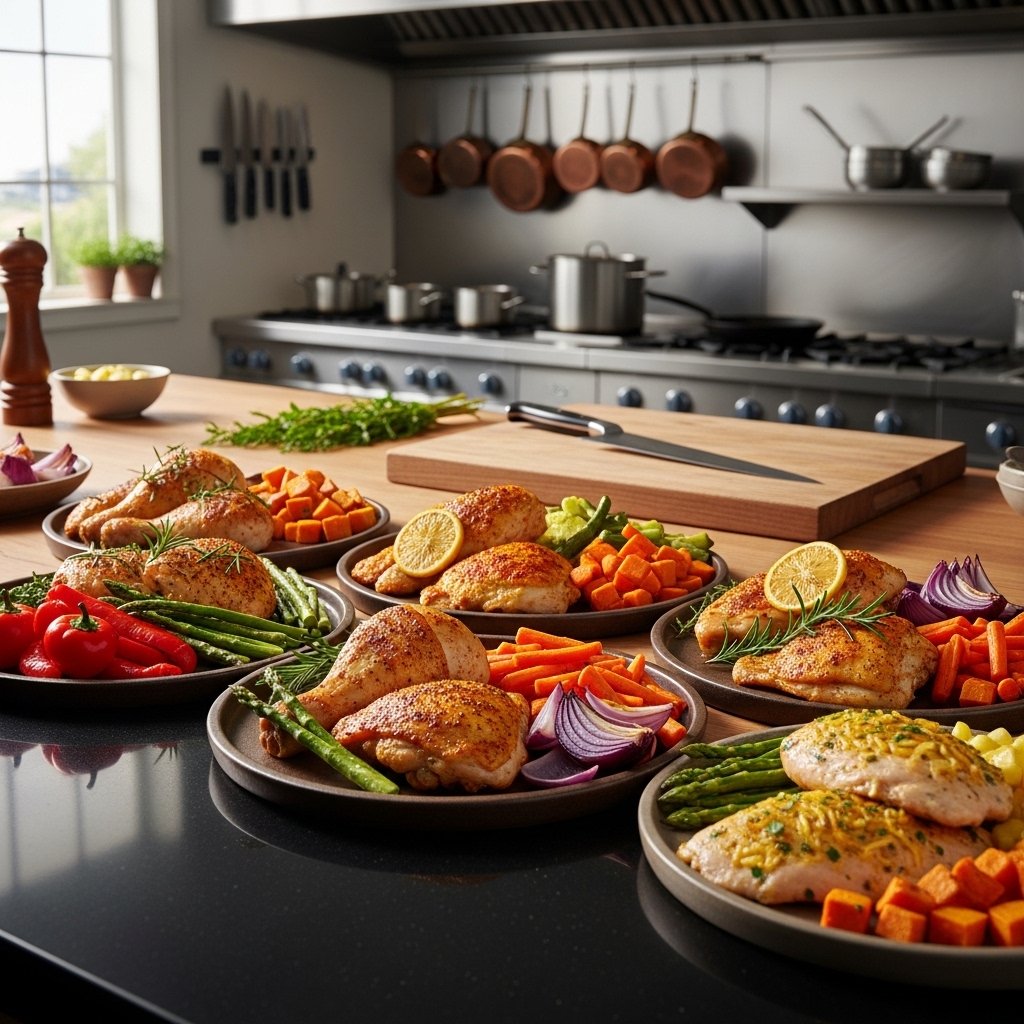
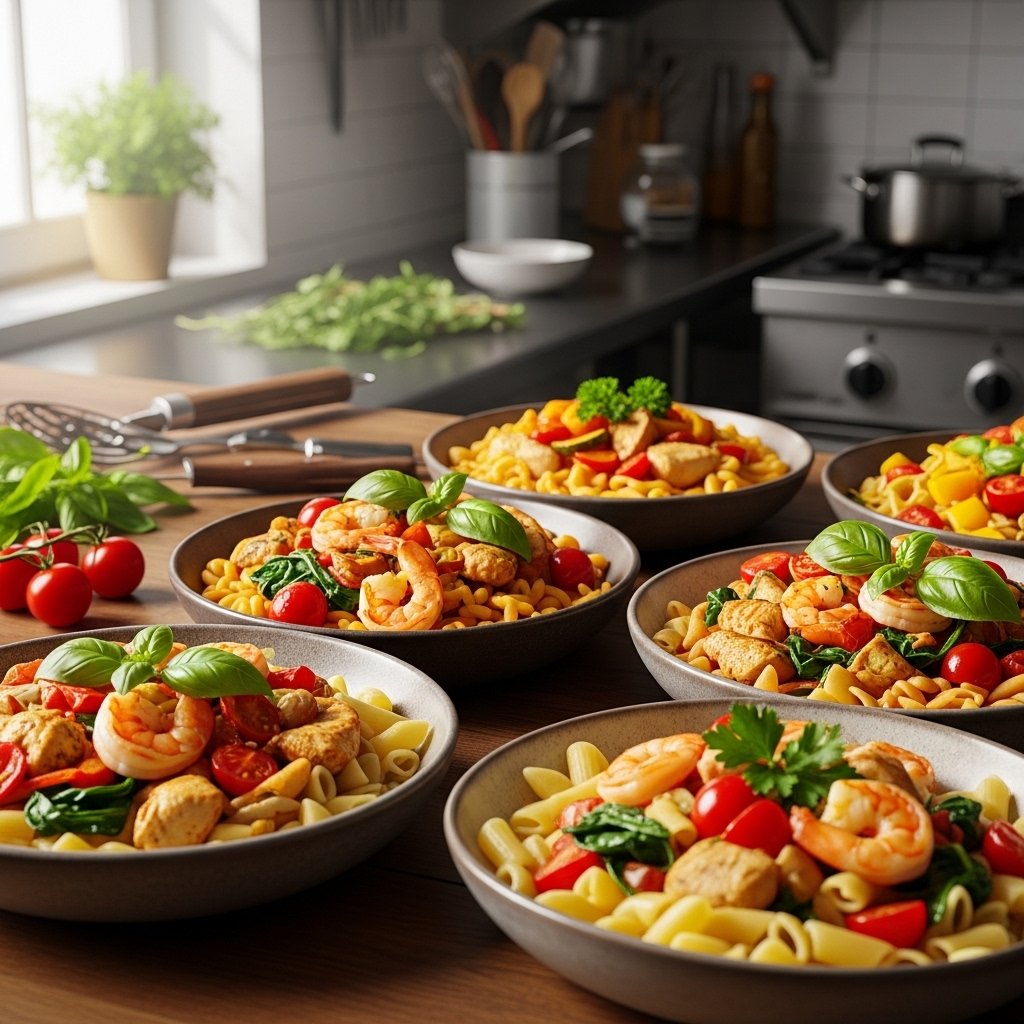
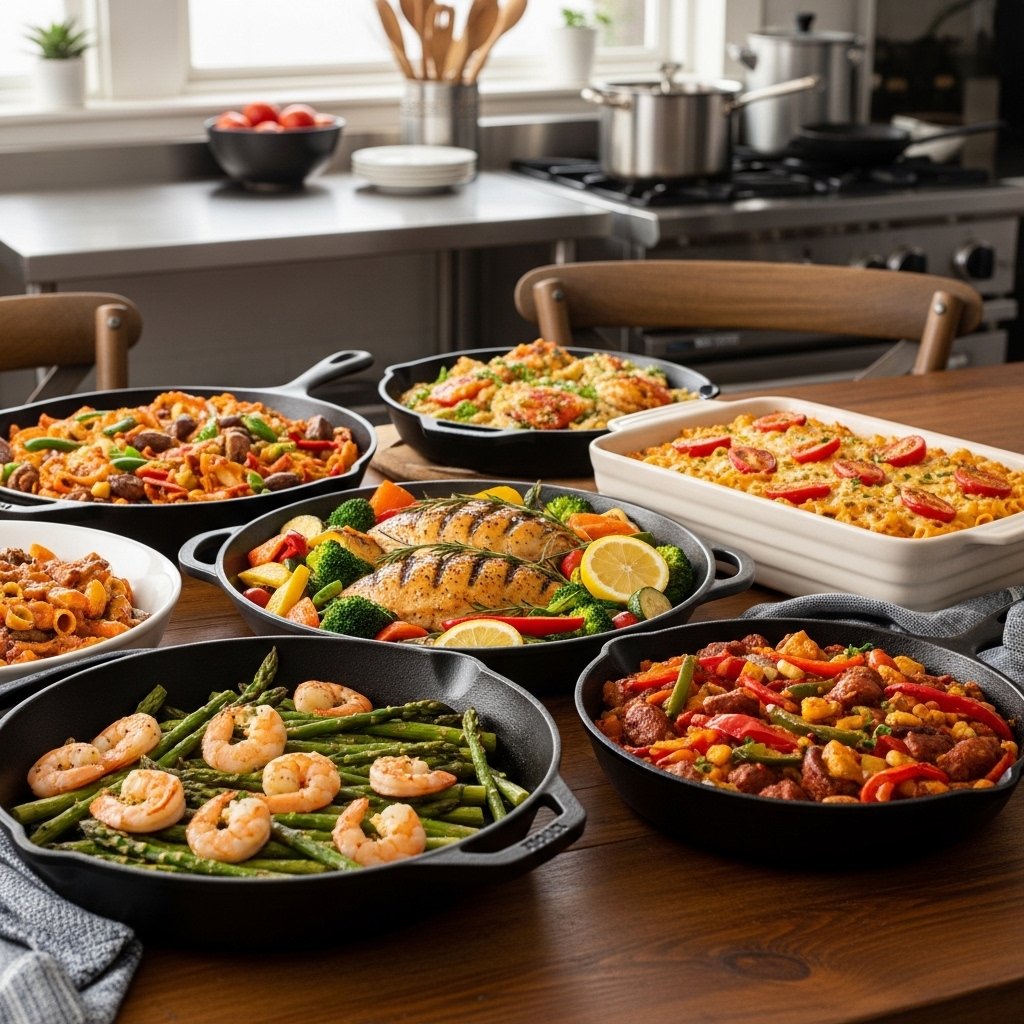
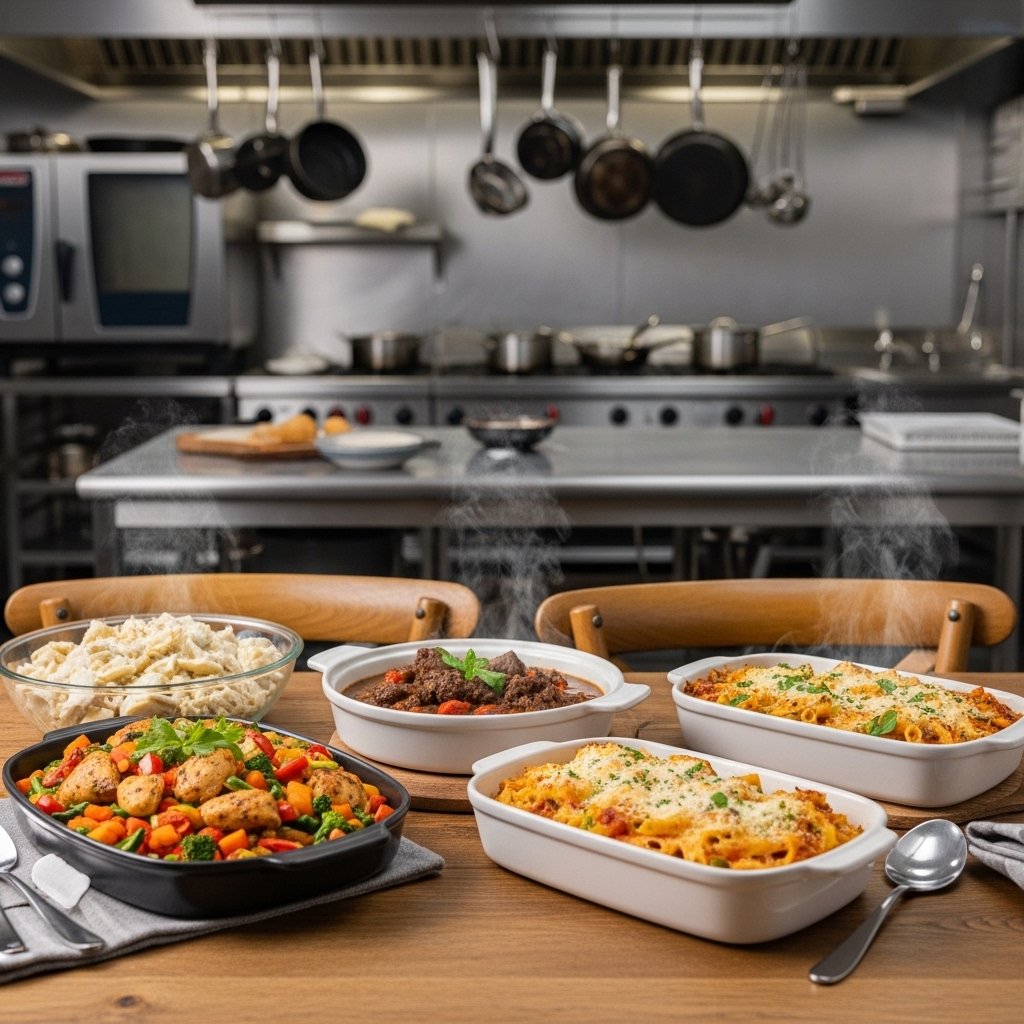
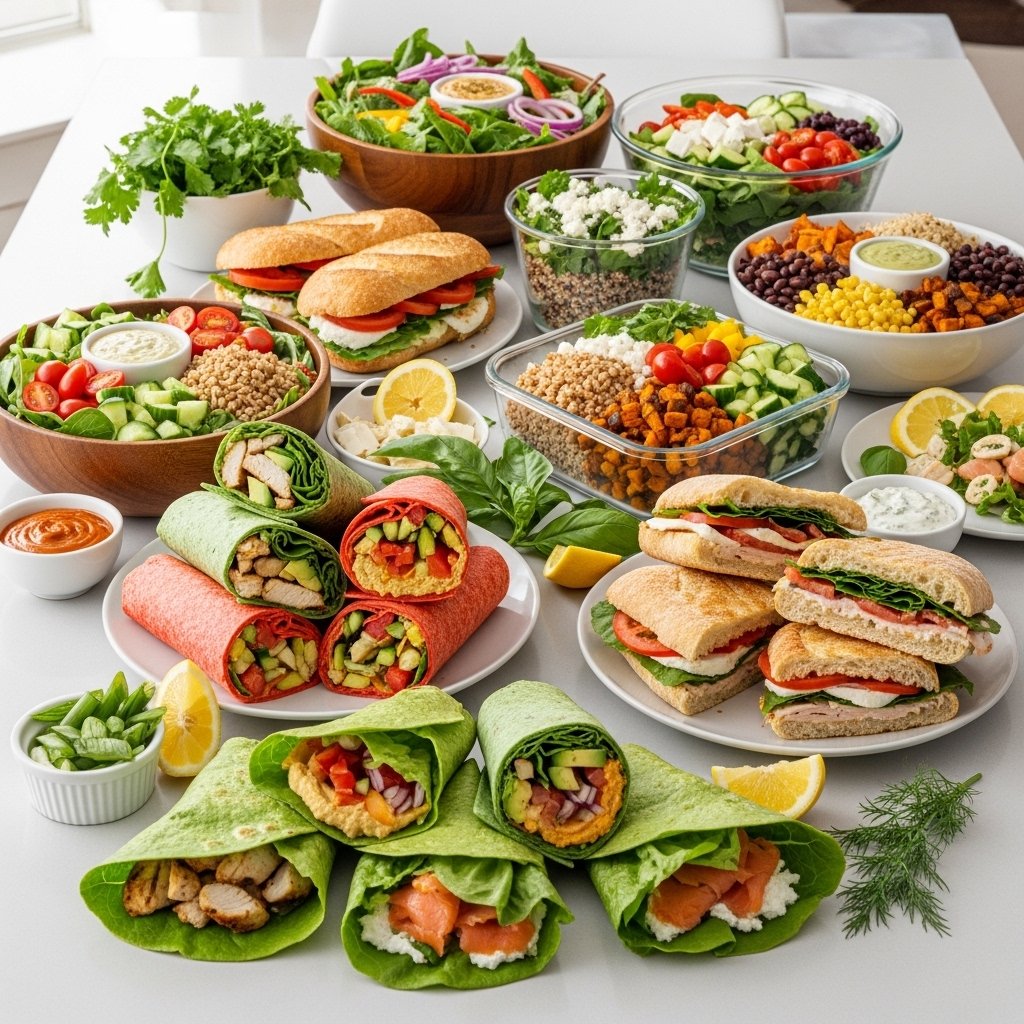
Delicious Variations to Try
Variety is key when it comes to enjoying incredible homemade lunches every day. Switching things up prevents boredom and keeps your meals exciting.
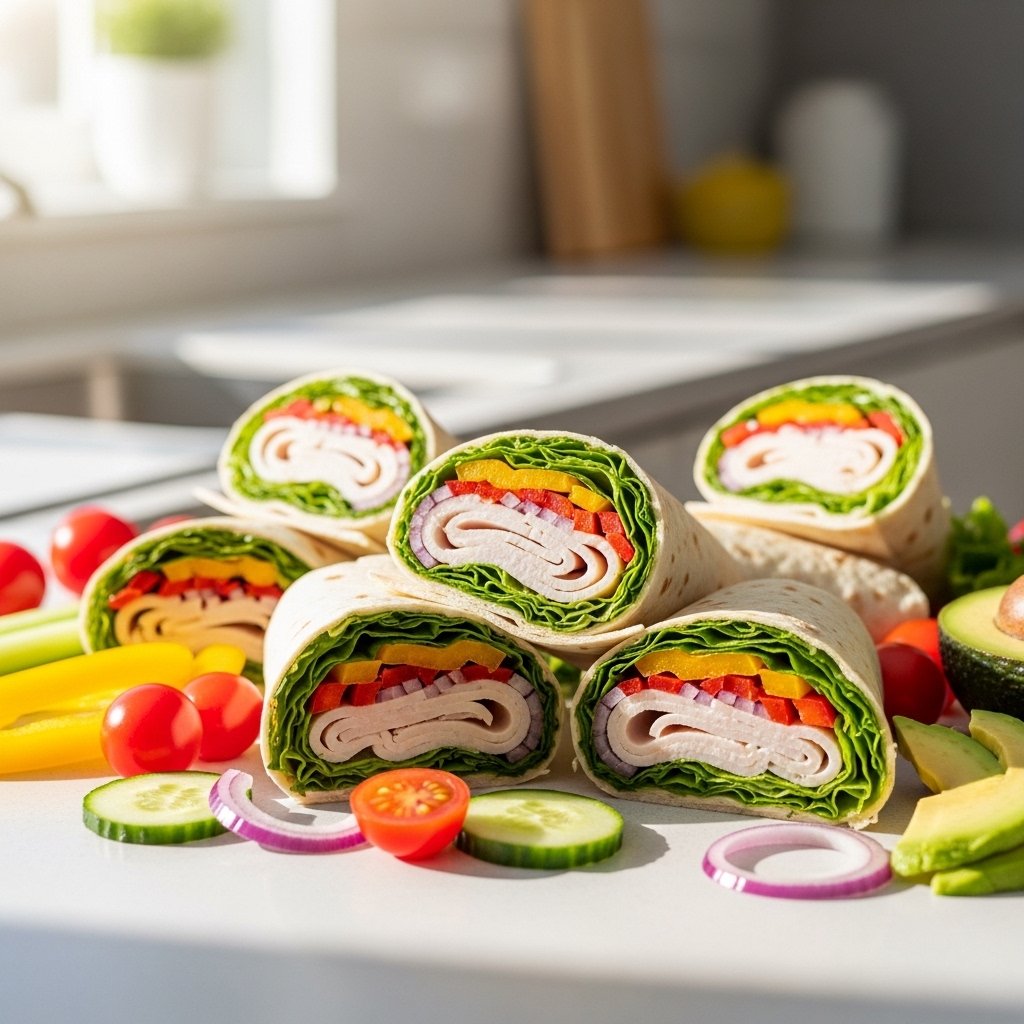
Try These Ideas:
- Wraps filled with grilled chicken and veggies
- Protein-packed grain bowls with quinoa and roasted vegetables
- Fresh salads with homemade dressings
- Sandwiches with creative spreads and fillings
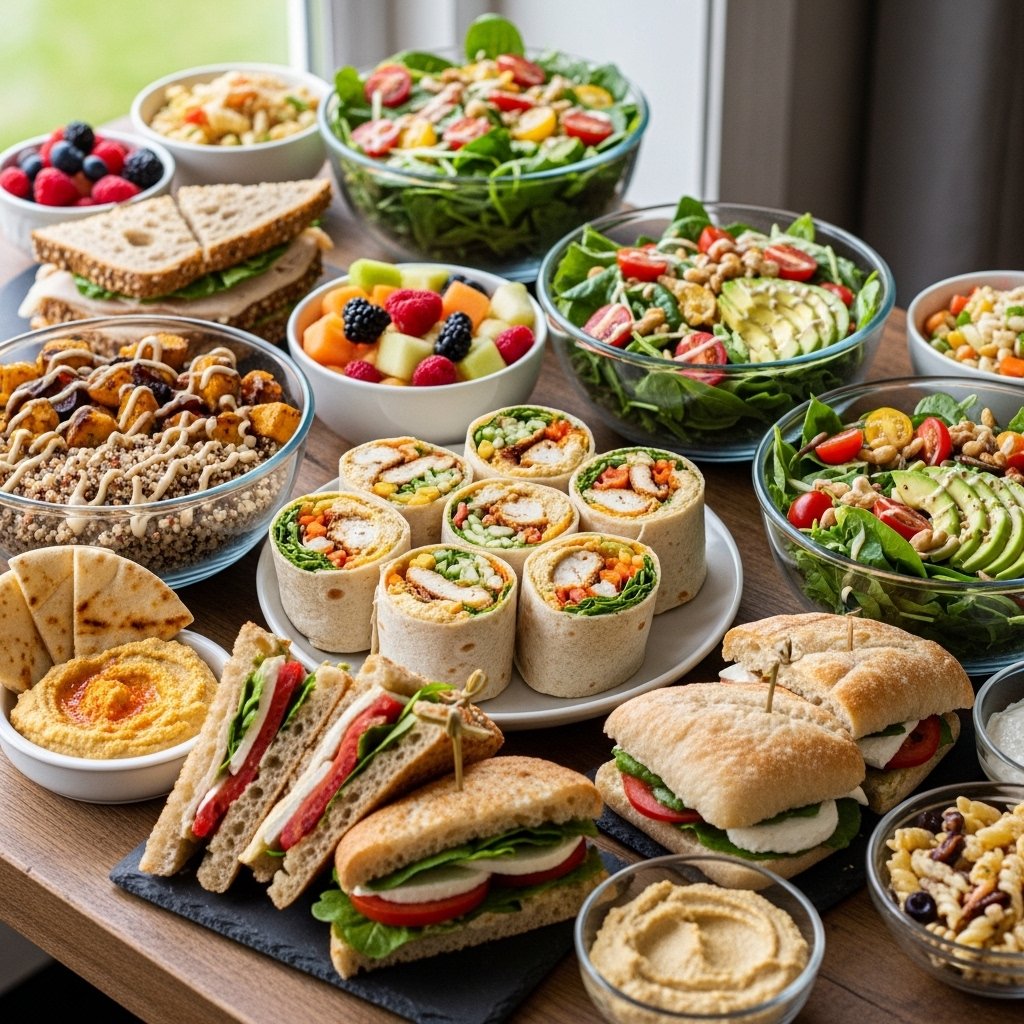
What to Serve With Homemade Lunches
To make your incredible homemade lunches even more satisfying, pair them with simple sides that complement the main dish.
Great options include:
- Fresh fruit or fruit salad
- Yogurt or smoothies
- Light soups
- Crunchy snacks like nuts or crackers
These additions create a well-rounded and fulfilling meal.
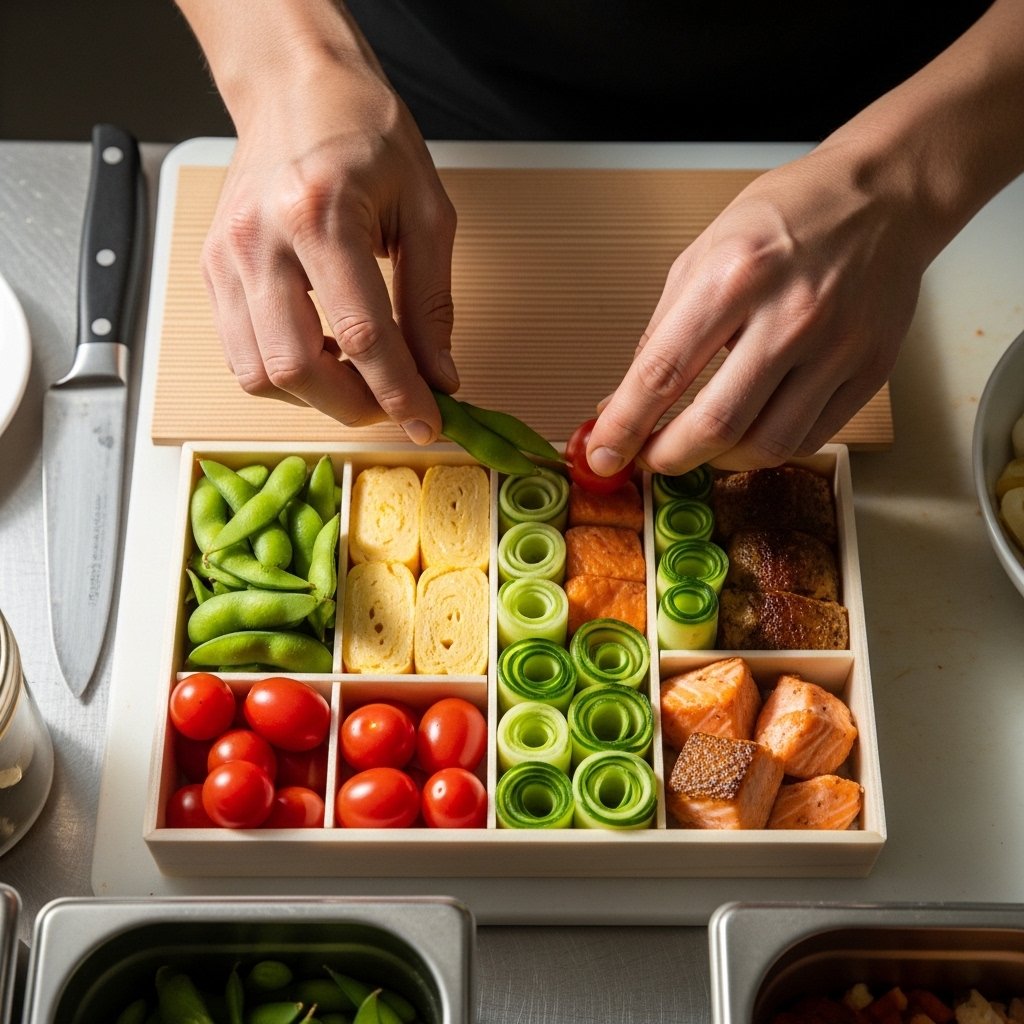
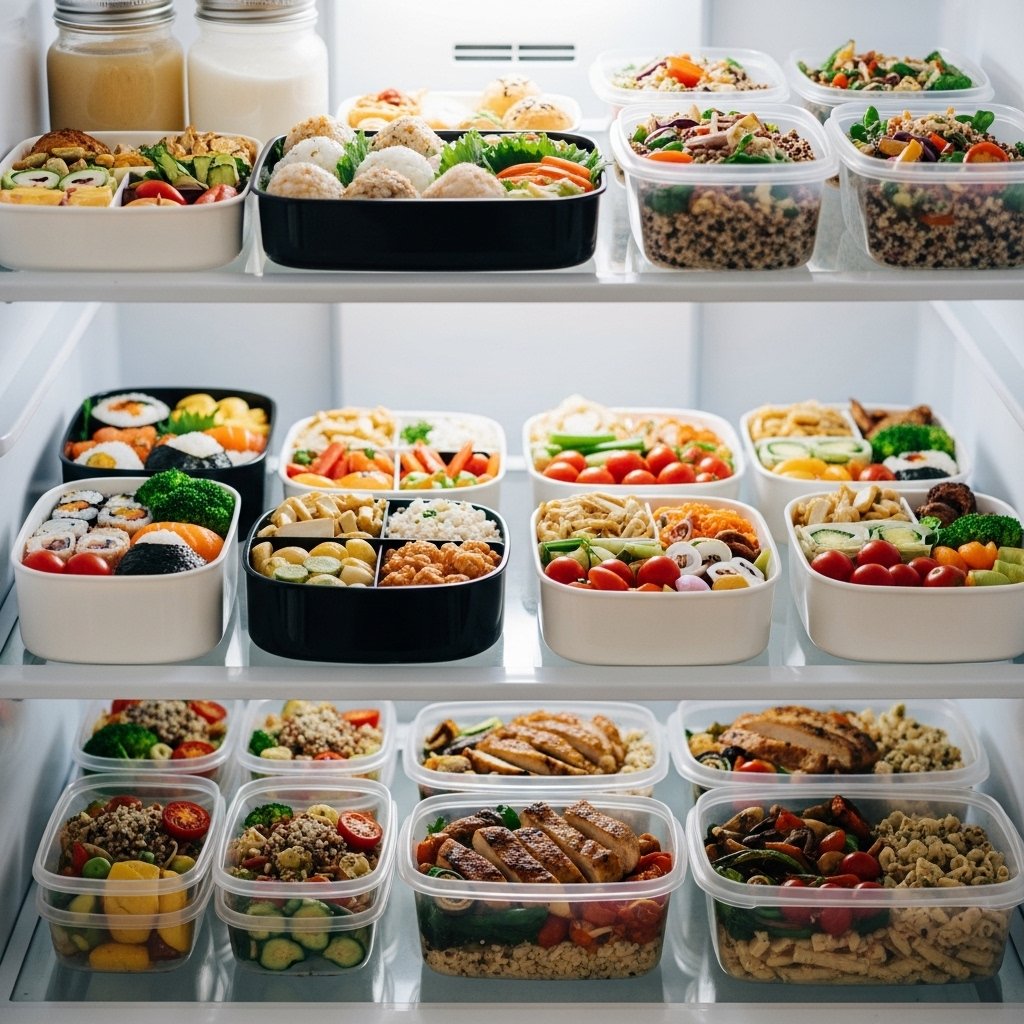
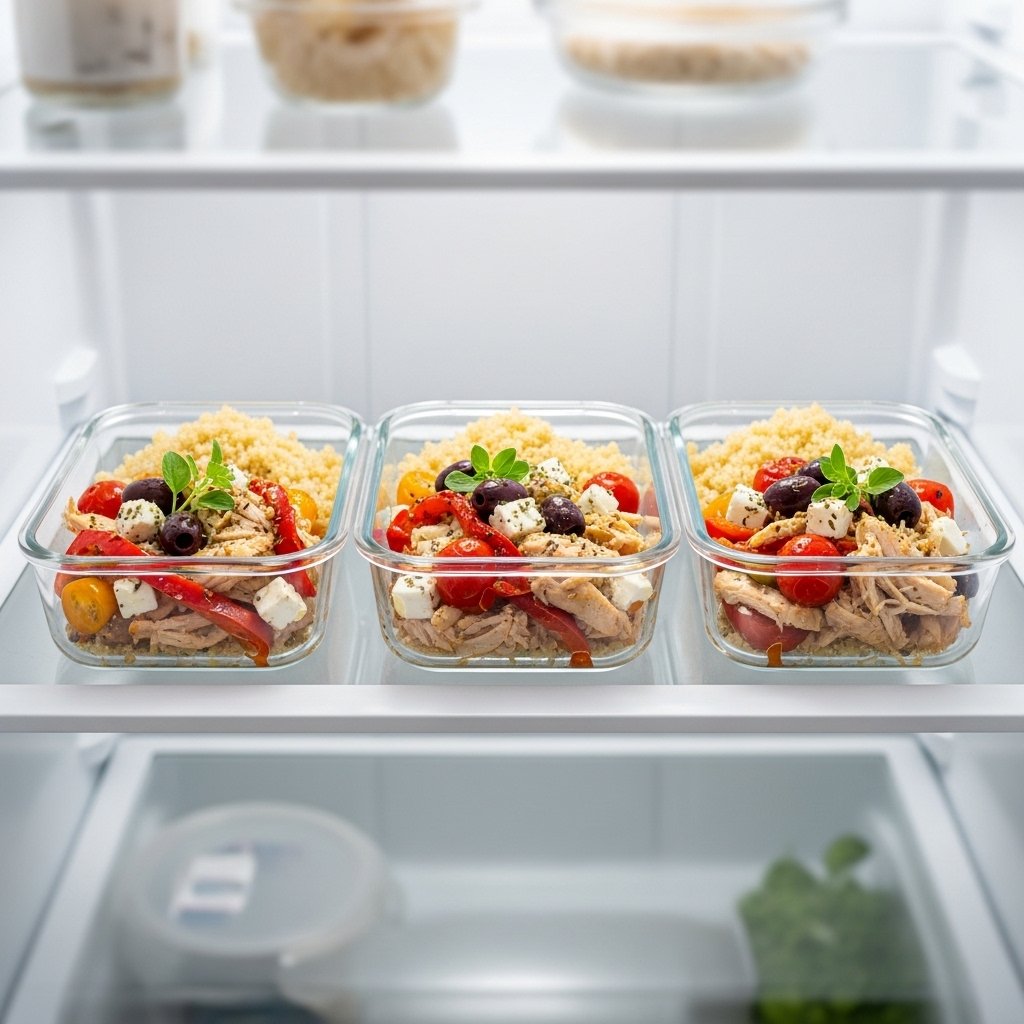
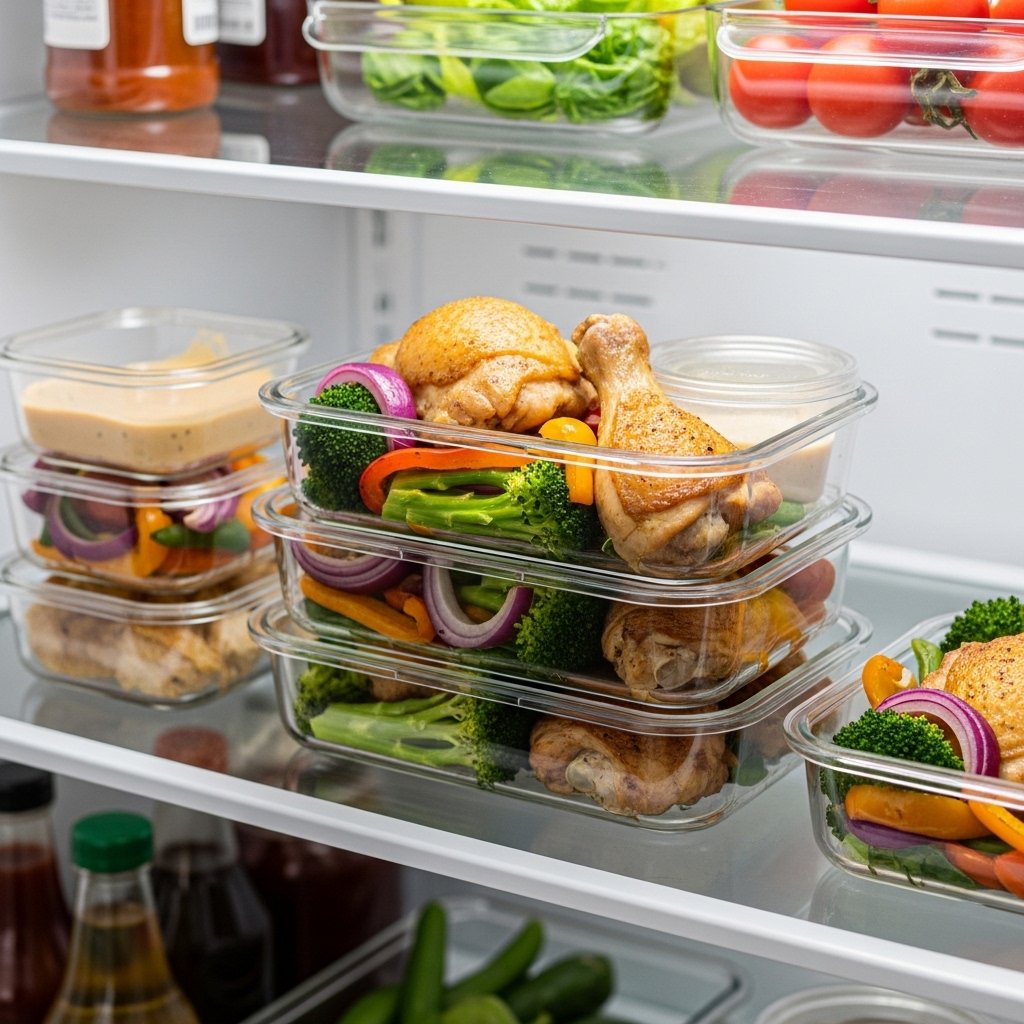
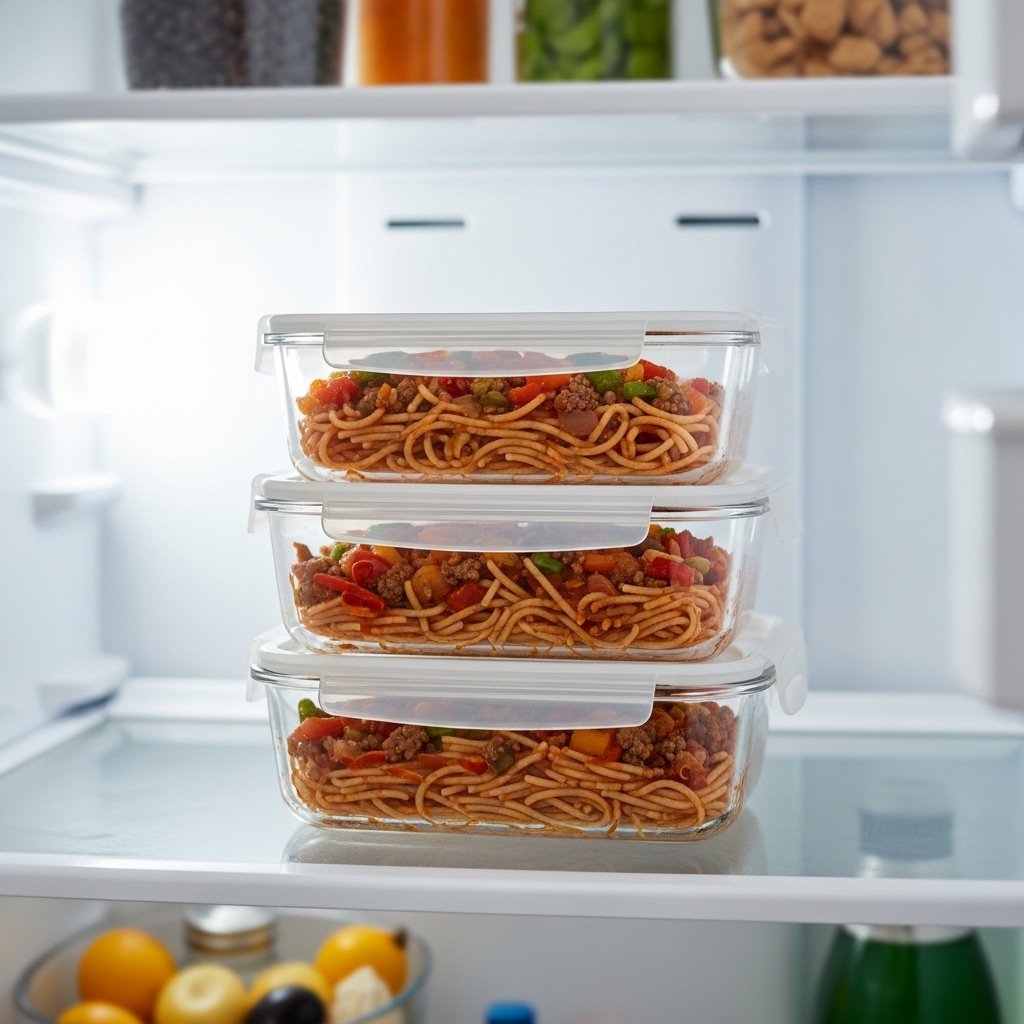
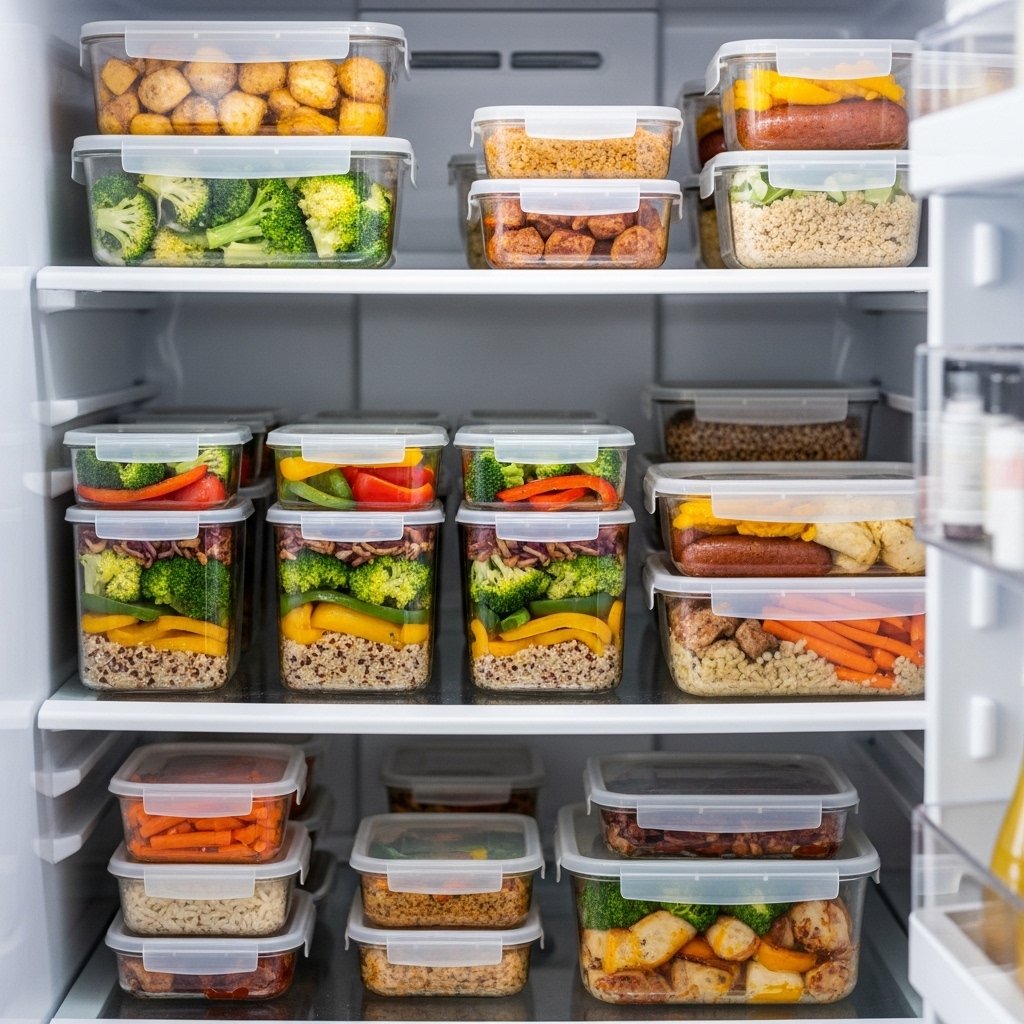
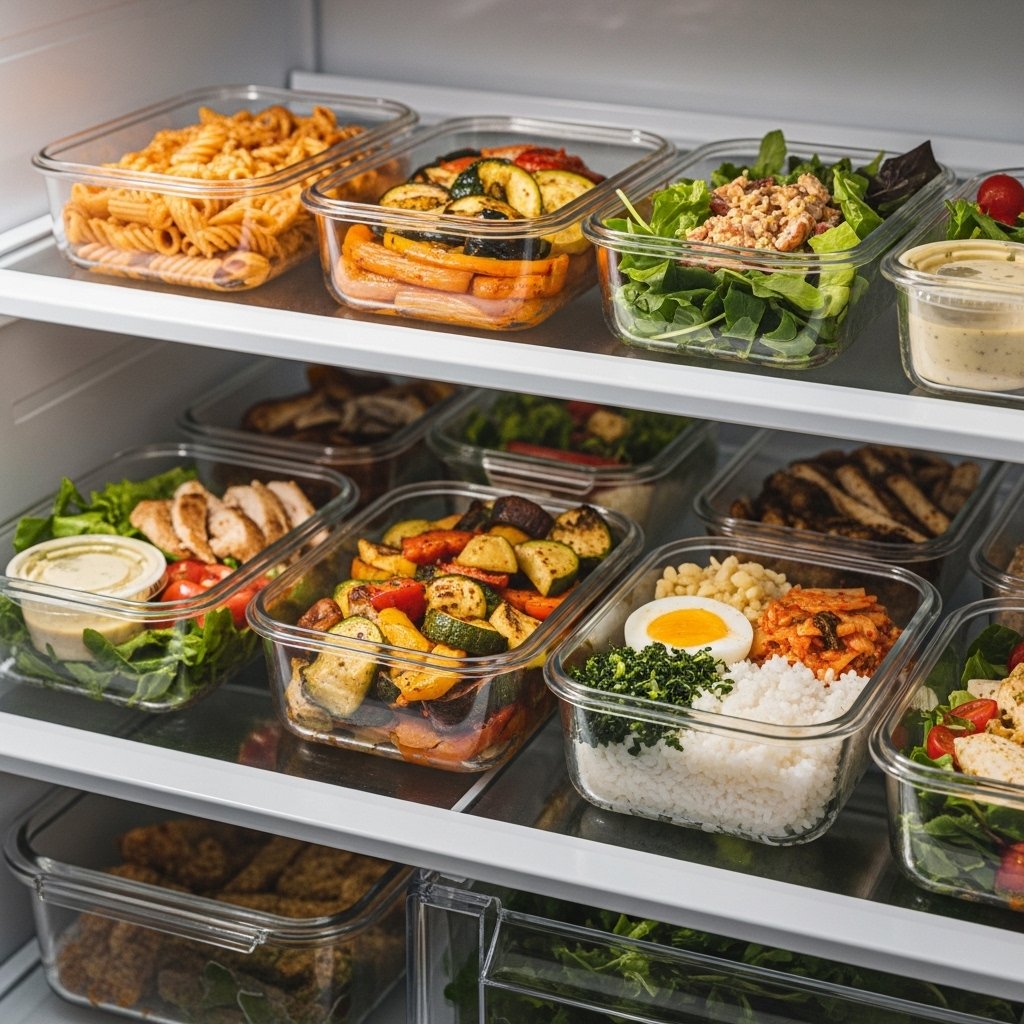
Storage & Reheating Tips
One of the biggest advantages of incredible homemade lunches is how well they work for meal prep. With proper storage, you can enjoy fresh lunches all week long.
- Store meals in airtight containers
- Keep dressings separate until ready to eat
- Refrigerate for up to 3–4 days
- Reheat gently to avoid drying out food
Planning ahead saves time and ensures you always have something delicious ready.
Common Mistakes to Avoid
Even the best intentions can go wrong without the right approach. Avoid these common mistakes when preparing incredible homemade lunches:
- Overcomplicating recipes
- Skipping seasoning
- Not balancing nutrients
- Preparing too much or too little
- Ignoring texture variety
Keeping things simple and balanced is the key to success.
FAQs
What are the easiest homemade lunches to start with?
Wraps, sandwiches, and grain bowls are great beginner-friendly options that require minimal prep.
How can I keep lunches fresh all week?
Store ingredients separately and assemble just before eating when possible.
Are homemade lunches healthier?
Yes, they allow you to control ingredients, reduce processed foods, and include more fresh items.
How do I avoid getting bored with homemade lunches?
Rotate ingredients, try new sauces, and experiment with different cuisines to keep things exciting.
Final Thoughts
Making incredible homemade lunches doesn’t have to be complicated or time-consuming. With a little planning and creativity, you can enjoy meals that are not only healthy and affordable but also genuinely delicious.
By mixing fresh ingredients, bold flavors, and smart preparation techniques, you’ll turn your everyday lunches into something you actually look forward to. Start simple, experiment often, and soon you’ll have a collection of go-to meals that make every day better.