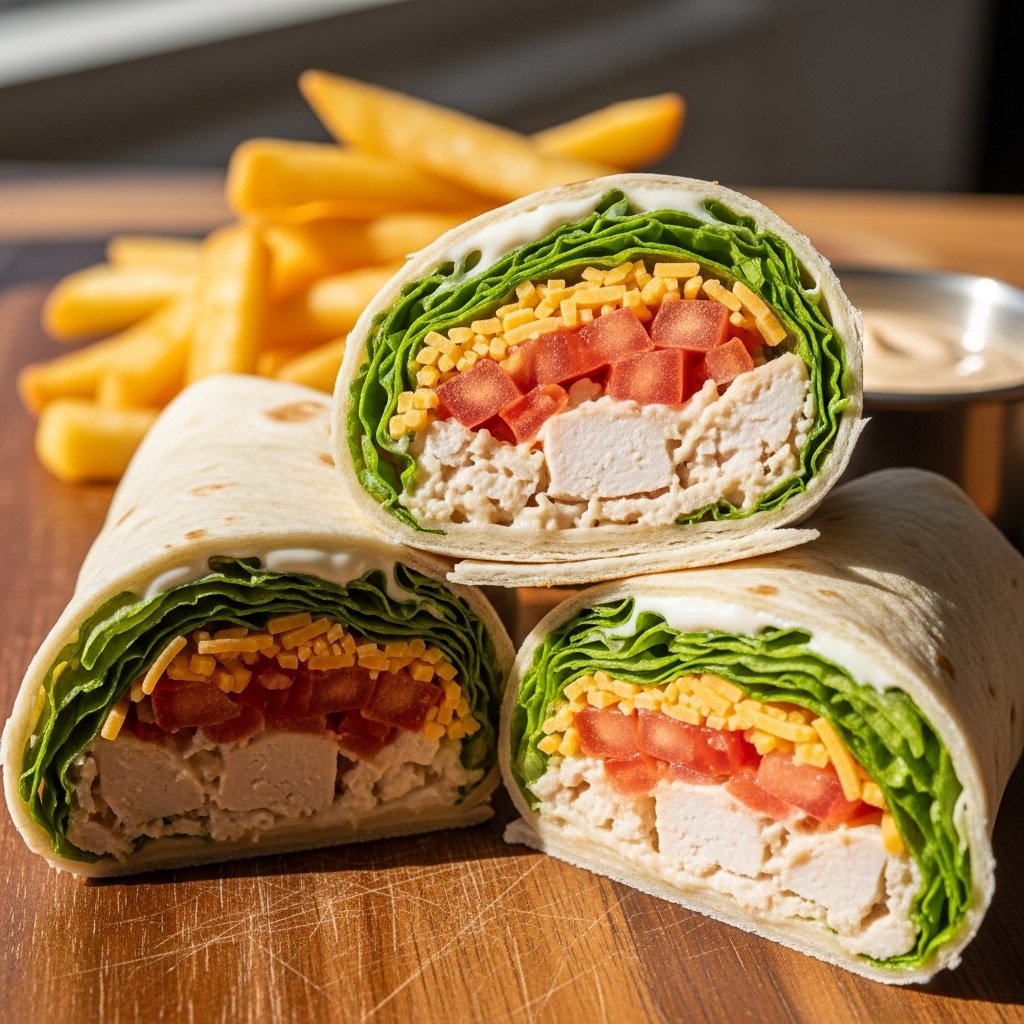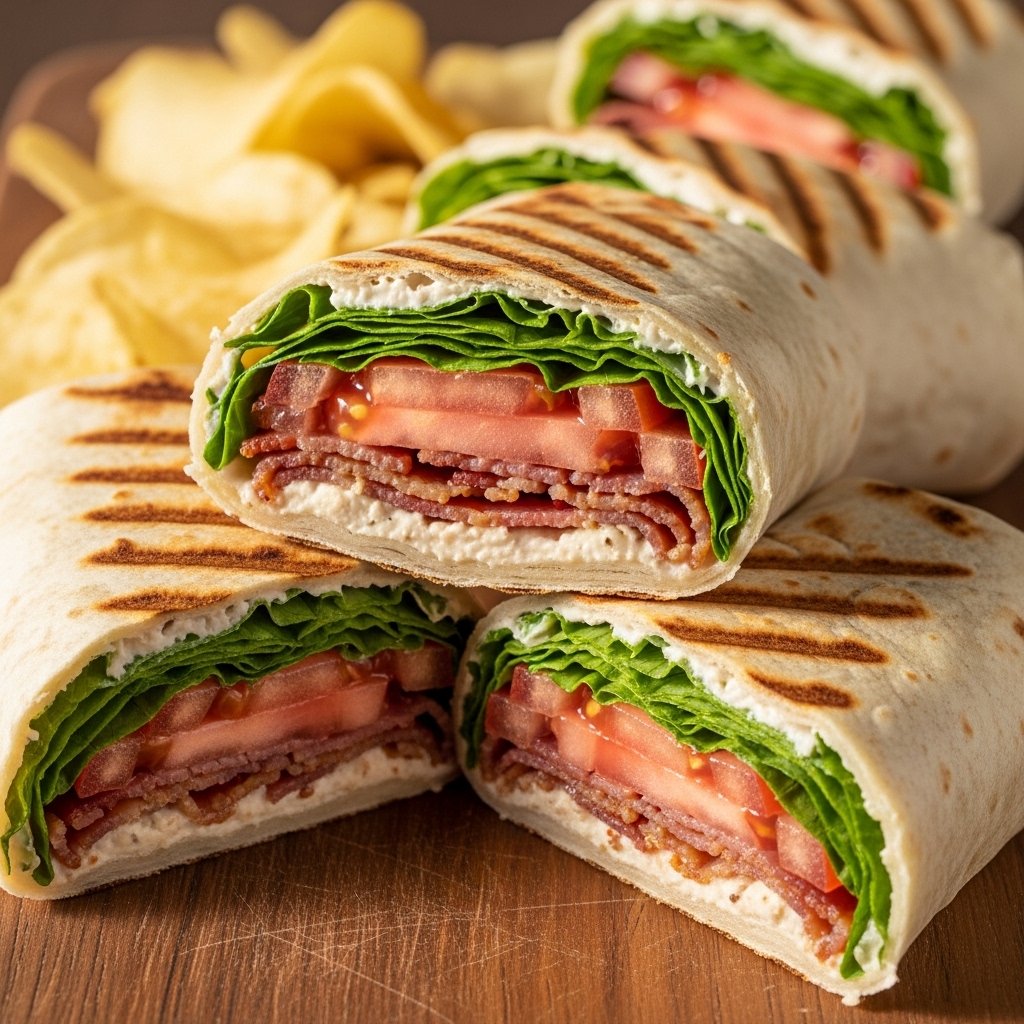
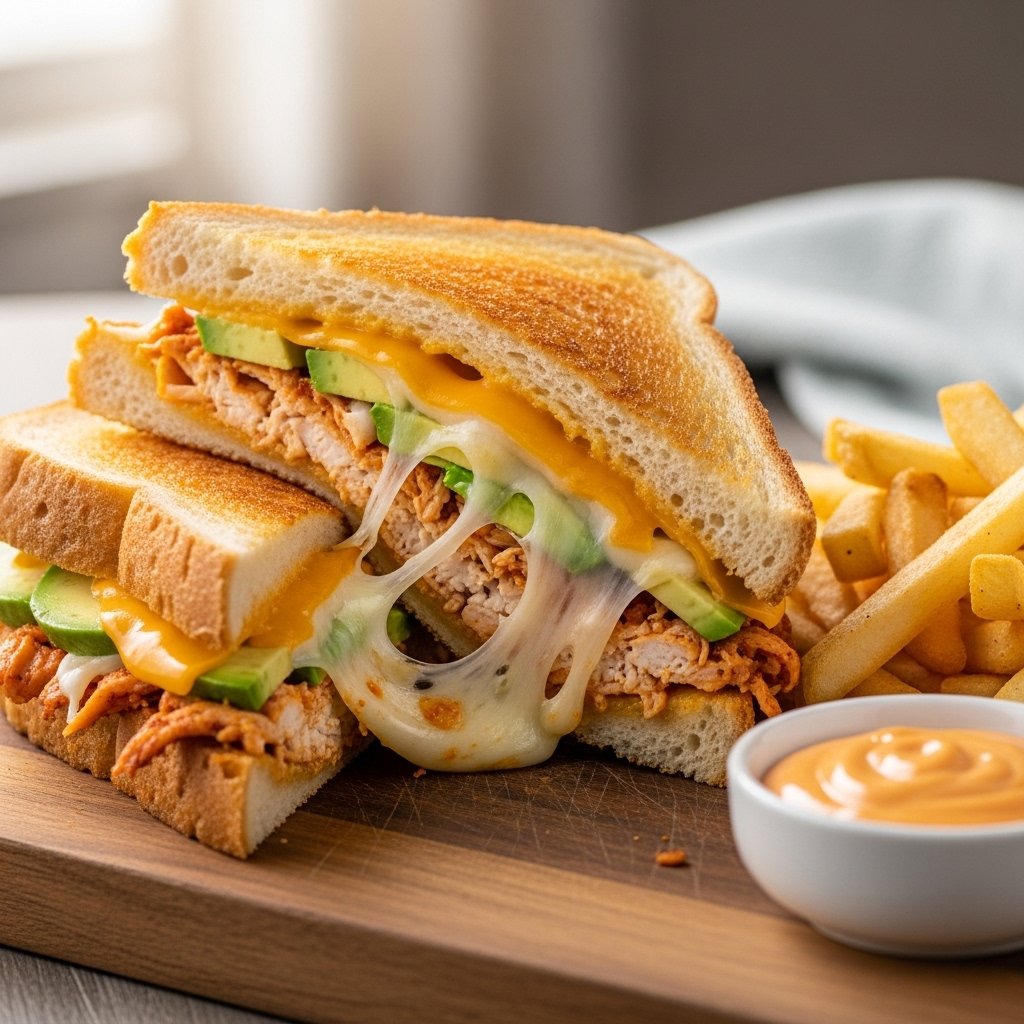
If you’re looking for a sandwich that’s warm, creamy, cheesy, and incredibly satisfying, this Chicken Avocado Melt Sandwich is exactly what you need. It combines juicy seasoned chicken, buttery avocado, and melted cheese all pressed between golden toasted bread.
This recipe is the perfect balance of comfort food and fresh ingredients. It’s quick enough for busy weekdays but delicious enough to feel like something you’d order at a café. Every bite delivers creamy avocado, savory chicken, and gooey melted cheese.
Why You’ll Love This Chicken Avocado Melt Sandwich
This Chicken Avocado Melt Sandwich is a total crowd-pleaser for so many reasons:
- Creamy avocado paired with savory chicken
- Melted cheese creates rich, gooey texture
- Quick and easy—ready in under 20 minutes
- Perfect for lunch, dinner, or snacks
- Customizable with your favorite ingredients
It’s the kind of sandwich you’ll crave again and again.
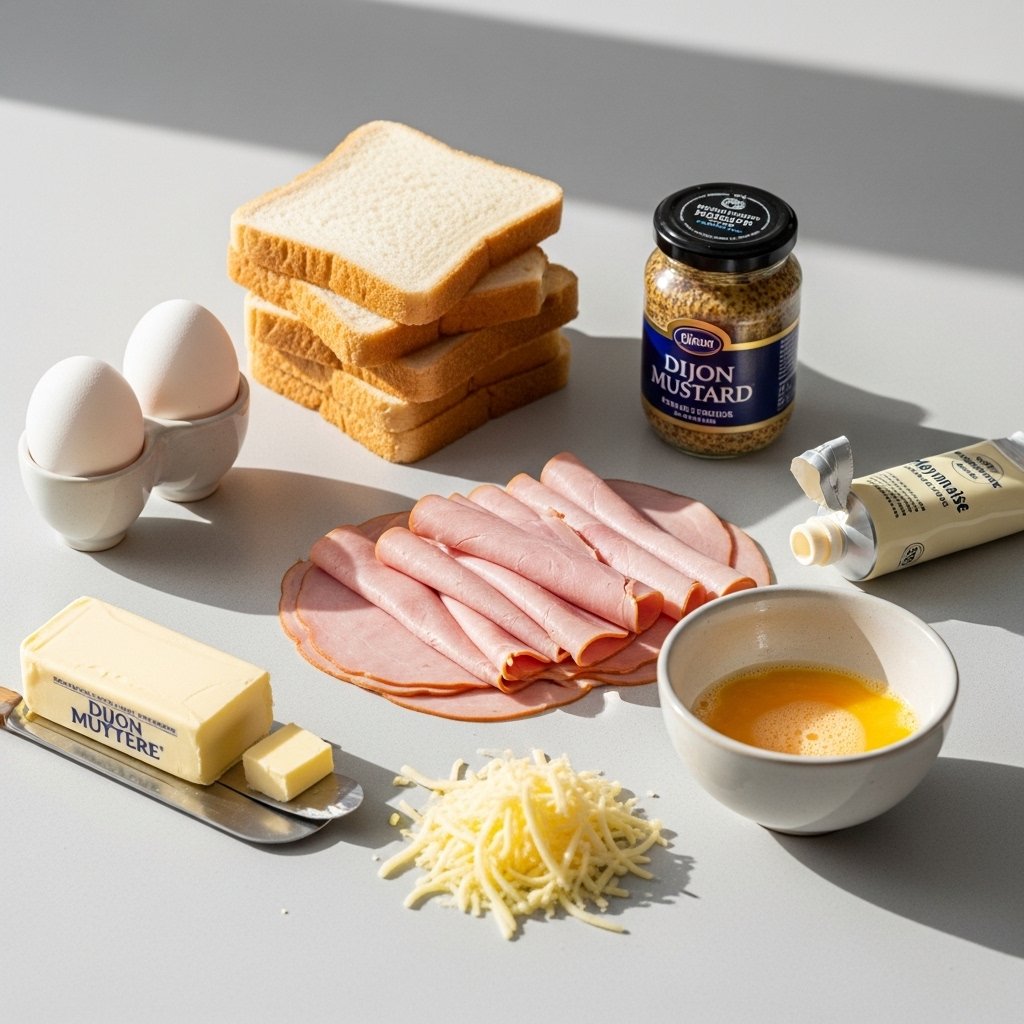
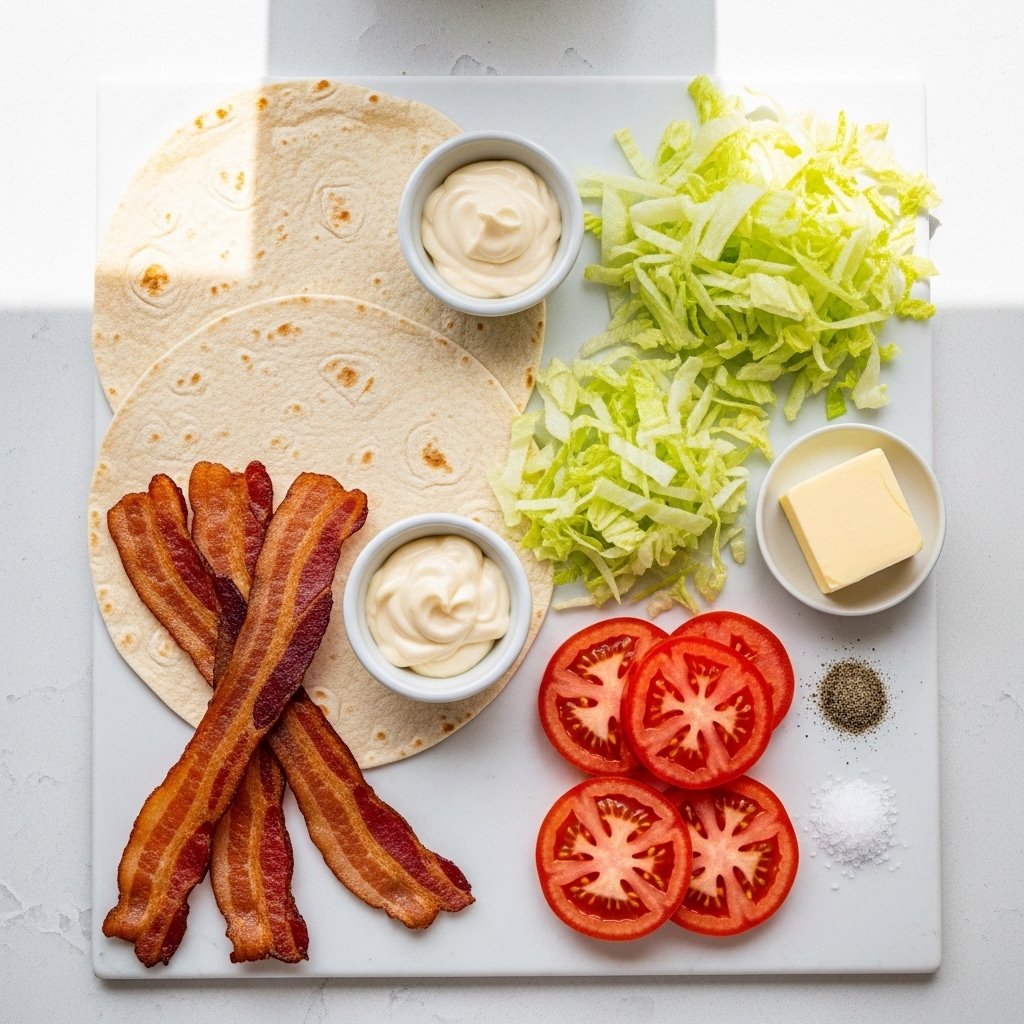
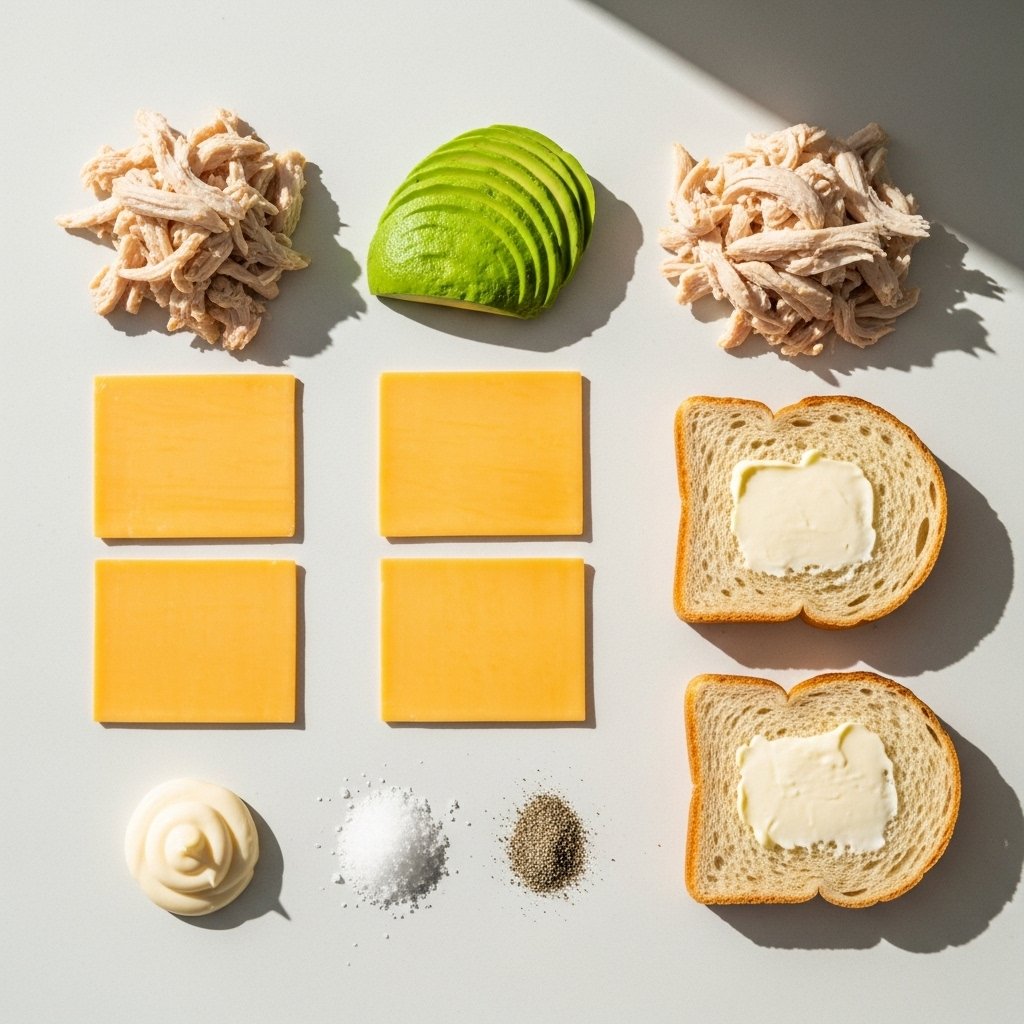
Ingredients
To make the best Chicken Avocado Melt Sandwich, you’ll need:
Main Ingredients:
- 2 cups cooked chicken (grilled or shredded)
- 1 ripe avocado, sliced or mashed
- 4 slices bread (sourdough, brioche, or whole wheat)
- 4 slices cheese (cheddar, mozzarella, or Swiss)
- 2 tbsp mayonnaise or butter
- Salt and pepper to taste
Optional Add-ins:
- Tomato slices
- Red onion
- Lettuce
- Garlic powder
- Hot sauce
Ingredient Notes
The star of this Chicken Avocado Melt Sandwich is the avocado—it adds a creamy, buttery texture that replaces heavy sauces. Make sure it’s ripe but not over-soft.
Cheese choice matters too: cheddar adds sharpness, mozzarella gives stretch, and Swiss adds a mild nutty flavor.
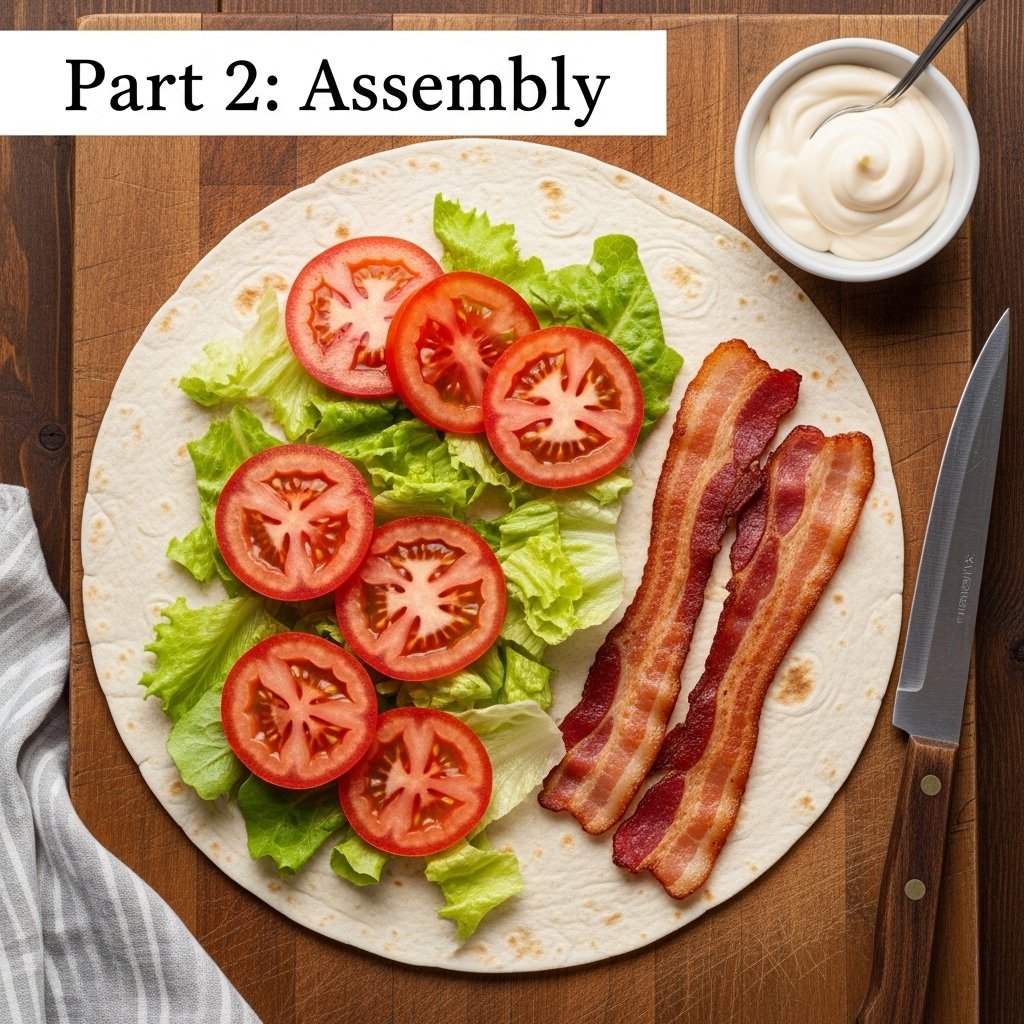
Step-by-Step Instructions
1. Prepare the Chicken
Season cooked chicken with salt, pepper, and optional spices.
2. Prep the Bread
Butter or spread mayonnaise on the outer sides of bread slices.
3. Assemble the Sandwich
Layer chicken, avocado, and cheese between bread slices.
4. Grill the Sandwich
Cook on a skillet or sandwich press until golden brown.
5. Melt to Perfection
Ensure cheese is fully melted and bread is crispy.
6. Slice and Serve
Cut in half and serve warm.

Tips for Perfect Results
To make the best Chicken Avocado Melt Sandwich, keep these tips in mind:
- Use ripe avocado for creamy texture
- Don’t overload fillings or sandwich may fall apart
- Press sandwich slightly while cooking for even crisping
- Cook on medium heat to avoid burning bread
- Serve immediately for best melt effect
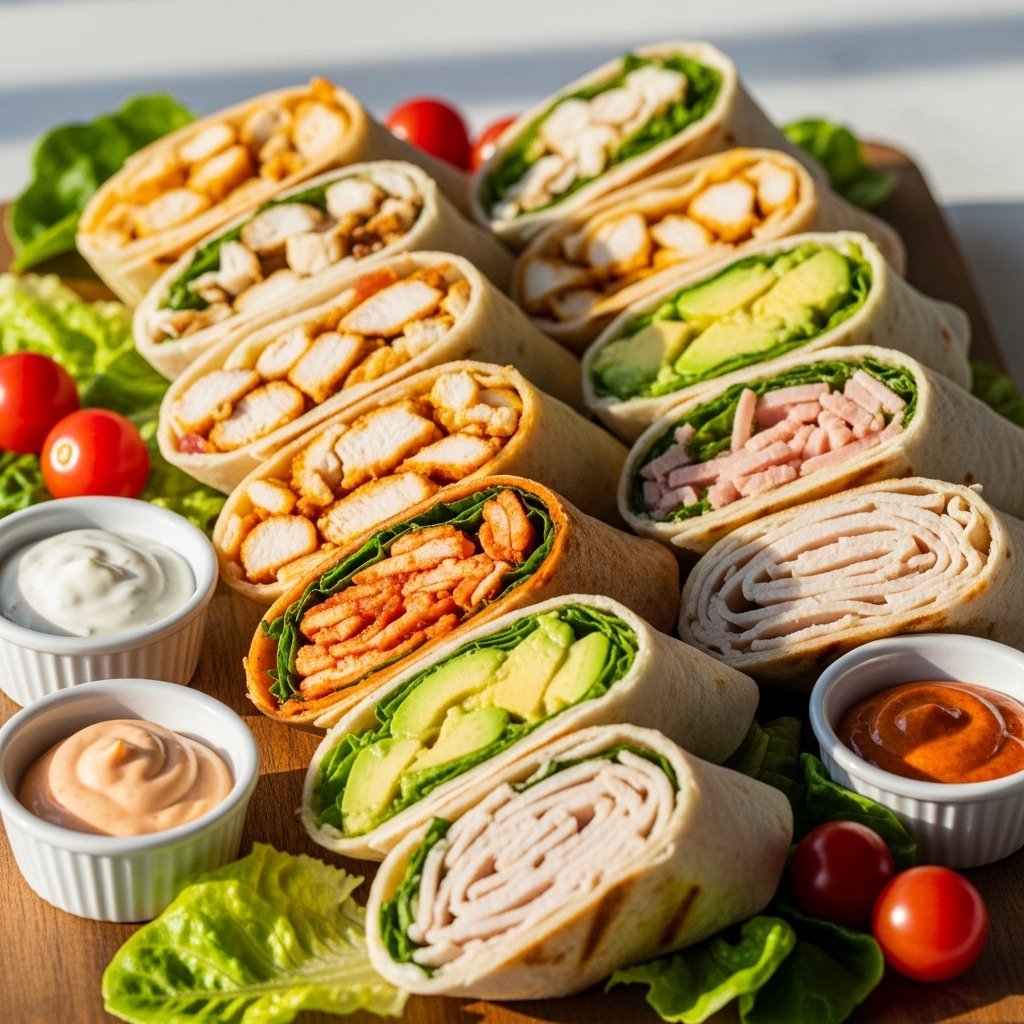
Variations
Try these delicious twists on your Chicken Avocado Melt Sandwich:
Spicy Version
Add jalapeños or hot sauce.
Bacon Chicken Melt
Add crispy bacon for extra flavor.
Healthy Version
Use whole grain bread and Greek yogurt instead of mayo.
Extra Cheesy Melt
Mix multiple cheeses for richer flavor.

What to Serve With It
This Chicken Avocado Melt Sandwich pairs perfectly with:
- French fries or sweet potato fries
- Fresh green salad
- Tomato soup
- Pickles
- Iced tea or lemonade
It works great for both lunch and dinner.
Storage & Reheating
- Best eaten fresh for ideal texture
- Store chicken separately if prepping ahead
- Reheat in skillet or air fryer
- Avoid microwaving (makes bread soggy)
Common Mistakes to Avoid
- Using underripe avocado
- Overstuffing the sandwich
- Cooking on high heat (burns bread)
- Not buttering outer bread properly
- Letting sandwich sit too long before serving
FAQs
Can I use rotisserie chicken?
Yes, it works perfectly and saves time.
What cheese is best for melting?
Cheddar, mozzarella, and Swiss all melt well.
Can I make it ahead of time?
You can prep ingredients, but grill fresh for best results.
Is this sandwich healthy?
Yes, it includes healthy fats from avocado and protein from chicken.
Final Thoughts
This Chicken Avocado Melt Sandwich is the perfect combination of creamy, cheesy, and savory flavors. It’s quick, satisfying, and incredibly versatile—making it ideal for busy weekdays or relaxed weekends.
Once you try it, it’s guaranteed to become one of your go-to sandwich recipes. Simple ingredients, bold flavor, and pure comfort in every bite 🥑🍗🧀