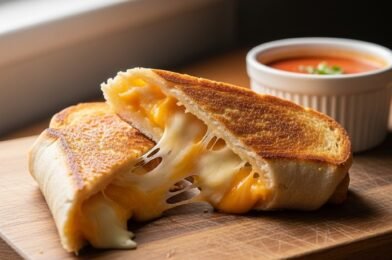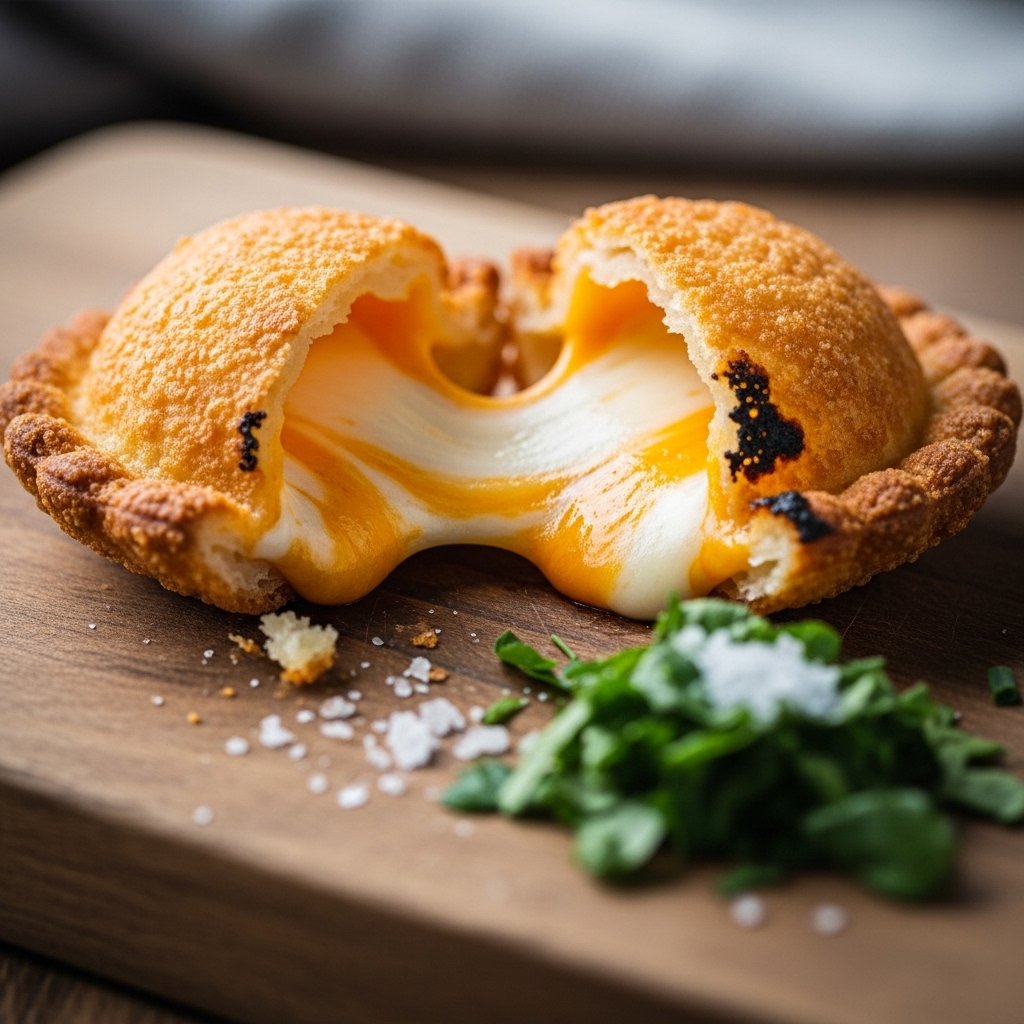
If you’re looking for the ultimate game night snack, these Cheeseburger Pretzel Bombs (Easy Game Night Recipe) are exactly what you need. Imagine juicy seasoned beef and melted cheese wrapped inside soft pretzel dough, baked until golden and brushed with buttery salt.
They’re everything you love about a cheeseburger, but in a fun, bite-sized, handheld form. Perfect for parties, movie nights, or game day spreads, these pretzel bombs are always the first thing to disappear from the table.

Why You’ll Love These Cheeseburger Pretzel Bombs
These Cheeseburger Pretzel Bombs (Easy Game Night Recipe) are a total crowd-pleaser:
- Juicy cheeseburger filling inside soft pretzel dough
- Perfect bite-sized party snack
- Easy to make with simple ingredients
- Great for game nights and gatherings
- Customizable with toppings and sauces
- Kid-friendly and freezer-friendly
Once you try them, they’ll become your go-to snack for every occasion.
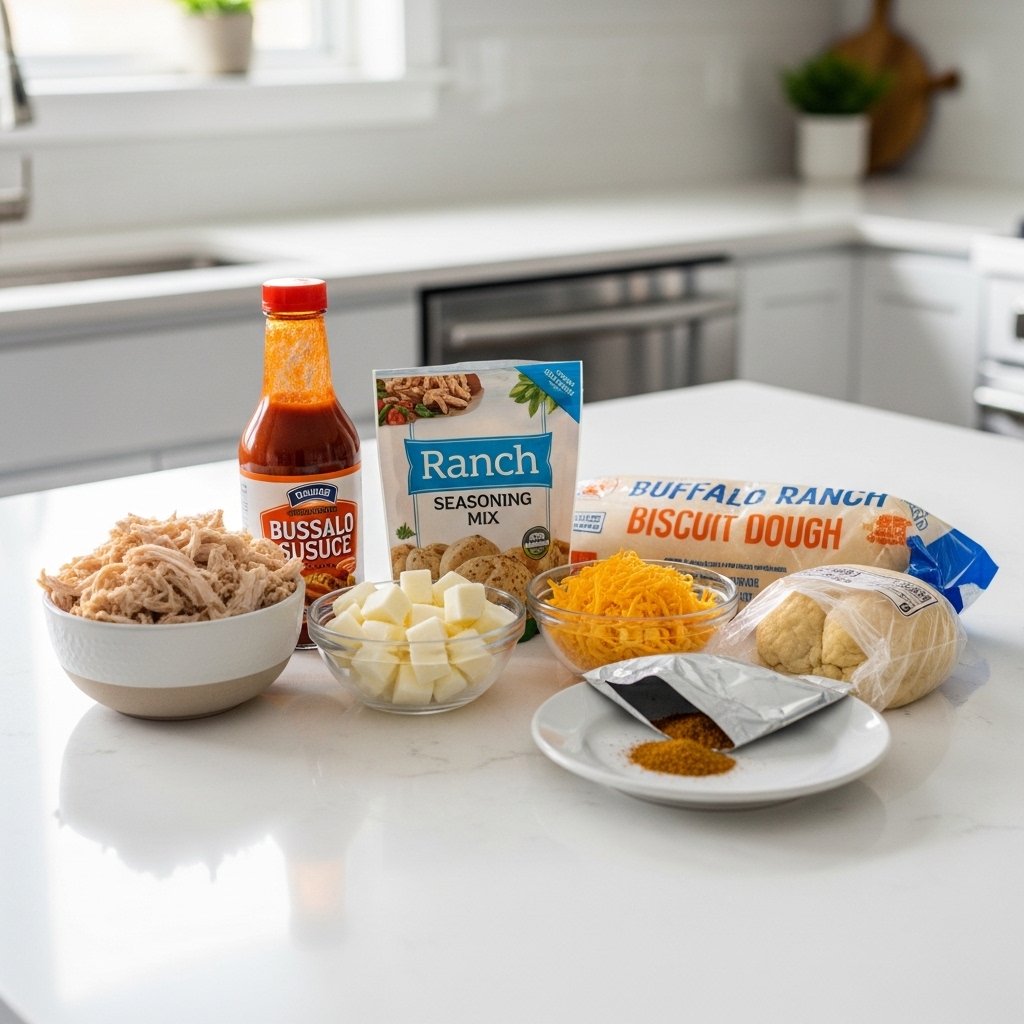
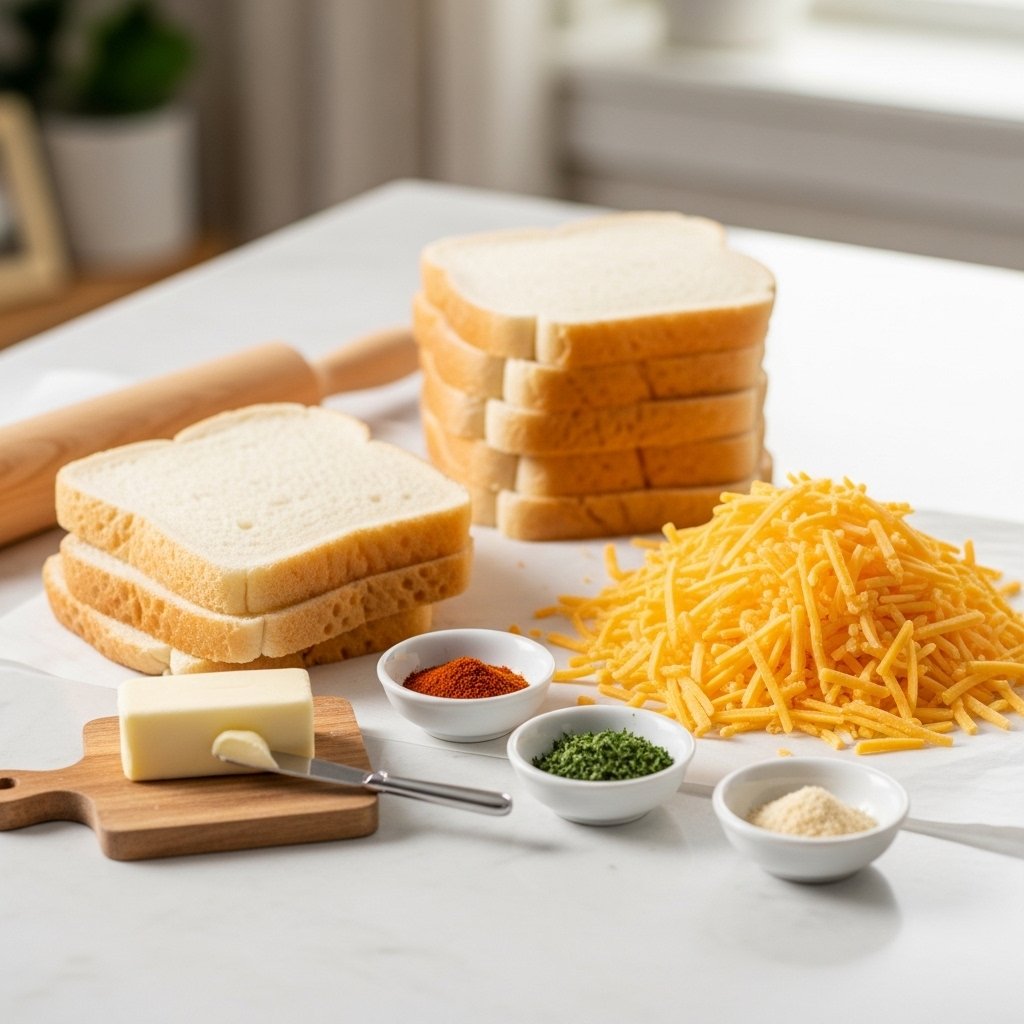
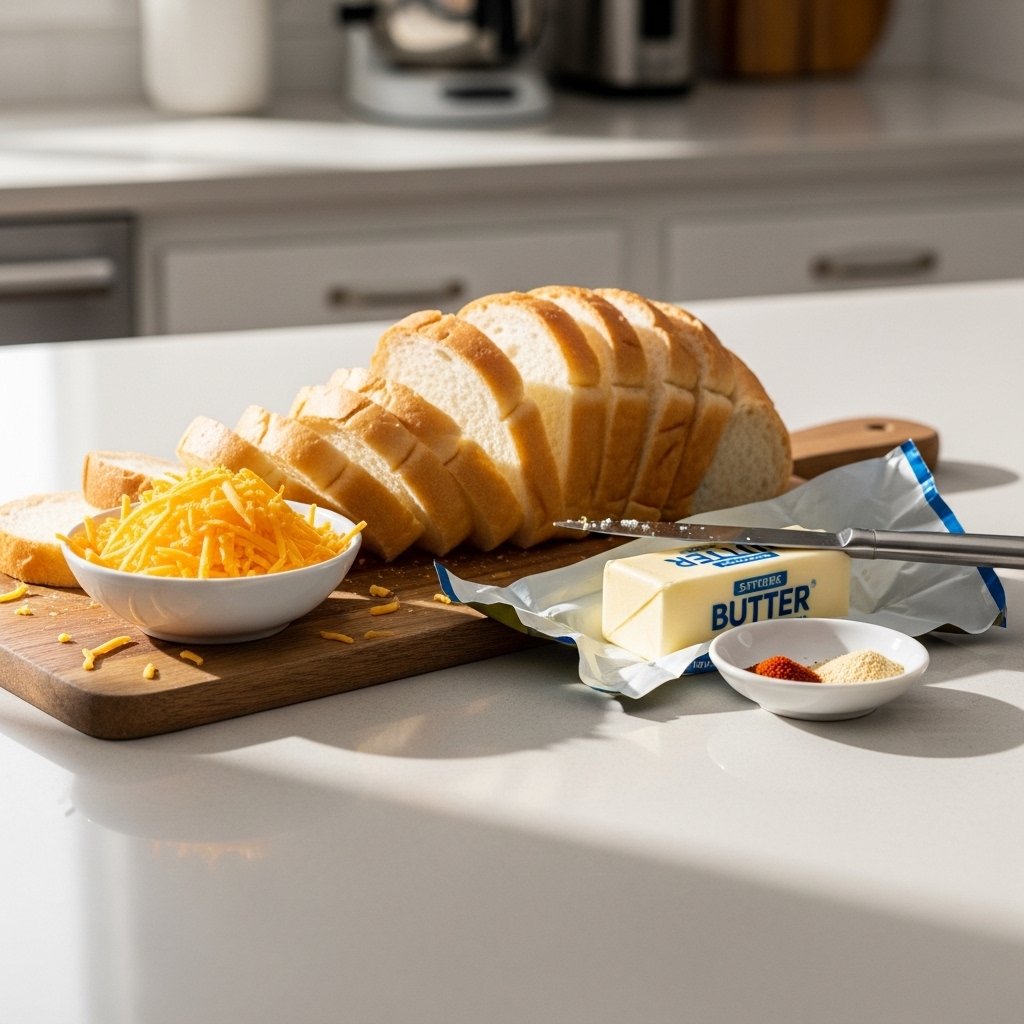
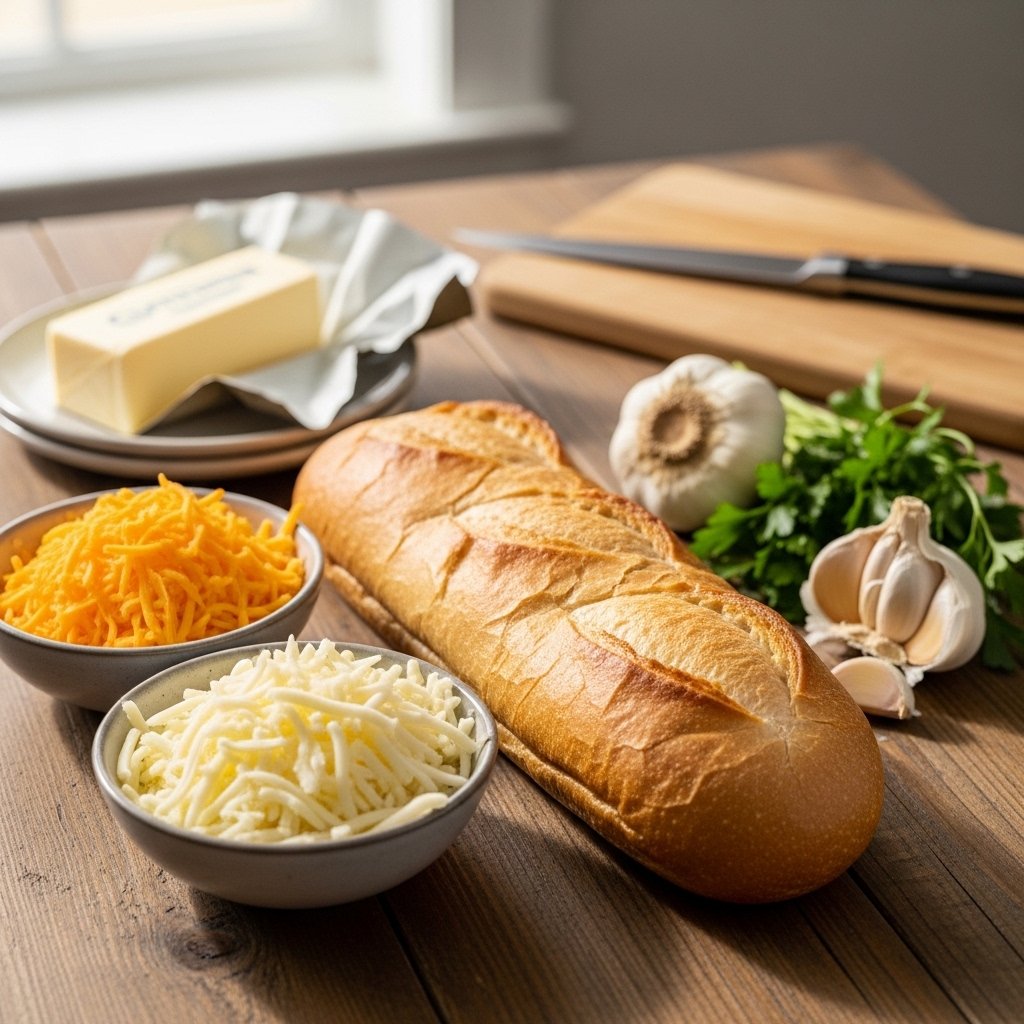
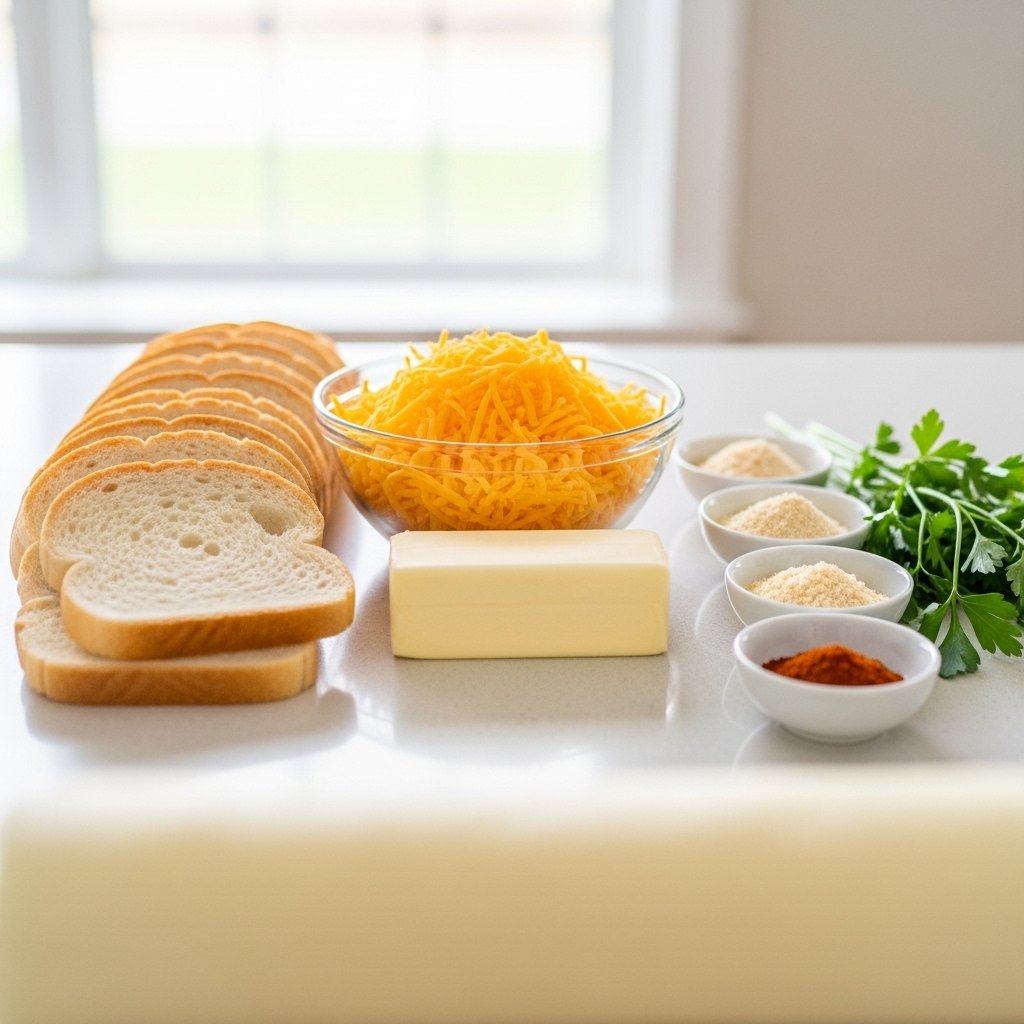
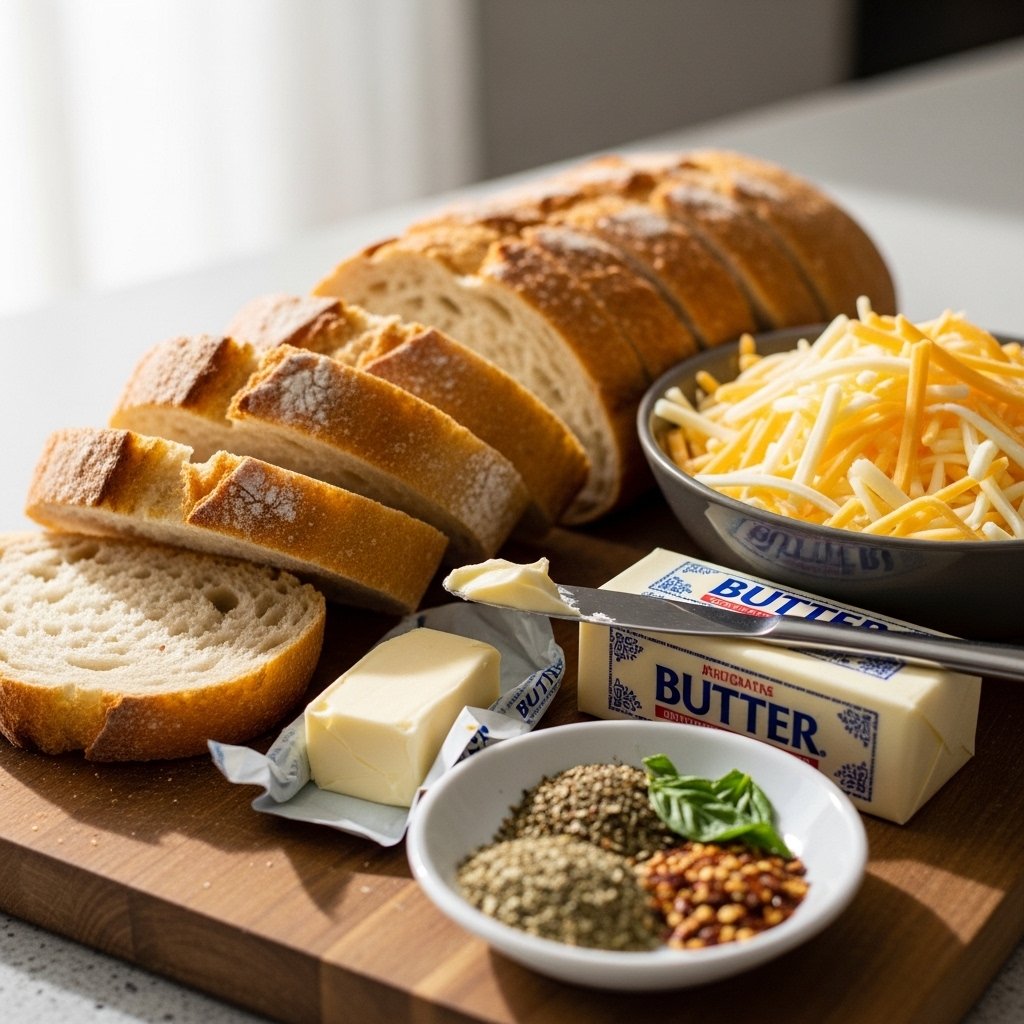
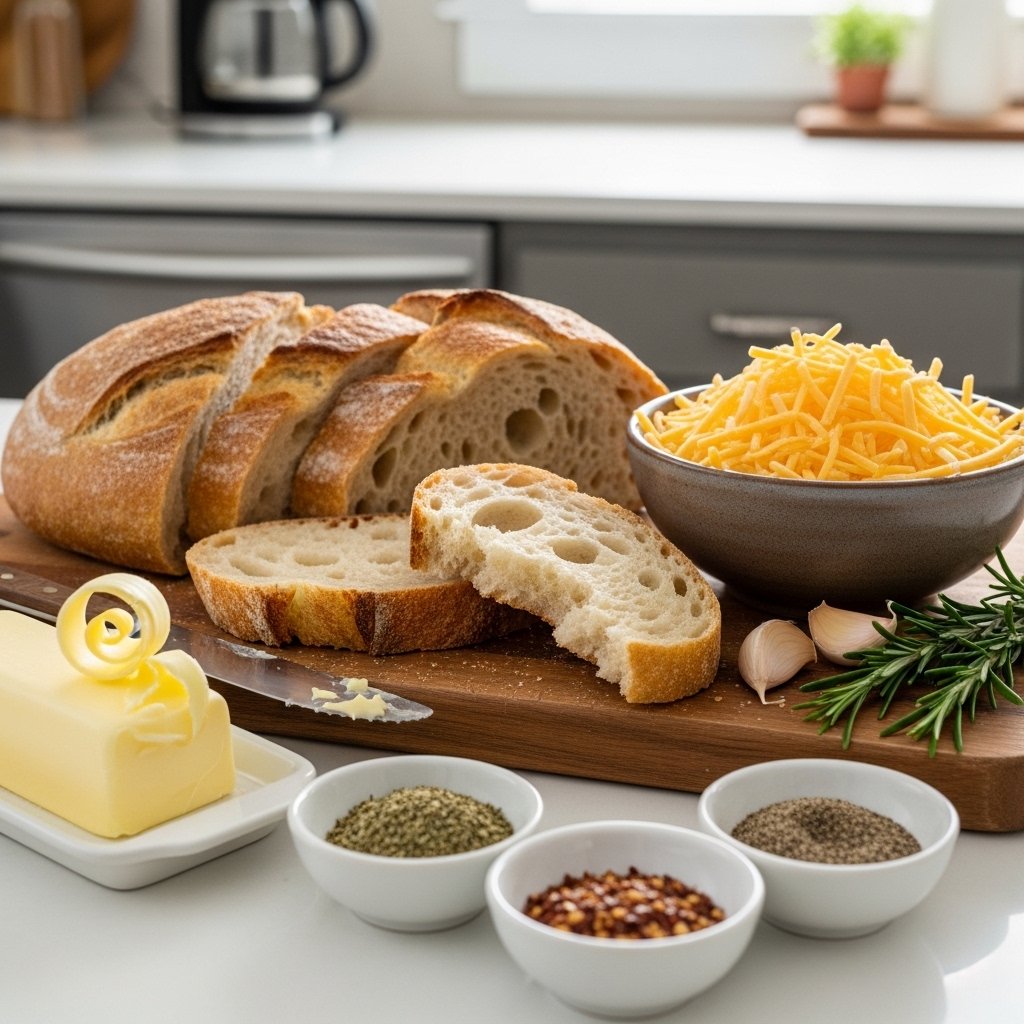
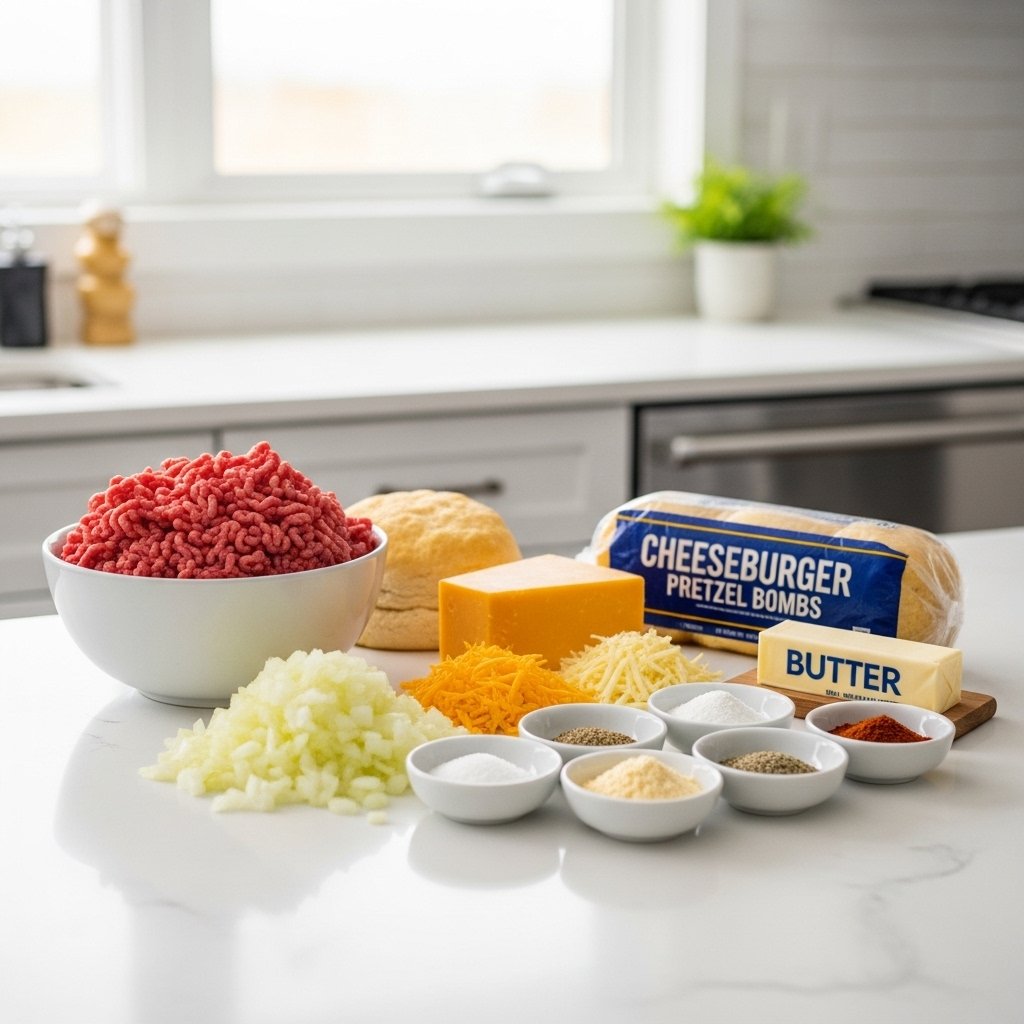
Ingredients
To make these Cheeseburger Pretzel Bombs, you’ll need:
- 1 lb ground beef
- 1 small onion, finely chopped
- 1 teaspoon garlic powder
- Salt and pepper to taste
- 1 cup shredded cheddar cheese
- 1 can refrigerated biscuit dough or pizza dough
- 4 cups water
- ¼ cup baking soda (for pretzel bath)
- 2 tablespoons melted butter
- Coarse salt for topping
- Optional: pickles, ketchup, mustard for serving
Ingredient Notes
The flavor of these Cheeseburger Pretzel Bombs (Easy Game Night Recipe) depends on simple but well-balanced ingredients.
The beef should be cooked and well-seasoned for that classic cheeseburger taste. Cheddar cheese melts beautifully and gives that rich, gooey center. The pretzel dough gets its signature chewy texture from a baking soda bath before baking, which also creates that deep golden crust.
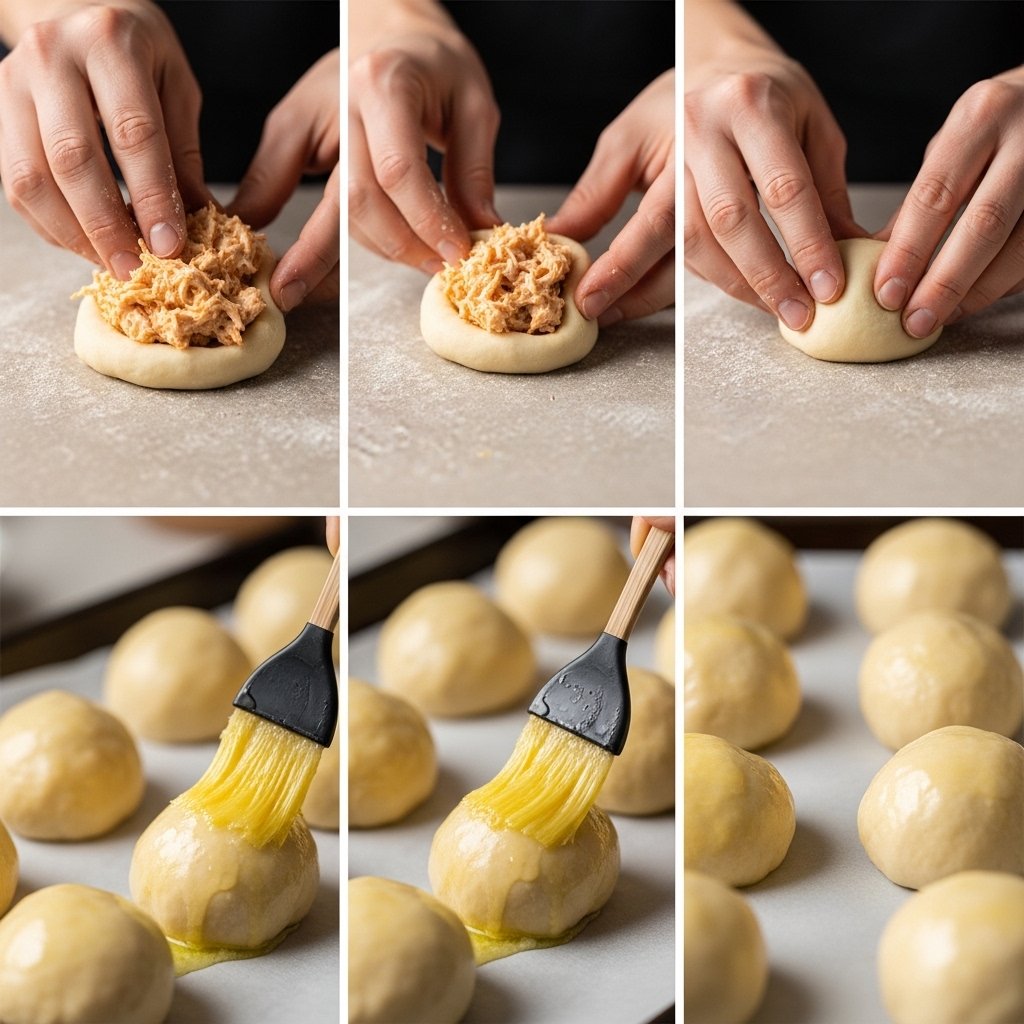
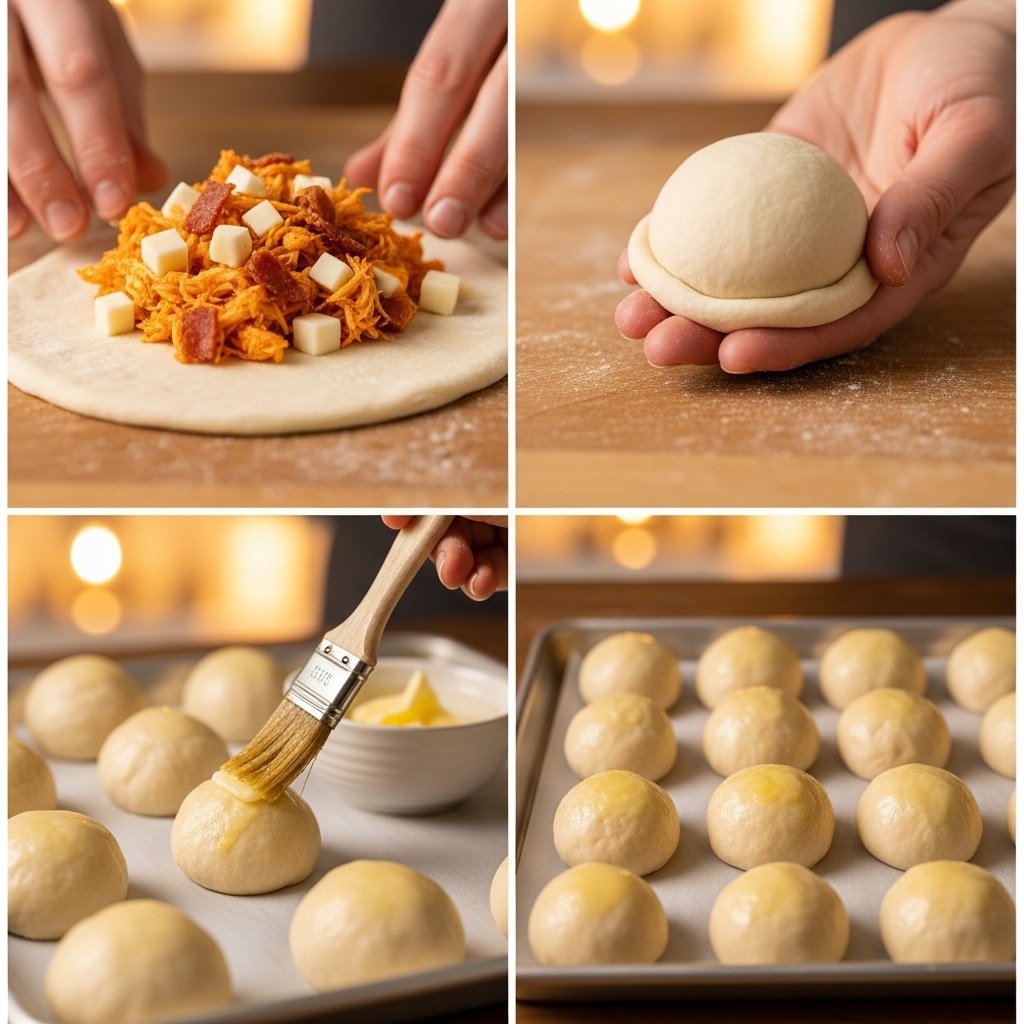
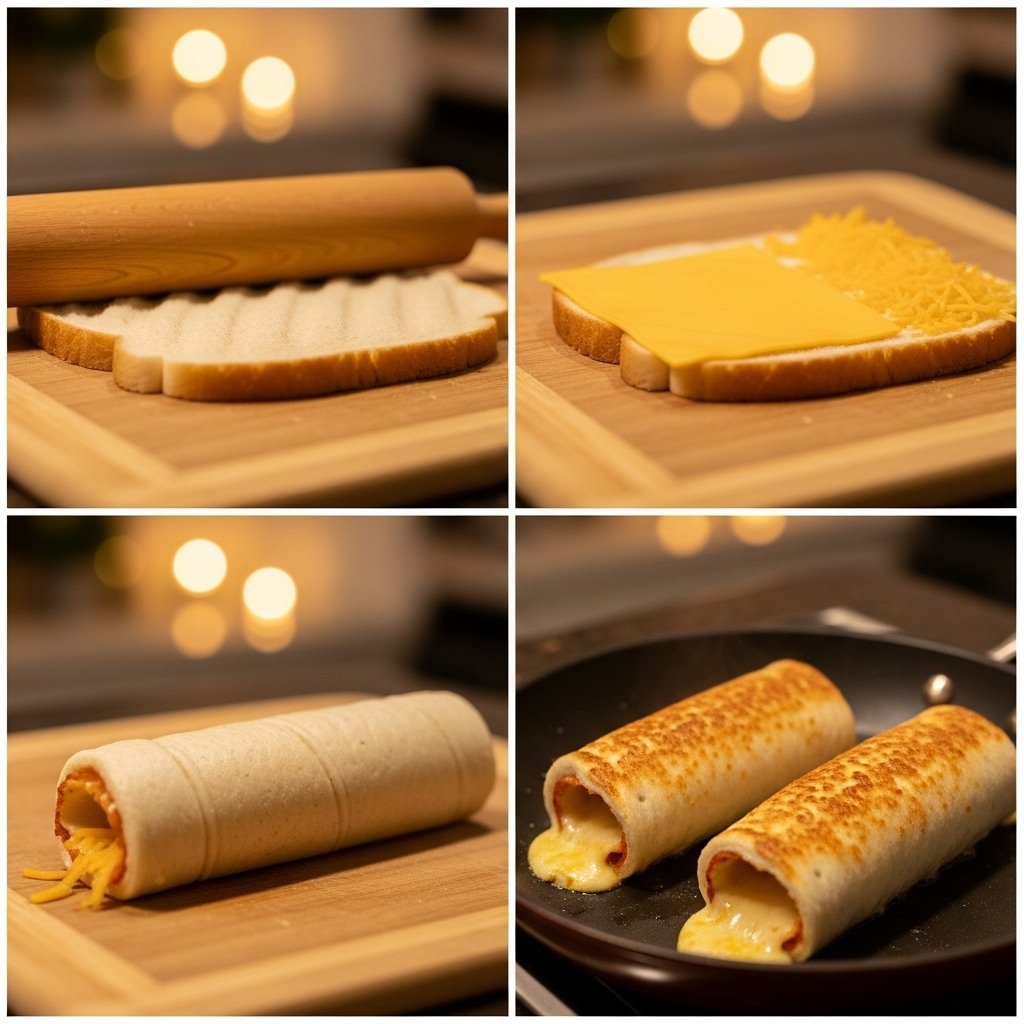
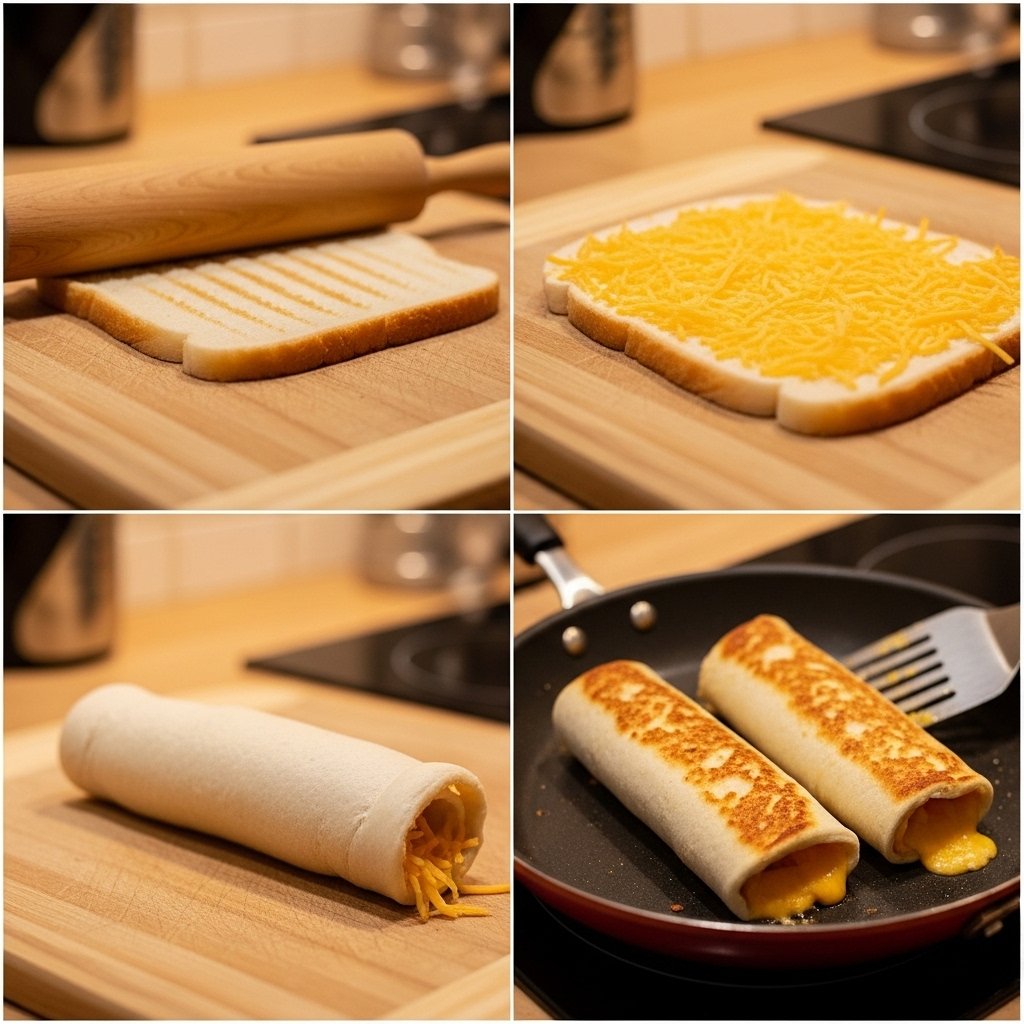
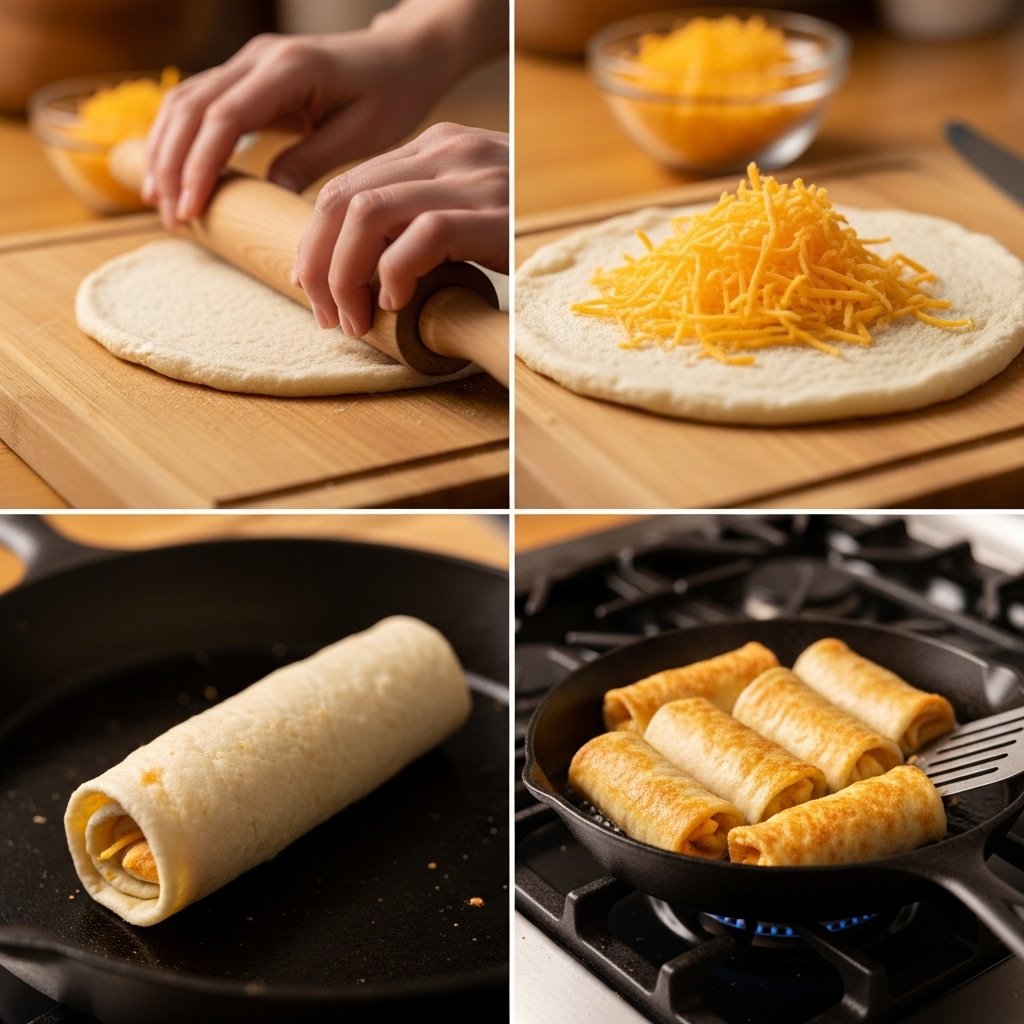
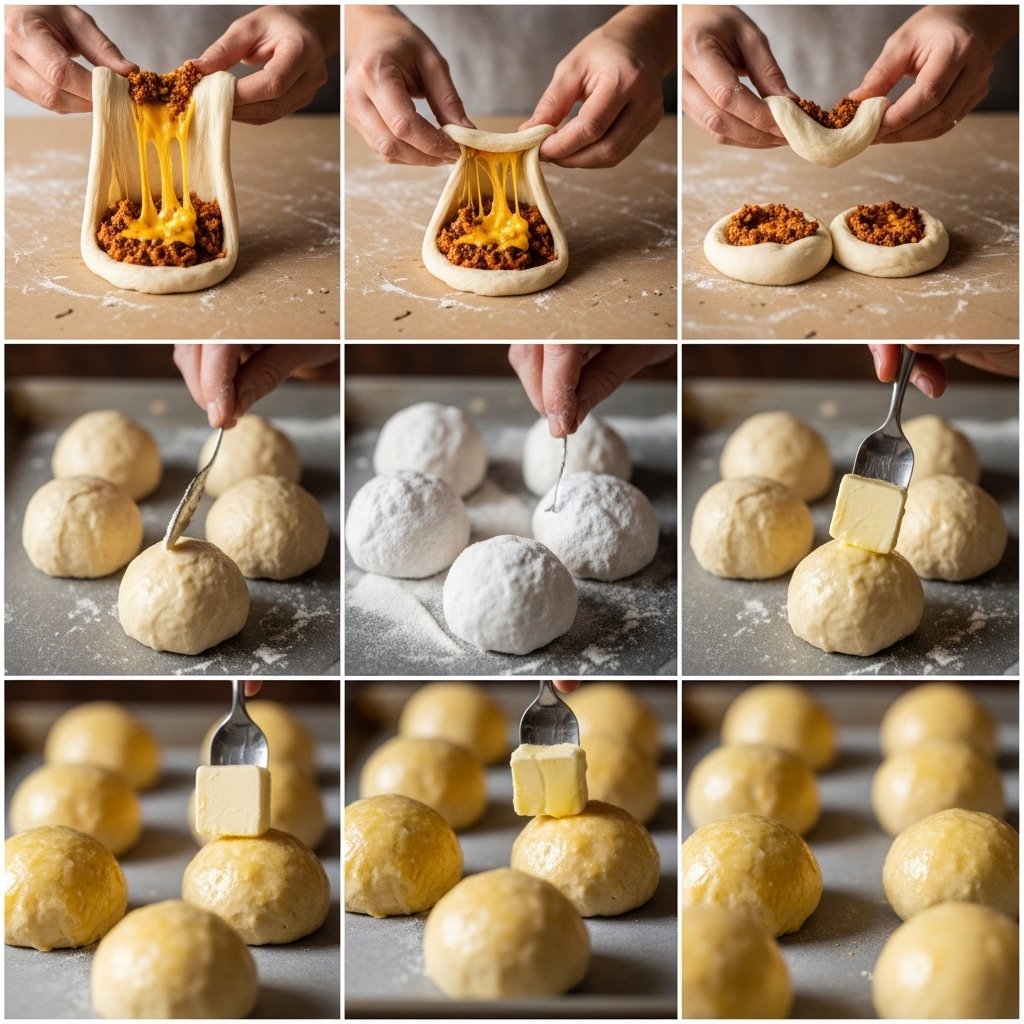
Step-by-Step Instructions
1. Cook the Beef Filling
Cook ground beef with onion, garlic powder, salt, and pepper until browned. Drain excess fat.
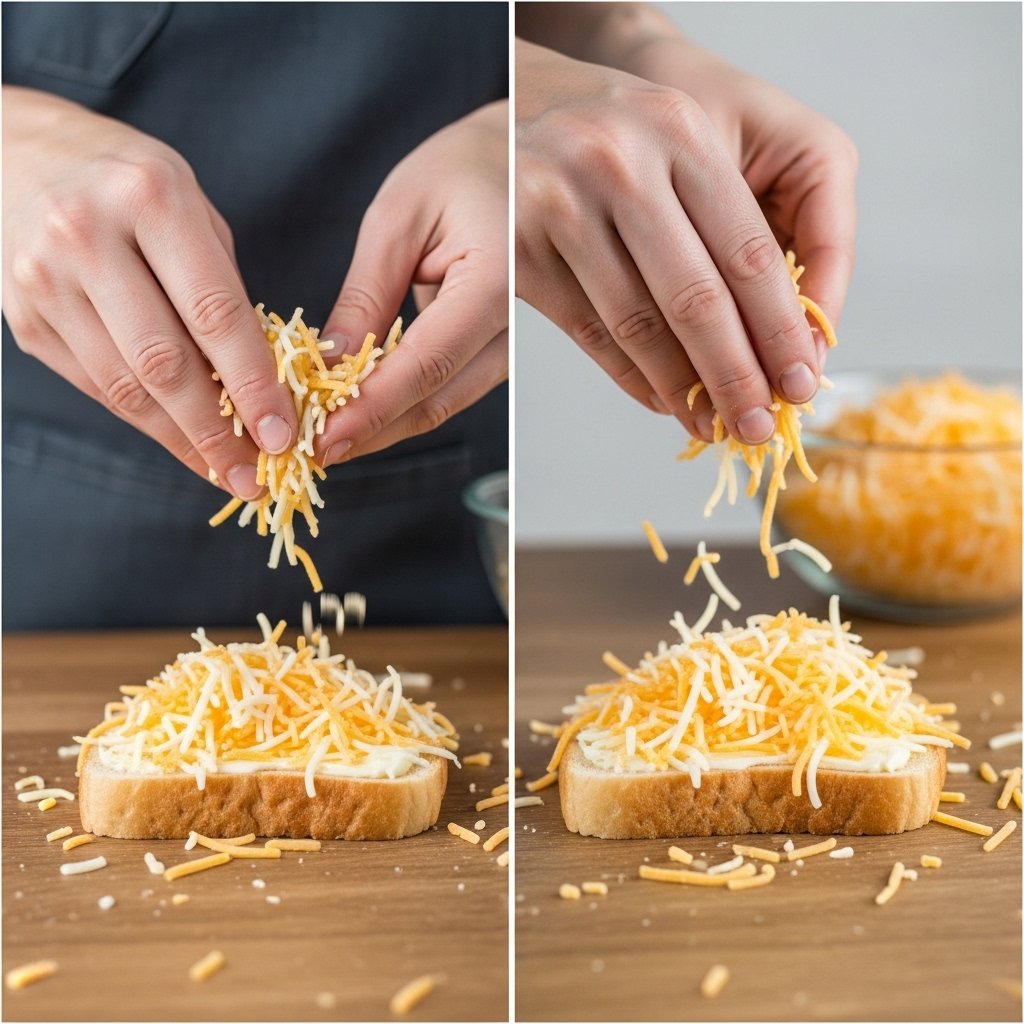
2. Add Cheese
Let beef cool slightly, then mix in shredded cheddar cheese.
3. Prepare Dough
Flatten biscuit dough pieces into circles.
4. Fill and Seal
Place beef mixture in the center and seal tightly into balls.
5. Pretzel Bath
Boil water with baking soda and briefly dip each dough ball.
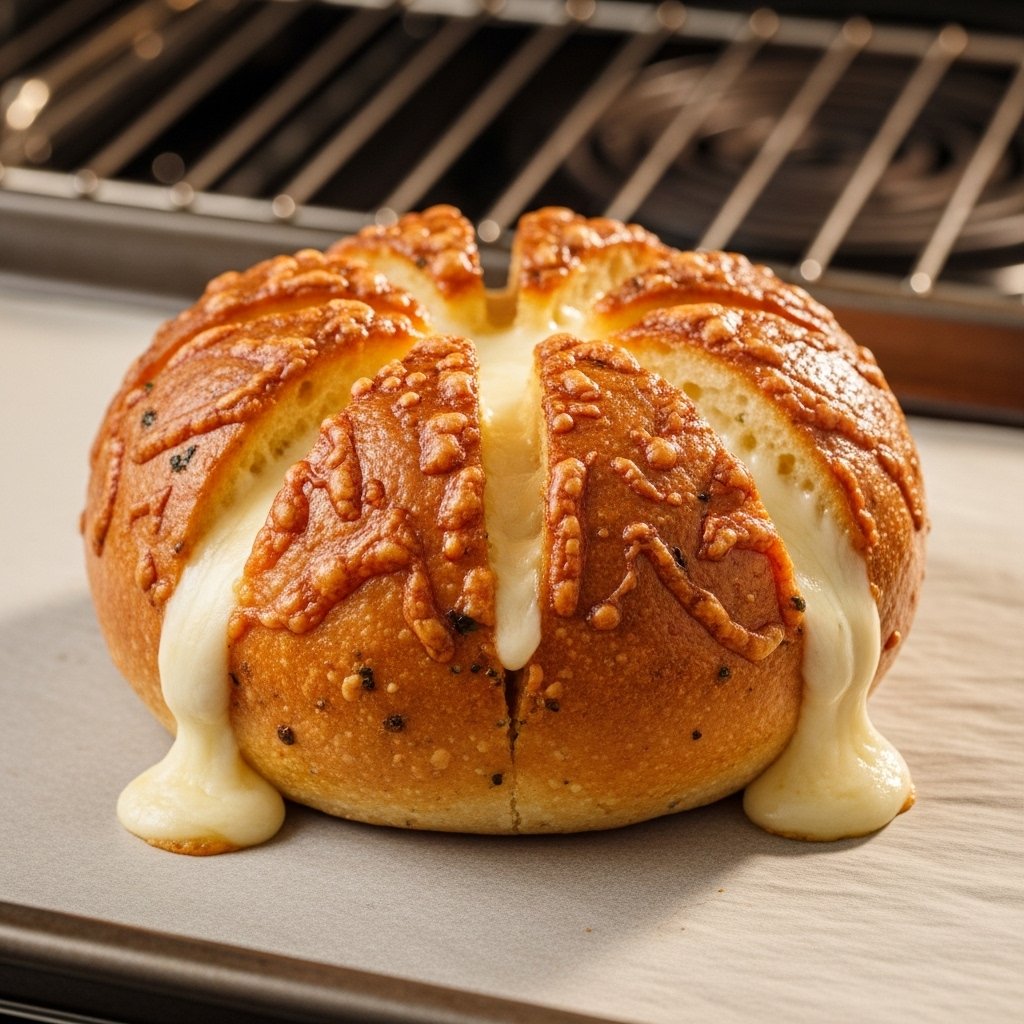
6. Bake
Place on baking sheet, brush with melted butter, sprinkle salt, and bake at 375°F for 15–18 minutes.
7. Serve Hot
Serve warm with ketchup, mustard, or burger sauce.
Tips for Perfect Results
To make the best Cheeseburger Pretzel Bombs (Easy Game Night Recipe), follow these tips:
- Don’t overfill or they may burst
- Seal dough tightly before boiling
- Use freshly cooked beef for best flavor
- Don’t skip the baking soda bath
- Brush with butter immediately after baking
These tips help you achieve perfect golden pretzel bombs every time.
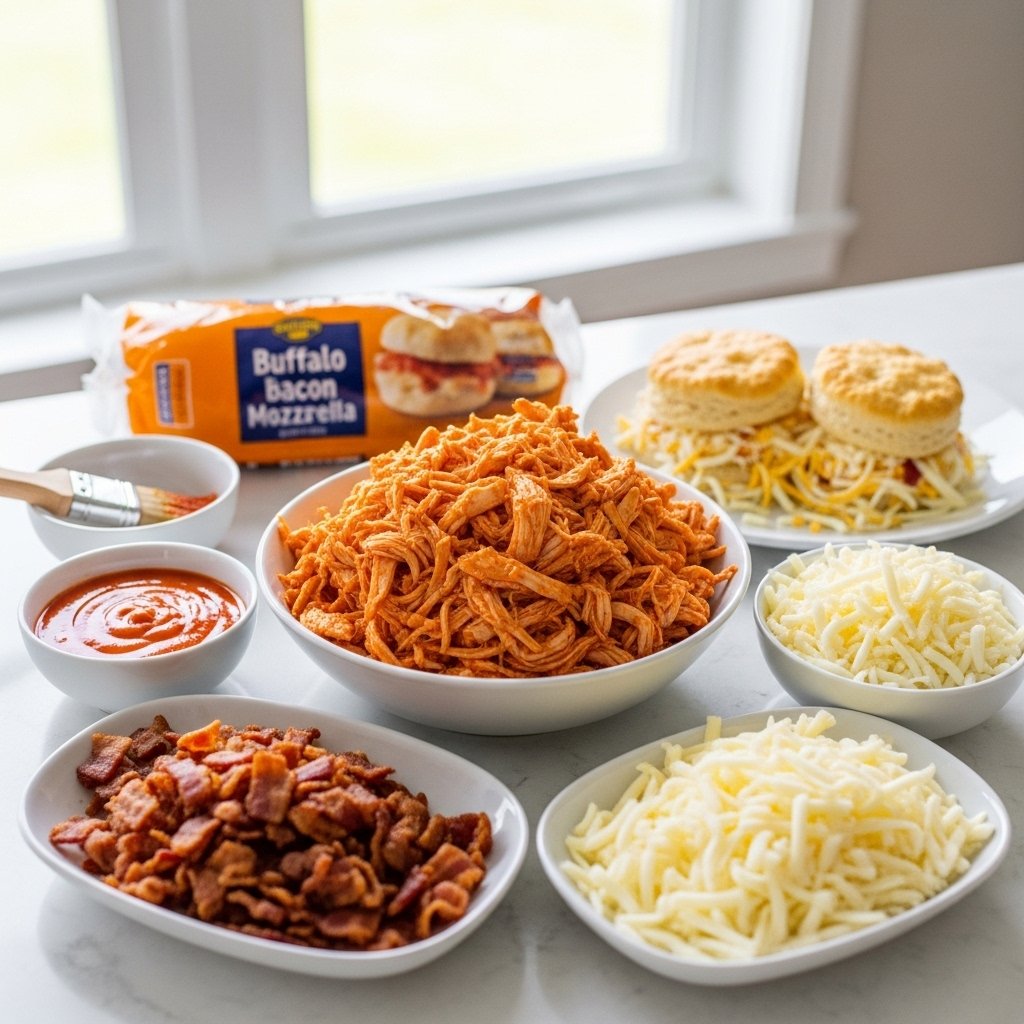
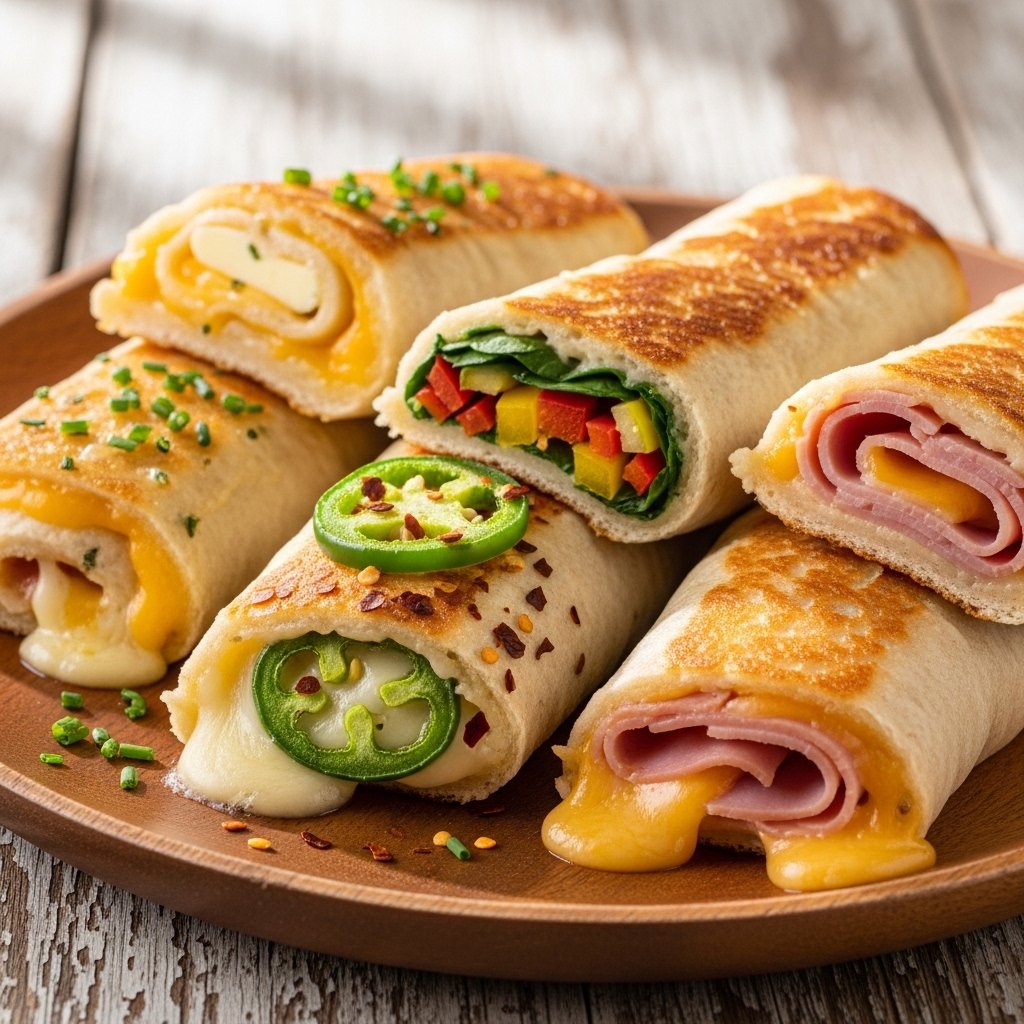
Variations
You can customize these Cheeseburger Pretzel Bombs easily:
Bacon Cheeseburger Bombs
Add crispy bacon bits to the filling.
Spicy Jalapeño Version
Add diced jalapeños for heat.
Double Cheese Bombs
Mix cheddar and mozzarella for extra gooey texture.
BBQ Cheeseburger Bombs
Replace ketchup with BBQ sauce for smoky flavor.

What to Serve With Them
These Cheeseburger Pretzel Bombs pair perfectly with:
- Ketchup and mustard
- Burger sauce or mayo dip
- Pickles
- French fries
- Coleslaw
They fit perfectly into any game day spread.
Storage & Reheating
To store your Cheeseburger Pretzel Bombs (Easy Game Night Recipe):
- Store in airtight container for up to 3 days
- Reheat in oven or air fryer for crisp texture
- Avoid microwaving to keep crust from getting soggy
They taste best freshly reheated until warm and crispy.
Common Mistakes to Avoid
When making Cheeseburger Pretzel Bombs, avoid:
- Overfilling dough balls
- Skipping baking soda bath
- Not sealing dough properly
- Using too much moisture in filling
- Overbaking until dry
Avoiding these ensures soft, cheesy perfection.
FAQs
Can I make cheeseburger pretzel bombs ahead of time?
Yes, assemble and refrigerate before baking.
Can I freeze them?
Yes, freeze before baking for best results.
What cheese works best?
Cheddar is classic, but mozzarella works too.
Can I air fry them?
Yes, air fry at 350°F for 10–12 minutes.
Final Thoughts
These Cheeseburger Pretzel Bombs (Easy Game Night Recipe) are the ultimate snack for any occasion. Soft pretzel dough, juicy beef, and melted cheese come together in one irresistible bite.
Whether it’s game night, a party, or just a fun family dinner, these pretzel bombs are guaranteed to impress every time.