Let’s be honest—weeknights can feel chaotic. Between work, school, errands, and everything in between, finding time to cook can be a challenge. That’s why these easy family meals in under 30 minutes are absolute lifesavers. They’re designed to help you get a satisfying, home-cooked dinner on the table fast—without sacrificing flavor or nutrition.
Whether you’re cooking for picky eaters, hungry teens, or just trying to avoid takeout, these quick meals strike the perfect balance between convenience and comfort. With simple ingredients and streamlined steps, you’ll spend less time in the kitchen and more time enjoying dinner with your family.

Why You’ll Love These Easy Family Meals in Under 30 Minutes
These recipes are created with real life in mind—busy schedules, limited time, and the need for something everyone will actually eat.
- Ready in 30 minutes or less
- Uses simple, pantry-friendly ingredients
- Minimal prep and cleanup
- Kid-friendly flavors
- Perfect for weeknight dinners
Once you start relying on these easy family meals in under 30 minutes, dinner will feel less like a chore and more like a win.
Ingredients
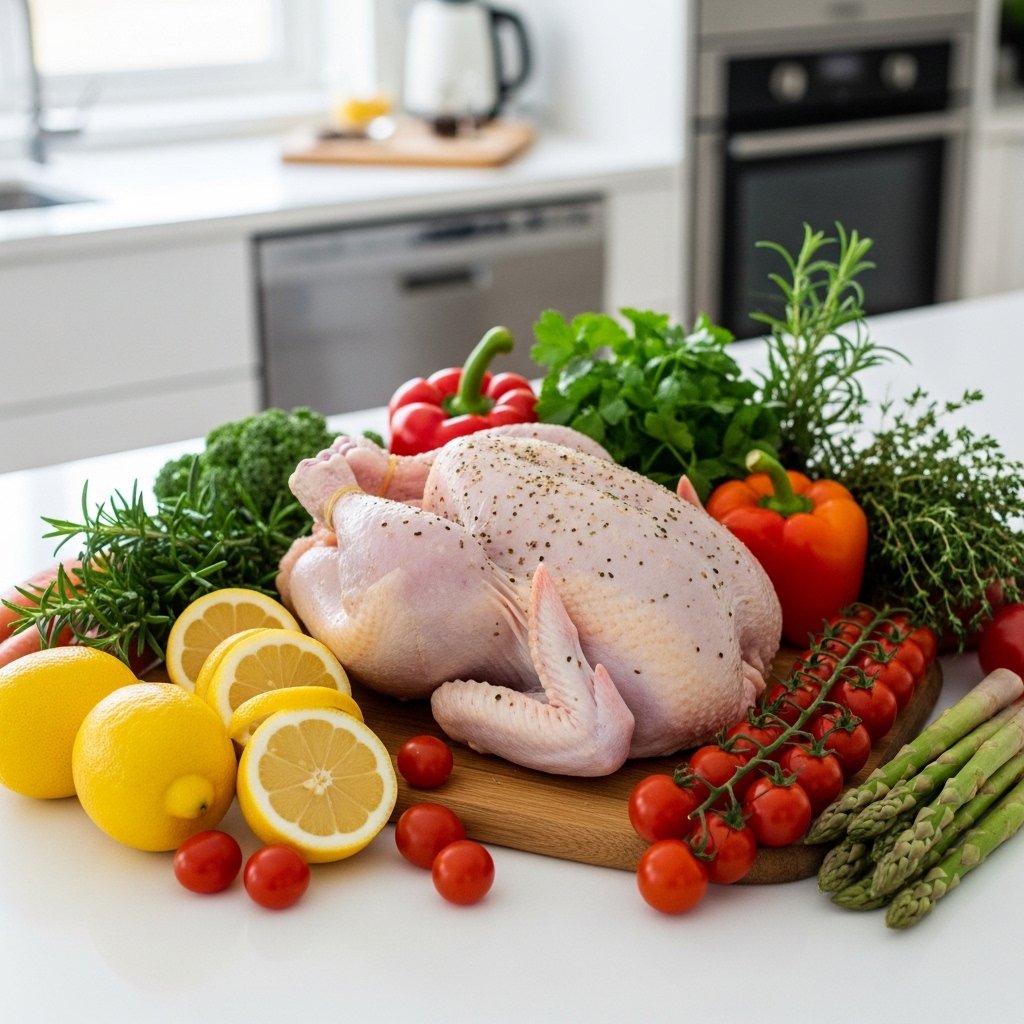
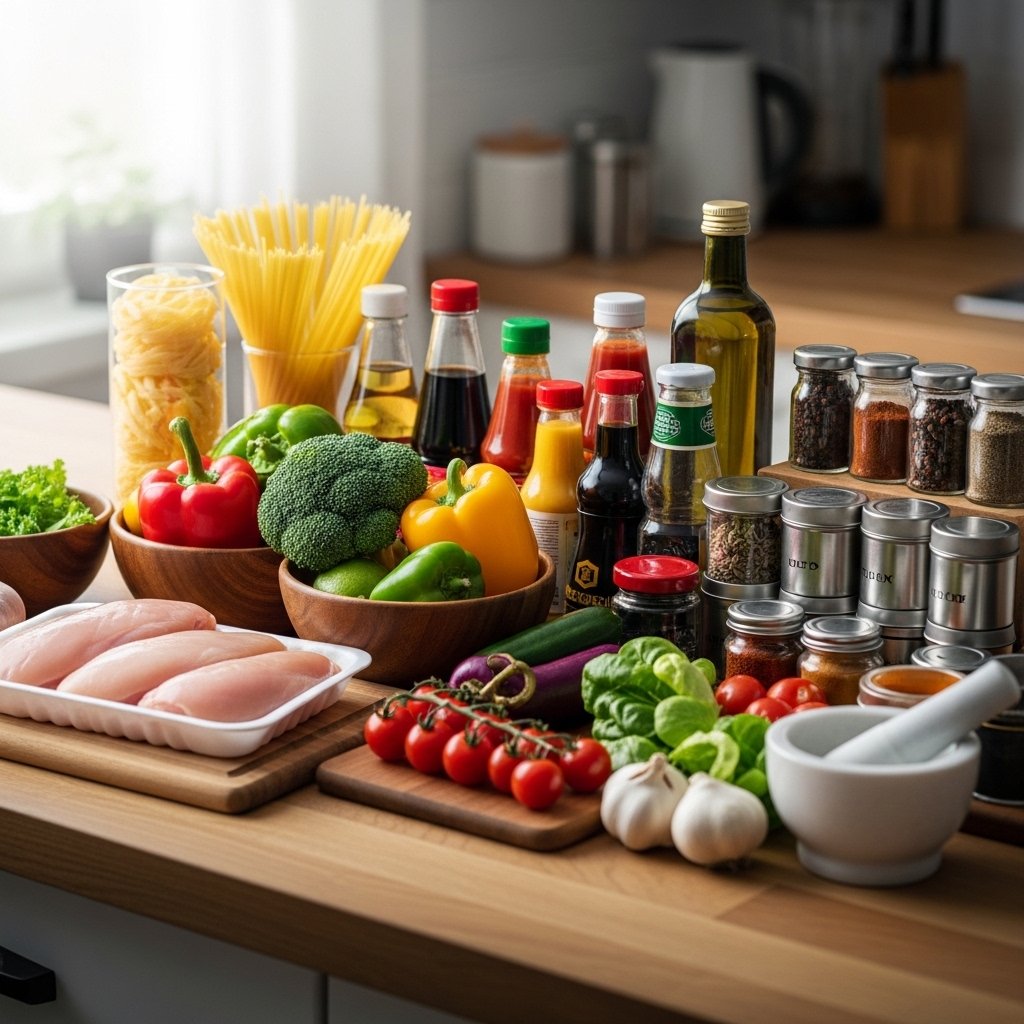
While specific recipes may vary, most easy family meals in under 30 minutes rely on a core set of versatile ingredients:
- Boneless chicken, ground beef, or shrimp
- Pasta, rice, or tortillas
- Fresh or frozen vegetables
- Olive oil or butter
- Garlic, onion, and basic spices
- Cheese (cheddar, mozzarella, parmesan)
- Simple sauces (marinara, soy sauce, BBQ sauce)
Keeping these staples on hand makes it easy to throw together a quick meal anytime.
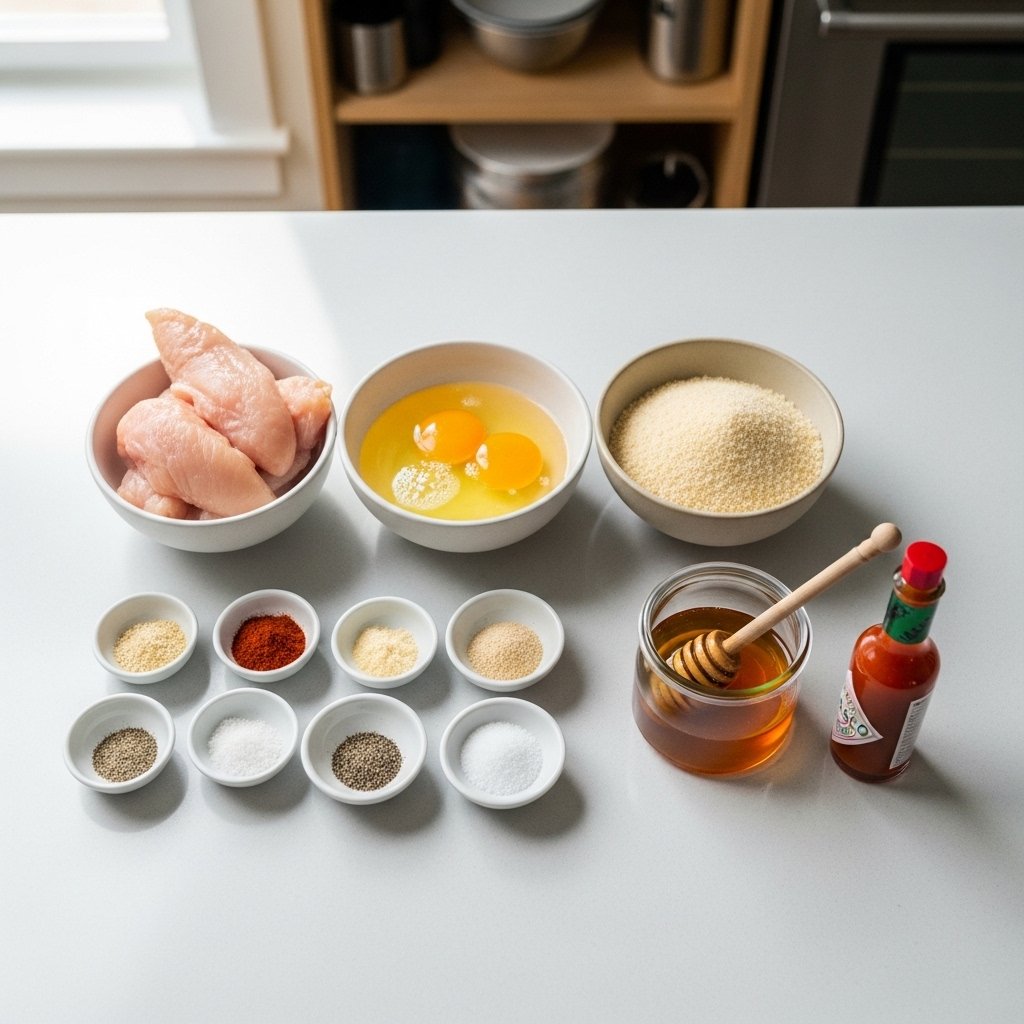
Ingredient Notes
The secret to mastering easy family meals in under 30 minutes is smart ingredient choices. Pre-cut vegetables, rotisserie chicken, and quick-cooking grains like couscous or instant rice can shave off valuable minutes.
Don’t be afraid to use shortcuts. Frozen vegetables are just as nutritious as fresh and can save you prep time. Pre-made sauces can also be a great base—just enhance them with fresh garlic or herbs for a homemade touch.
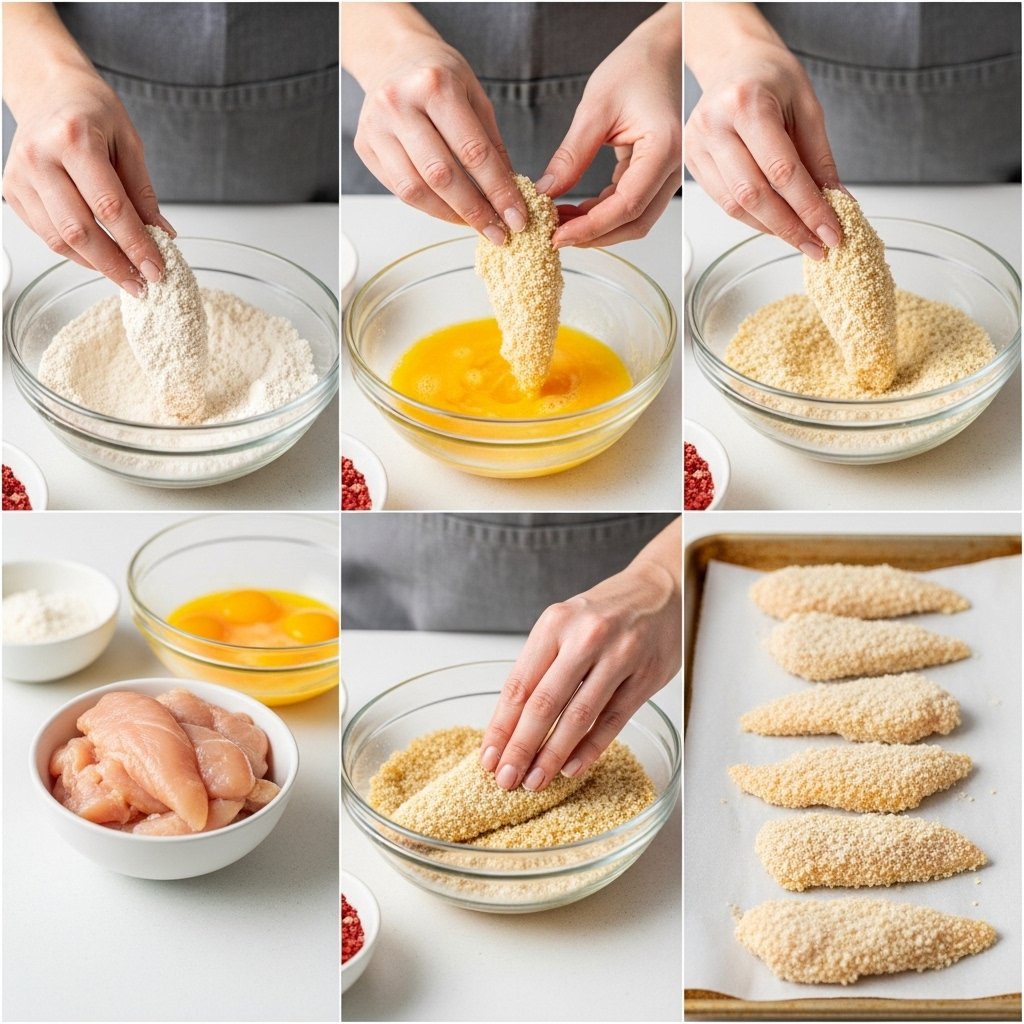
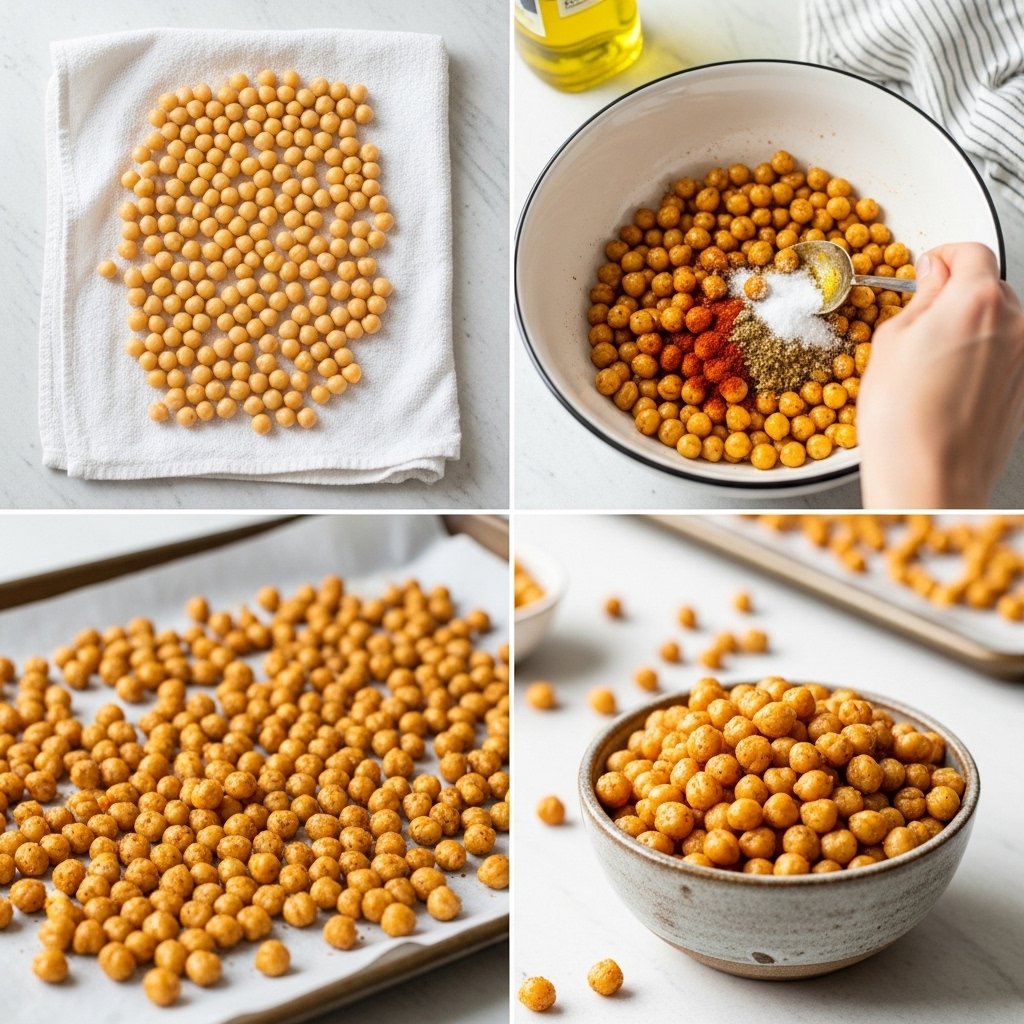
Step-by-Step Instructions
1. Prep Efficiently
Gather and prep all ingredients before you start cooking to save time.
2. Use One-Pan or One-Pot Methods
Minimize cleanup and speed up cooking by using fewer dishes.
3. Cook Proteins First
Start with chicken, beef, or shrimp, then set aside while preparing other components.
4. Build Flavor Quickly
Use garlic, onions, and spices early to develop flavor fast.
5. Combine and Serve
Bring everything together, taste, adjust seasoning, and serve hot.
Tips for Perfect Results
To make the most of your easy family meals in under 30 minutes, keep these tips in mind:
- Cut ingredients into smaller pieces for faster cooking
- Preheat pans to reduce cooking time
- Use high heat when appropriate for quick searing
- Keep recipes simple—don’t overcomplicate
These strategies help you stay efficient without compromising on taste.
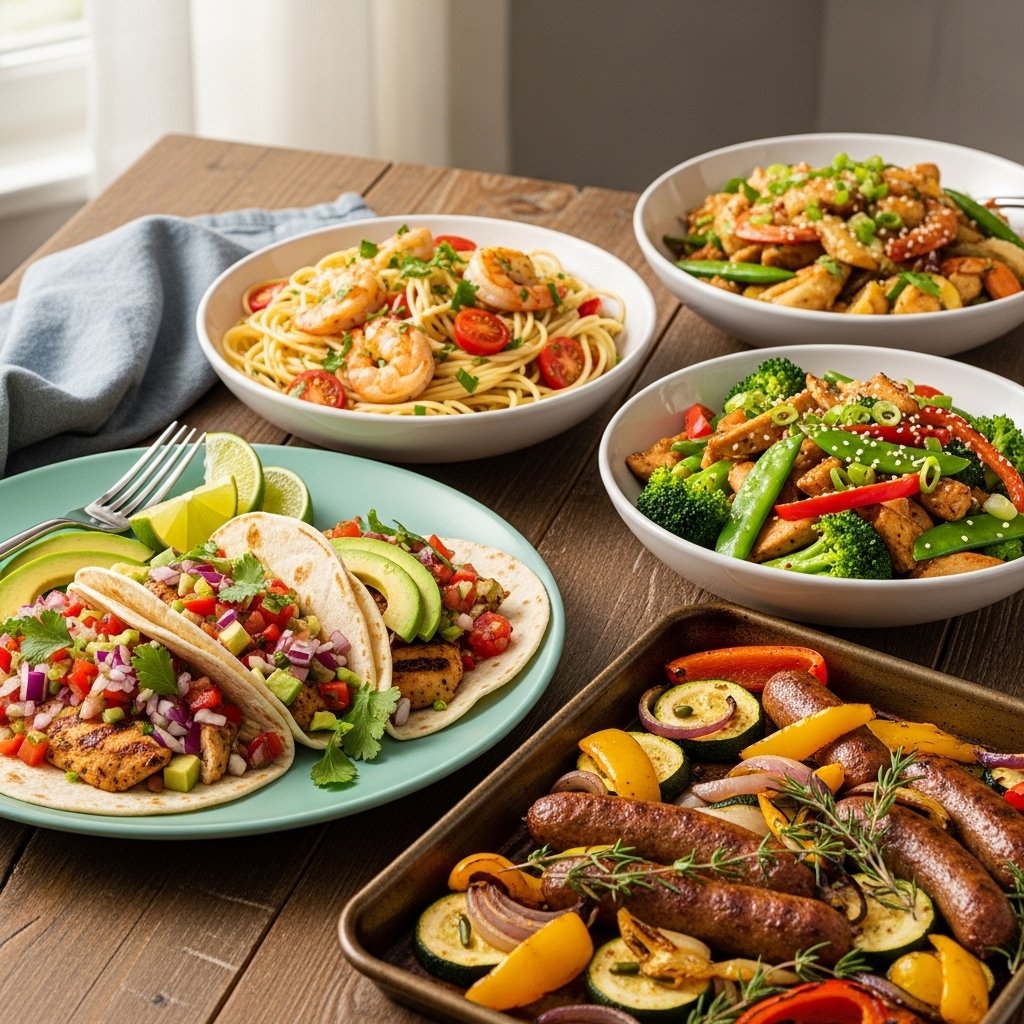
Variations
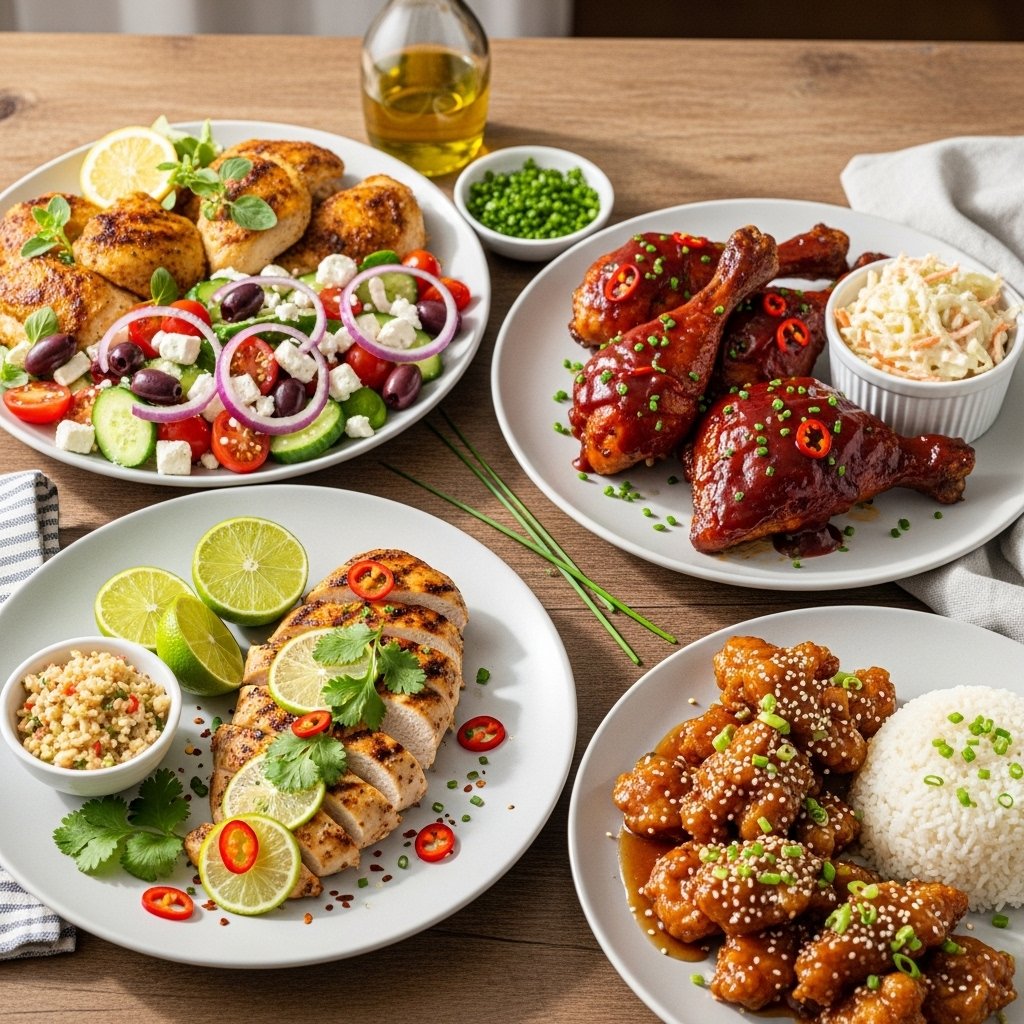
Variety keeps things exciting, even when you’re cooking quickly.
Taco Night
Use ground beef or chicken with taco seasoning and serve in tortillas.
Pasta Toss
Combine cooked pasta with sautéed veggies and protein for a quick dish.
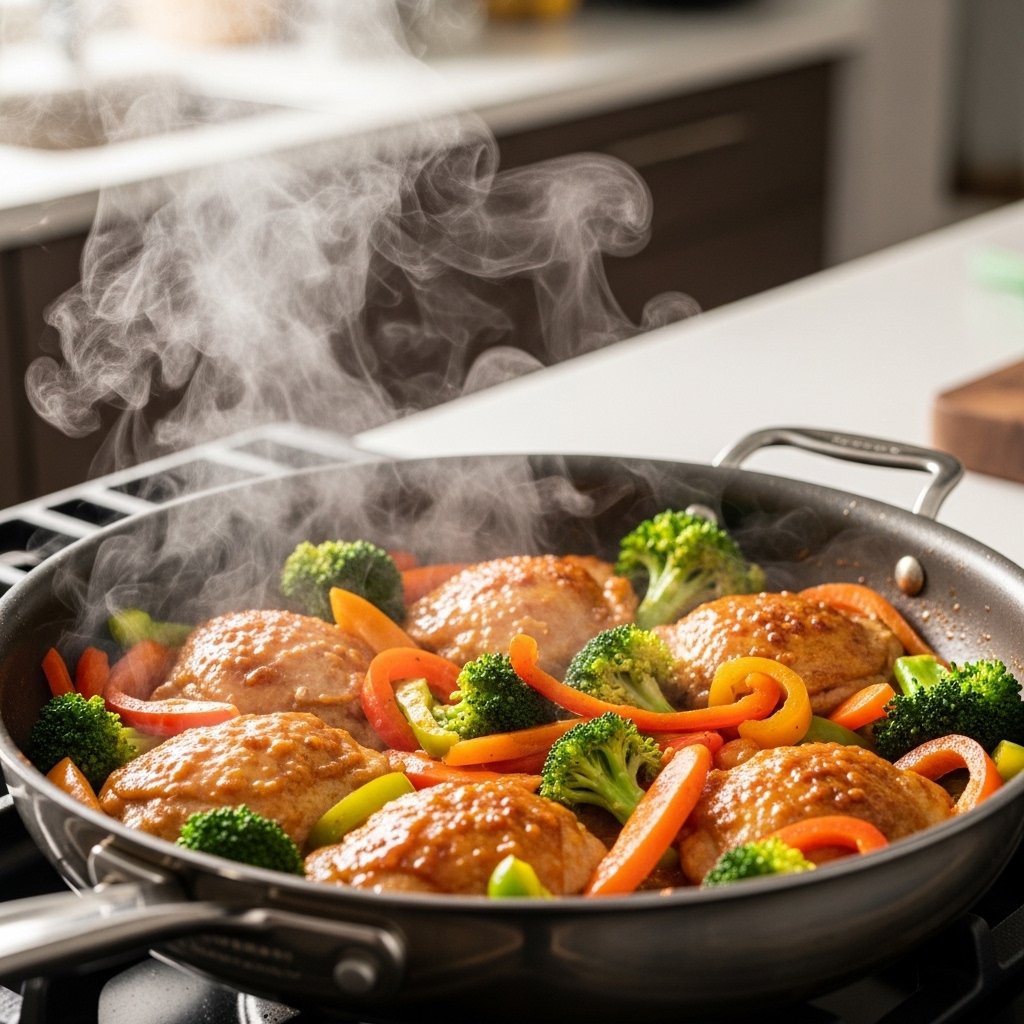
Stir-Fry
Use soy sauce, garlic, and mixed vegetables for a fast, flavorful meal.
Sheet Pan Dinner
Roast protein and veggies together for a hands-off option.
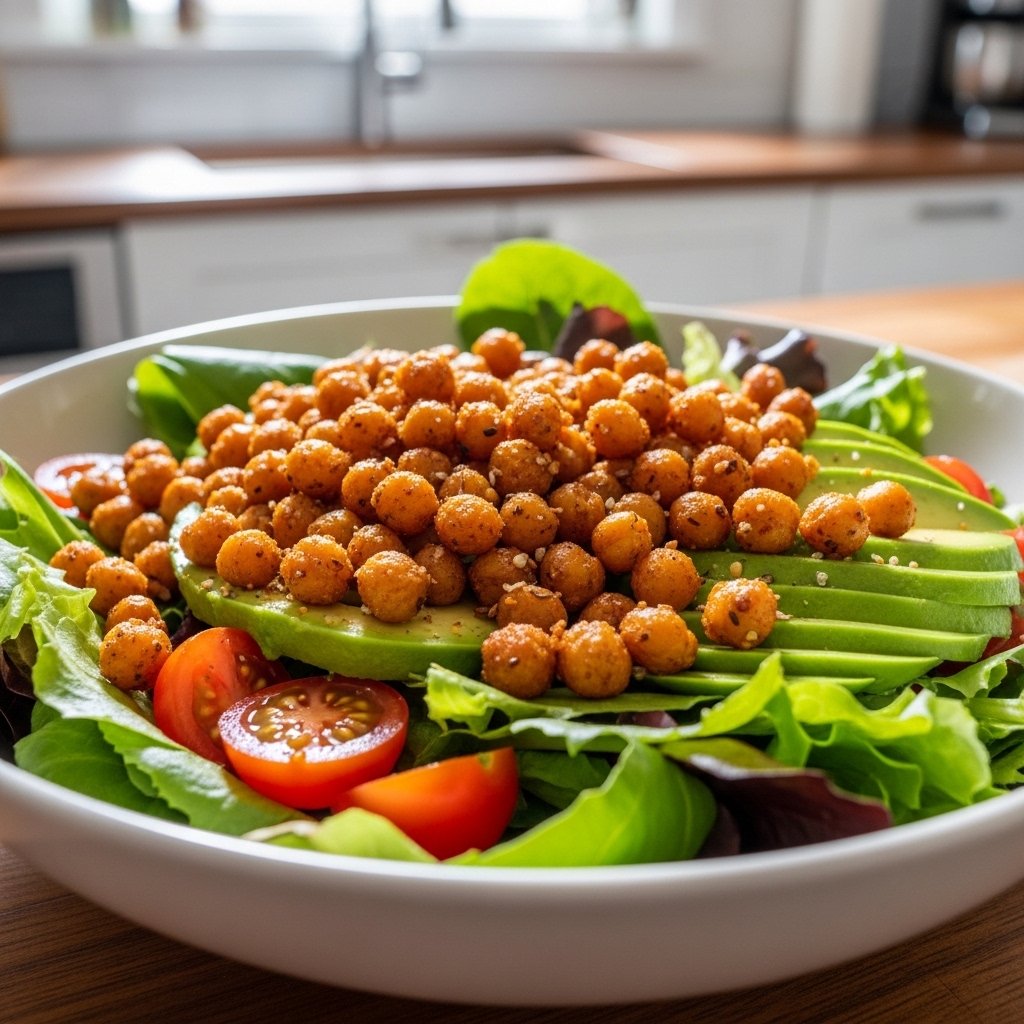
What to Serve With It
Pair your easy family meals in under 30 minutes with simple sides:
- Fresh green salad
- Garlic bread or dinner rolls
- Steamed or roasted vegetables
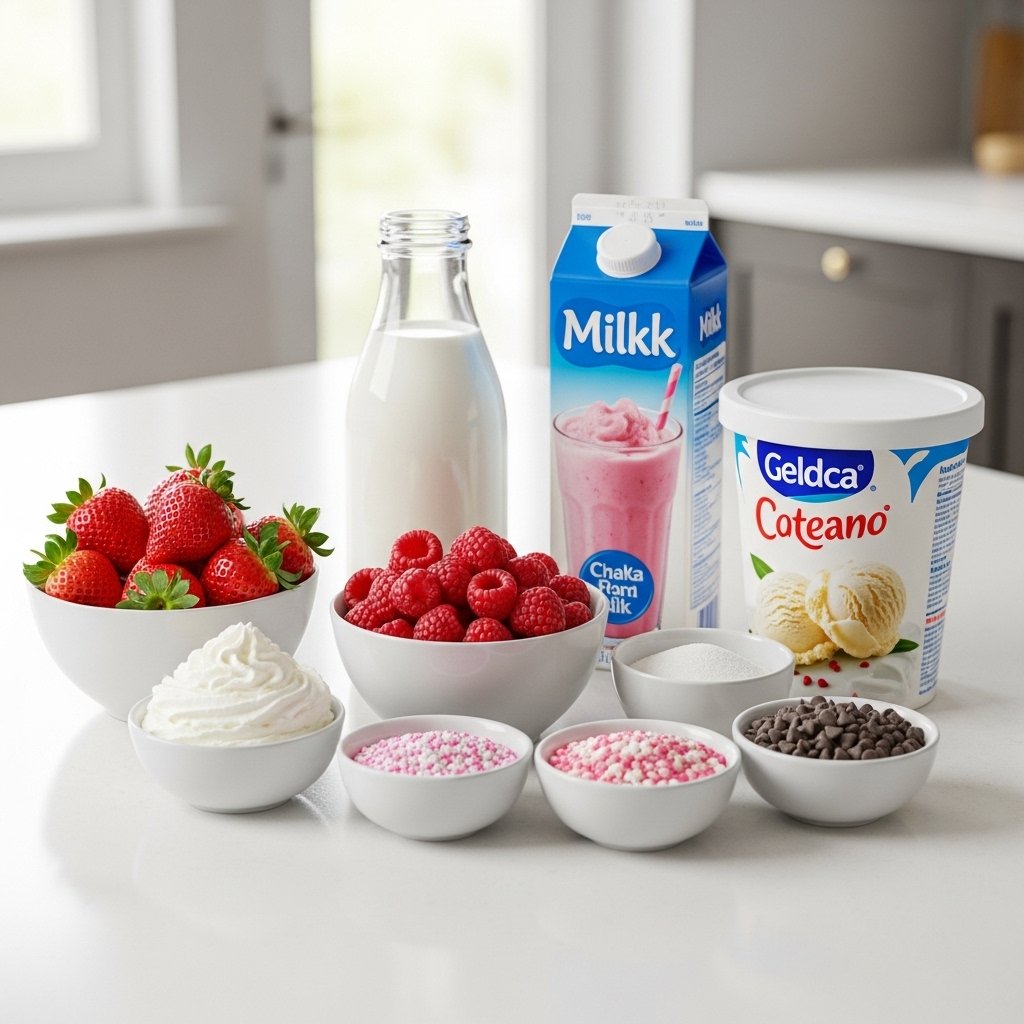
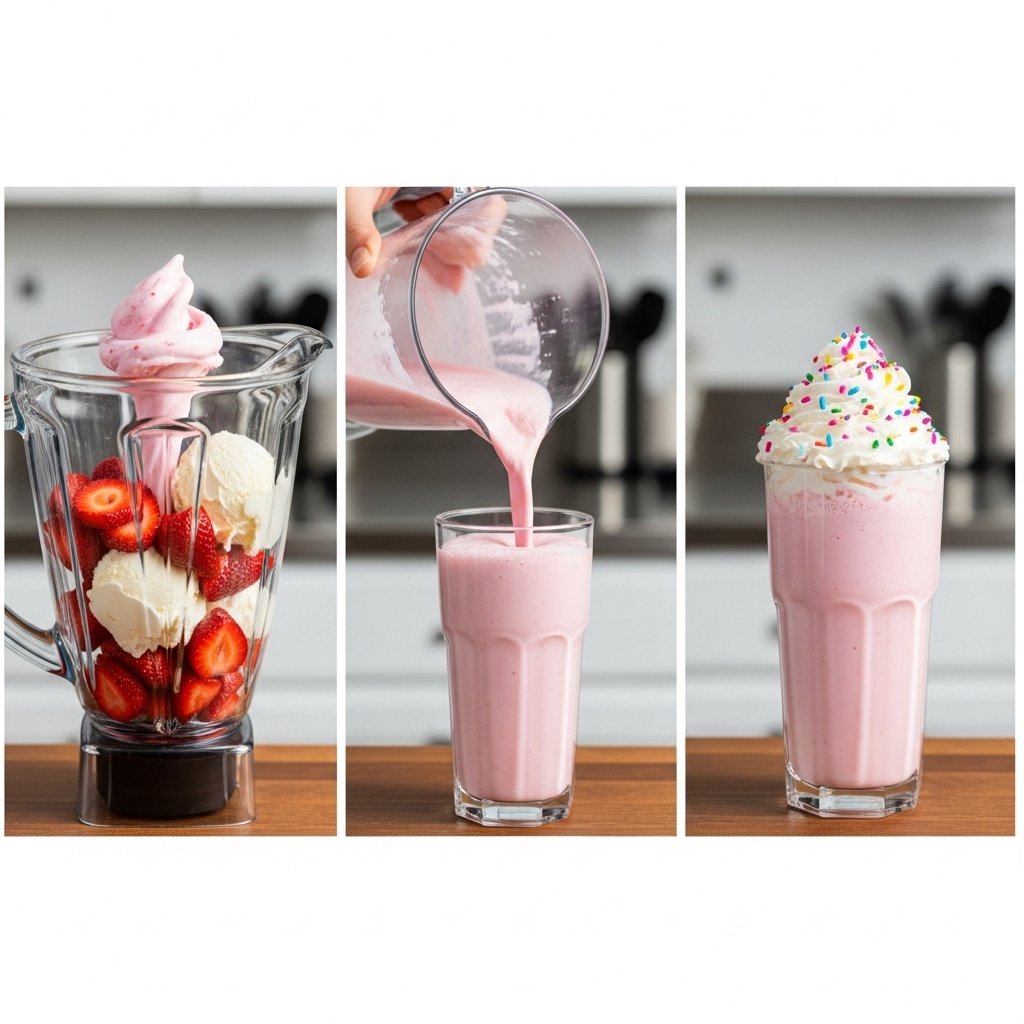
- Fruit salad
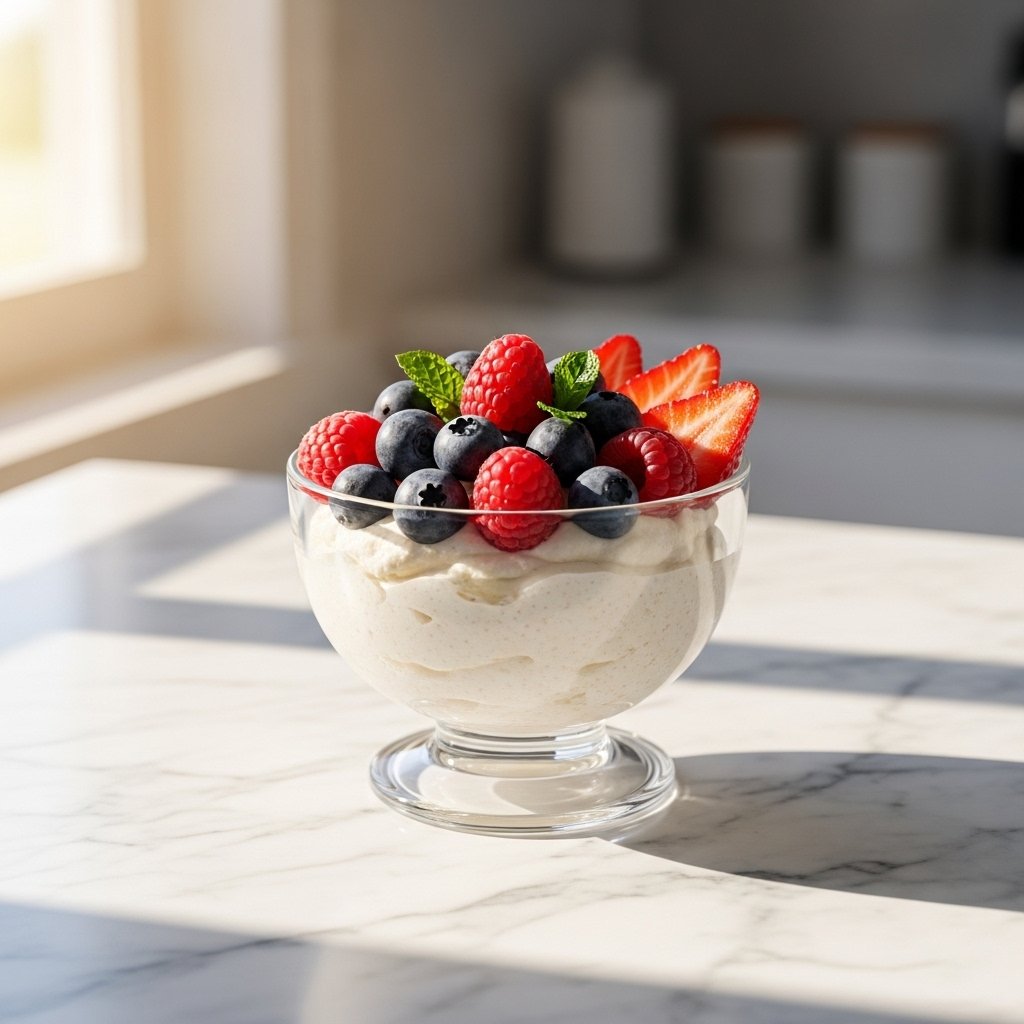
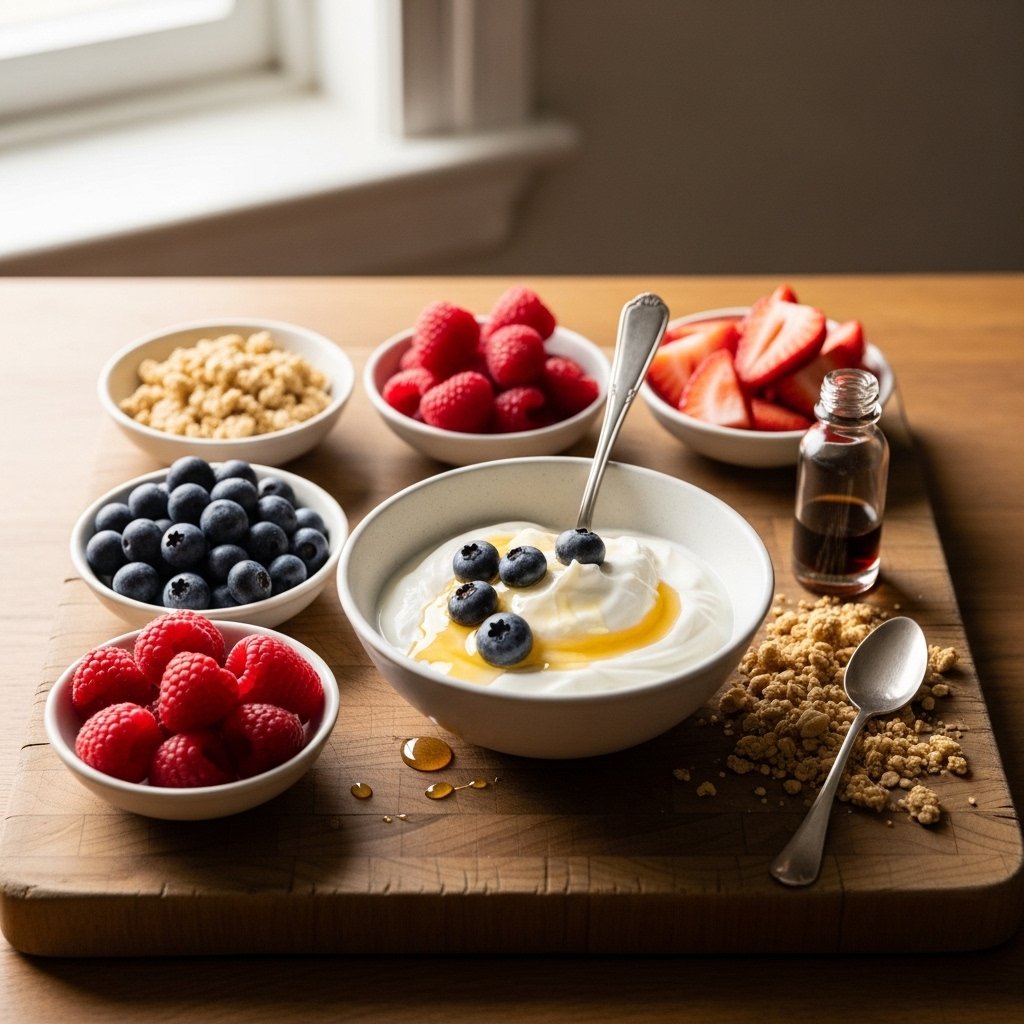
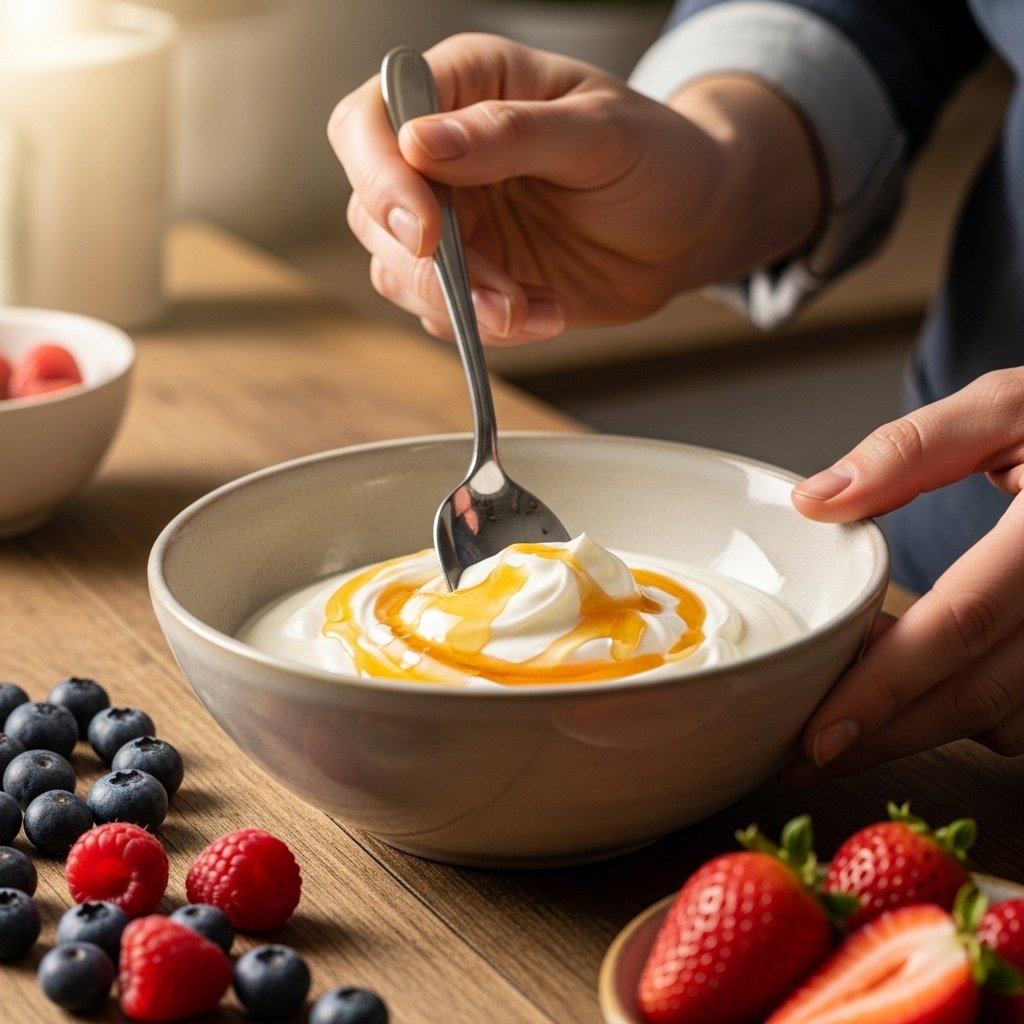
- Yogurt or light dessert
These additions round out your meal without adding extra stress.
Storage & Reheating
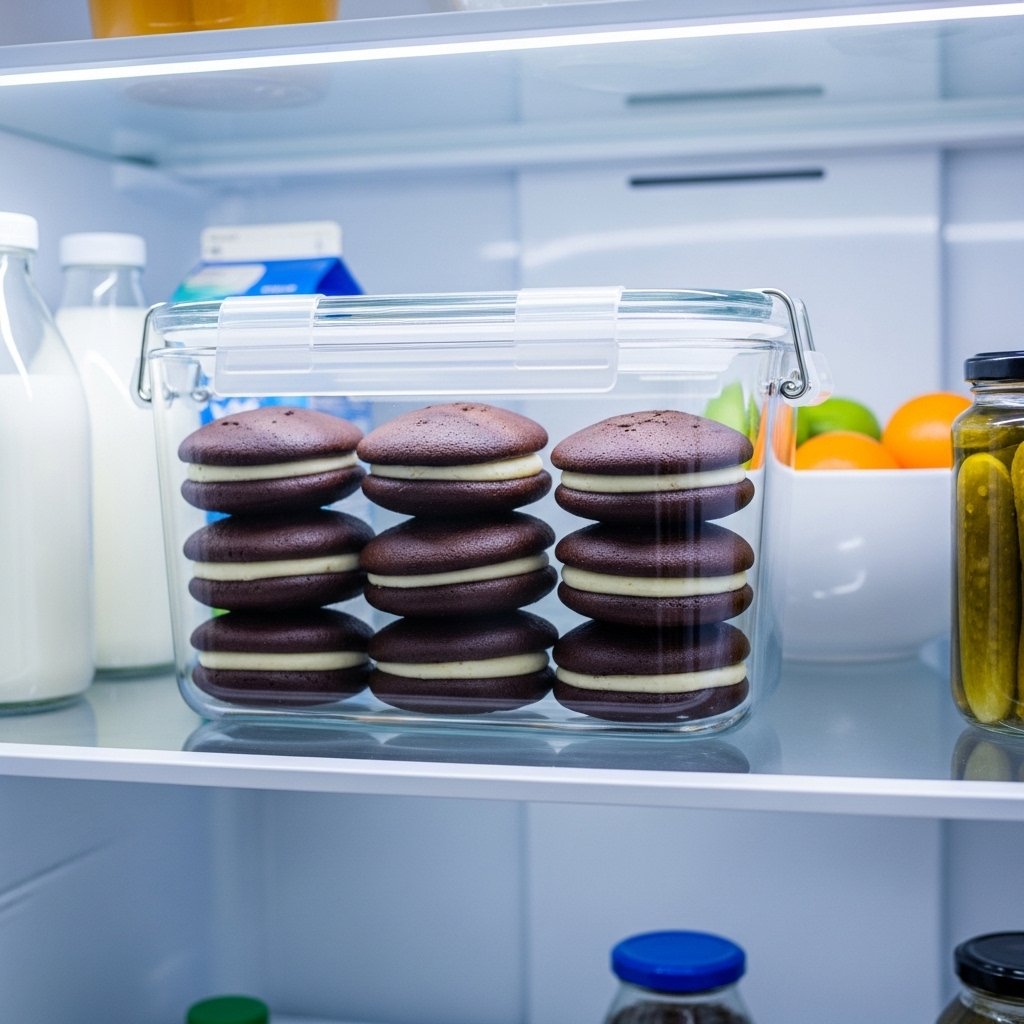
Most of these meals store well in the refrigerator for up to 3–4 days. Keep leftovers in airtight containers to maintain freshness.
For reheating, use the stovetop or oven when possible to preserve texture. Add a splash of water or broth to prevent dryness, especially for rice or pasta dishes.
Common Mistakes
Avoid these common pitfalls when making easy family meals in under 30 minutes:
- Overcrowding the pan (leads to uneven cooking)
- Skipping seasoning (results in bland meals)
- Not prepping ahead (wastes time during cooking)
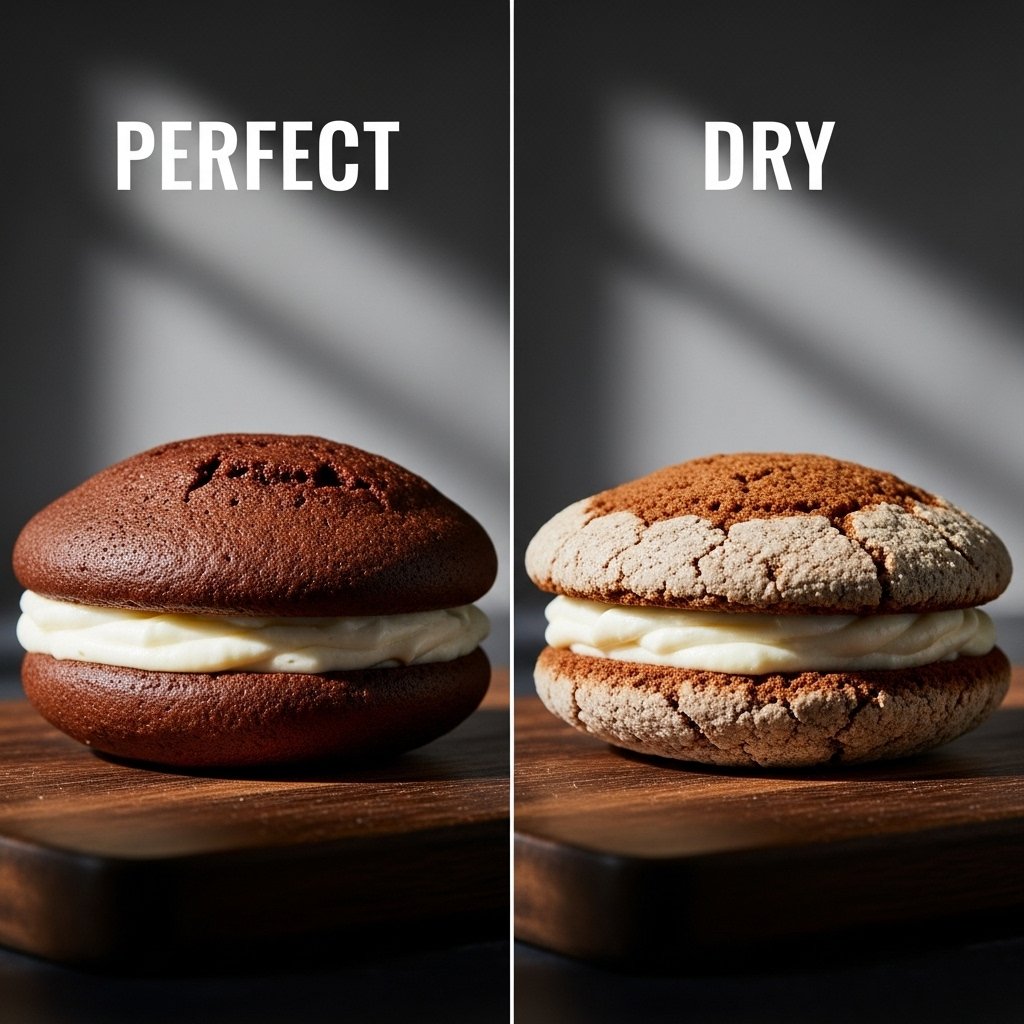
- Overcooking proteins (makes them dry)
Paying attention to these details ensures consistent success.
FAQs
What are the best proteins for quick meals?
Chicken, shrimp, and ground beef cook quickly and are perfect for fast recipes.
Can I meal prep these recipes?
Yes! Many easy family meals in under 30 minutes can be prepped ahead and reheated easily.
Are these meals healthy?
They can be! Focus on lean proteins, fresh vegetables, and balanced portions.
How do I make meals faster?
Use pre-cut ingredients, one-pan methods, and quick-cooking grains to save time.
Final Thoughts
These easy family meals in under 30 minutes prove that you don’t need hours in the kitchen to create something delicious and satisfying. With the right ingredients, smart techniques, and a little planning, you can serve meals your whole family will love—without the stress.
Keep this guide handy for those busy nights when time is tight but you still want something homemade. Fast, flavorful, and family-approved—this is weeknight cooking at its best.