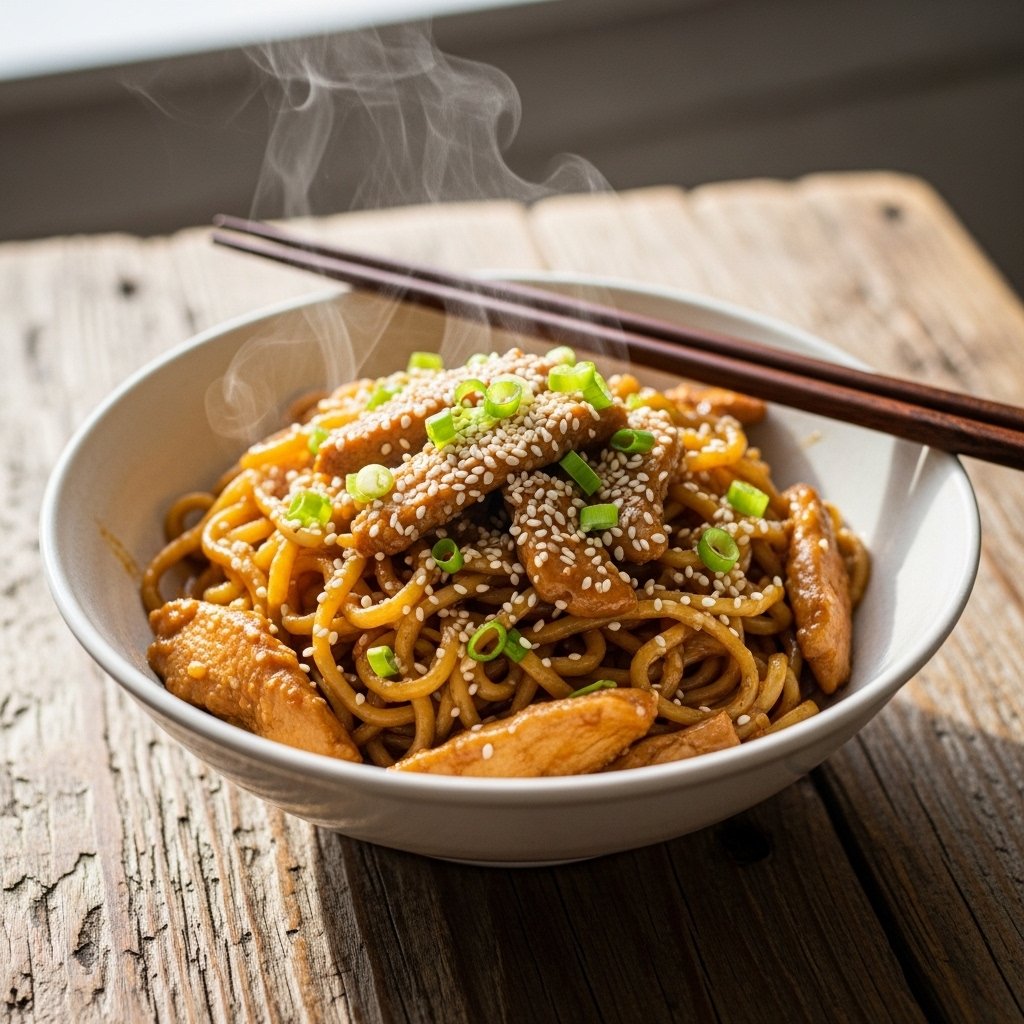
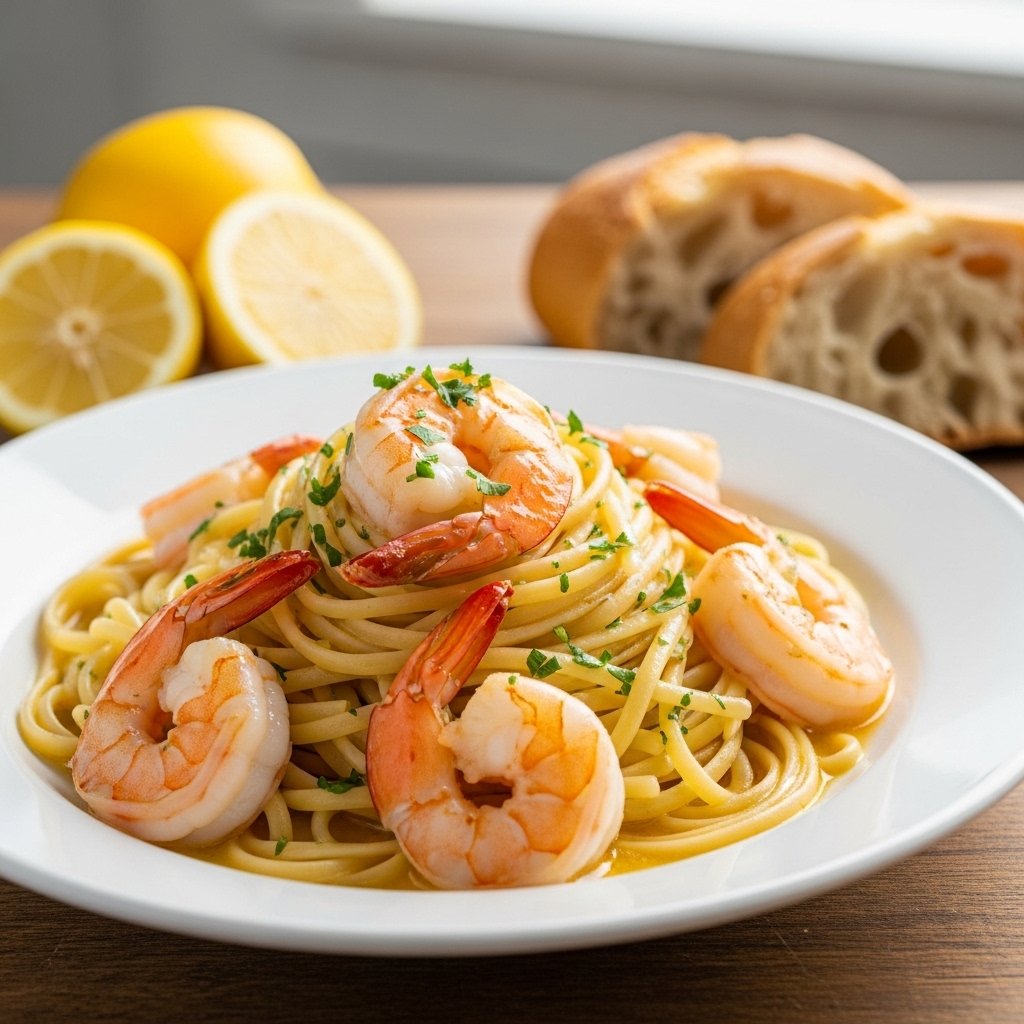
When you need a fast dinner that feels elegant but requires minimal effort, this easy garlic butter shrimp scampi recipe is exactly what you need. It’s rich, buttery, garlicky, and brightened with fresh lemon for a restaurant-quality meal that comes together in under 30 minutes.
This shrimp scampi recipe is perfect for busy weeknights, date nights at home, or anytime you want something comforting without spending hours in the kitchen. Served over pasta, rice, or with crusty bread, it’s one of those quick dinner ideas that tastes like you worked much harder than you actually did.
Why You’ll Love This Garlic Butter Shrimp Scampi
This dish is simple, fast, and incredibly satisfying.
What Makes This Recipe So Good
- Ready in under 30 minutes
- Rich garlic butter flavor
- Fresh and bright lemon notes
- Great for weeknights
- Feels restaurant-worthy
- Easy to customize
It’s one of the best quick shrimp dinners you can make.
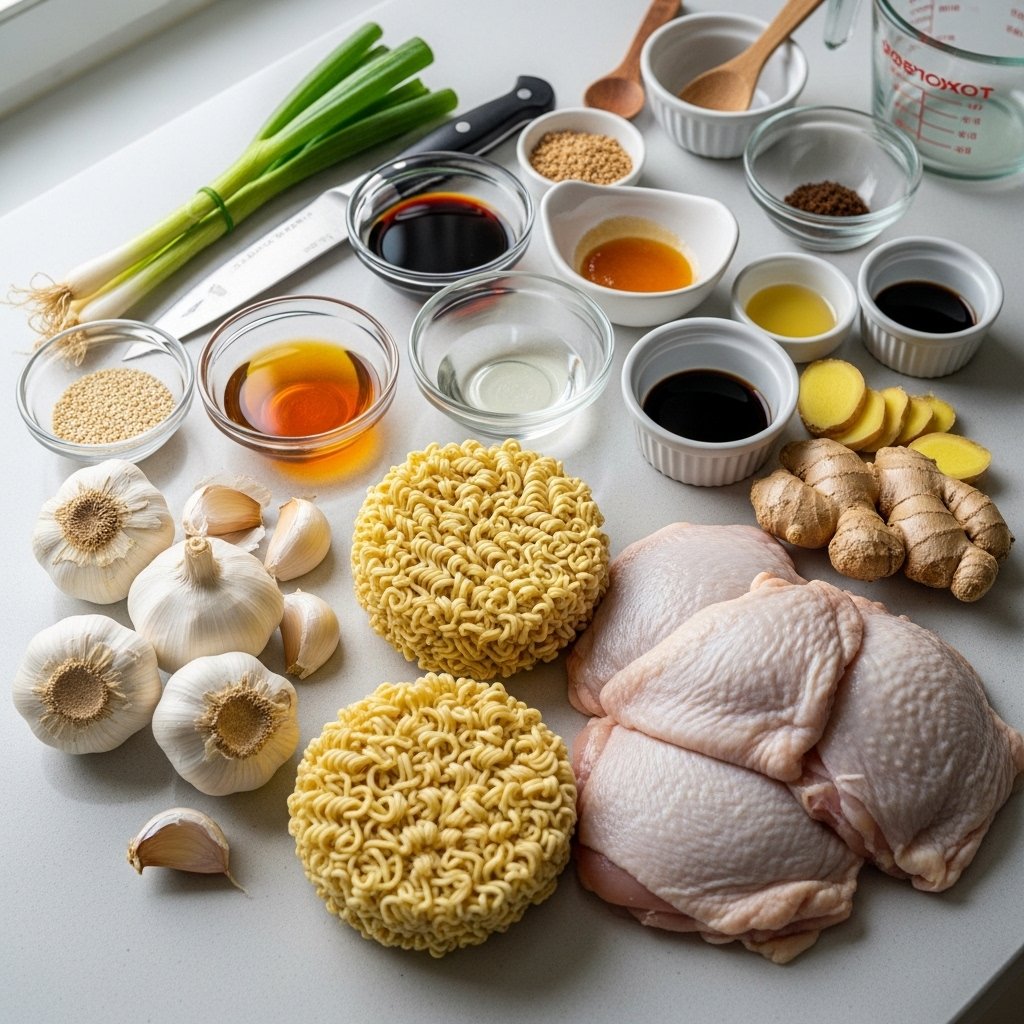
Ingredients You’ll Need
To make this garlic butter shrimp scampi recipe, gather:
Main Ingredients
- 1 pound large shrimp, peeled and deveined
- 8 ounces linguine or spaghetti
- 4 tablespoons butter
- 2 tablespoons olive oil
- 5 garlic cloves, minced
- 1/2 teaspoon red pepper flakes (optional)
- 1/2 cup chicken broth or white wine
- Juice of 1 lemon
- Zest of 1 lemon
- 1/4 cup grated Parmesan (optional)
- 2 tablespoons chopped parsley
- Salt and black pepper to taste
These ingredients create a silky, flavorful sauce that coats every bite.

Ingredient Notes and Helpful Tips
Best Shrimp to Use
Choose:
- Large or jumbo shrimp
- Fresh or thawed frozen shrimp
They stay juicy and cook evenly.
Garlic Tip
Use fresh garlic.
This recipe depends on bold garlic flavor.
Lemon Tip
Fresh lemon:
- Brightens sauce
- Balances richness
Don’t skip it.
Step-by-Step Instructions
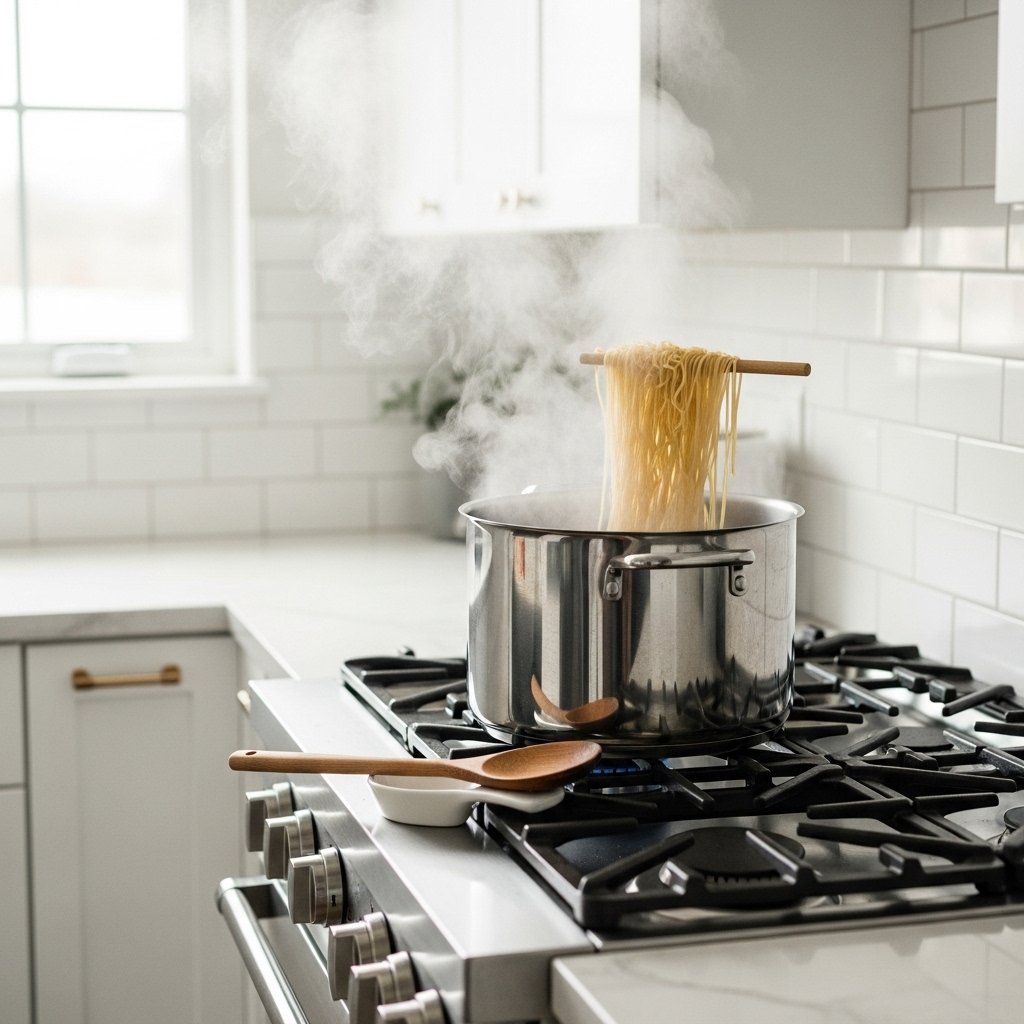
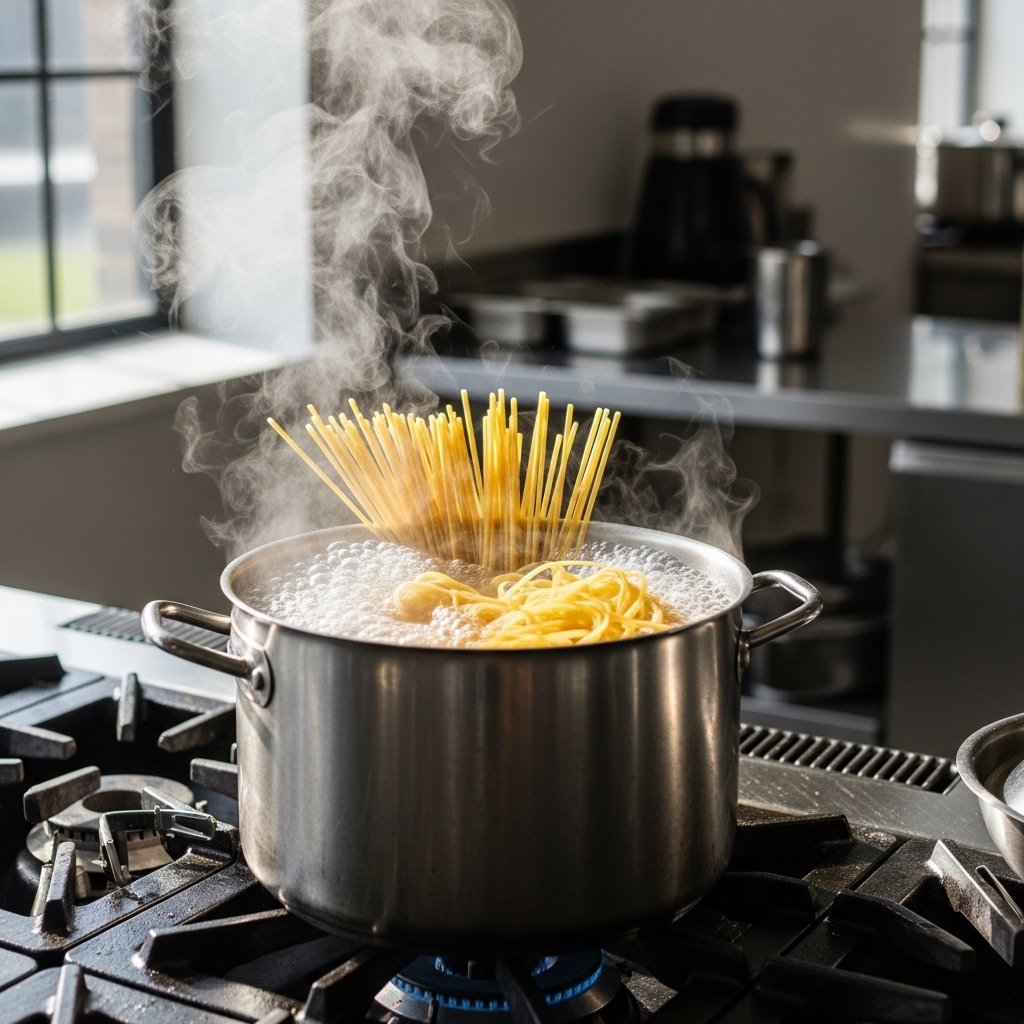
Step 1: Cook the Pasta
Boil pasta in salted water until al dente.
Reserve:
- 1/2 cup pasta water
Drain.
Set aside.
This helps create silky sauce later.
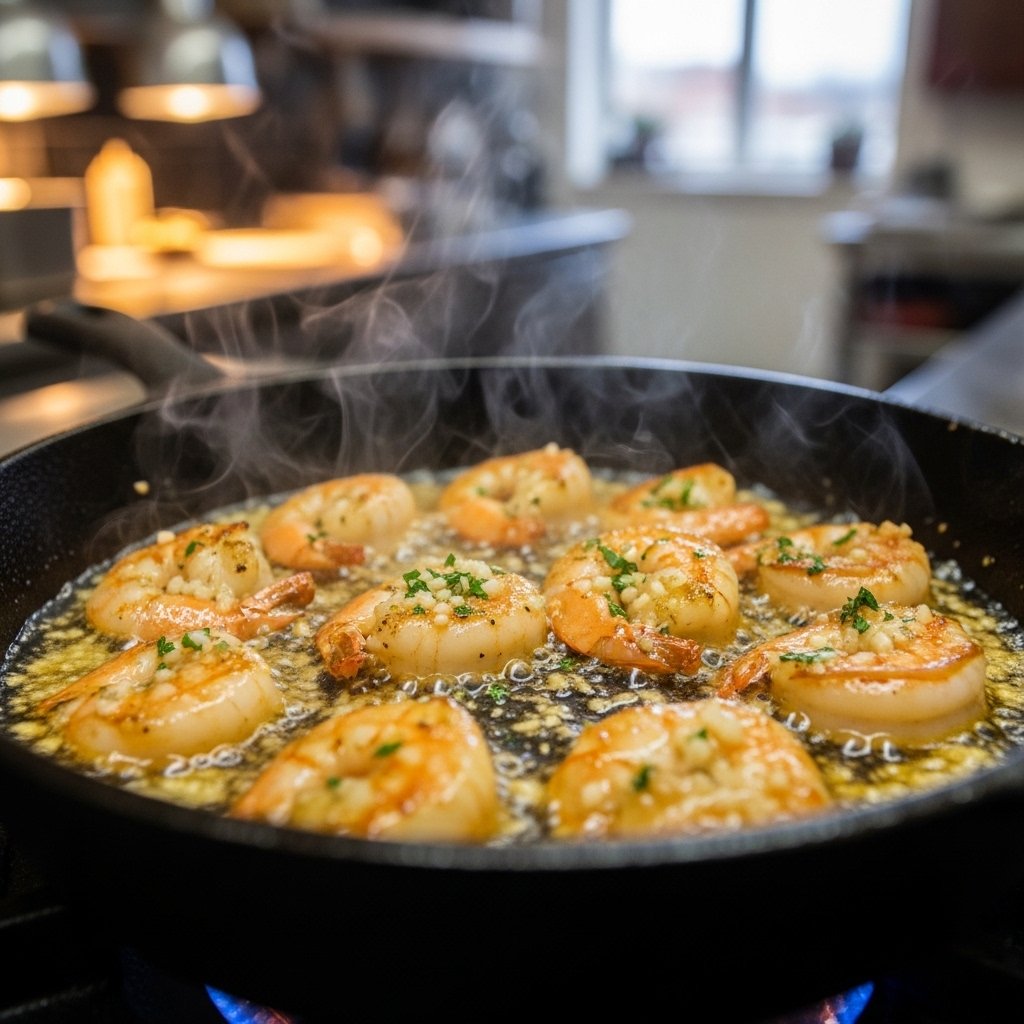
Step 2: Sauté the Shrimp
Pat shrimp dry.
Season with:
- Salt
- Pepper
Heat butter and olive oil.
Cook shrimp:
- 1–2 minutes per side
Remove when pink.
Don’t overcook.
This keeps shrimp tender.
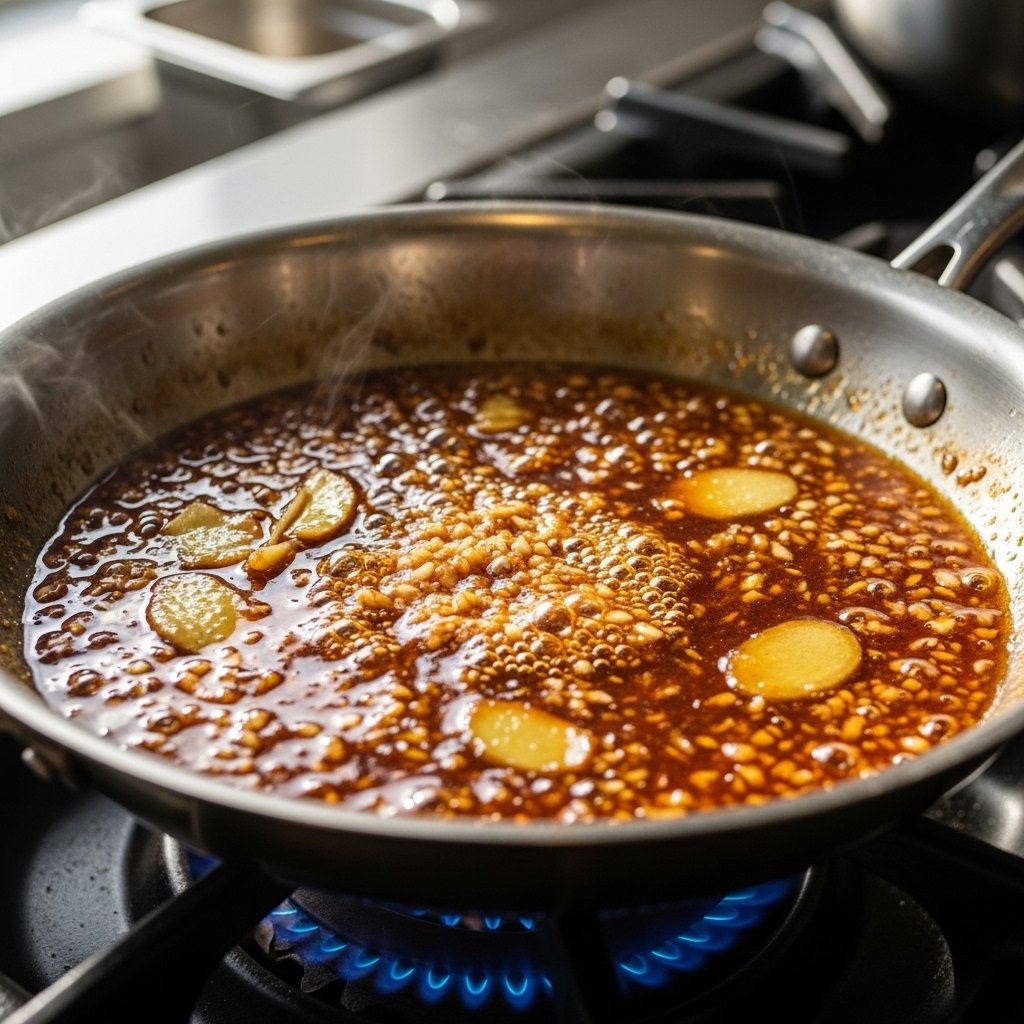
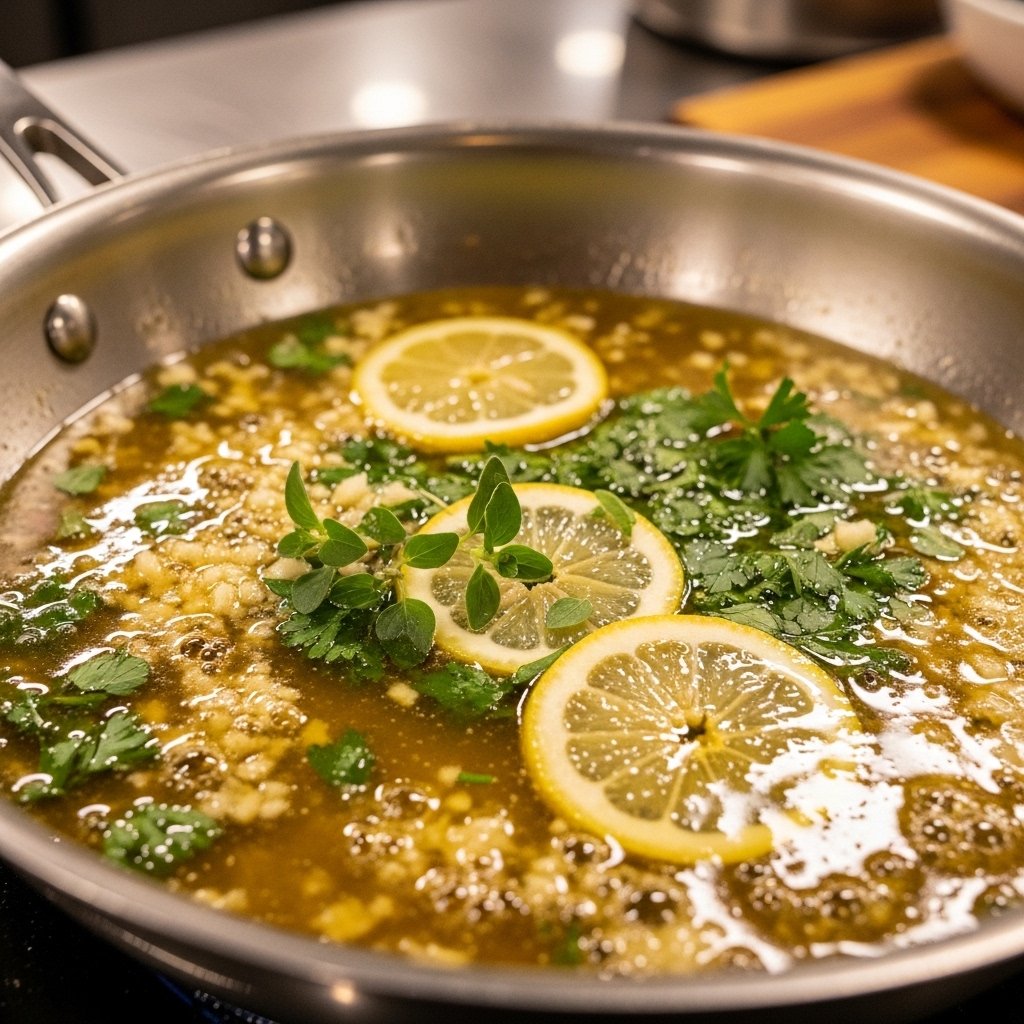
Step 3: Build the Sauce
In same skillet, add:
- Garlic
- Red pepper flakes
Cook briefly.
Add:
- Broth or wine
- Lemon juice
- Lemon zest
Simmer lightly.
This creates rich garlic butter sauce.
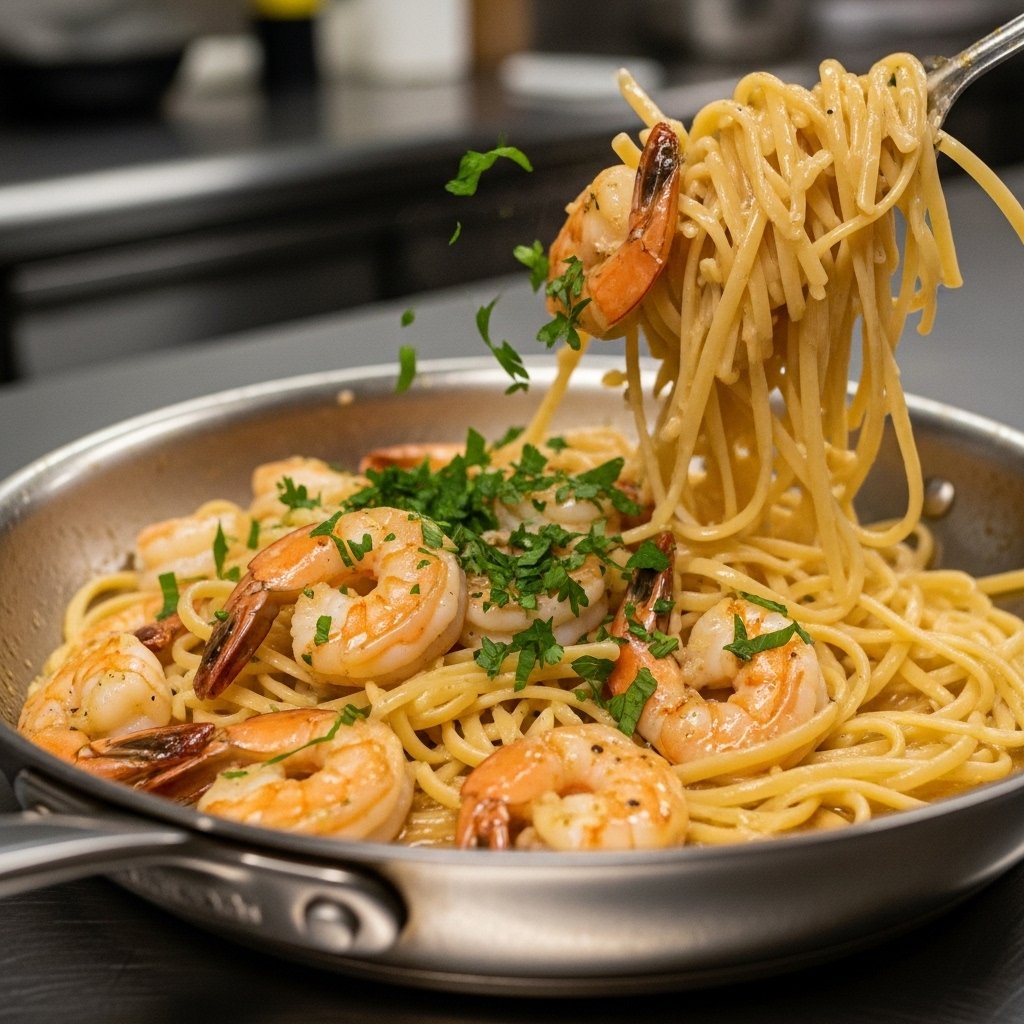
Step 4: Combine and Finish
Add:
- Pasta
- Shrimp
Toss gently.
Add pasta water if needed.
Finish with:
- Parsley
- Parmesan
Serve hot.
This final step brings everything together beautifully.
Tips for Perfect Shrimp Scampi
For the best results:
- Don’t overcook shrimp
- Salt pasta water well
- Use fresh lemon juice
- Reserve pasta water
- Serve immediately
These small steps make a huge difference.
Variations and Customizations
This recipe is easy to adapt.
Delicious Add-Ins
- Spinach
- Cherry tomatoes
- Mushrooms
Low-Carb Option
- Zucchini noodles
Extra Flavor
- Add capers
- More herbs
This keeps the meal versatile.
What to Serve With Shrimp Scampi
Pair with:
- Garlic bread
- Caesar salad
- Roasted asparagus
- White rice
Perfect for:
- Weeknight dinners
- Date nights
- Guests
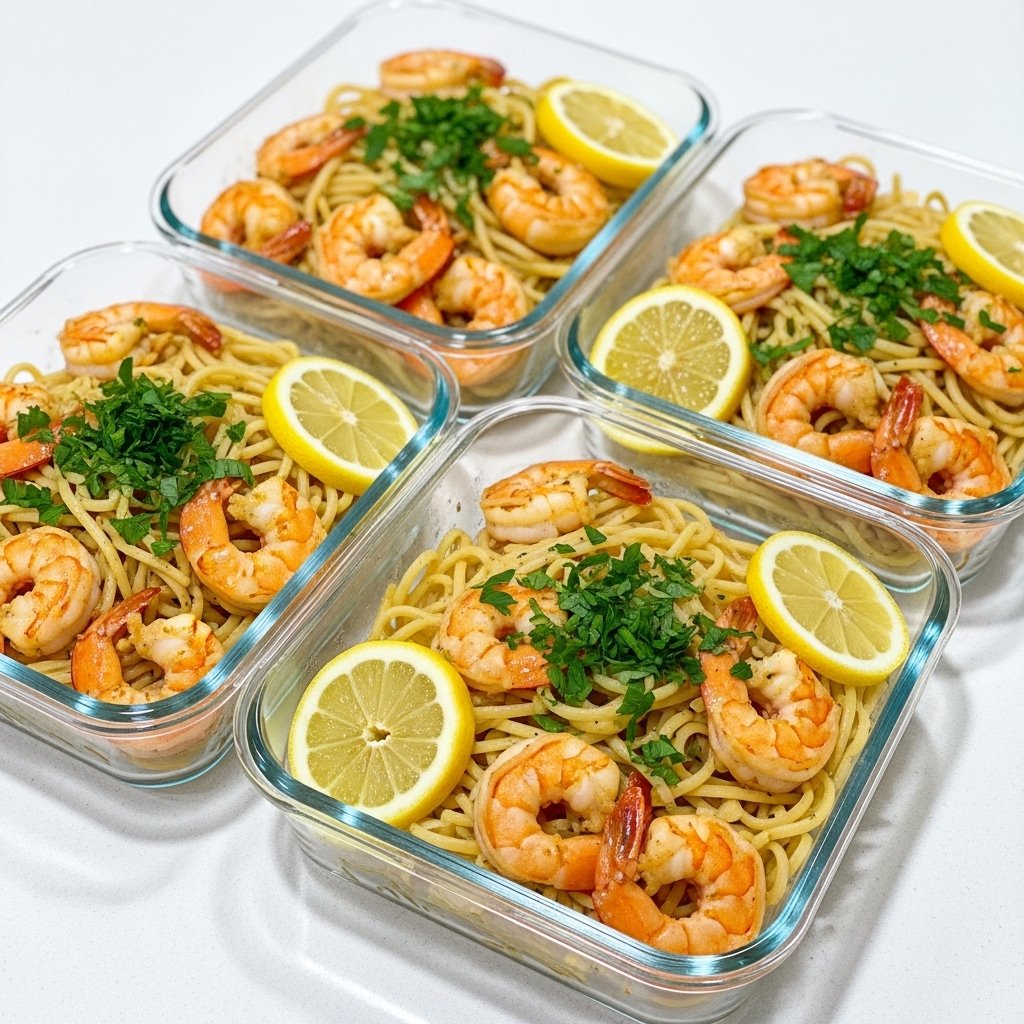
Storage and Reheating Tips
Shrimp scampi is best fresh but stores well.
Refrigerator
- Up to 2 days
Reheat
- Low heat skillet
- Add splash of broth
Avoid microwaving too long.
Common Mistakes to Avoid
For the best scampi:
- Don’t overcook shrimp
- Don’t burn garlic
- Don’t skip lemon
- Don’t use too much heat
- Don’t forget pasta water
Balance is everything.
Frequently Asked Questions
Can I use frozen shrimp?
Yes, thaw first.
Can I make it without pasta?
Absolutely.
Is wine necessary?
No, broth works well.
Can I make it spicy?
Yes, add more pepper flakes.
Can I use pre-cooked shrimp?
You can, but texture is better fresh.
Final Thoughts
This easy garlic butter shrimp scampi recipe is proof that a quick dinner can still feel special. With tender shrimp, silky garlic butter sauce, and bright lemon flavor, it’s the kind of meal that satisfies every time.
Whether you’re cooking for yourself, your family, or guests, this quick dinner idea is simple, elegant, and endlessly delicious. Once you make it, it’s sure to become a regular favorite in your kitchen.