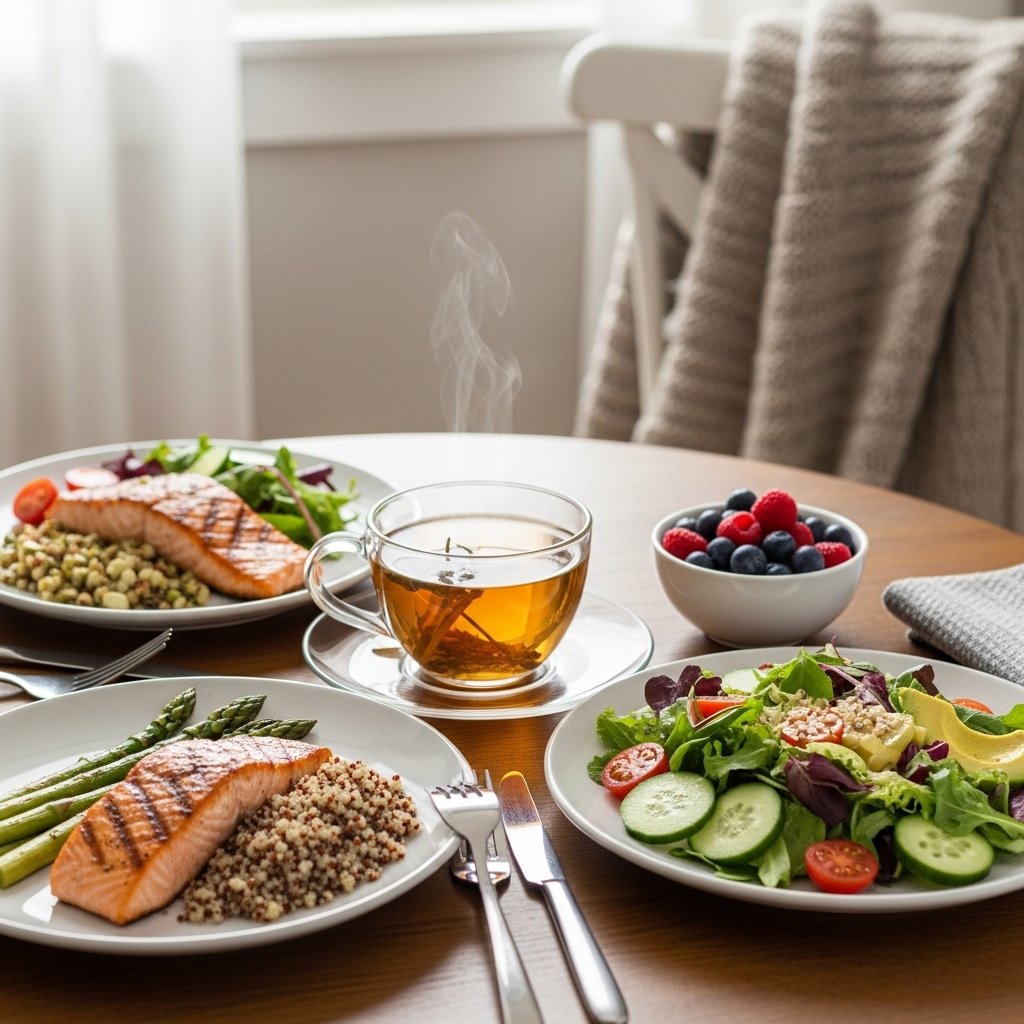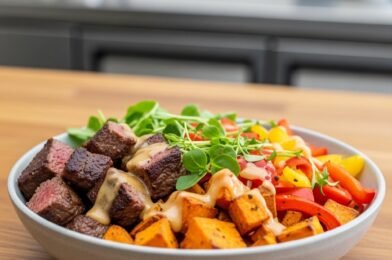
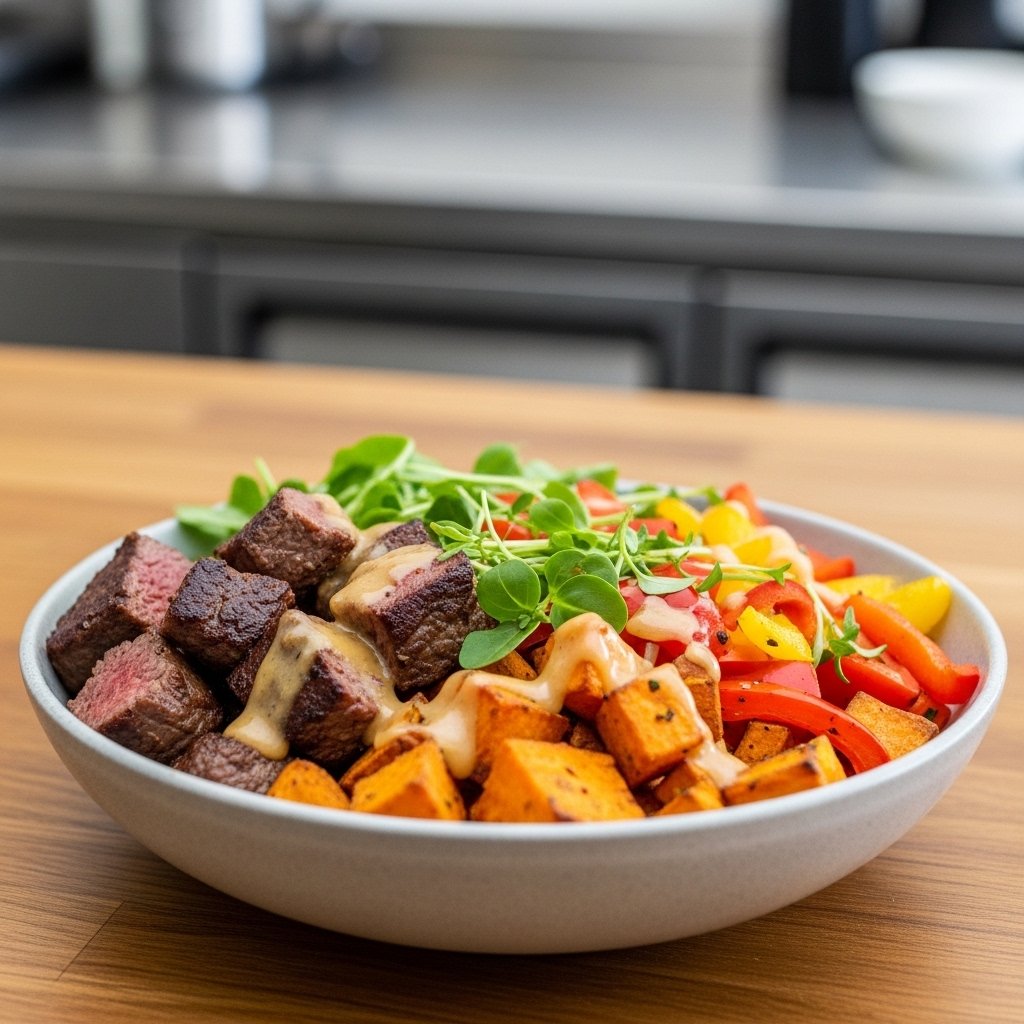
If you’ve been searching for a healthy, satisfying lunch or dinner that tastes just as good on day four as it does fresh out of the skillet, this Healthy Steak Bites with Sweet Potatoes & Peppers Meal-Prep Bowl is exactly what you need. Packed with lean protein, fiber-rich sweet potatoes, colorful bell peppers, and bold seasonings, this bowl is a complete meal that feels nourishing without ever tasting boring.
This recipe is ideal for anyone who wants to eat well without spending hours in the kitchen. The steak bites are juicy and flavorful, the roasted sweet potatoes are caramelized and tender, and the peppers add freshness, crunch, and color. Whether you’re meal prepping for work lunches, looking for a post-workout meal, or simply trying to make weeknight dinners easier, this bowl delivers convenience and crave-worthy flavor in every bite.
Why You’ll Love This Healthy Steak Bites Meal-Prep Bowl
This recipe is more than just a trendy meal-prep idea—it’s practical, balanced, and deeply satisfying. It gives you protein, healthy carbs, vegetables, and healthy fats all in one bowl, making it a great option for staying full and energized.
Reasons This Recipe Works
- High in protein for muscle support and satiety
- Naturally gluten-free
- Great for meal prep and batch cooking
- Easy to customize with sauces and toppings
- Family-friendly and beginner-friendly
- Ready in about 40 minutes
The combination of textures is especially satisfying. You get crispy edges on the steak bites, soft roasted sweet potatoes, and lightly charred peppers for a meal that never feels repetitive.
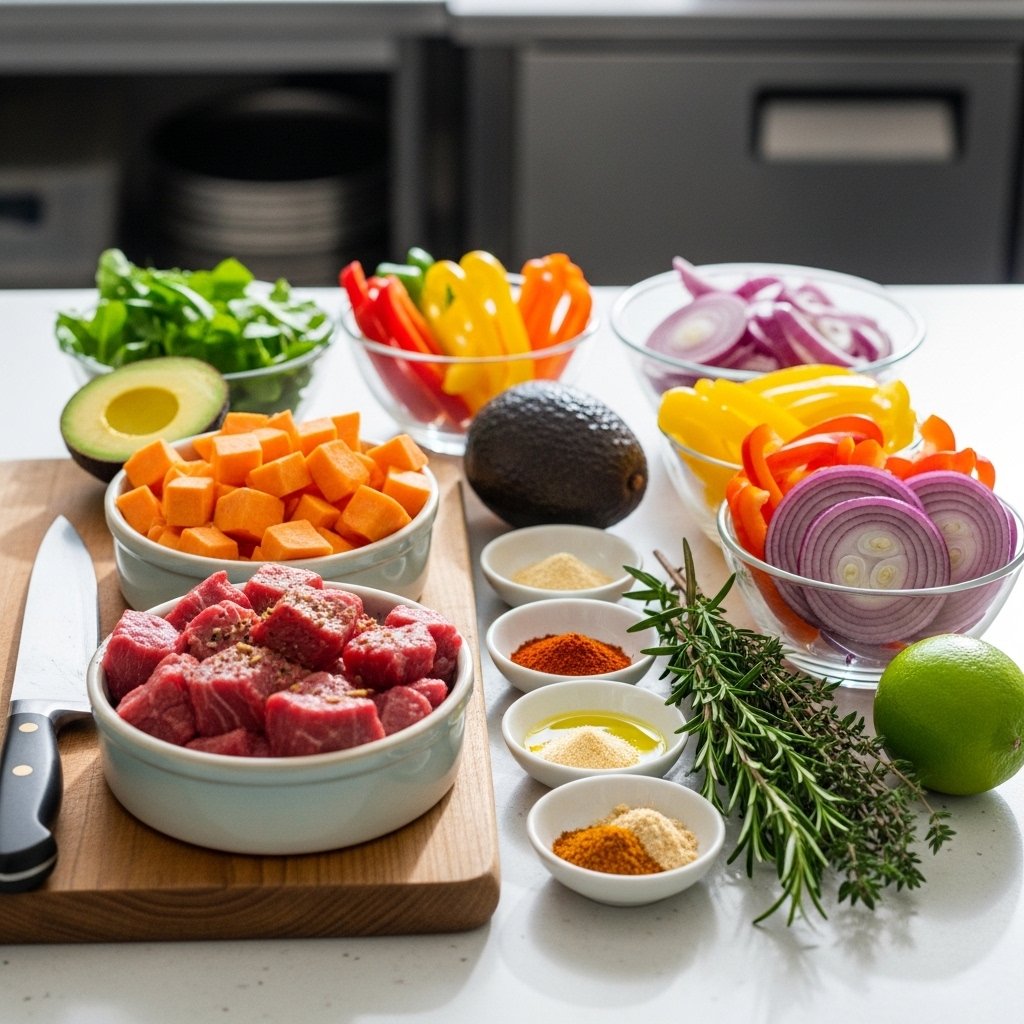
Ingredients for Healthy Steak Bites with Sweet Potatoes & Peppers
Here’s what you’ll need to make these healthy steak bites meal-prep bowls:
For the Steak Bites
- 1 1/2 pounds sirloin steak, cut into bite-sized cubes
- 1 tablespoon olive oil
- 1 teaspoon garlic powder
- 1 teaspoon smoked paprika
- 1/2 teaspoon onion powder
- 1/2 teaspoon black pepper
- 1 teaspoon kosher salt
For the Sweet Potatoes and Peppers
- 2 large sweet potatoes, peeled and cubed
- 2 bell peppers (red, yellow, or orange), sliced
- 1 small red onion, sliced
- 2 tablespoons olive oil
- 1 teaspoon chili powder
- 1/2 teaspoon cumin
- Salt and pepper to taste
Optional Toppings
- Avocado slices
- Fresh parsley or cilantro
- Lime wedges
- Greek yogurt sauce
- Hot sauce
Fresh, colorful ingredients make a huge difference here. Choosing quality steak and ripe peppers helps elevate the flavor and texture of the entire meal.
Ingredient Notes and Smart Substitutions
Best Cut of Steak for Steak Bites
Sirloin is one of the best choices for healthy steak bites because it’s lean, tender, and cooks quickly. Ribeye offers more richness, while flank steak also works if sliced properly.
Sweet Potatoes Add Healthy Comfort
Sweet potatoes are ideal in this meal-prep bowl because they:
- Add natural sweetness
- Provide fiber and complex carbs
- Roast beautifully
- Reheat well
If needed, you can substitute:
- Butternut squash
- Yukon gold potatoes
- Cauliflower for lower carbs
Peppers Add Flavor and Freshness
Bell peppers bring sweetness, color, and crunch. A mix of red, yellow, and orange peppers makes the bowl visually appealing and nutritionally balanced.
Step-by-Step: How to Make Healthy Steak Bites Meal-Prep Bowls
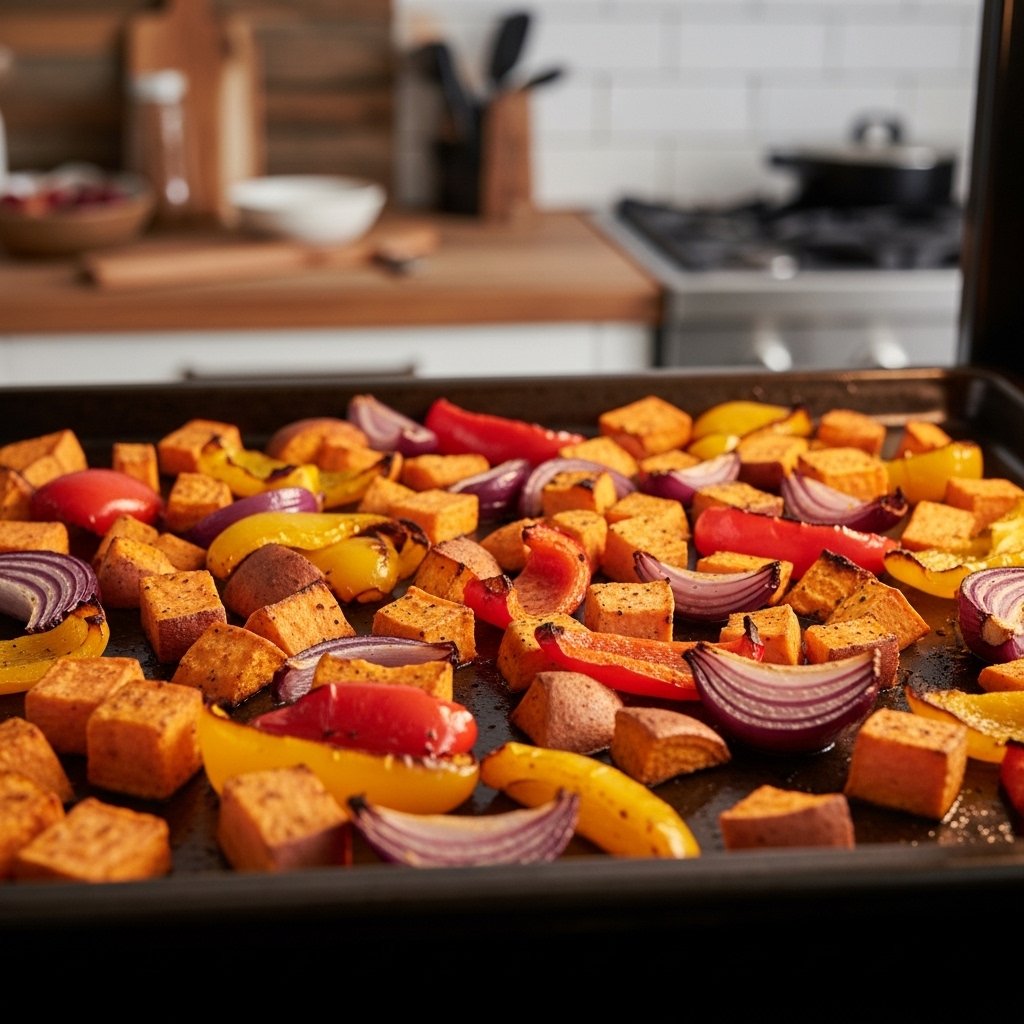
Step 1: Roast the Sweet Potatoes and Peppers
Preheat your oven to 425°F. On a large baking sheet, toss sweet potato cubes, peppers, and onion with olive oil, chili powder, cumin, salt, and pepper.
Spread everything in an even layer to avoid steaming. Roast for 25 to 30 minutes, flipping halfway through, until the sweet potatoes are tender and caramelized and the peppers are slightly blistered.
Roasting at high heat helps bring out natural sweetness while keeping the vegetables from becoming soggy.
Step 2: Season and Sear the Steak Bites
While the vegetables roast, pat the steak cubes dry with paper towels. This helps create a better sear. Toss them with olive oil, garlic powder, smoked paprika, onion powder, salt, and pepper.
Heat a large cast iron skillet over medium-high heat until hot. Add steak bites in a single layer without overcrowding. Sear for 2 to 3 minutes per side until browned and cooked to your preferred doneness.
Work in batches if needed. Overcrowding the pan traps steam and prevents a proper crust.
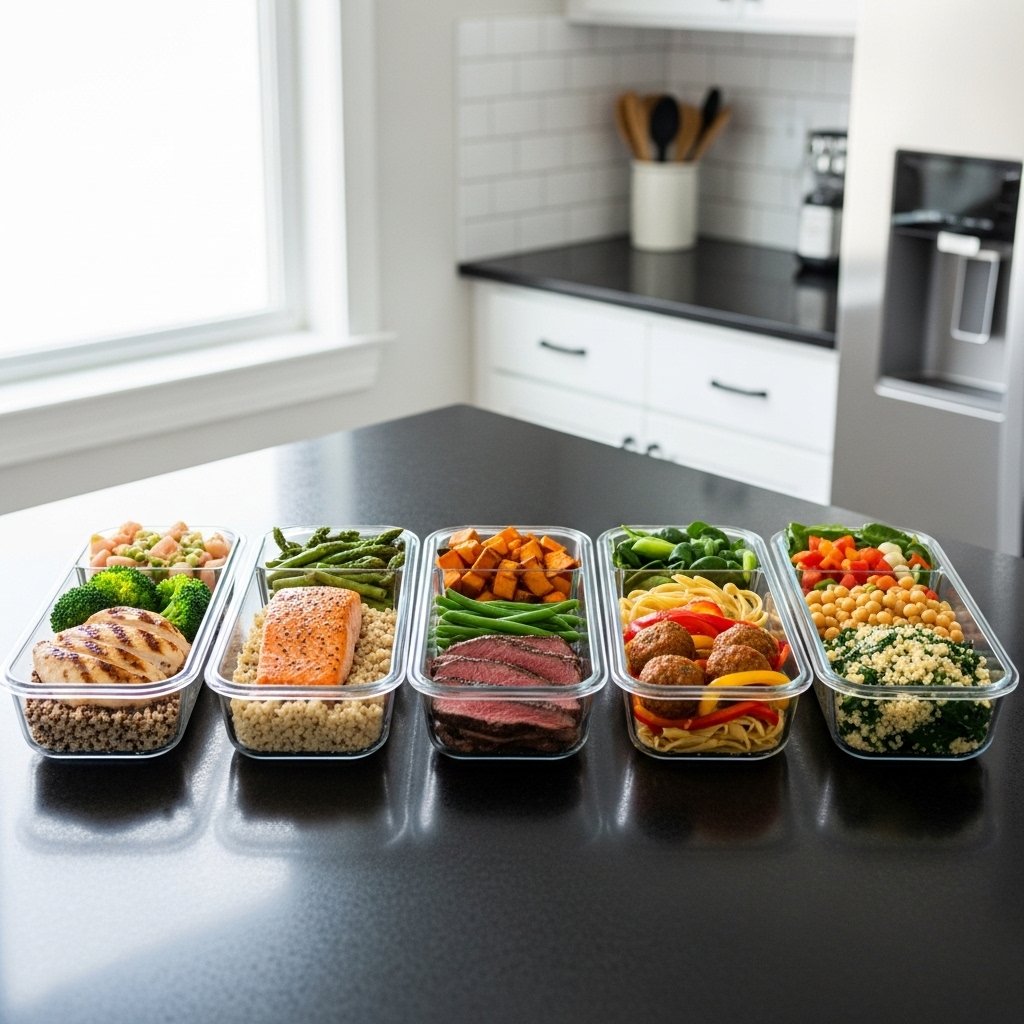
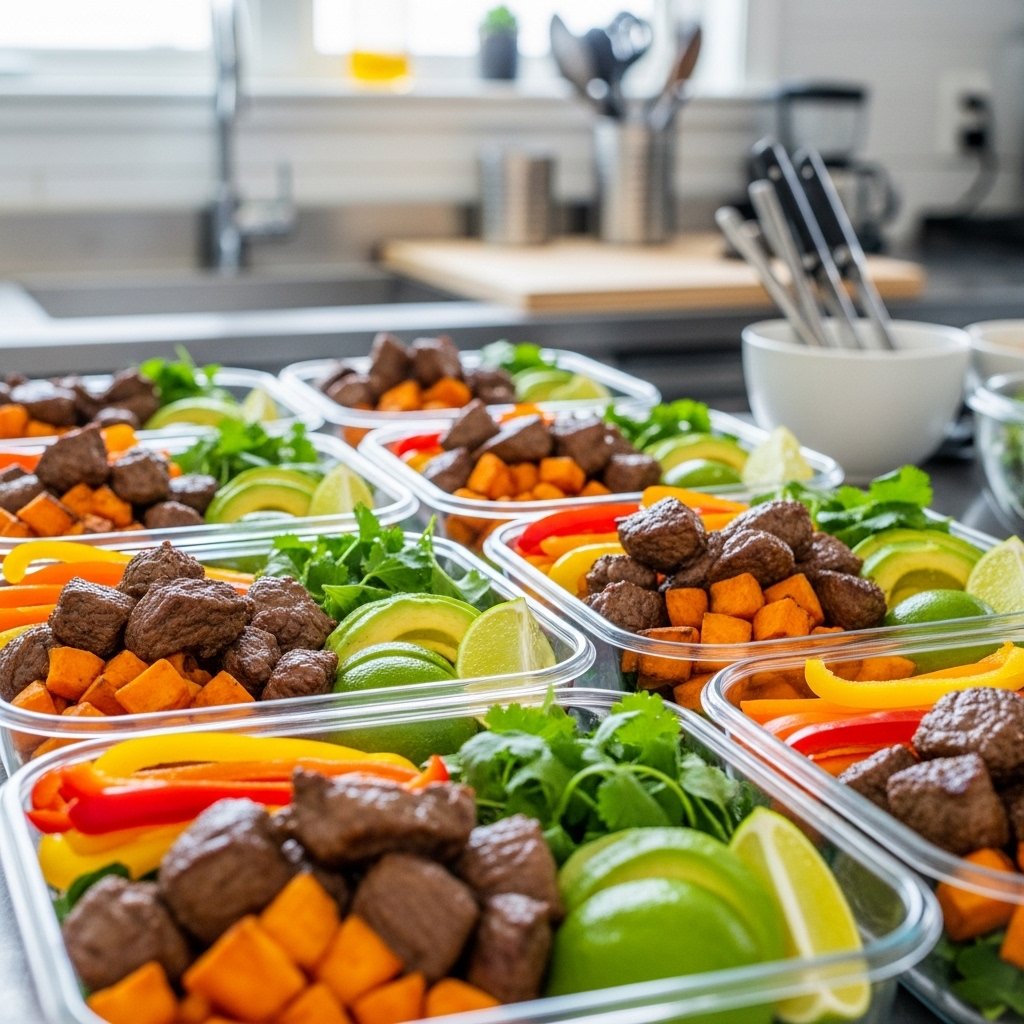
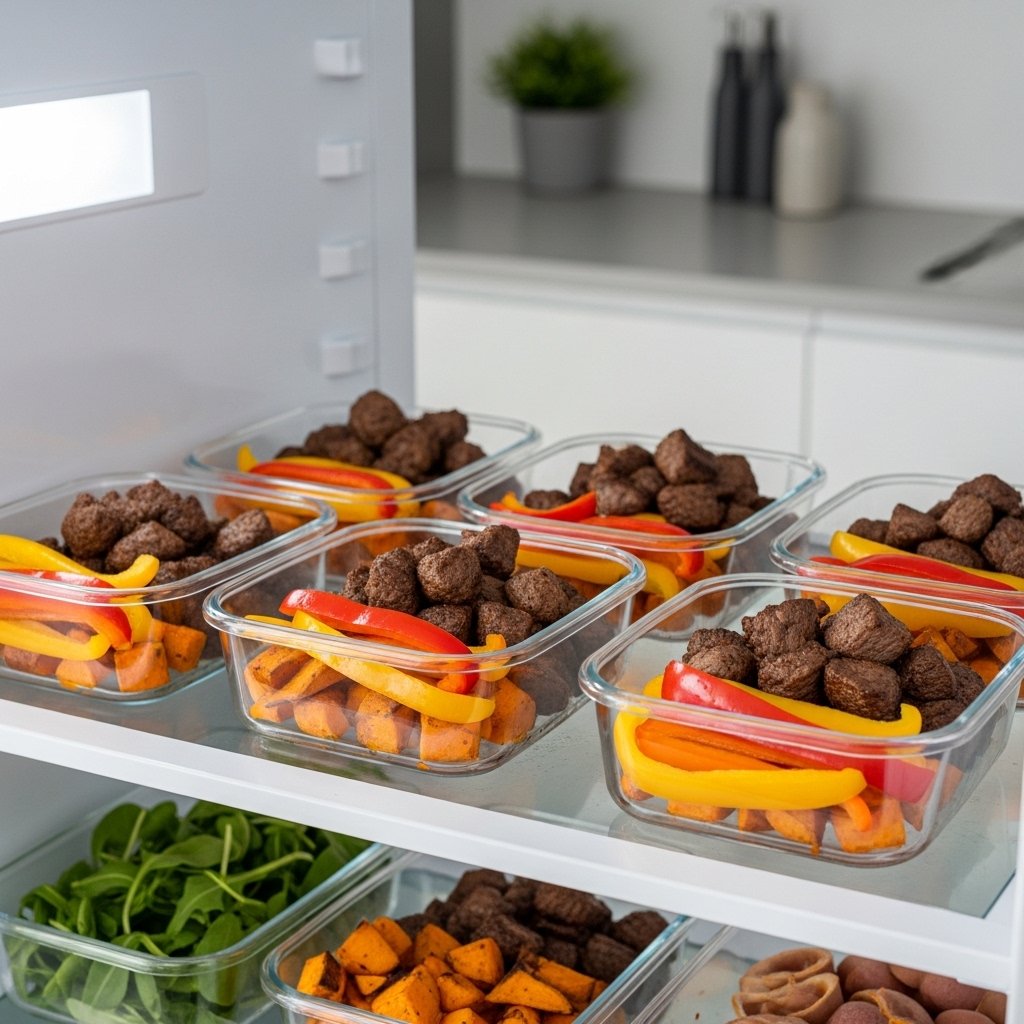
Step 3: Assemble the Meal-Prep Bowls
Once everything is cooked, divide the roasted vegetables and steak bites evenly into meal-prep containers or serving bowls.
Top with:
- sliced avocado
- fresh herbs
- a squeeze of lime
- your favorite healthy sauce
This bowl is delicious warm, room temperature, or reheated, making it ideal for weekly meal prep.
Tips for Perfect Healthy Steak Bites Every Time
A few smart techniques can take this meal from good to exceptional.
Pro Cooking Tips
- Cut steak into evenly sized cubes for consistent cooking
- Let steak sit at room temperature for 15–20 minutes before searing
- Don’t skip drying the steak before seasoning
- Use a hot pan for a flavorful crust
- Roast veggies in a single layer for caramelization
- Let steak rest for a few minutes before serving
These small details help lock in moisture and maximize flavor.
Easy Variations and Add-Ons
One reason this healthy steak bites with sweet potatoes and peppers recipe is so popular is how easy it is to customize.
Flavor Variations
- Add taco seasoning for a Tex-Mex bowl
- Use teriyaki sauce for an Asian-inspired version
- Add chipotle seasoning for smoky heat
Extra Add-Ins
- Black beans
- Quinoa
- Brown rice
- Spinach or kale
- Feta cheese
You can also turn this into lettuce wraps or stuff it into tortillas for meal variety throughout the week.
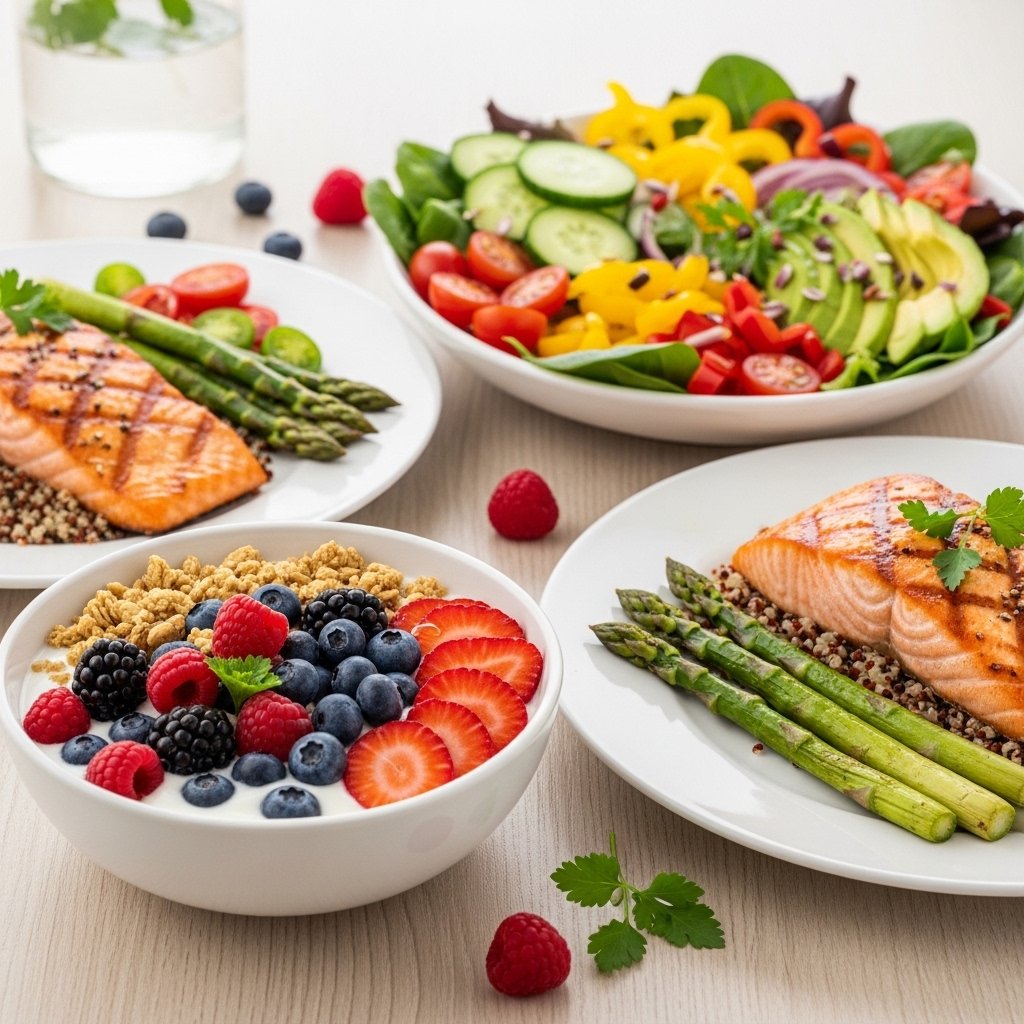
What to Serve with Steak Bites Meal-Prep Bowls
These bowls are a complete meal, but if you want to round things out, pair them with:
- A light cucumber salad
- Fresh fruit
- Sparkling water with citrus
- Protein smoothie
- Homemade salsa or yogurt dip
For entertaining, serve buffet-style so everyone can build their own bowl.
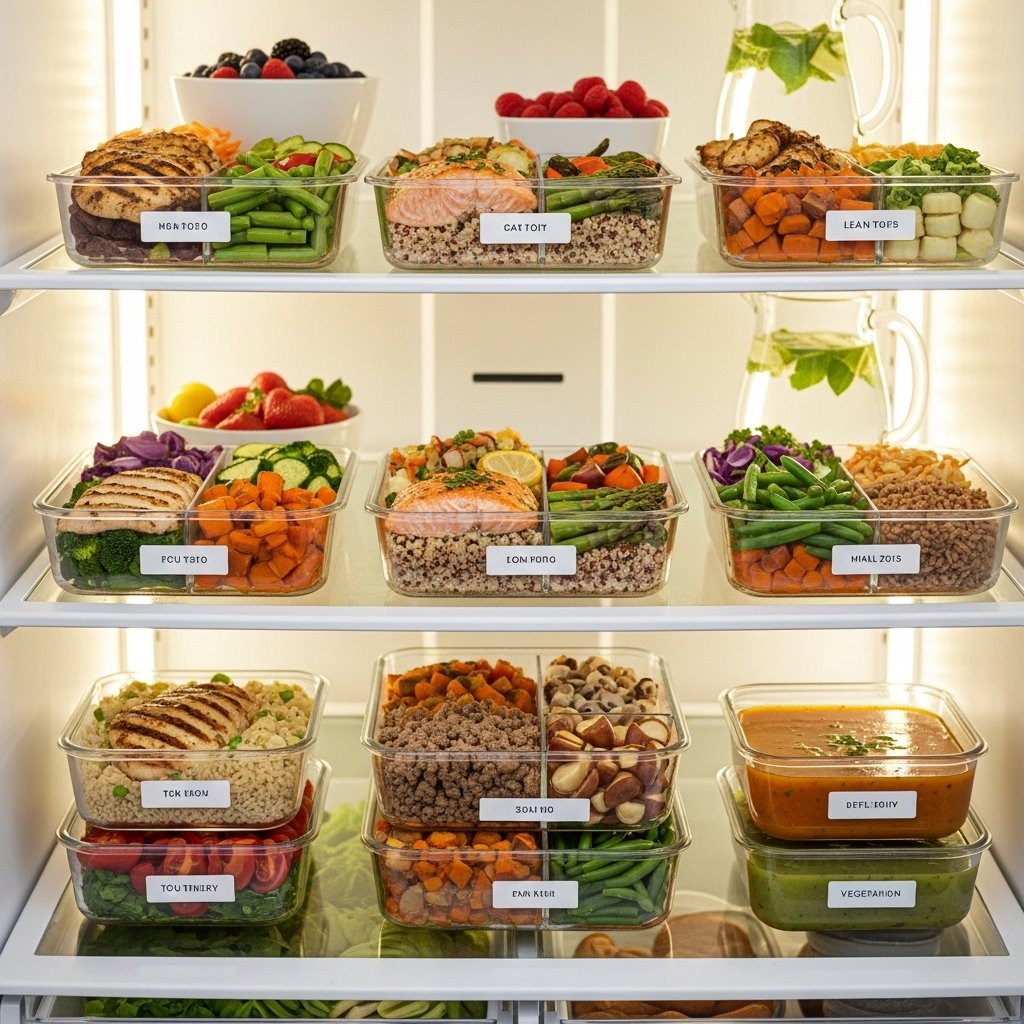
Storage and Reheating Tips
This healthy steak bites meal-prep bowl is perfect for make-ahead lunches.
Storage
- Store in airtight containers in the fridge for up to 4 days
- Keep avocado and fresh toppings separate until serving
Reheating
- Microwave for 1–2 minutes until warm
- Reheat in a skillet for best texture
- Add a splash of broth if needed to keep steak moist
Meal prep works best when ingredients are cooled before storing to avoid condensation.
Common Mistakes to Avoid
To make the best healthy steak bites with sweet potatoes and peppers, avoid these common errors:
- Overcrowding the pan when searing steak
- Cutting sweet potatoes too large
- Under-seasoning the vegetables
- Overcooking the steak
- Packing hot food directly into containers
Cooking each element properly ensures your meal-prep bowls stay delicious all week.
Frequently Asked Questions
What is the best steak for healthy steak bites?
Sirloin is one of the best options because it’s lean, tender, and affordable. Ribeye is richer, while flank steak is also a great choice.
Can I make this recipe ahead of time?
Yes. This recipe was designed for meal prep and stores very well for several days.
How do I keep steak bites tender?
Use high heat, avoid overcooking, and let the meat rest after cooking.
Can I freeze steak meal-prep bowls?
Yes, but for best texture, freeze without avocado or fresh herbs. Thaw overnight before reheating.
Are sweet potatoes good for meal prep?
Absolutely. They hold up well in the fridge, reheat beautifully, and add healthy carbohydrates.
Final Thoughts
This Healthy Steak Bites with Sweet Potatoes & Peppers Meal-Prep Bowl is one of those recipes that makes healthy eating feel easy, realistic, and delicious. It’s packed with bold flavor, loaded with nutrients, and flexible enough to fit your weekly routine.
Whether you’re planning lunches for the week, trying to eat more balanced meals, or just want a reliable dinner recipe that doesn’t disappoint, this meal-prep bowl deserves a spot in your regular rotation. Once you make it, you’ll understand why it’s one of the best healthy steak bites recipes to keep on repeat.