There are some recipes that go beyond food. They become memory, comfort, and quiet healing in a bowl. The recipe I reach for when I miss them is one of those dishes for me.
It’s a simple homemade chicken noodle soup, but it carries something deeper—warmth that feels like home, like people you love, like moments you wish you could return to just one more time.
Whenever life feels heavy or I miss someone deeply, this is the recipe I turn to. It doesn’t fix everything, but it makes things softer.

Why You’ll Love This Comforting Chicken Noodle Soup Recipe
This emotional comfort recipe is special because:
- Simple ingredients with deep emotional warmth
- Easy to make even on hard days
- Healing, soothing, and nourishing
- Perfect for cold nights or emotional moments
- Tastes like home in every spoonful
It’s not just soup—it’s comfort in edible form.
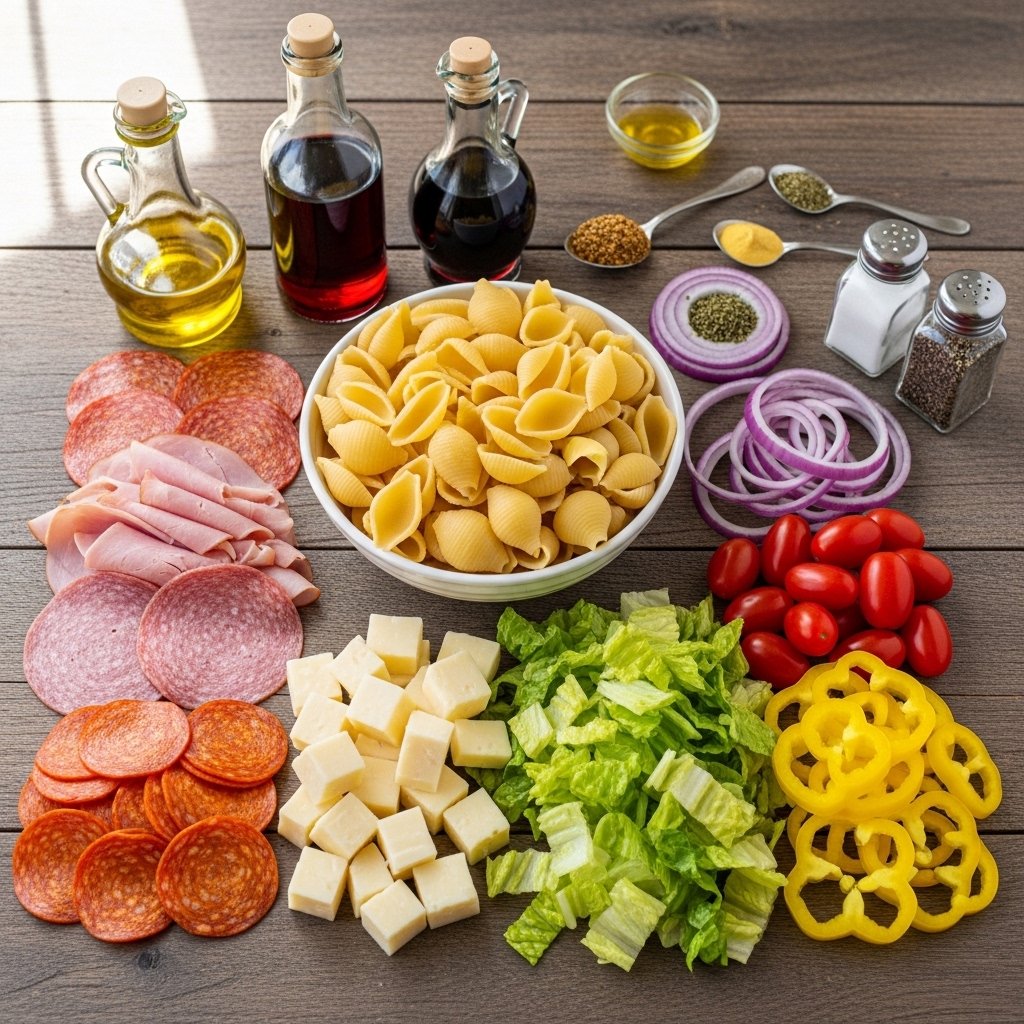
Ingredients
To make the recipe I reach for when I miss them, you’ll need:
- 1 tablespoon olive oil
- 1 small onion, diced
- 2 carrots, sliced
- 2 celery stalks, chopped
- 3 cloves garlic, minced
- 1 lb chicken breast or thighs
- 8 cups chicken broth
- 2 cups egg noodles
- 1 teaspoon salt
- ½ teaspoon black pepper
- 1 teaspoon dried thyme
- Fresh parsley for garnish

Ingredient Notes
Each ingredient adds meaning and comfort to this dish:
- Chicken: tender protein that makes the soup filling
- Carrots & celery: classic base for warmth and depth
- Garlic & onion: add aromatic comfort
- Egg noodles: soft, nostalgic texture
- Broth: the heart of the recipe
This is the kind of food that feels like it’s hugging you from the inside.
Step-by-Step Instructions
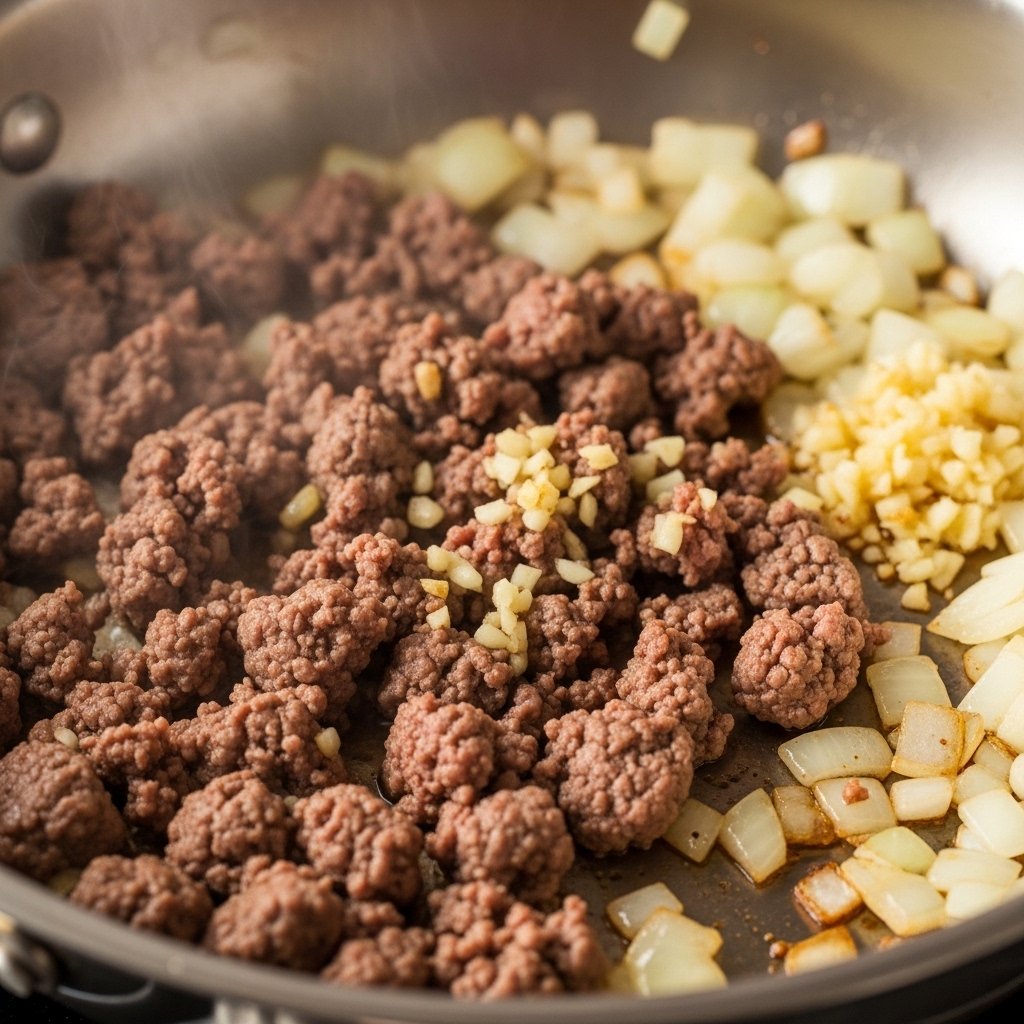
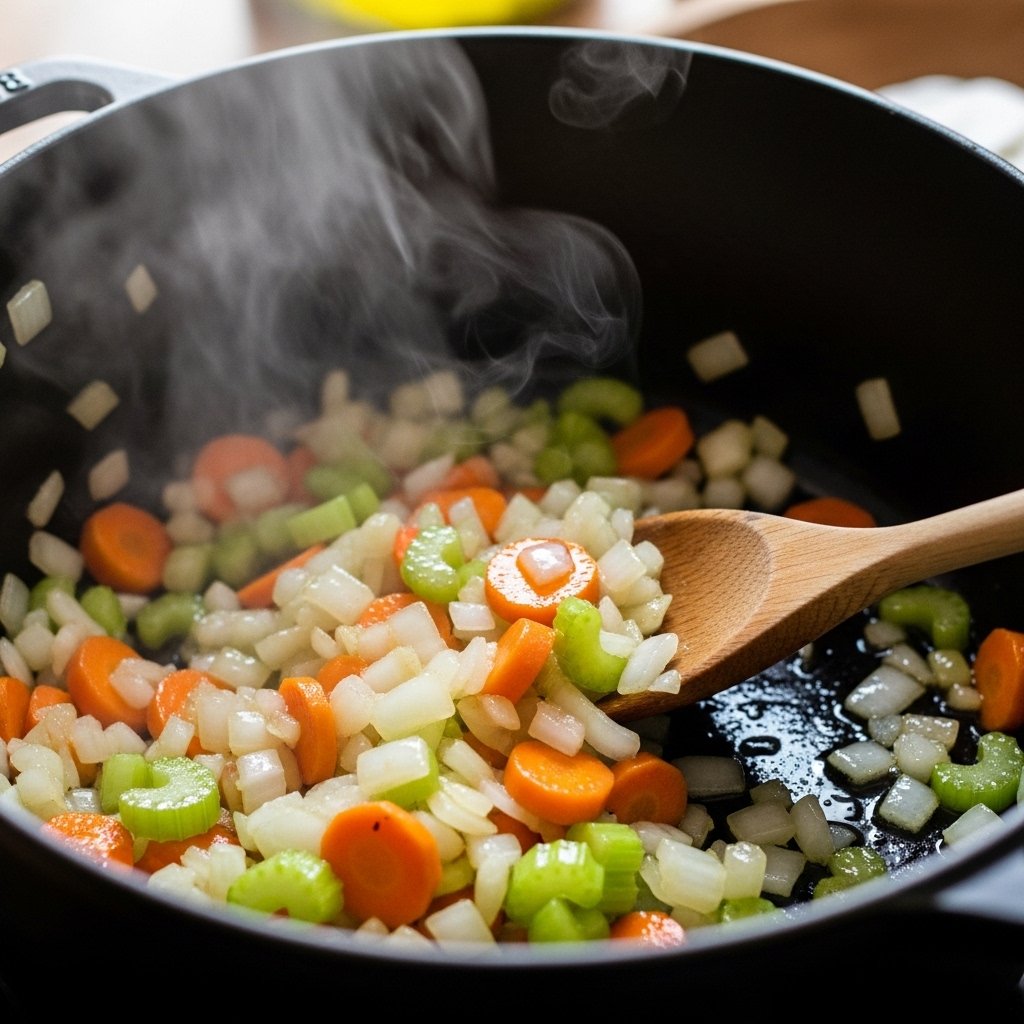
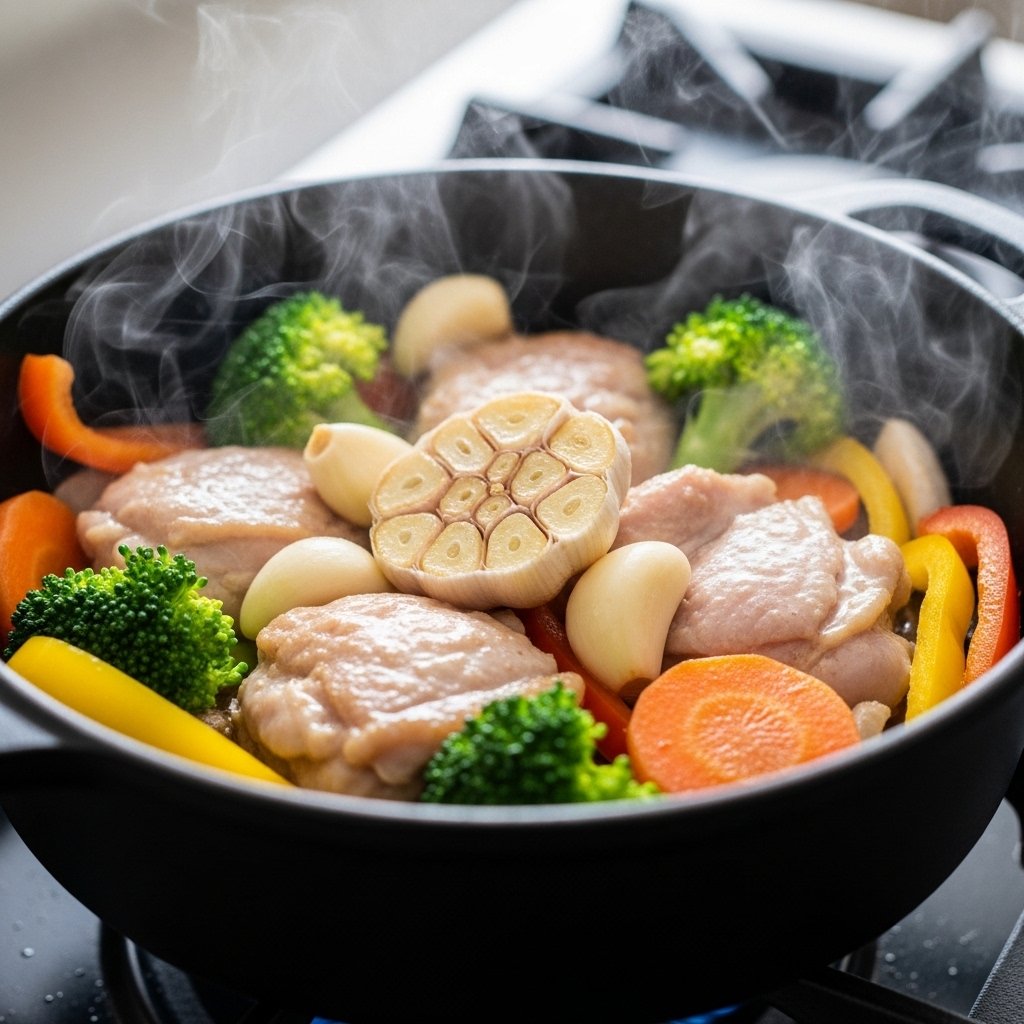
1. Sauté the Vegetables
Heat olive oil and cook onion, carrots, and celery until soft.
2. Add Garlic and Chicken
Stir in garlic and chicken, cooking until lightly browned.
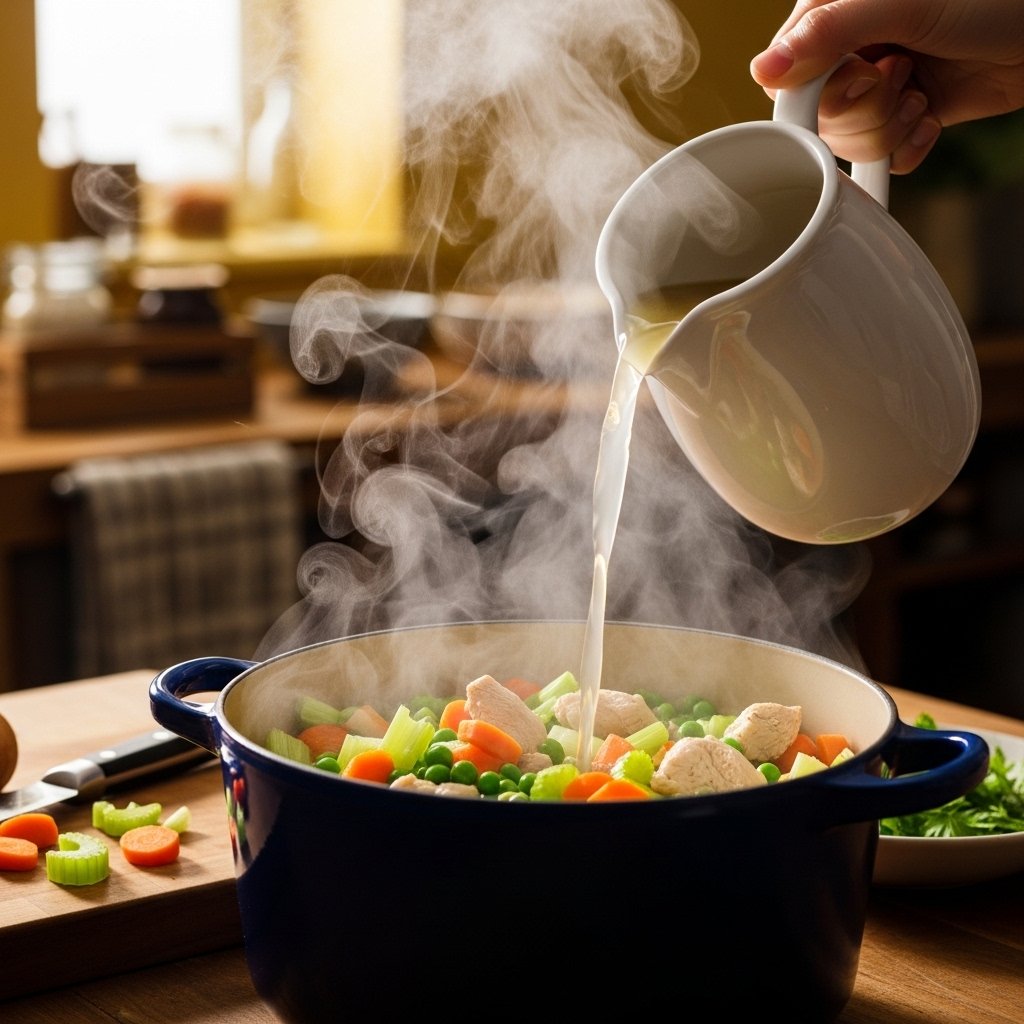
3. Pour in Broth
Add chicken broth and bring everything to a gentle boil.
4. Simmer the Soup
Let it simmer until chicken is fully cooked and tender.
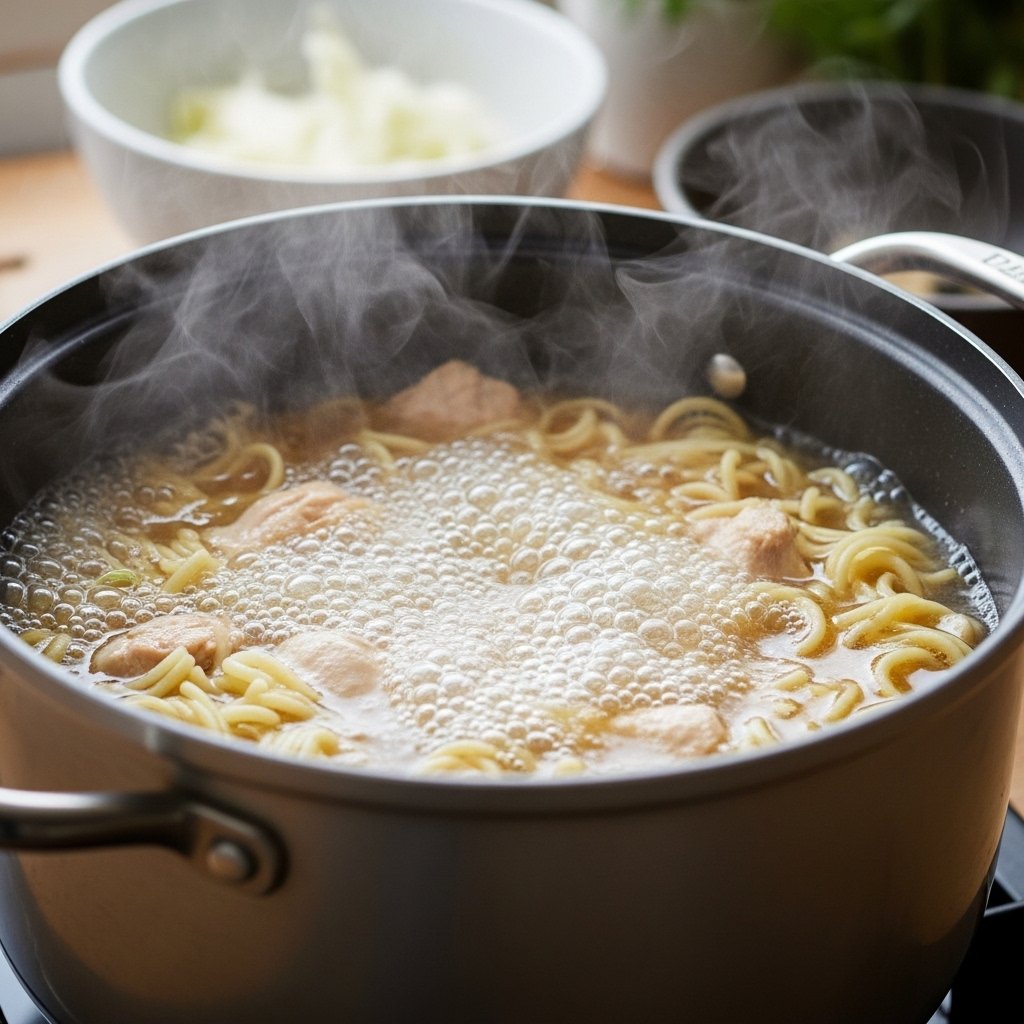
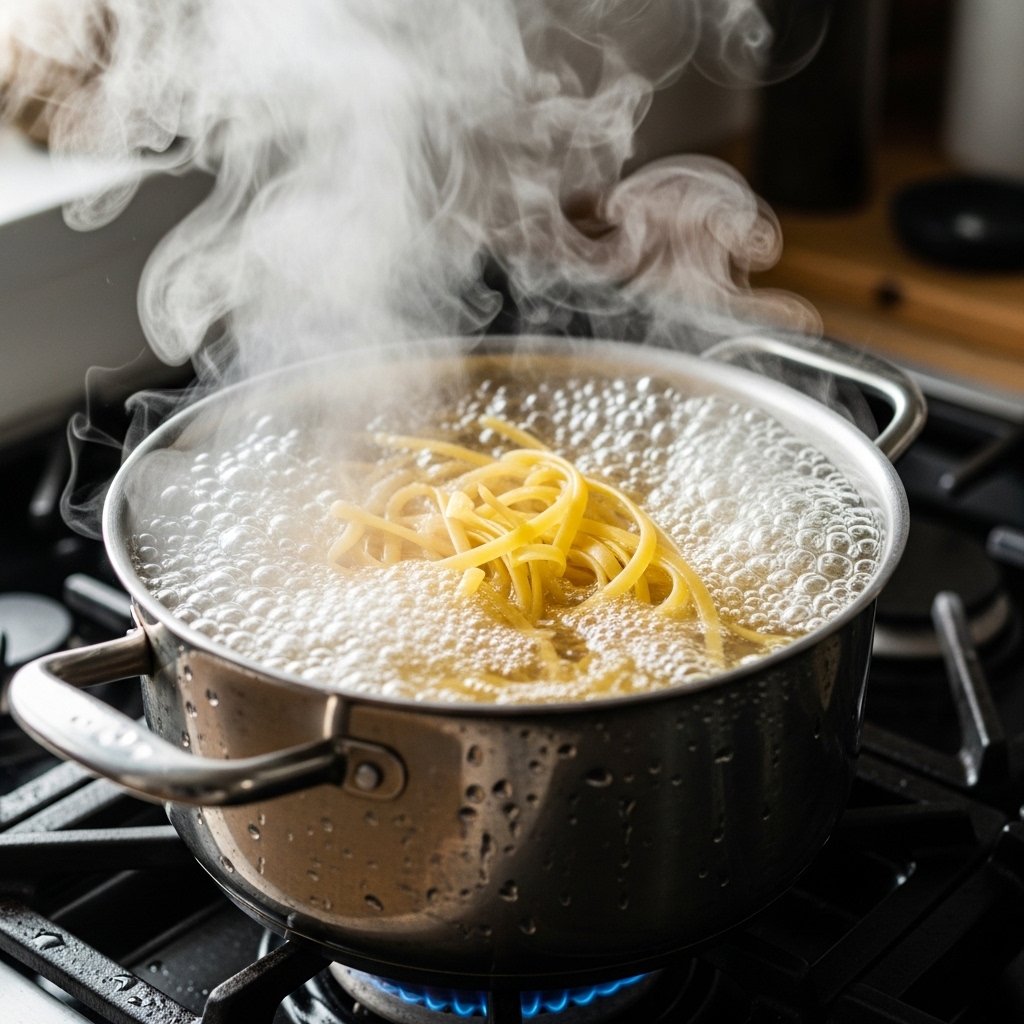
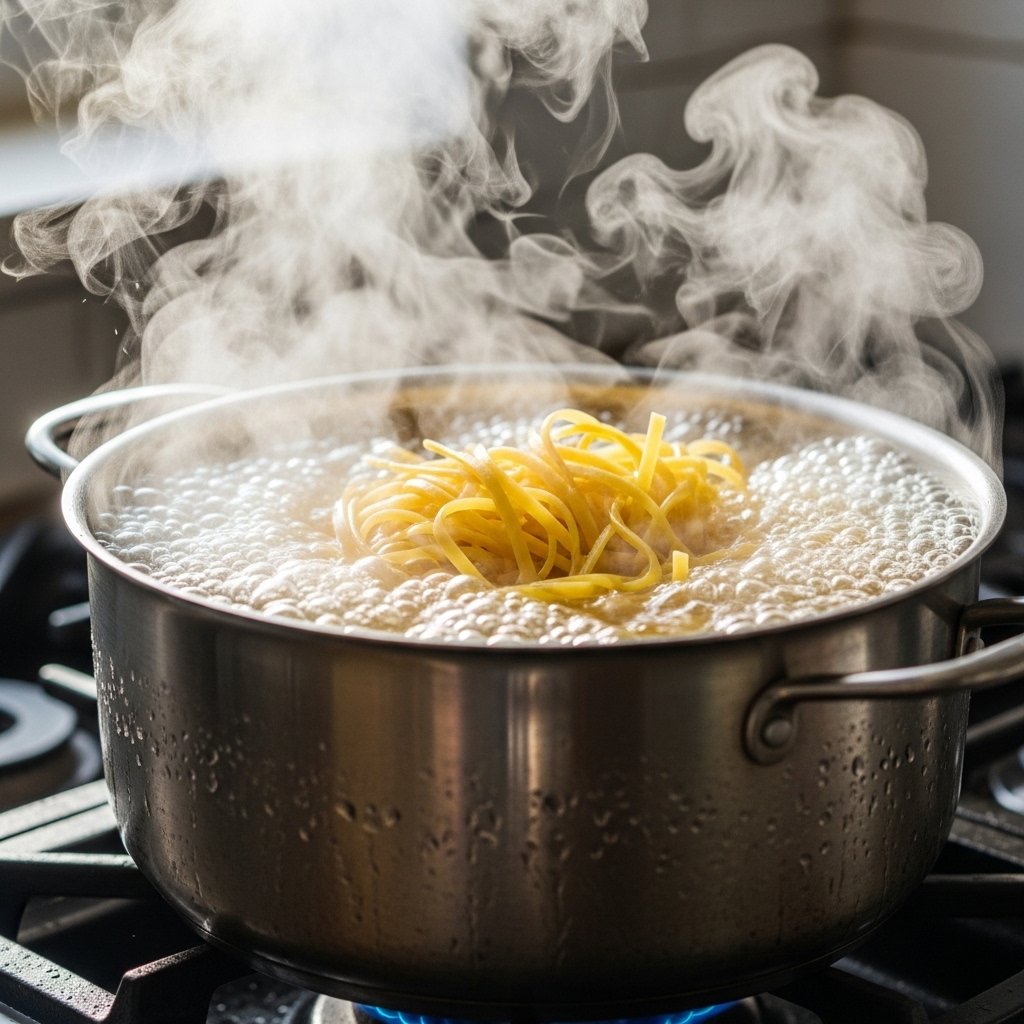
5. Add Noodles
Stir in egg noodles and cook until soft.

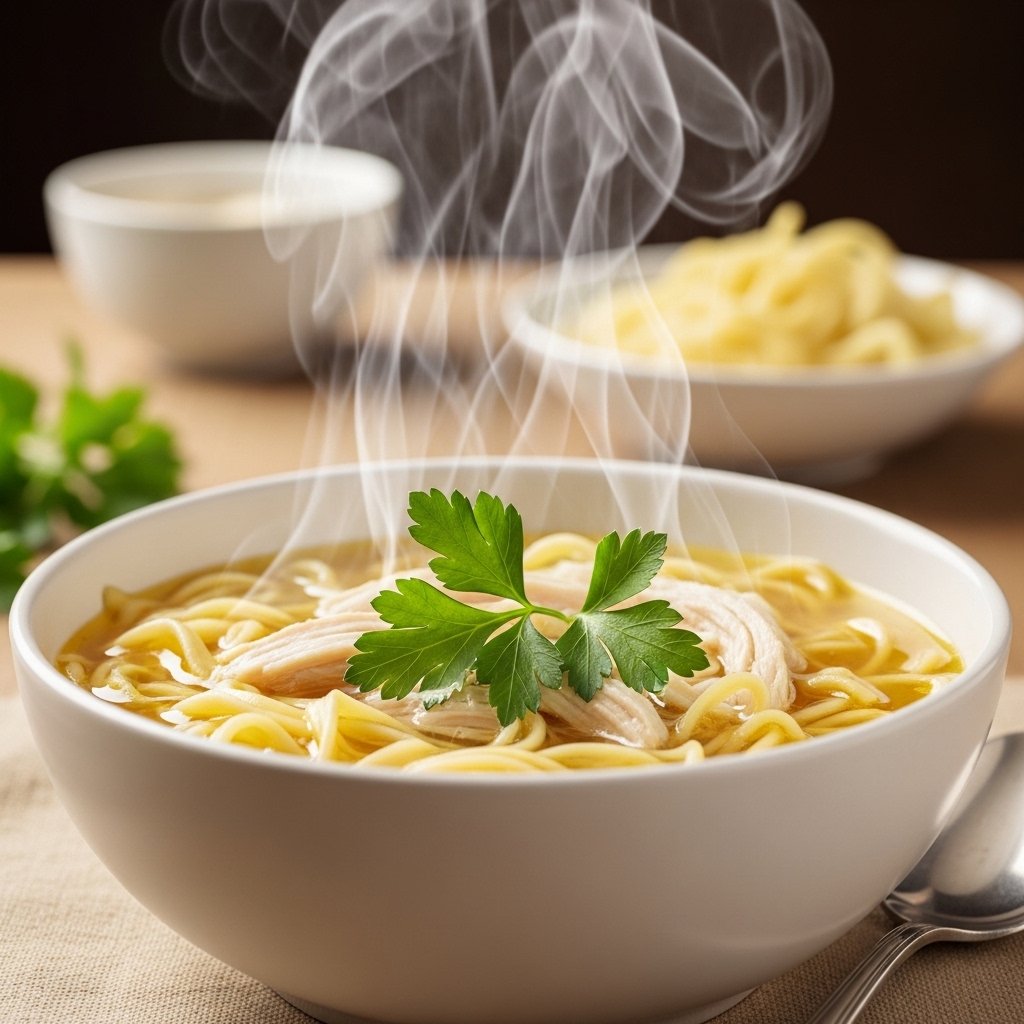
6. Finish and Serve
Season, garnish with parsley, and serve warm.
Tips for Perfect Results
To make this comforting chicken noodle soup recipe even better:
- Use homemade broth for deeper flavor
- Don’t overcook noodles (they soften quickly)
- Shred chicken for better texture
- Add lemon juice for brightness
- Let it simmer slowly for richer taste
Variations
You can personalize this comfort dish:
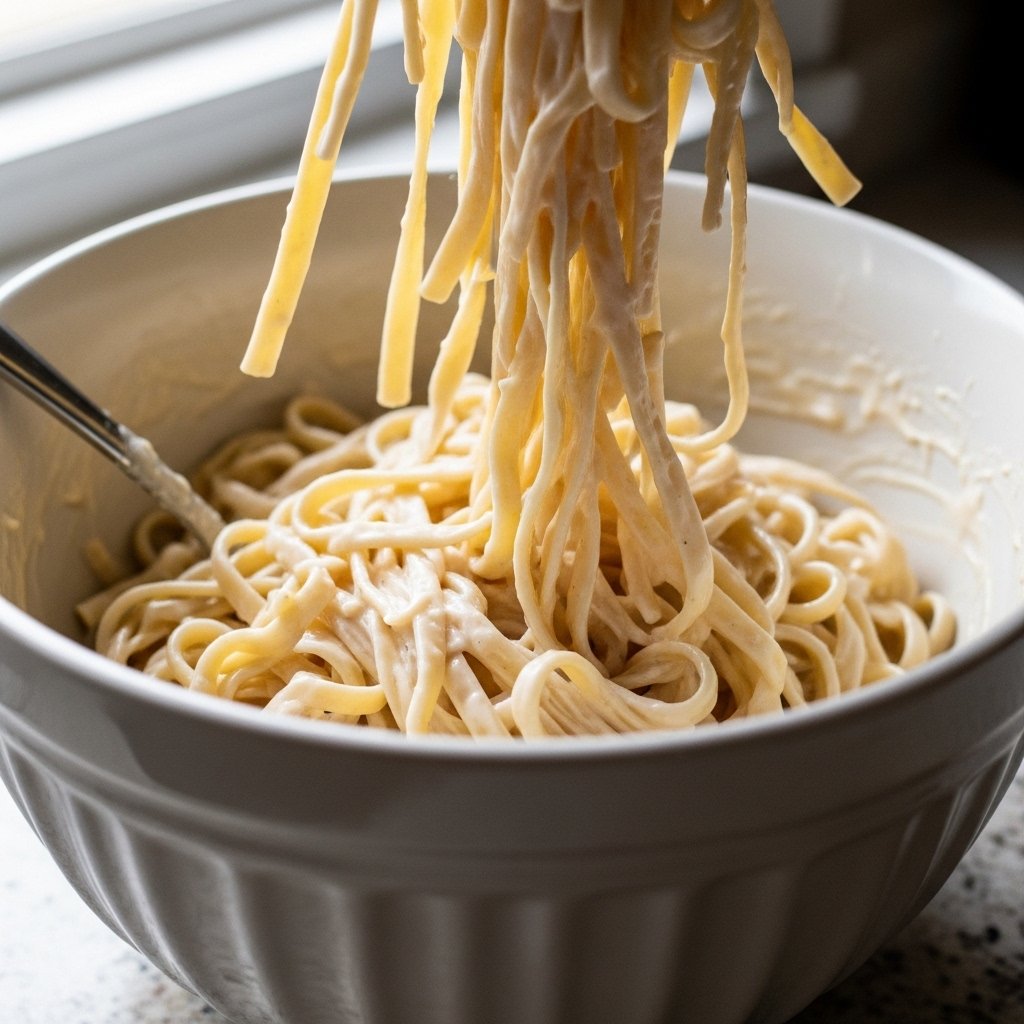
Creamy Version
Add a splash of cream for richness.
Spicy Version
Add chili flakes or hot sauce.
Vegetable-Heavy Version
Add spinach, zucchini, or mushrooms.
Rice Version
Replace noodles with cooked rice.
What to Serve With It
This comforting soup pairs beautifully with:
- Warm crusty bread
- Grilled cheese sandwich
- Simple green salad
- Crackers or toast
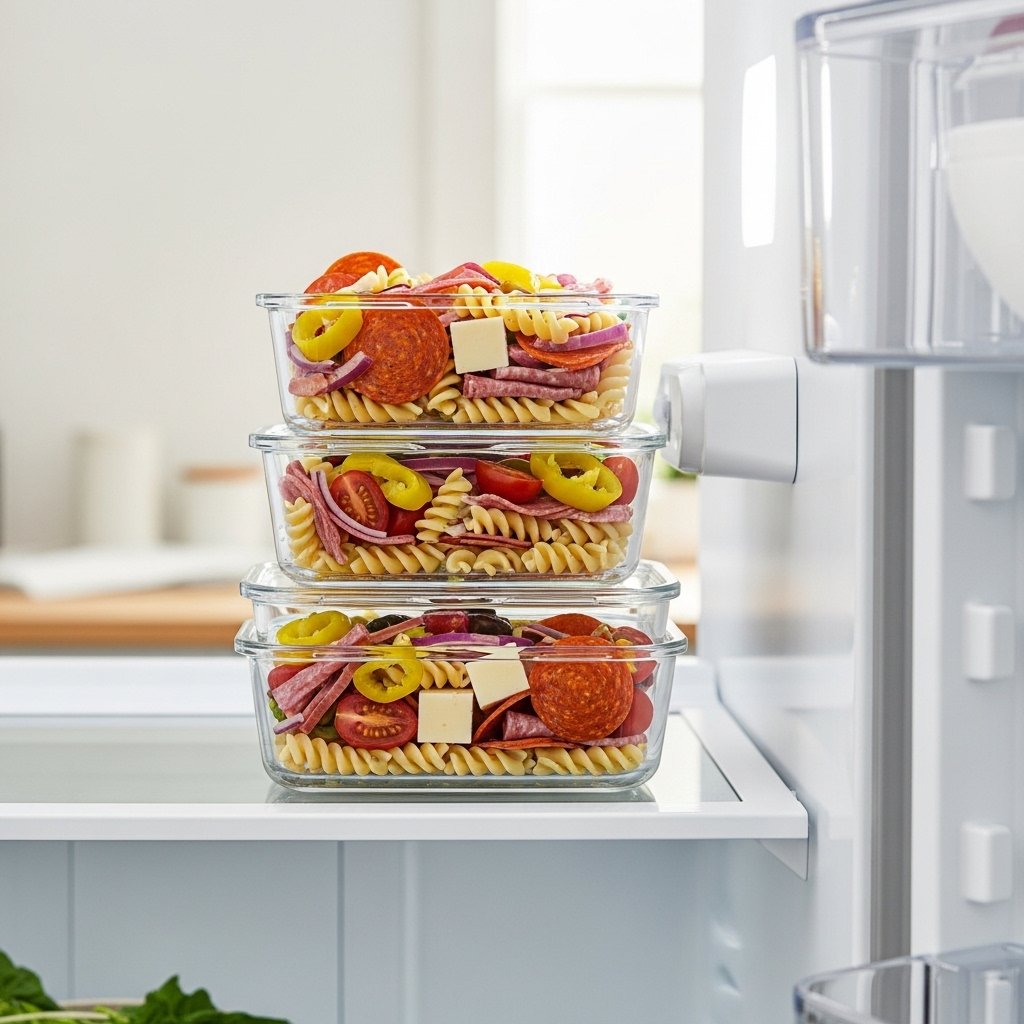
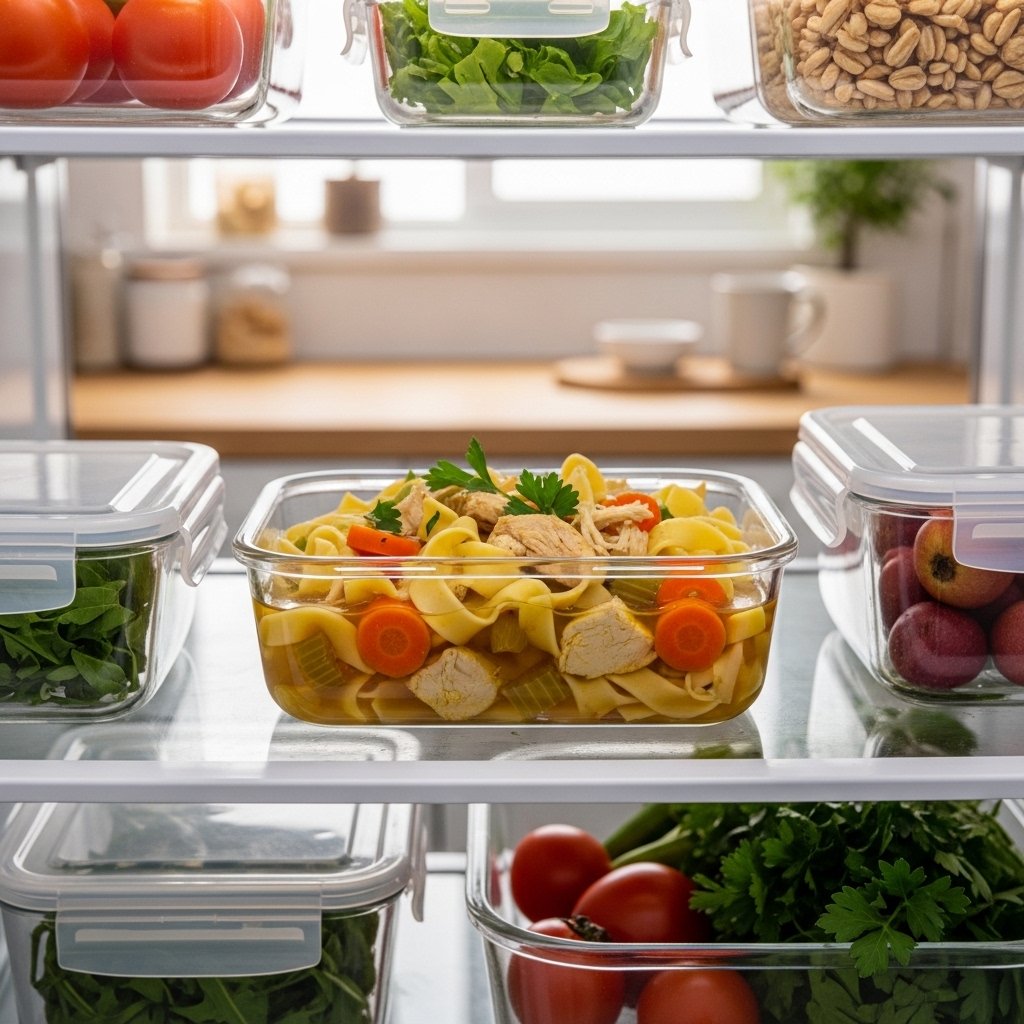
Storage & Reheating
- Store in fridge up to 4 days
- Freeze without noodles for best texture
- Reheat gently on stove
- Add fresh broth when reheating if needed

Common Mistakes to Avoid
- Overcooking noodles until mushy
- Using low-quality broth
- Skipping seasoning adjustments
- Boiling too aggressively instead of simmering
FAQs
1. Can I freeze chicken noodle soup?
Yes, but freeze without noodles for best texture.
2. What chicken works best?
Chicken thighs are more flavorful, but breast works too.
3. Can I make it in advance?
Yes, it tastes even better the next day.
4. How can I make it more flavorful?
Use homemade broth and fresh herbs.
Final Thoughts
The recipe I reach for when I miss them is more than food—it’s memory, comfort, and healing in a bowl. It’s what I make when words aren’t enough and I just need something familiar.
Every spoonful brings a little peace, a little warmth, and a reminder that comfort can be simple.