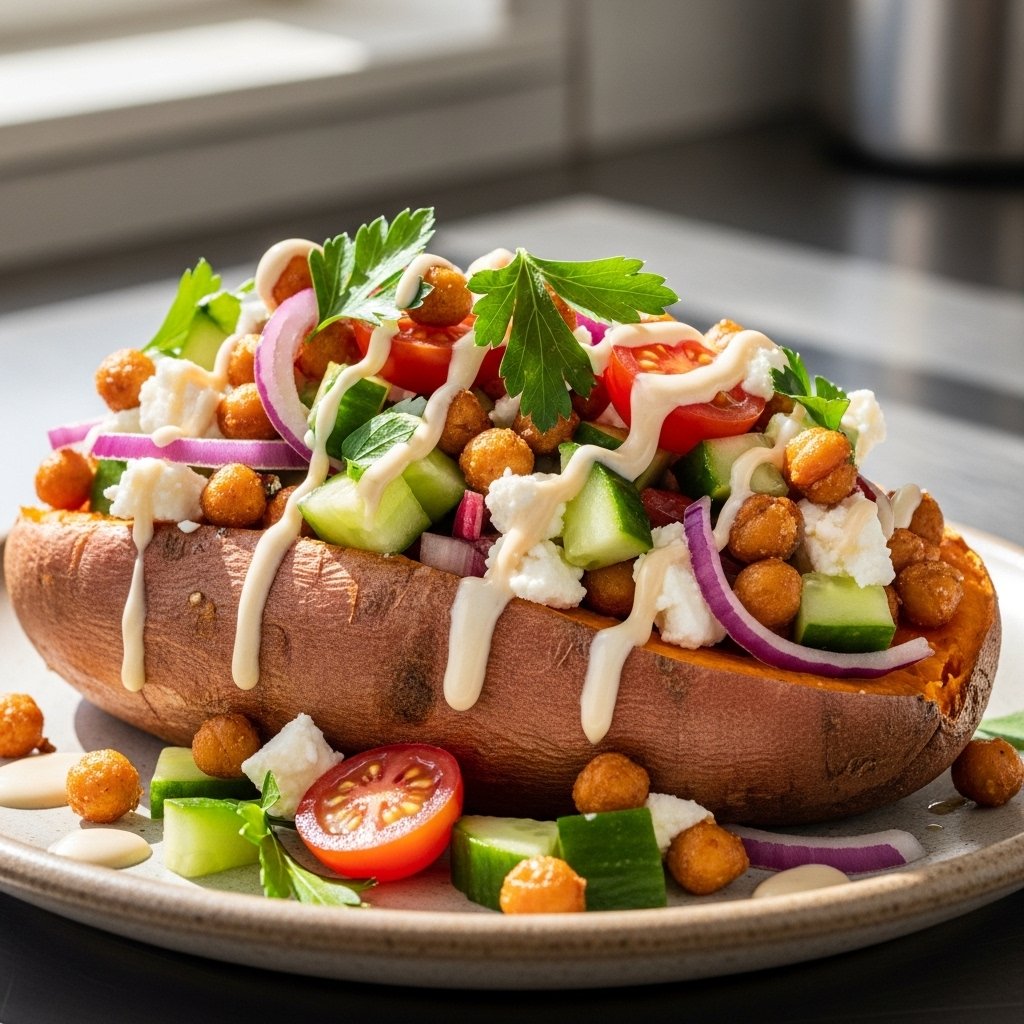
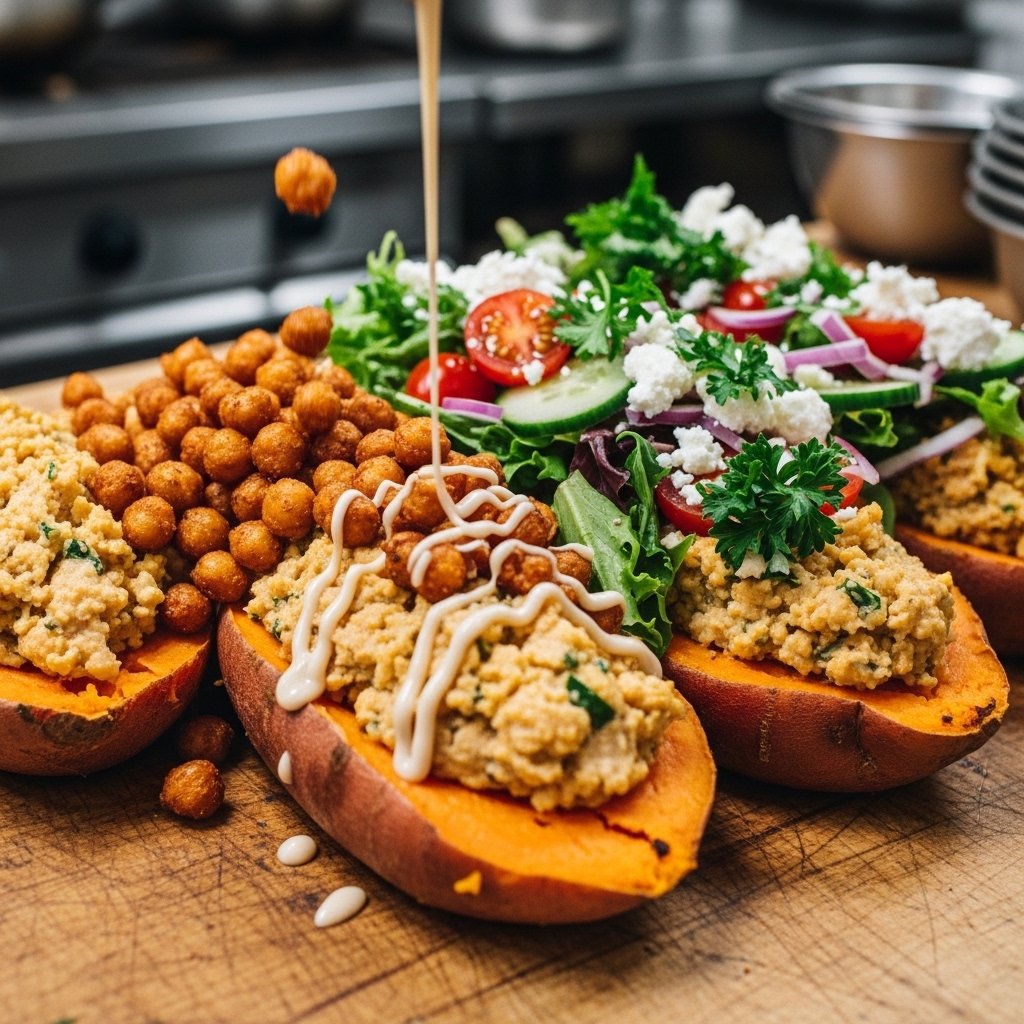
If you’re craving a wholesome meal that’s colorful, satisfying, and packed with bold flavor, these Mediterranean stuffed sweet potatoes are about to become a staple in your kitchen. This recipe combines naturally sweet roasted sweet potatoes with savory Mediterranean-inspired fillings like chickpeas, fresh herbs, creamy feta, and a bright lemony dressing.
What makes this dish so special is how beautifully the flavors balance. The sweet potatoes become soft and caramelized in the oven, creating the perfect base for a hearty, protein-rich topping. Whether you need a simple meatless dinner, healthy lunch prep, or an easy entertaining dish, this recipe checks every box.
Why You’ll Love These Mediterranean Stuffed Sweet Potatoes
This recipe is more than just healthy—it’s genuinely exciting to eat.
Reasons This Recipe Works
- Naturally gluten-free
- Packed with fiber and protein
- Full of fresh Mediterranean flavor
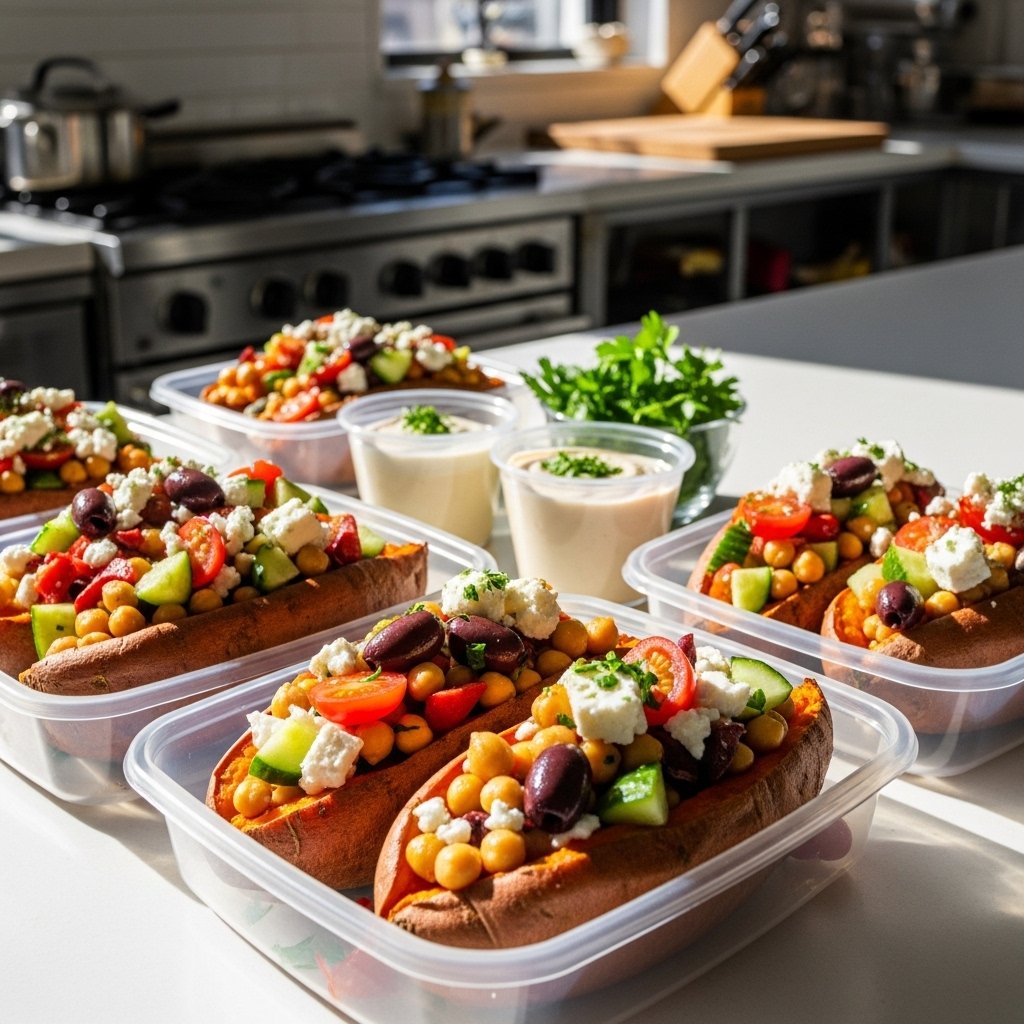
- Great for meal prep
- Easy to customize
- Budget-friendly
These Mediterranean stuffed sweet potatoes feel hearty enough for dinner while still tasting fresh and vibrant.
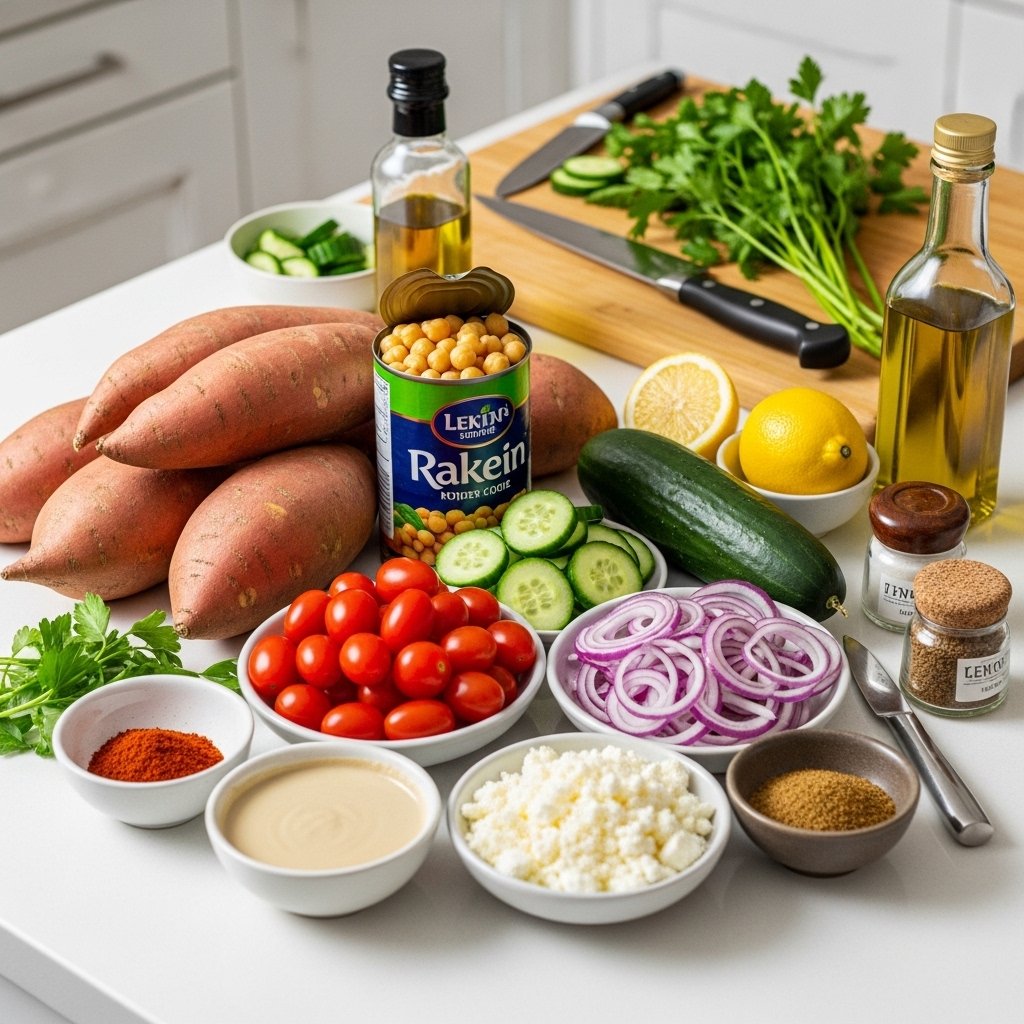
Ingredients You’ll Need
To make these savory stuffed sweet potatoes, gather:
Main Ingredients
- 4 medium sweet potatoes
- 1 can chickpeas, drained and rinsed
- 1 tablespoon olive oil
- 1 teaspoon smoked paprika
- 1/2 teaspoon cumin
- Salt and pepper to taste
Fresh Toppings
- 1 cup diced cucumber
- 1 cup halved cherry tomatoes
- 1/4 cup finely chopped red onion
- 1/3 cup crumbled feta cheese
- 2 tablespoons chopped parsley
Lemon Tahini Sauce
- 3 tablespoons tahini
- 2 tablespoons lemon juice
- 1 tablespoon olive oil
- 1–2 tablespoons water
- Pinch of salt
These simple ingredients come together into a meal that tastes fresh, rich, and satisfying.
Ingredient Notes and Flavor Tips
Choosing the Best Sweet Potatoes
Look for:
- Medium-sized potatoes
- Firm texture
- Smooth skin
This helps them roast evenly.
Chickpea Tip
Roasting chickpeas adds:
- Crunch
- Flavor
- Texture contrast
Feta and Herbs
Fresh herbs and feta bring:
- Saltiness
- Brightness
- Authentic Mediterranean taste
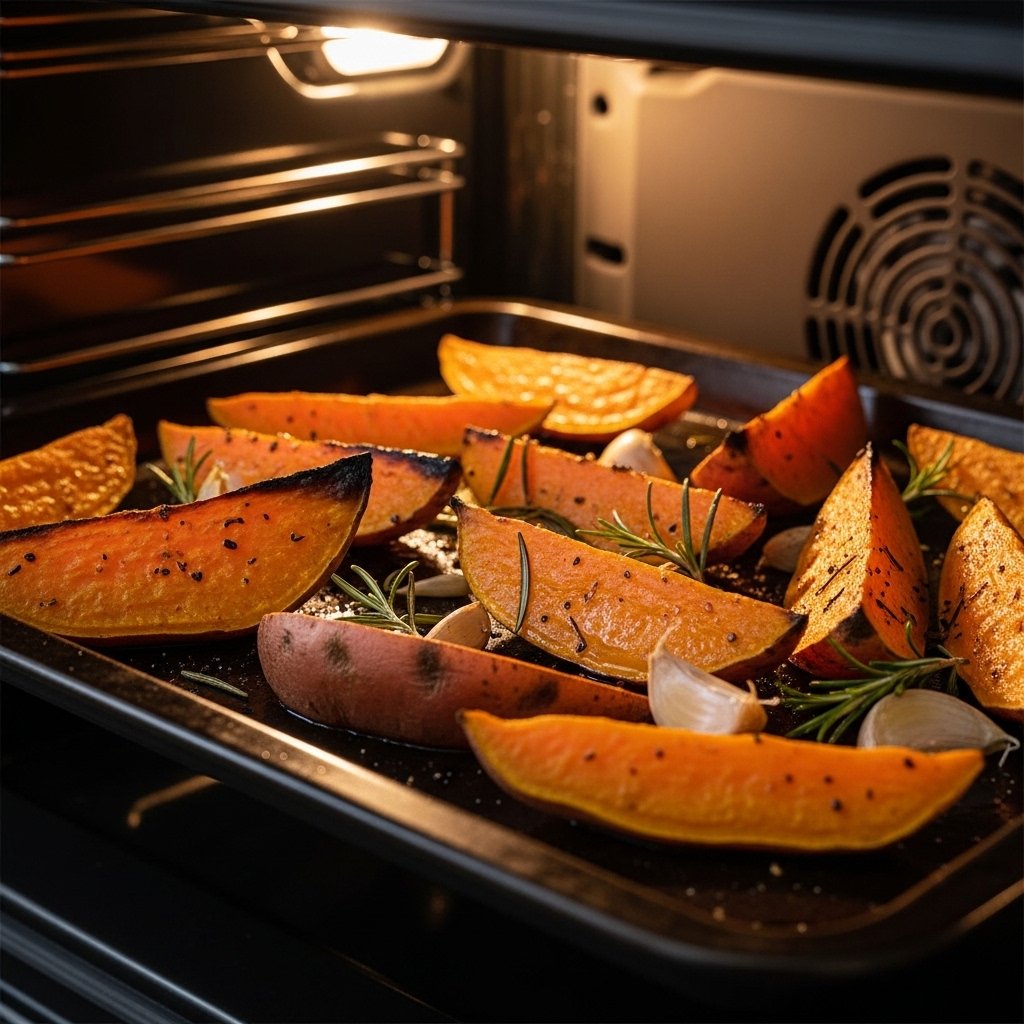
Step-by-Step Instructions
Step 1: Roast the Sweet Potatoes
Preheat oven to 400°F.
Wash and dry sweet potatoes.
Pierce with fork.
Bake:
- 40–50 minutes
Until tender.
This creates a soft, naturally sweet base.
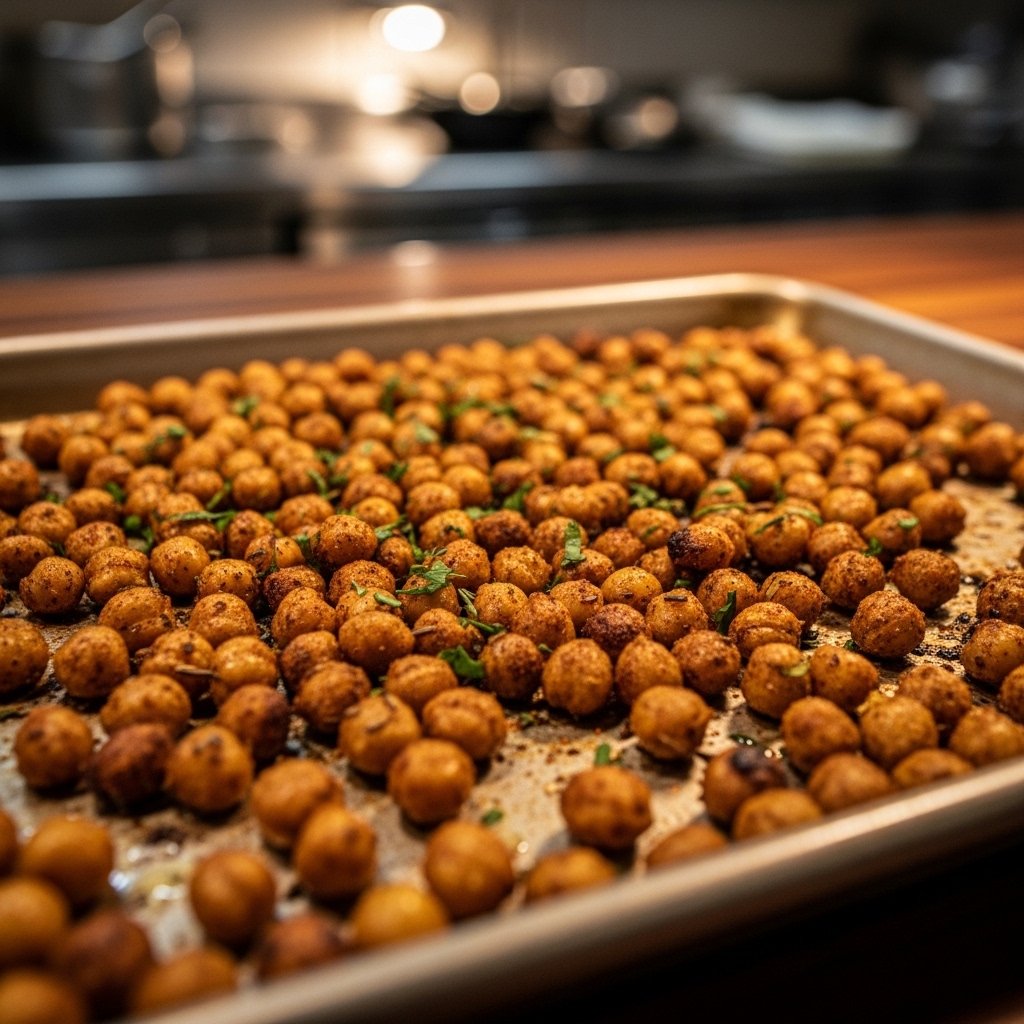
Step 2: Roast the Chickpeas
Toss chickpeas with:
- Olive oil
- Paprika
- Cumin
- Salt
Spread on sheet pan.
Roast:
- 20–25 minutes
Until crispy.
This adds savory depth.
Step 3: Make the Salad Topping
Combine:
- Cucumber
- Tomatoes
- Red onion
- Parsley
Mix gently.
This adds freshness and crunch.
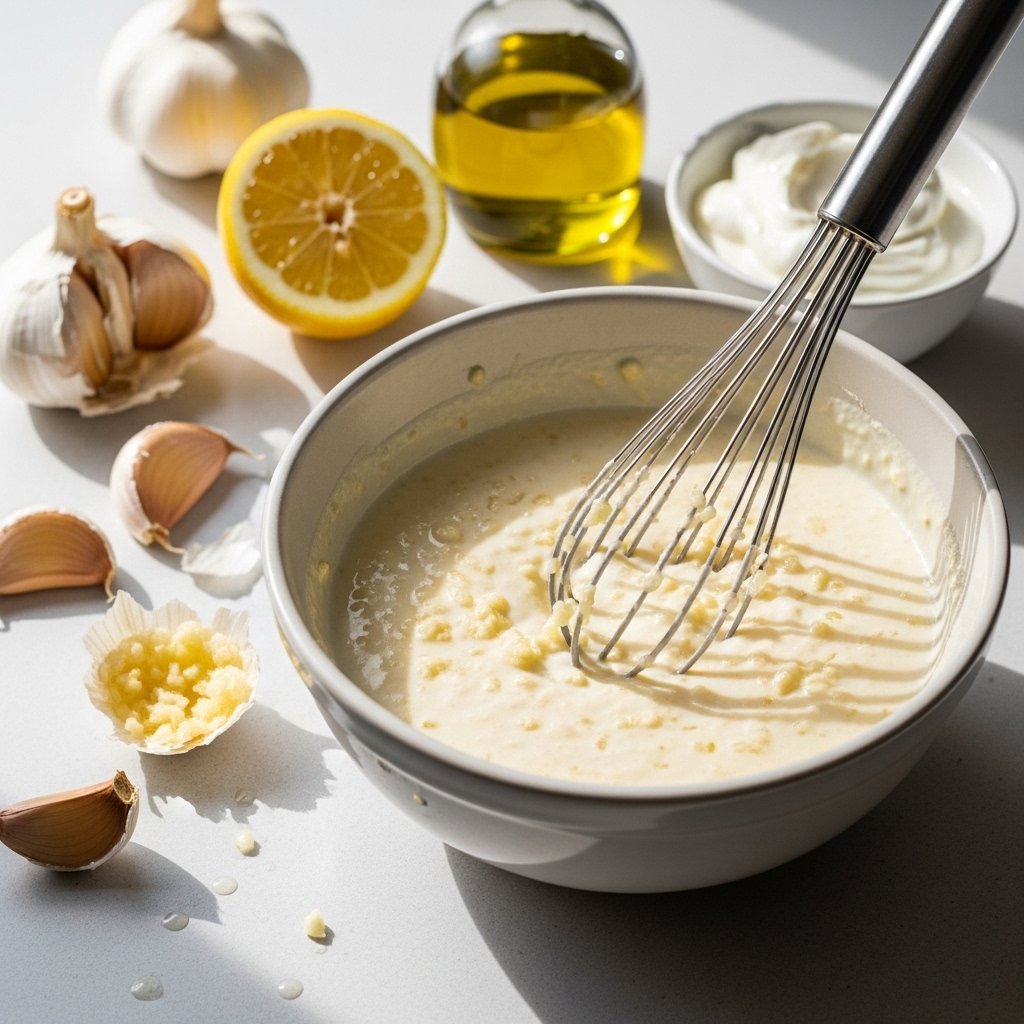
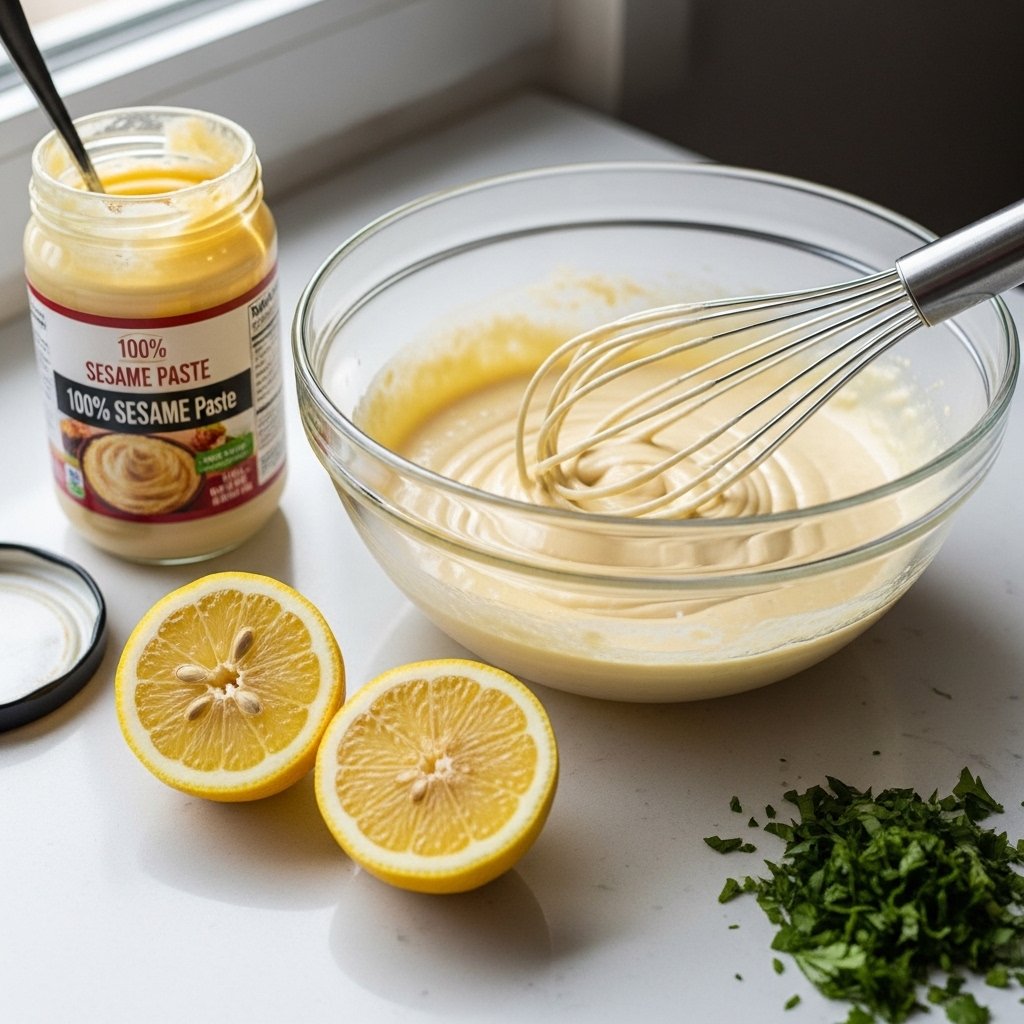
Step 4: Whisk the Sauce
Mix:
- Tahini
- Lemon juice
- Olive oil
- Water
Until creamy.
This sauce ties everything together.
Step 5: Assemble and Serve
Slice roasted sweet potatoes.
Fluff inside.
Top with:
- Crispy chickpeas
- Fresh salad
- Feta
- Sauce
Serve warm.
This final combination makes every bite layered and delicious.
Tips for Perfect Mediterranean Stuffed Sweet Potatoes
For best results:
- Roast potatoes until very soft
- Dry chickpeas well before roasting
- Don’t overdress topping
- Use fresh lemon juice
- Add sauce just before serving
These small details improve texture and flavor.
Easy Variations and Add-Ins
This recipe is wonderfully flexible.
Tasty Additions
- Grilled chicken
- Shredded rotisserie chicken
- Quinoa
- Kalamata olives
Vegan Option
- Skip feta
- Use dairy-free yogurt drizzle
Spicy Version
- Add chili flakes
- Harissa drizzle
These Mediterranean stuffed sweet potatoes can easily match your preferences.
What to Serve With Stuffed Sweet Potatoes
This dish is filling alone, but pairs well with:
- Hummus and pita
- Greek salad
- Lentil soup
- Grilled vegetables
It also works beautifully for:
- Meal prep lunches
- Casual dinner parties
- Healthy weeknight dinners
Storage and Reheating Tips
These store surprisingly well.
Refrigerate
- Up to 4 days
Store:
- Potatoes separately
- Toppings separately
- Sauce separately
Reheat
- Oven or microwave
Add fresh toppings after reheating.
Common Mistakes to Avoid
To get the best results:
- Don’t underbake potatoes
- Don’t skip seasoning chickpeas
- Don’t overdress fresh topping
- Don’t assemble too early for storage
Texture matters in this recipe.
Frequently Asked Questions
Can I make these ahead?
Yes, they’re excellent for meal prep.
Can I use black beans instead?
Absolutely.
Are they filling enough for dinner?
Yes, especially with protein add-ins.
Can I make them vegan?
Very easily.
Can I air fry the sweet potatoes?
Yes, for faster cooking.
Final Thoughts
These Mediterranean stuffed sweet potatoes are proof that healthy meals can be deeply satisfying, flavorful, and easy to make. From the creamy roasted sweet potatoes to the crispy chickpeas and bright lemon tahini sauce, every bite feels fresh and comforting.
Whether you’re cooking for your family, meal prepping for the week, or just craving something wholesome and delicious, this recipe delivers. Once you try it, it’s likely to become one of your favorite go-to meals.