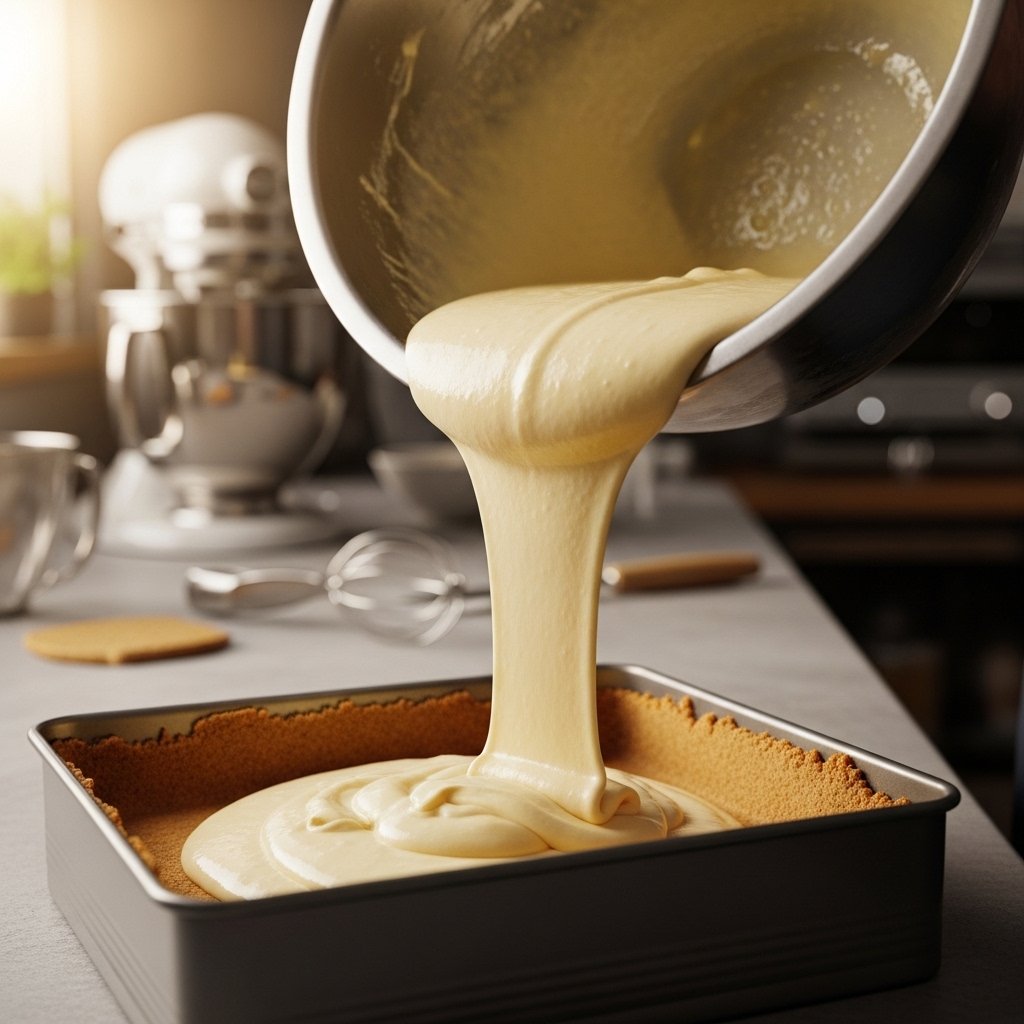
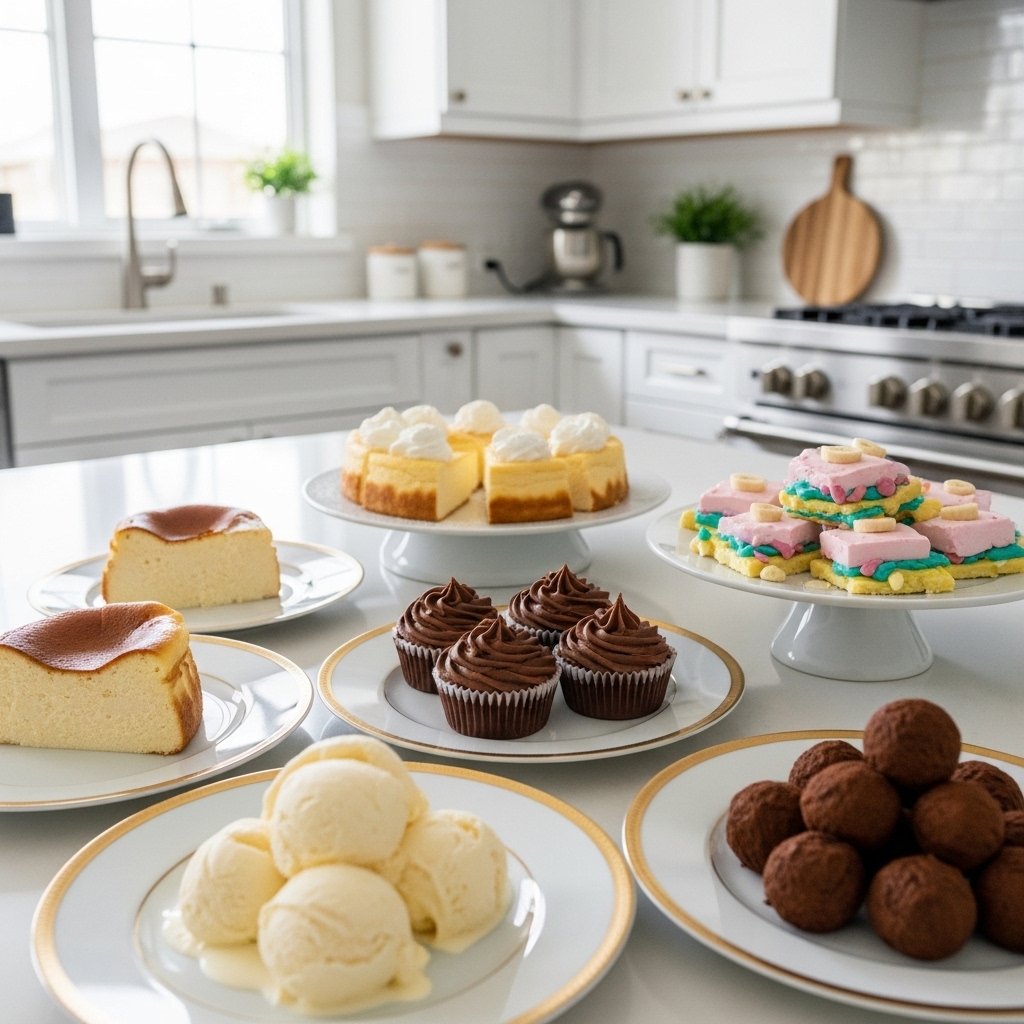
There’s a reason the viral Japanese cheesecake took over social media: it’s light, fluffy, beautiful, and surprisingly simple. That magical combination made people realize something important—delicious desserts don’t always require long ingredient lists or complicated techniques. Sometimes, the best treats come from just two smart ingredients and a little creativity.
If you loved that famous airy cheesecake, you’re going to love this collection of 2-ingredient dessert recipes. These recipes are perfect for busy weeknights, beginner bakers, students, parents, or anyone who wants something sweet without making a mess in the kitchen. From frozen bites to microwave treats and creamy no-bake favorites, these ideas prove simple can still feel special.
Why 2-Ingredient Dessert Recipes Are So Popular
The beauty of 2-ingredient dessert recipes is that they remove the stress from baking while still delivering real flavor and satisfaction.
Here’s why people love them:
- Minimal prep time
- Budget-friendly ingredients
- Beginner-friendly methods
- Less cleanup
- Great for quick cravings
- Easy to customize
These desserts are proof that simple doesn’t have to mean boring.
The Secret to Great Simple Desserts
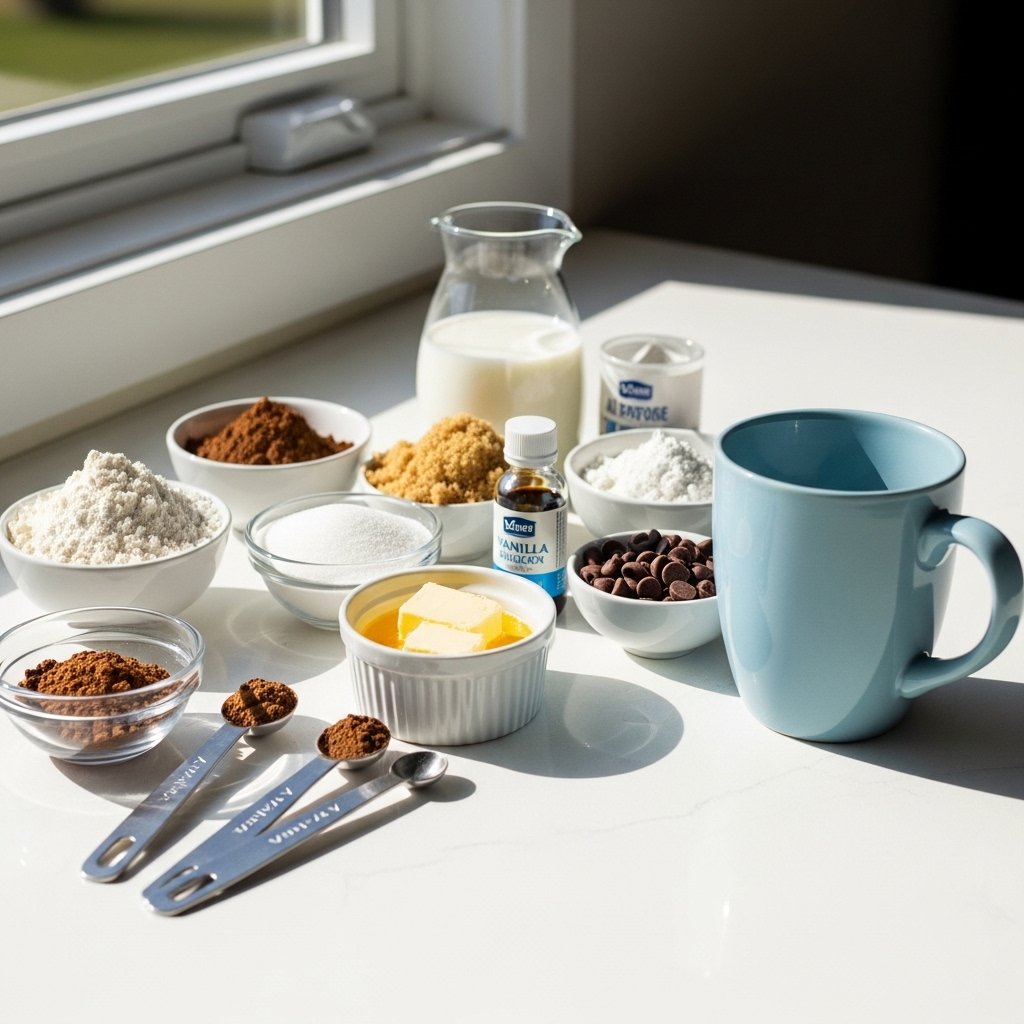
Even when working with only two ingredients, quality matters.
Smart Ingredient Pairings
The best combinations usually include:
- A creamy base + sweet flavor
- Fruit + chocolate
- Dairy + cake mix
Simple Technique Matters
To get the best results:
- Measure carefully
- Use ripe fruit
- Chill when needed
- Don’t rush setting time
Simple recipes still benefit from attention to detail.
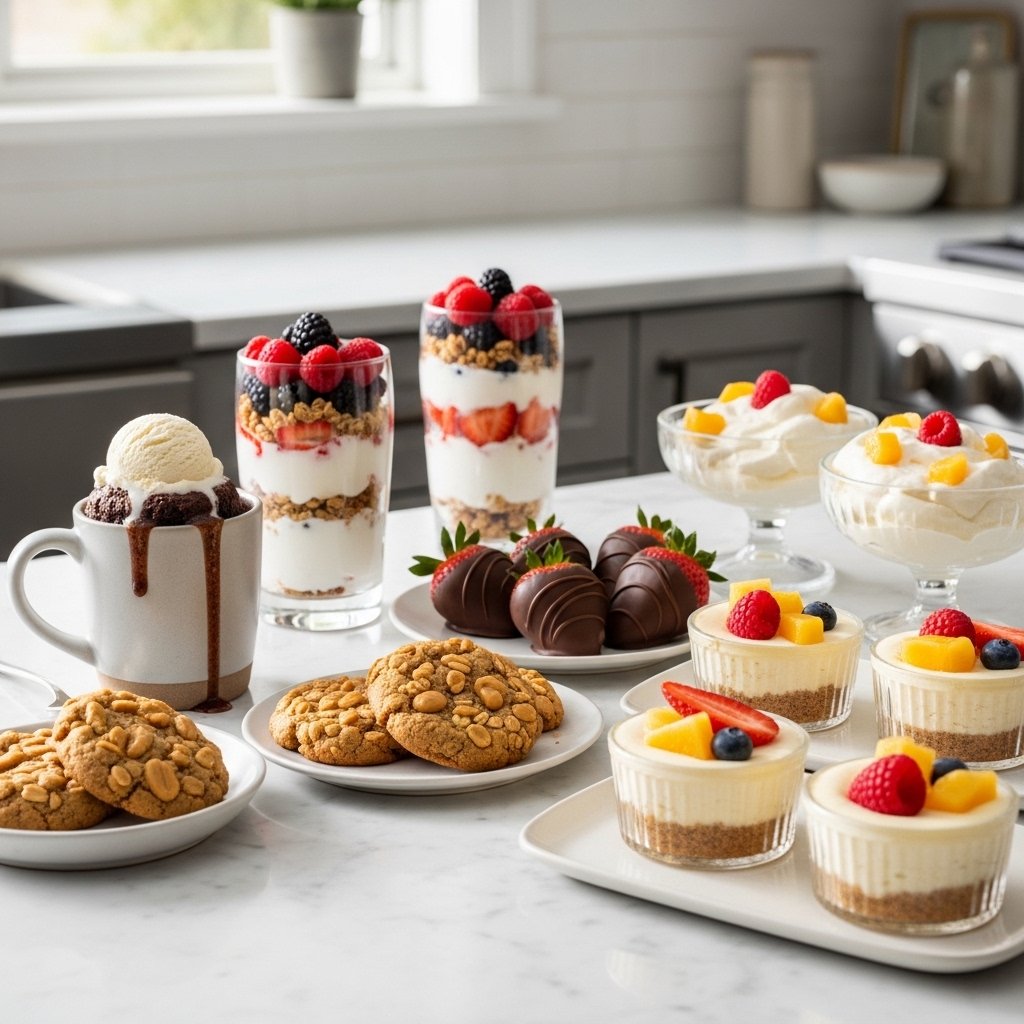
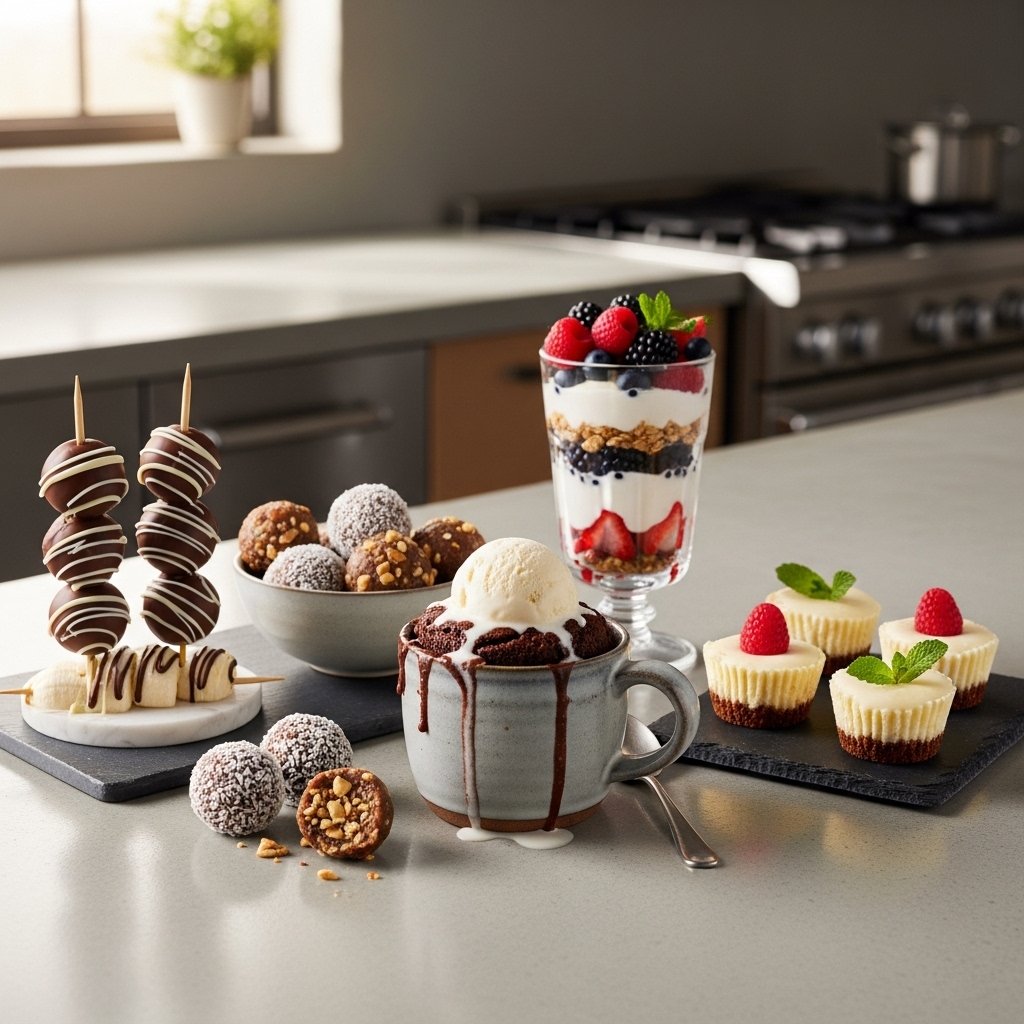
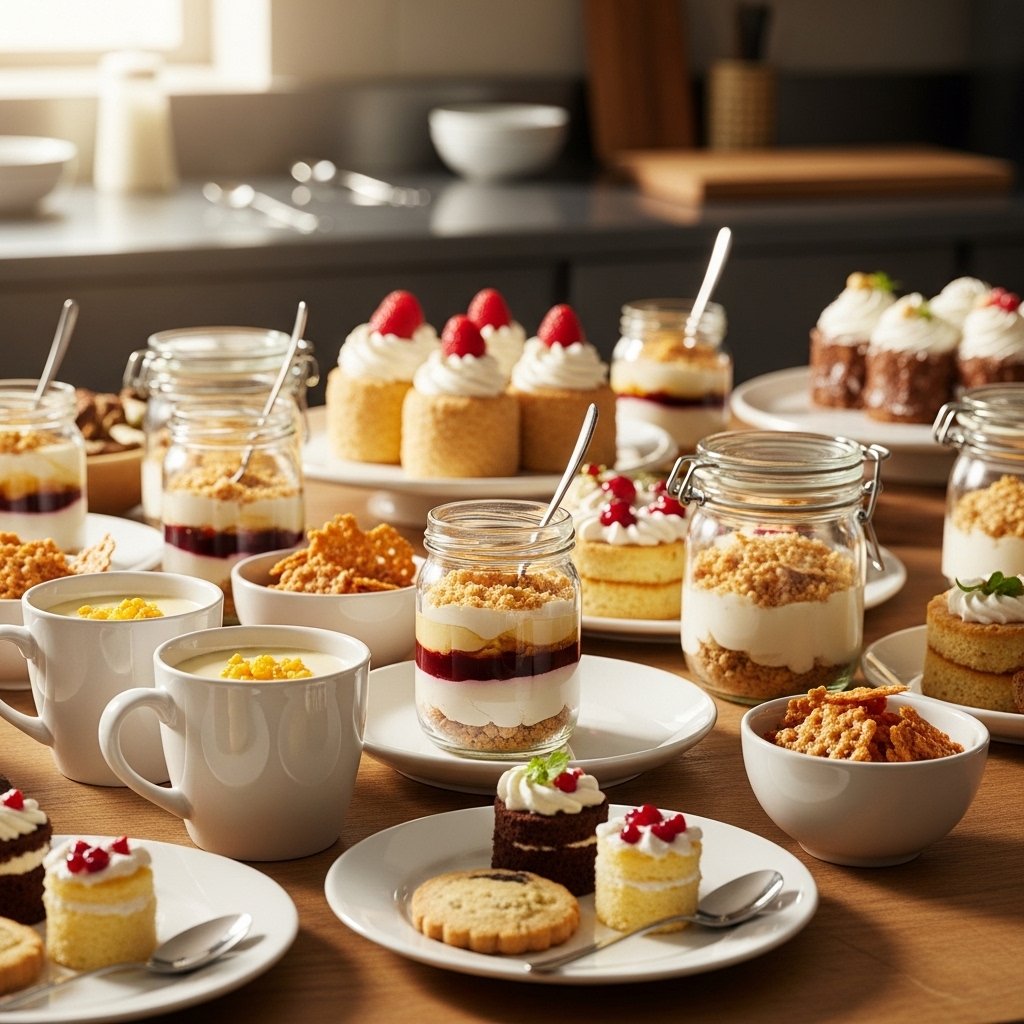
19 Delicious 2-Ingredient Dessert Recipes to Try
1. Banana Ice Cream
Blend:
- Frozen bananas
- Peanut butter or cocoa powder
Creamy, naturally sweet, and refreshing.
2. Chocolate Mousse
Mix:
- Melted chocolate
- Whipped cream
Light and rich.
3. Greek Yogurt Bark
Spread:
- Greek yogurt
- Honey or berries
Freeze and break into pieces.
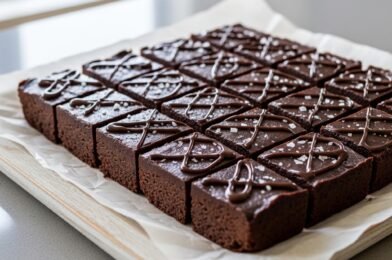
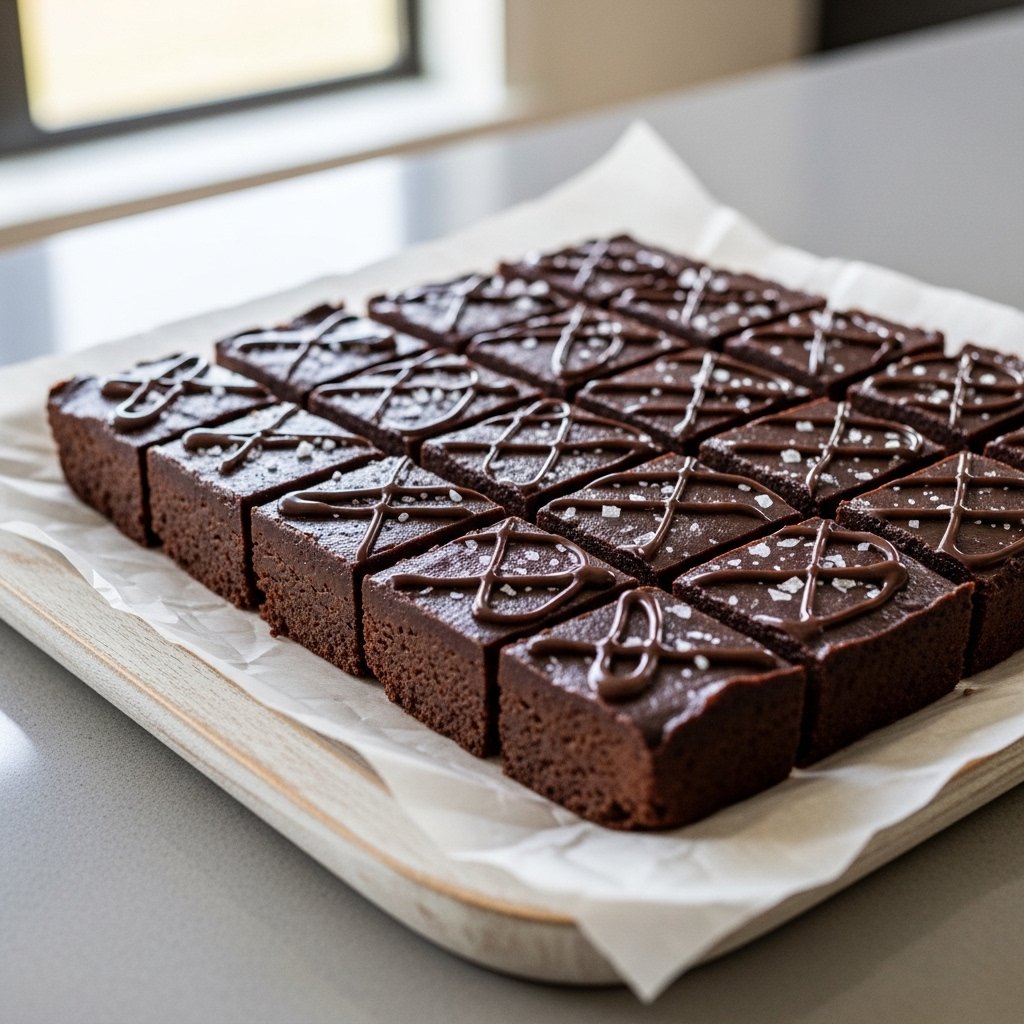
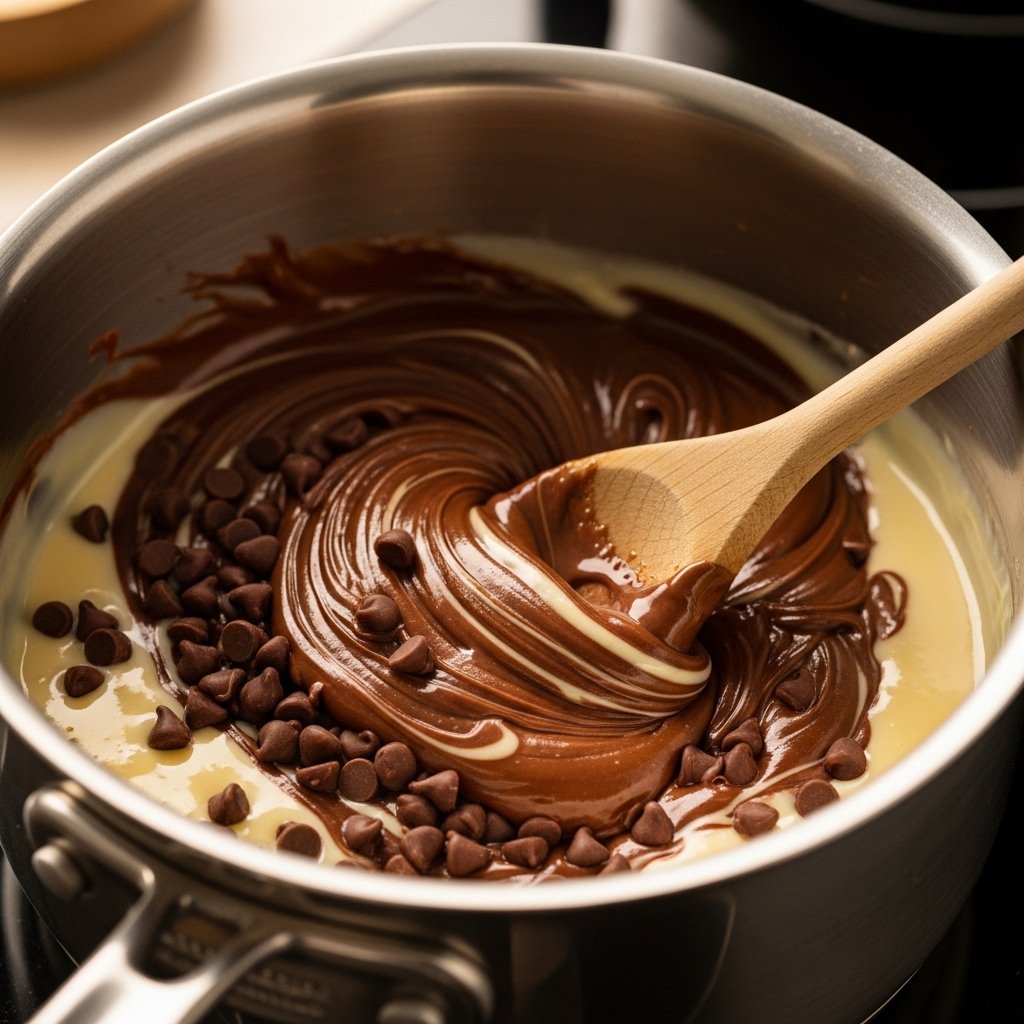
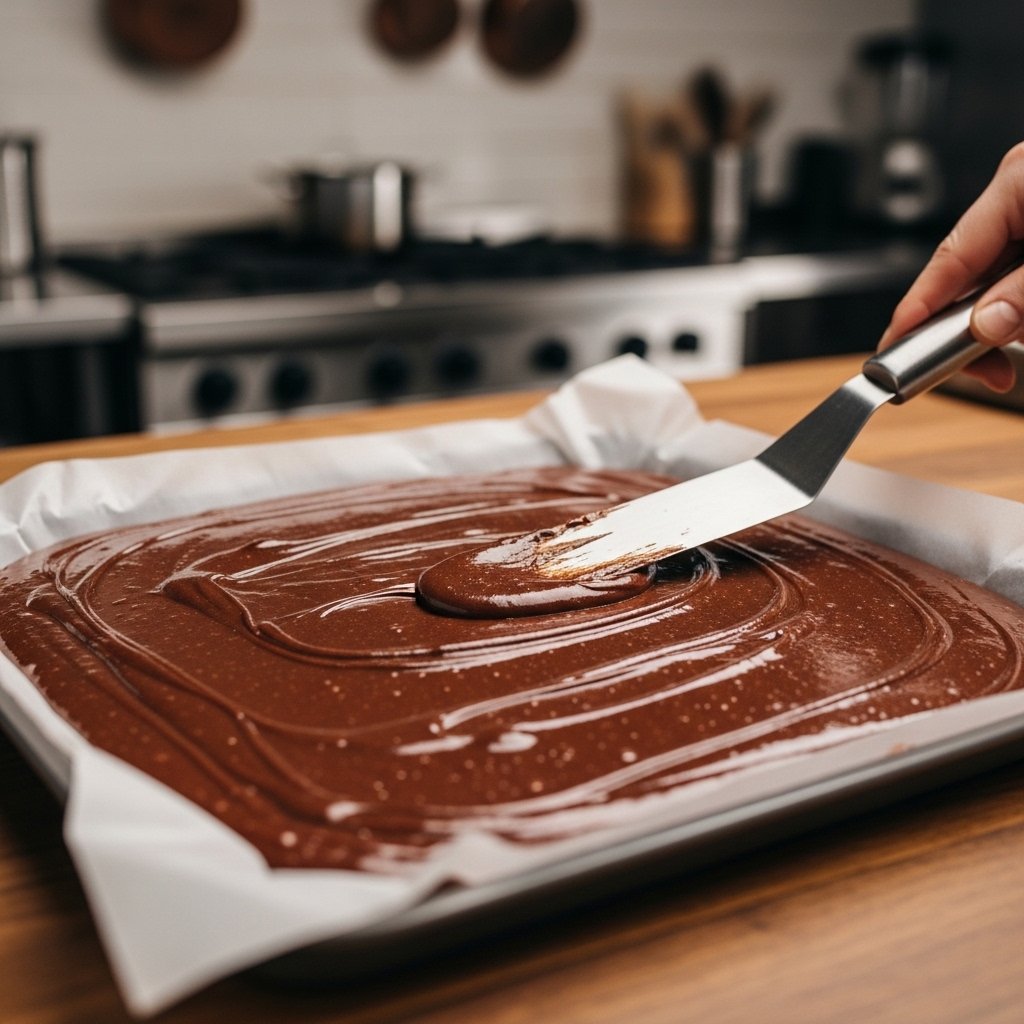
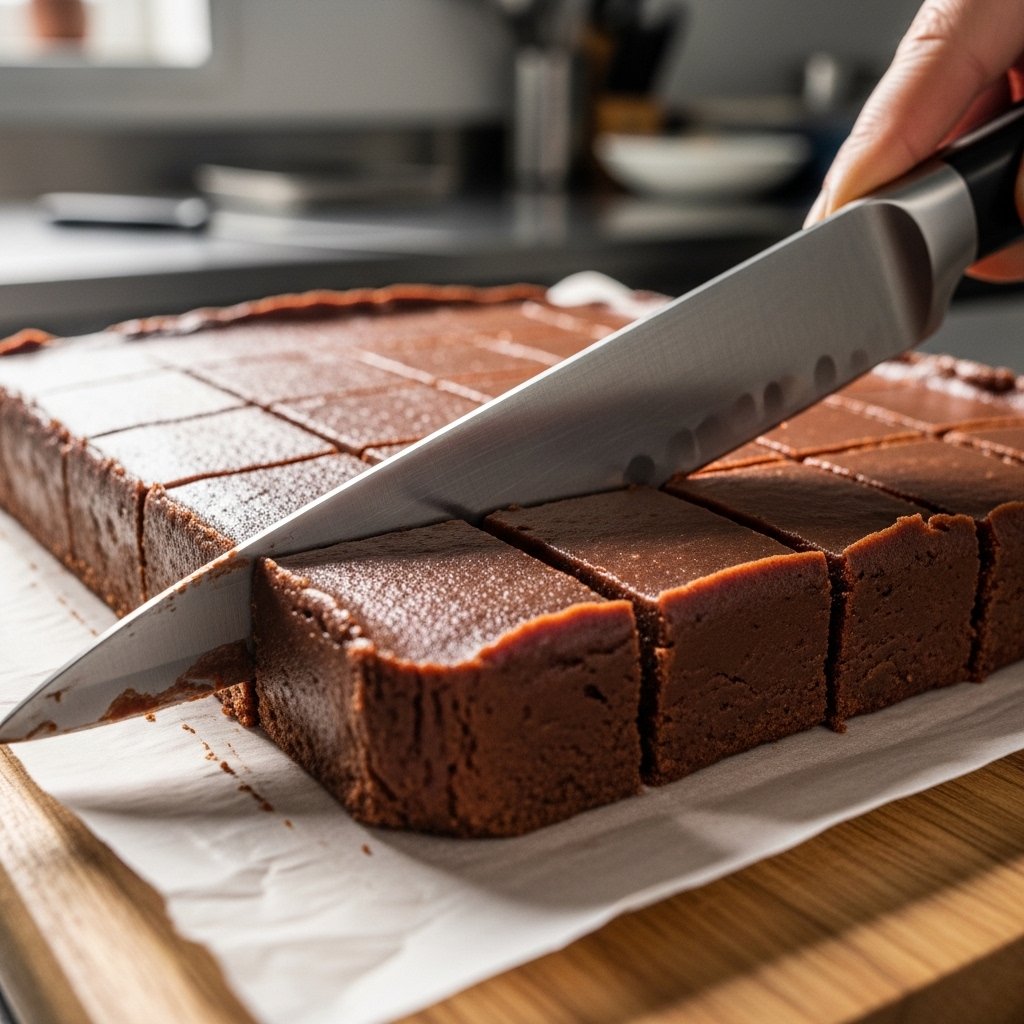
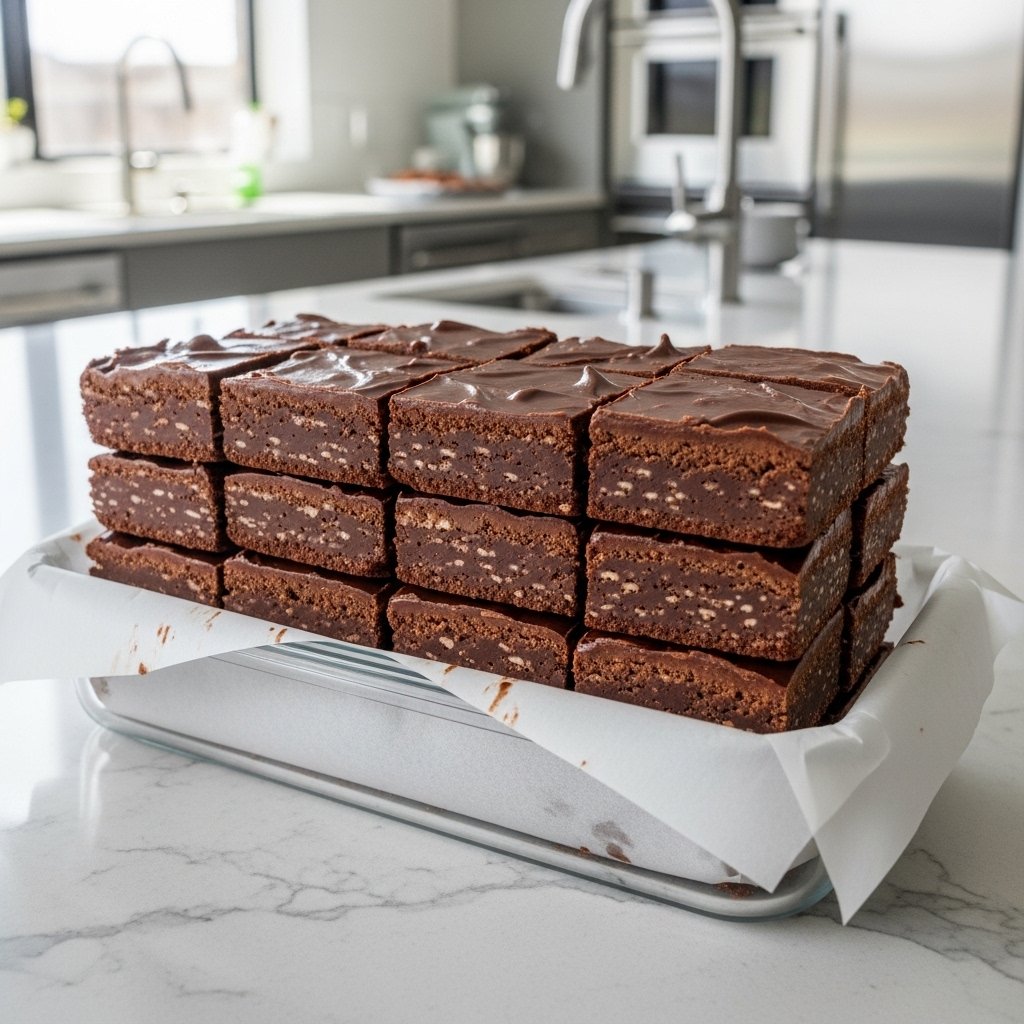
4. Nutella Brownie Cups
Mix:
- Nutella
- Eggs
Bake until fudgy.
5. Cake Mix Cookies
Mix:
- Boxed cake mix
- Eggs or whipped topping
Bake quickly.
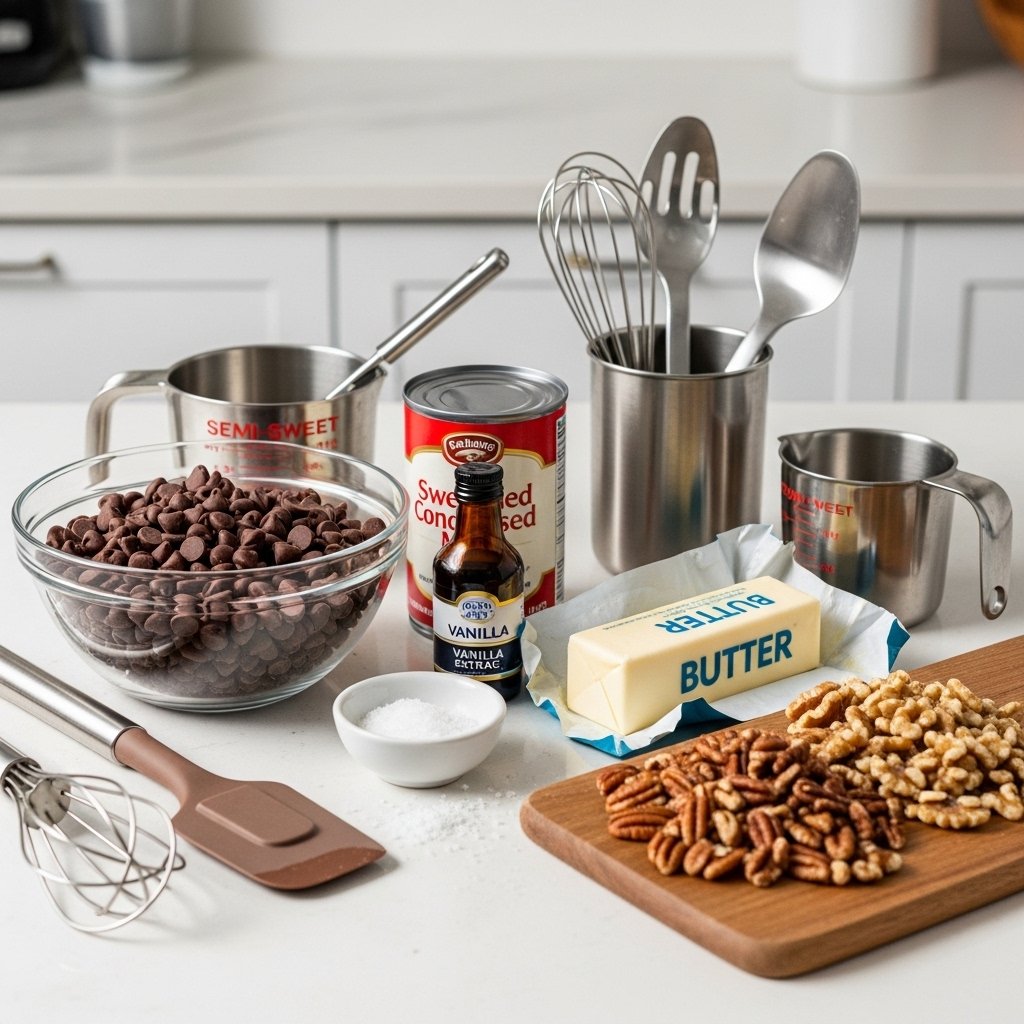
6. Coconut Macaroons
Mix:
- Shredded coconut
- Sweetened condensed milk
Bake until golden.
7. Peanut Butter Fudge
Melt:
- Peanut butter
- frosting
Chill until firm.
8. Chocolate Truffles
Combine:
- Chocolate
- heavy cream
Chill and roll.
9. Strawberry Sorbet
Blend:
- Frozen strawberries
- condensed milk
Smooth and fruity.
10. Lemon Posset
Heat:
- Heavy cream
- lemon juice
Creamy and bright.
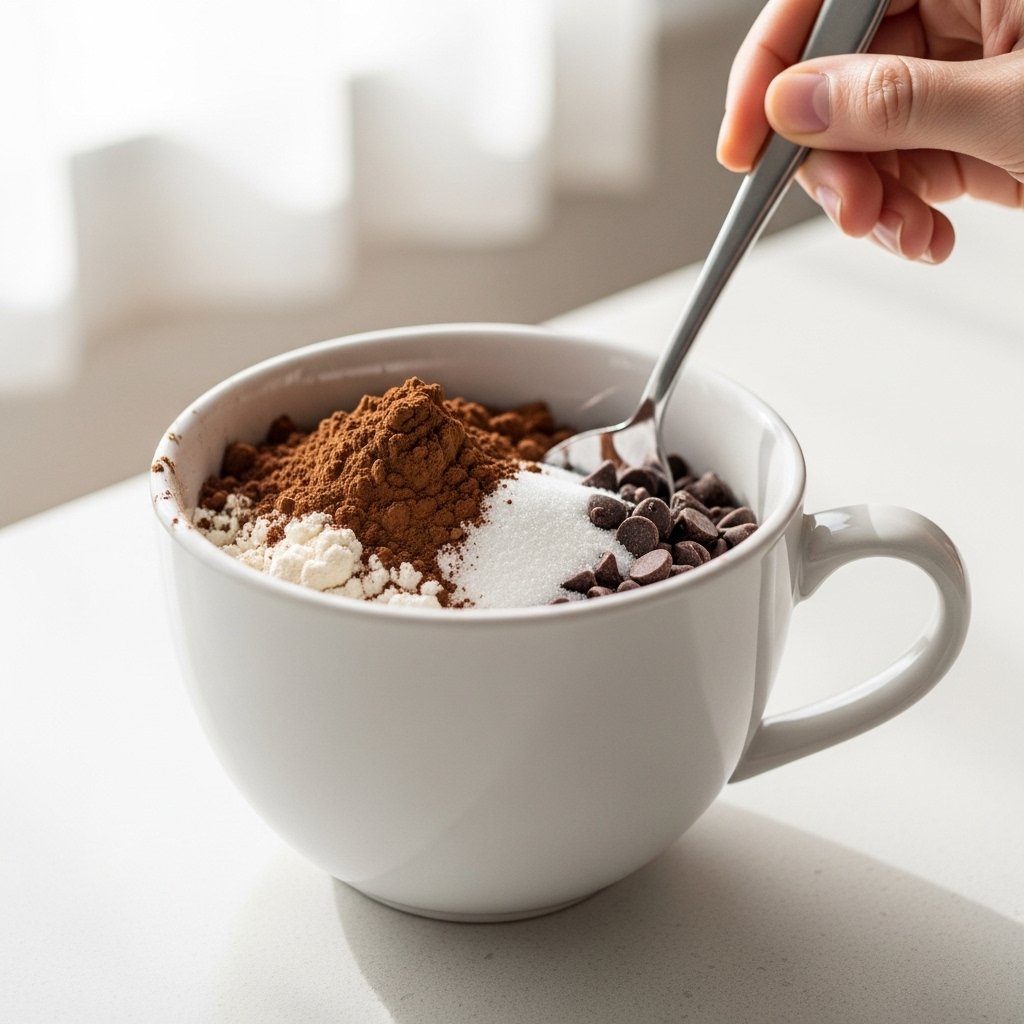
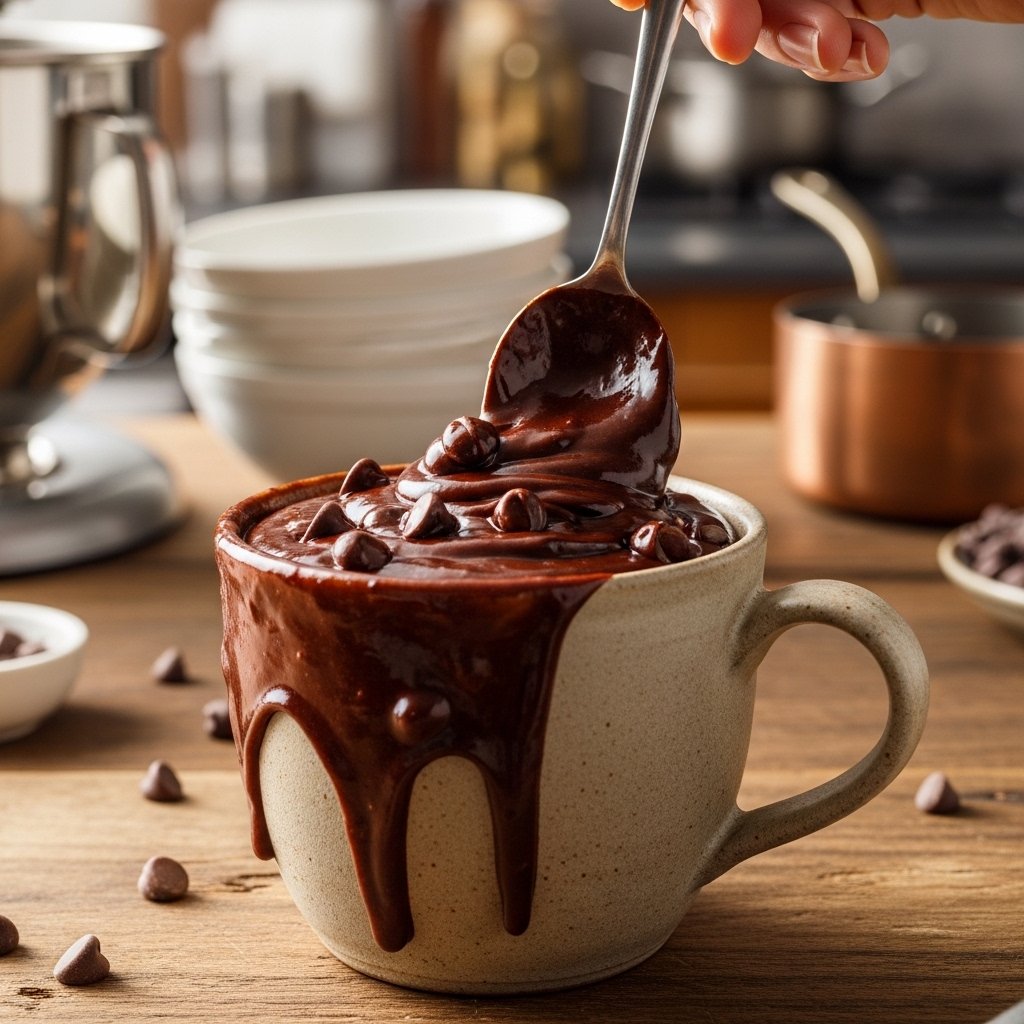
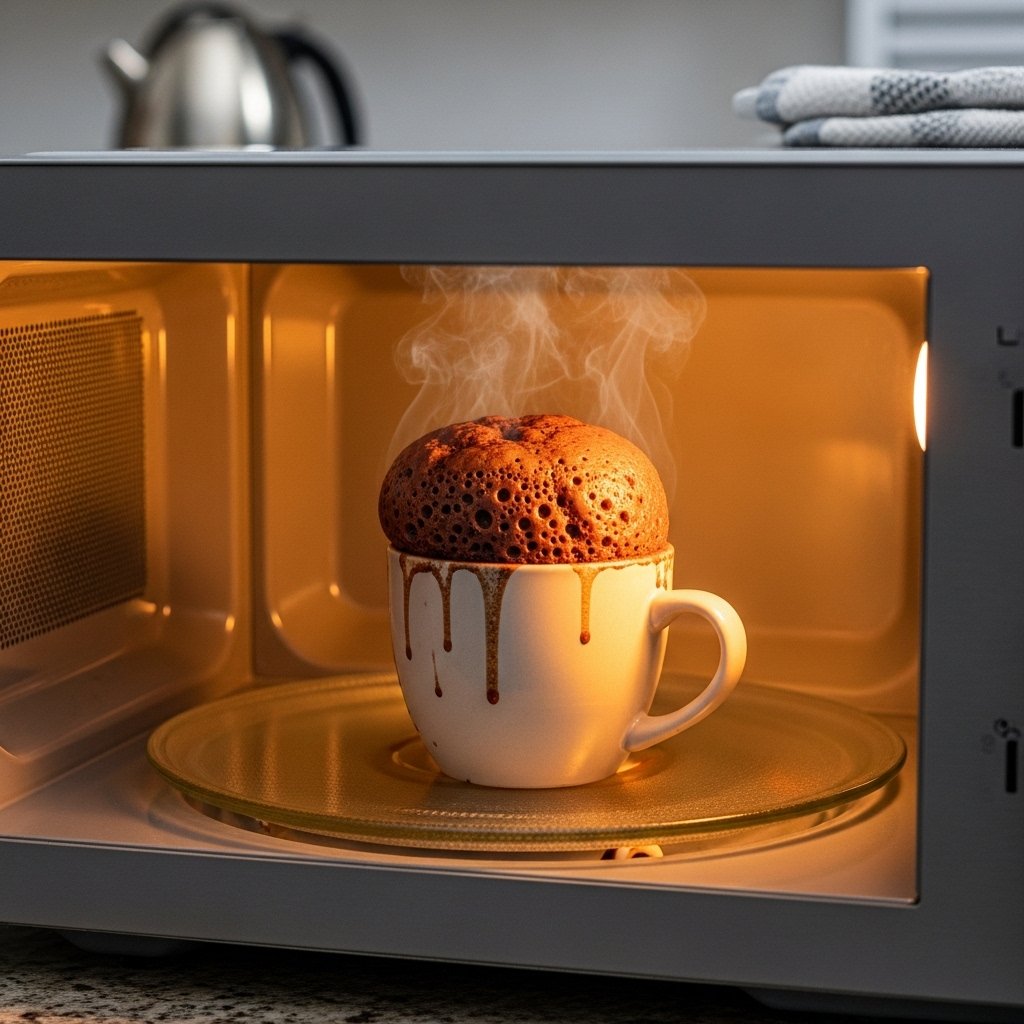
11. Oreo Mug Cake
Mix:
- Crushed Oreos
- milk
Microwave until soft.
12. Chocolate Bark
Melt:
- Chocolate
- nuts or dried fruit
Chill and break.
13. Mango Popsicles
Blend:
- Mango puree
- yogurt
Freeze.
14. Cheesecake Dip
Mix:
- Cream cheese
- marshmallow fluff
Serve chilled.
15. Frozen Chocolate Banana Bites
Dip:
- Banana slices
- melted chocolate
Freeze.
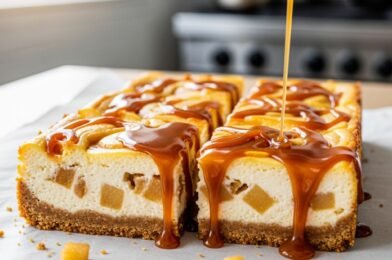
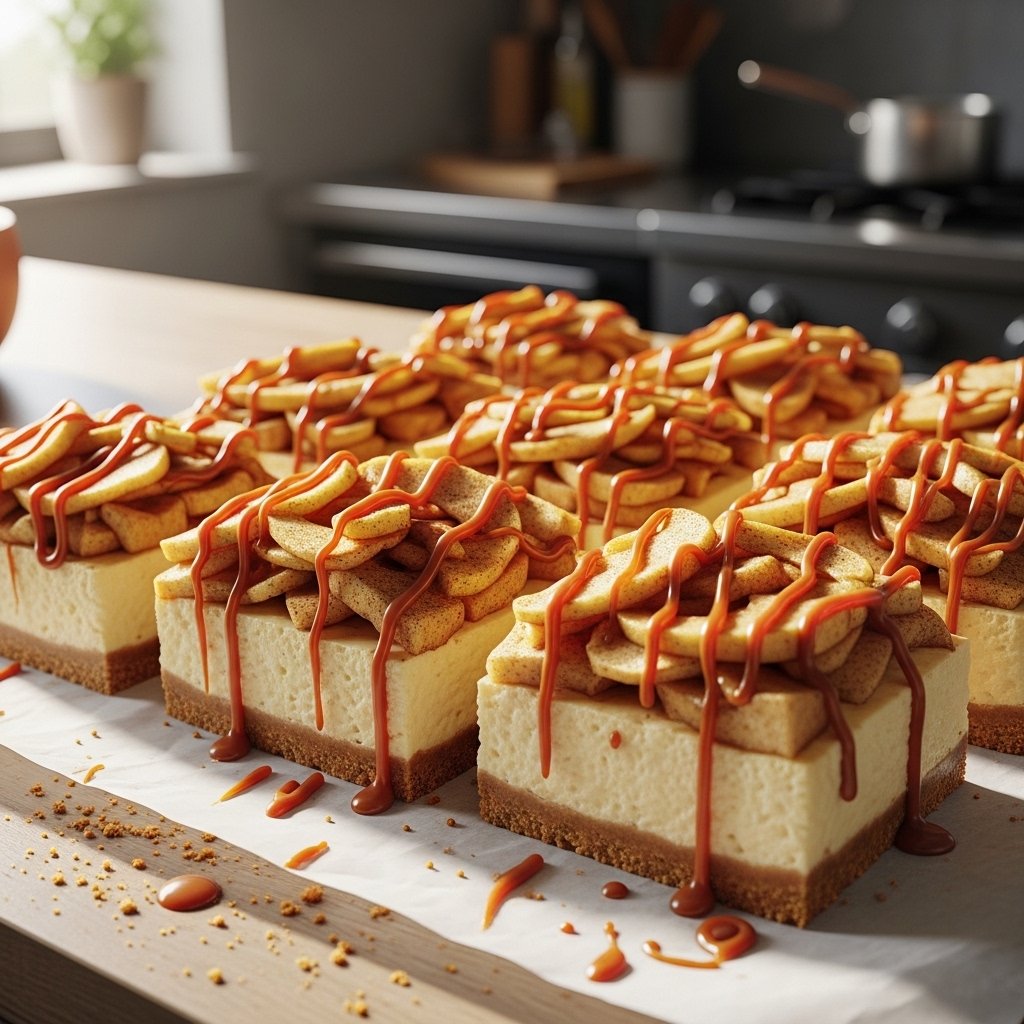
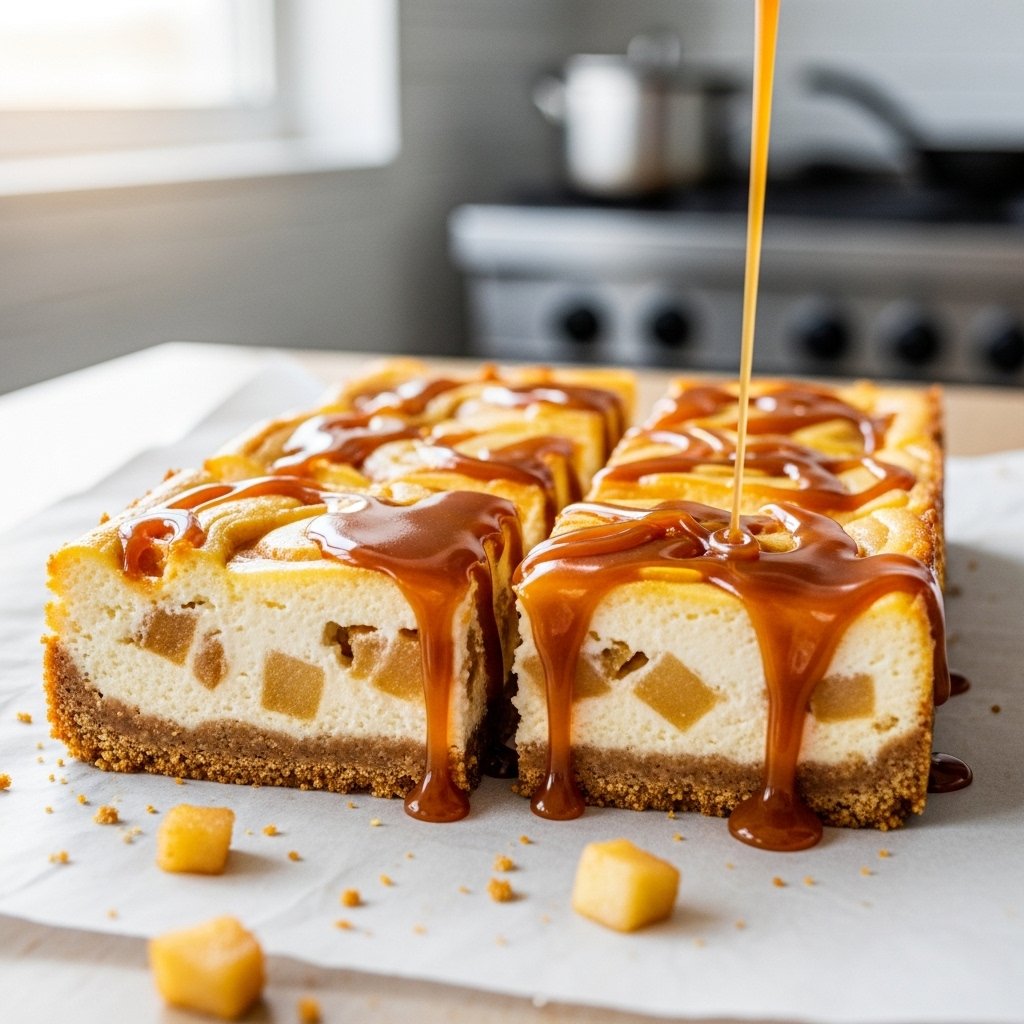
16. Apple Cinnamon Bake
Combine:
- Apples
- cinnamon sugar
Bake.
17. Berry Whip
Blend:
- Frozen berries
- whipped topping
Fluffy and fast.
18. Rice Crispy Clusters
Mix:
- Melted marshmallows
- cereal
Cool.
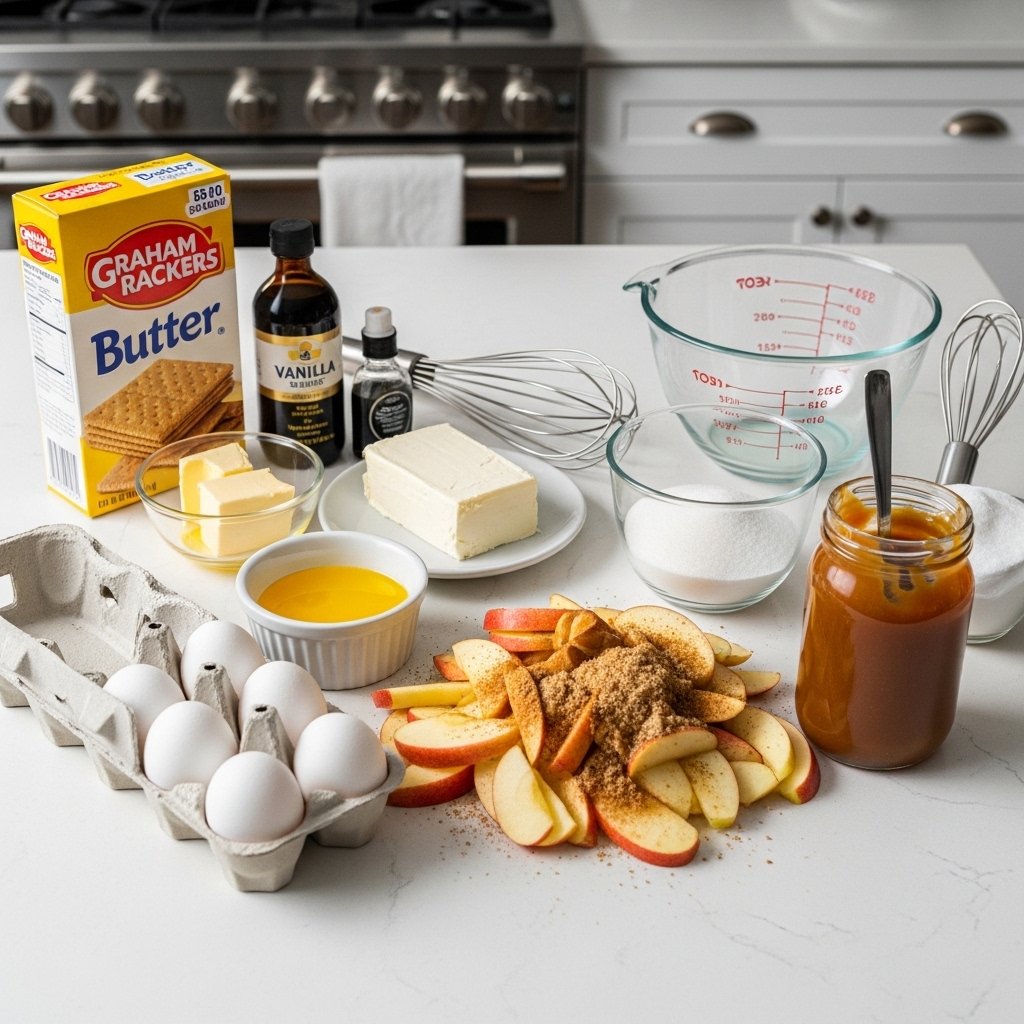
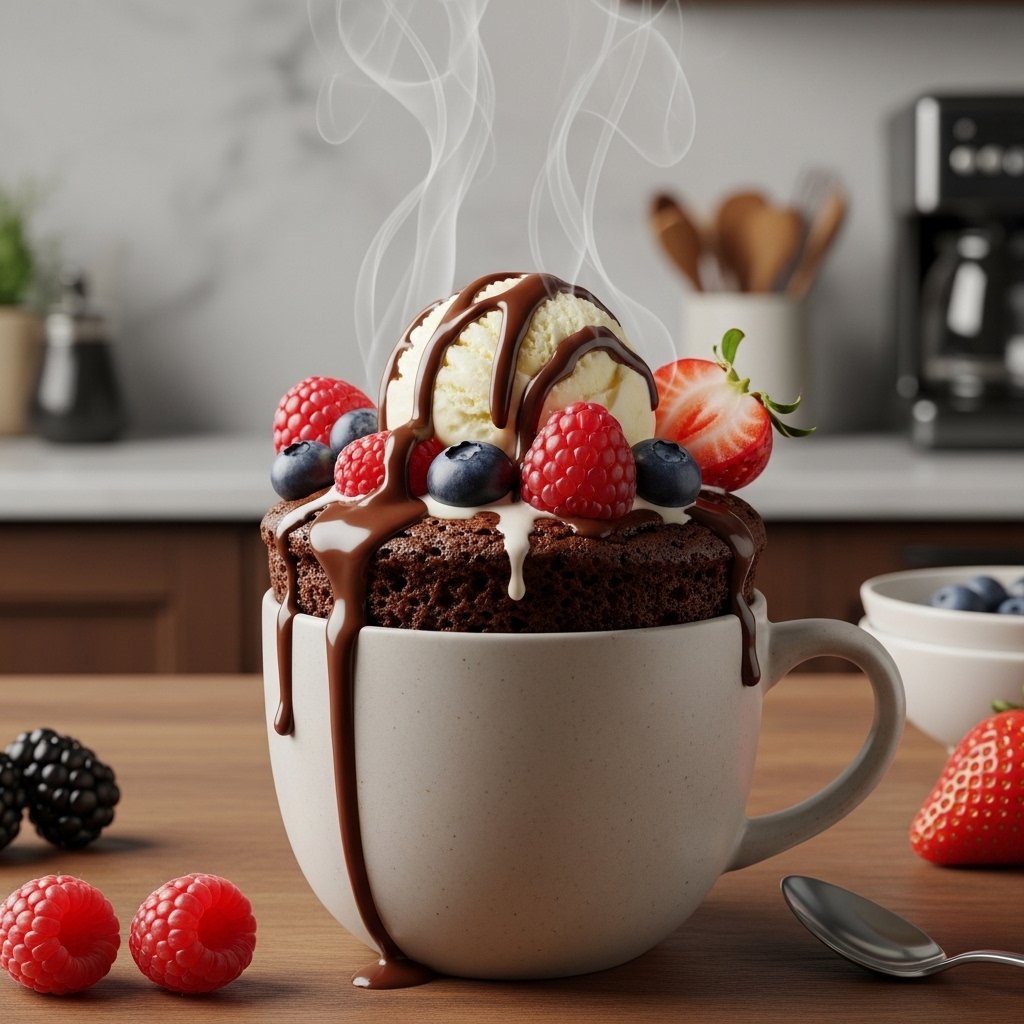
19. Japanese Cheesecake Shortcut
Whisk:
- Cream cheese
- eggs
Bake low and slow.
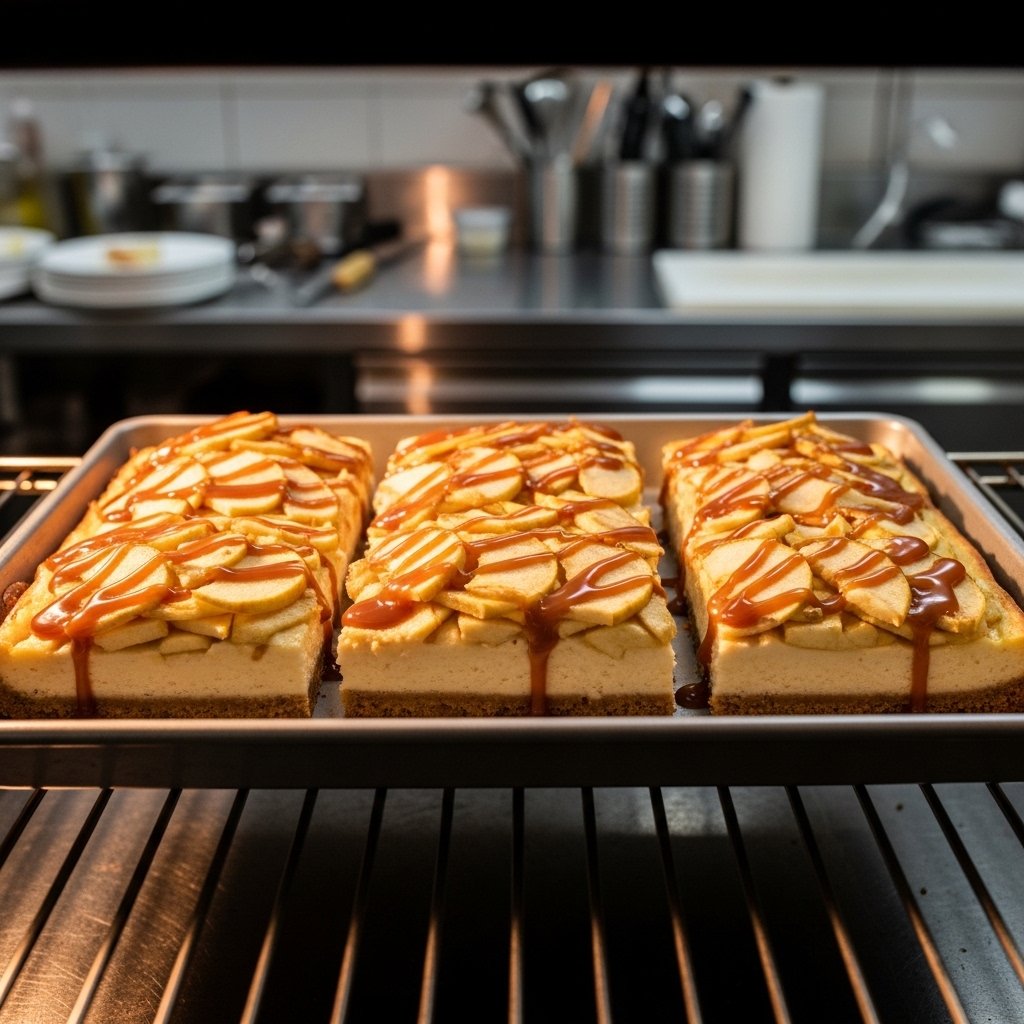
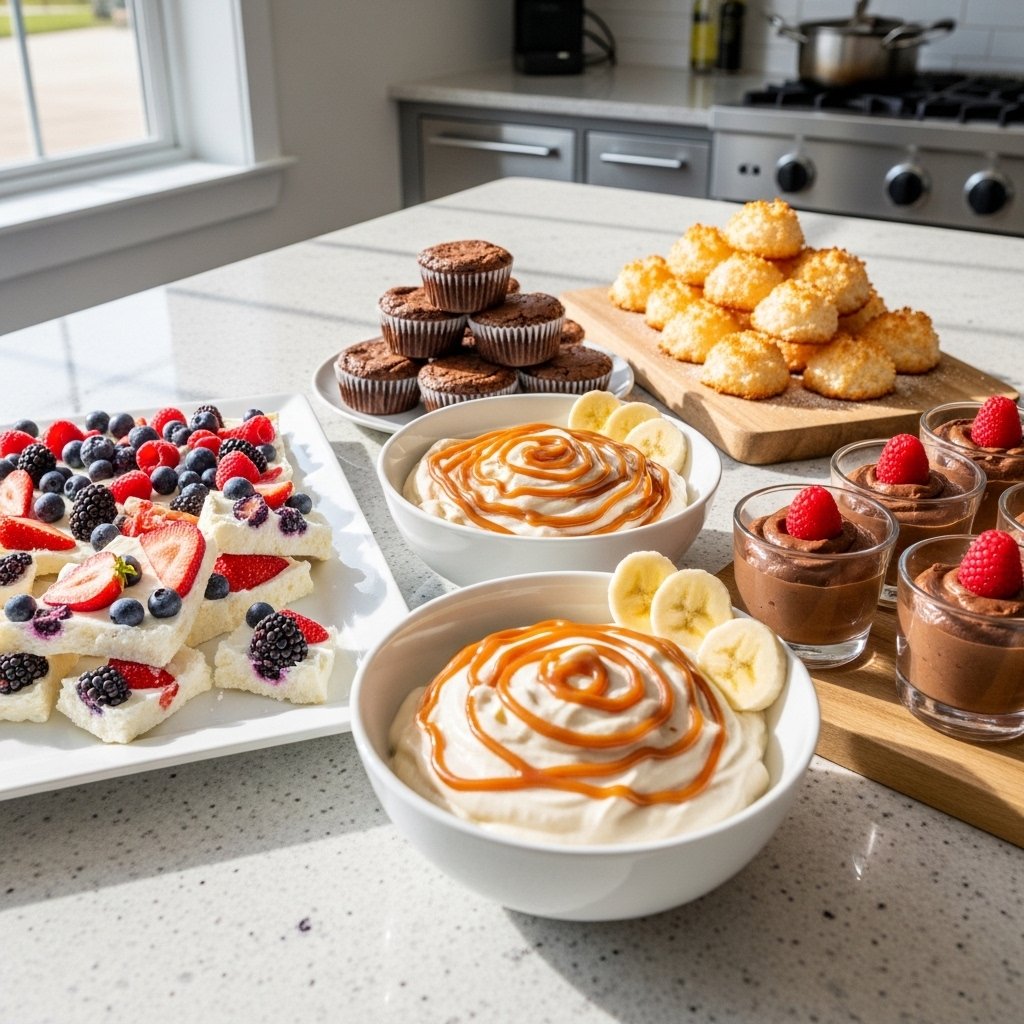
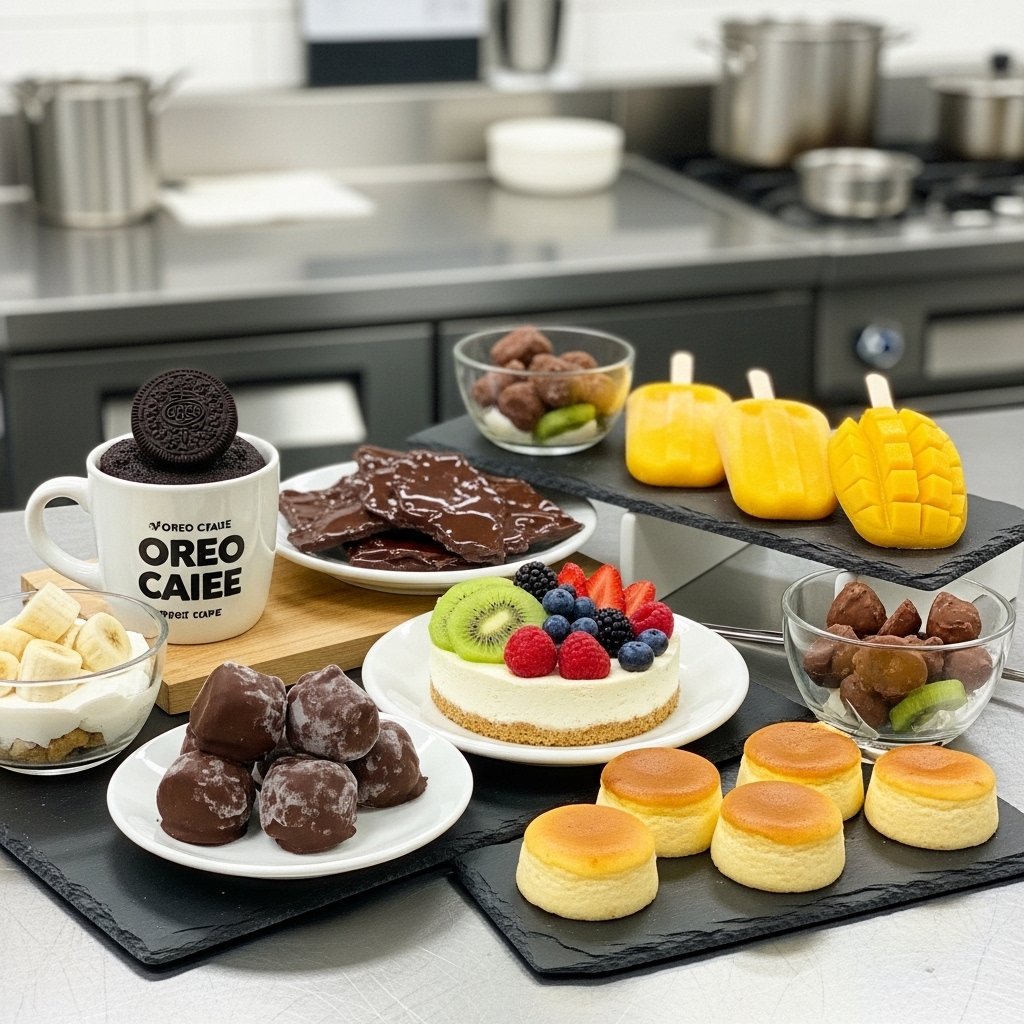
These recipes are easy enough for beginners and satisfying enough for serious dessert lovers.
Tips for Success with 2-Ingredient Dessert Recipes
To make these recipes turn out beautifully:
- Use fresh ingredients
- Chill thoroughly when needed
- Taste before serving
- Follow timing closely
- Keep portions balanced
These little details make simple recipes feel elevated.
Easy Variations and Upgrades
Once you master these 2-ingredient dessert recipes, you can personalize them:
Flavor Additions
- Cinnamon
- Vanilla
- Sea salt
Toppings
- Fresh fruit
- Chocolate drizzle
- Nuts
Presentation
- Serve in jars
- Layer in cups
- Freeze in molds
Simple upgrades make these desserts feel party-ready.
What to Serve With These Desserts
Pair these easy treats with:
- Coffee
- Tea
- Fresh fruit
- Whipped cream
Perfect for:
- Family movie nights
- Last-minute guests
- Holiday trays
- Kids’ snacks
They’re versatile and crowd-pleasing.
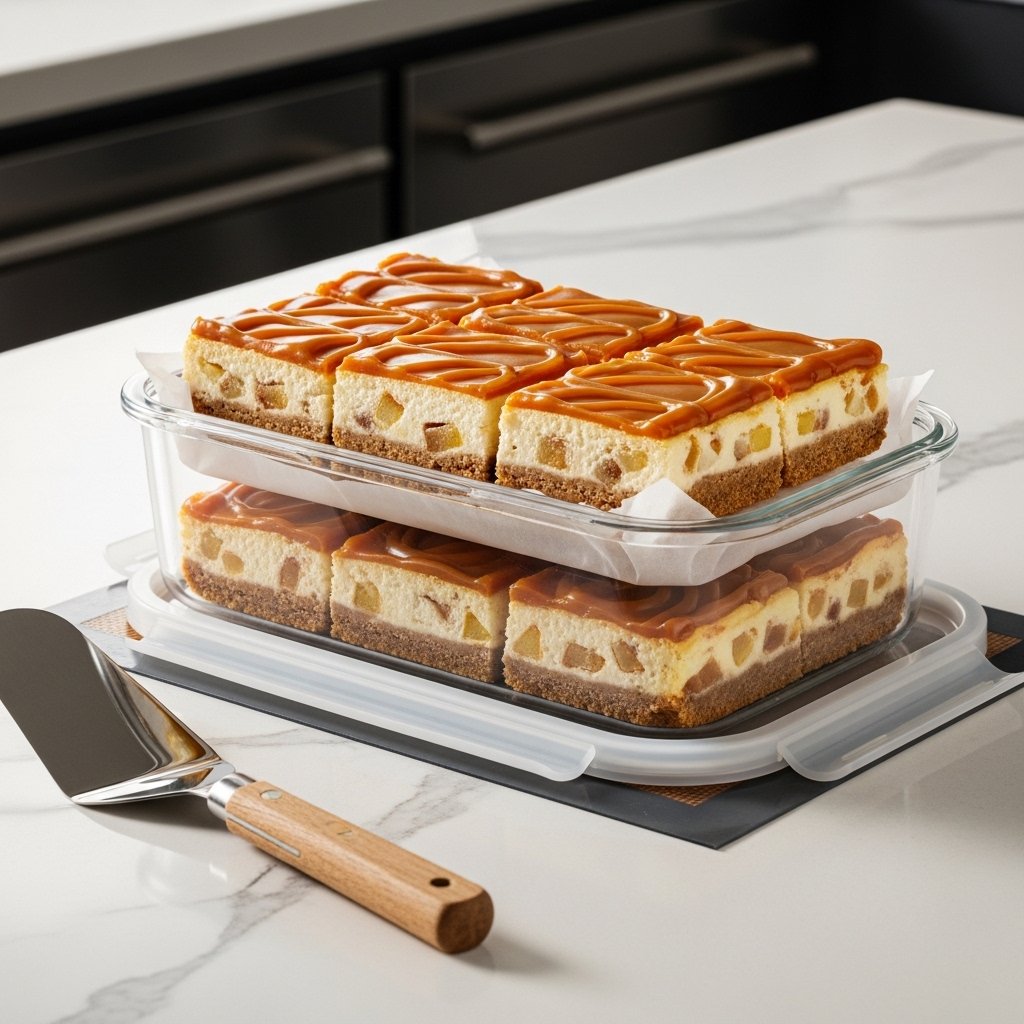
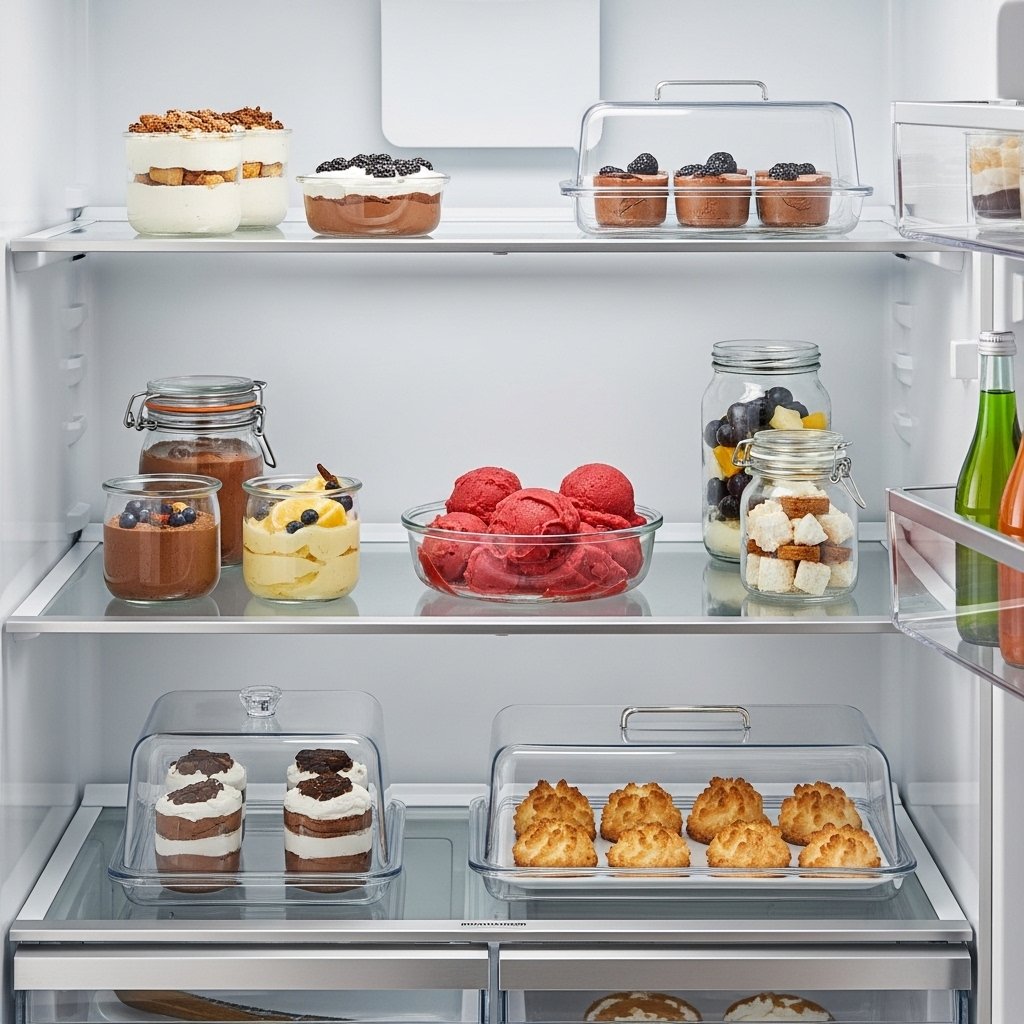
Storage Tips
Most 2-ingredient desserts store well.
Refrigerator
- Creamy desserts: 2–4 days
Freezer
- Frozen treats: up to 1 month
Store:
- In airtight containers
This helps preserve texture and freshness.
Common Mistakes to Avoid
To get the best from your 2-ingredient dessert recipes:
- Don’t use underripe fruit
- Don’t skip chilling time
- Don’t overmix delicate batters
- Don’t overbake
Simple recipes still need care.
Frequently Asked Questions
Are 2-ingredient desserts really good?
Yes—many are surprisingly delicious.
Are these beginner-friendly?
Absolutely.
Can kids help make these?
Yes, many are family-friendly.
Are these budget-friendly?
Very.
Which is best for parties?
Chocolate bark, truffles, and bars.
Final Thoughts
These 2-ingredient dessert recipes prove that incredible sweets don’t have to be complicated. Whether you’re inspired by the viral Japanese cheesecake or simply want easy treats with minimal effort, these ideas make homemade dessert feel fun, fast, and approachable.
From creamy mousse to frozen fruit bites and shortcut cakes, there’s something here for every craving. Once you try a few of these simple recipes, you’ll always have a quick dessert solution ready whenever your sweet tooth calls.