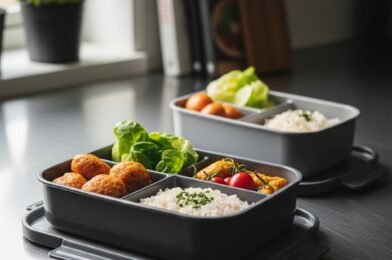
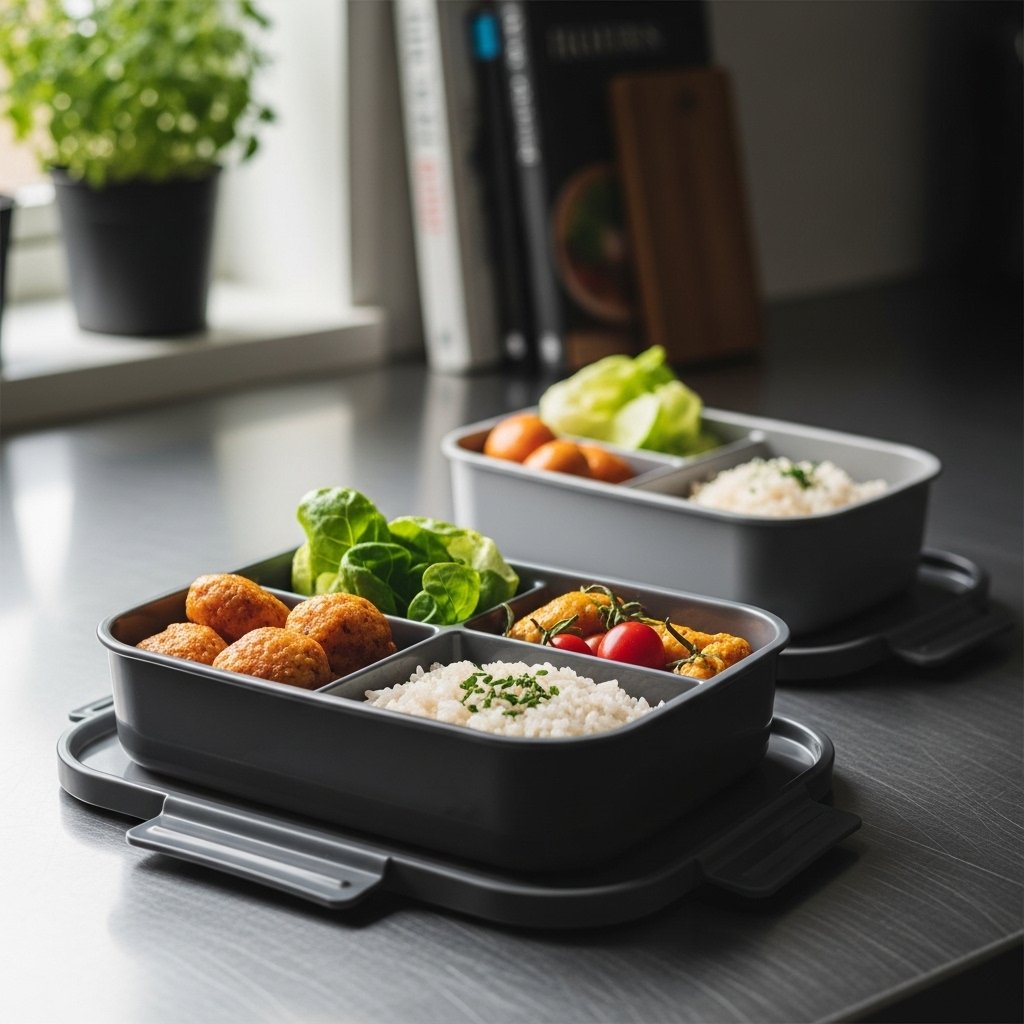
Packing lunch for teens can feel like a daily challenge. Between busy schedules, changing tastes, and the need for something filling, it’s not always easy to find meals that actually get eaten. That’s why these easy school lunch ideas for teens are designed to be practical, delicious, and totally teen-approved.
Whether your teen prefers savory wraps, protein-packed bowls, or simple grab-and-go snacks, this list covers a wide range of options. The goal is to make lunch something they look forward to—not something that comes back home untouched.
Why You’ll Love These Easy School Lunch Ideas for Teens
These easy school lunch ideas for teens are designed with both parents and teens in mind.
- Quick to prepare (many under 15 minutes)
- Balanced with protein, carbs, and healthy fats
- Easy to pack and transport
- Customizable for picky eaters
- Budget-friendly and practical
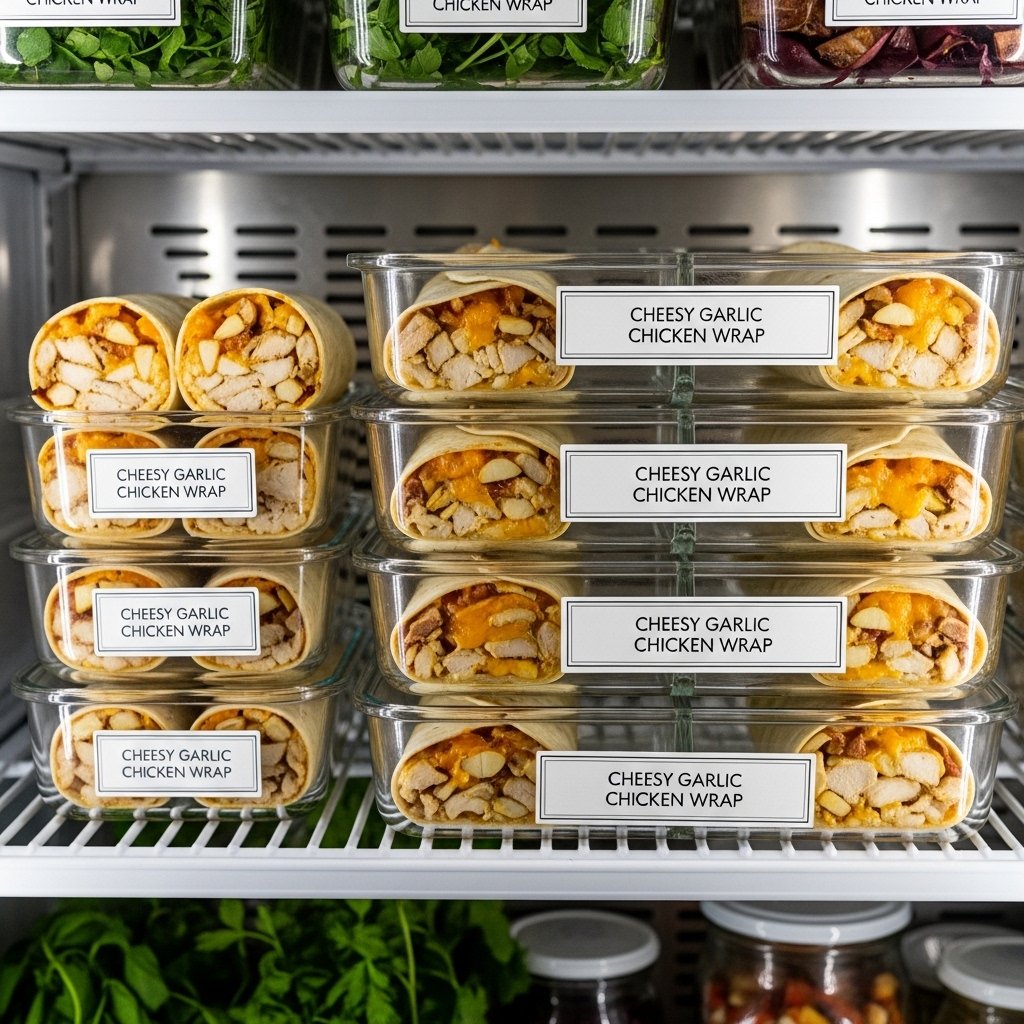
They’re also ideal for meal prepping, helping you save time during hectic weekdays.
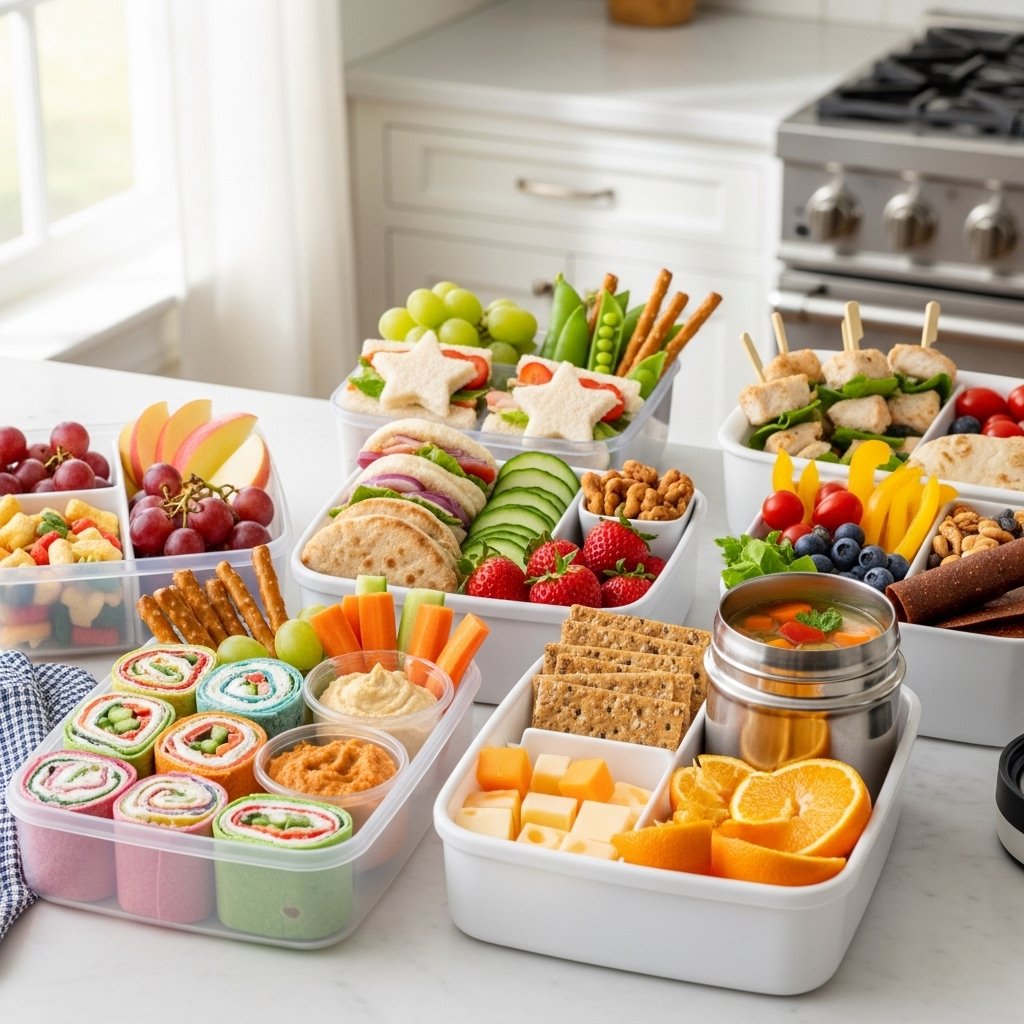
35 Easy School Lunch Ideas for Teens
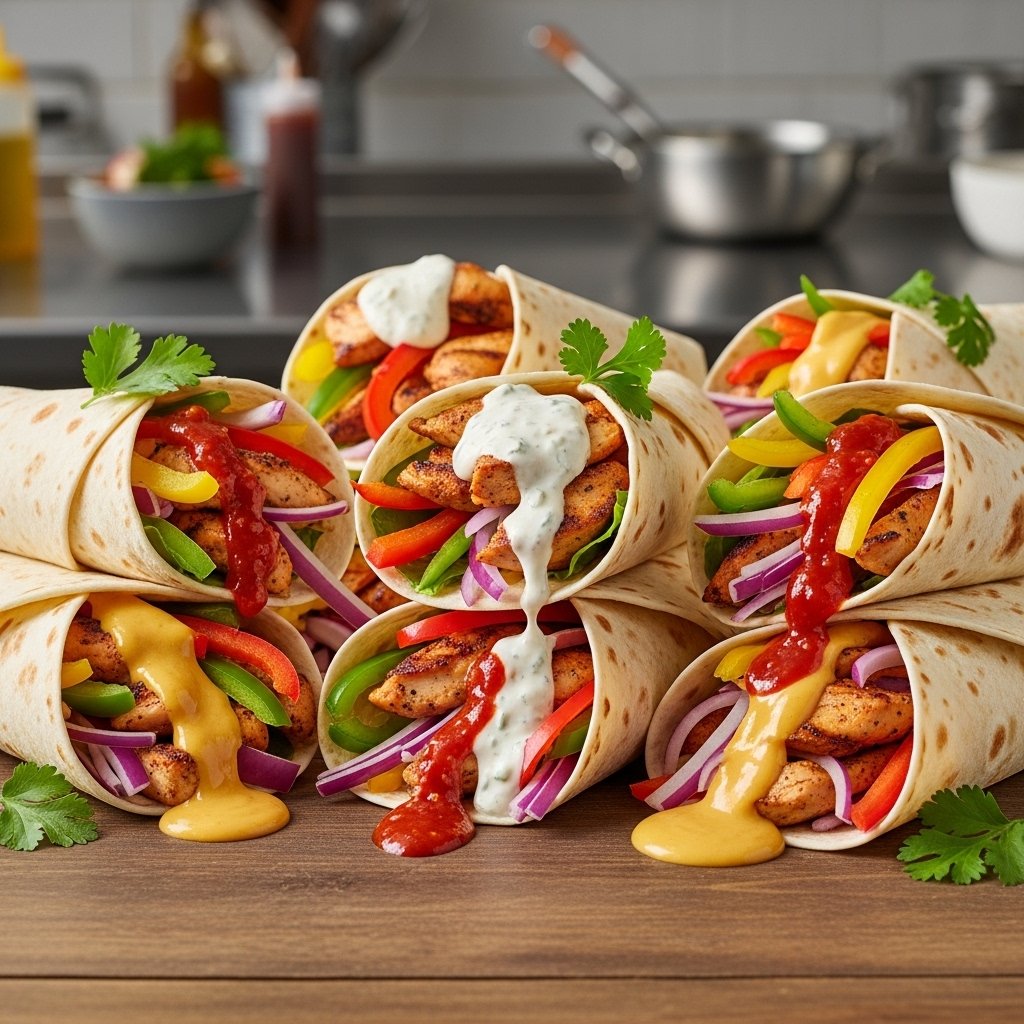
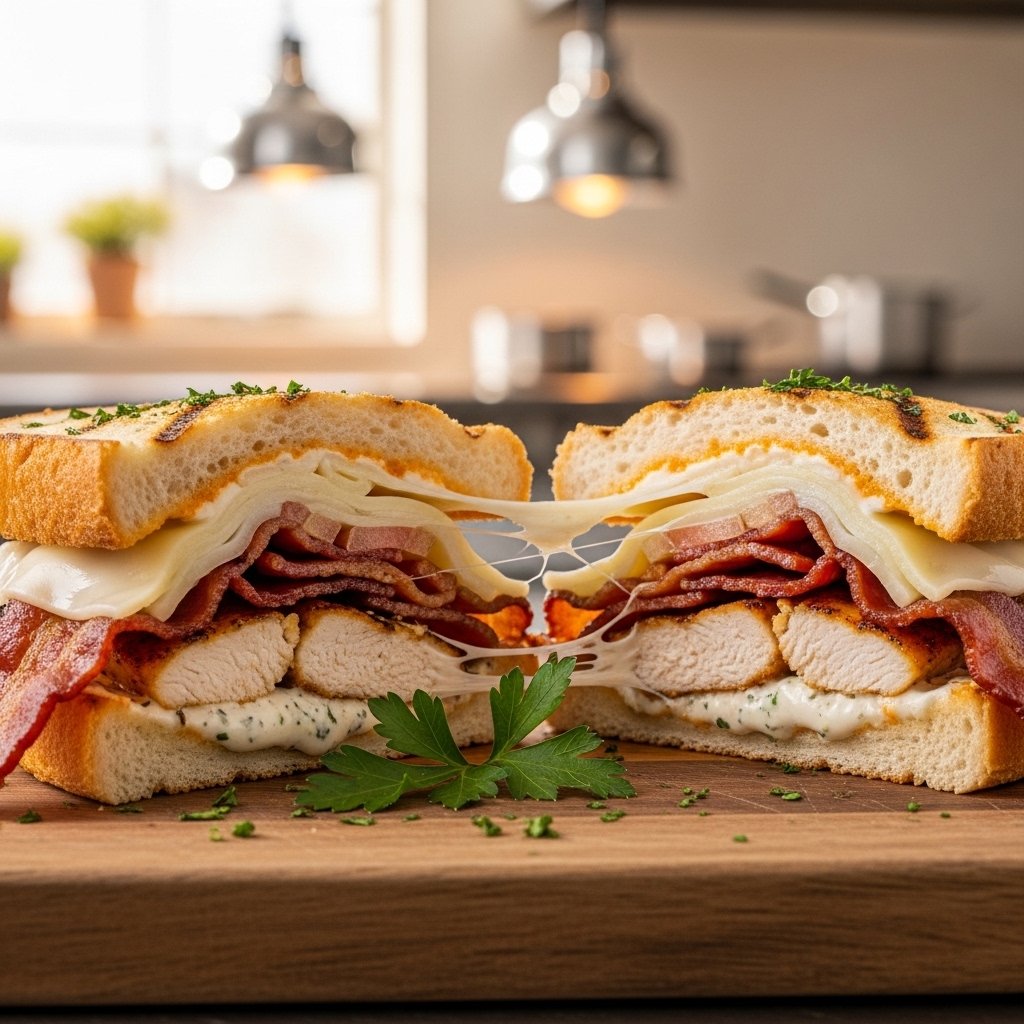
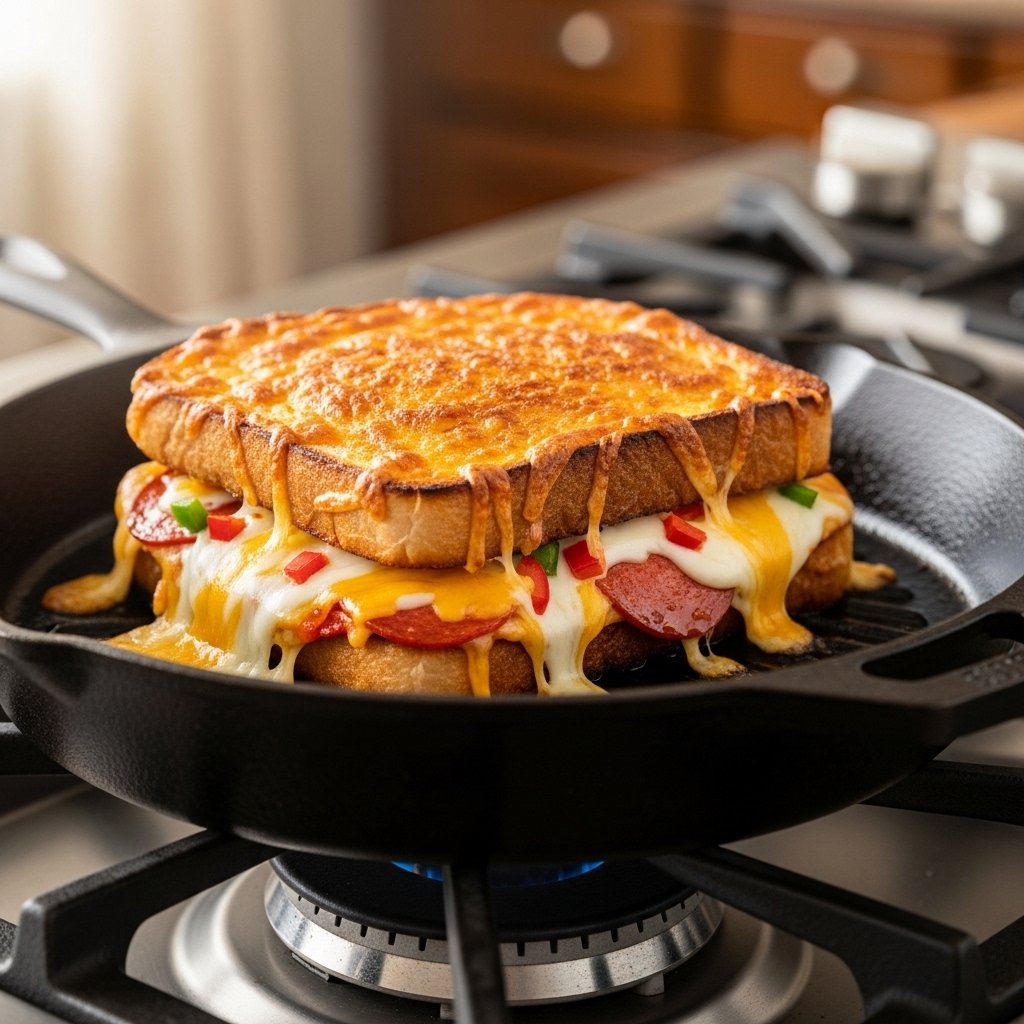
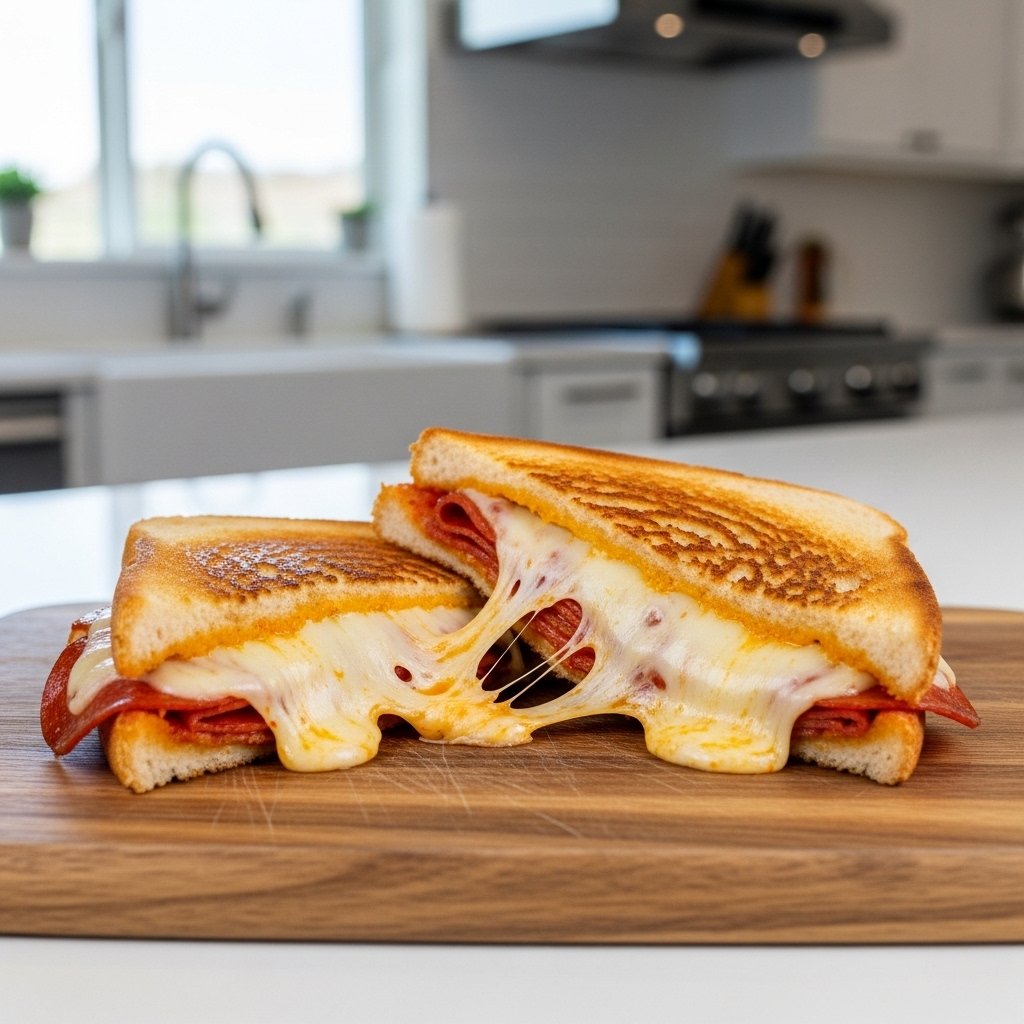
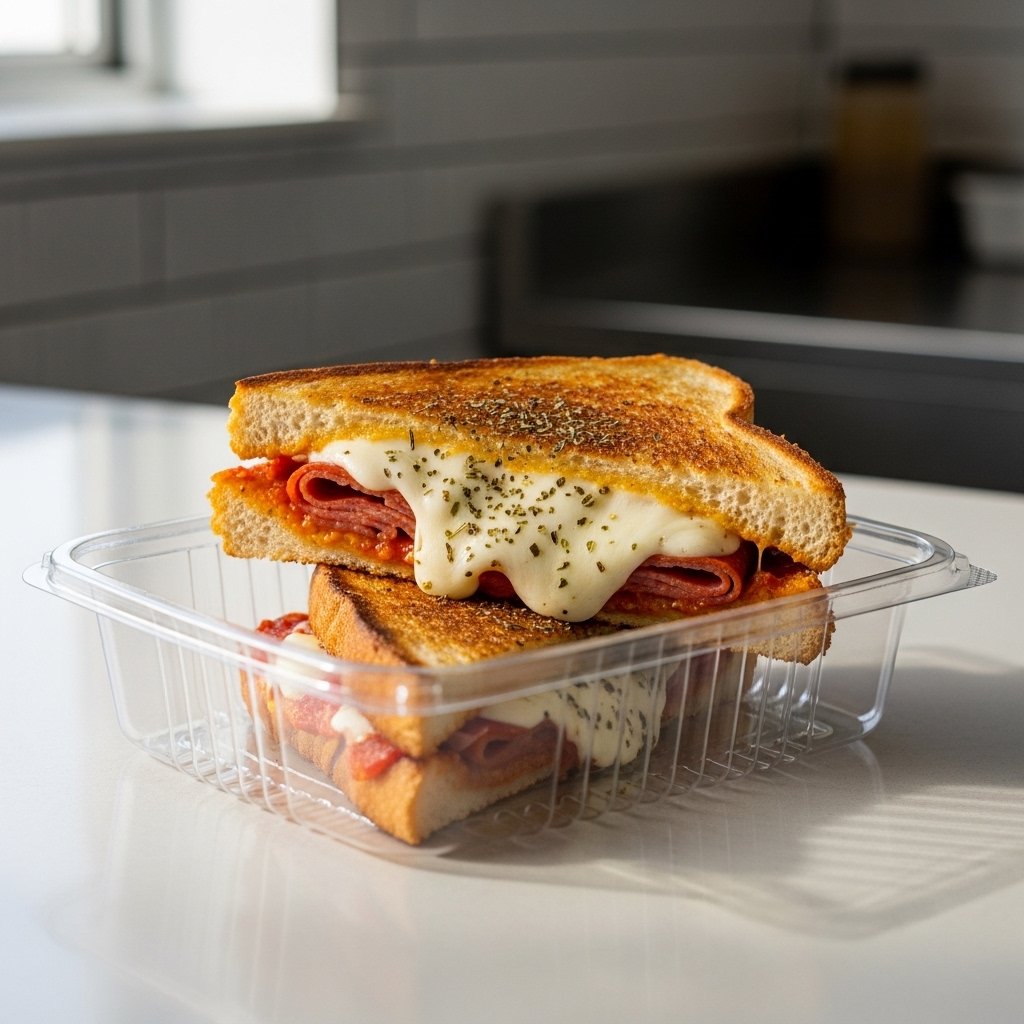
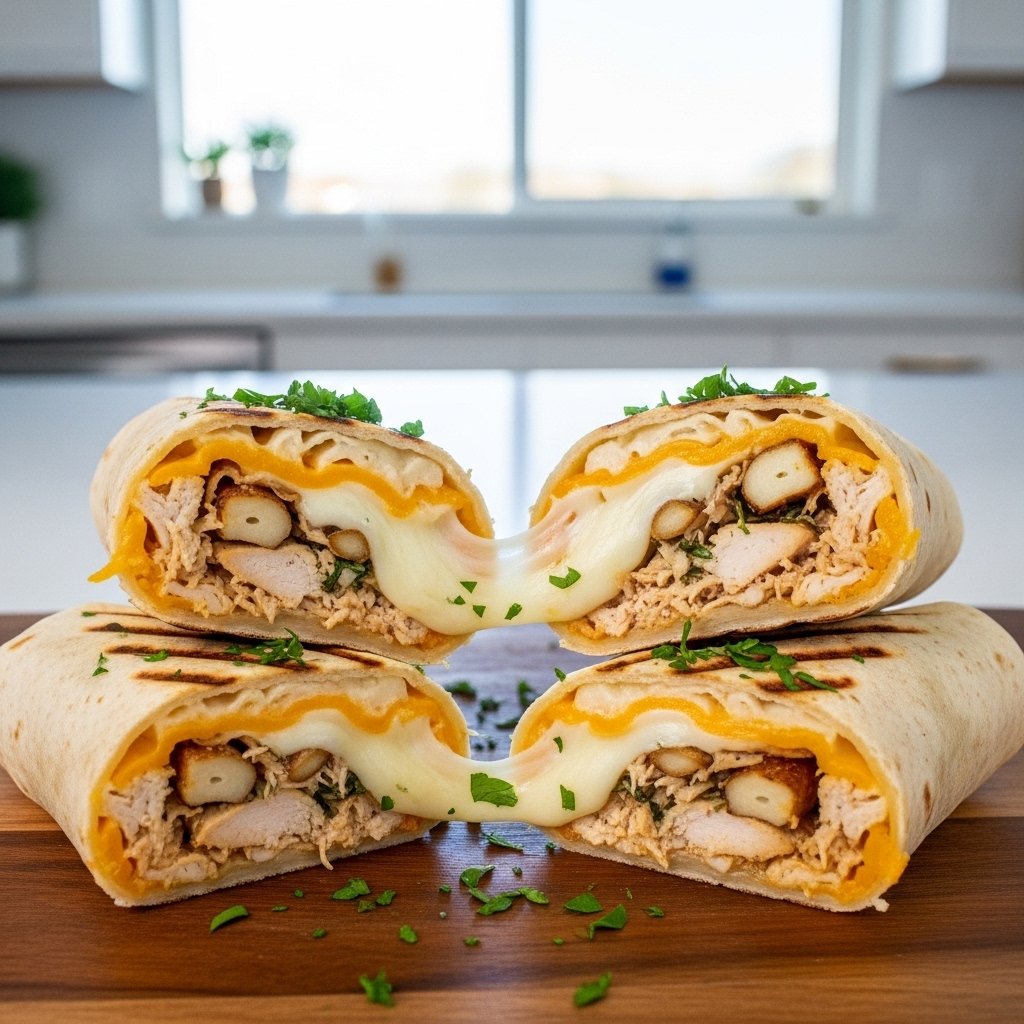
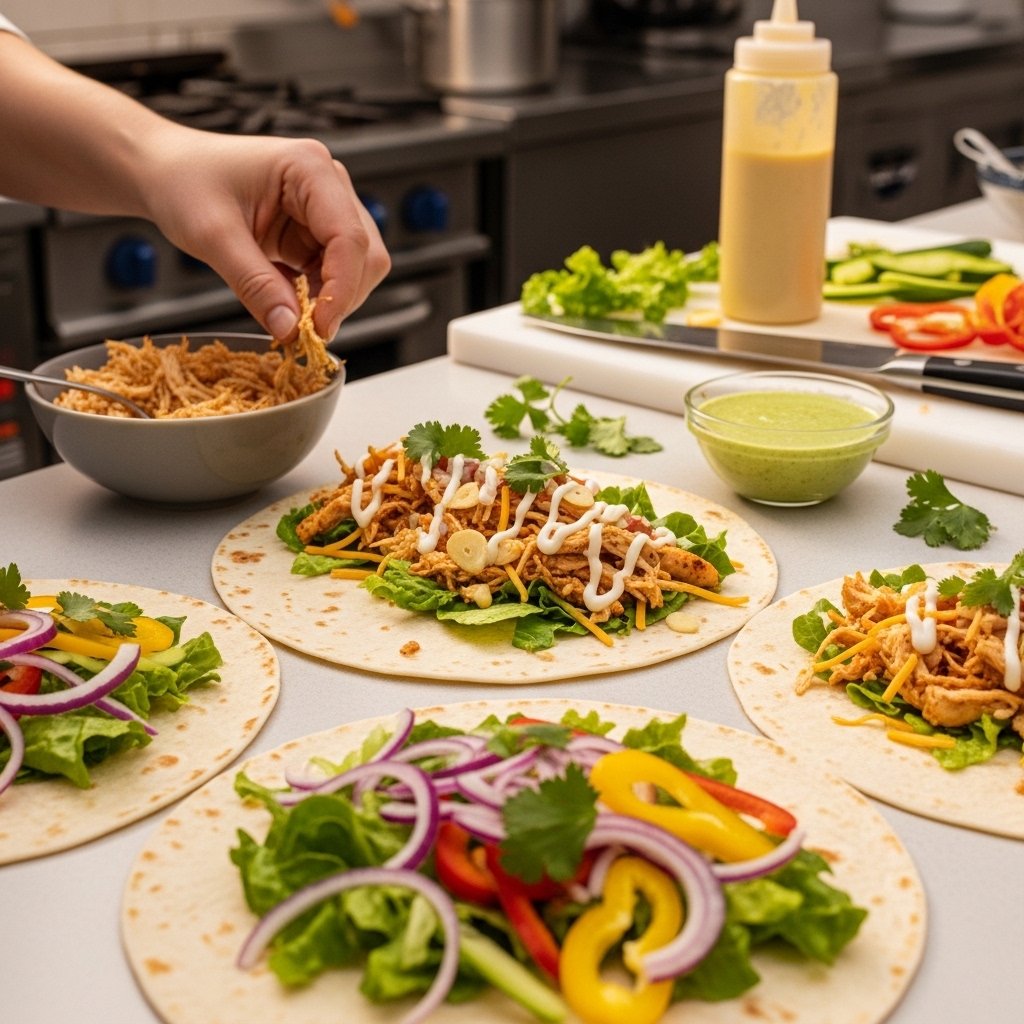
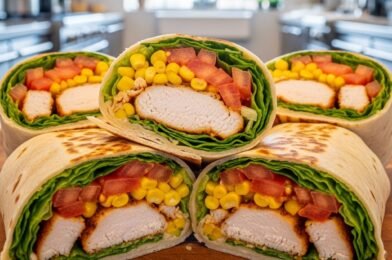
1–10: Sandwiches & Wraps
Classic, portable, and endlessly customizable.
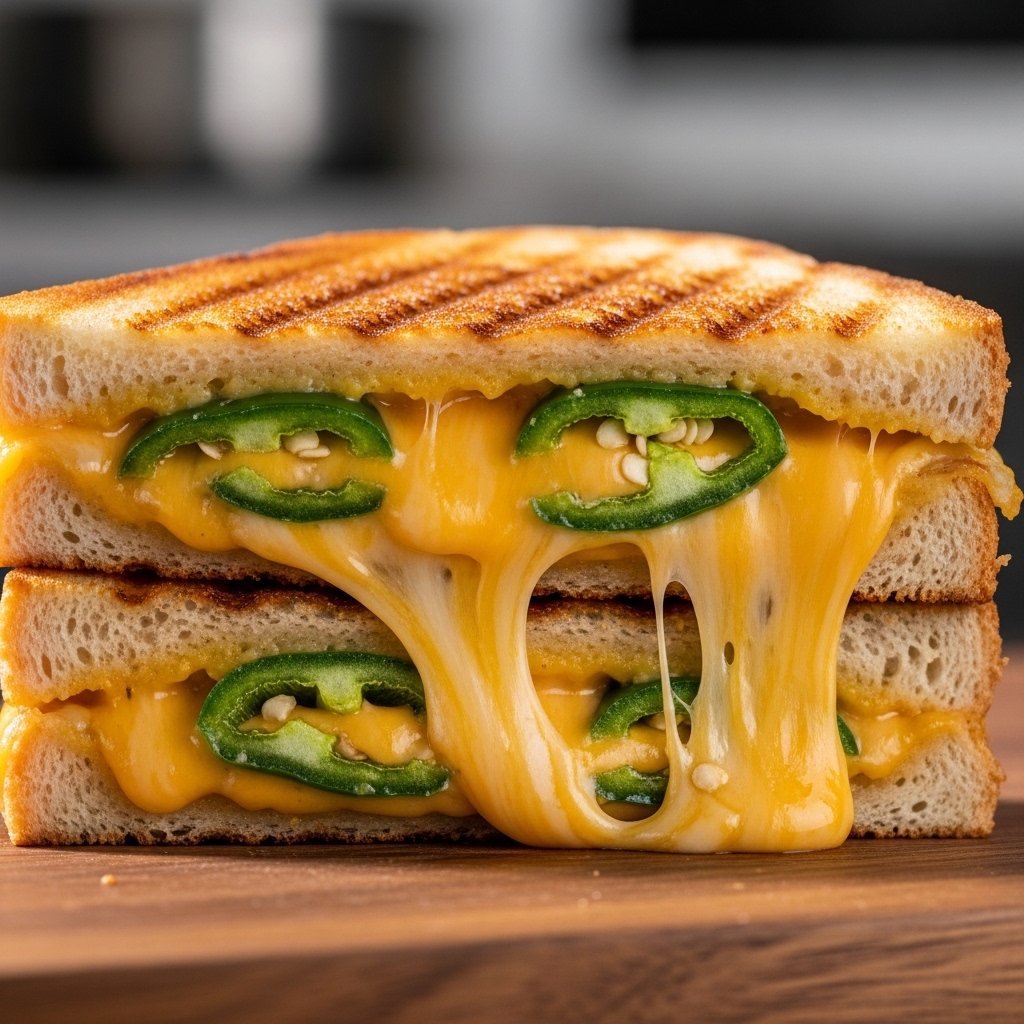
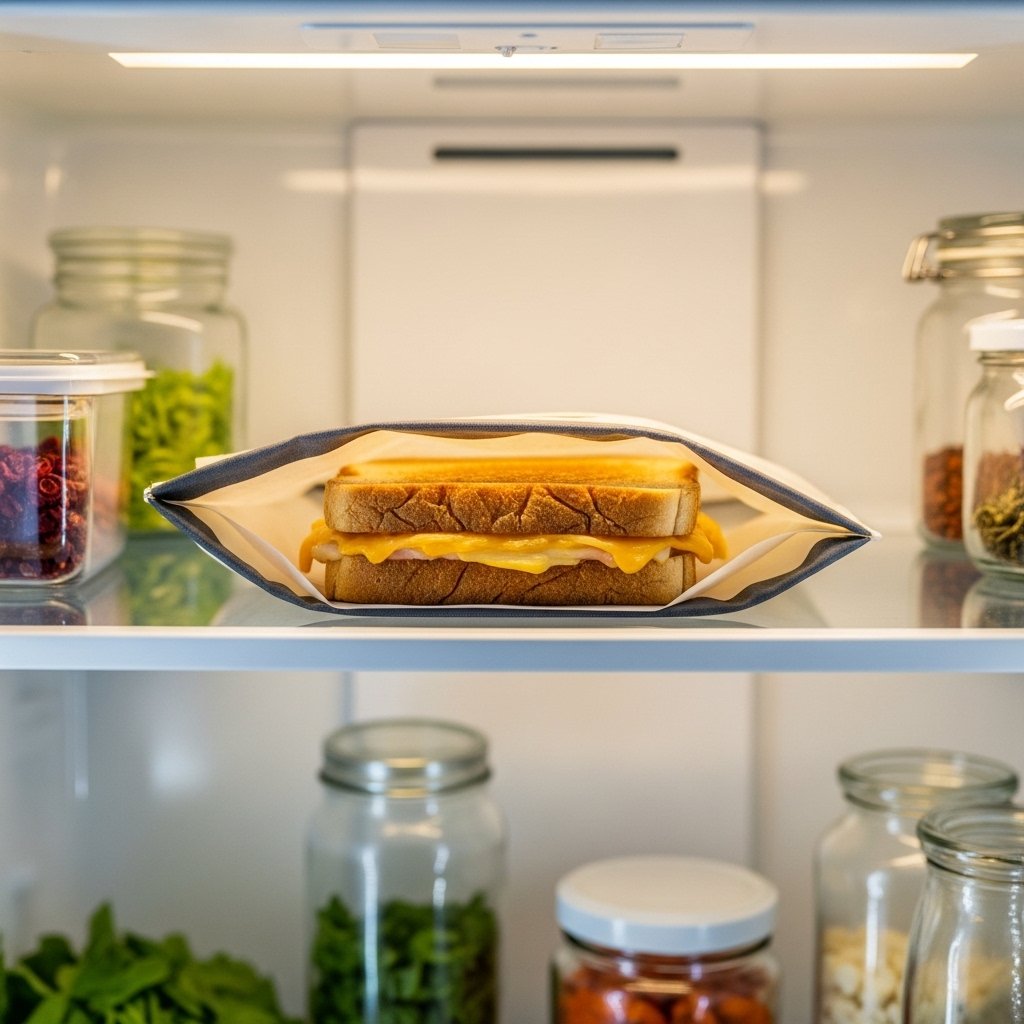
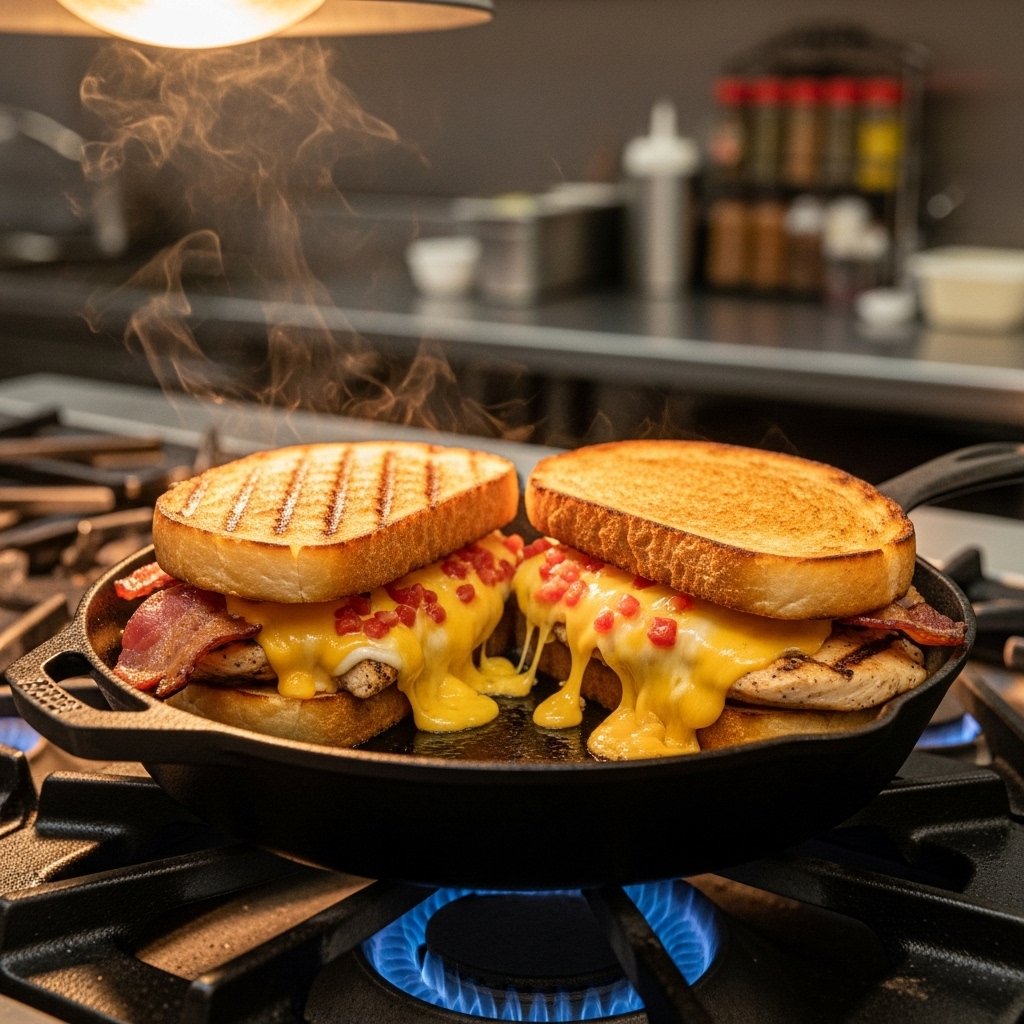
- Turkey and cheese sandwich
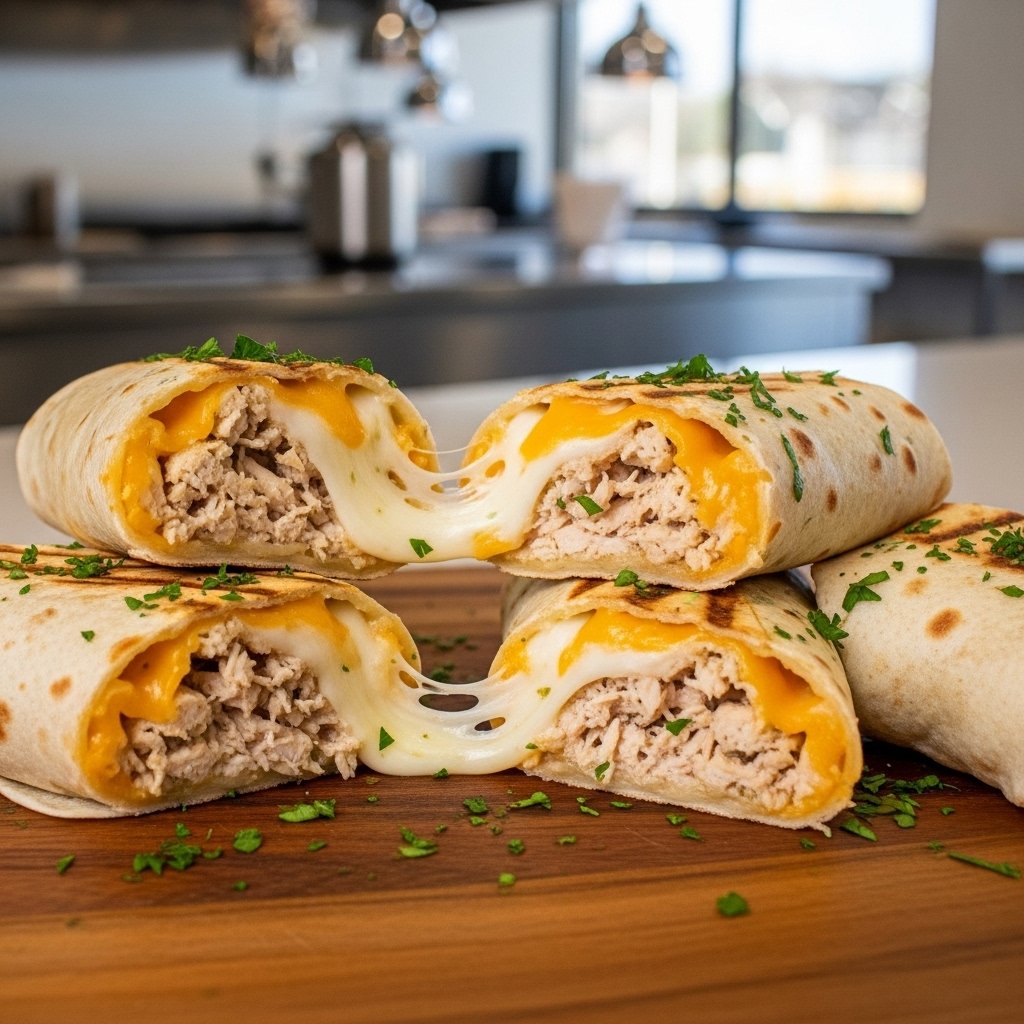
- Chicken Caesar wrap
- Ham and Swiss roll-ups
- Peanut butter and banana sandwich
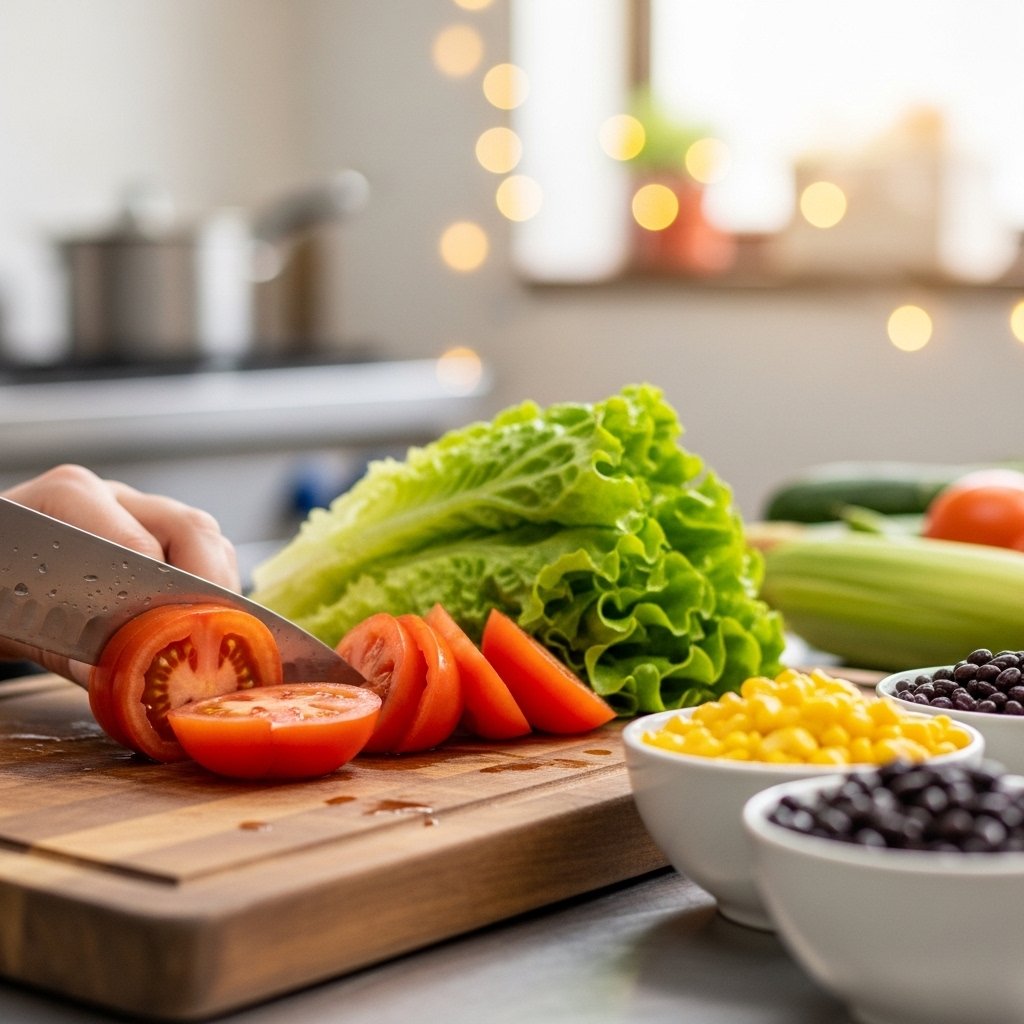
- Veggie hummus wrap
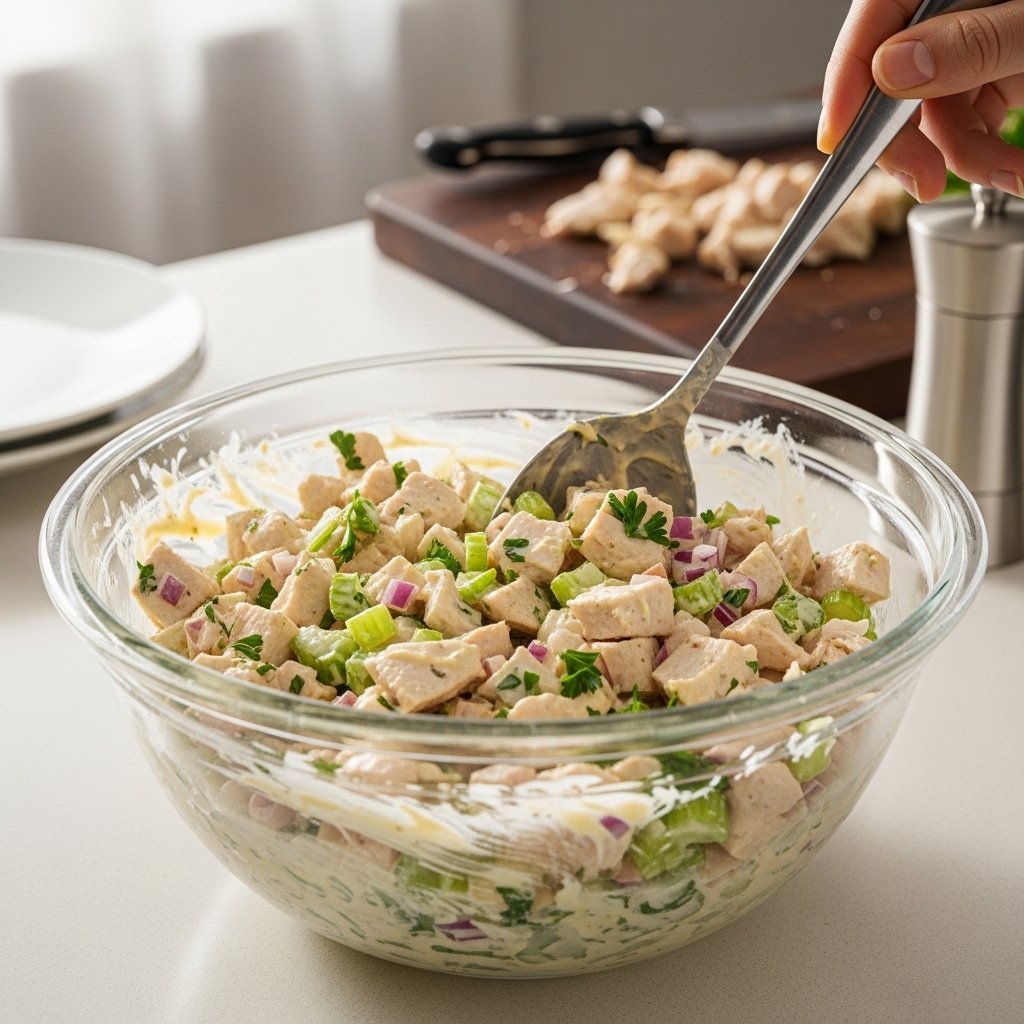
- Tuna salad sandwich
- BLT wrap
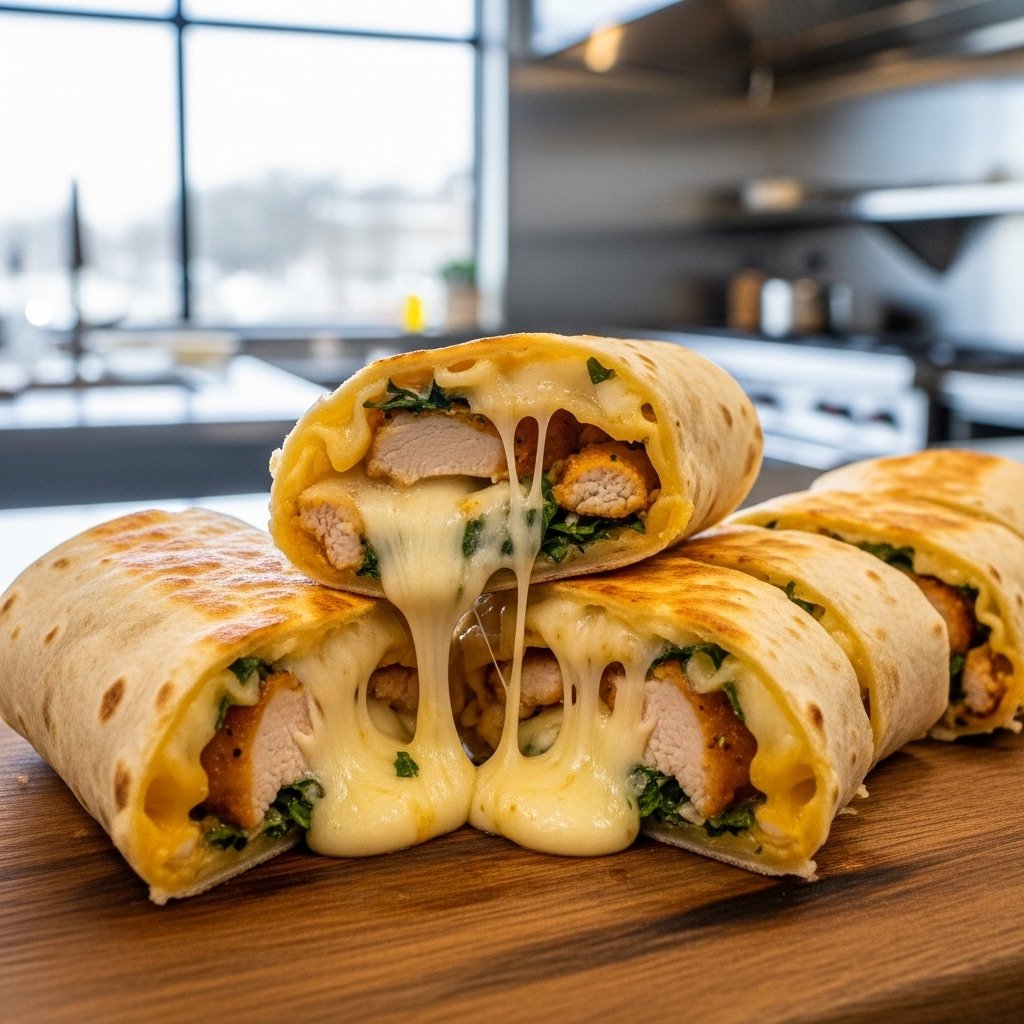
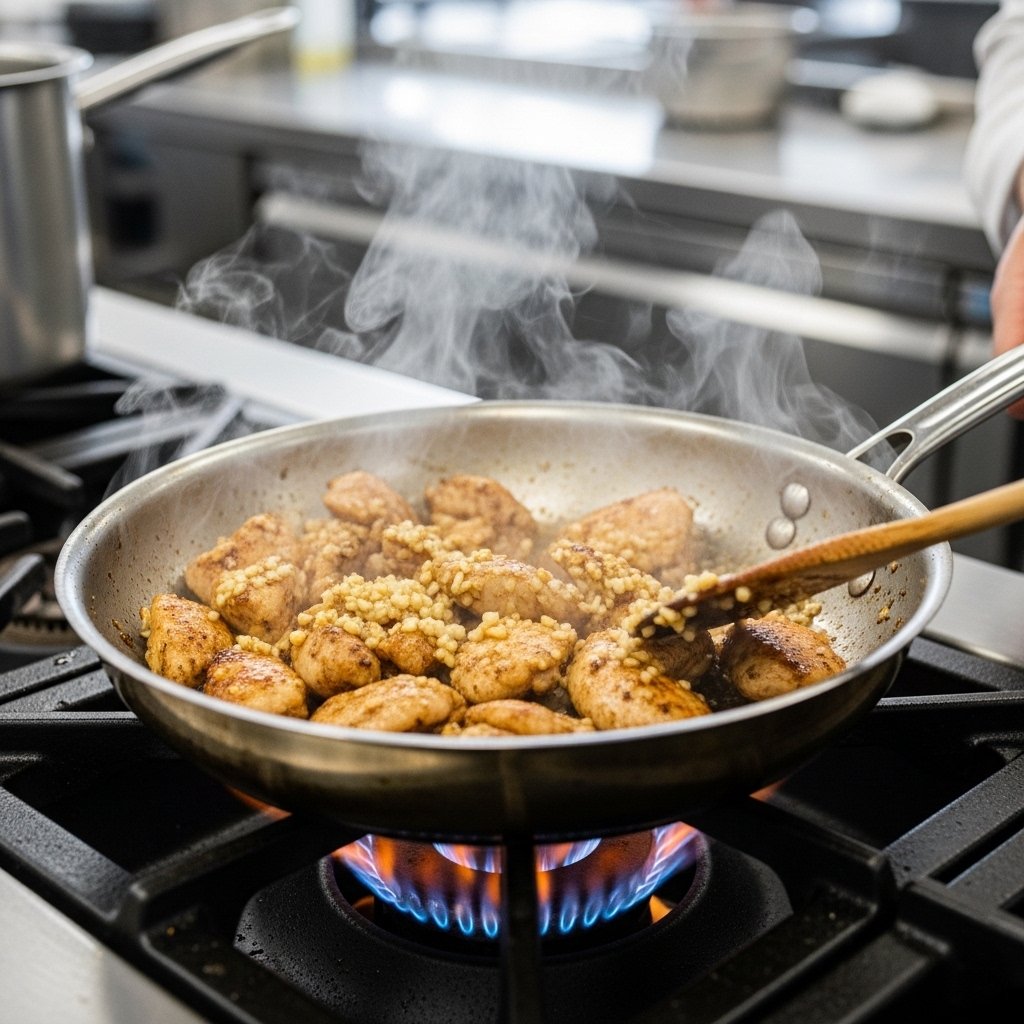
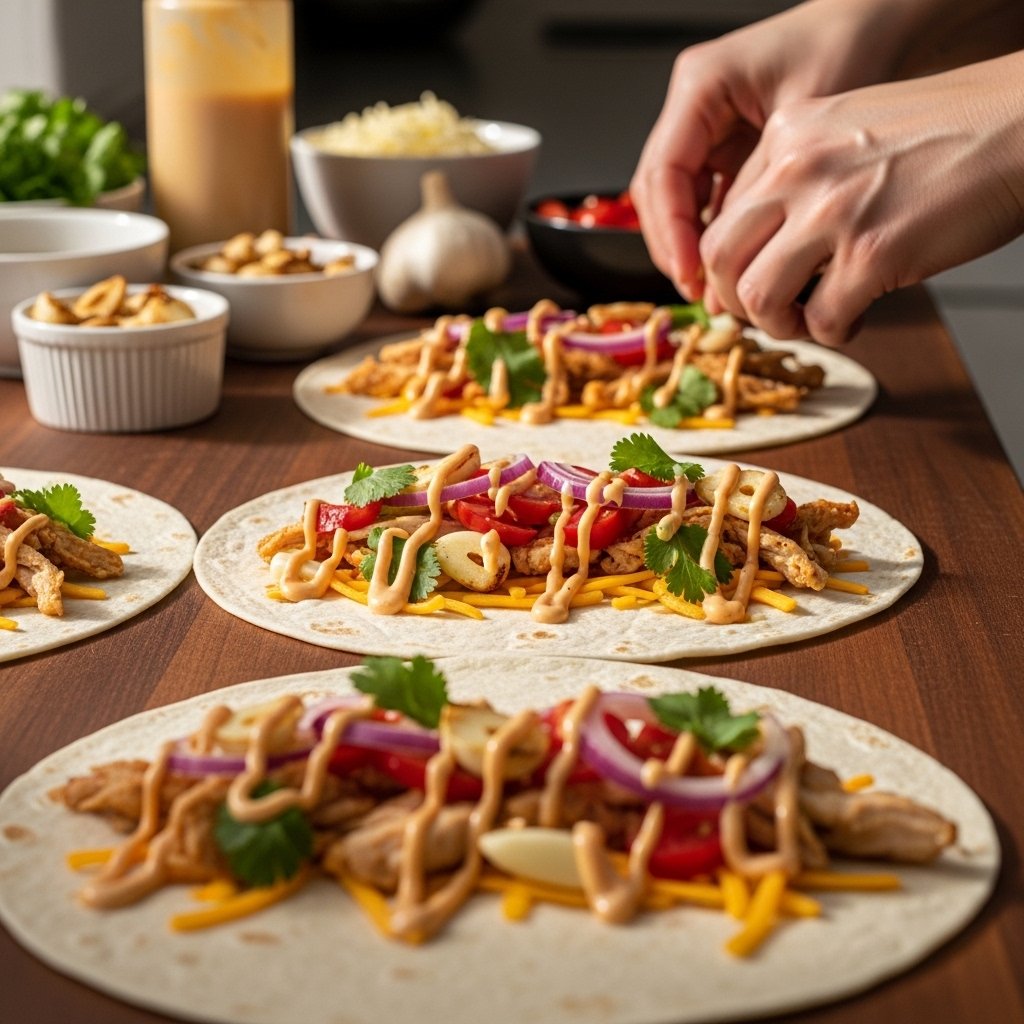
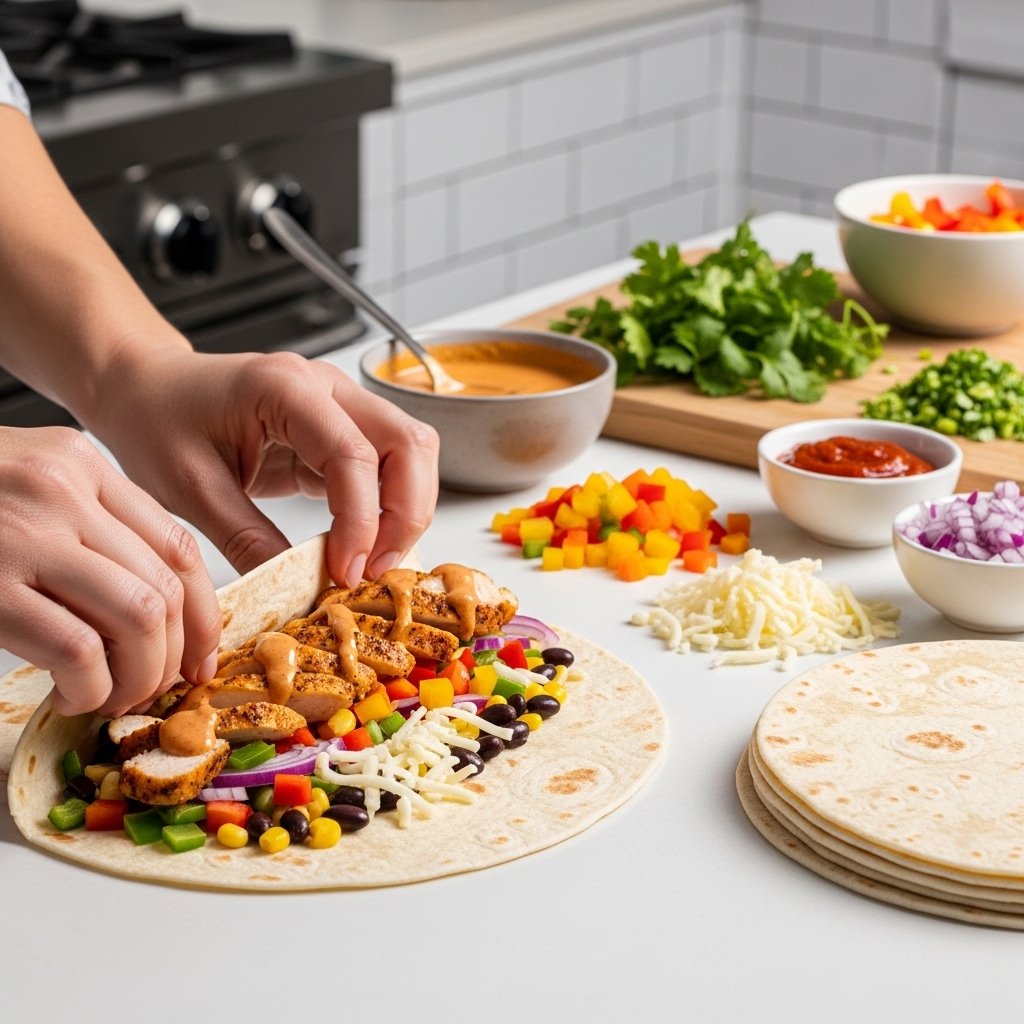
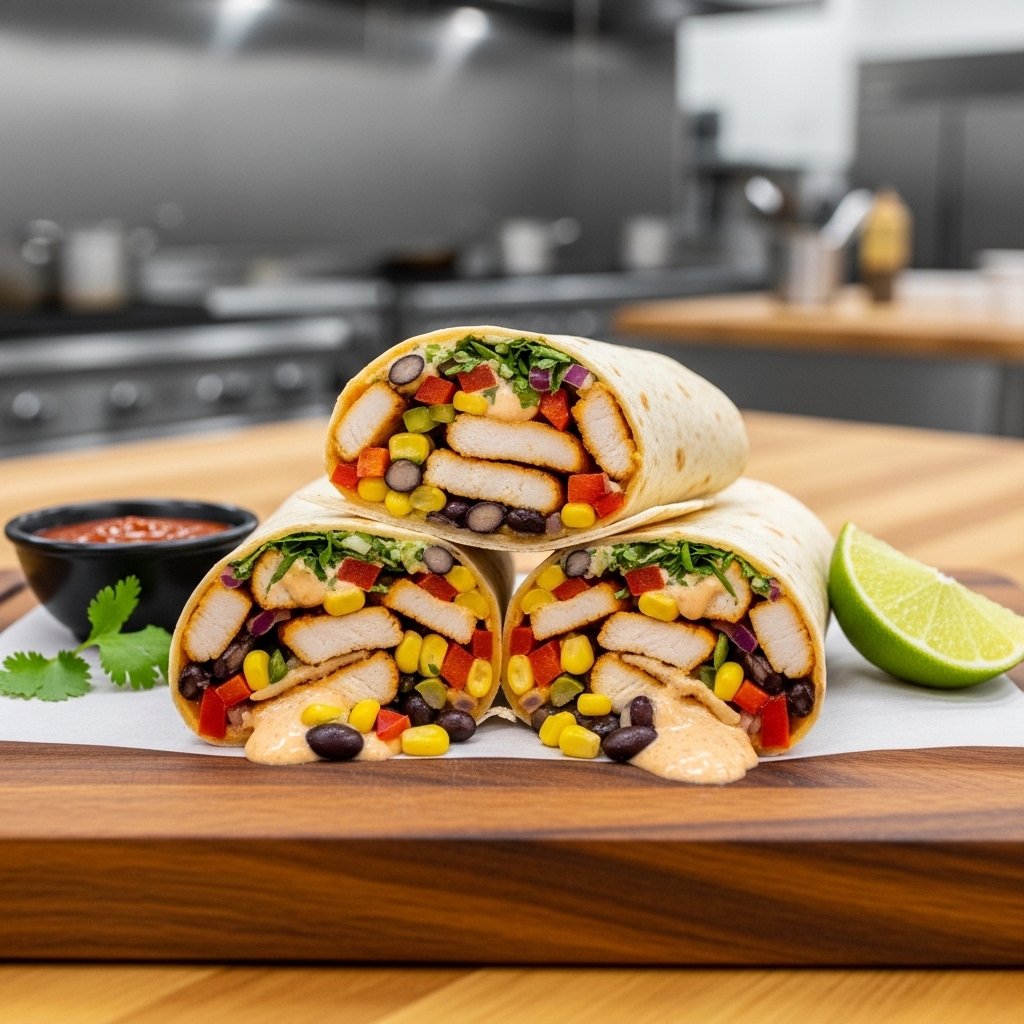
- Grilled chicken wrap
- Egg salad sandwich
- Avocado turkey sandwich

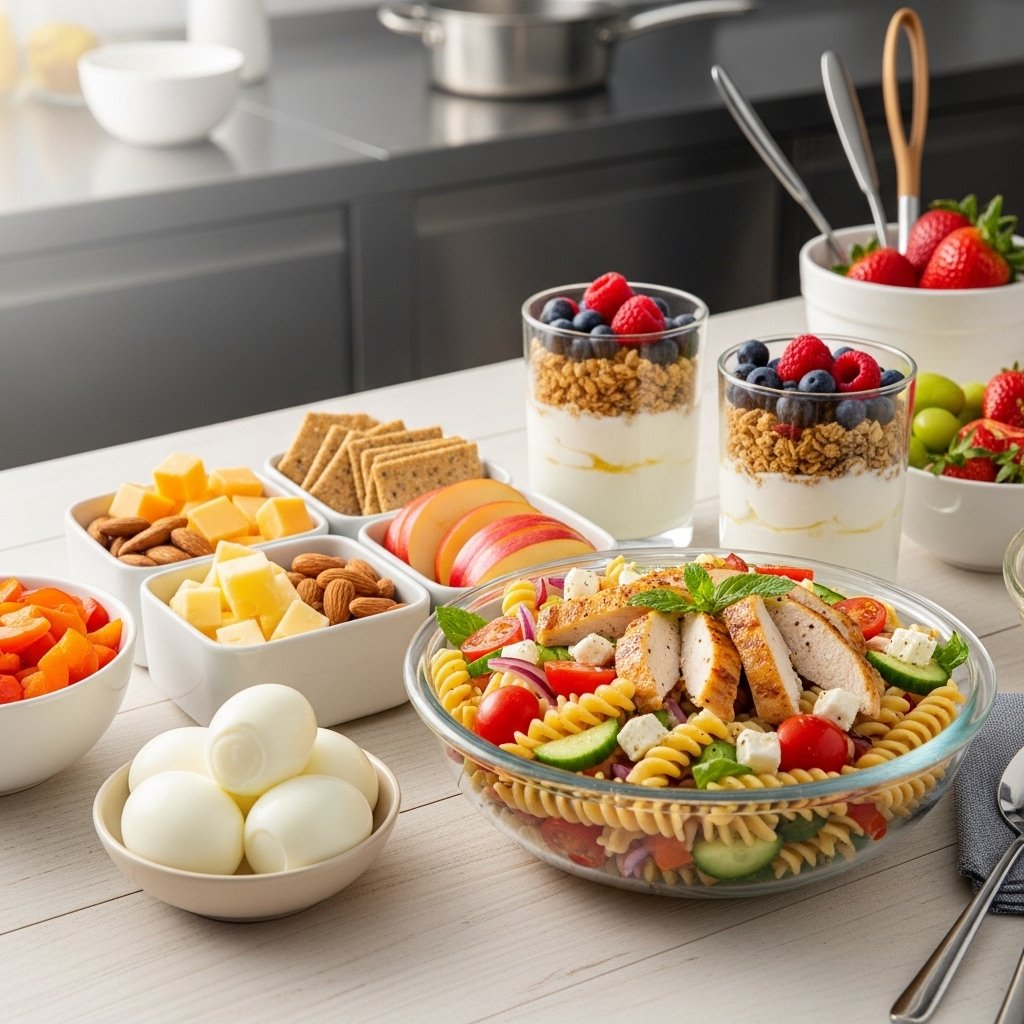
11–20: Protein-Packed Lunches
Perfect for keeping teens full and energized throughout the day.
- Chicken pasta salad
- Quinoa and veggie bowl
- Hard-boiled eggs with crackers
- Greek yogurt parfait
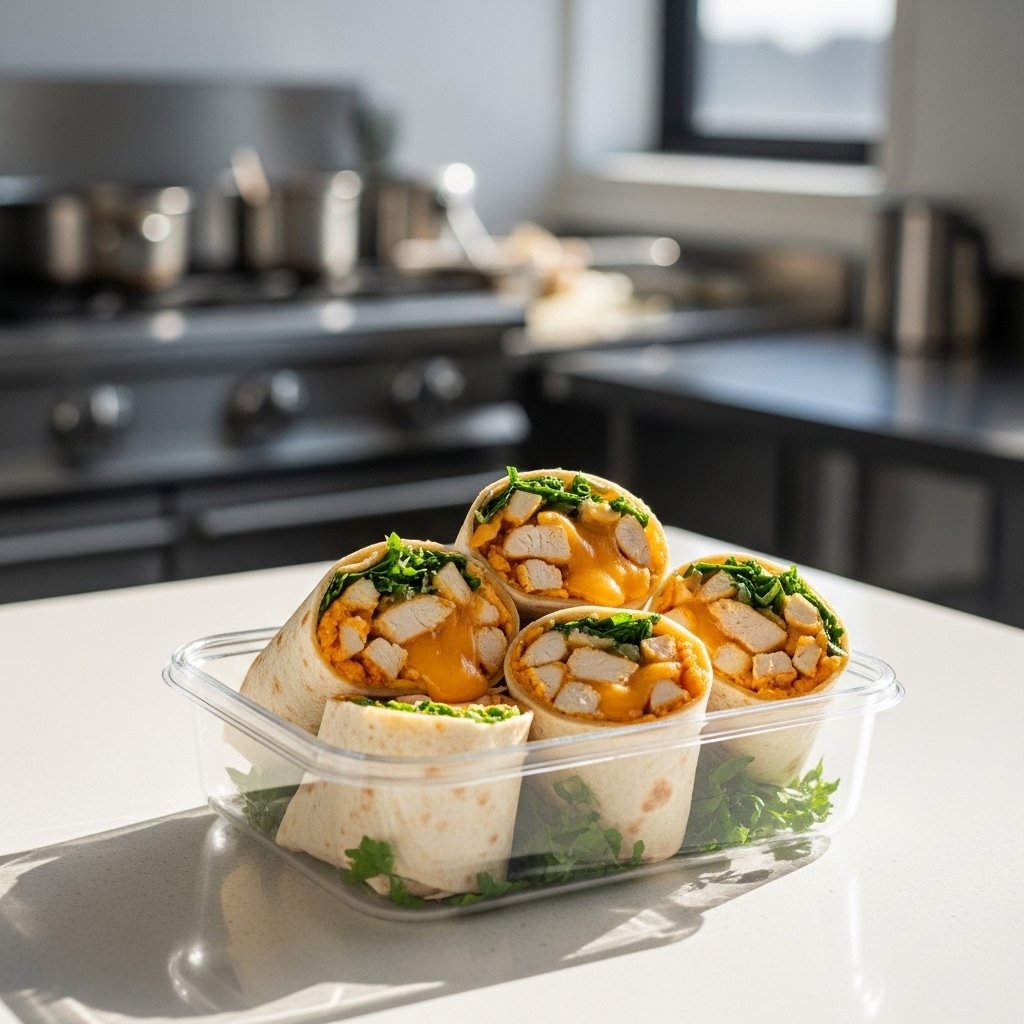
- Cheese and turkey snack box
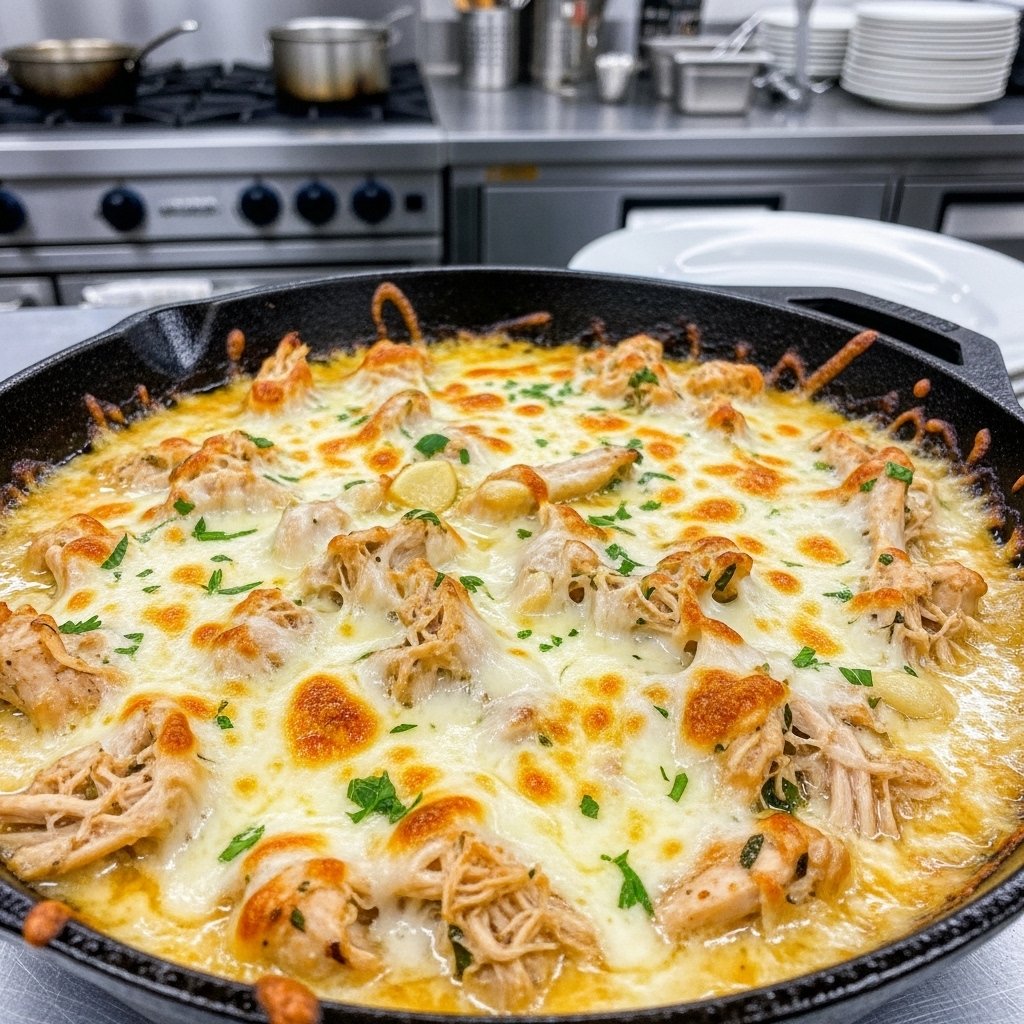
- Rice and grilled chicken bowl
- Cottage cheese with fruit
- Protein snack packs
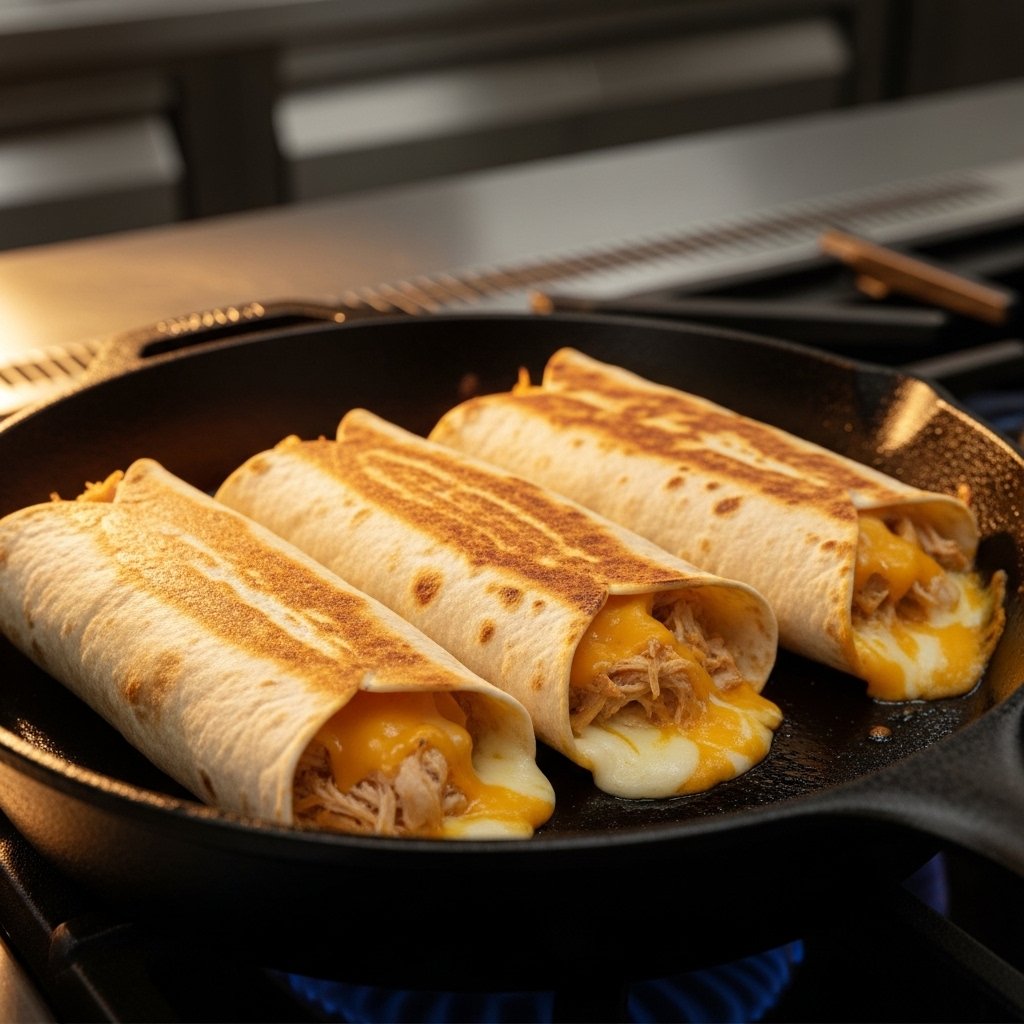
- Bean and cheese burrito
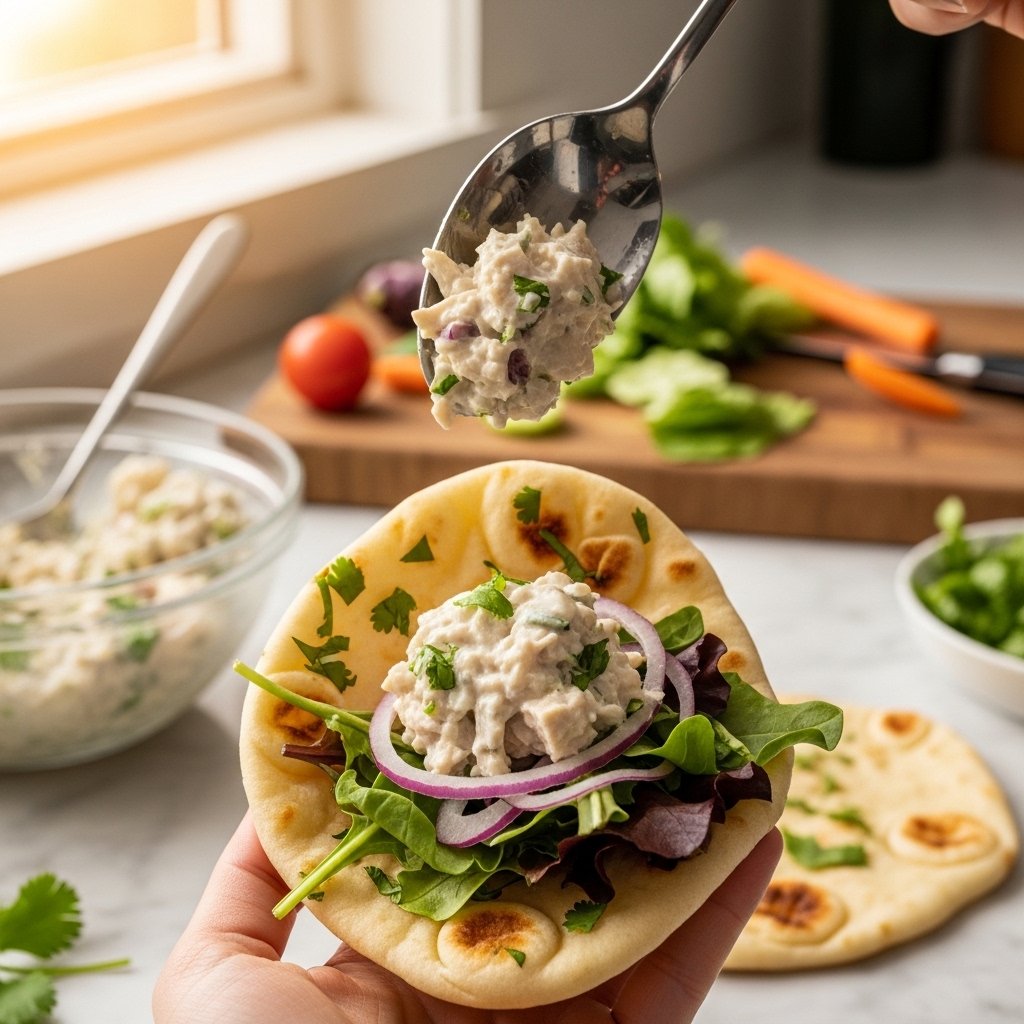
- Chicken salad lettuce wraps
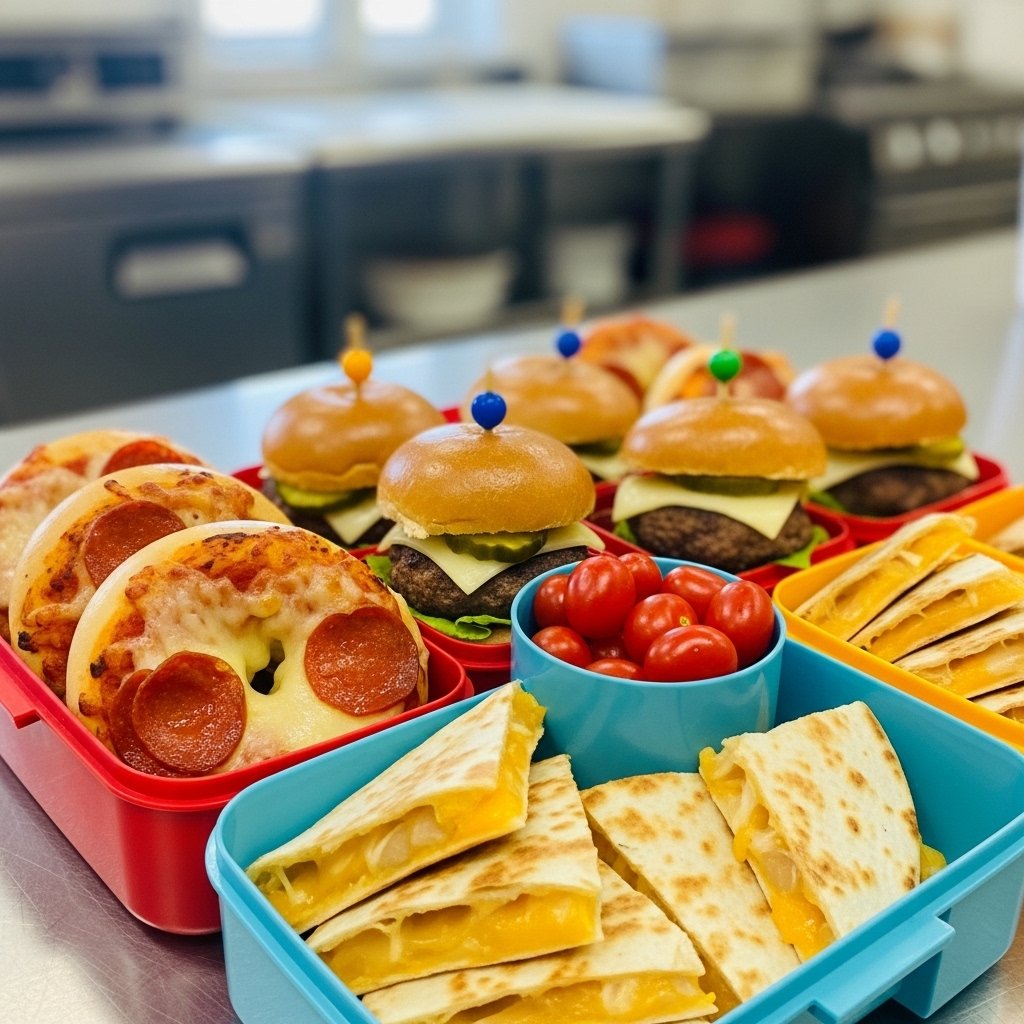
21–30: Fun & Creative Ideas
These lunches keep things exciting and appealing.
- DIY lunchables
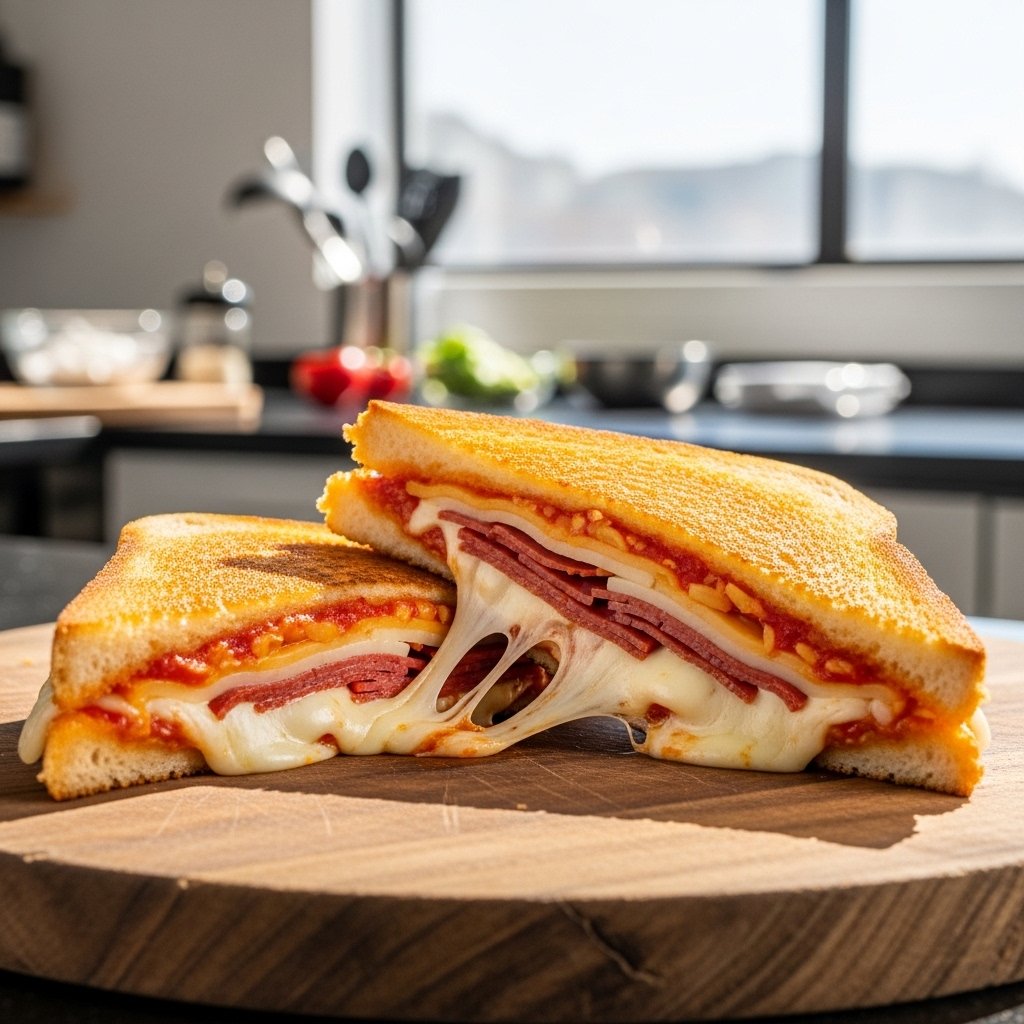
- Mini pizza bagels
- Pasta with marinara
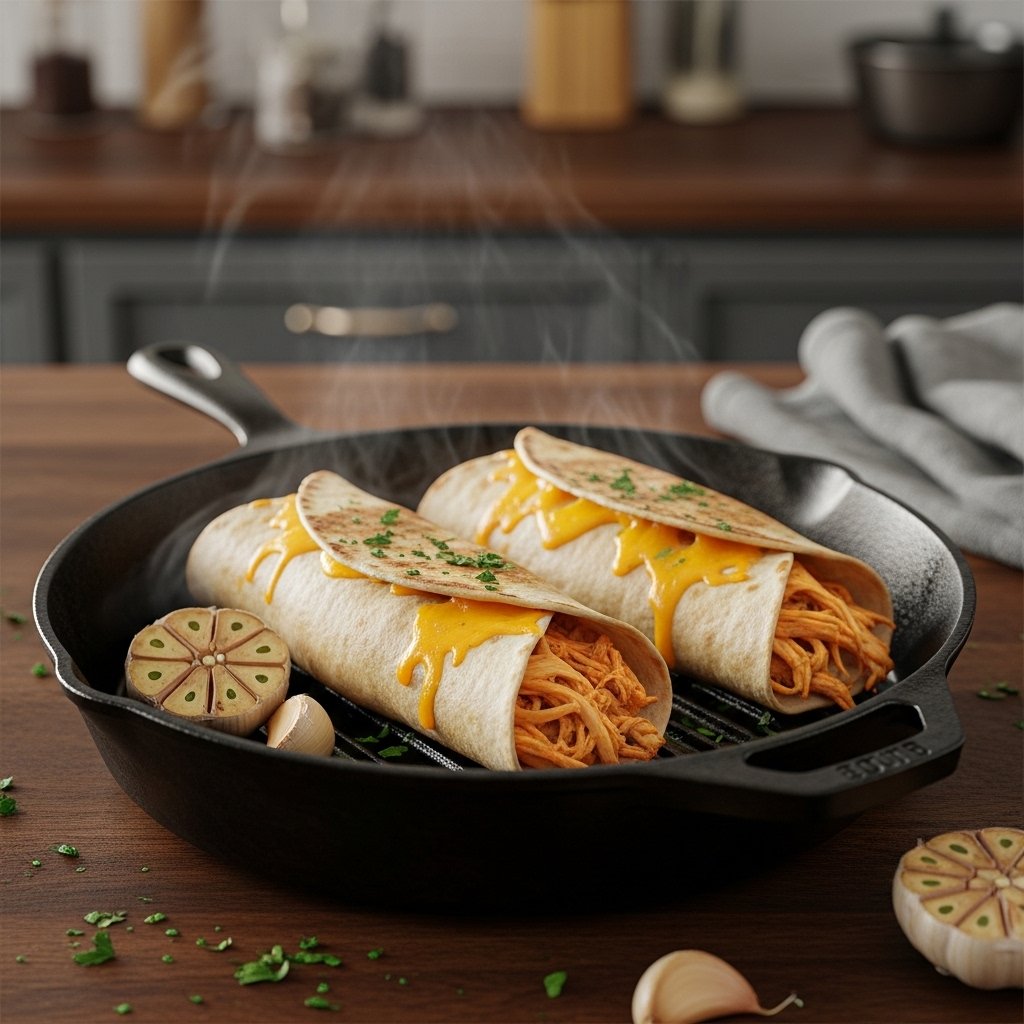
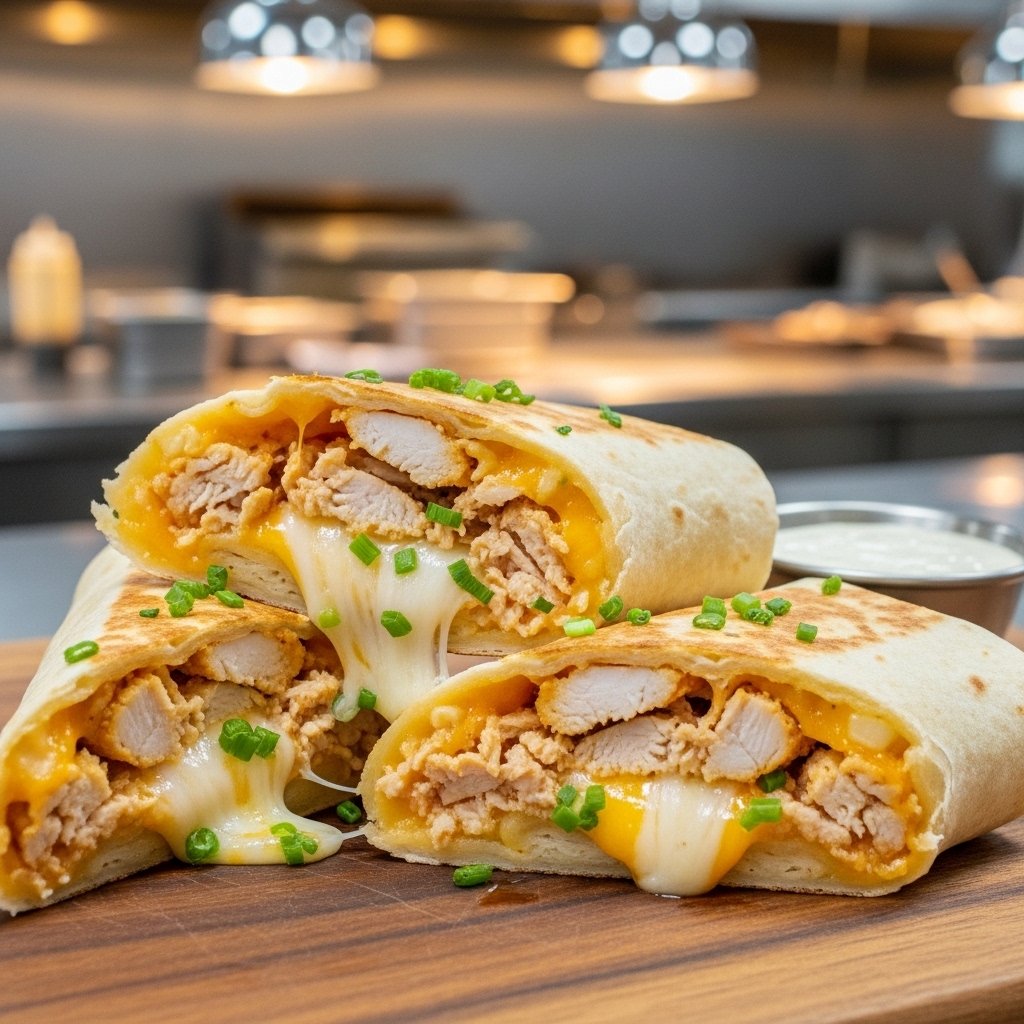
- Quesadilla slices
- Breakfast-for-lunch waffles
- Smoothie in a thermos
- Fruit and cheese kabobs
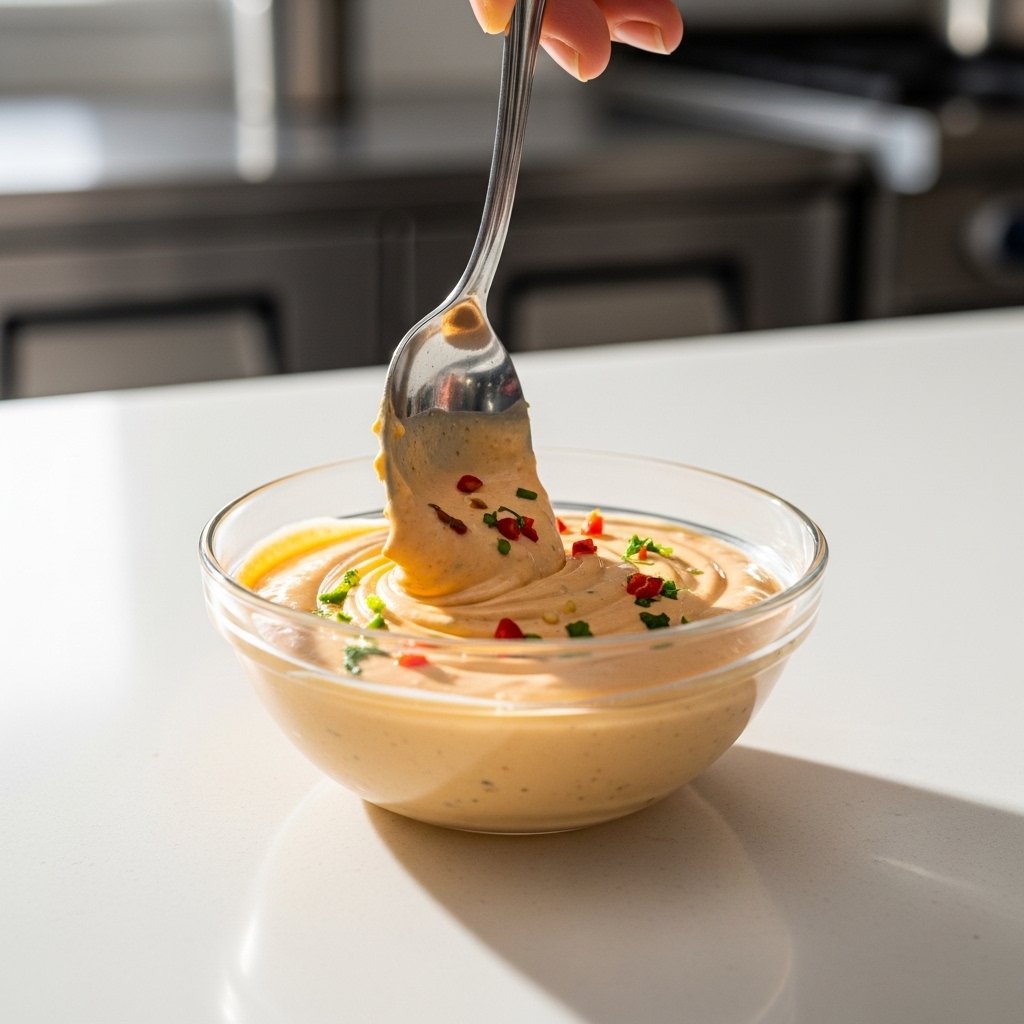
- Chicken nuggets with dipping sauce
- Mac and cheese cups
- Mini sliders
31–35: Quick Grab-and-Go Options
Perfect for rushed mornings.
- Granola bars with fruit
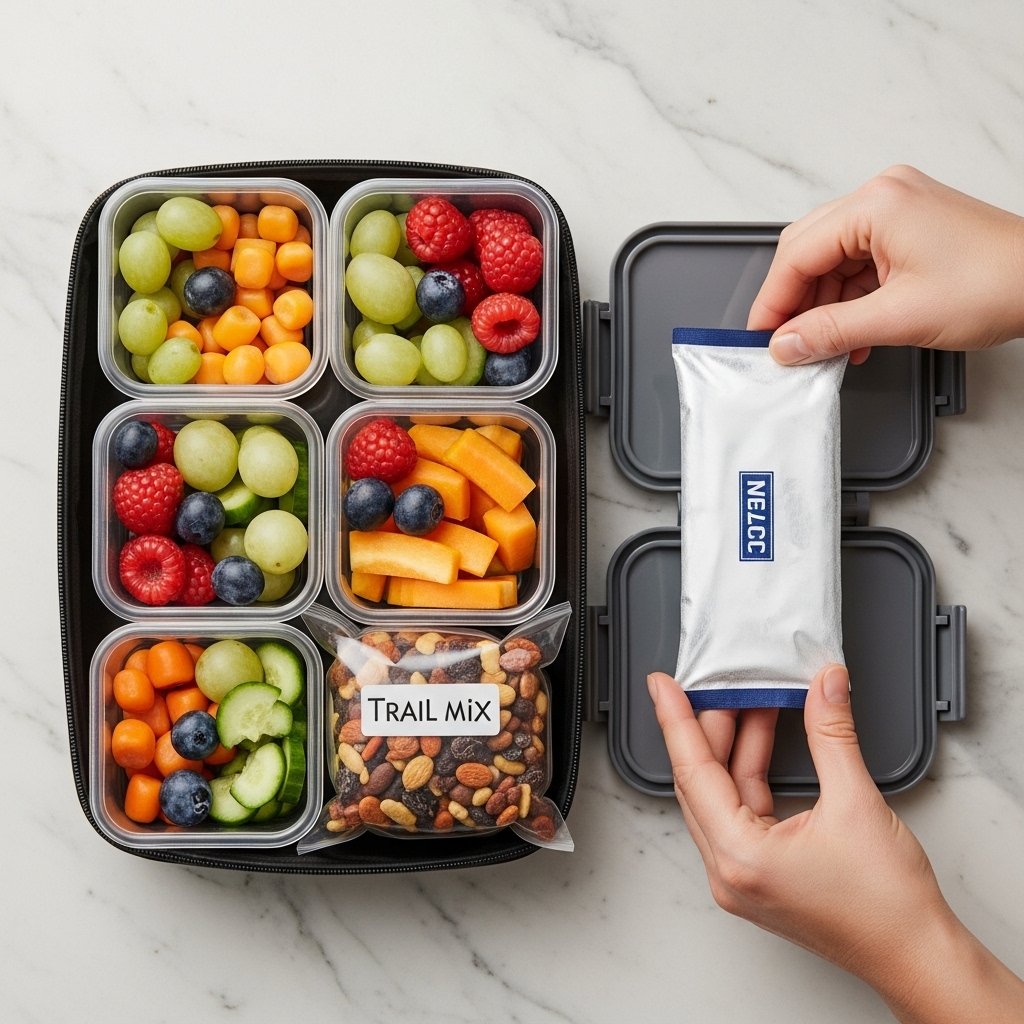
- Trail mix packs
- Muffins with yogurt
- String cheese and crackers
- Apple slices with peanut butter
These options are simple but still satisfying when time is tight.
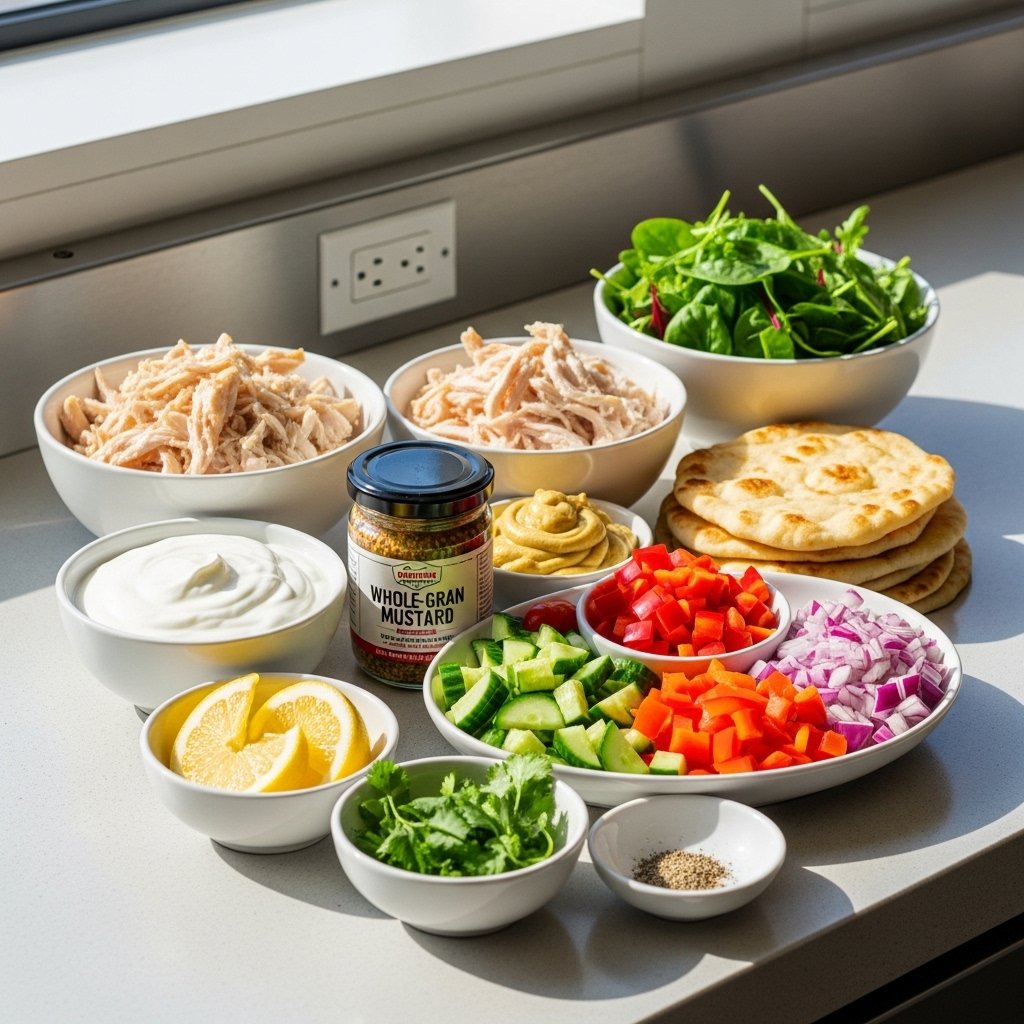
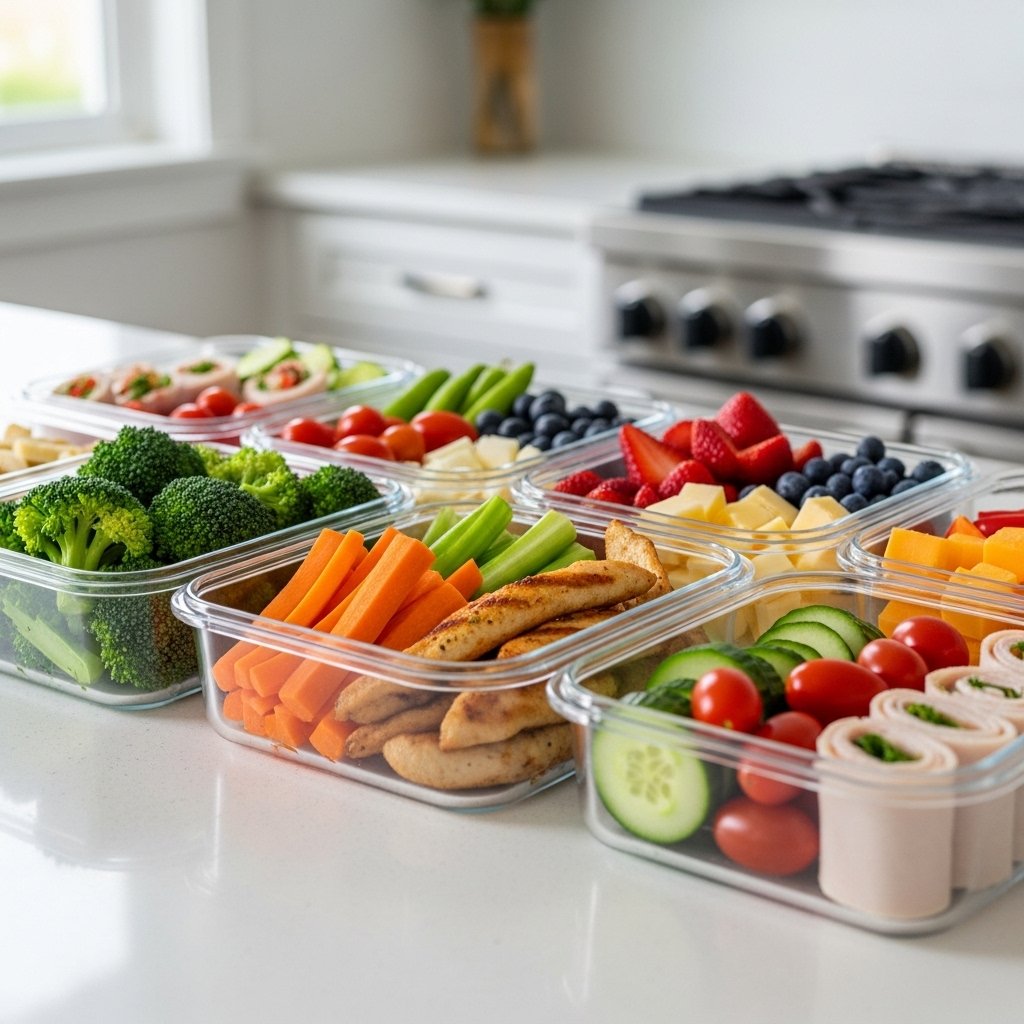
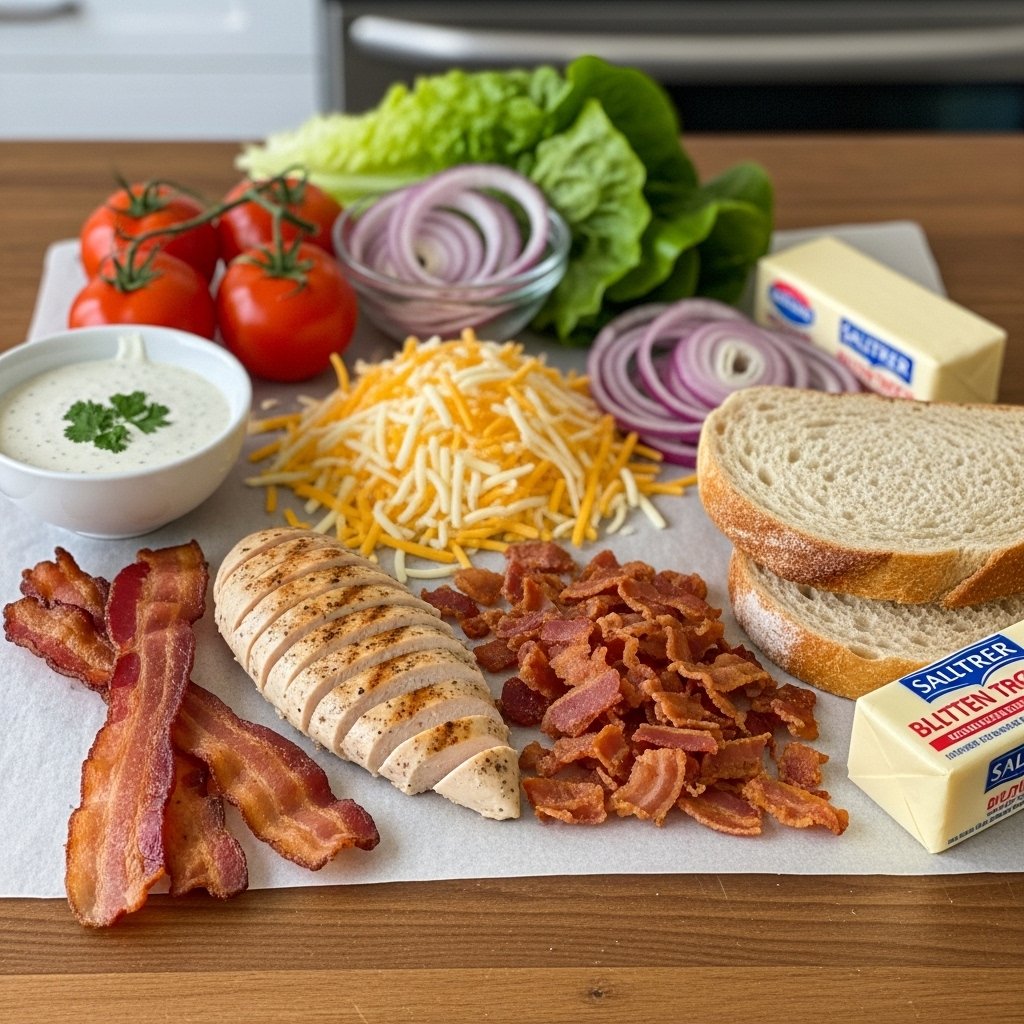
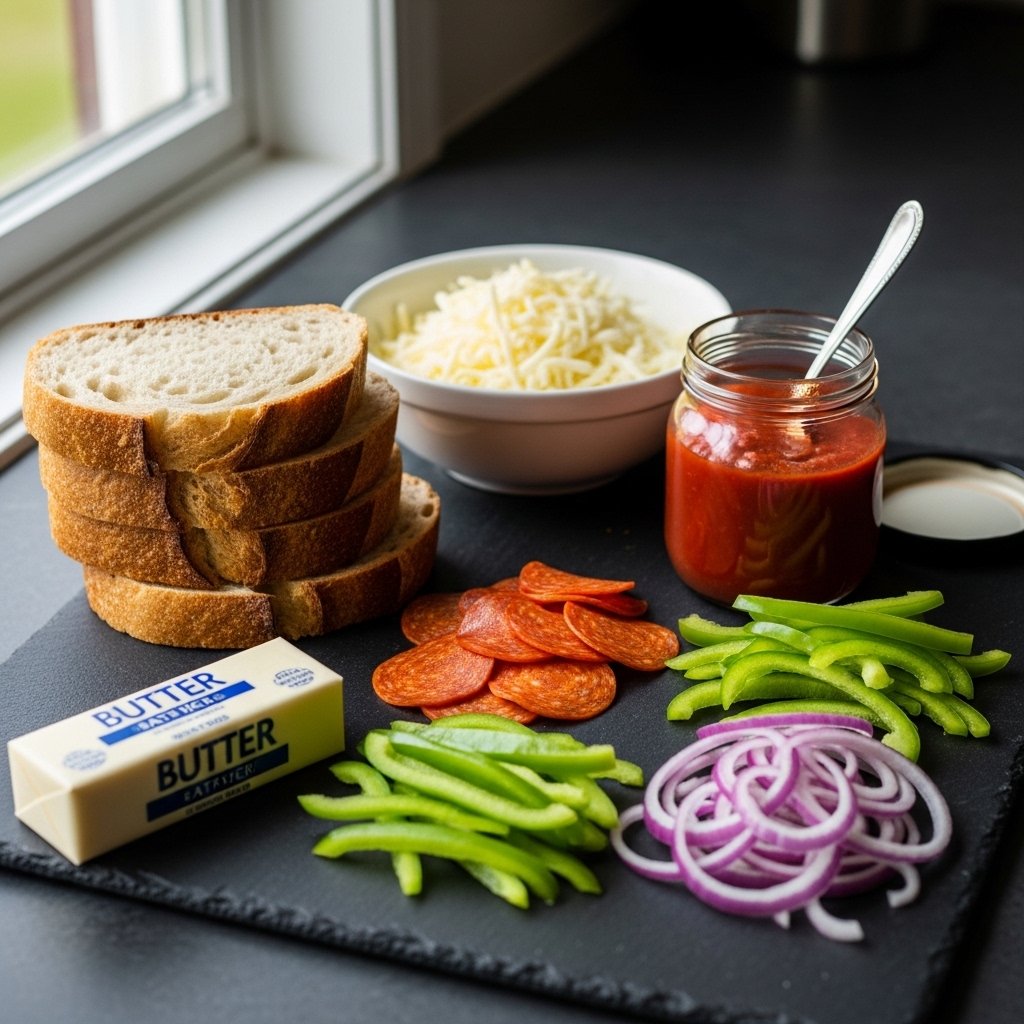
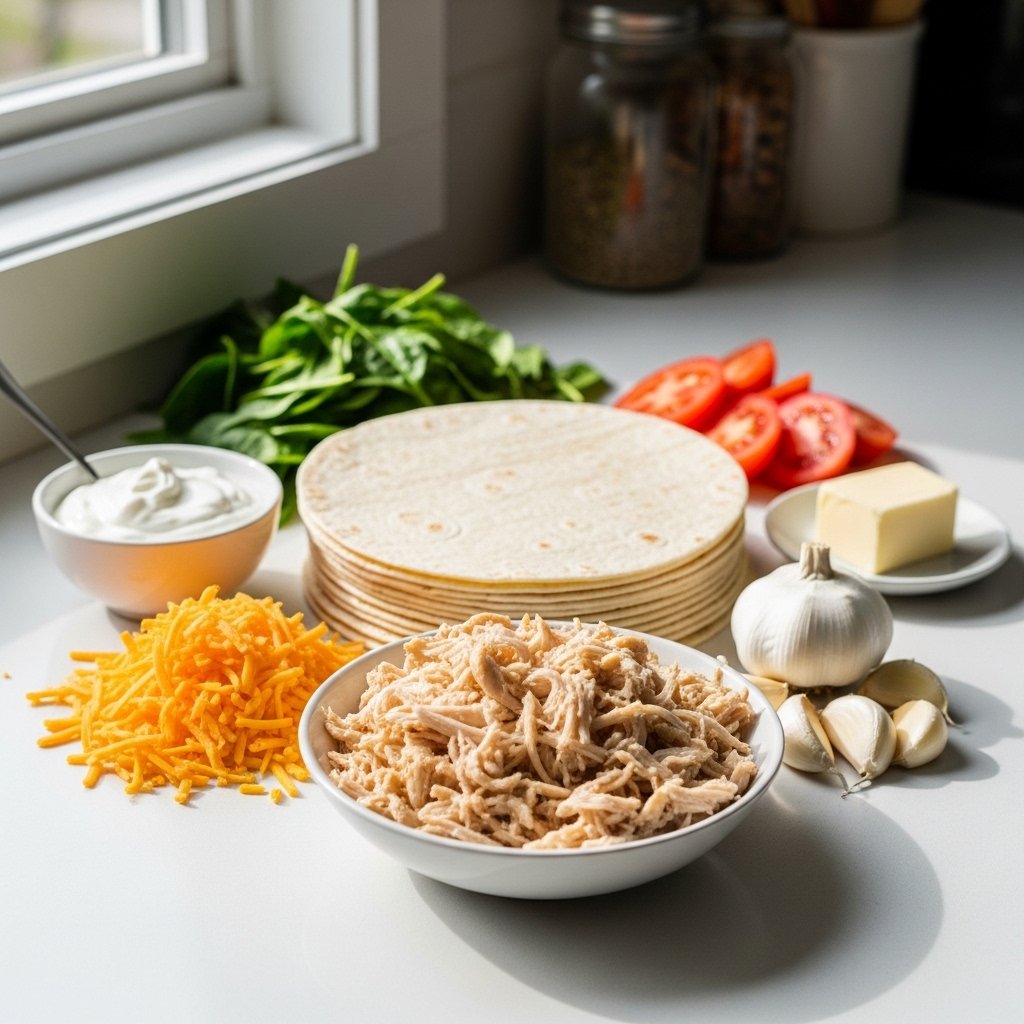
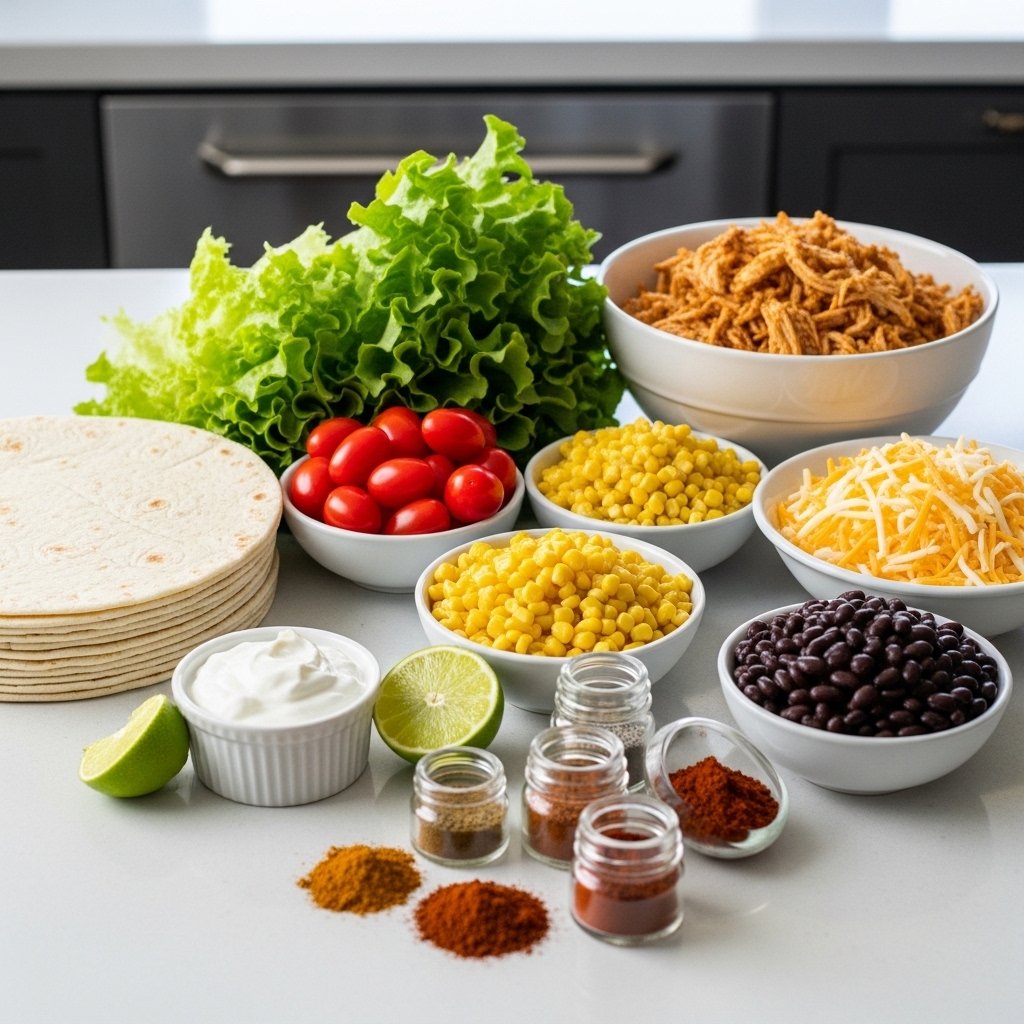
Ingredients to Keep on Hand
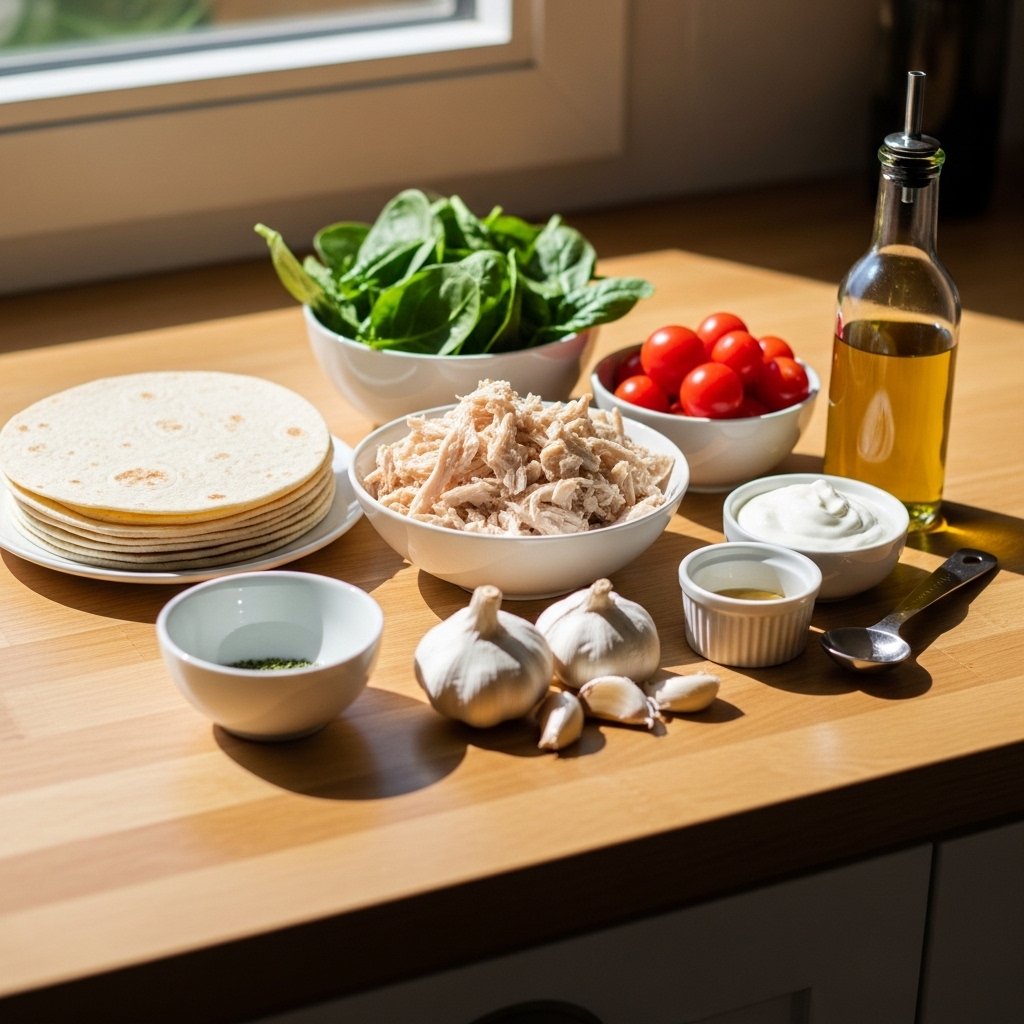
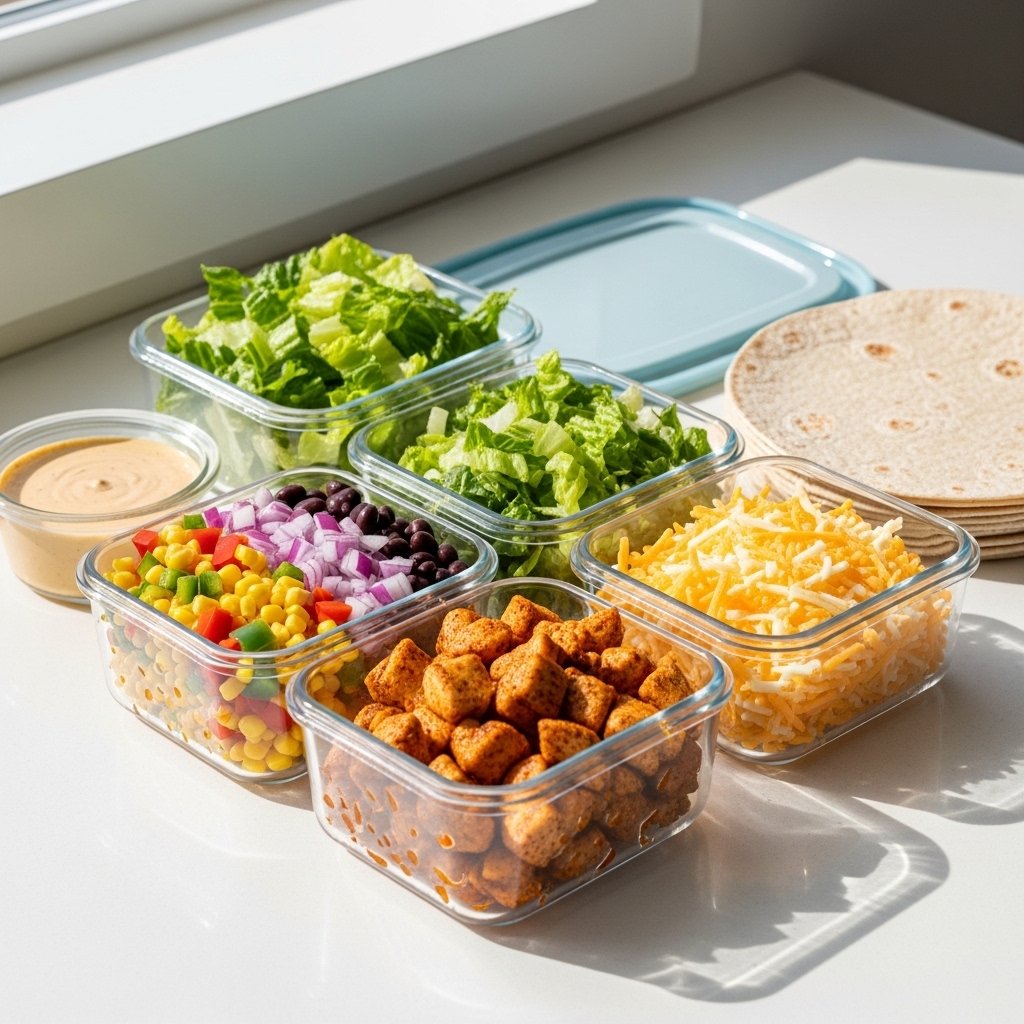
To make these easy school lunch ideas for teens, keep your kitchen stocked with versatile staples:
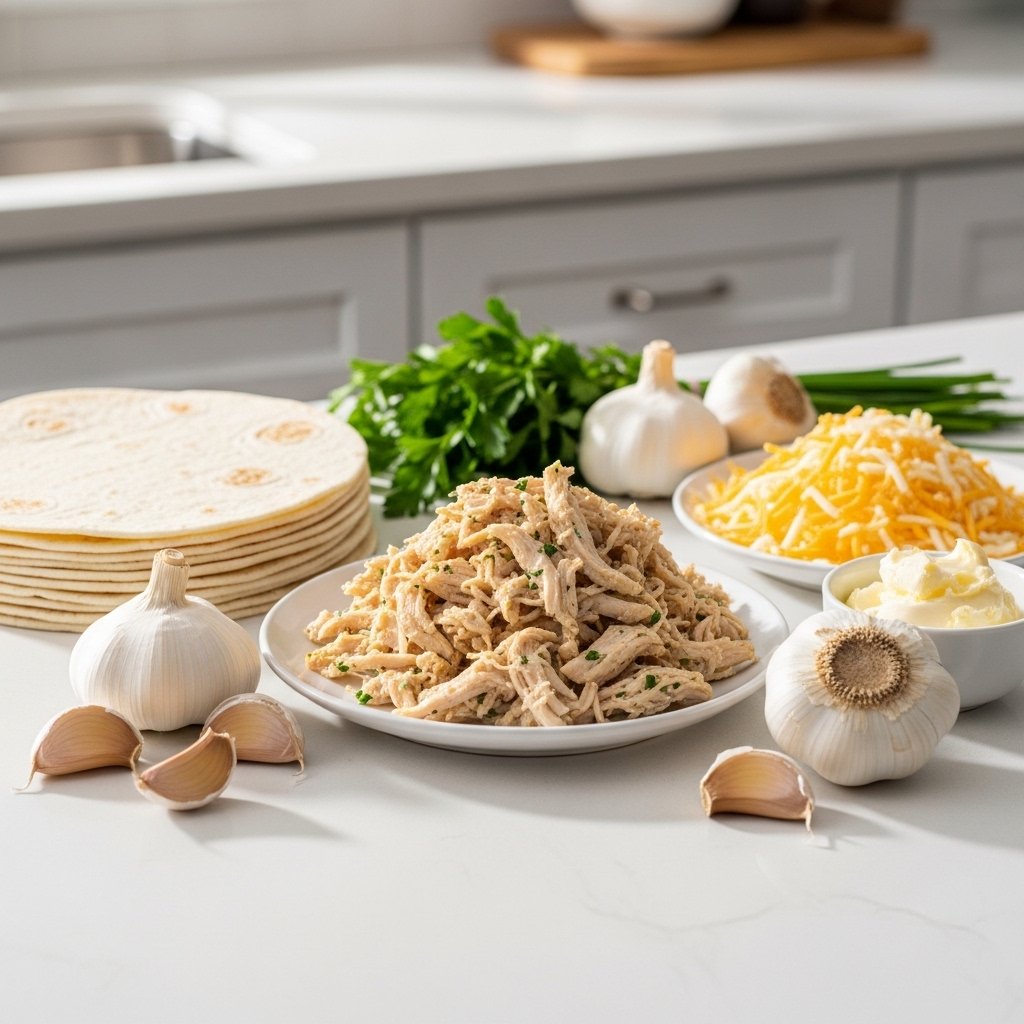
- Bread, tortillas, and wraps
- Deli meats and cheeses
- Fresh fruits and veggies
- Yogurt and dairy products
- Pasta, rice, and grains
- Nut butters and spreads
Having these ingredients ready makes lunch prep much faster and easier.
Ingredient Notes
Flexibility is key when preparing lunches for teens. Swap ingredients based on preferences or dietary needs. For example, use whole-grain bread for added fiber or plant-based proteins for vegetarian options.
You can also rotate ingredients weekly to keep things fresh and avoid lunch fatigue.
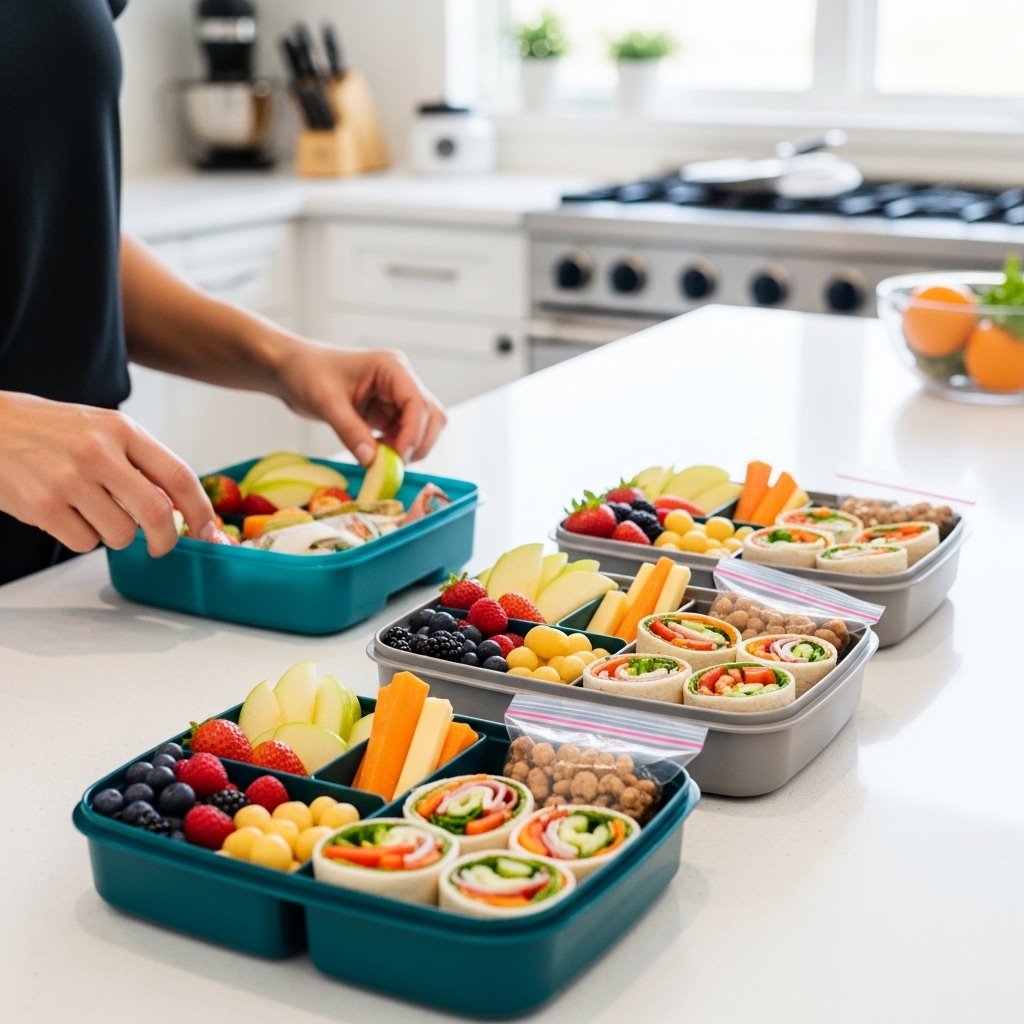
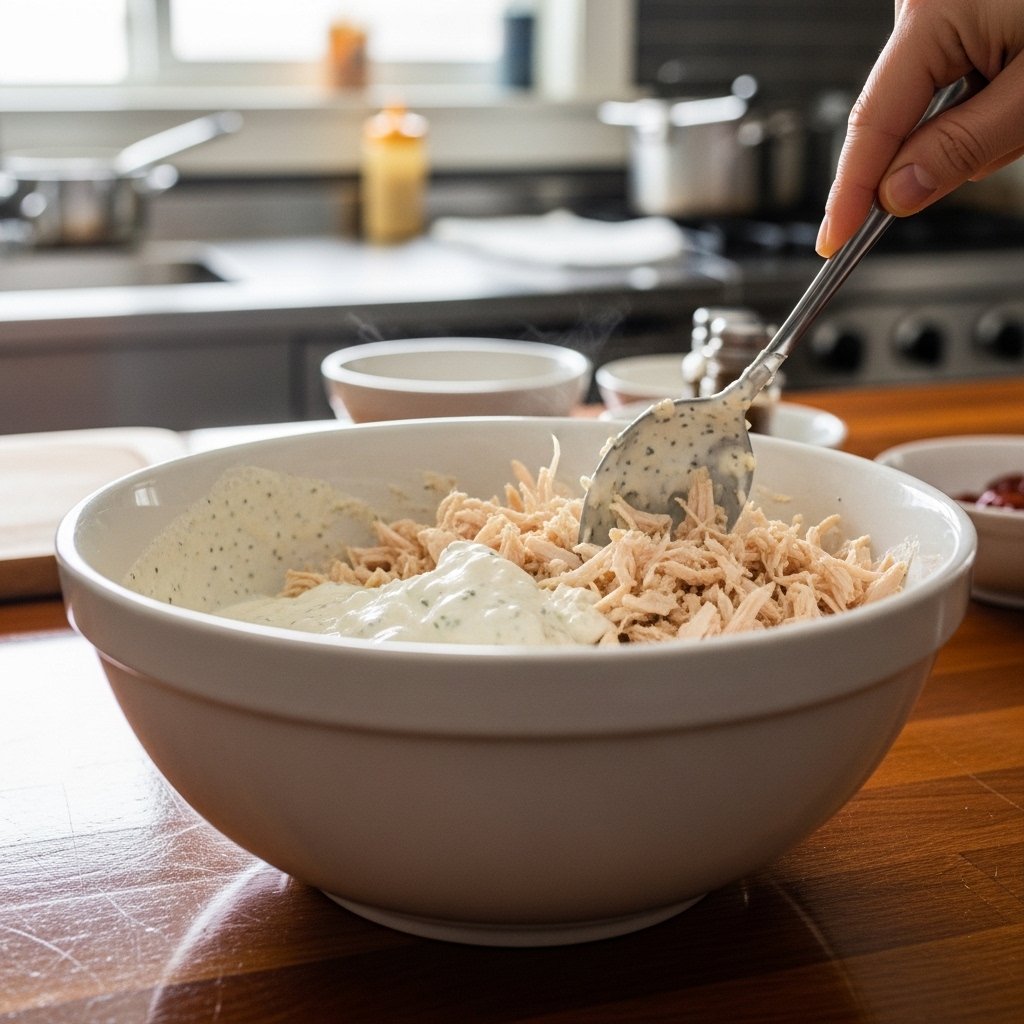
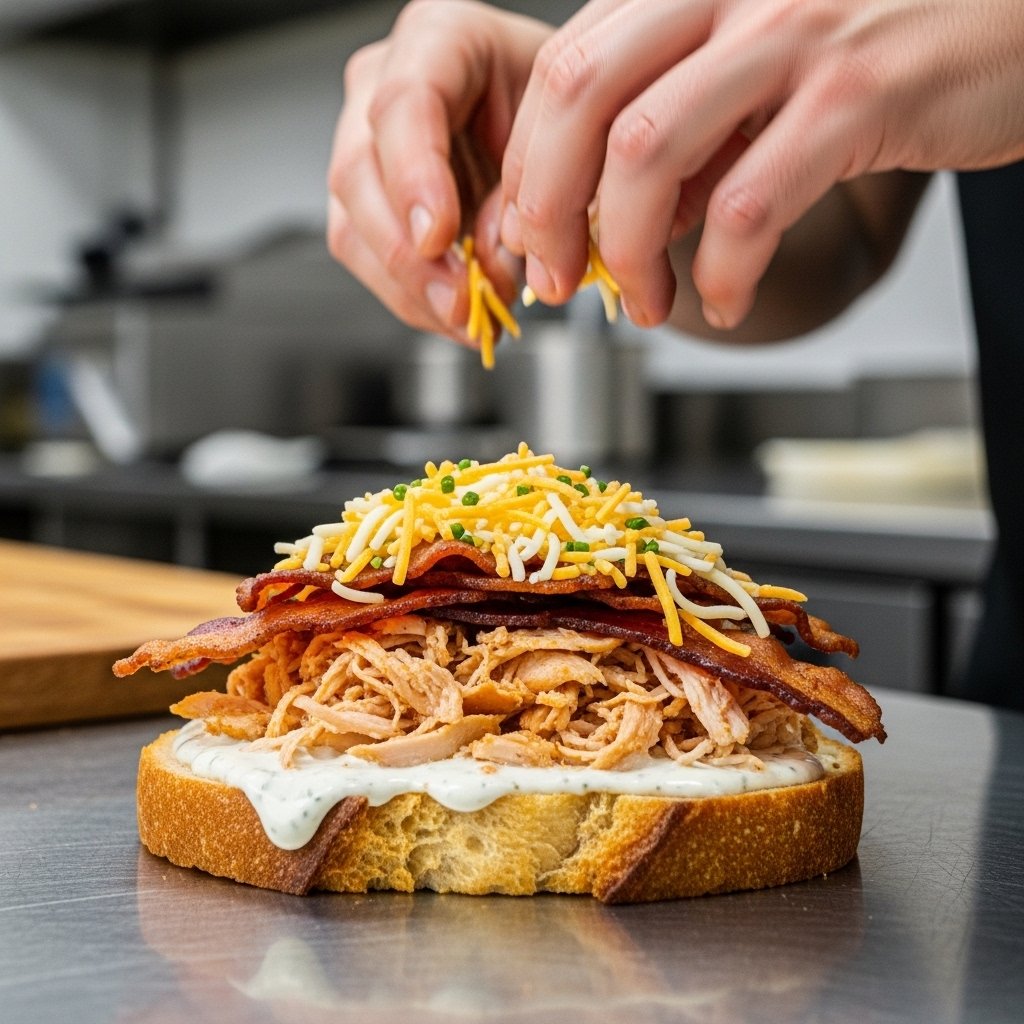
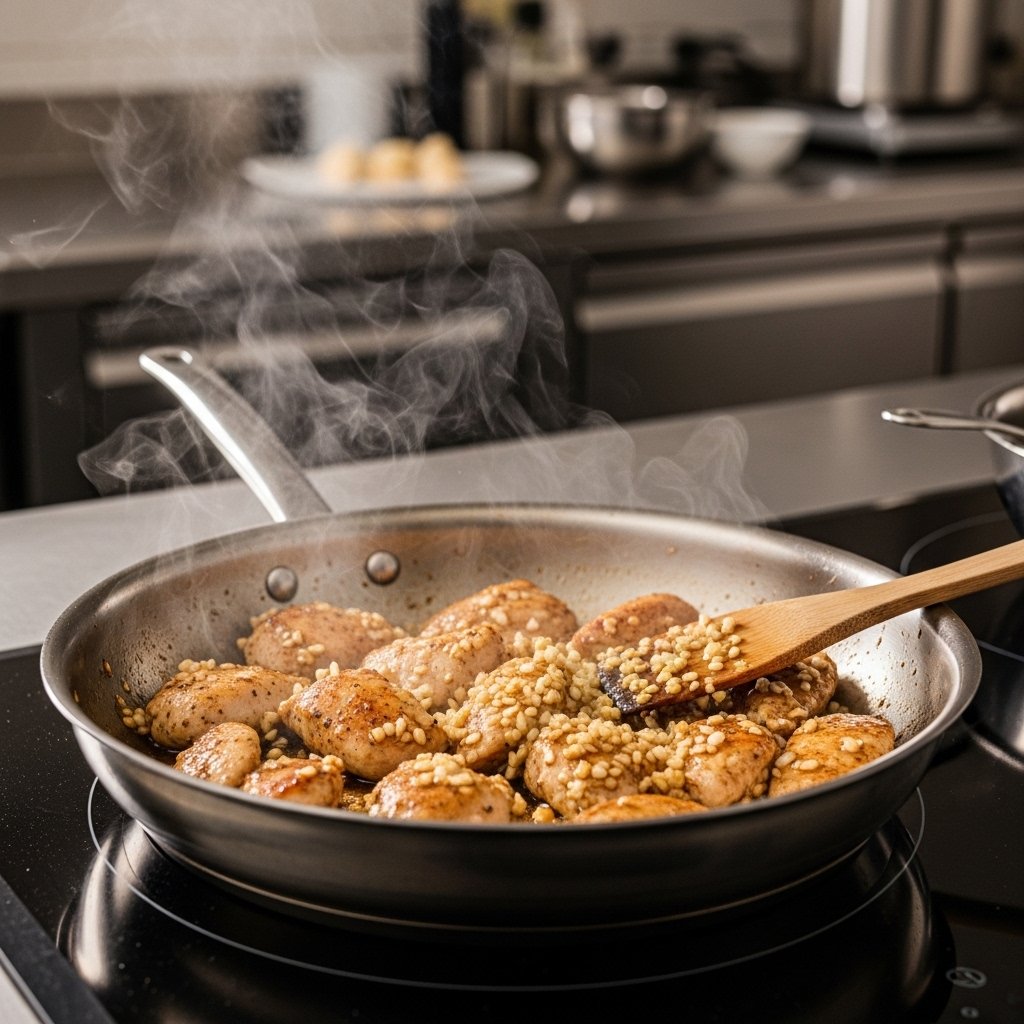
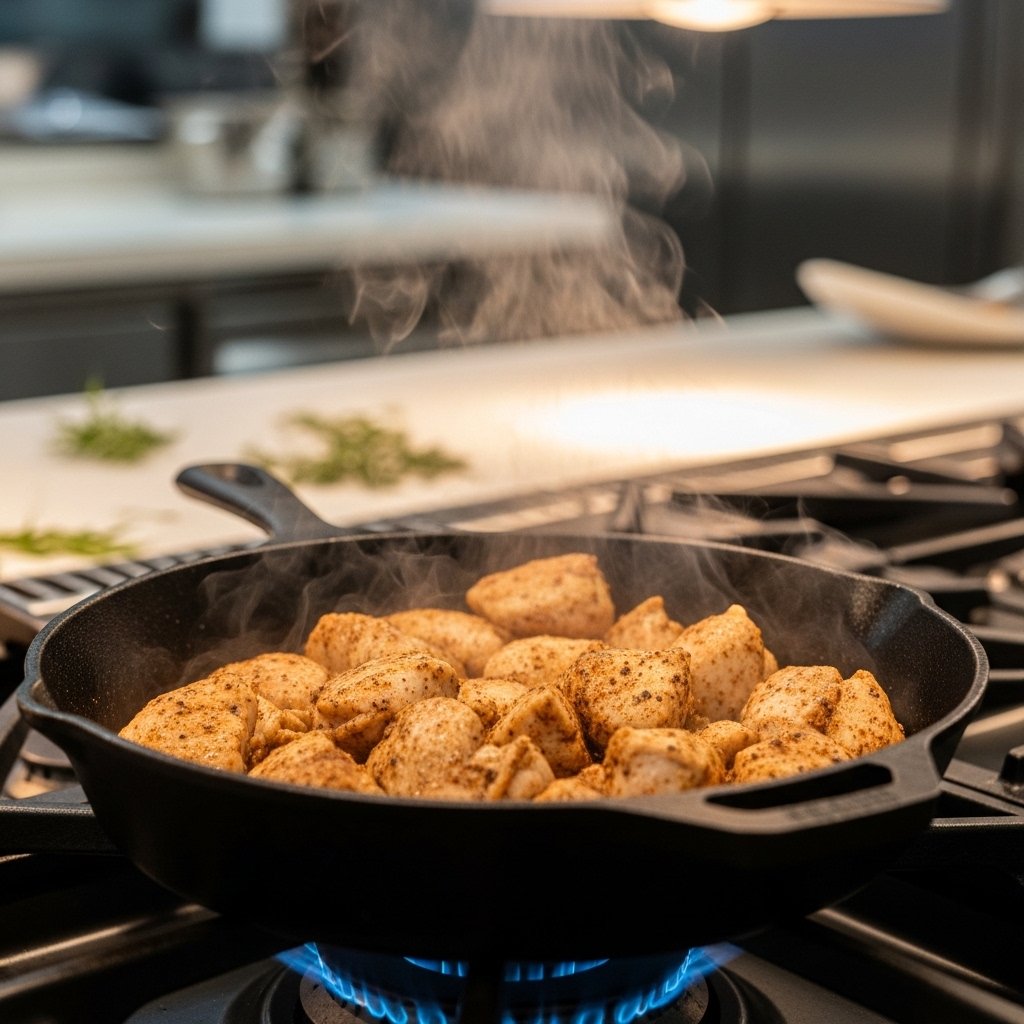
Step-by-Step Lunch Prep Strategy
Creating easy school lunch ideas for teens doesn’t have to be complicated. Follow this simple method:
- Choose a main item (sandwich, wrap, or bowl)
- Add a protein source
- Include fruits or veggies
- Add a snack or treat
- Pack a drink
This formula ensures a balanced and satisfying meal every time.
Tips for Perfect School Lunches
A few smart tips can make a big difference:
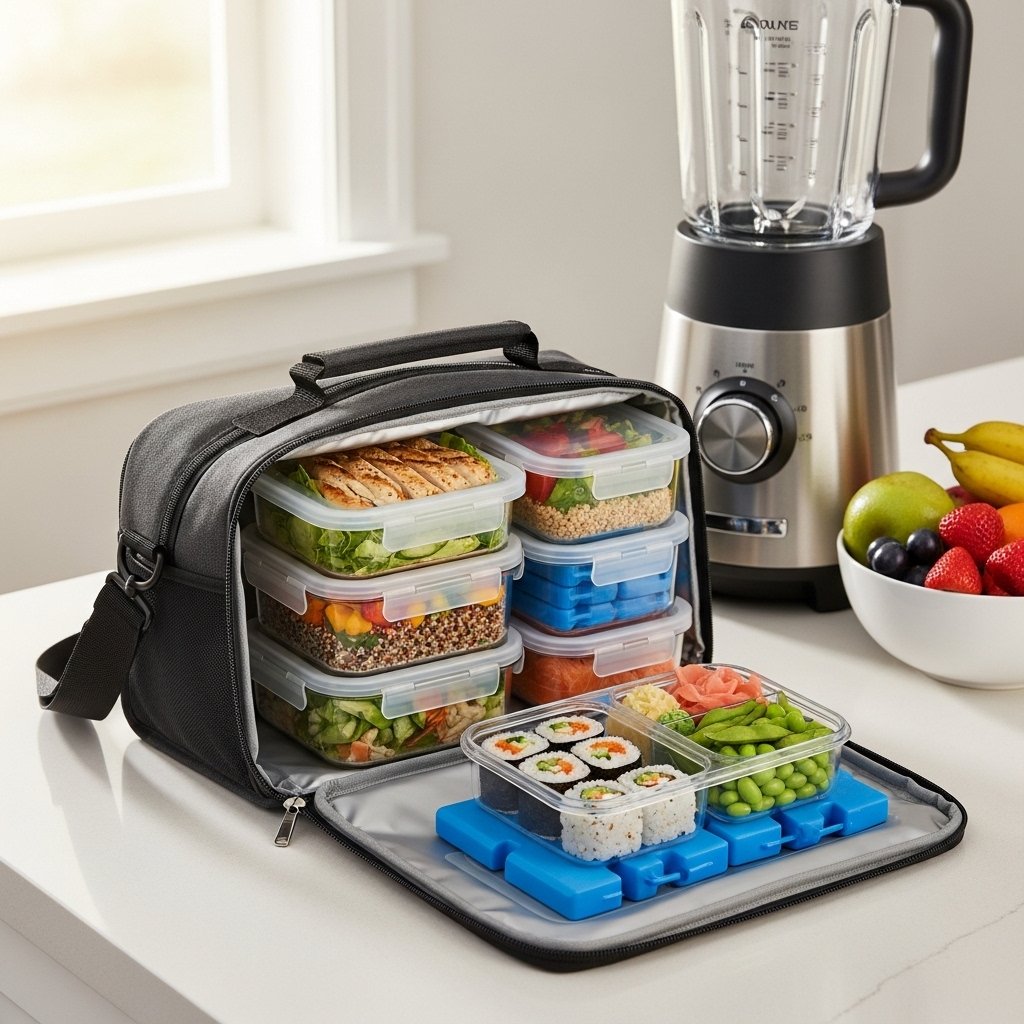
- Use insulated lunch bags to keep food fresh
- Prep ingredients the night before
- Cut food into easy-to-eat portions
- Let teens choose their meals when possible
These small steps help ensure lunches are actually eaten and enjoyed.
Variations to Keep Things Interesting
Avoid boredom by switching things up:
- Try different sauces and dressings
- Use seasonal fruits and vegetables
- Change bread types or wraps
- Add occasional treats for balance
Variety keeps lunches exciting and prevents repetition.
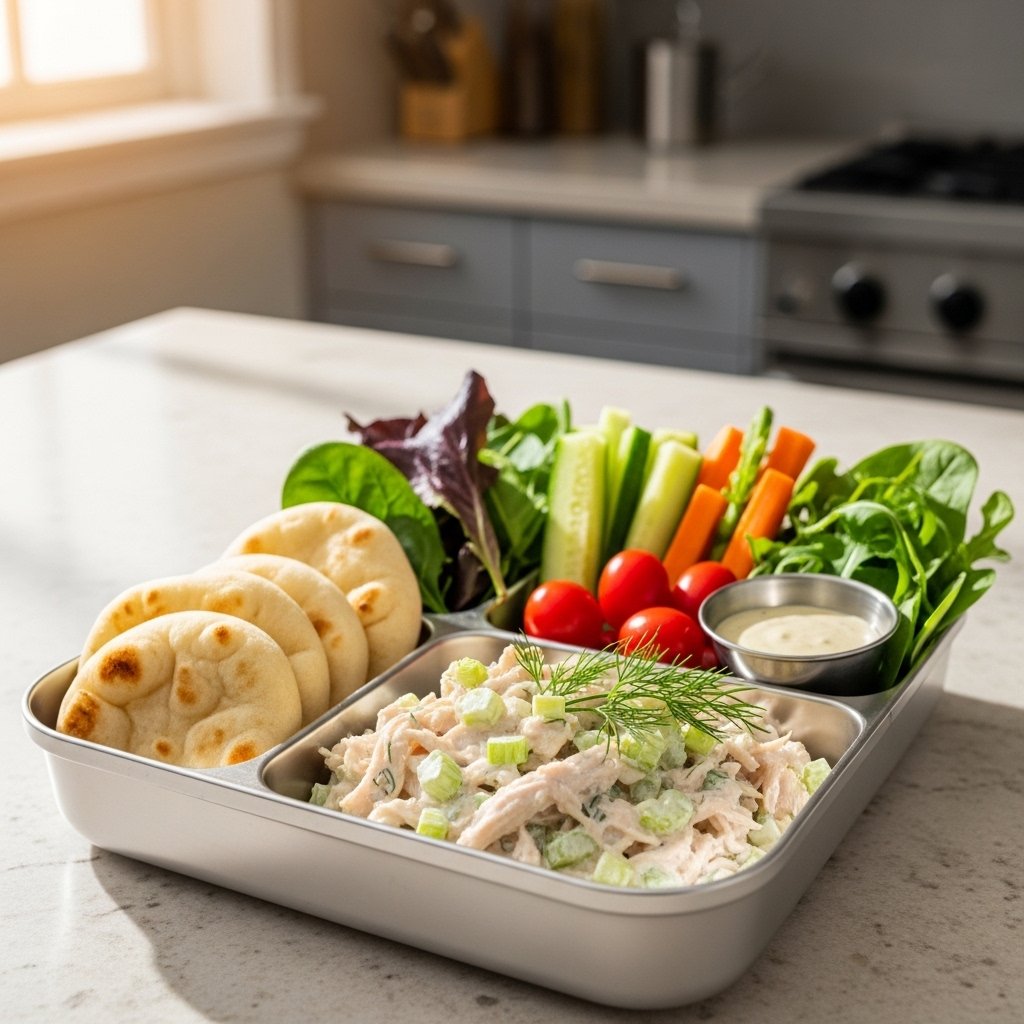
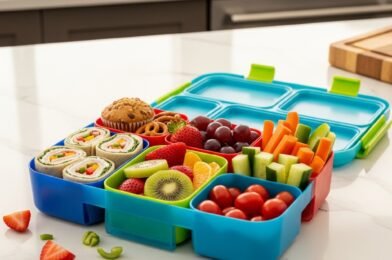
What to Serve With School Lunches
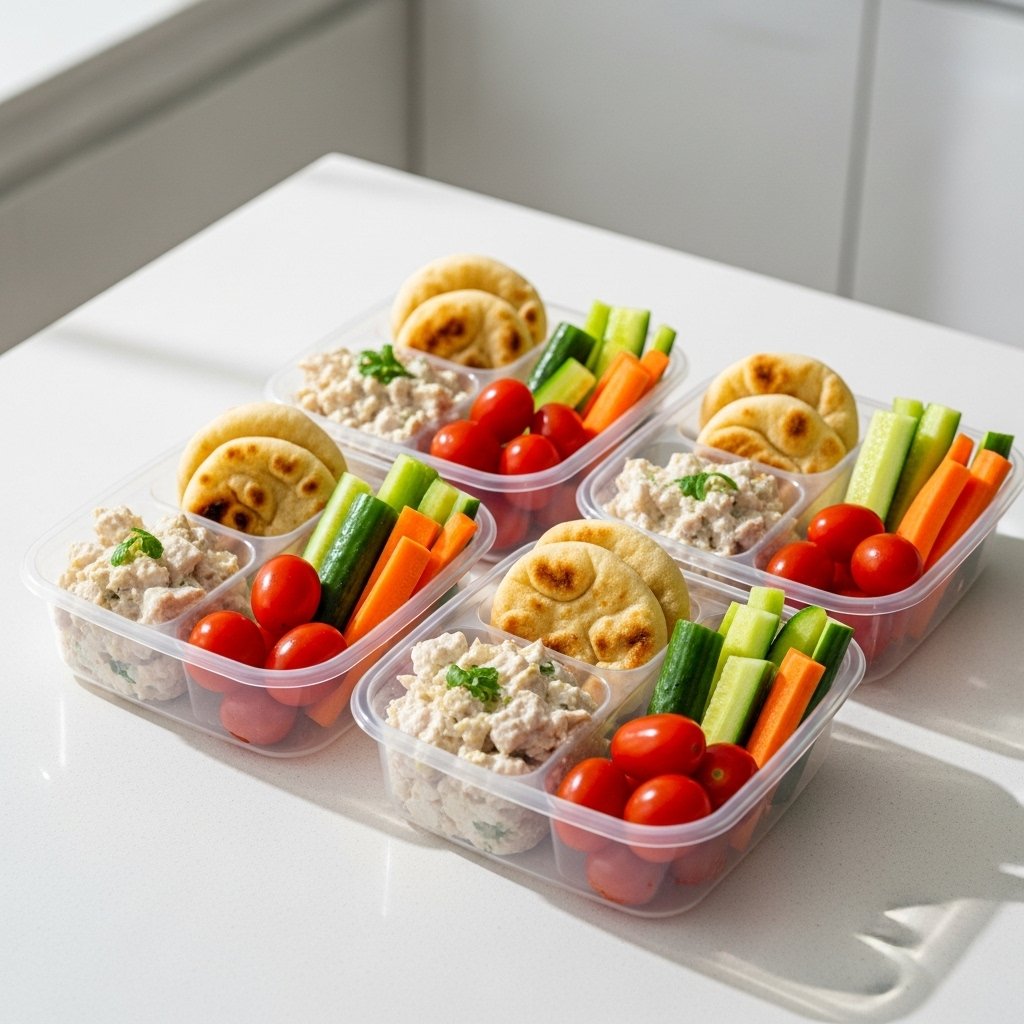
To complete your teen’s lunch, include:
- Fresh fruit or fruit cups
- Veggie sticks with dip
- Chips or crackers
- A drink like water, juice, or milk
These sides round out the meal and provide extra energy.
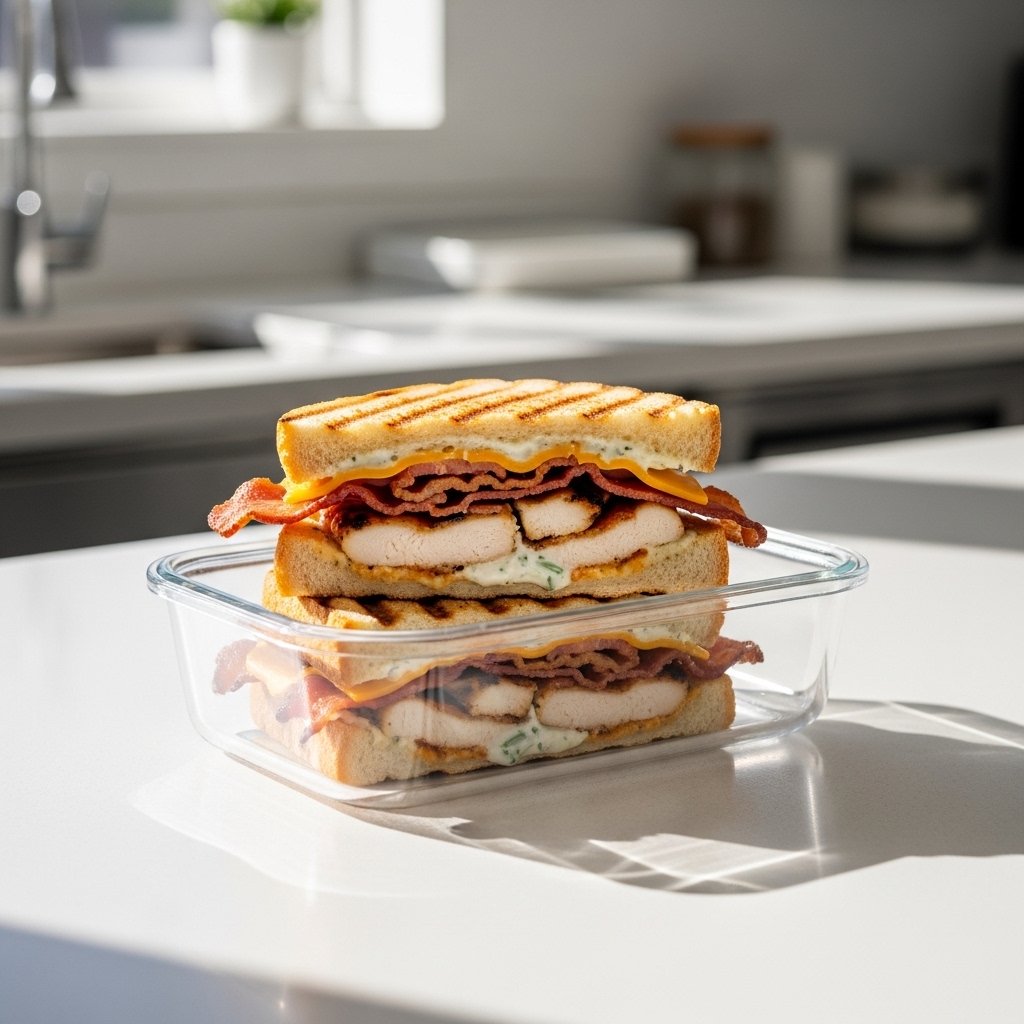
Storage & Food Safety Tips
Keeping lunches fresh and safe is essential.
- Use ice packs for perishable items
- Store lunches in airtight containers
- Avoid packing foods that spoil easily
- Keep hot foods in insulated thermoses
Common Mistakes to Avoid
Even simple lunches can go wrong:
- Packing too much food
- Ignoring your teen’s preferences
- Not including enough protein
- Forgetting proper storage
Avoiding these mistakes helps ensure your teen enjoys their lunch.
FAQs
What are the best easy school lunch ideas for teens?
Balanced meals with protein, carbs, and healthy fats—like wraps, bowls, and snack boxes—are ideal.
How can I make lunches more appealing to teens?
Let them help choose and prepare meals, and include foods they already enjoy.
Can I meal prep school lunches?
Yes! Many items like pasta salads, wraps, and snacks can be prepared in advance.
How do I keep lunch fresh until midday?
Use insulated bags and ice packs to maintain freshness and food safety.
Final Thoughts
These easy school lunch ideas for teens make it simple to pack meals that are both nutritious and enjoyable. With a mix of quick recipes, creative options, and practical tips, you can take the stress out of lunch prep and ensure your teen stays energized throughout the day.
By planning ahead and keeping things flexible, you’ll turn school lunches into something your teen actually looks forward to—and that’s a win for everyone.