If you love bold flavors and melty cheese, this jalapeño popper grilled cheese is about to become your new obsession. It takes everything you adore about classic jalapeño poppers—creamy cheese, spicy peppers, and savory goodness—and transforms it into a crispy, golden sandwich.
This recipe is perfect for when you want something comforting yet exciting. It’s quick enough for lunch but indulgent enough for dinner, making it one of those go-to recipes you’ll crave again and again. With the perfect balance of heat and creaminess, every bite delivers serious flavor.

Why You’ll Love This Jalapeño Popper Grilled Cheese
This jalapeño popper grilled cheese is a standout because it’s:
- Crispy on the outside
- Creamy and gooey on the inside
- Packed with spicy jalapeño flavor
- Easy to make in minutes
- Perfect for comfort food cravings
- Customizable to your heat preference
It’s everything you want in a grilled cheese—with a spicy twist.
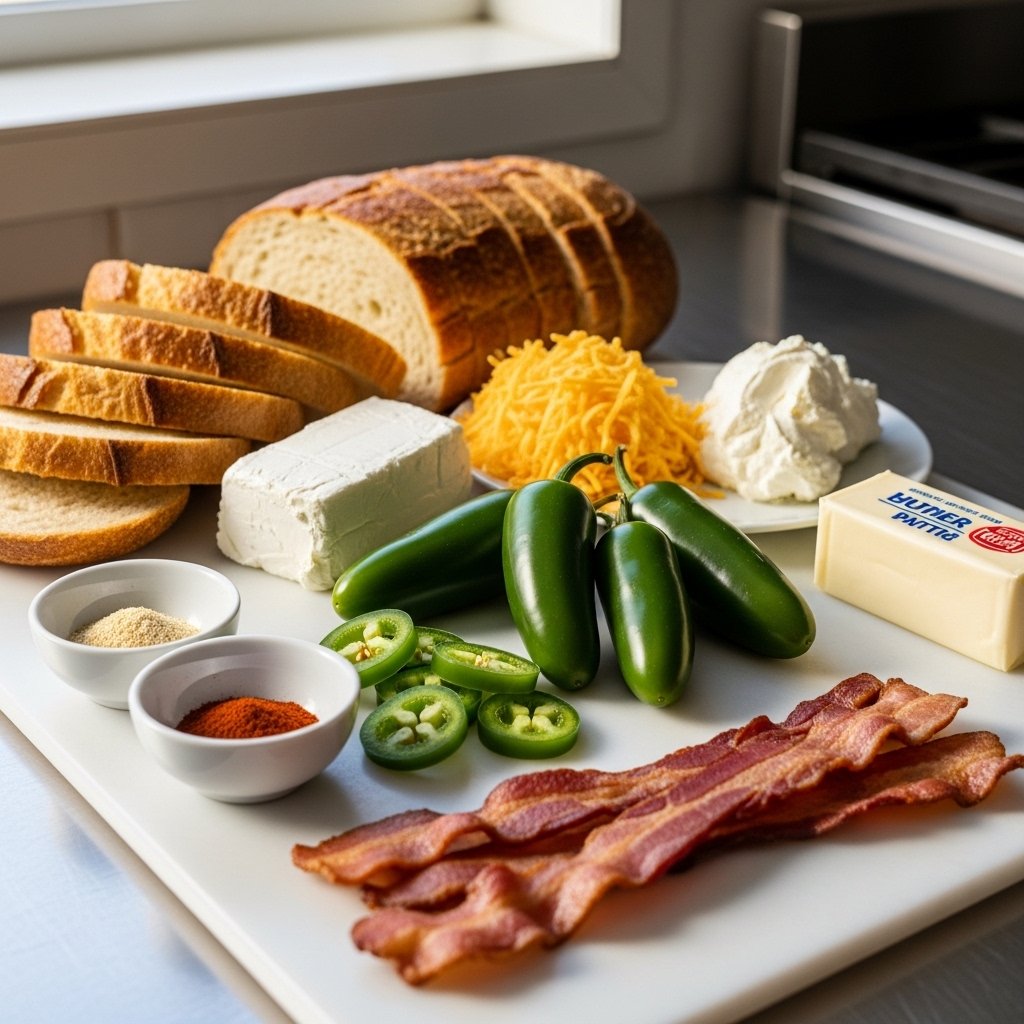
Ingredients You’ll Need
To make this delicious sandwich, gather:
Main Ingredients
- 4 slices of bread (sourdough or white)
- 1 cup shredded cheddar cheese
- 1/2 cup cream cheese (softened)
- 2 fresh jalapeños, sliced
Optional Add-Ins
- 4 slices cooked bacon
- 1/4 teaspoon garlic powder
For Cooking
- 2 tablespoons butter
These simple ingredients create a bold and creamy filling.
Ingredient Notes and Tips
Choosing the Right Bread
Sourdough works great because:
- It crisps up beautifully
- Holds the filling well
White bread is softer and more classic.
Controlling the Heat
For less spice:
- Remove jalapeño seeds
For more heat:
- Keep seeds or add extra slices
Cheese Blend
Cheddar gives:
- Sharp flavor
Cream cheese adds:
- Creamy richness
This combo creates the perfect texture.
Step-by-Step Instructions
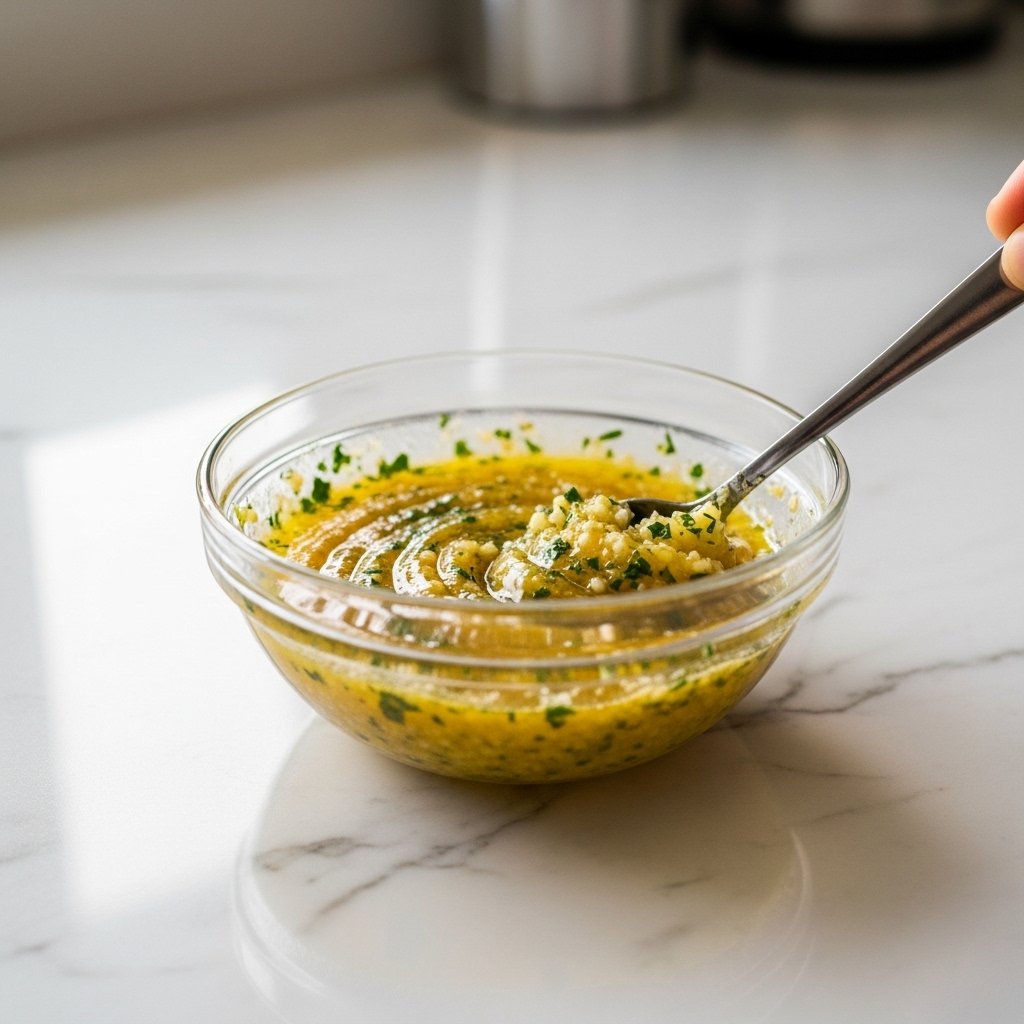
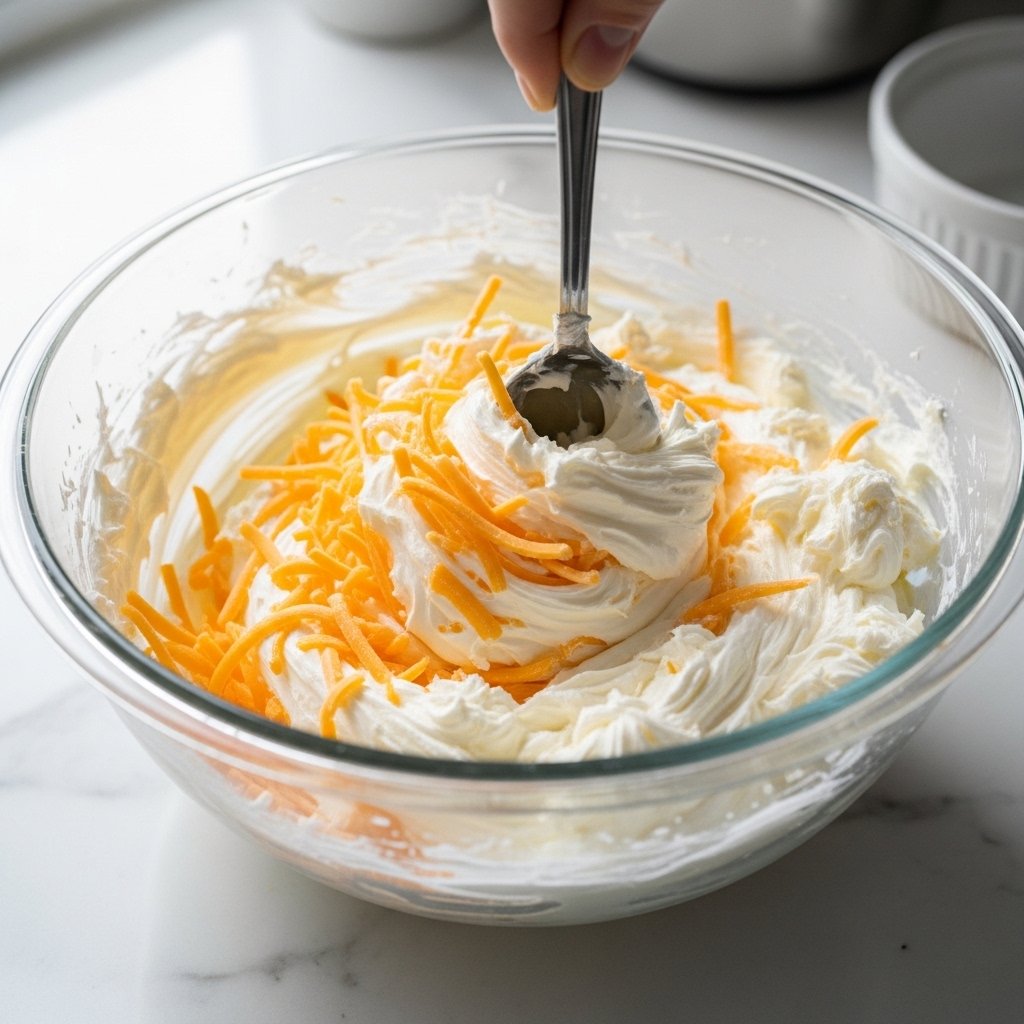
Step 1: Prepare the Filling
In a bowl, mix:
- Cream cheese
- Shredded cheddar
- Garlic powder (optional)
Stir until smooth.
This creates a rich, creamy base.
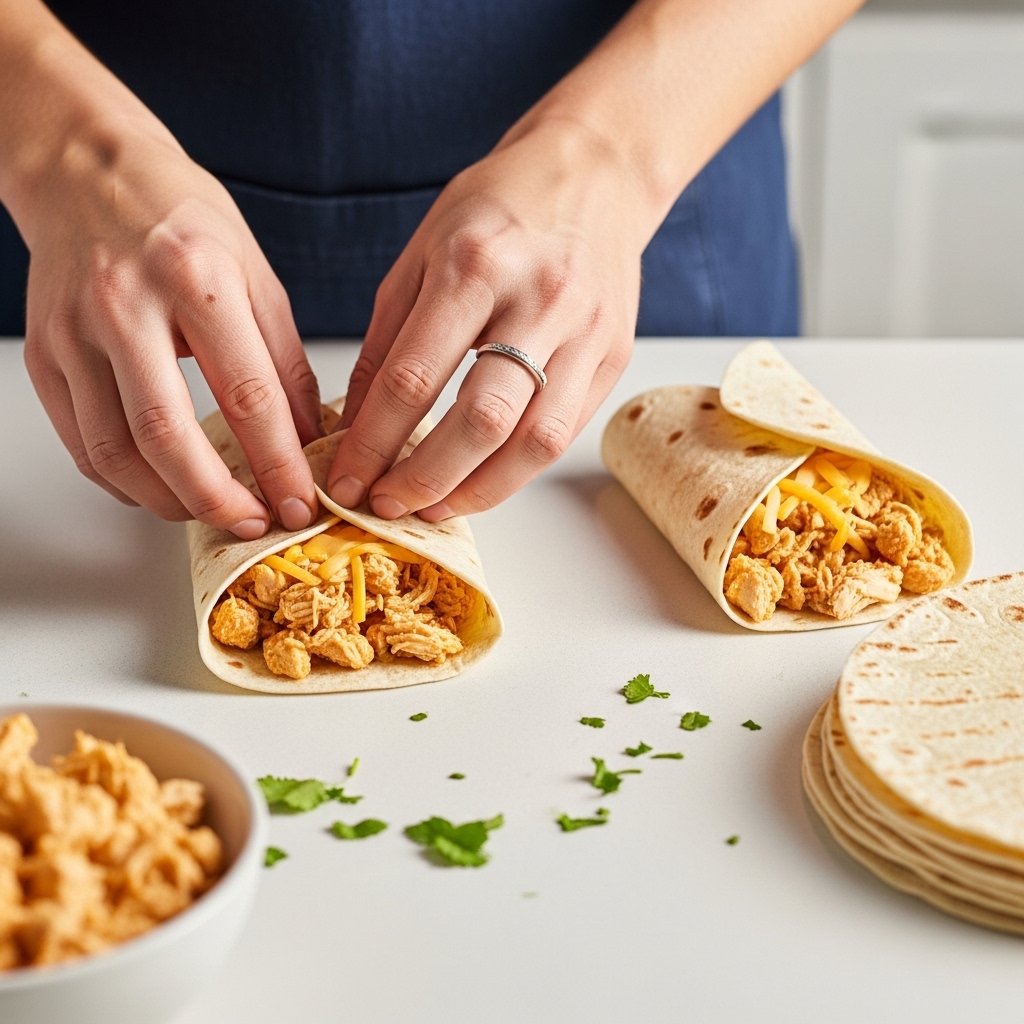
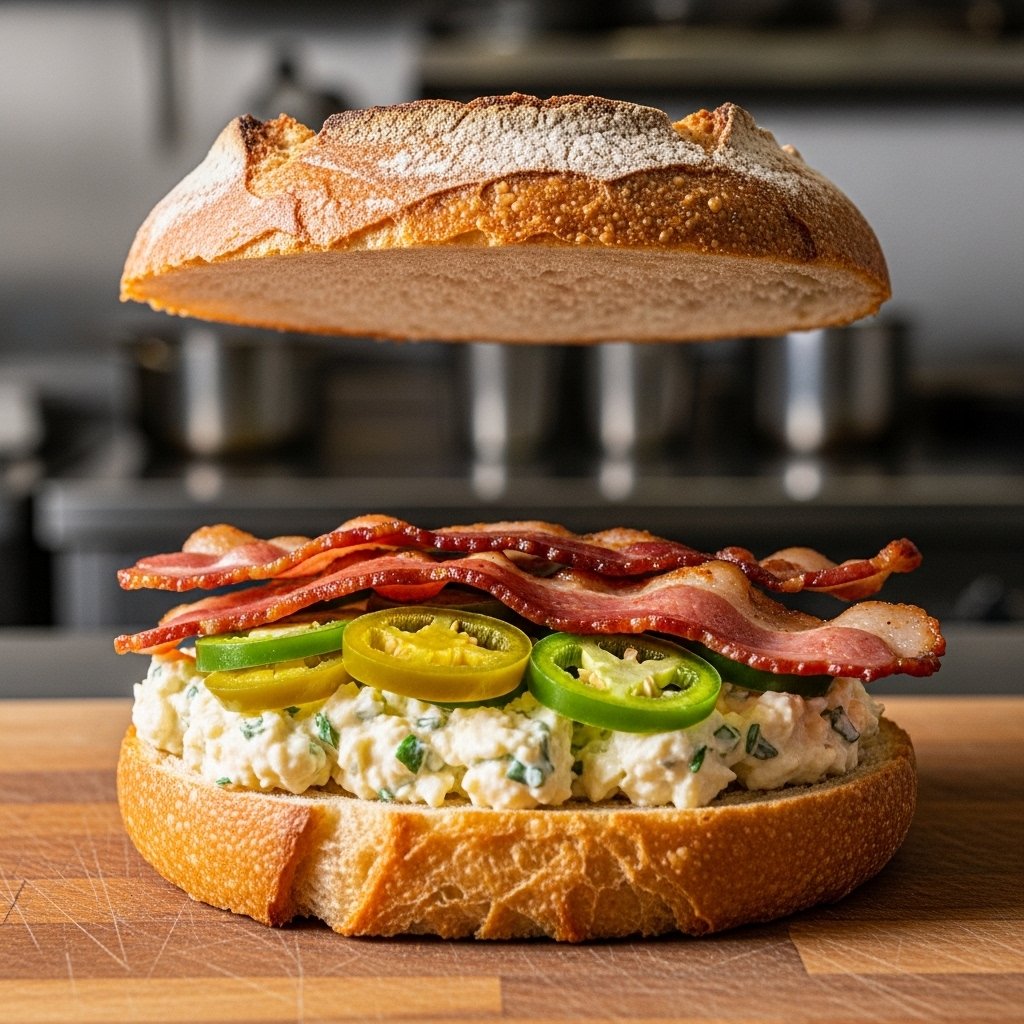
Step 2: Assemble the Sandwich
Spread the cheese mixture onto bread slices.
Add:
- Jalapeño slices
- Bacon (optional)
Top with another slice of bread.
Press gently.
Step 3: Butter the Bread
Spread butter on the outside of each slice.
This ensures a golden, crispy crust.
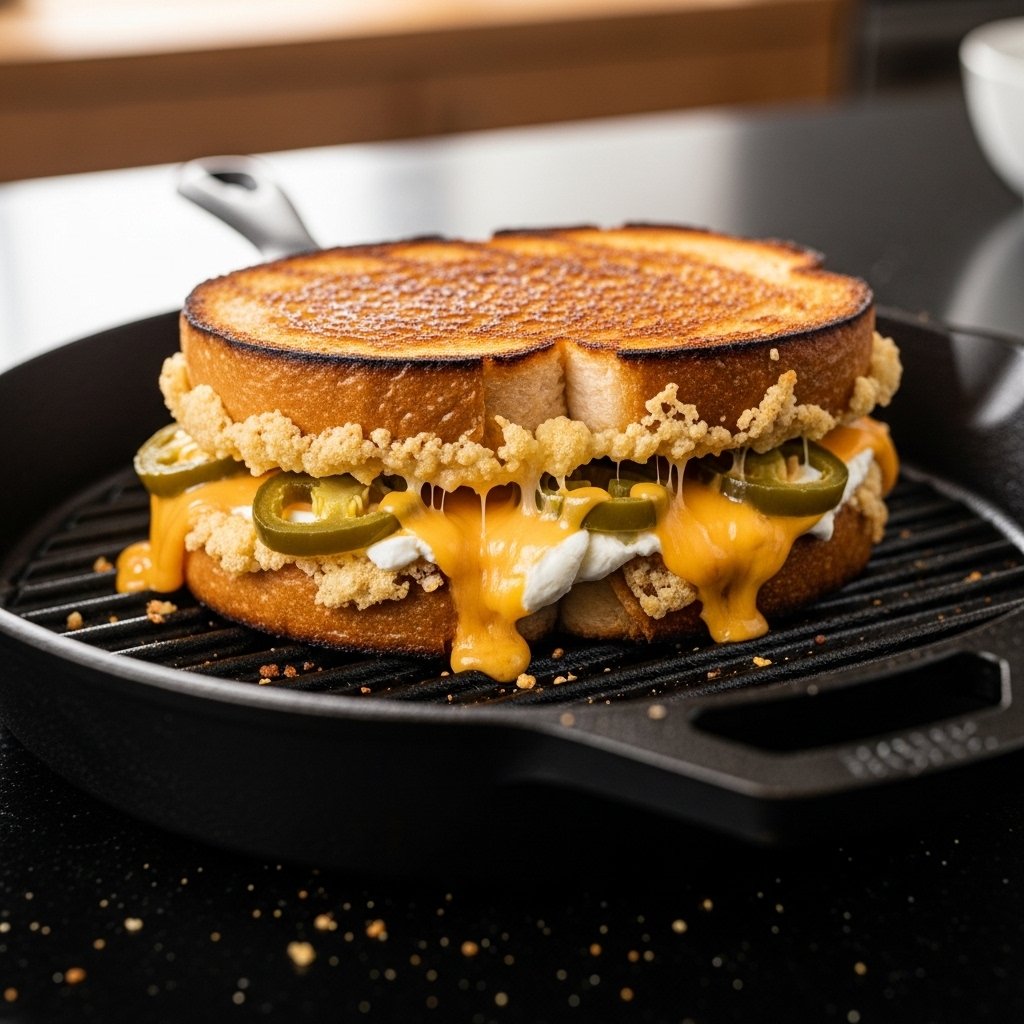
Step 4: Cook Until Golden
Heat skillet over medium heat.
Cook sandwich:
- 3–4 minutes per side
Until:
- Bread is golden
- Cheese is melted
Press lightly for even browning.
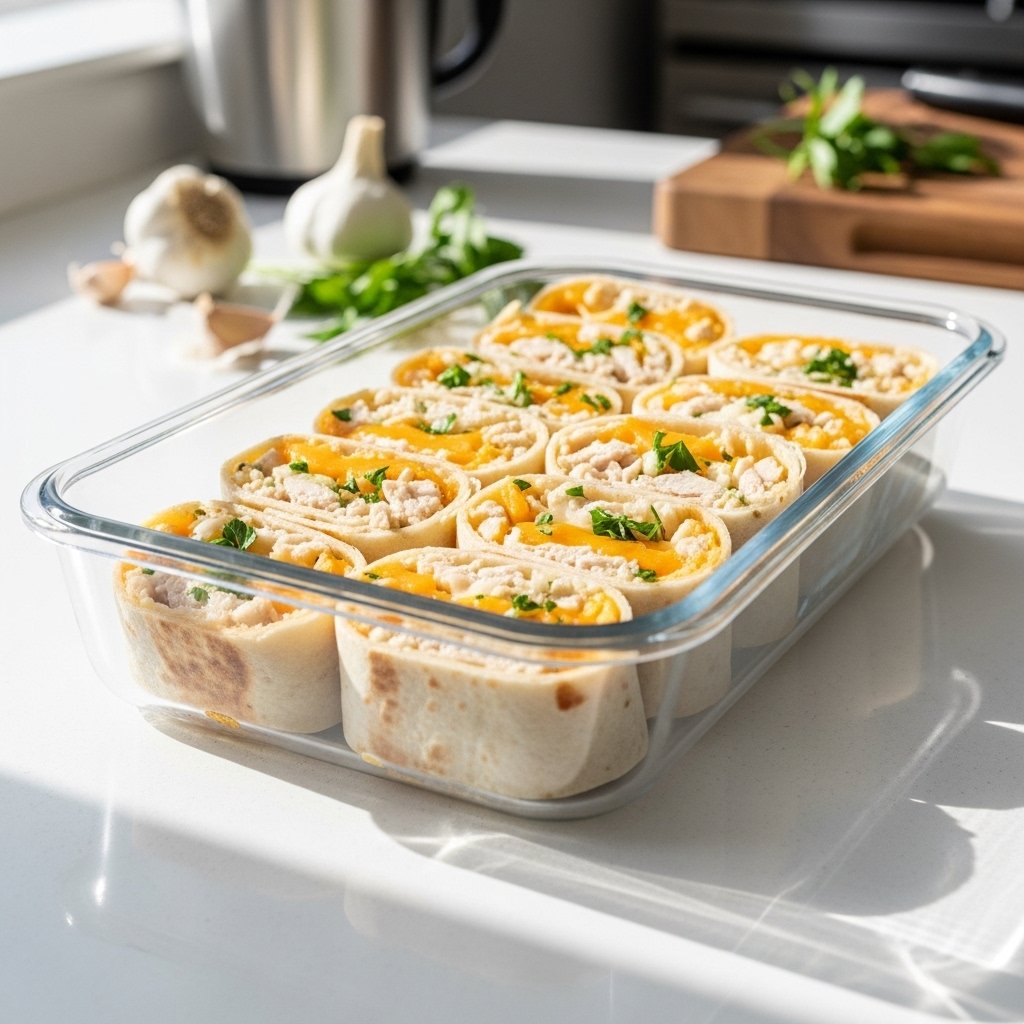
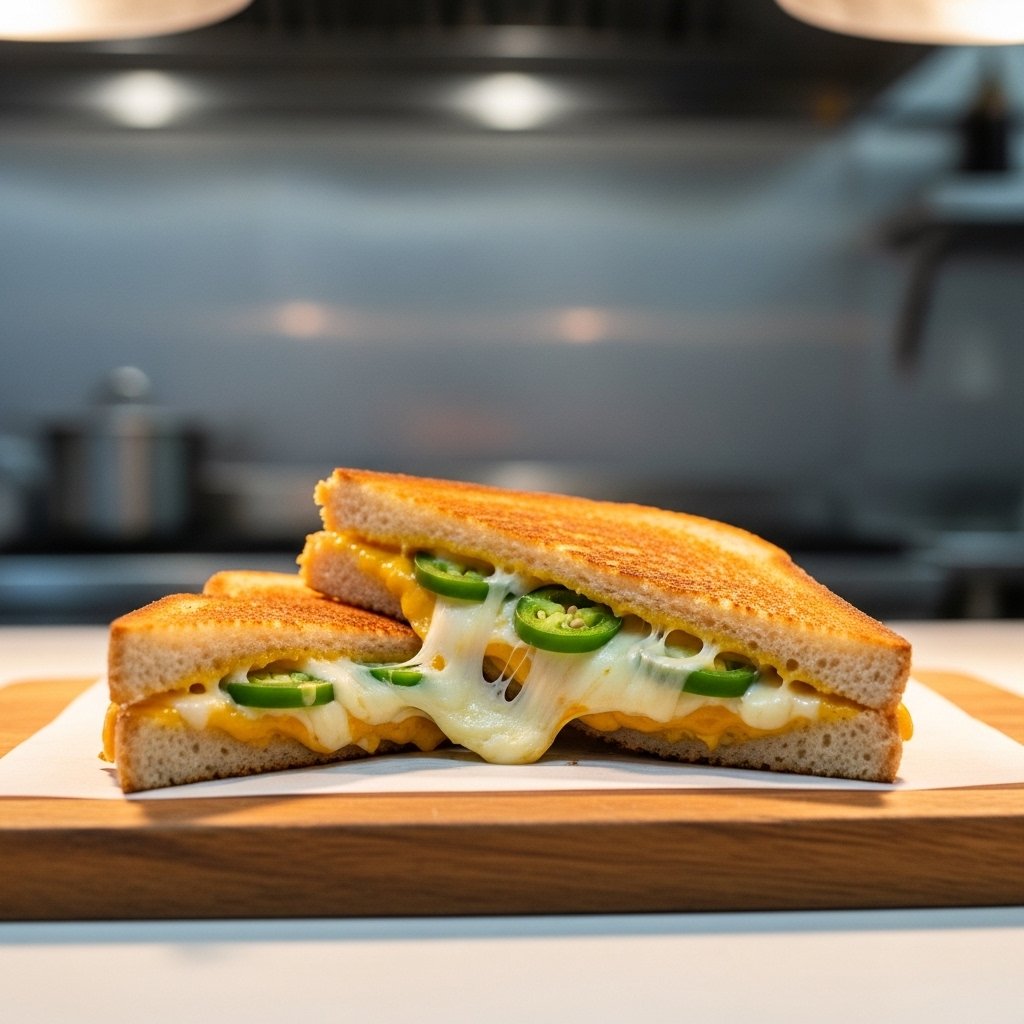
Step 5: Slice and Serve
Remove from heat.
Let rest briefly.
Slice in half and serve warm.
Tips for Perfect Results
For the best jalapeño popper grilled cheese:
- Use medium heat to avoid burning
- Don’t overfill the sandwich
- Let cheese soften before mixing
- Press gently while cooking
- Let it rest before slicing
These tips ensure perfect texture every time.
Delicious Variations
Try these creative ideas:
Extra Flavor
- Add ranch seasoning
- Use pepper jack cheese
Healthier Option
- Use whole grain bread
- Reduce cream cheese
Vegetarian Twist
- Skip bacon
- Add roasted veggies
These variations make it easy to customize.
What to Serve With It
This sandwich pairs perfectly with:
- Tomato soup
- French fries
- Side salad
- Pickles
Perfect for:
- Lunch
- Dinner
- Comfort meals
It’s simple yet satisfying.
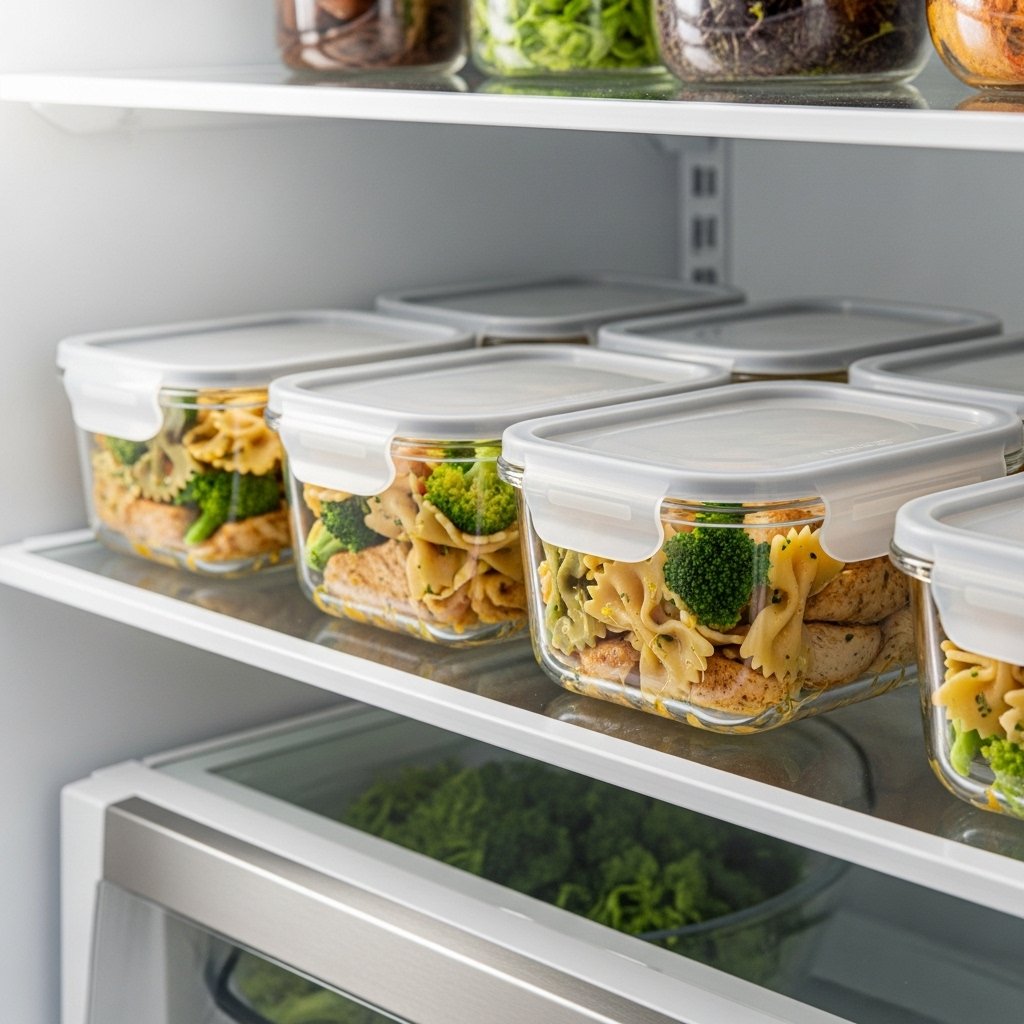
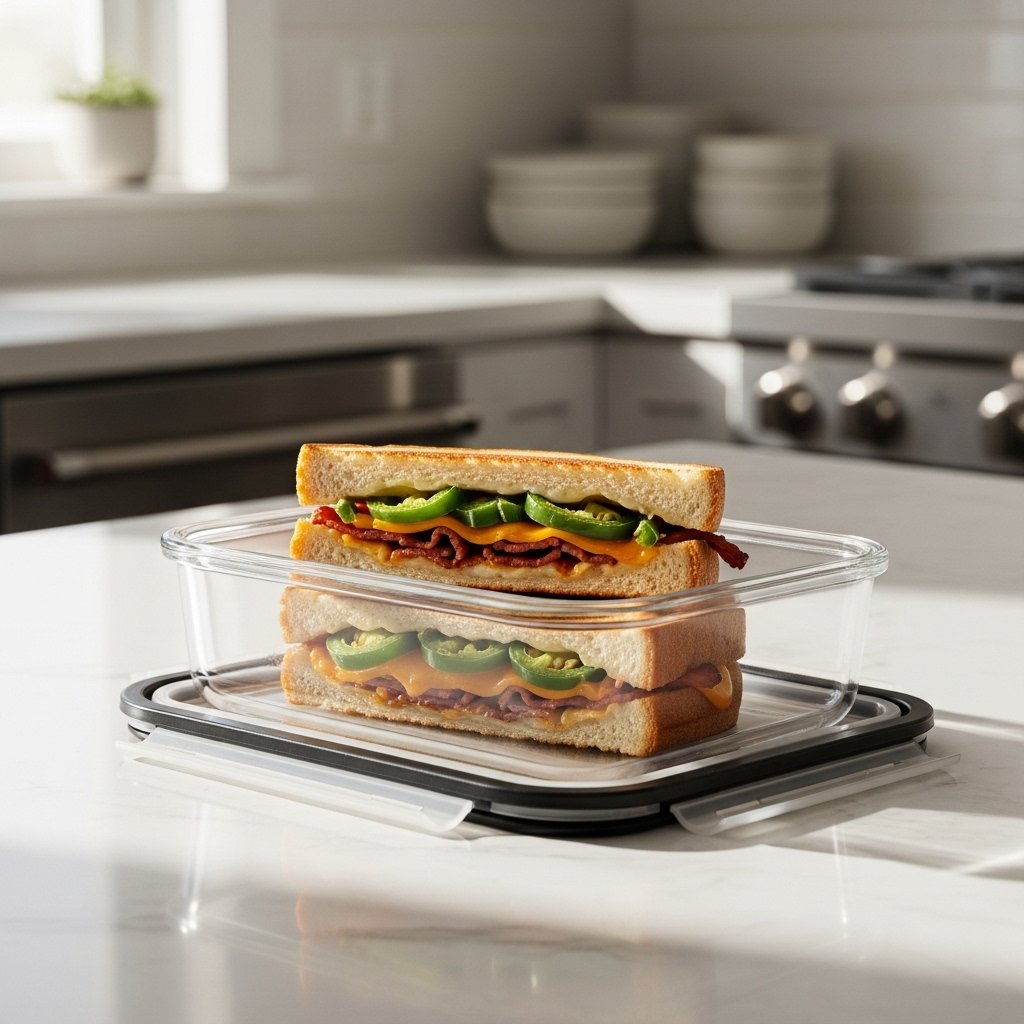
Storage and Reheating Tips
This jalapeño popper grilled cheese is best fresh but can be stored.
Refrigerator
- Up to 2 days
Reheating
- Skillet for crispiness
- Avoid microwave if possible
Common Mistakes to Avoid
For perfect results:
- Don’t cook on high heat
- Don’t skip butter
- Don’t overload filling
- Don’t cut immediately
These tips prevent soggy or burnt sandwiches.
Frequently Asked Questions
Can I make this less spicy?
Yes, remove jalapeño seeds.
Can I use pickled jalapeños?
Yes, they add tangy flavor.
Can I bake instead of pan-fry?
Yes, but skillet gives best texture.
What cheese works best?
Cheddar and cream cheese combo is ideal.
Can I make it ahead?
It’s best made fresh.
Final Thoughts
This jalapeño popper grilled cheese is the perfect blend of creamy, spicy, and crispy. It’s a simple recipe that delivers bold flavor with minimal effort.
Whether you’re craving comfort food or want to elevate your grilled cheese game, this recipe hits all the right notes. Once you try it, it’ll quickly become a regular in your kitchen.