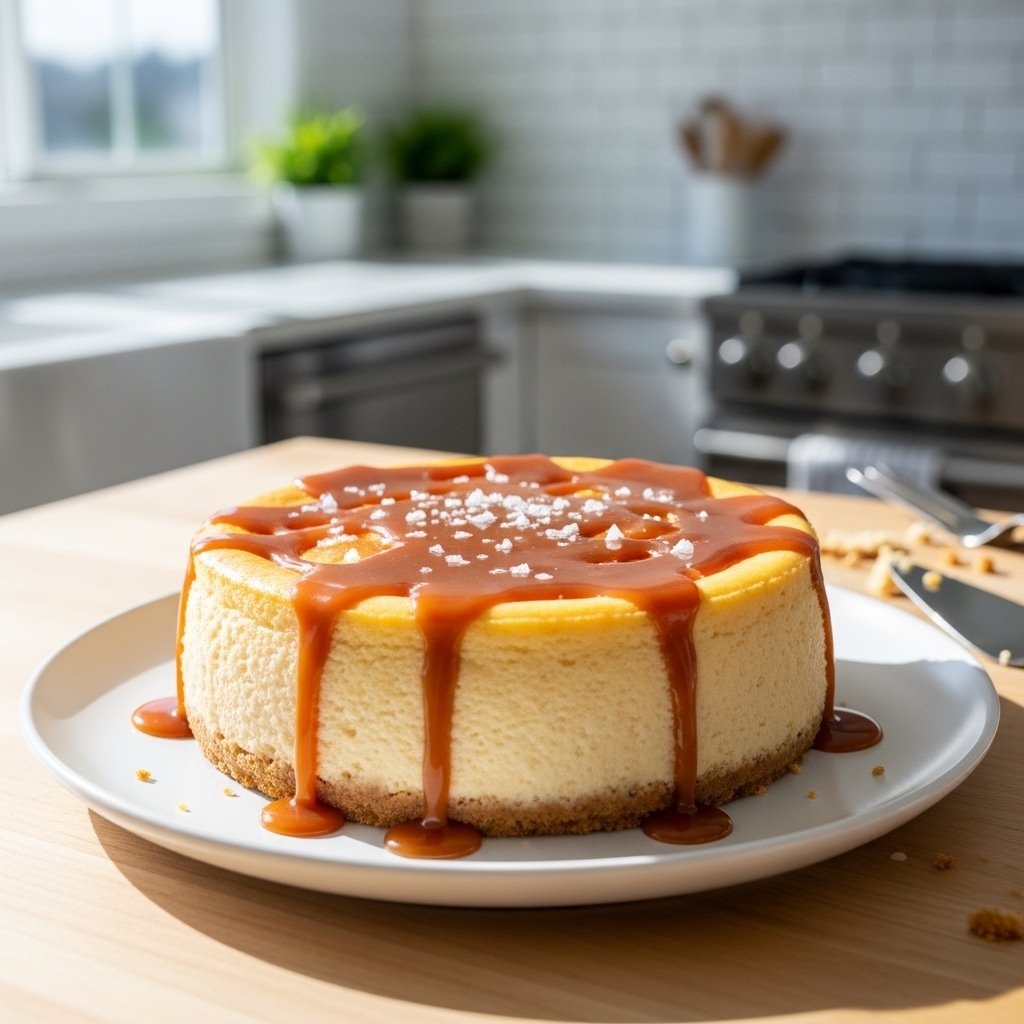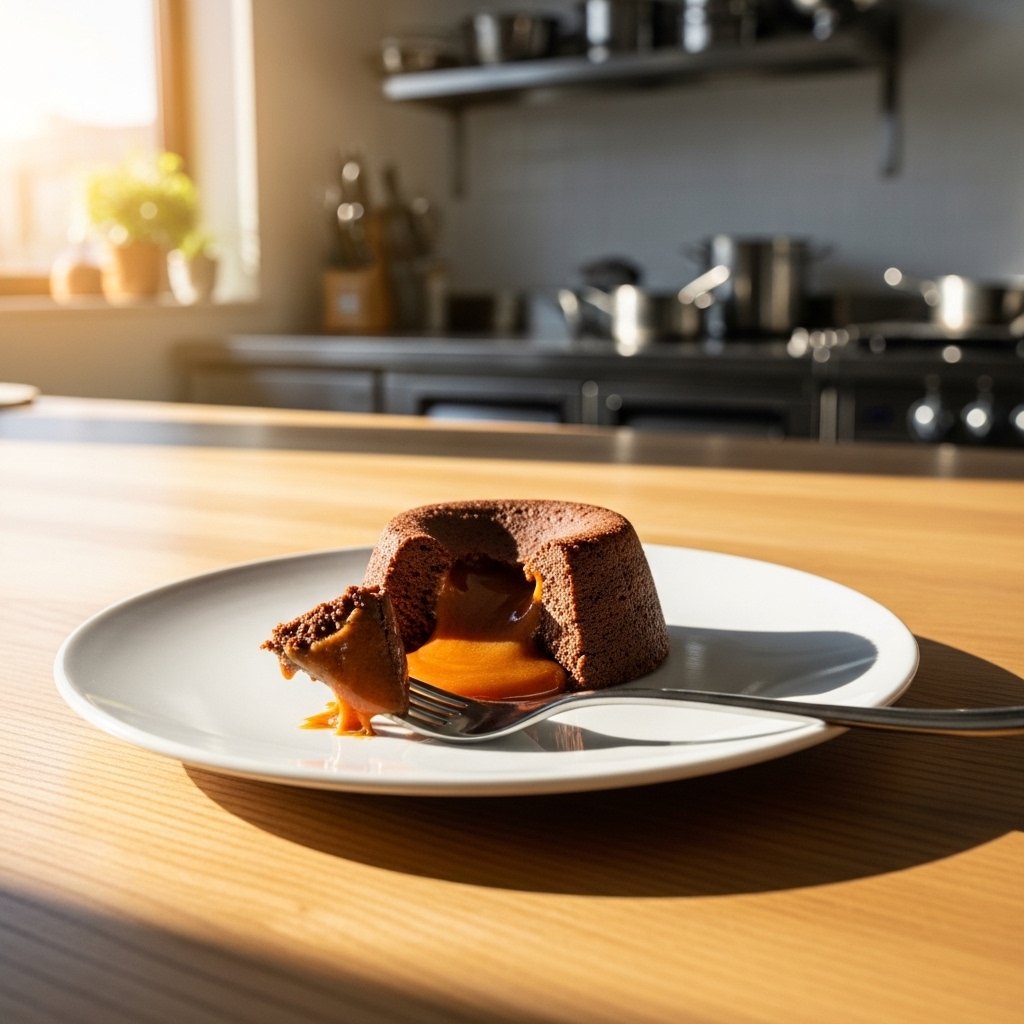
There’s nothing quite like ending a meal with something sweet, and these dessert delights: a sweet symphony for your taste buds truly live up to their name. Whether you’re a chocolate lover, a fruit dessert fan, or someone who enjoys creamy indulgences, this guide brings together everything you need to create unforgettable treats at home.
What makes these dessert delights so special is their balance—rich flavors, beautiful textures, and simple techniques that anyone can master. From casual family dinners to elegant celebrations, these desserts fit every moment.

Why You’ll Love These Dessert Delights
These dessert delights: a sweet symphony for your taste buds are designed to impress without overwhelming you in the kitchen.
Here’s why they’re worth trying:
- Easy-to-follow recipes for all skill levels
- Versatile options for every taste preference
- Perfect for entertaining or everyday treats
- Customizable ingredients and flavors
- Visually stunning results
Each dessert feels like a little celebration on a plate.
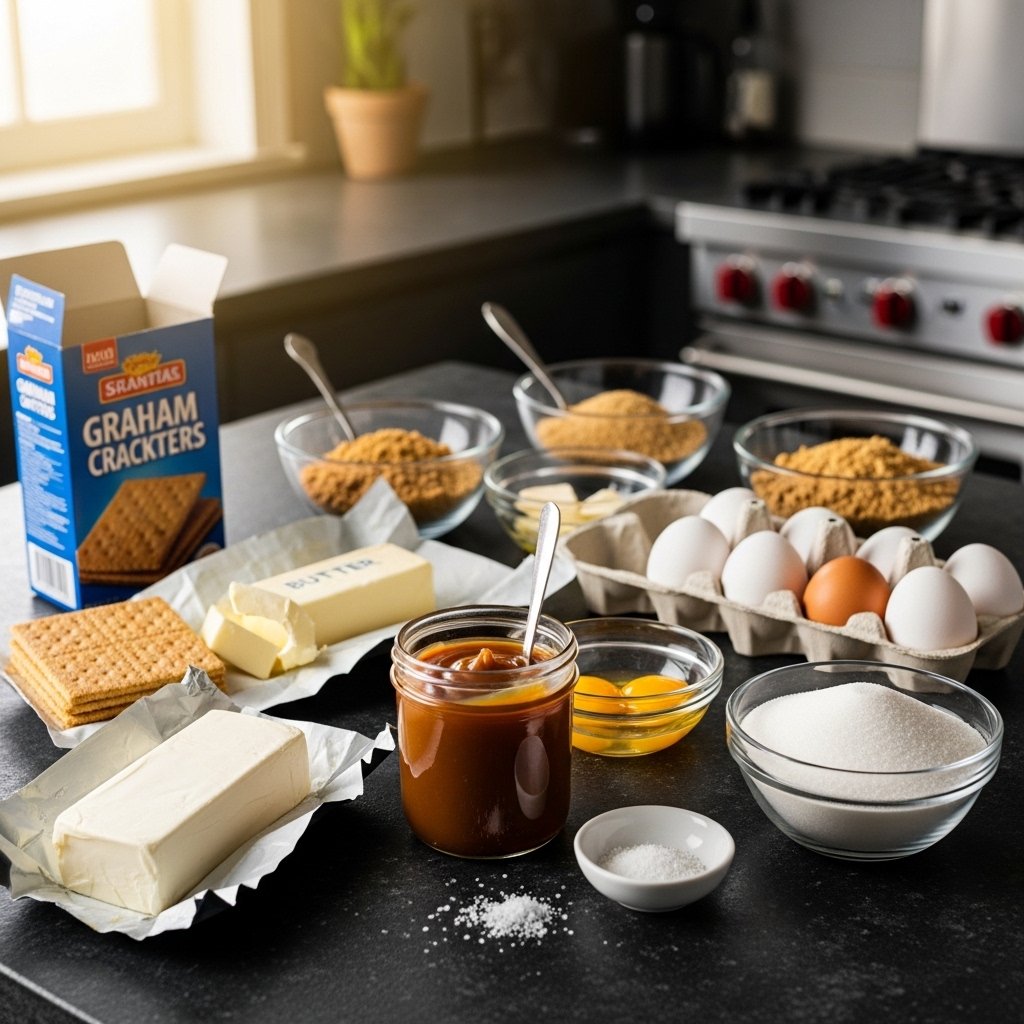
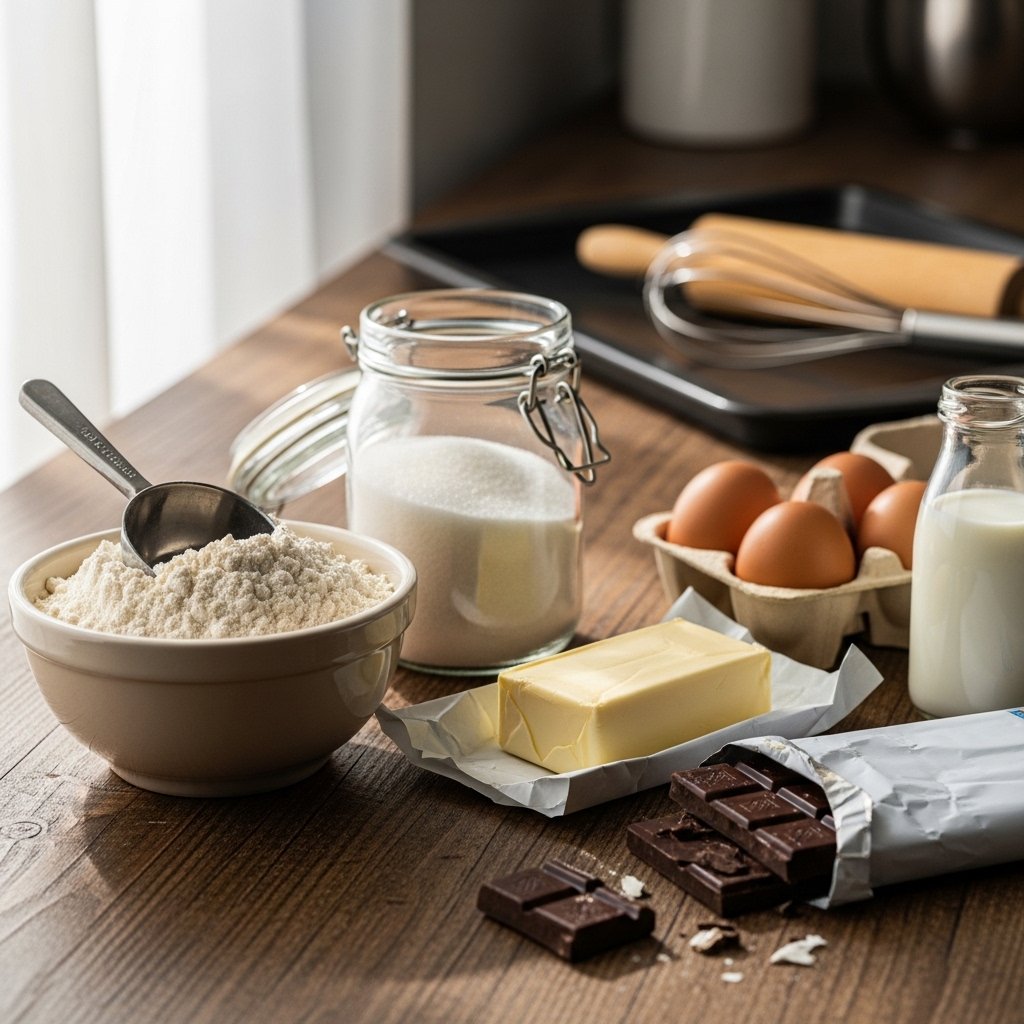
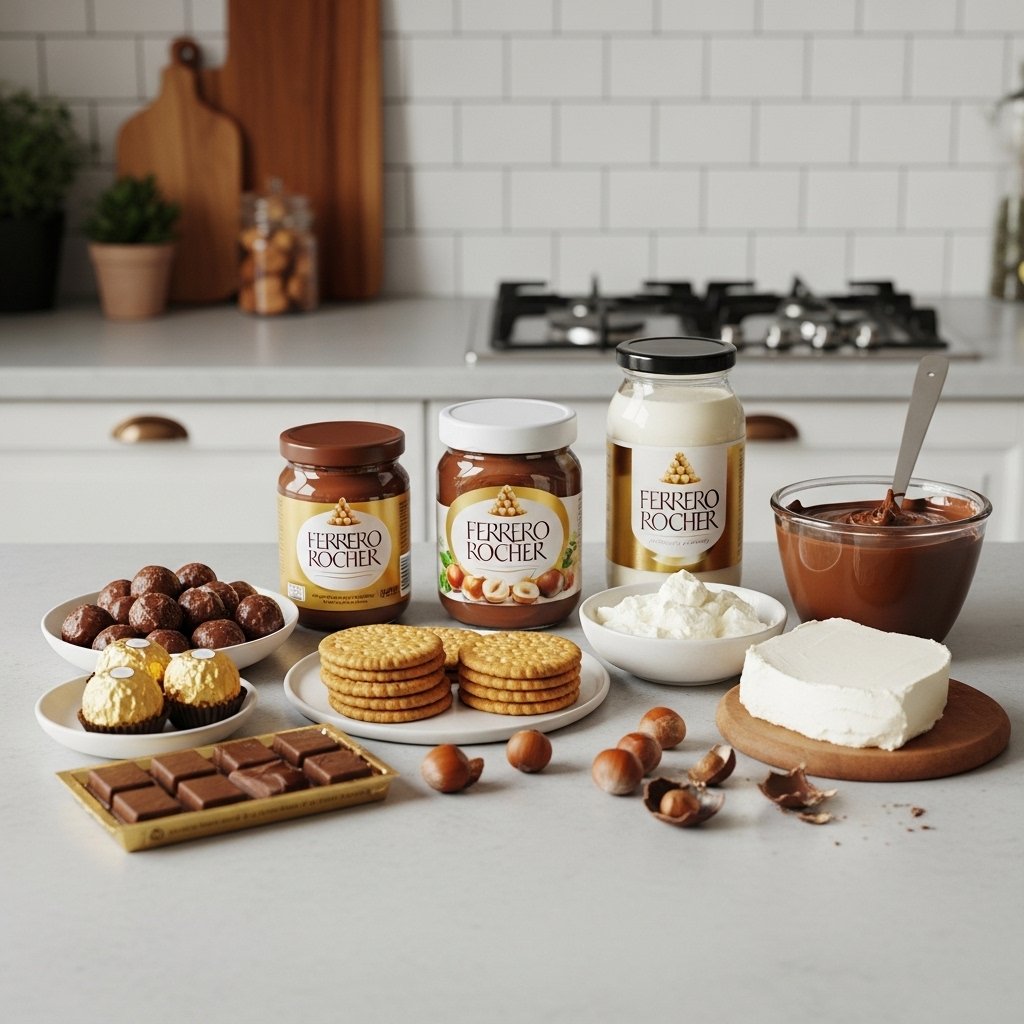
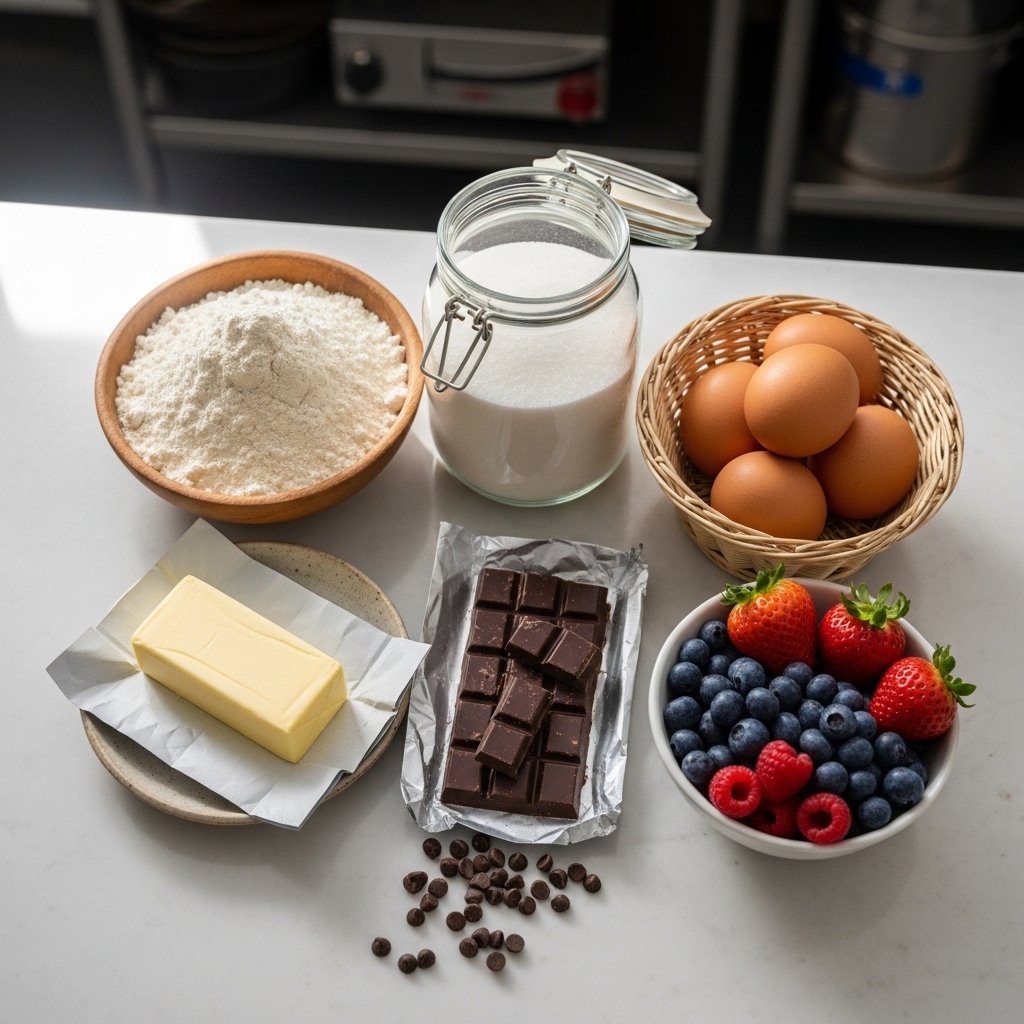
Ingredients for Dessert Success
To create these dessert delights, you’ll rely on a mix of classic pantry staples and fresh additions:
- Flour, sugar, and baking essentials
- Butter or oil for richness
- Eggs for structure
- Chocolate, vanilla, or caramel for flavor
- Fresh fruits for brightness
- Cream or milk for smooth textures
These ingredients are the foundation of countless delicious creations.
Ingredient Notes & Smart Substitutions
Healthier Options
- Use natural sweeteners like honey or maple syrup
- Substitute whole wheat flour for added nutrients
Dairy-Free Alternatives
- Swap butter with coconut oil
- Use almond or oat milk
Flavor Enhancers
- Add citrus zest for freshness
- Use high-quality cocoa or chocolate
These small changes can elevate your dessert delights: a sweet symphony for your taste buds while fitting your dietary needs.
Step-by-Step Instructions
Step 1: Choose Your Dessert Style
Decide whether you want:
- A baked dessert like cake or brownies
- A no-bake treat like mousse or parfait
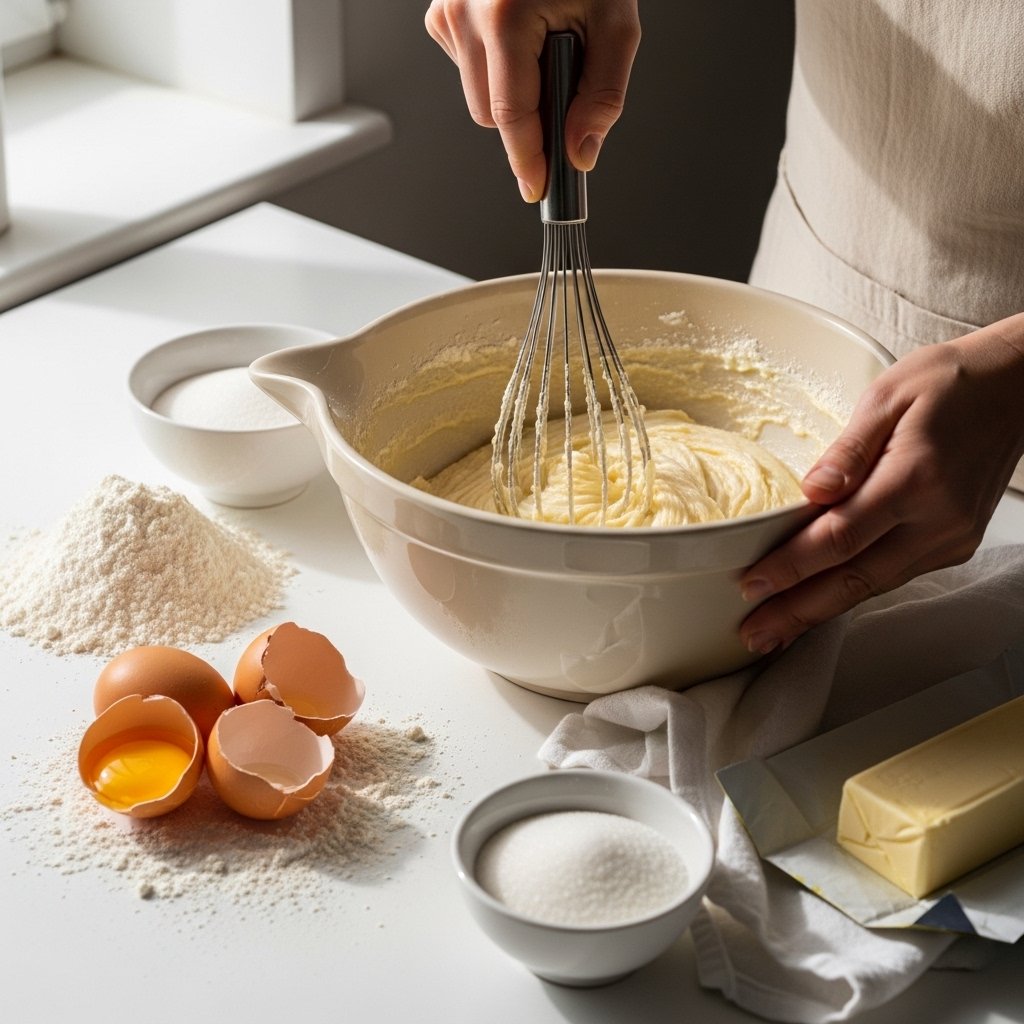
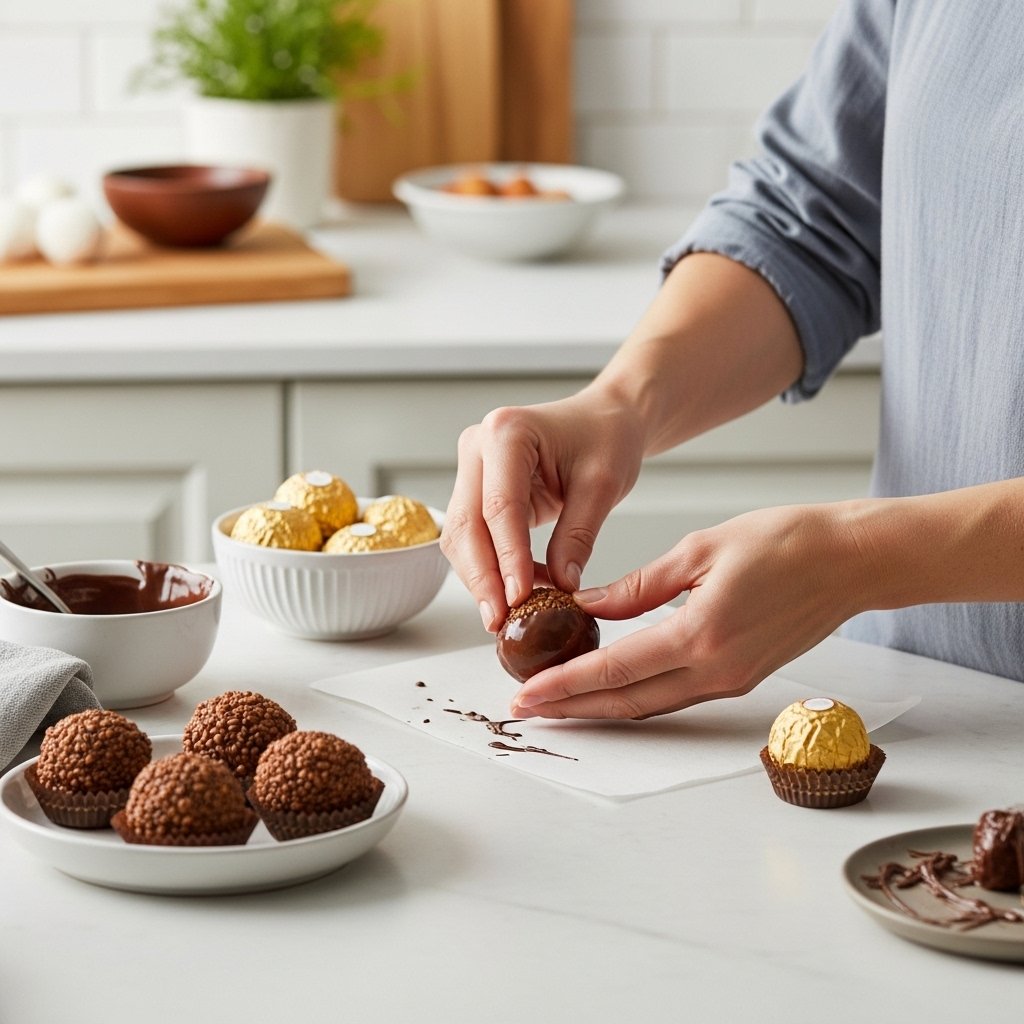
Step 2: Prepare the Mixture
Combine ingredients carefully, ensuring a smooth and consistent texture.
Step 3: Cook or Chill
Bake until perfectly set or refrigerate until firm, depending on your recipe.
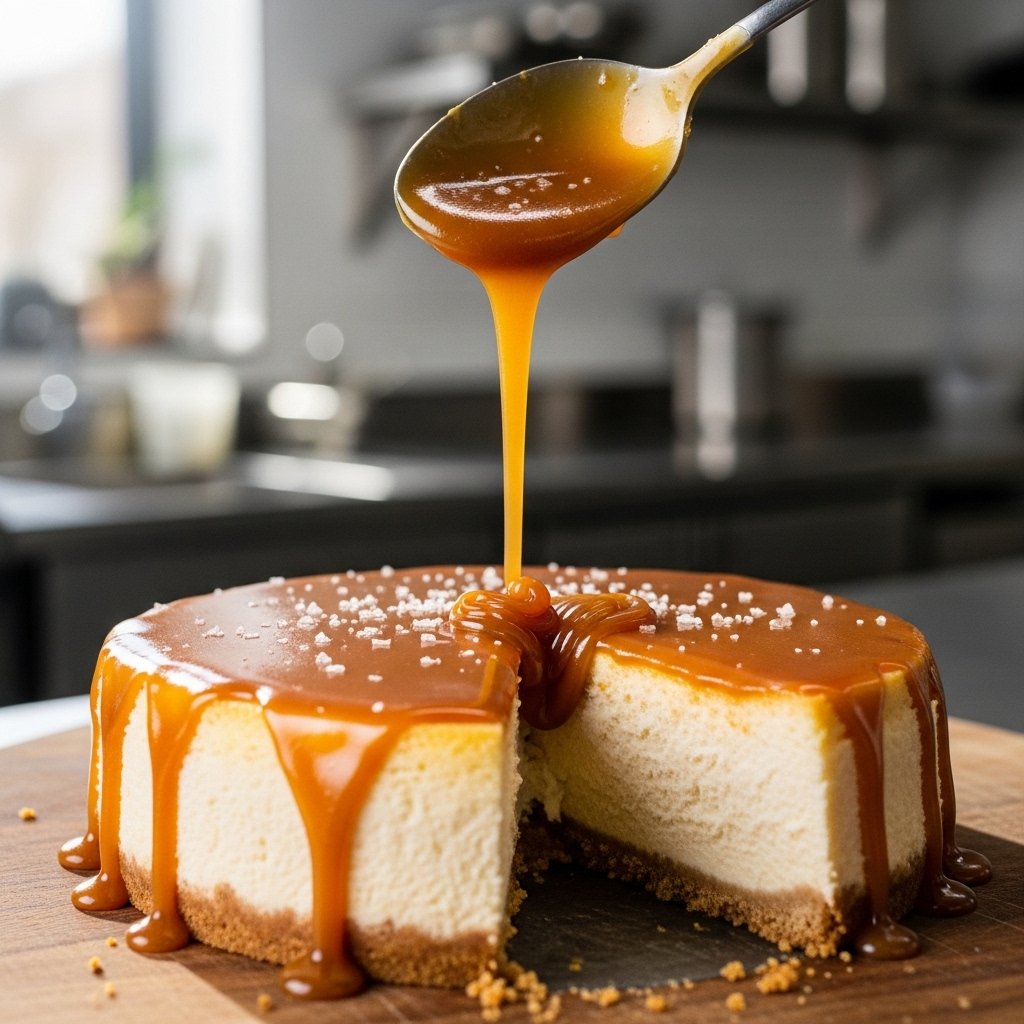
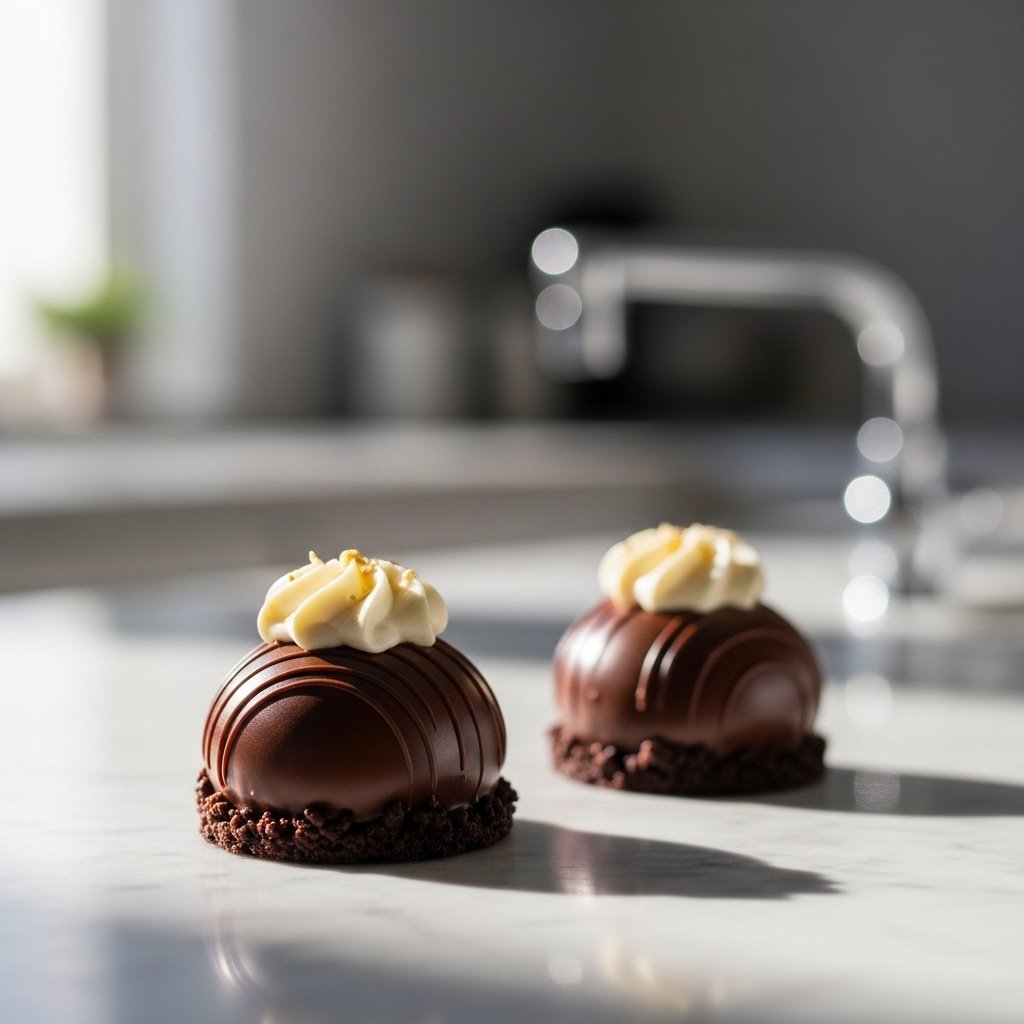
Step 4: Add Finishing Touches
Top with whipped cream, fruit, or chocolate drizzle for that final wow factor.

Tips for Perfect Dessert Results
To master these dessert delights, keep these tips in mind:
- Always measure ingredients precisely
- Use room-temperature ingredients
- Avoid overmixing batters
- Let desserts cool completely before serving
These simple techniques ensure consistent, bakery-quality results.
Variations to Explore
Chocolate Indulgence
Add extra cocoa, chocolate chips, or ganache.
Fruity Freshness
Incorporate berries, apples, or tropical fruits.
No-Bake Creations
Perfect for warm days when you want something quick and easy.
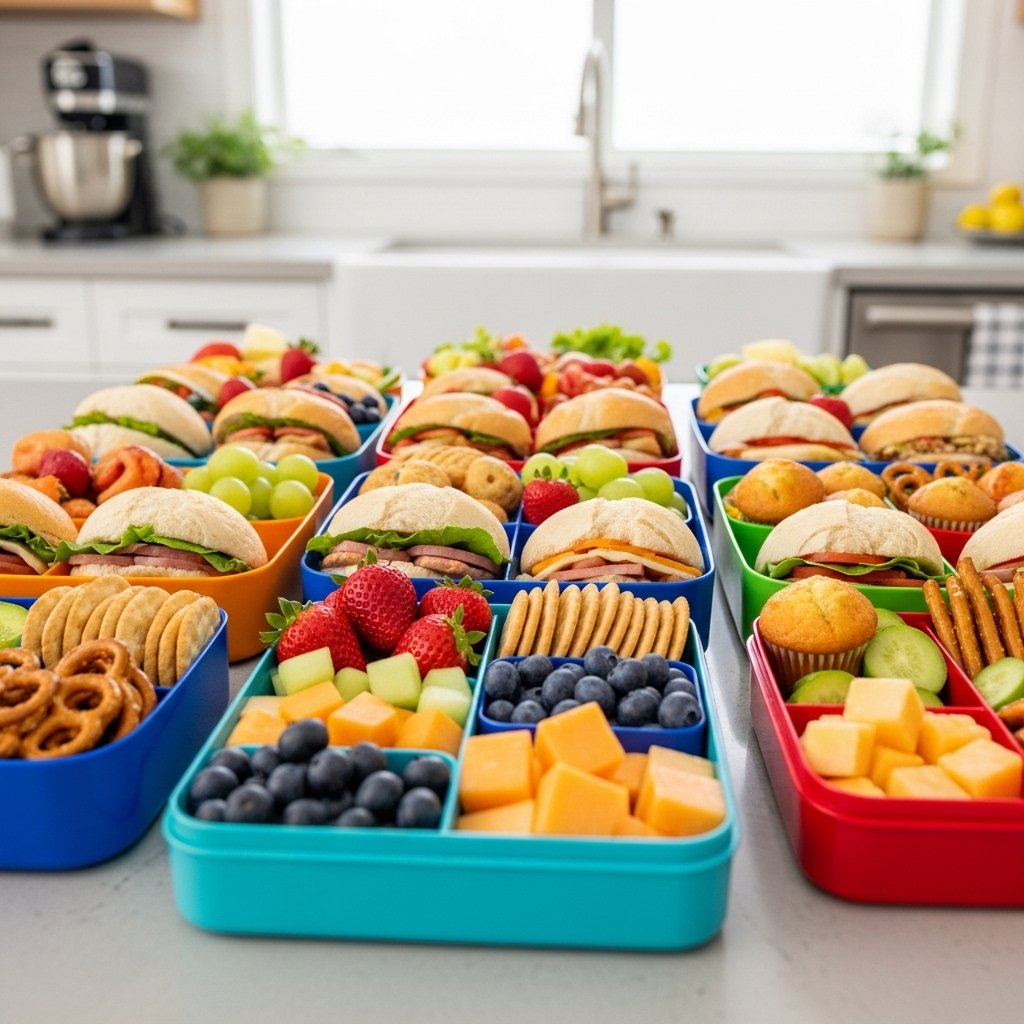
Mini Desserts
Serve bite-sized portions for parties or gatherings.
These variations keep your dessert delights: a sweet symphony for your taste buds exciting and versatile.
What to Serve With These Desserts
Complete your dessert experience with:
- Coffee or espresso
- Ice cream or gelato
- Fresh fruit on the side
- A drizzle of caramel or chocolate sauce
Pairing enhances both flavor and presentation.
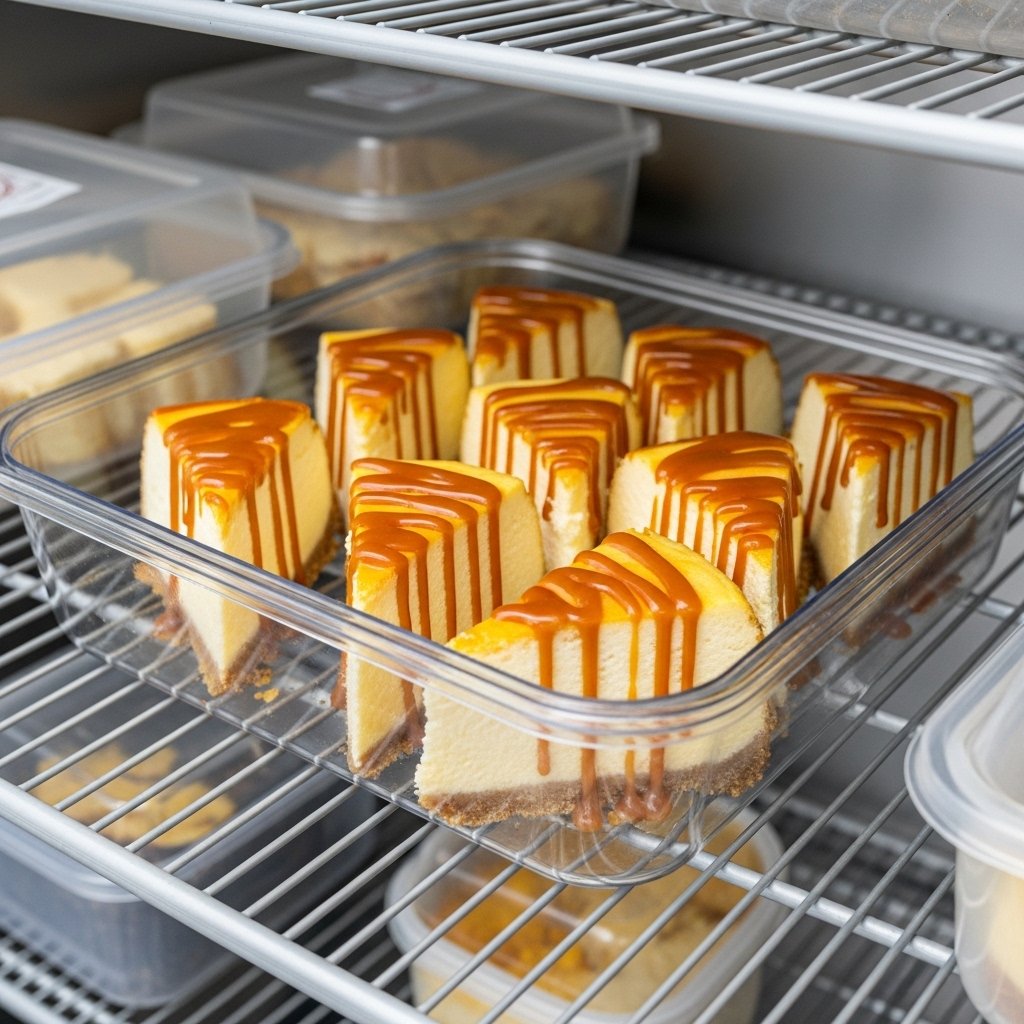
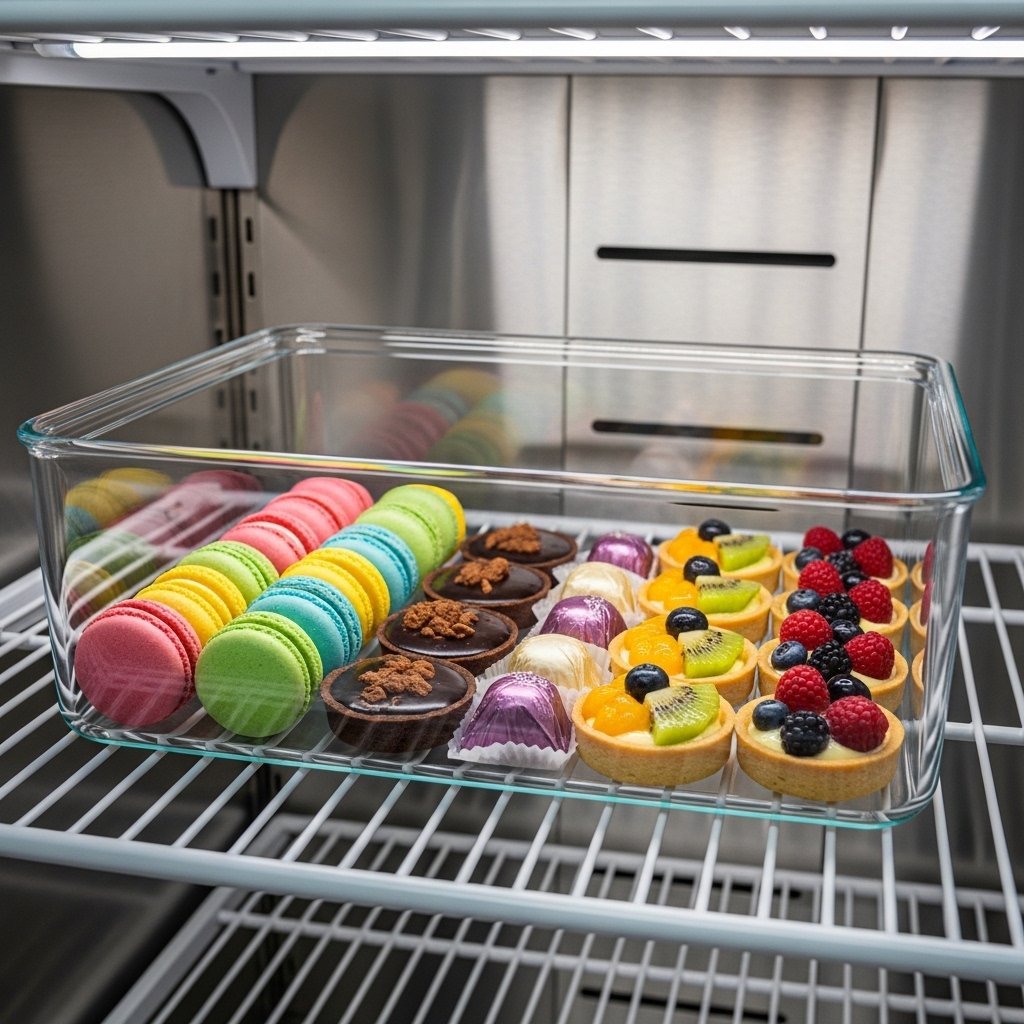
Storage & Reheating Tips
Storage
- Keep desserts in airtight containers
- Refrigerate items with cream or dairy
Reheating
- Warm baked desserts slightly for best texture

Common Mistakes to Avoid
When making dessert delights, avoid:
- Overbaking or underbaking
- Using incorrect measurements
- Skipping cooling time
- Overcomplicating simple recipes
Sticking to the basics often yields the best results.
Frequently Asked Questions
Can I make these desserts ahead of time?
Yes, many desserts taste even better after resting for a few hours or overnight.
Are these recipes beginner-friendly?
Absolutely! They’re designed to be approachable for all skill levels.
Can I freeze these desserts?
Most desserts freeze well—just store them properly.
How do I make desserts less sweet?
Use dark chocolate or reduce sugar slightly.
What’s the best way to decorate desserts?
Keep it simple with powdered sugar, fresh fruit, or a drizzle of sauce.
Final Thoughts
These dessert delights: a sweet symphony for your taste buds bring together everything you love about sweets—flavor, texture, and creativity. With simple ingredients and a little inspiration, you can create desserts that feel both comforting and luxurious.
Whether you’re baking for loved ones or treating yourself, these recipes are sure to satisfy every craving and leave a lasting impression.