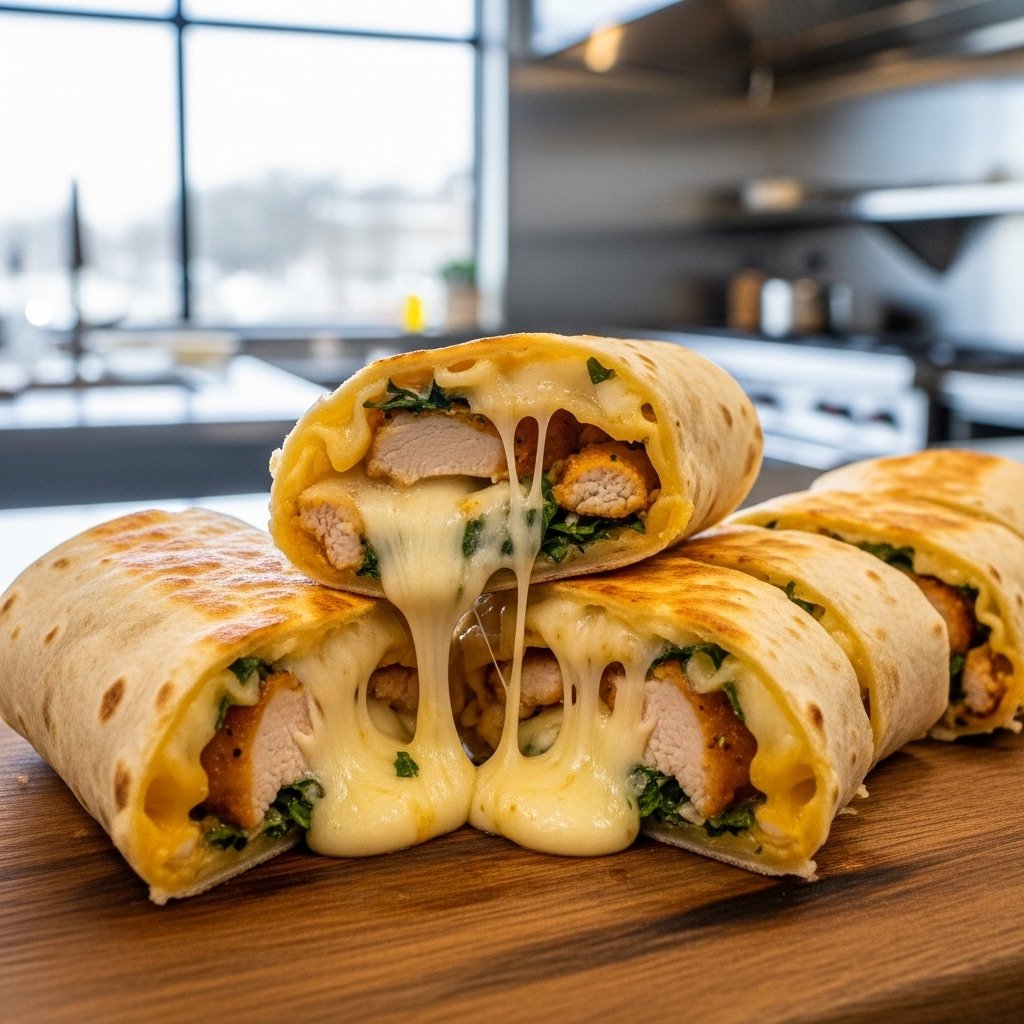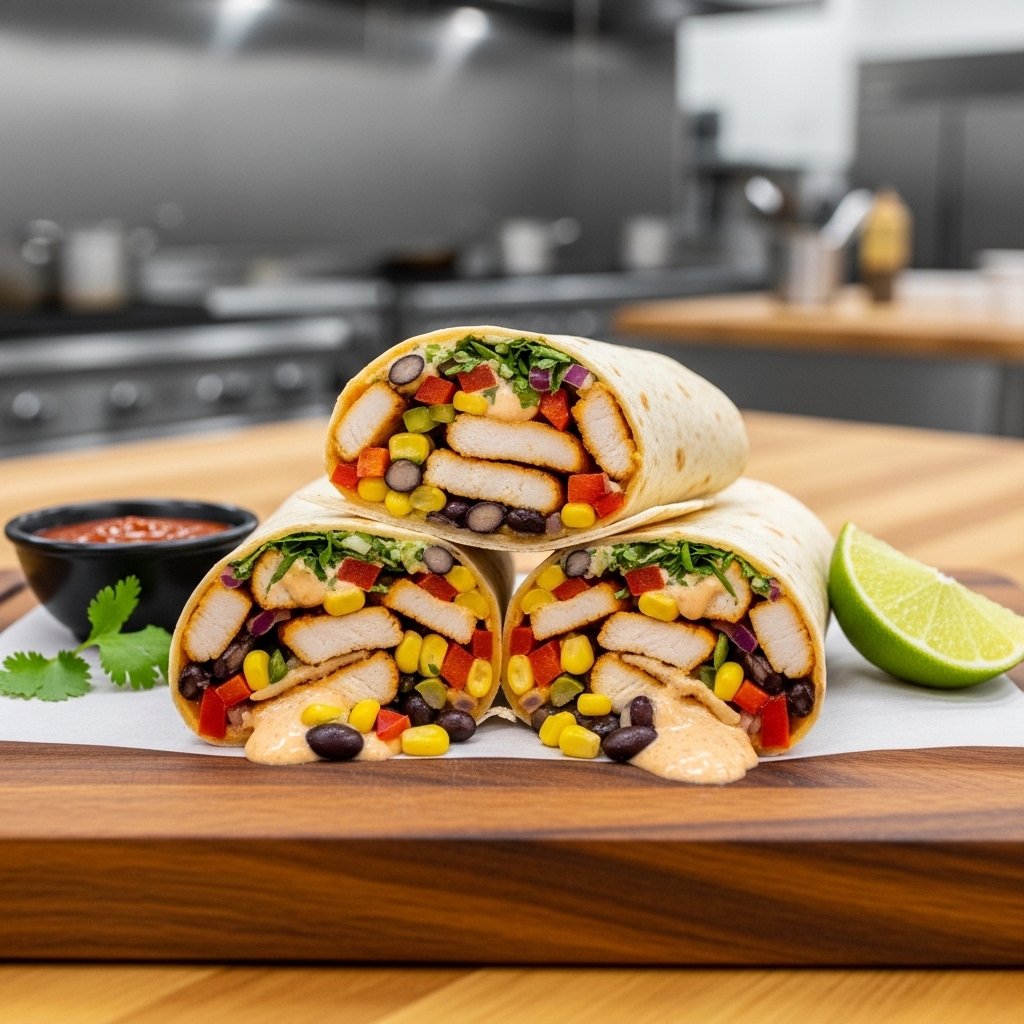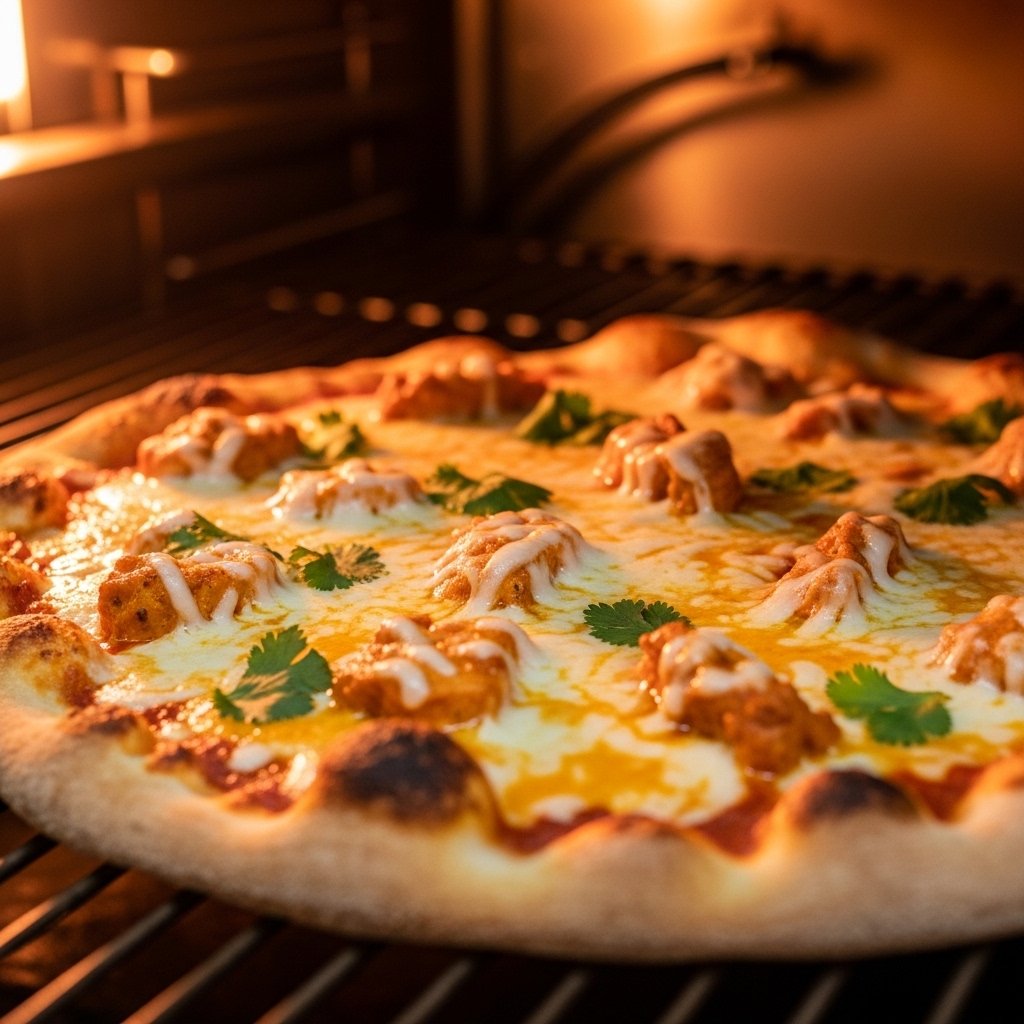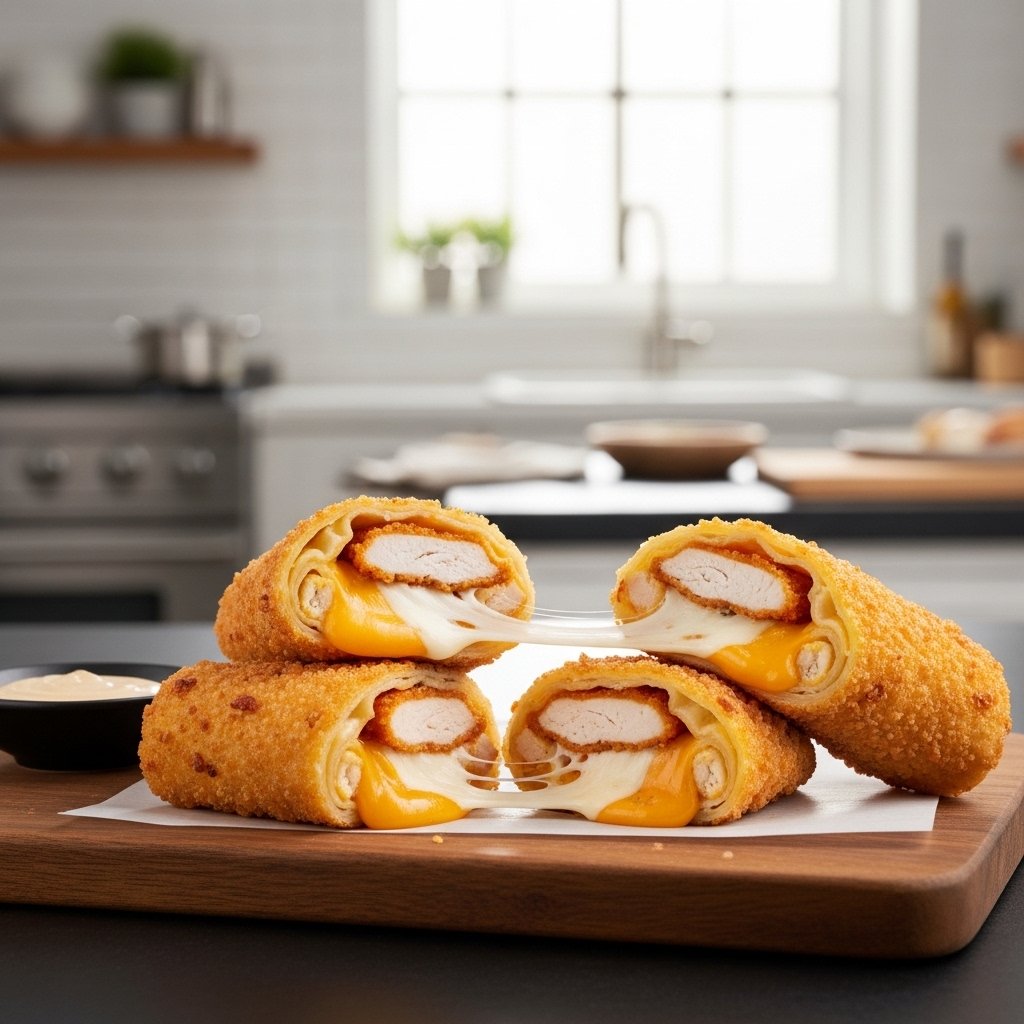
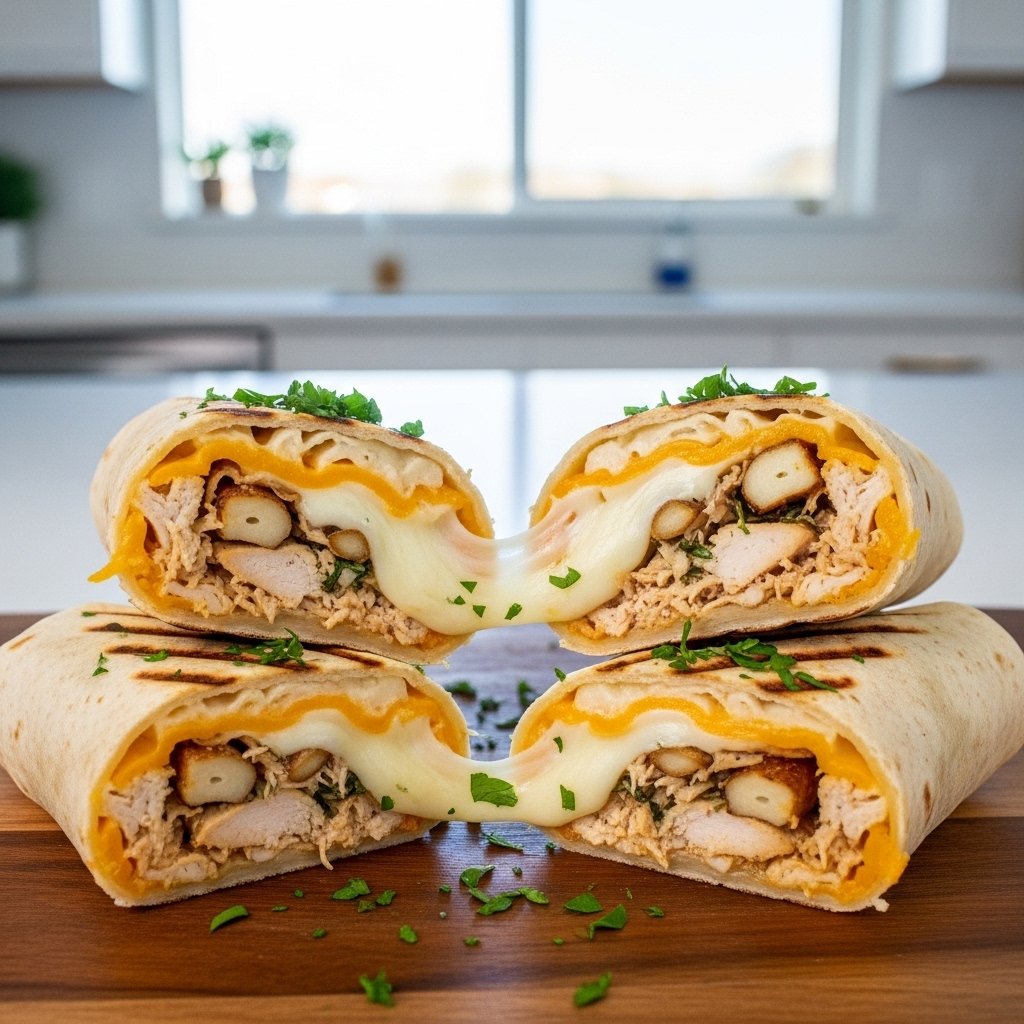
If you’re craving something warm, cheesy, and packed with flavor, these cheesy garlic chicken wraps are about to become your new favorite recipe. With juicy chicken, rich melted cheese, and bold garlic flavor all wrapped in a crispy tortilla, this dish delivers everything you want in a quick and satisfying meal.
Perfect for busy weekdays, lazy weekends, or even meal prep, these wraps strike the ideal balance between comfort food and convenience. They’re easy to customize, come together fast, and taste like something you’d order at your favorite café—only better because you made them at home.
Why You’ll Love These Cheesy Garlic Chicken Wraps
These cheesy garlic chicken wraps are incredibly popular for good reason. They’re:
- Quick and easy to prepare
- Loaded with bold garlic flavor
- Packed with melty, gooey cheese
- Perfect for lunch or dinner
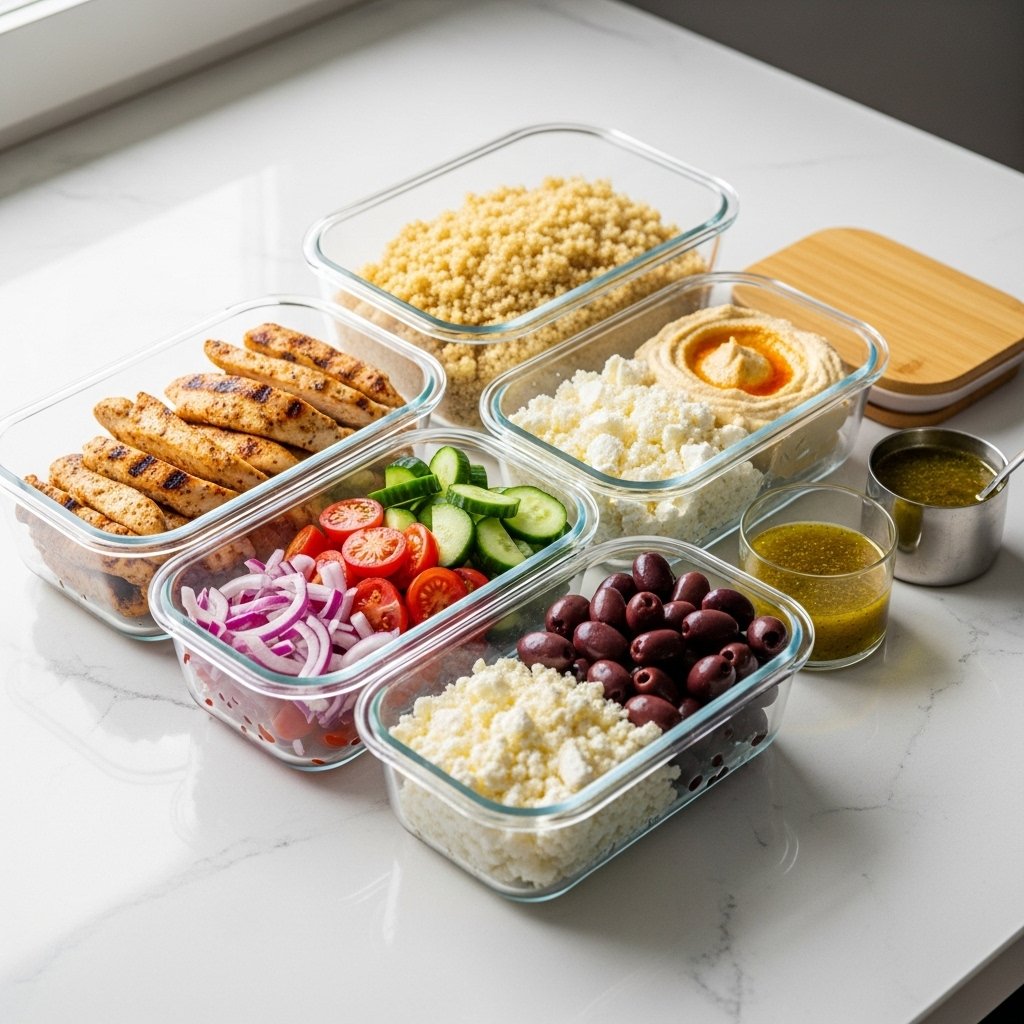
- Great for meal prep
- Customizable with your favorite add-ins
Every bite is rich, satisfying, and bursting with flavor.
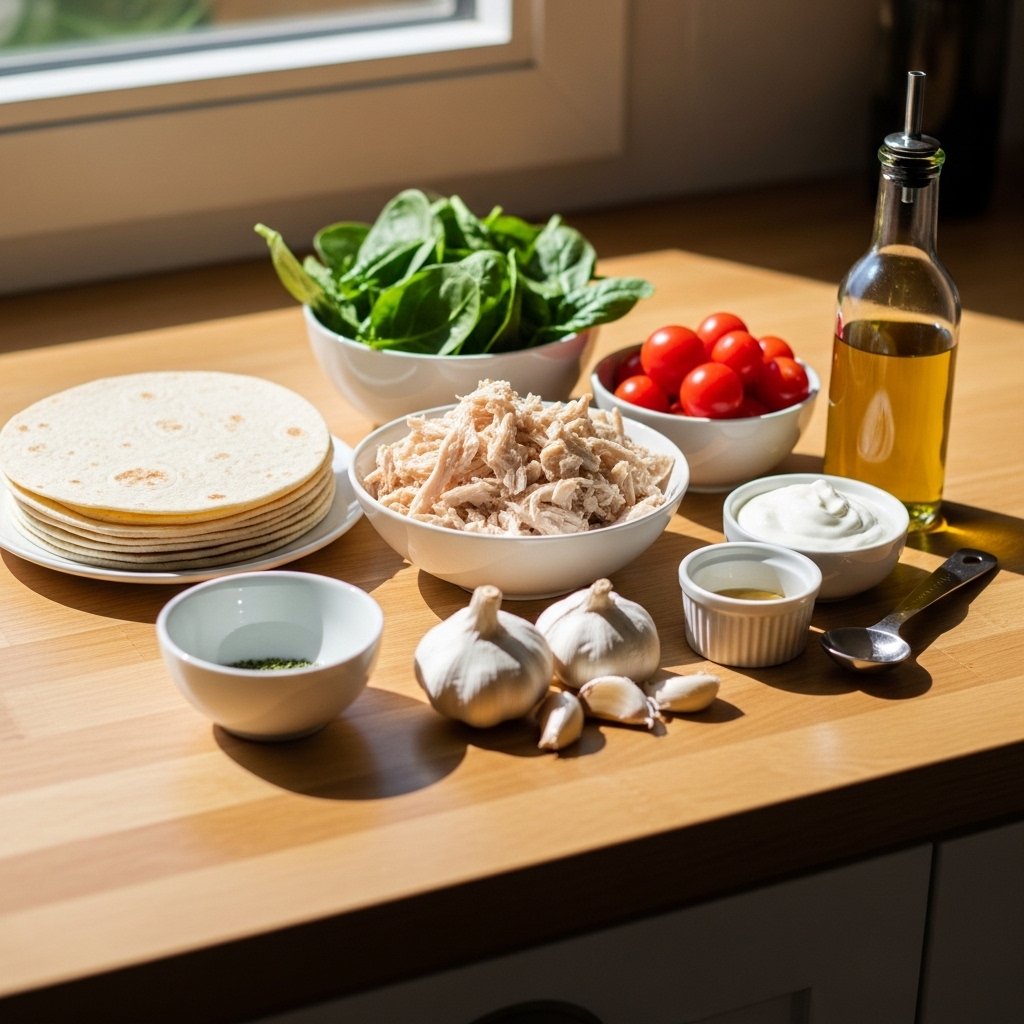
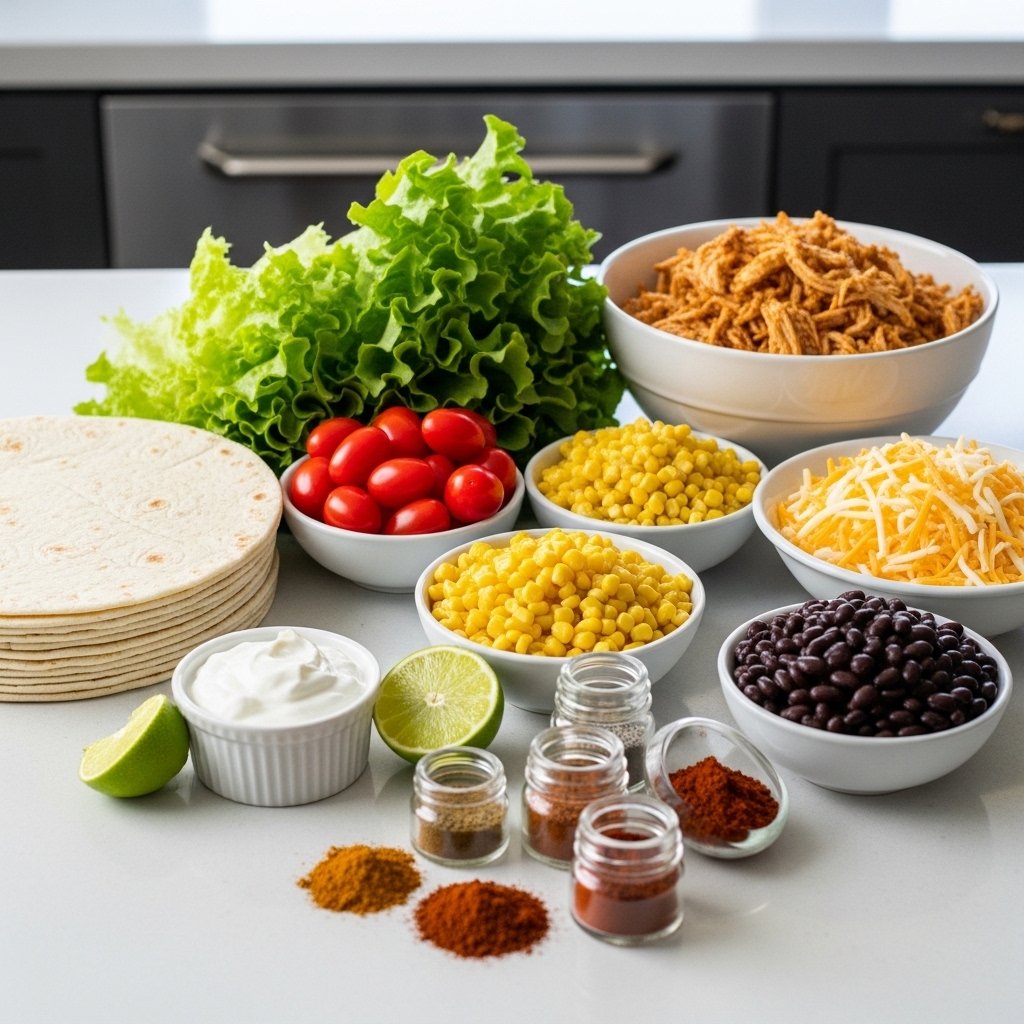
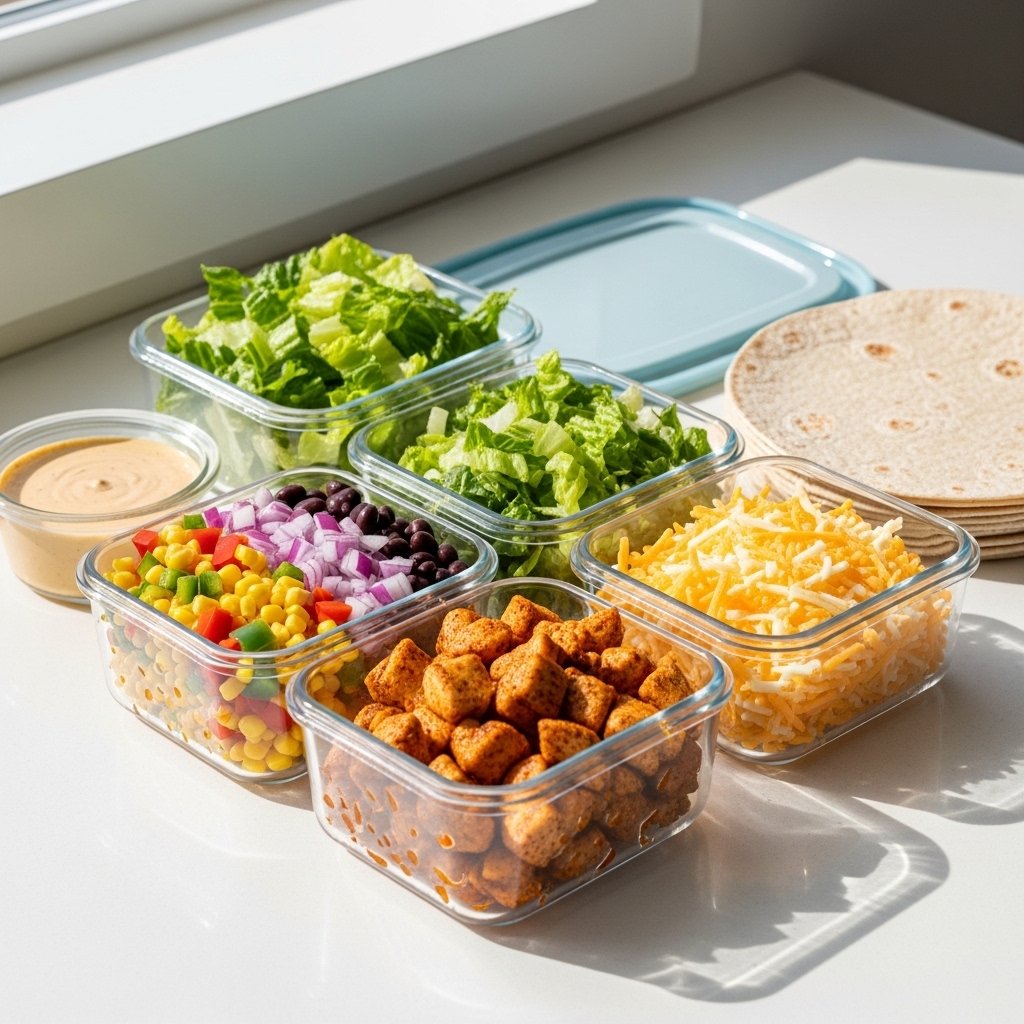
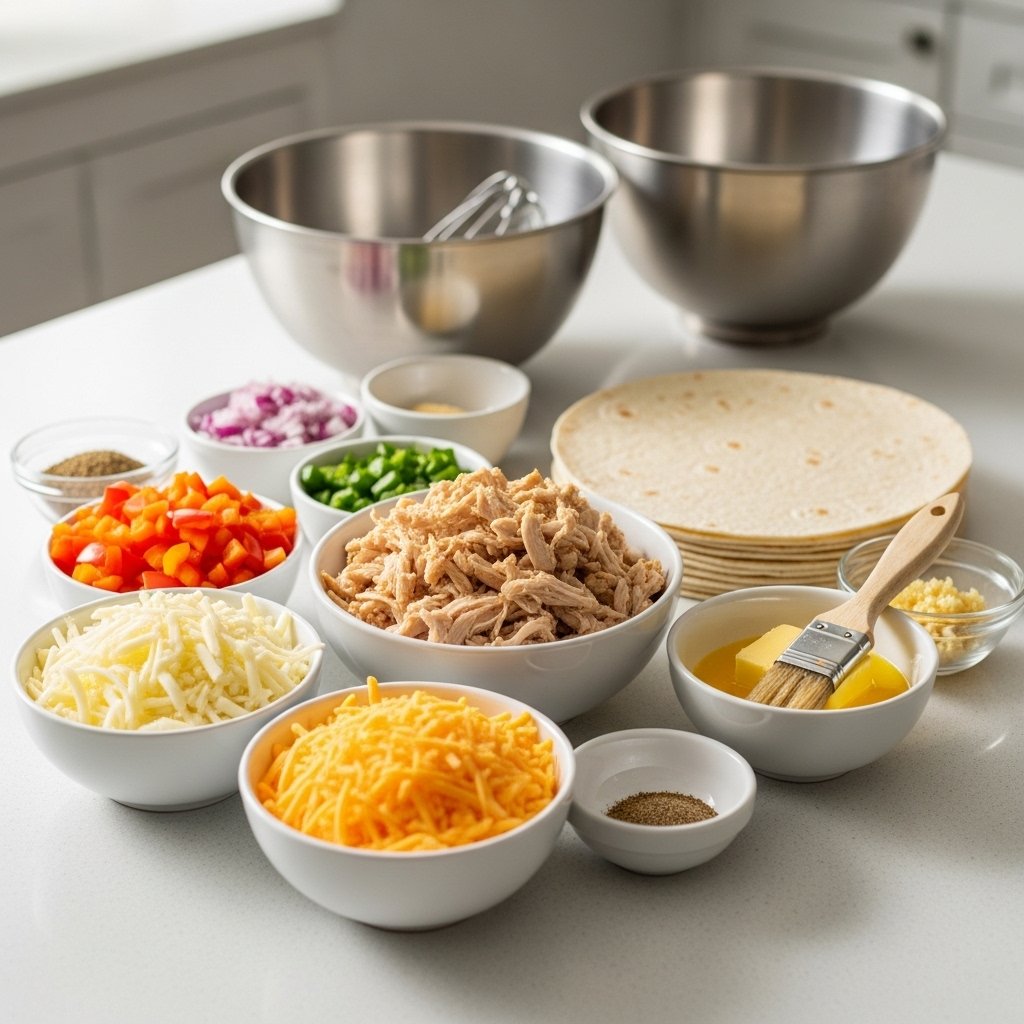
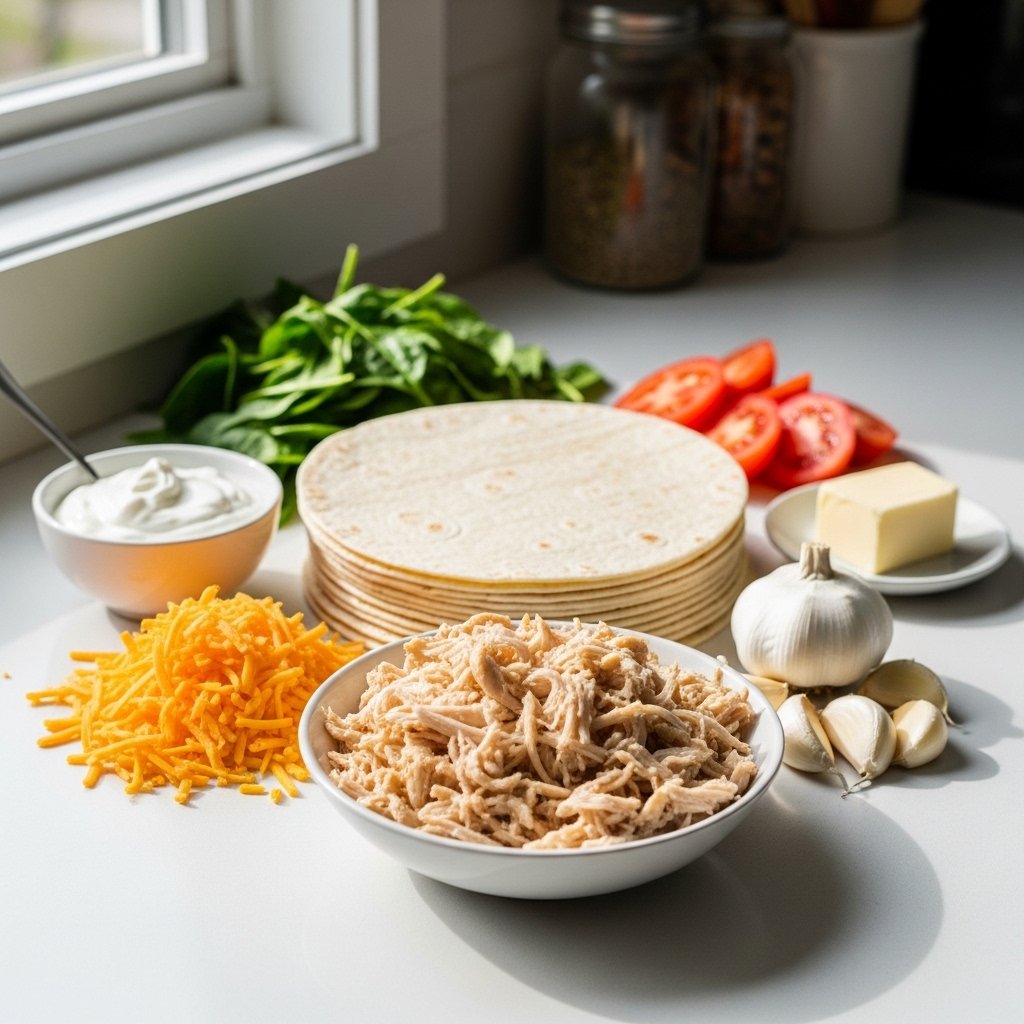
Ingredients You’ll Need
To make these delicious wraps, gather the following ingredients:
Main Ingredients
- 2 cups cooked chicken (shredded or diced)
- 1 cup shredded mozzarella or cheddar cheese
- 3 cloves garlic (minced)
Wrap Base
- 4 large tortillas
Optional Add-Ins
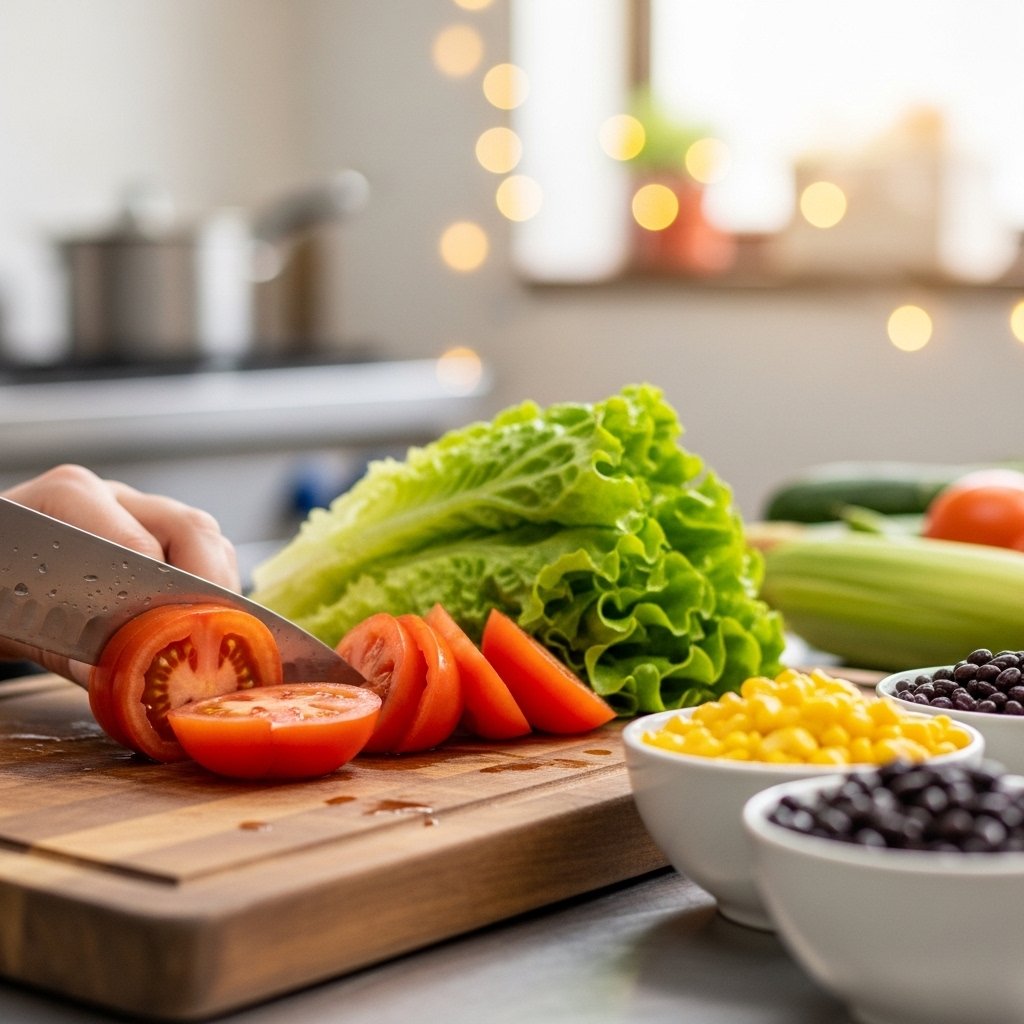
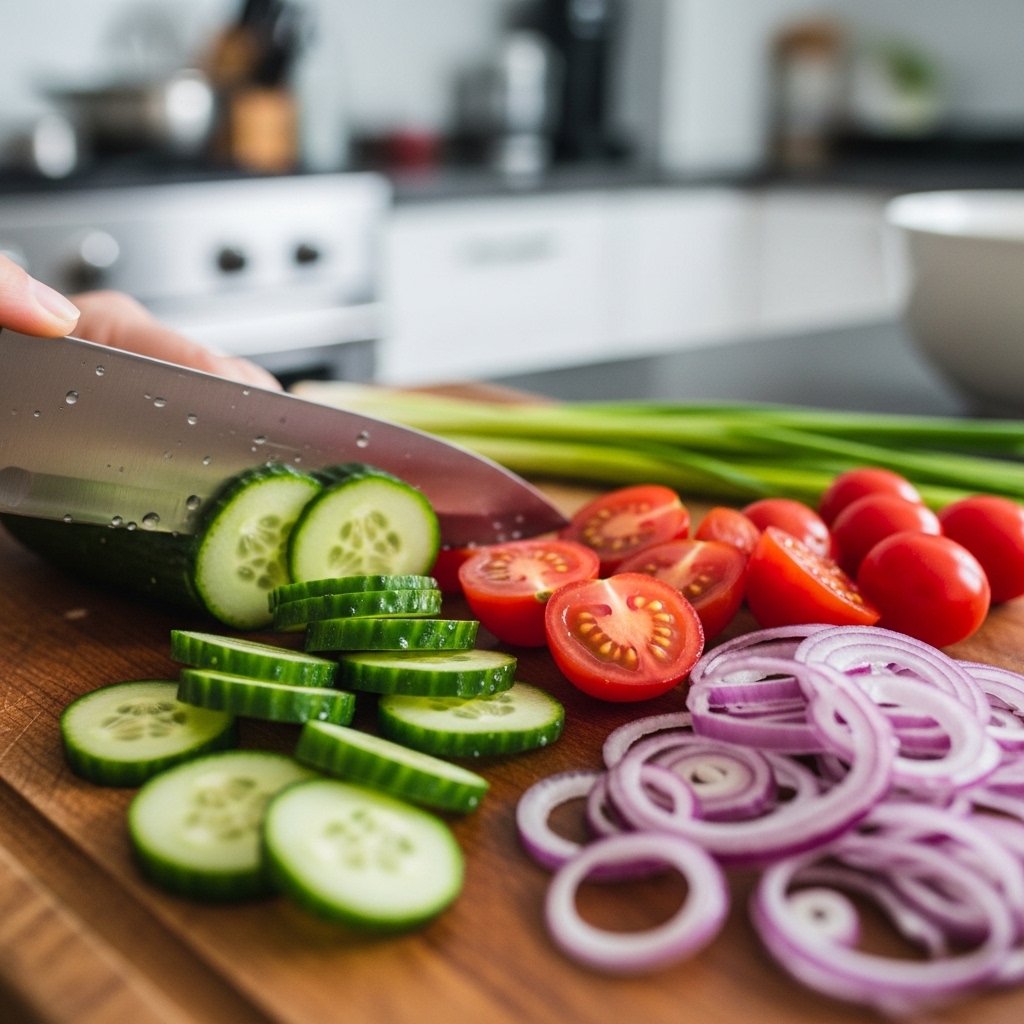
- 1/2 cup spinach or lettuce
- 1/4 cup diced tomatoes
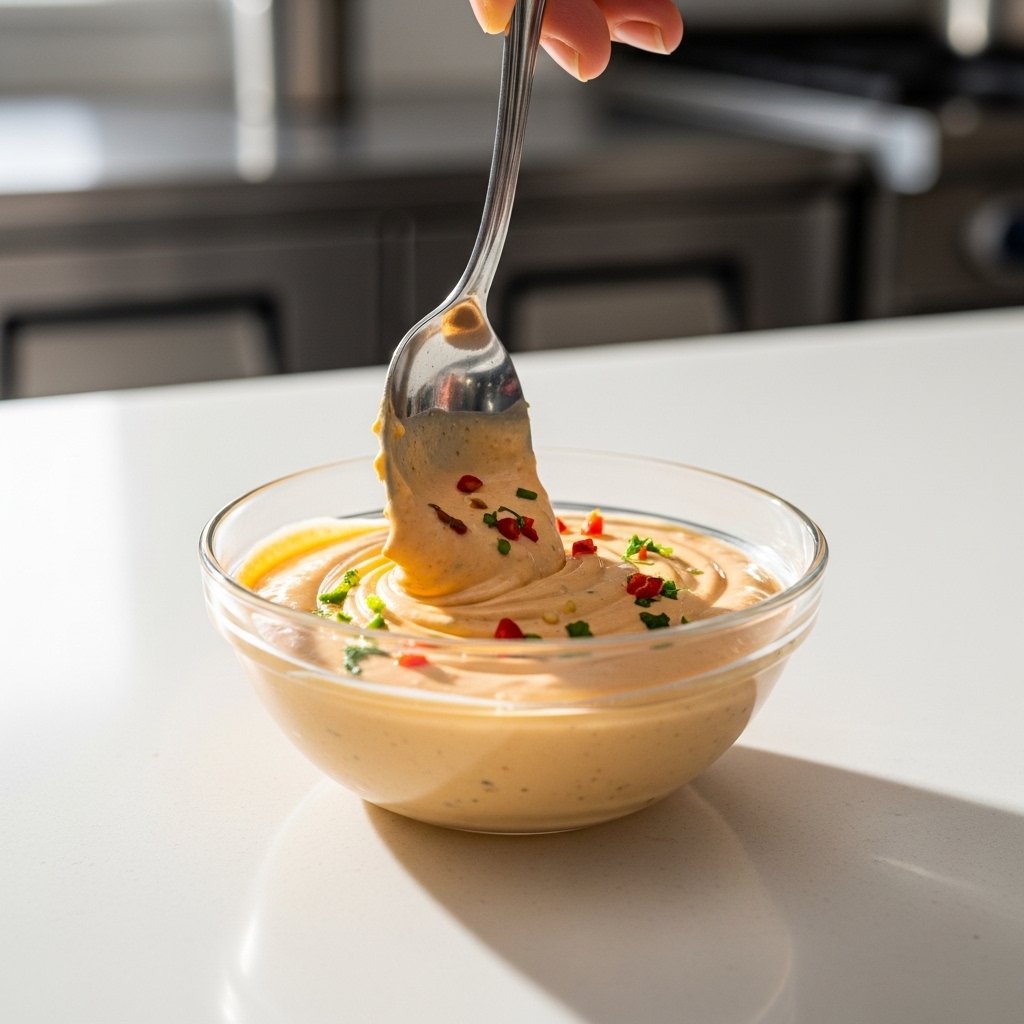
- 2 tablespoons mayonnaise or Greek yogurt
For Cooking
- 1 tablespoon butter or olive oil
These simple ingredients come together to create a rich and satisfying meal.
Ingredient Notes and Substitutions
Chicken Options
You can use:
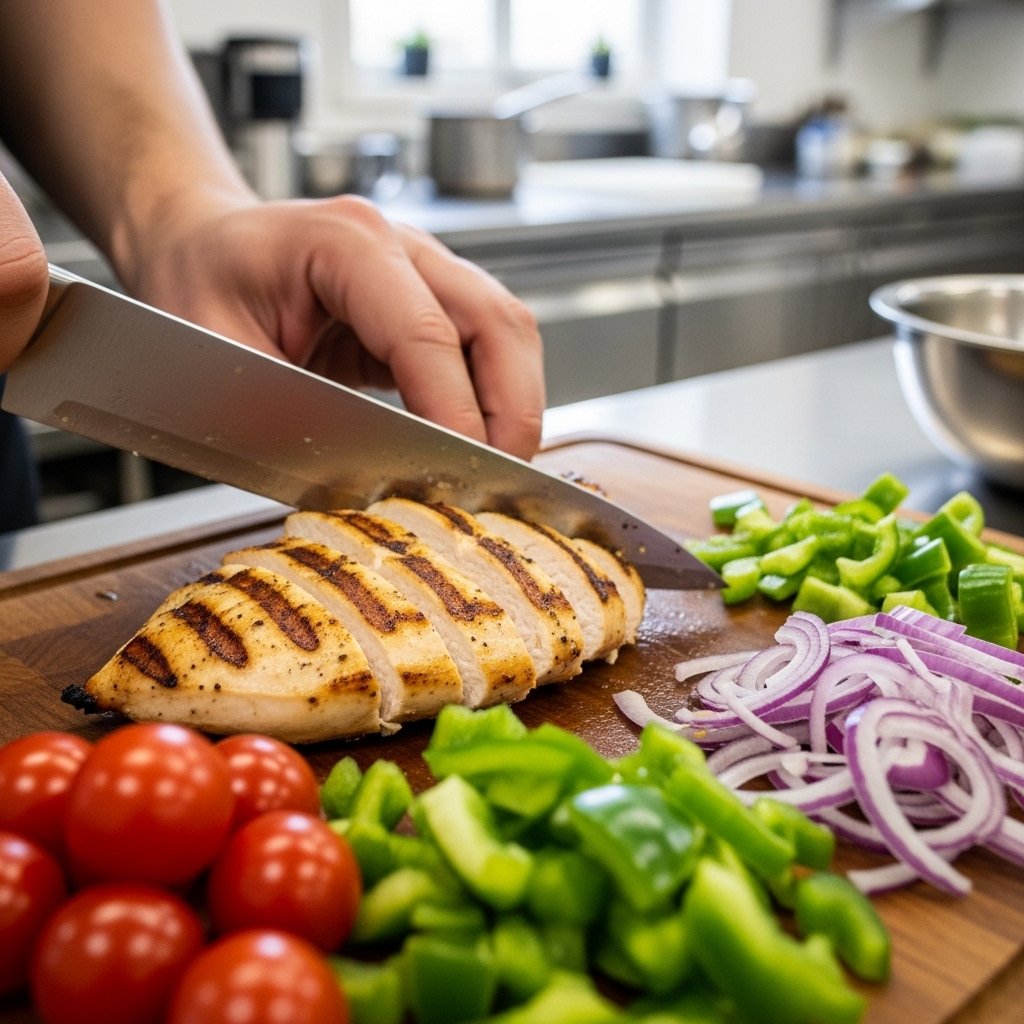
- Grilled chicken
- Rotisserie chicken
- Leftover roasted chicken
Cheese Choices
For the best texture:
- Mozzarella for meltiness
- Cheddar for bold flavor
- Blend both for balance
Garlic Tip
Fresh garlic is key for that strong, aromatic flavor. Avoid garlic powder if possible for the best results.
These small choices make a big difference in taste.
Step-by-Step Instructions
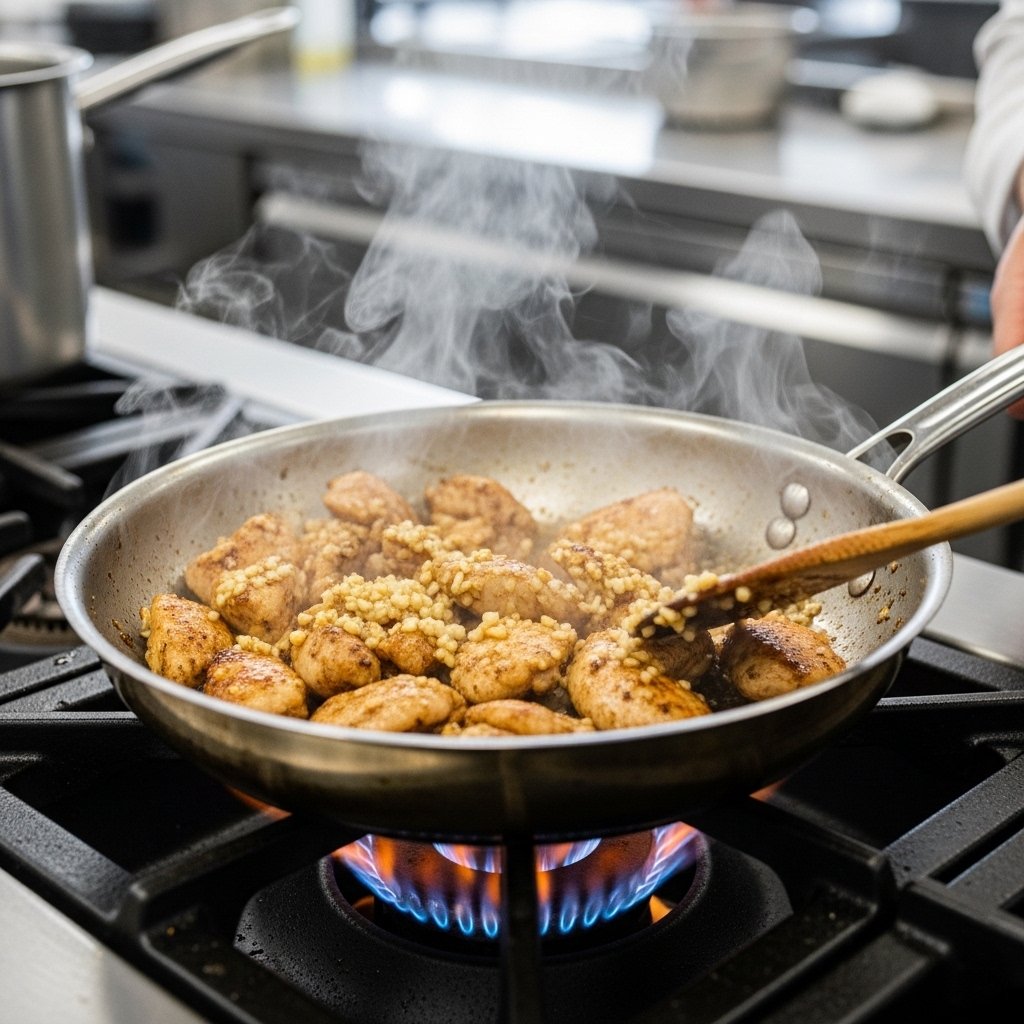
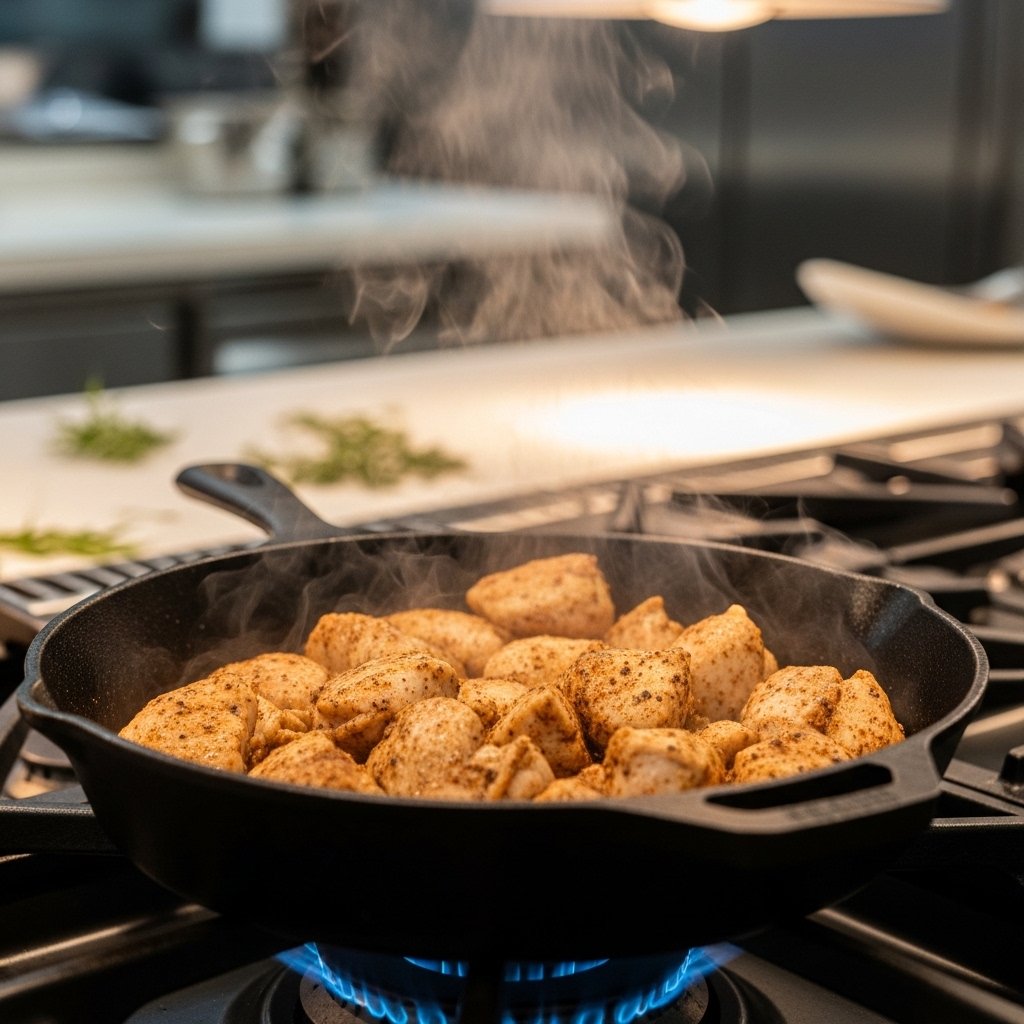
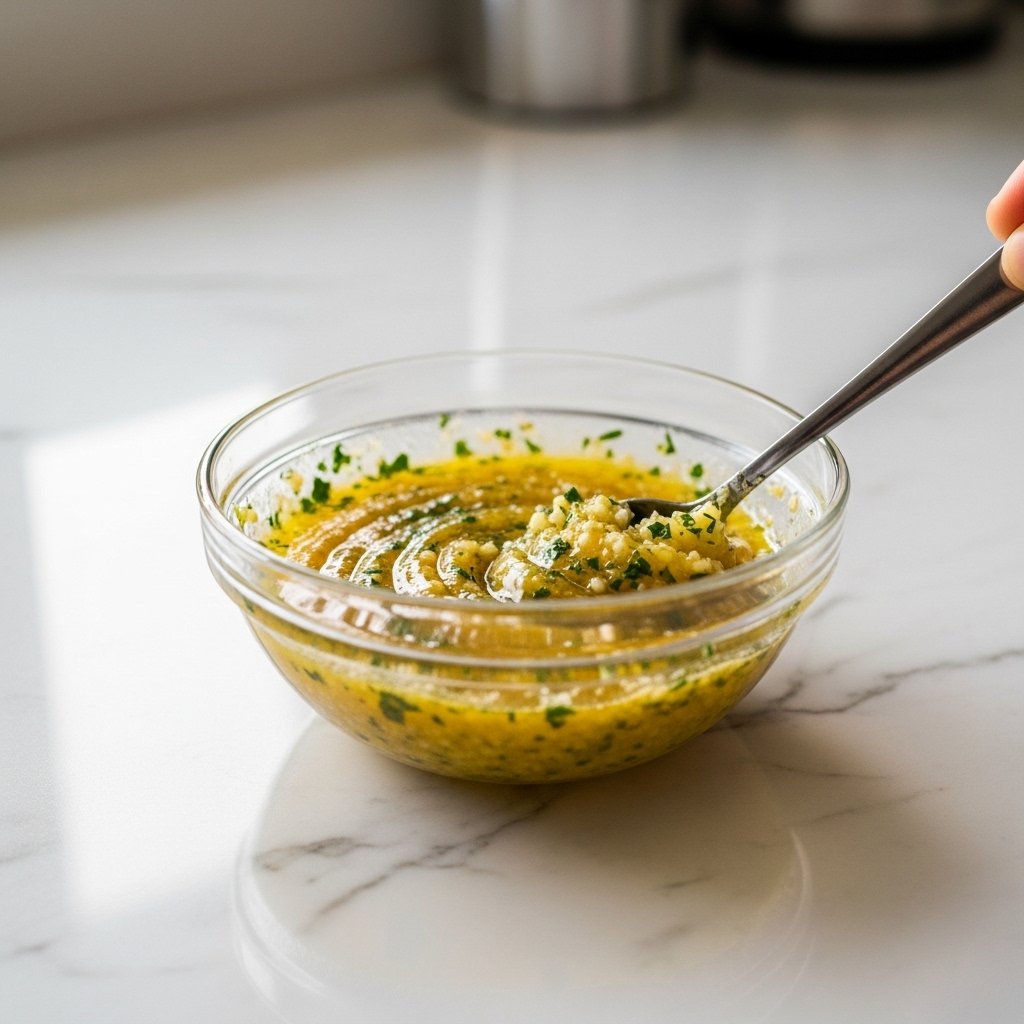
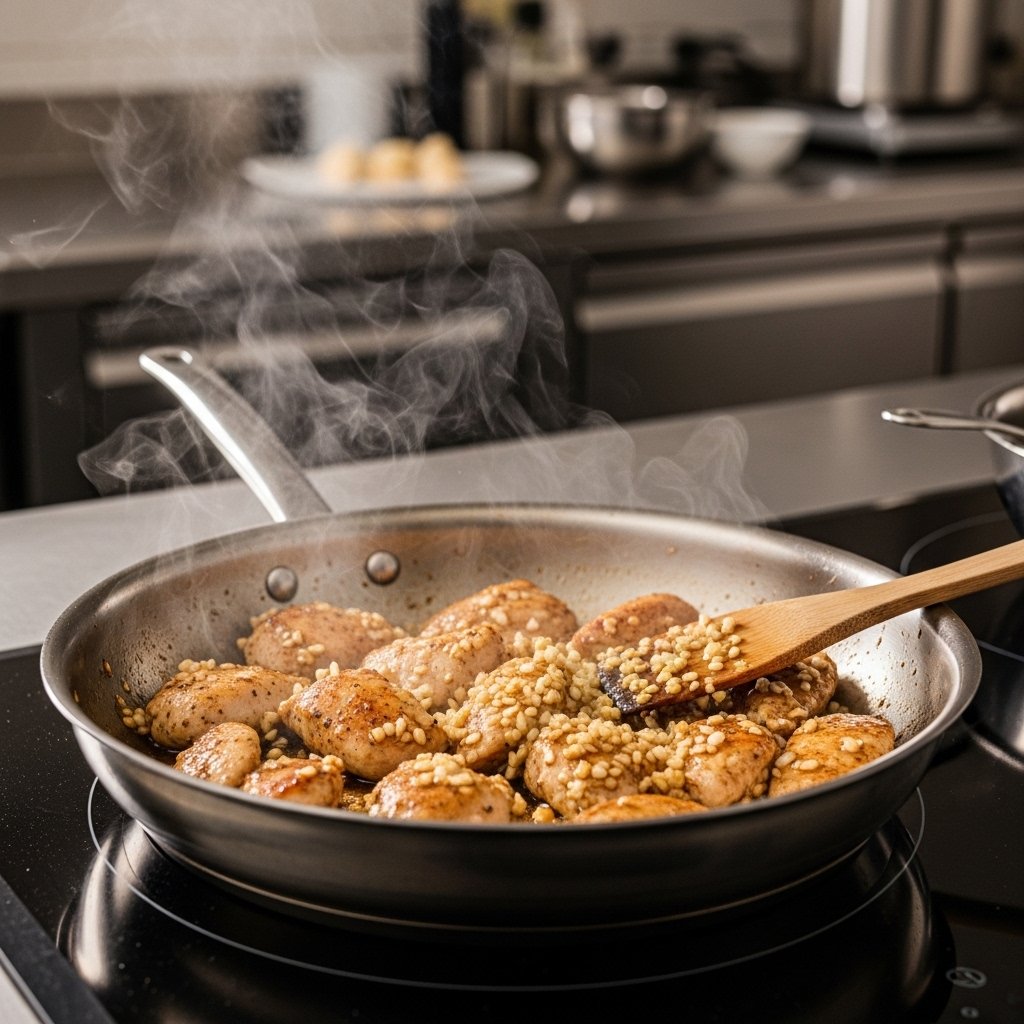
Step 1: Cook the Garlic Chicken
Heat butter or oil in a skillet over medium heat.
Add:
- Minced garlic
Cook briefly until fragrant, then add the chicken. Stir and cook until heated through and infused with garlic flavor.
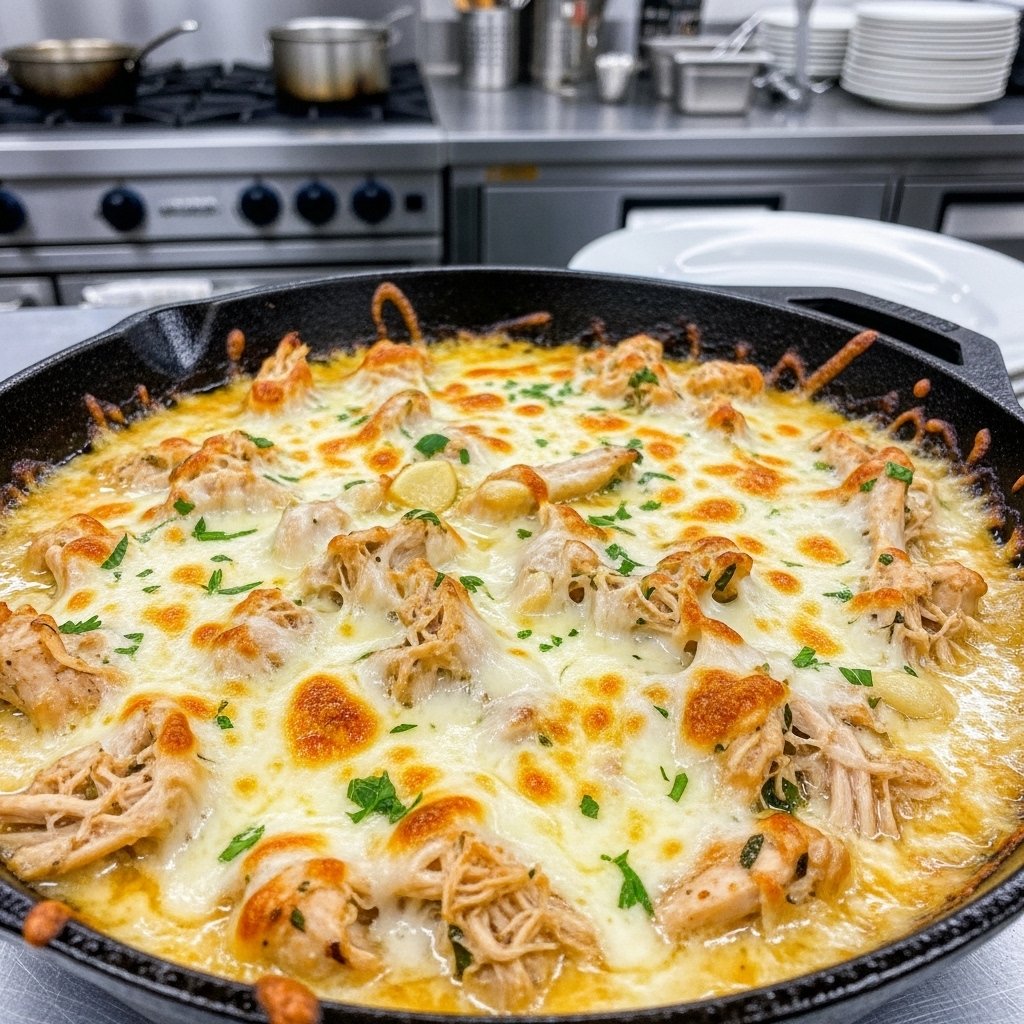
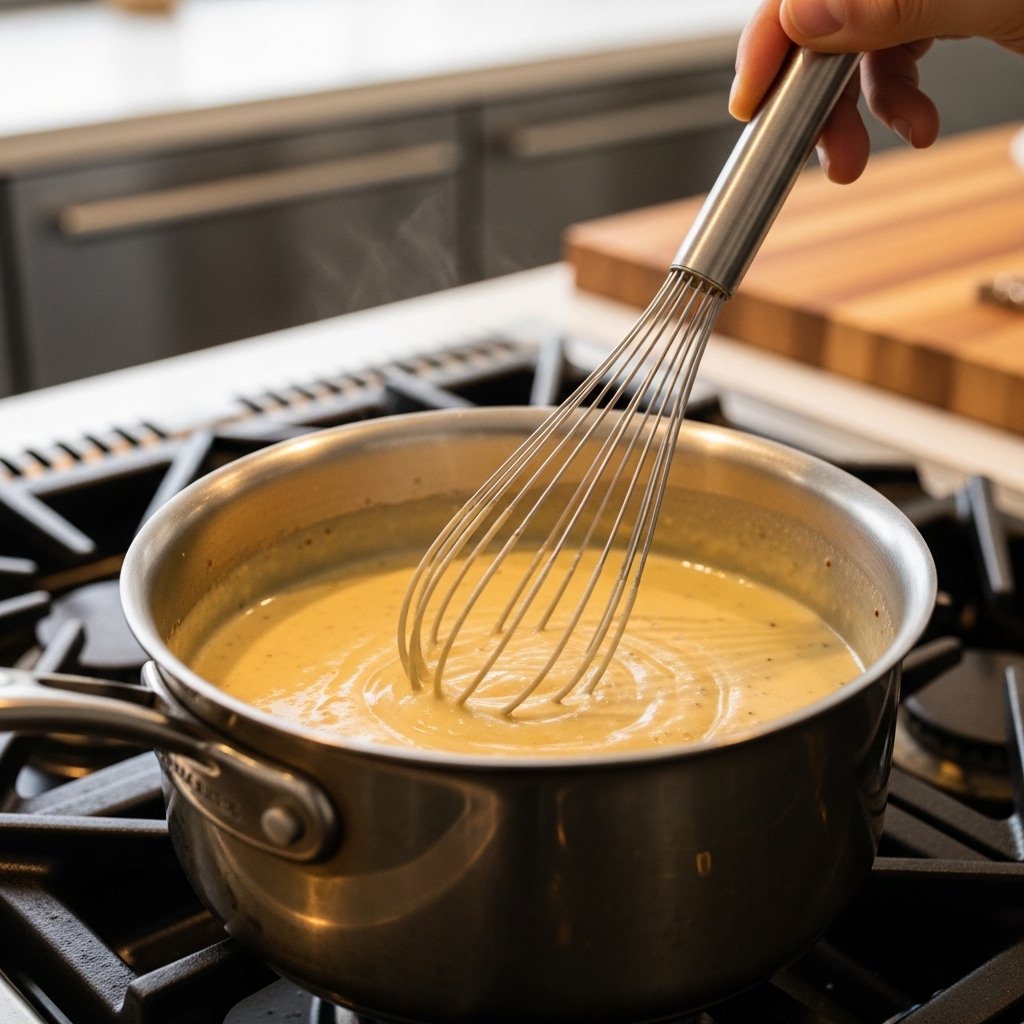
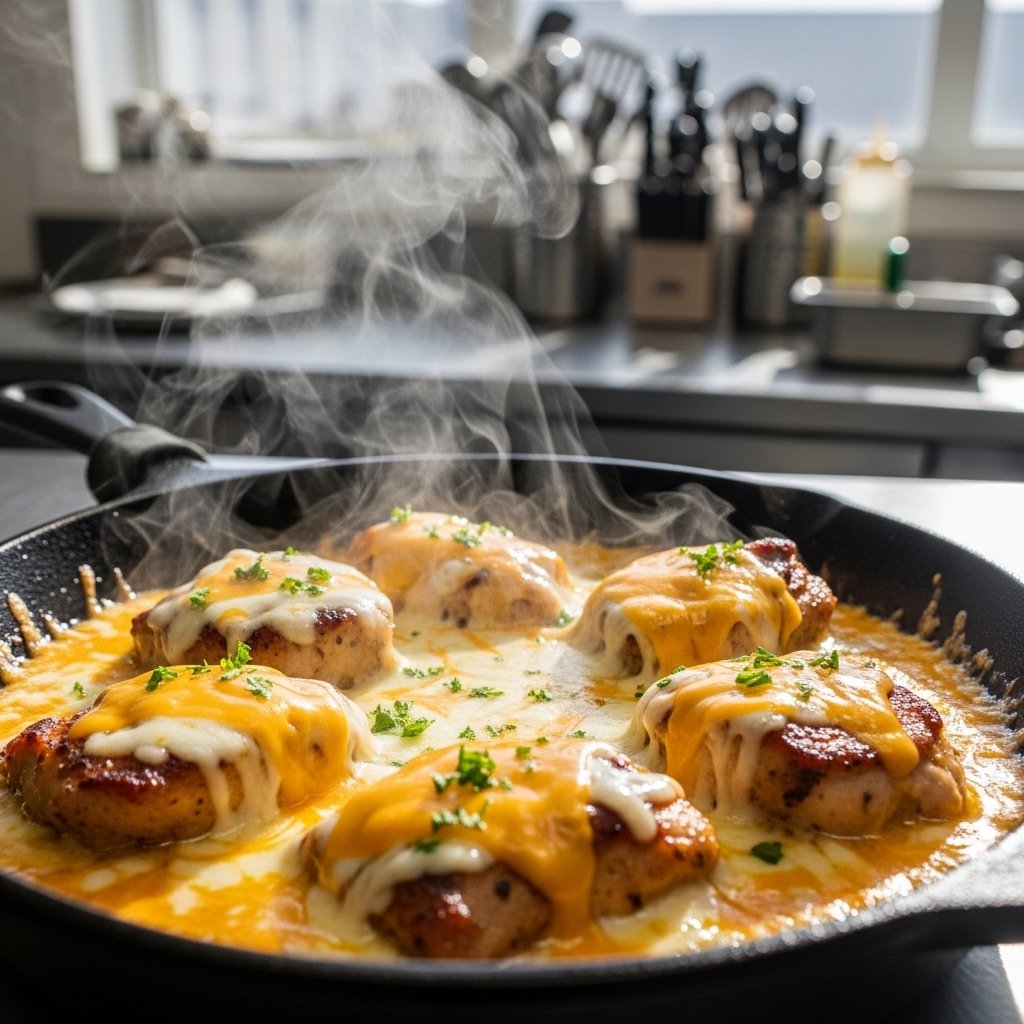
Step 2: Add the Cheese
Reduce heat and add shredded cheese directly into the skillet.
Stir until the cheese melts and coats the chicken evenly, creating a creamy, gooey mixture.
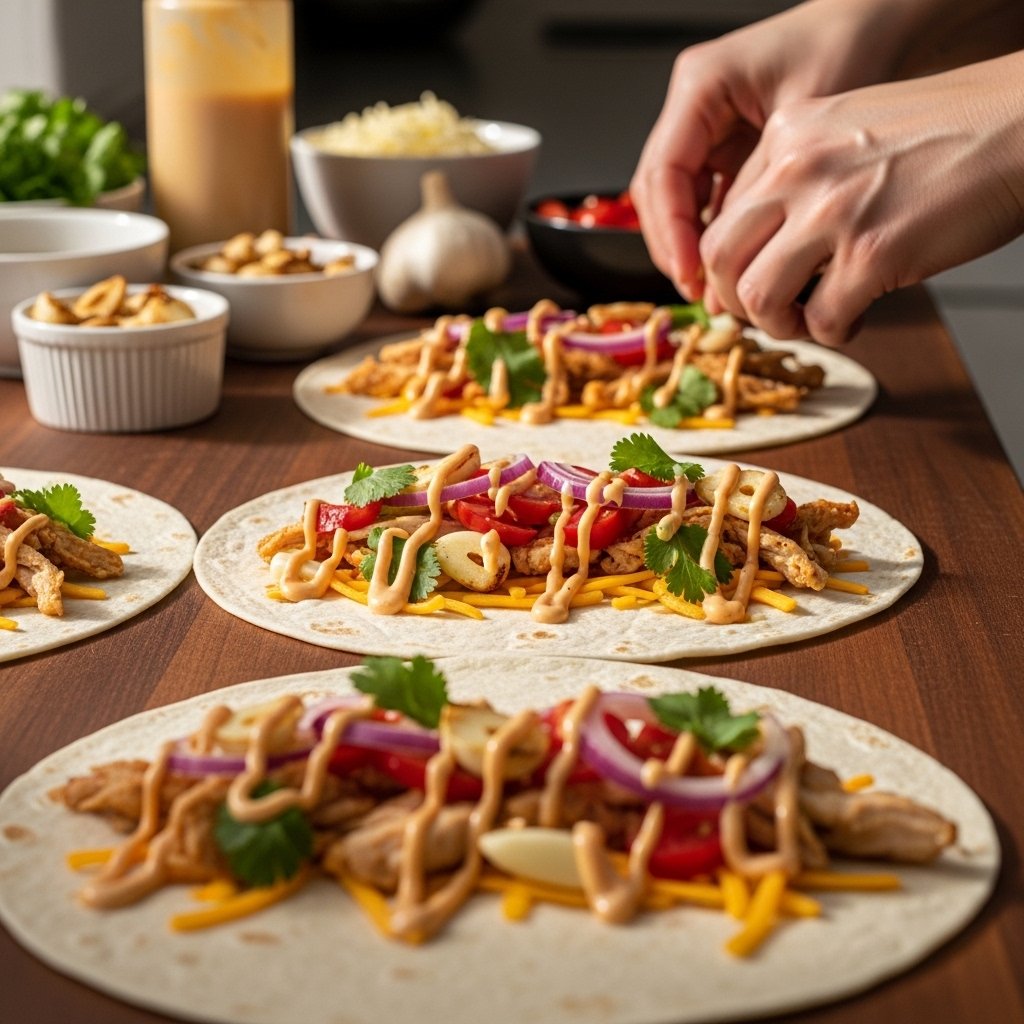
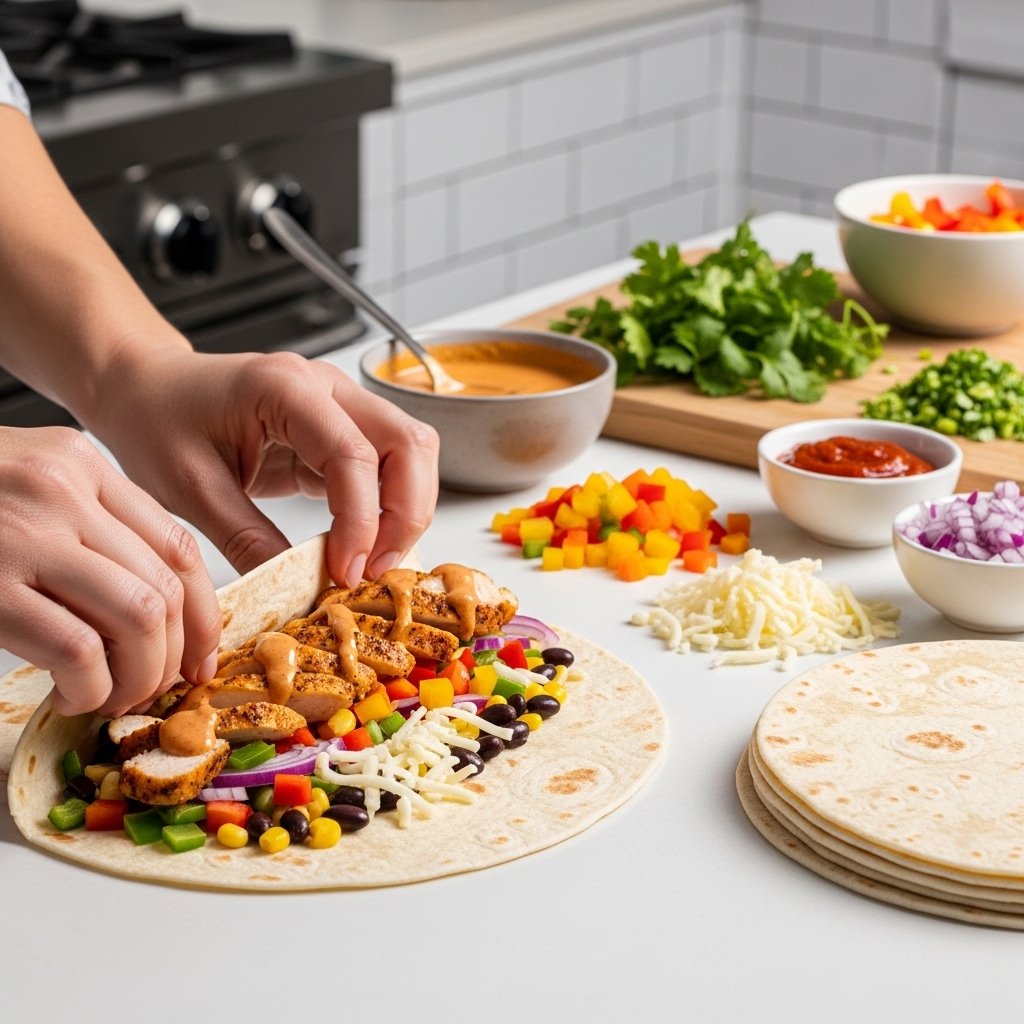
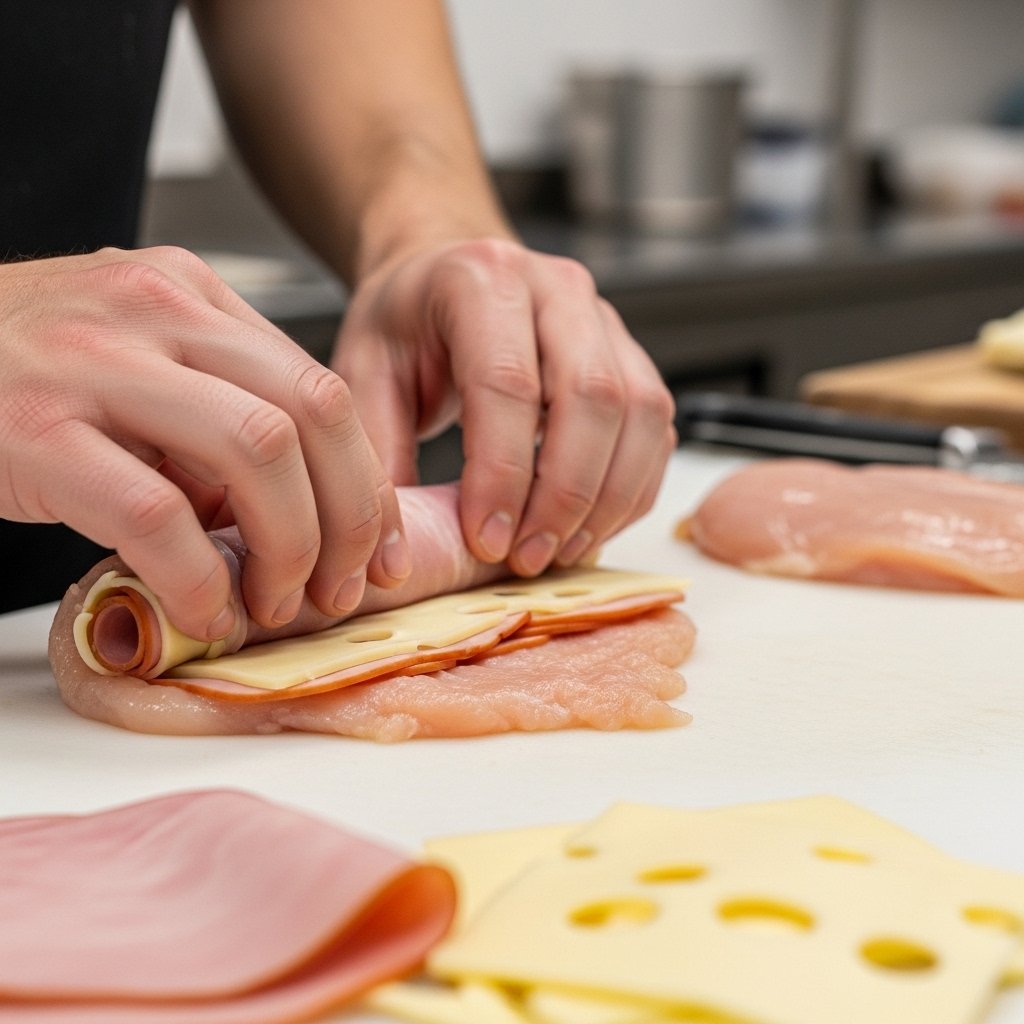
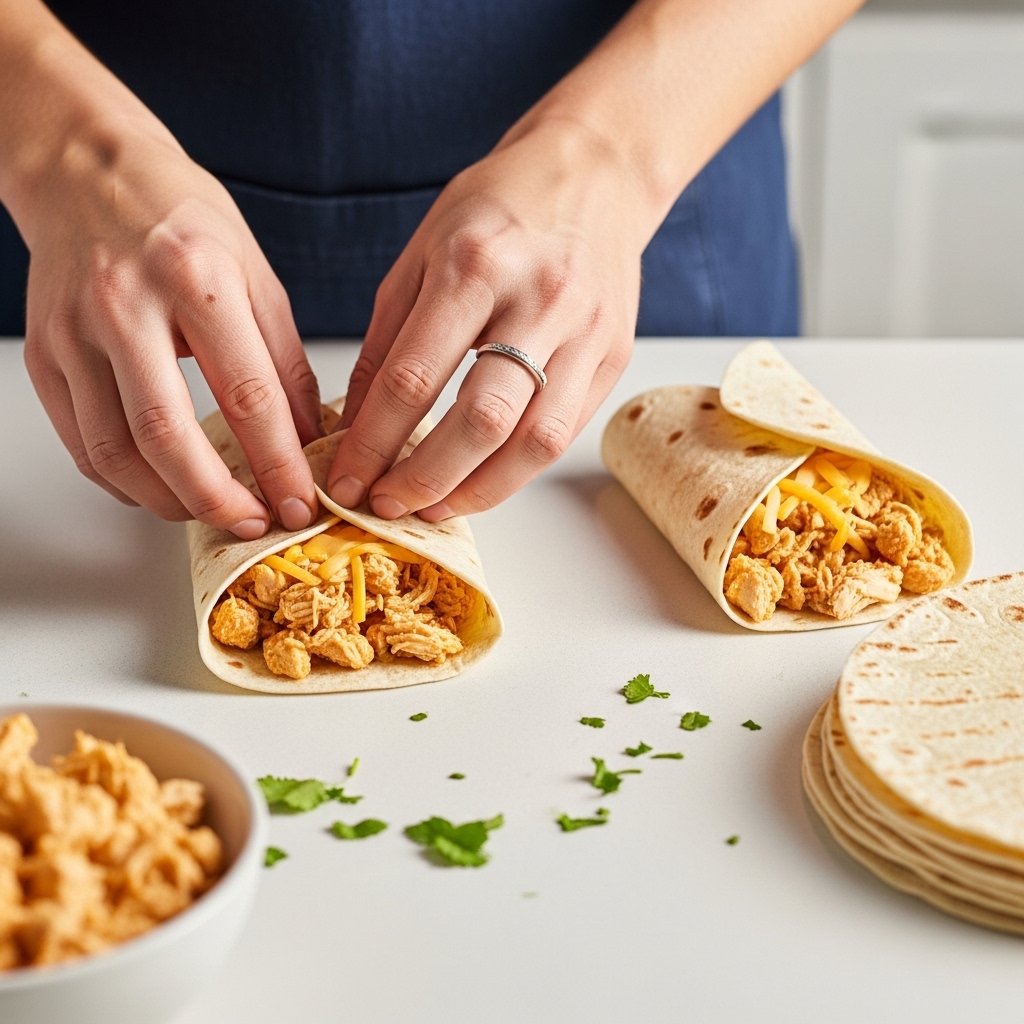
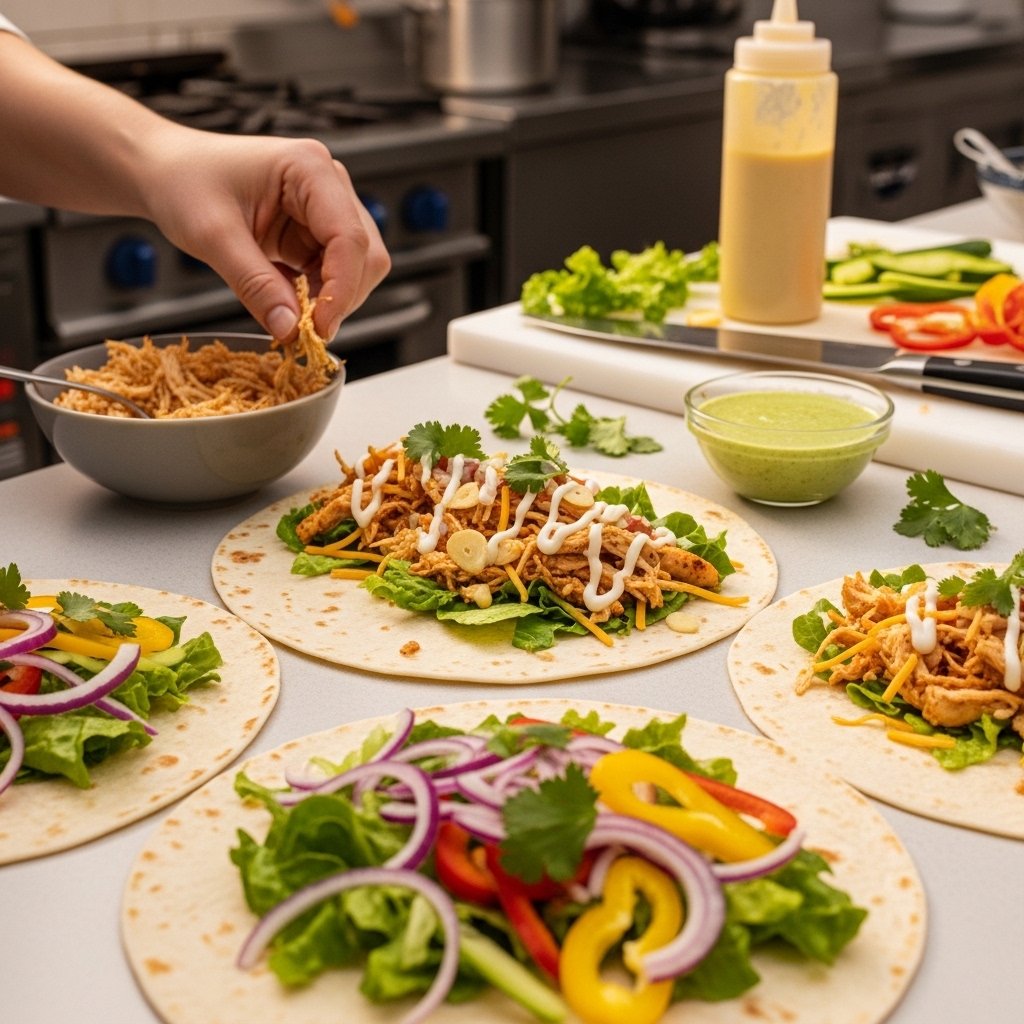
Step 3: Assemble the Wraps
Lay tortillas flat and spoon the cheesy garlic chicken mixture onto each one.
Add optional toppings like:
- Spinach
- Tomatoes
- Sauce
Fold the tortillas tightly into wraps.
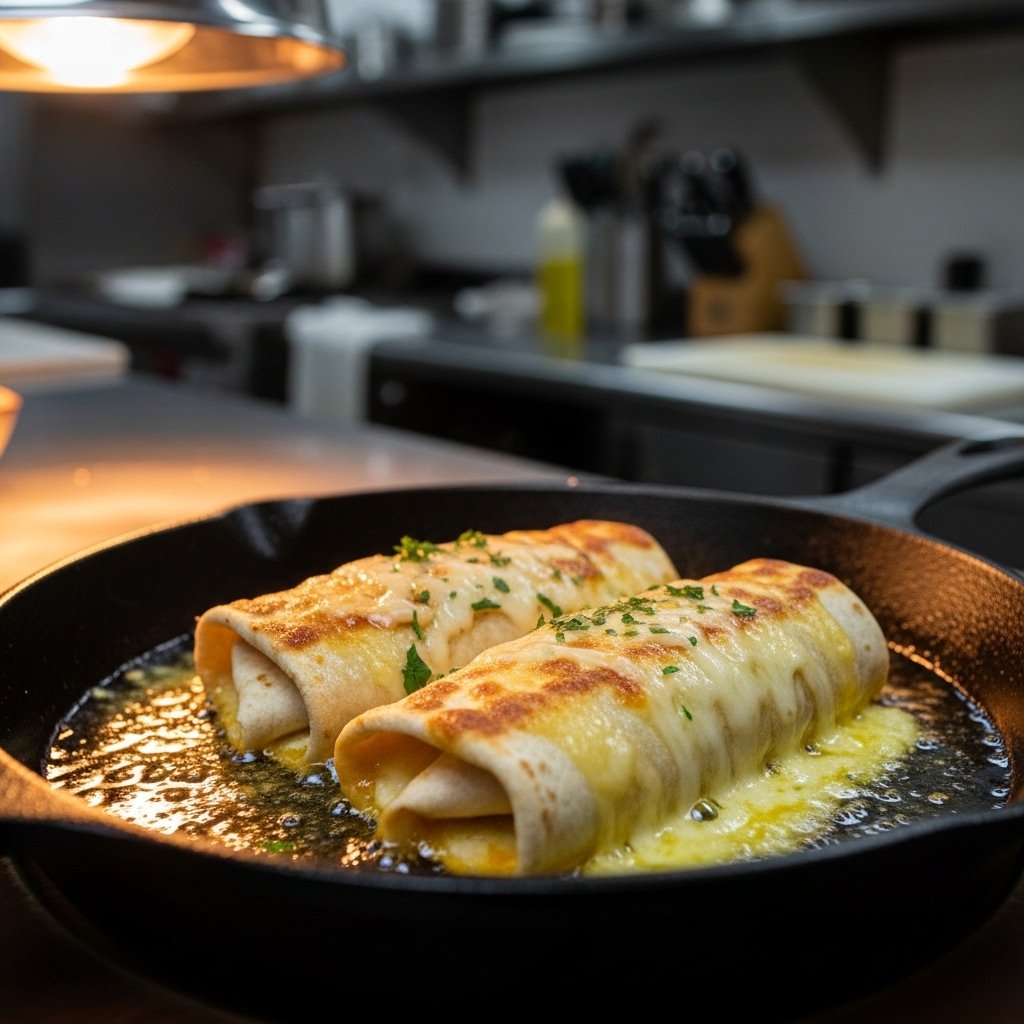
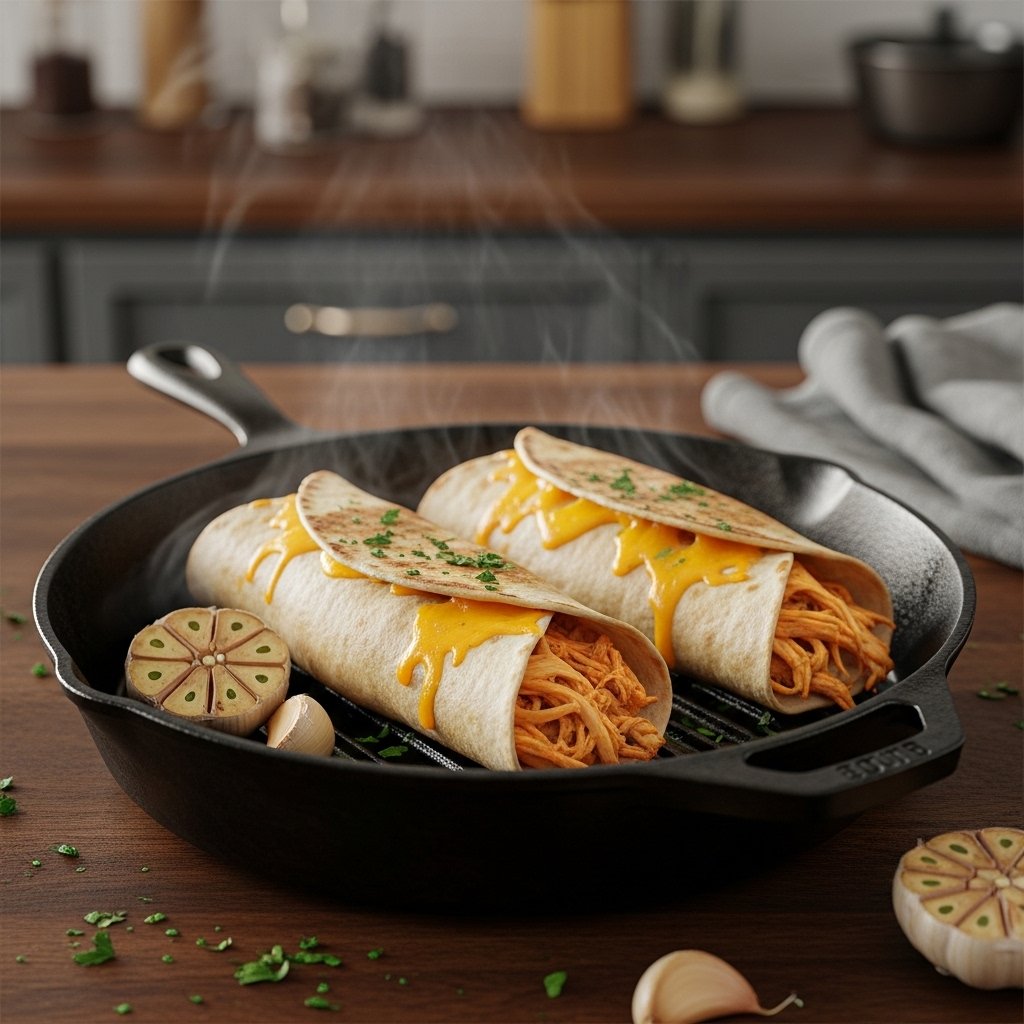
Step 4: Toast the Wraps
Place the wraps seam-side down in a skillet.
Cook until golden brown and crispy on both sides, about 2–3 minutes per side.
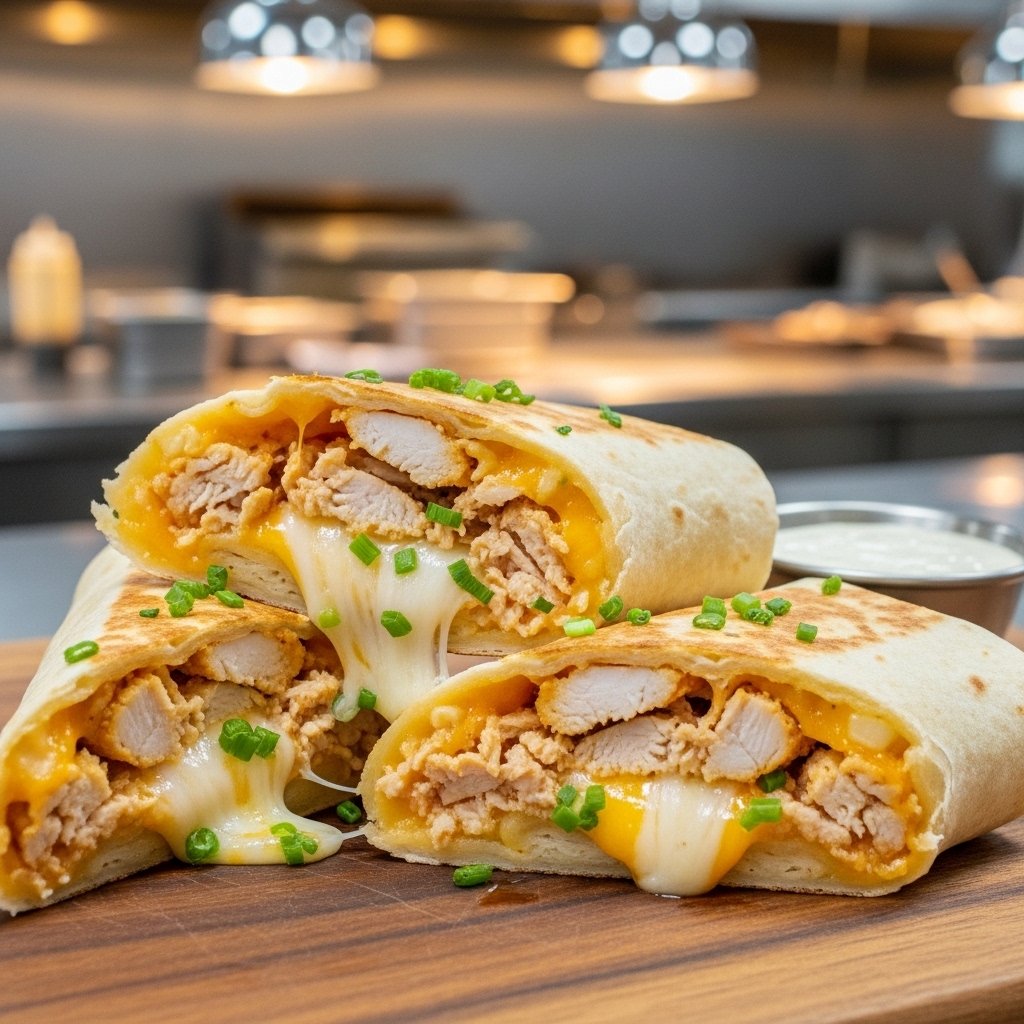
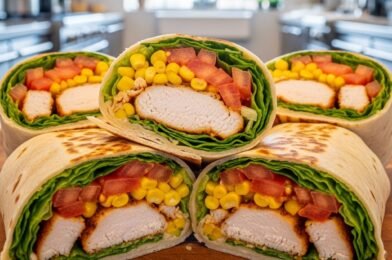
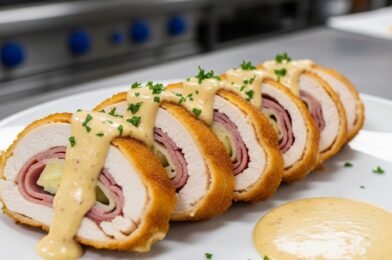
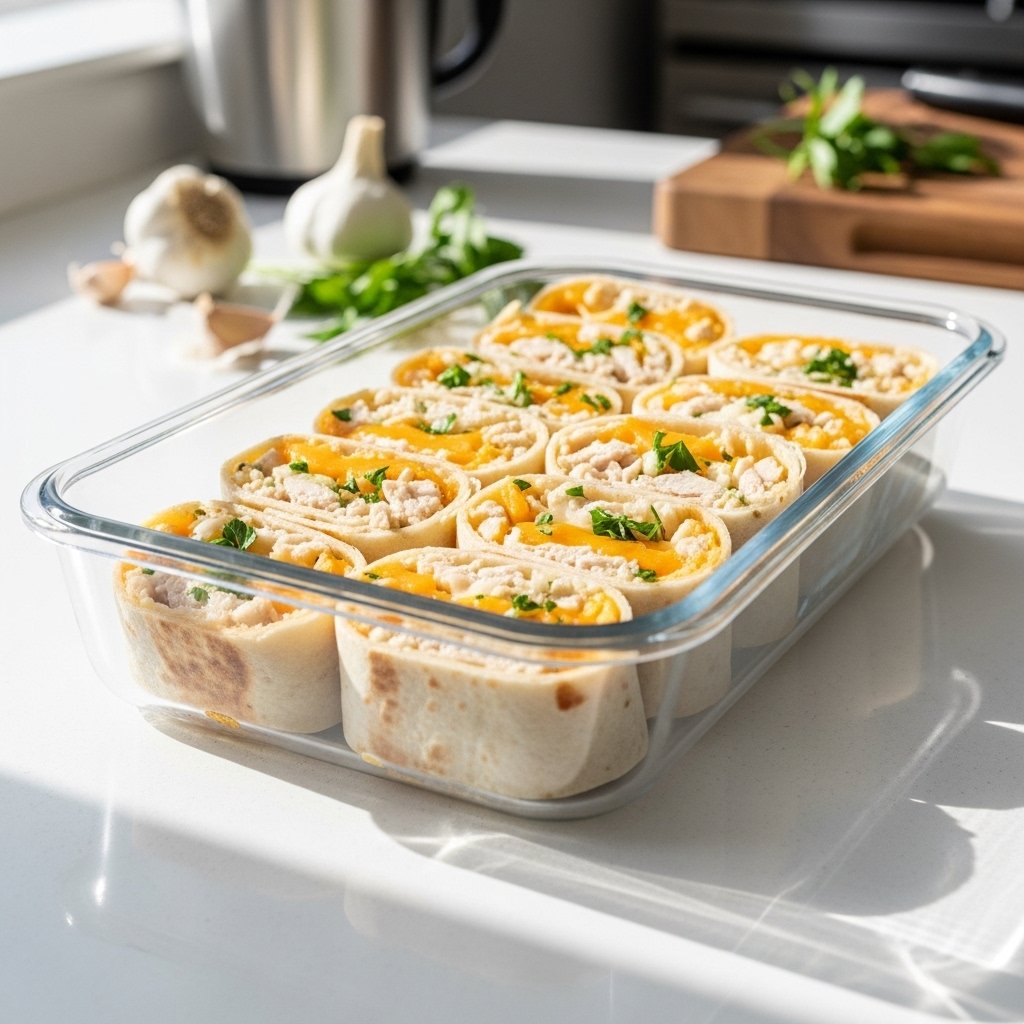
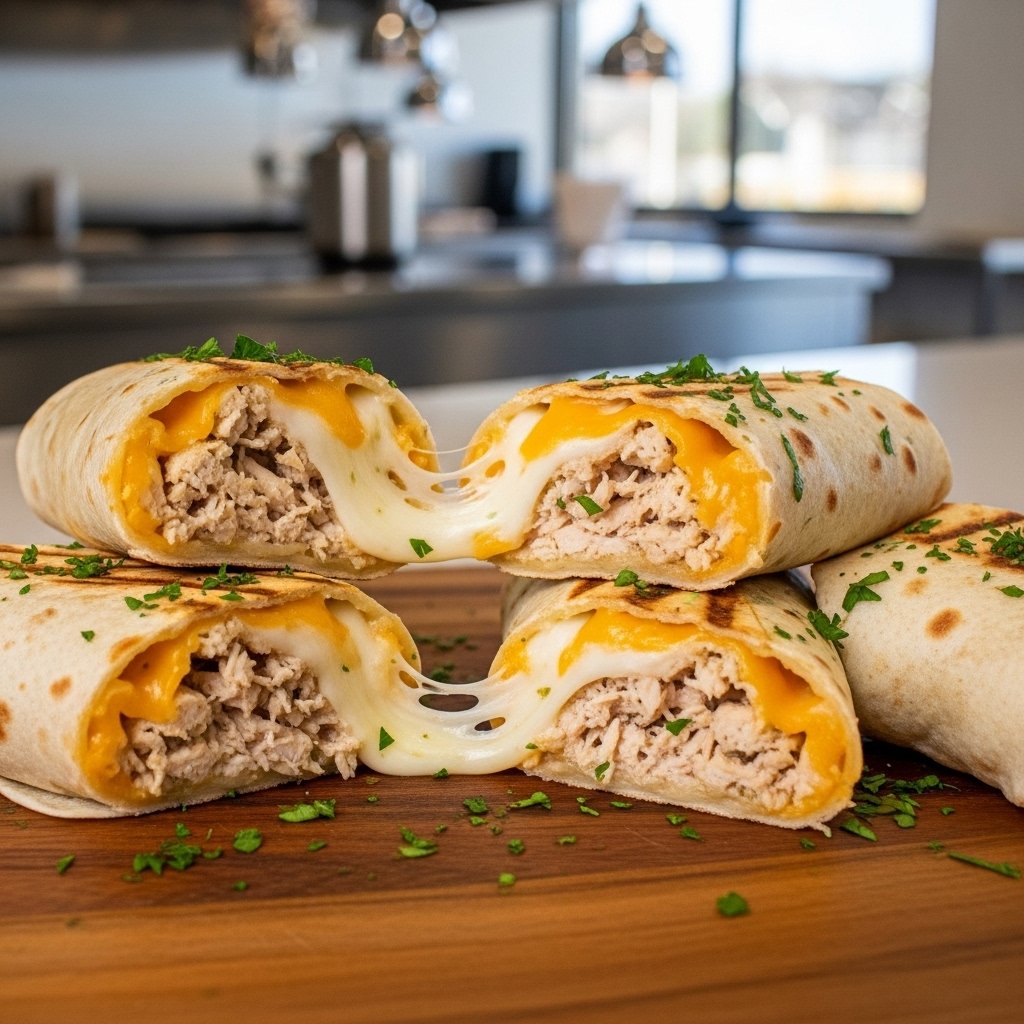
Step 5: Slice and Serve
Remove from heat, let rest briefly, then slice in half and serve warm for the best texture and flavor.
Tips for Perfect Cheesy Garlic Chicken Wraps
To make the best cheesy garlic chicken wraps, keep these tips in mind:
- Don’t burn the garlic—cook it briefly
- Use freshly shredded cheese for better melting
- Avoid overfilling the wraps
- Toast wraps for added texture
- Let them rest before slicing
These simple tips ensure perfect results every time.
Variations to Try
Switch things up with these ideas:
Spicy Version
- Add chili flakes or jalapeños
Healthier Option
- Use whole wheat or low-carb wraps
- Swap mayo for Greek yogurt
Extra Flavor
- Add caramelized onions
- Include roasted peppers
These variations keep the recipe exciting and versatile.
What to Serve With Cheesy Garlic Chicken Wraps
These wraps pair well with:
- Fresh green salad
- French fries or sweet potato fries
- Tomato soup
- Pickles
They’re perfect for lunch, dinner, or even casual gatherings.
Storage and Reheating Tips
These cheesy garlic chicken wraps are great for leftovers.
Storage
- Refrigerate up to 3 days
Reheating
- Use a skillet for crispiness
- Microwave for quick reheating
Common Mistakes to Avoid
Avoid these pitfalls:
- Overcooking the chicken
- Burning the garlic
- Using too much filling
- Skipping the toasting step
Paying attention to these details improves both texture and flavor.
Frequently Asked Questions
Can I make these wraps ahead of time?
Yes, they’re great for meal prep.
What’s the best cheese to use?
Mozzarella and cheddar work best.
Can I make them healthier?
Yes, use low-carb wraps and Greek yogurt.
Can I freeze them?
Yes, but texture may change slightly after reheating.
Can I use pre-cooked chicken?
Absolutely, it saves time and works perfectly.
Final Thoughts
These cheesy garlic chicken wraps are the perfect combination of comfort, flavor, and convenience. They’re easy to make, endlessly customizable, and guaranteed to satisfy your cravings.
Whether you’re preparing a quick lunch or a cozy dinner, this recipe delivers big flavor with minimal effort. Once you try it, it’s sure to become a regular in your kitchen rotation.