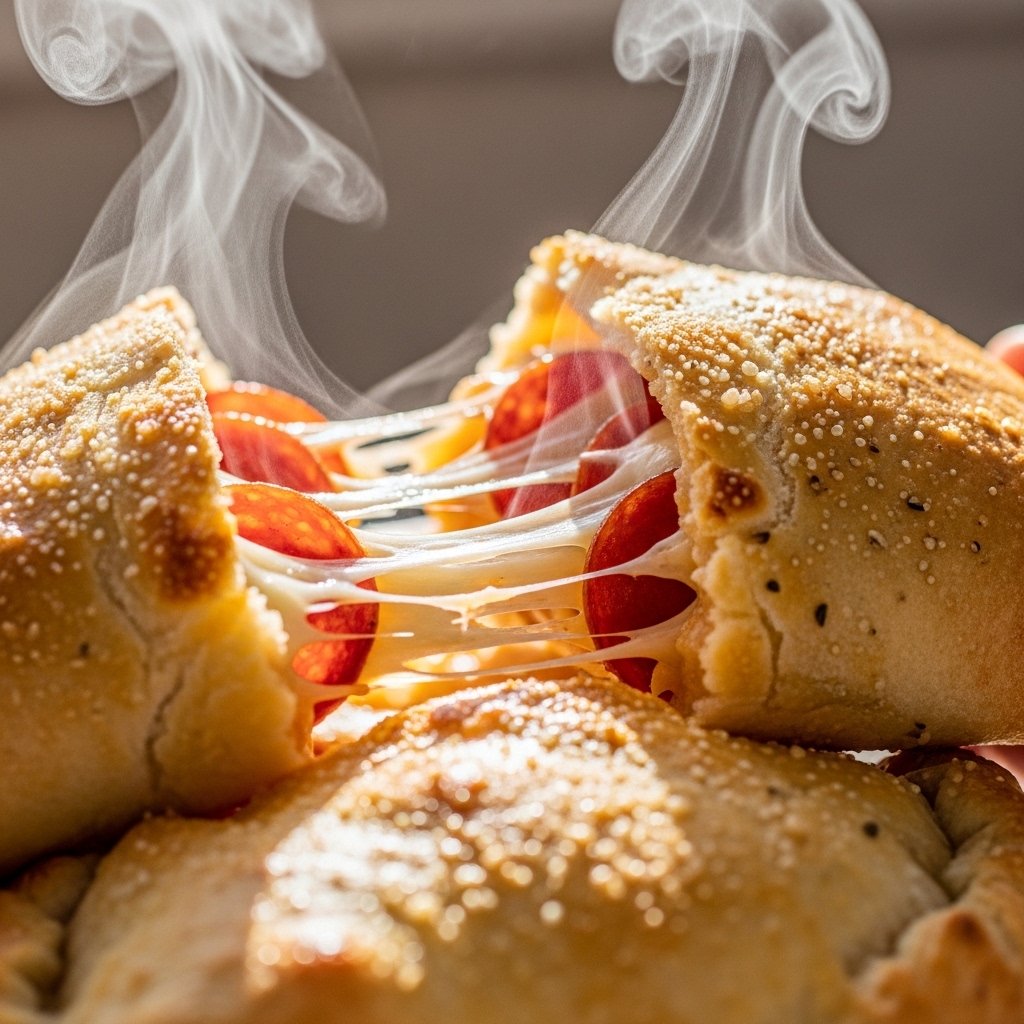
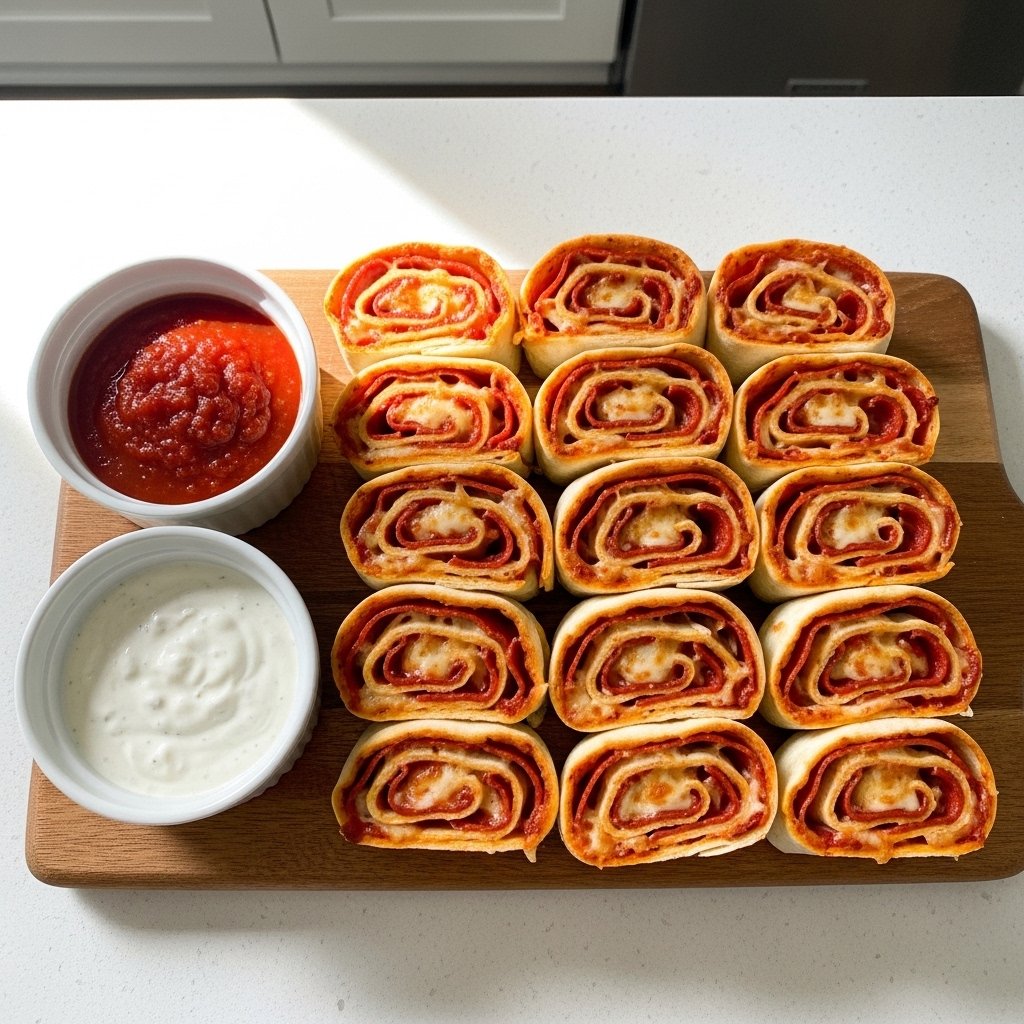
If you’re looking for a quick, kid-friendly meal that’s both fun and delicious, these Tortilla Pizza Rolls That Make Lunchtime Fun and Fuss-Free for Kids are about to become your new go-to recipe. They combine everything kids love about pizza—gooey cheese, savory sauce, and tasty toppings—wrapped in a soft tortilla and baked or pan-toasted to crispy perfection.
Perfect for busy school days, weekend lunches, or even after-school snacks, these tortilla pizza rolls are incredibly easy to make and require minimal prep. Even better, they’re customizable, so you can adapt them to suit picky eaters or adventurous little foodies alike.
Whether you’re packing lunchboxes or serving a warm meal at home, these tortilla pizza rolls make lunchtime exciting without any stress.

Why You’ll Love This Recipe
These Tortilla Pizza Rolls That Make Lunchtime Fun and Fuss-Free for Kids check all the boxes for a perfect meal:
- Quick and easy to prepare
- Kid-approved flavors
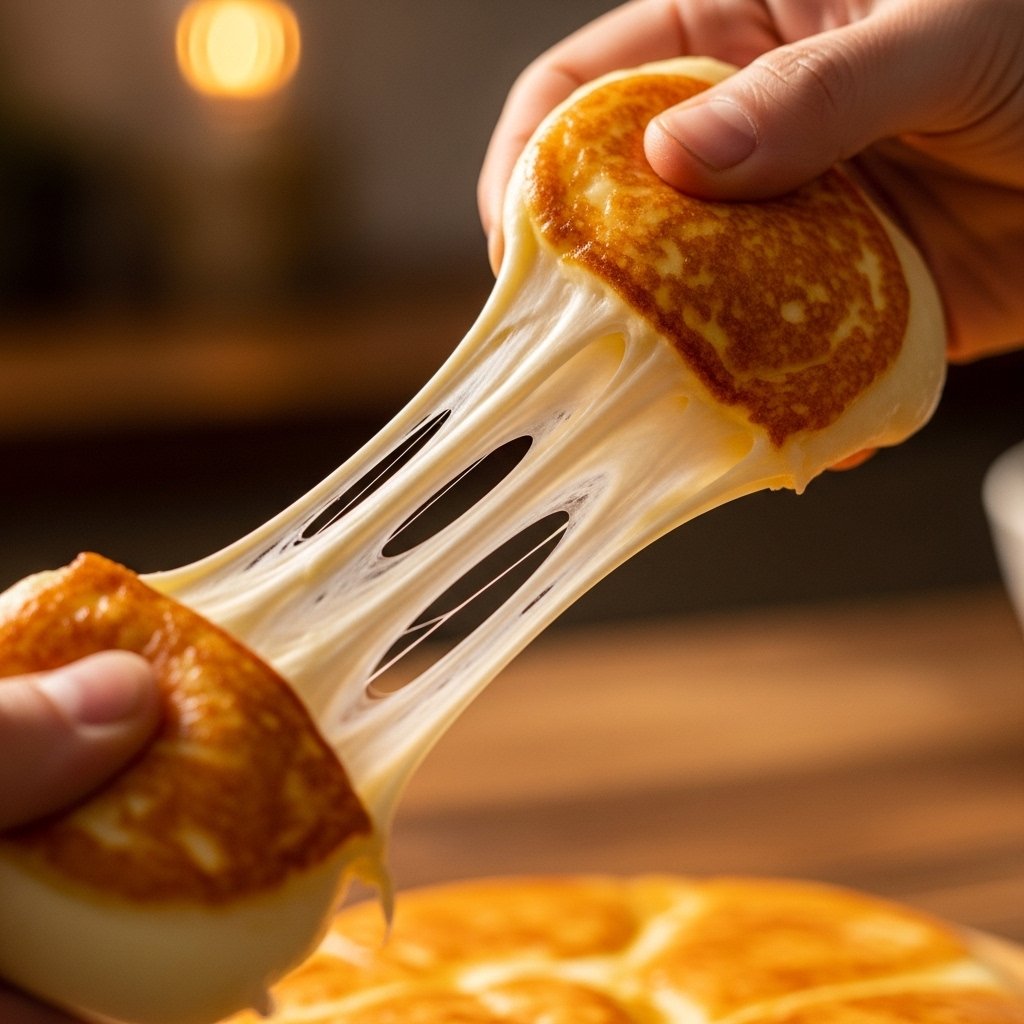
- Crispy on the outside, cheesy on the inside
- Perfect for lunchboxes or snacks
- Easily customizable with different toppings
They’re the ultimate solution when you need something fast, tasty, and family-friendly.
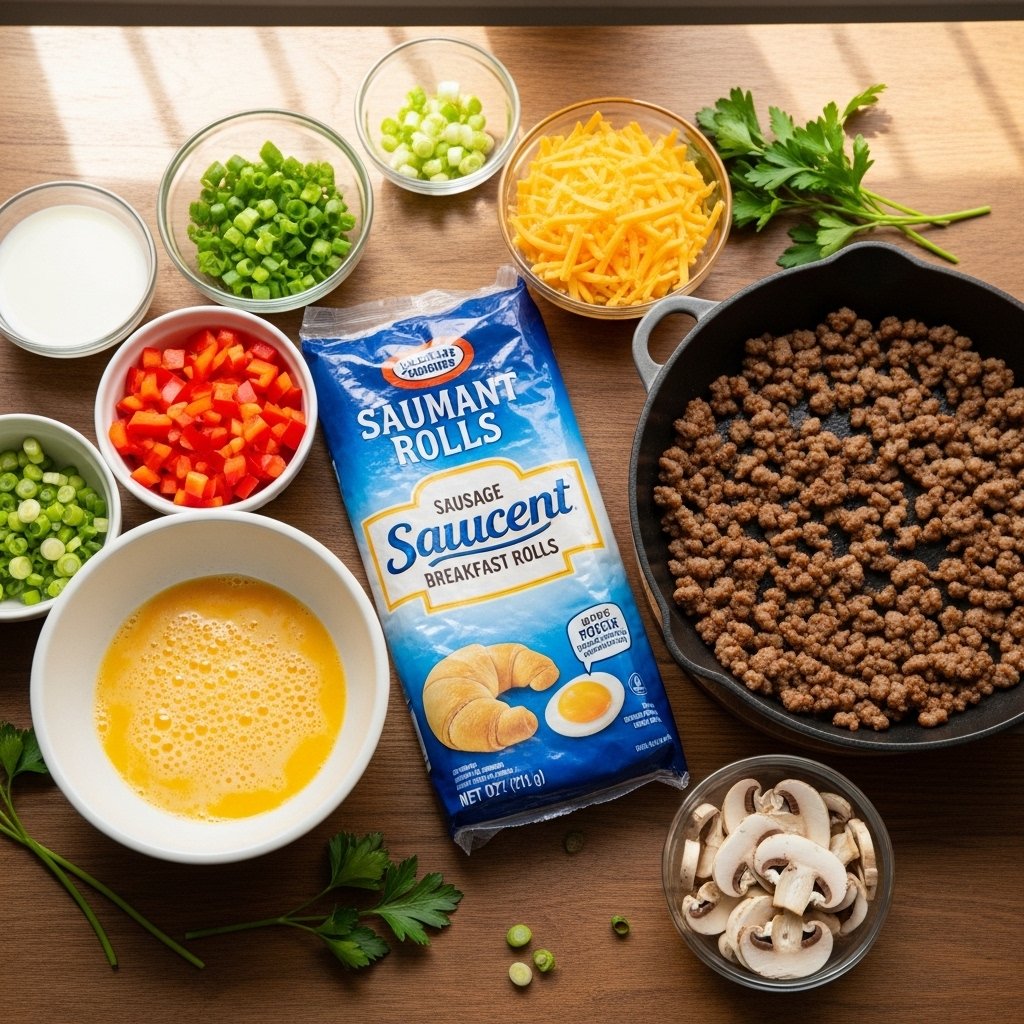
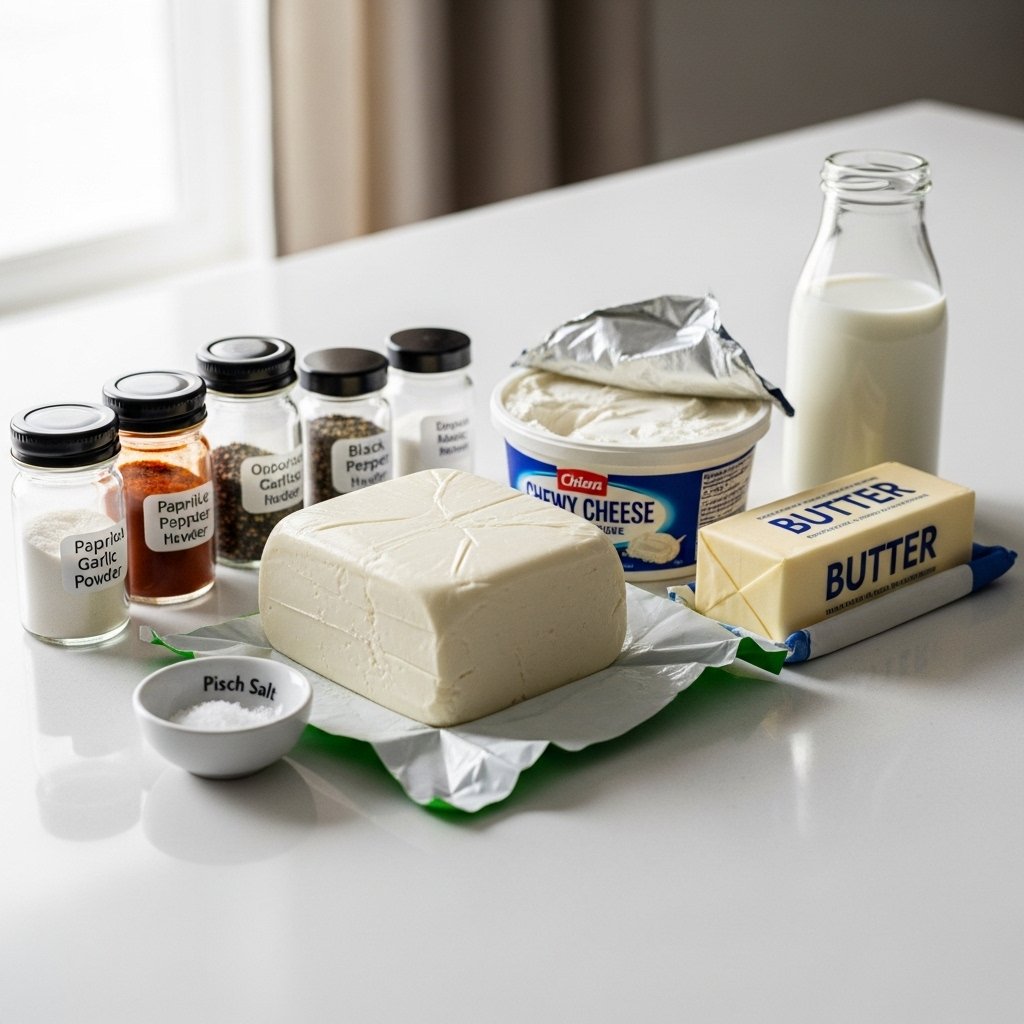
Ingredients
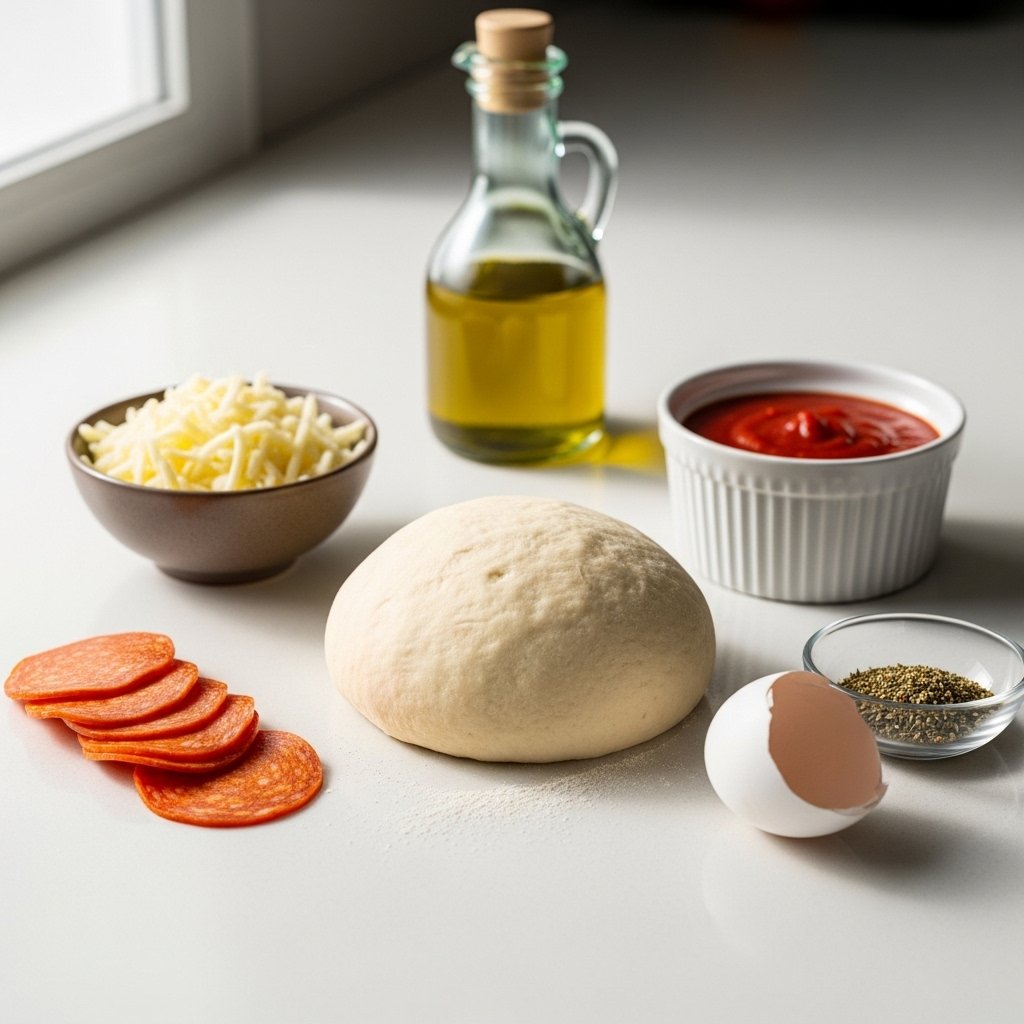
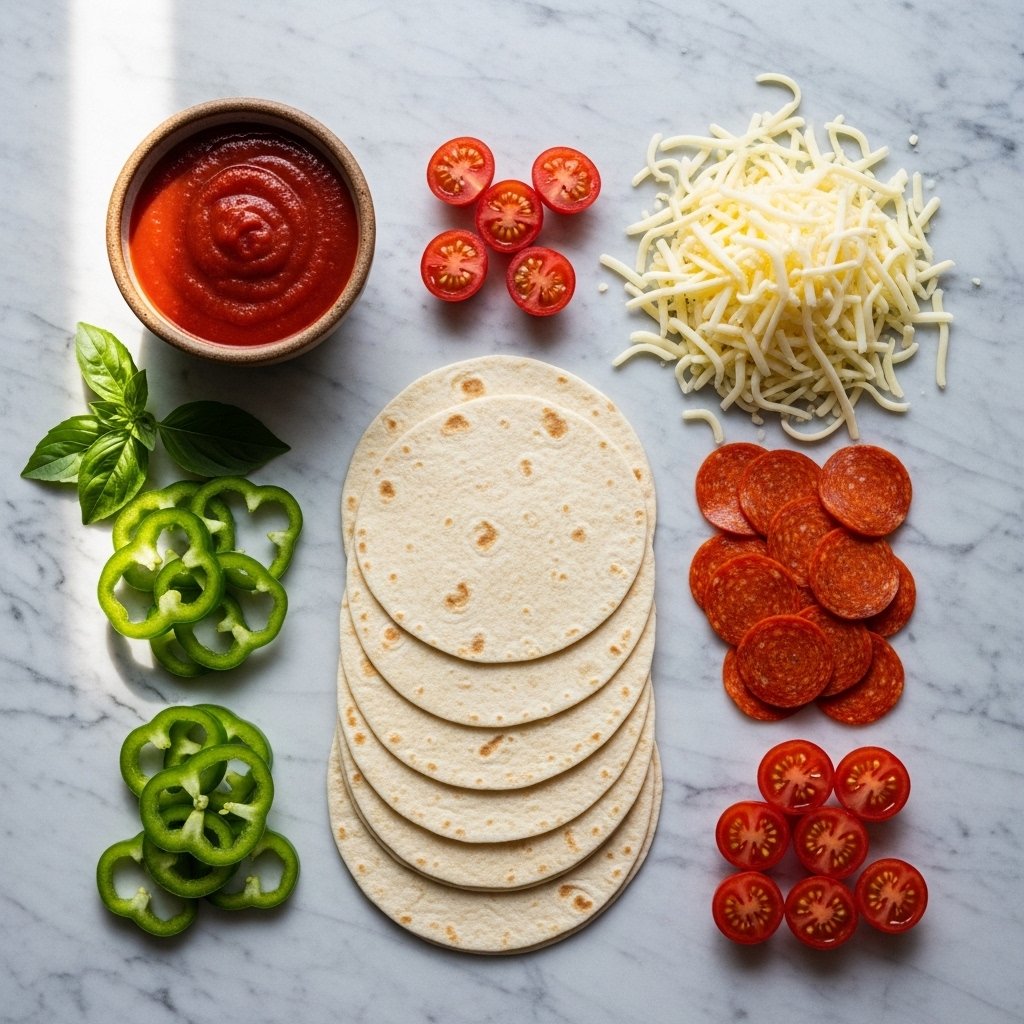
To make these fun Tortilla Pizza Rolls, you’ll need:
- 4 large flour tortillas
- 1 cup pizza sauce
- 1 1/2 cups shredded mozzarella cheese
- 1/2 cup mini pepperoni (or toppings of choice)
- 1 teaspoon Italian seasoning
- 1 tablespoon olive oil or melted butter
Optional toppings:
- Bell peppers
- Olives
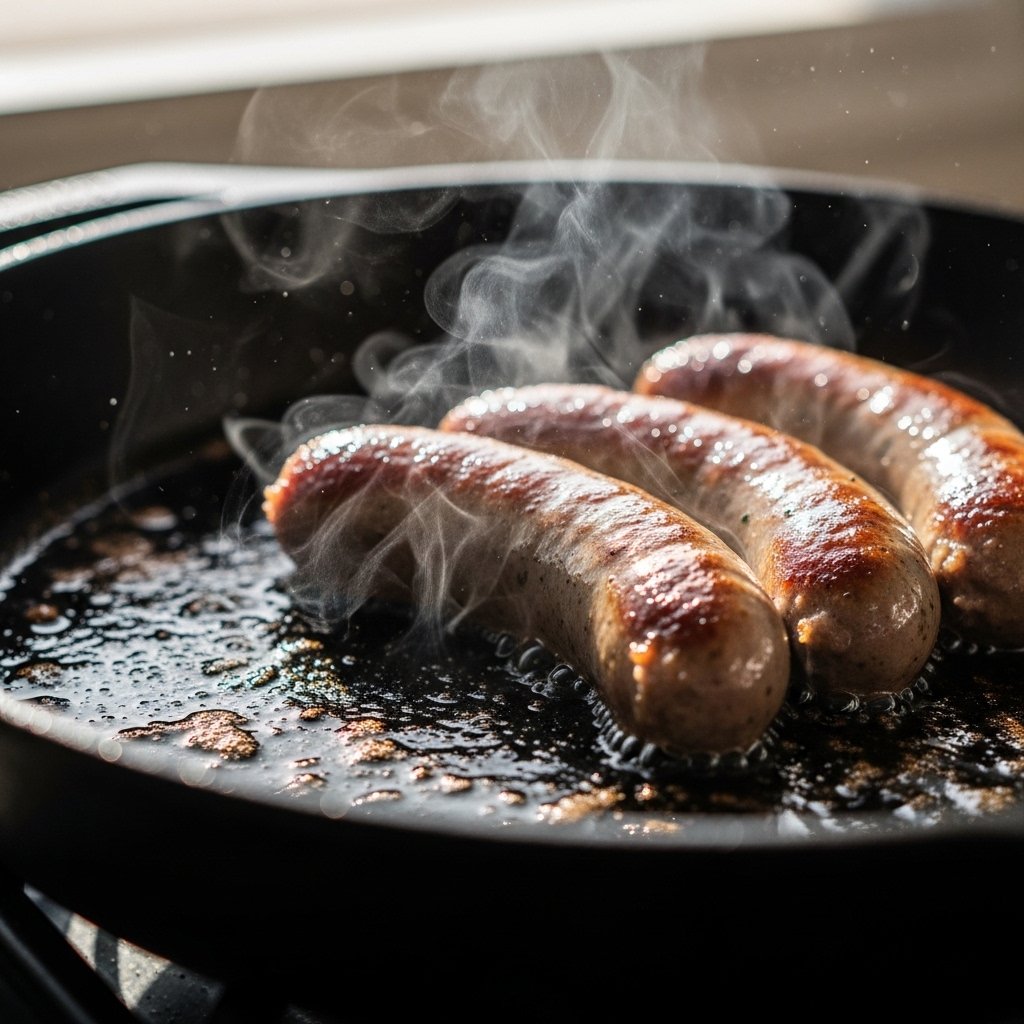
- Cooked sausage
- Mushrooms
Ingredient Notes
The beauty of these Tortilla Pizza Rolls That Make Lunchtime Fun and Fuss-Free for Kids lies in their simplicity. Flour tortillas work best because they roll easily and crisp up nicely when cooked.
Mozzarella cheese is a must for that classic pizza stretch, while pizza sauce adds rich tomato flavor. You can keep it simple with pepperoni or mix in veggies for added nutrition.
Choosing high-quality ingredients ensures the best flavor, even in such a simple recipe.
Step-by-Step Instructions
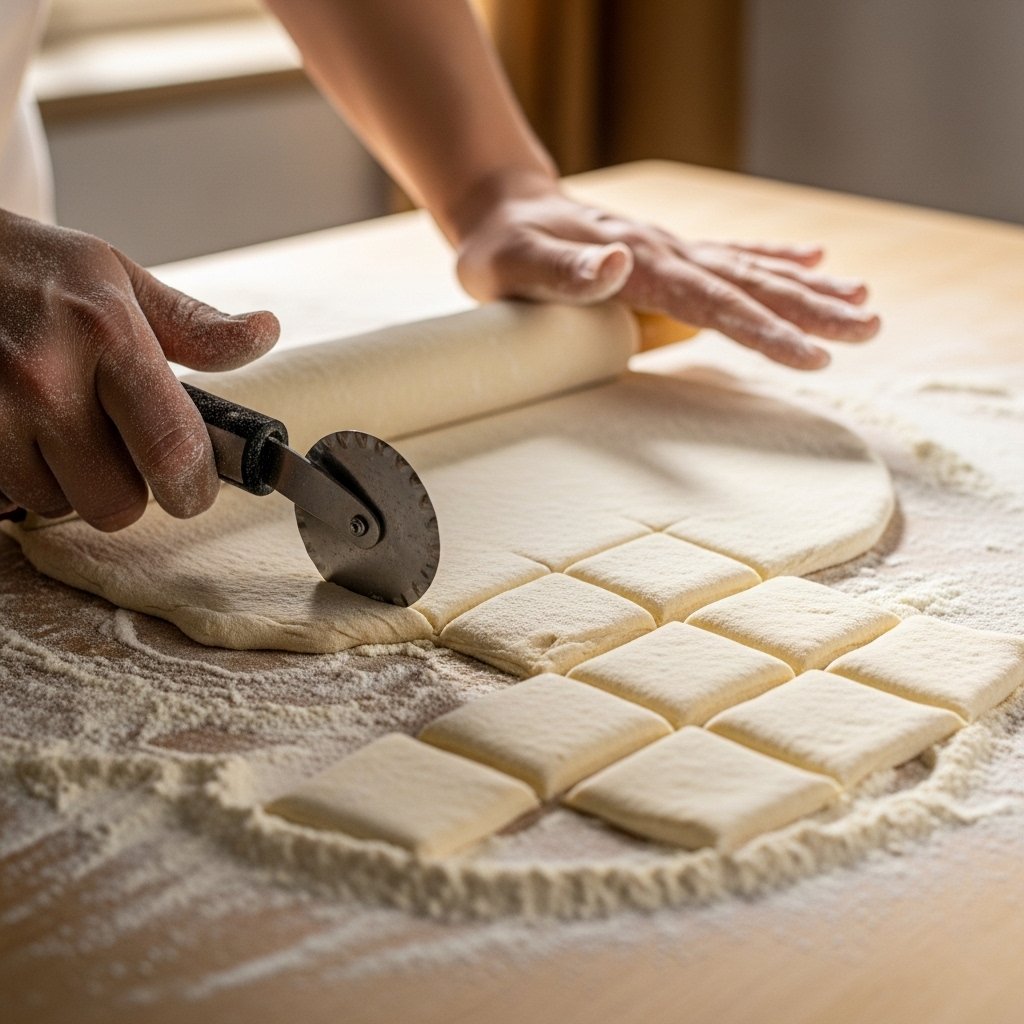
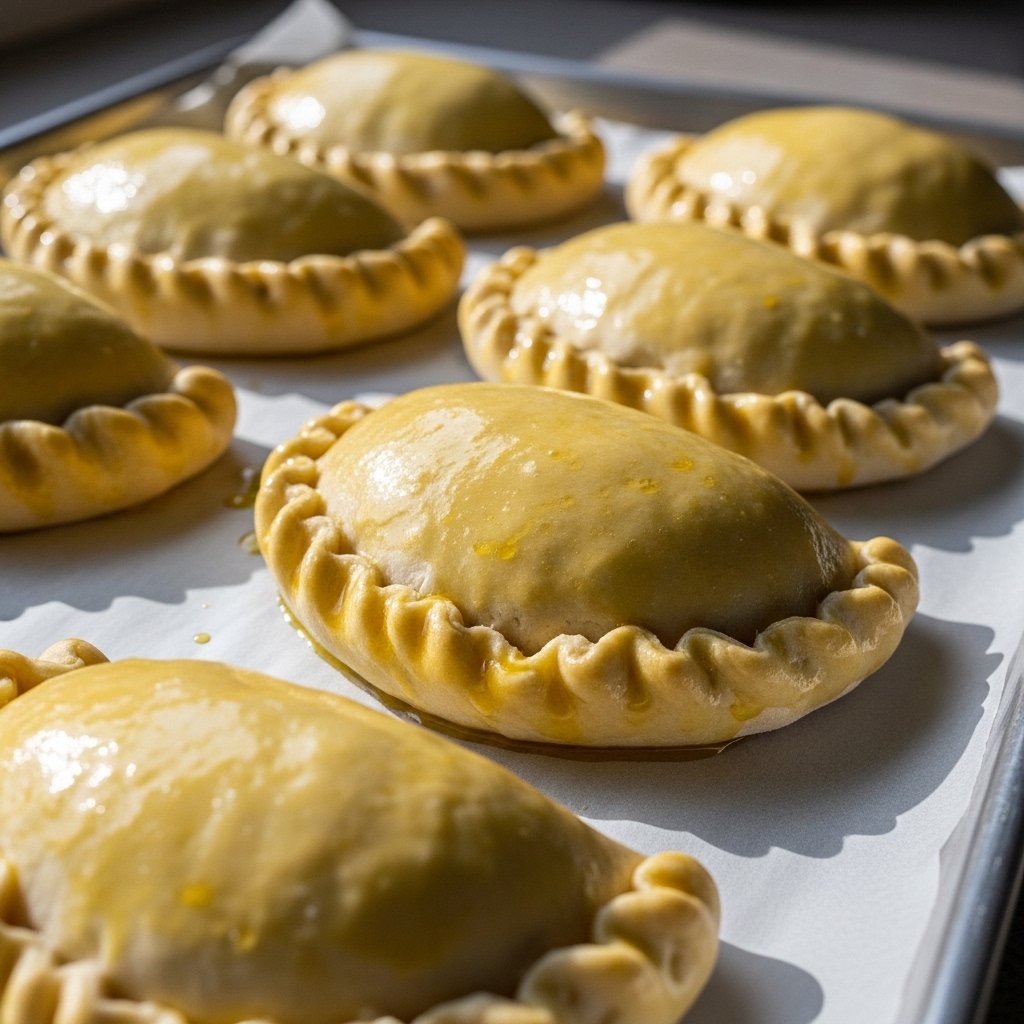
Step 1: Prep the Tortillas
Lay each tortilla flat on a clean surface.

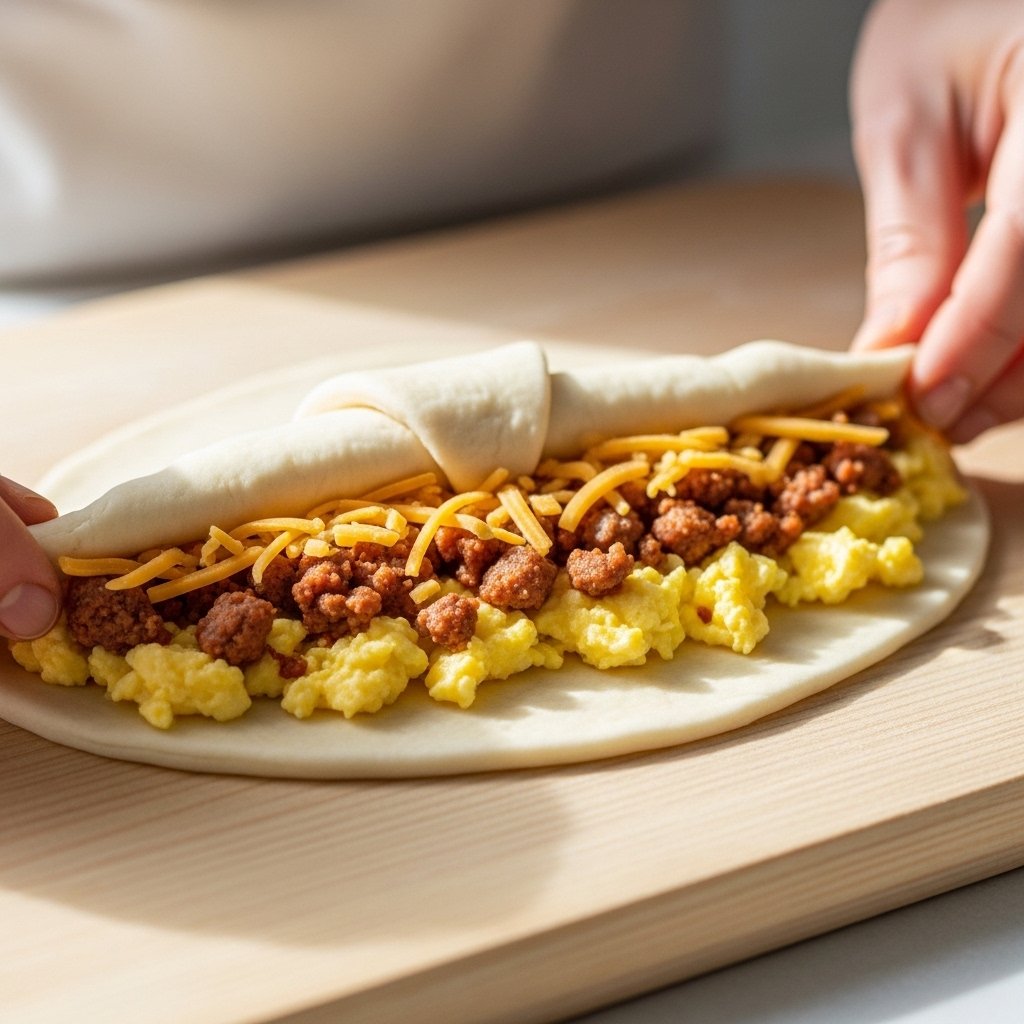
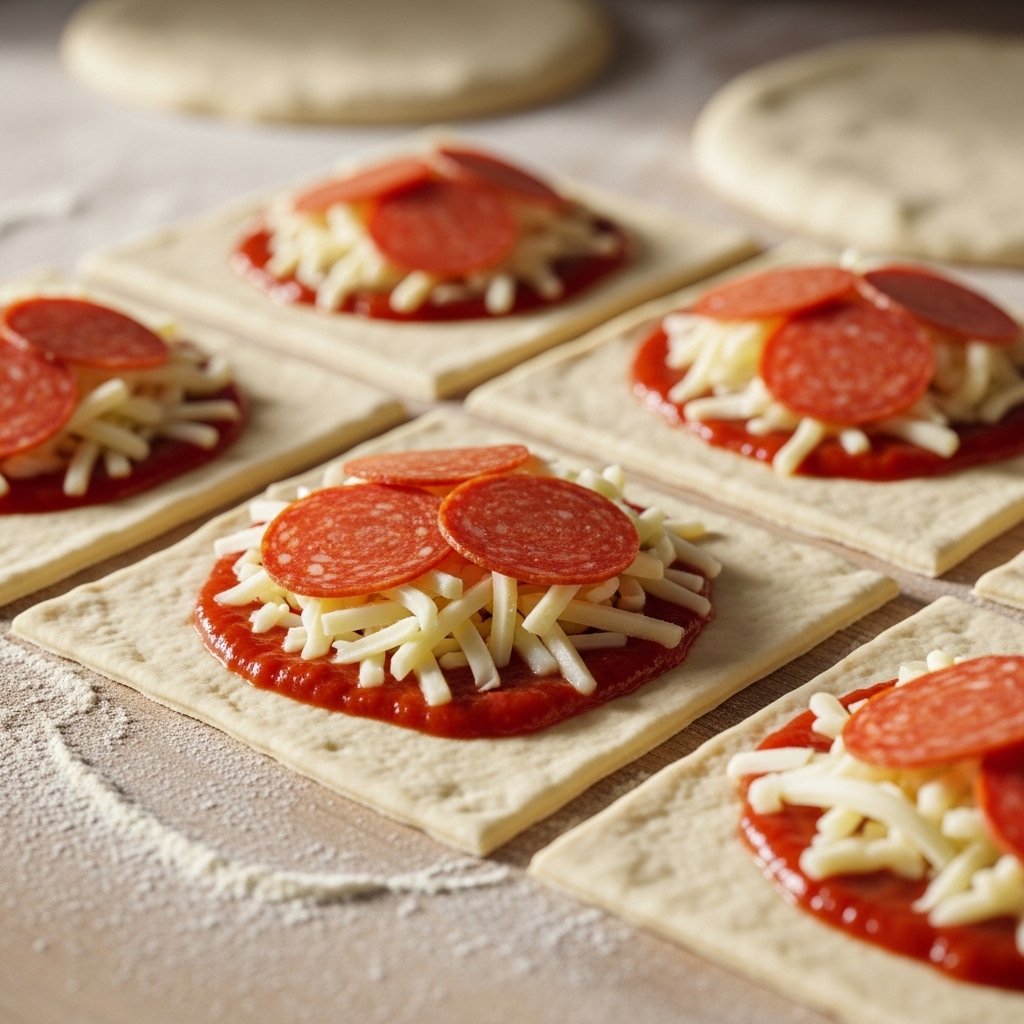
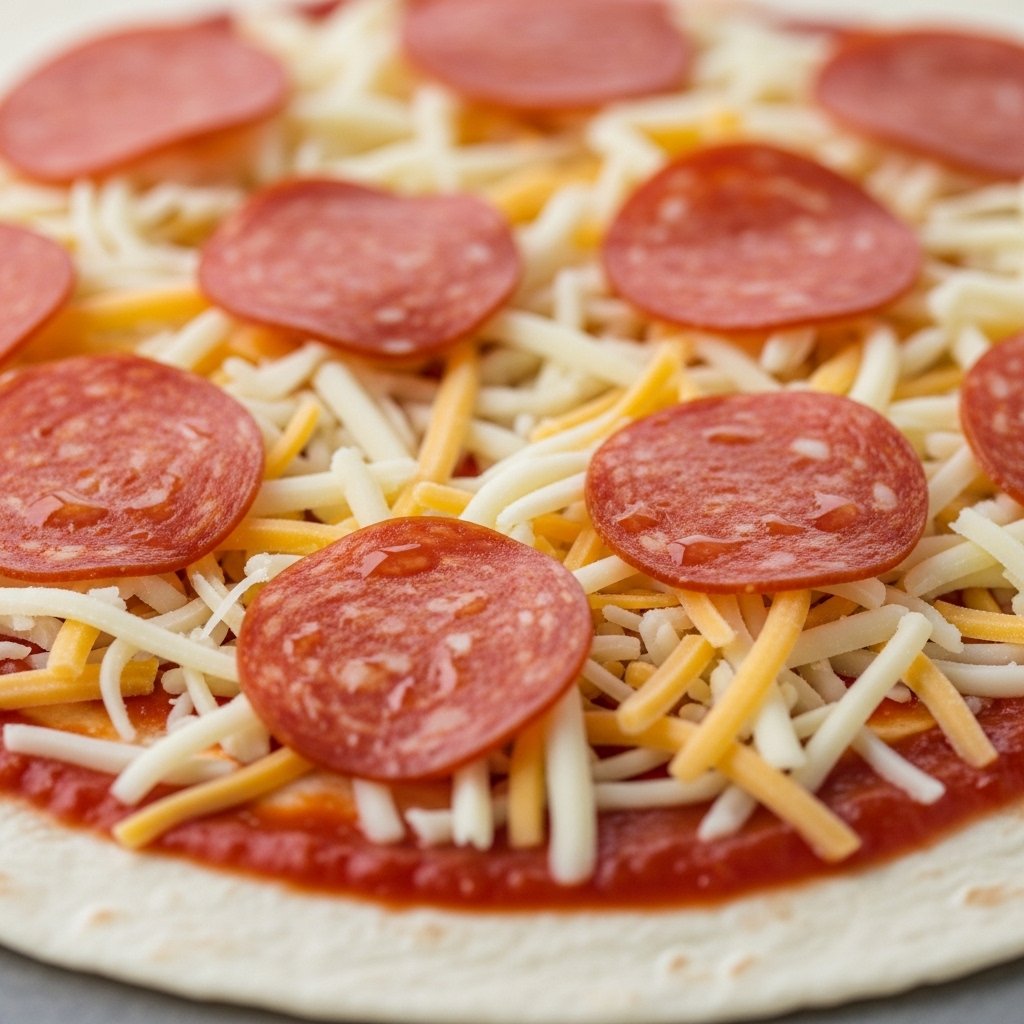
Step 2: Add Sauce and Toppings
Spread a thin layer of pizza sauce over each tortilla, then sprinkle cheese and toppings evenly.
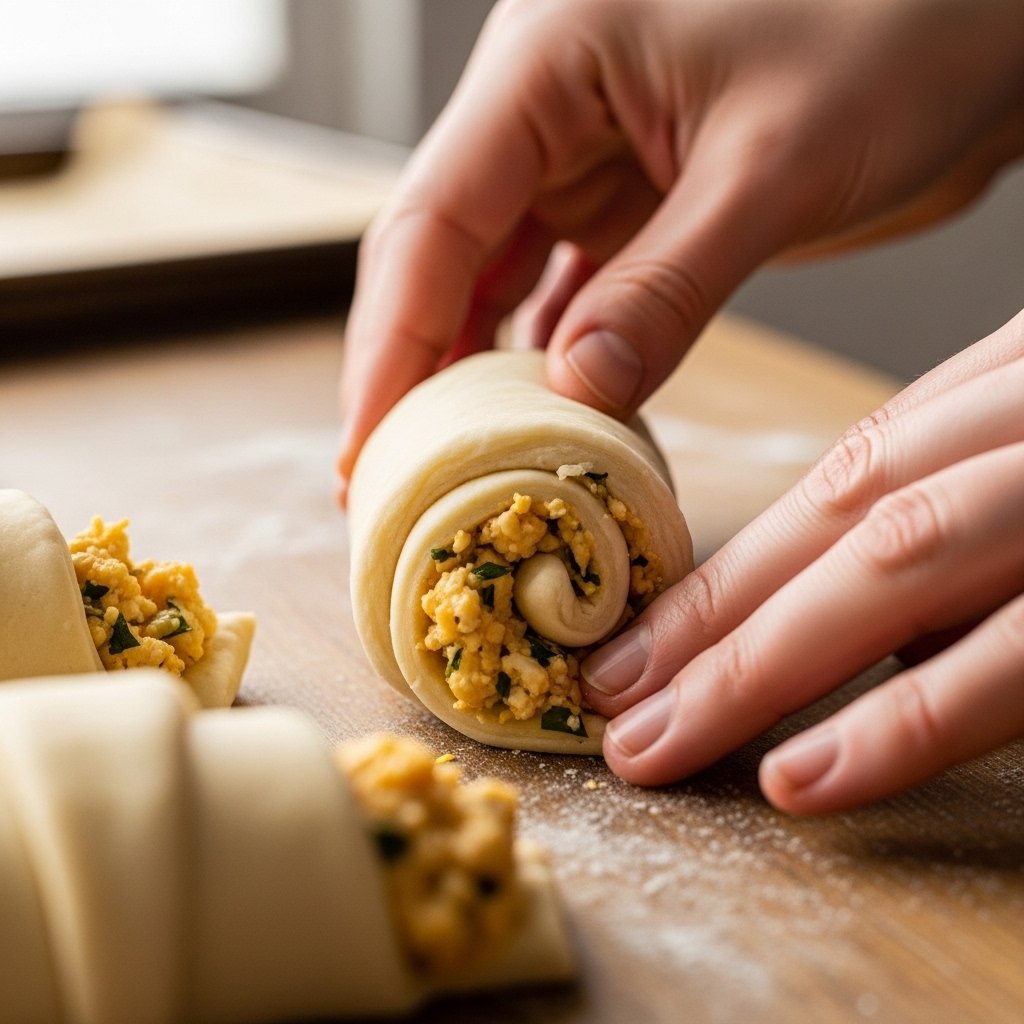
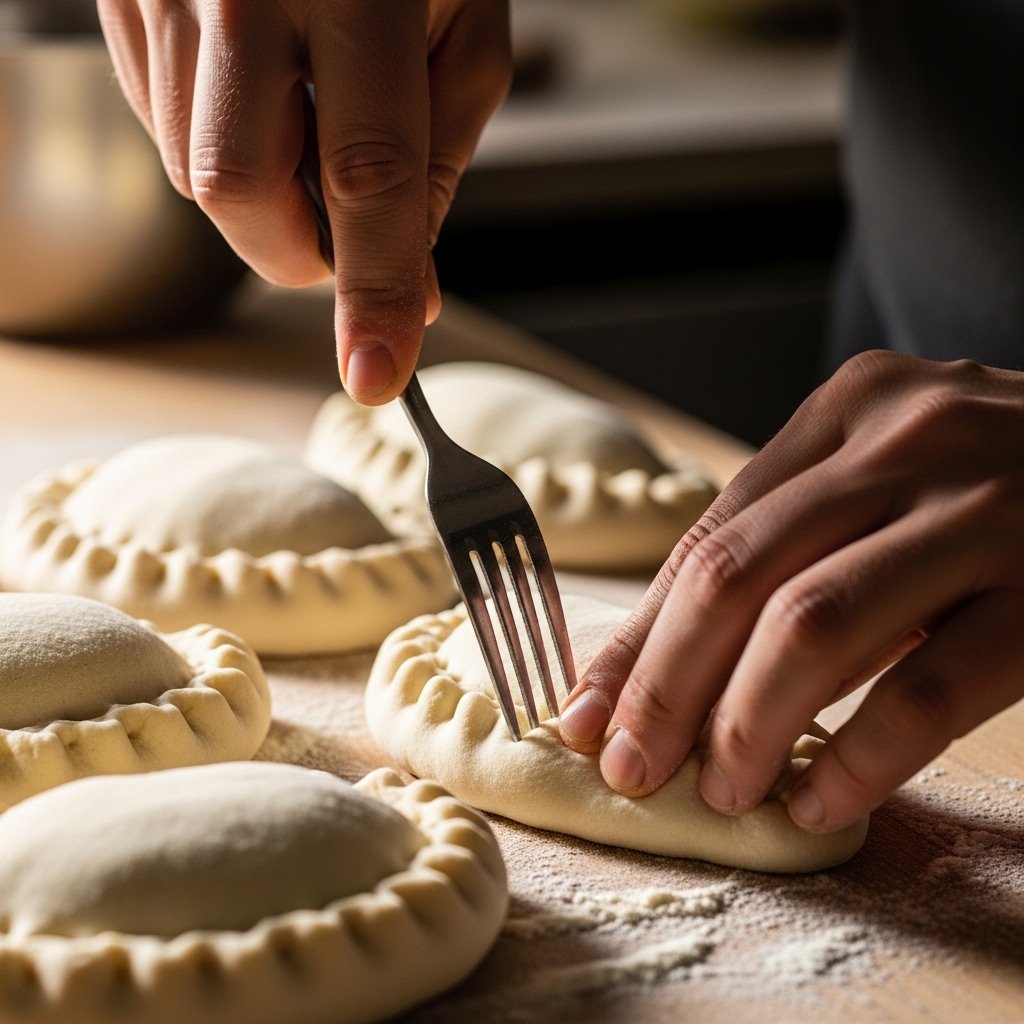
Step 3: Roll Tightly
Roll each tortilla tightly into a log shape.
Step 4: Slice Into Rolls
Cut each rolled tortilla into bite-sized pieces.

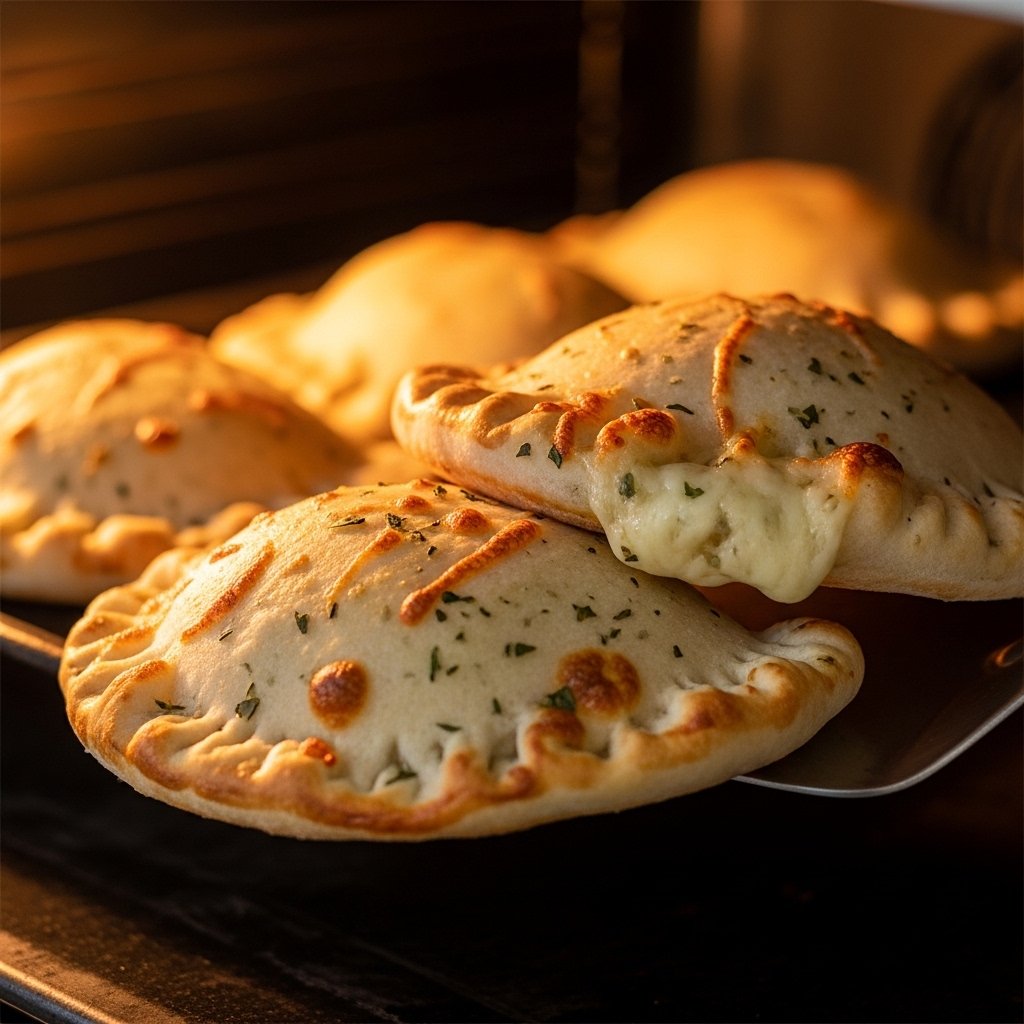
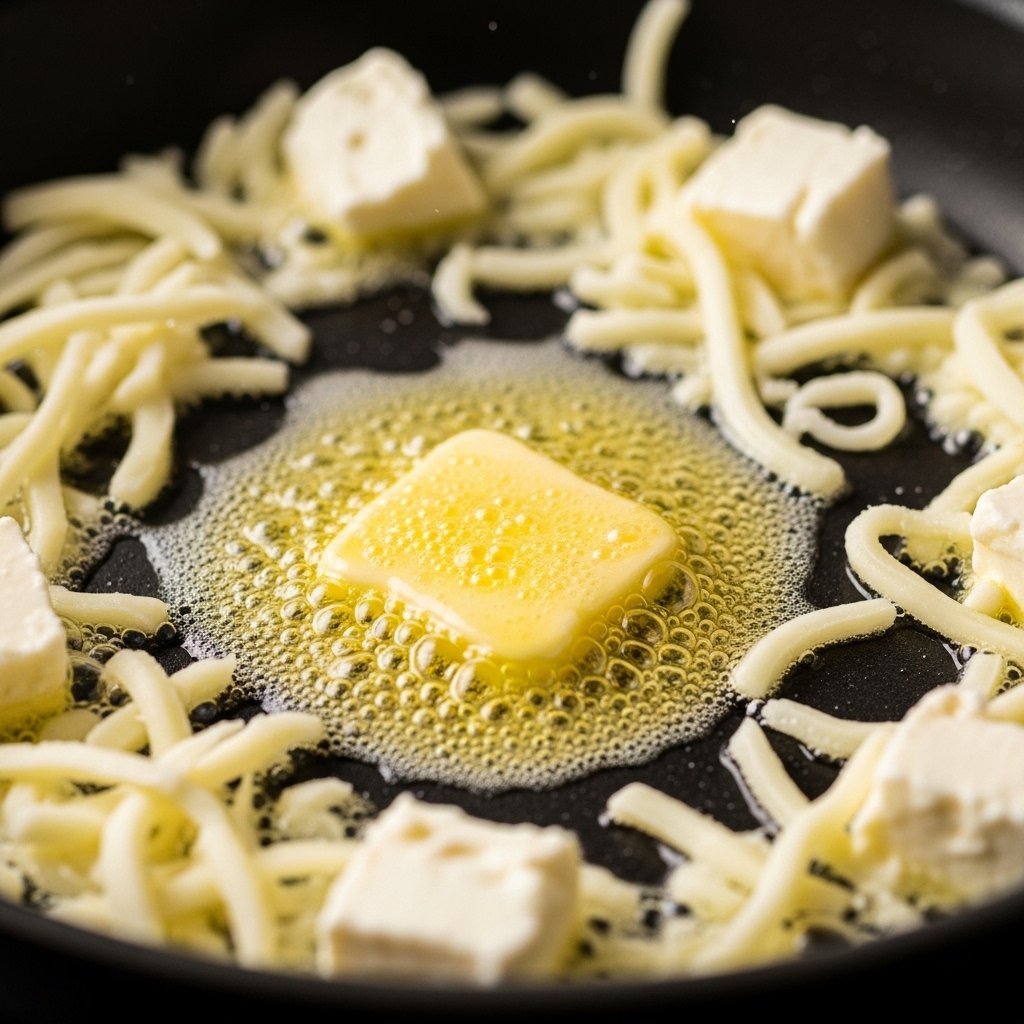
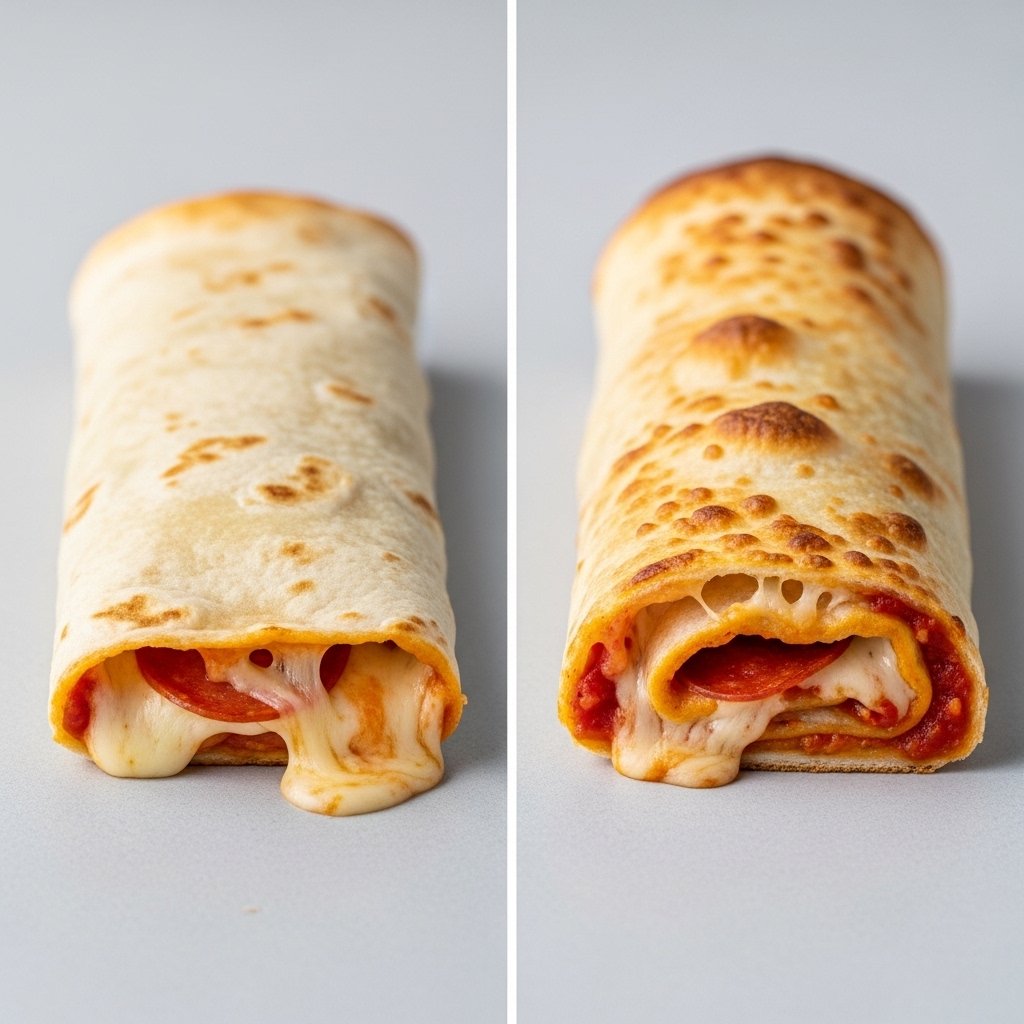
Step 5: Cook Until Crispy
Bake at 400°F for 10–12 minutes or pan-cook until golden and crispy.

Tips for Perfect Results
For the best Tortilla Pizza Rolls That Make Lunchtime Fun and Fuss-Free for Kids, follow these tips:
- Don’t overfill the tortillas
- Roll tightly to prevent unwrapping
- Use just enough sauce to avoid sogginess
- Preheat your oven for even cooking
- Brush with oil or butter for extra crispiness
These small steps ensure perfectly crispy, cheesy rolls every time.

Variations
You can easily customize these Tortilla Pizza Rolls:
- Make a veggie version with spinach and mushrooms
- Add cooked chicken for extra protein
- Use BBQ sauce instead of pizza sauce
- Try different cheeses like cheddar or provolone
- Make a breakfast version with eggs and bacon
These variations keep the recipe exciting and adaptable for any taste.

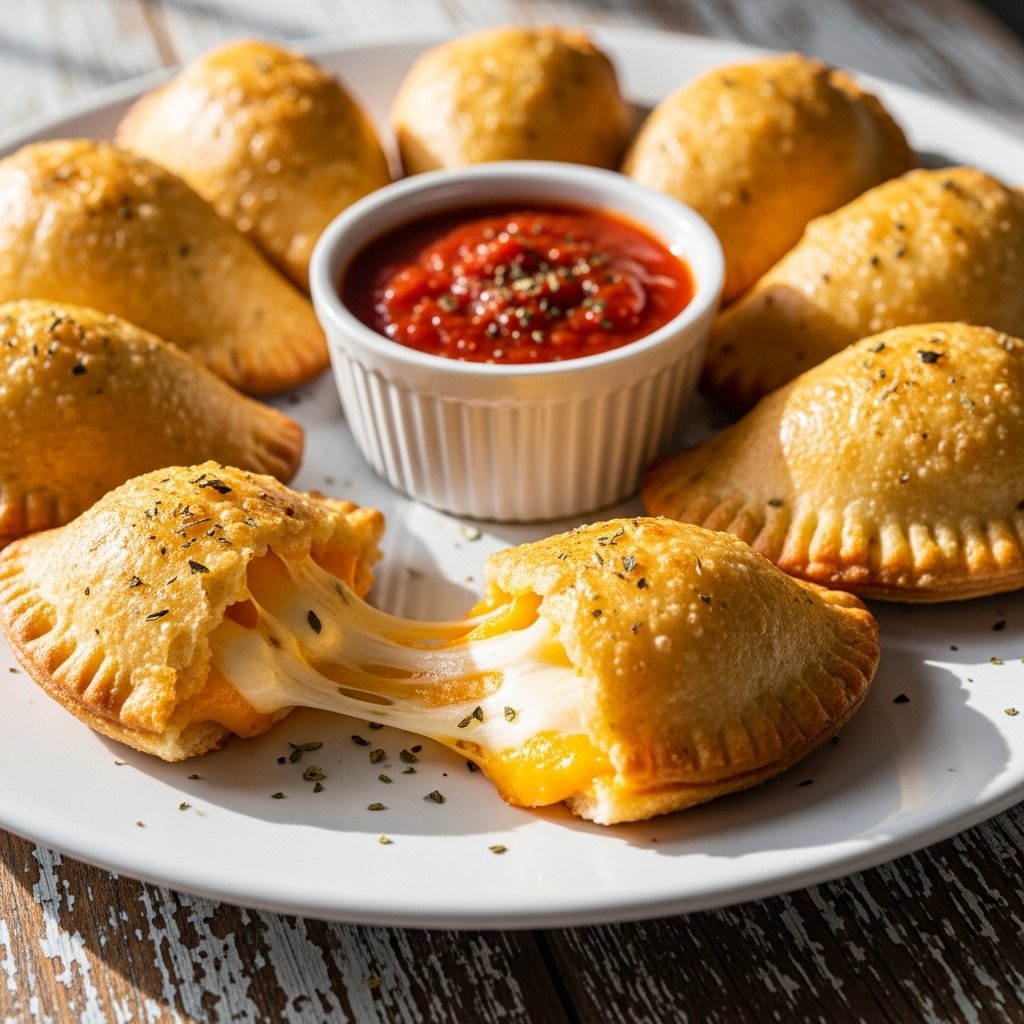
What to Serve With It
Pair these Tortilla Pizza Rolls That Make Lunchtime Fun and Fuss-Free for Kids with:
- Marinara or ranch dipping sauce
- Fresh fruit or veggie sticks
- A simple green salad
- Yogurt or smoothies
- Juice or milk for kids
These sides turn a simple snack into a complete meal.

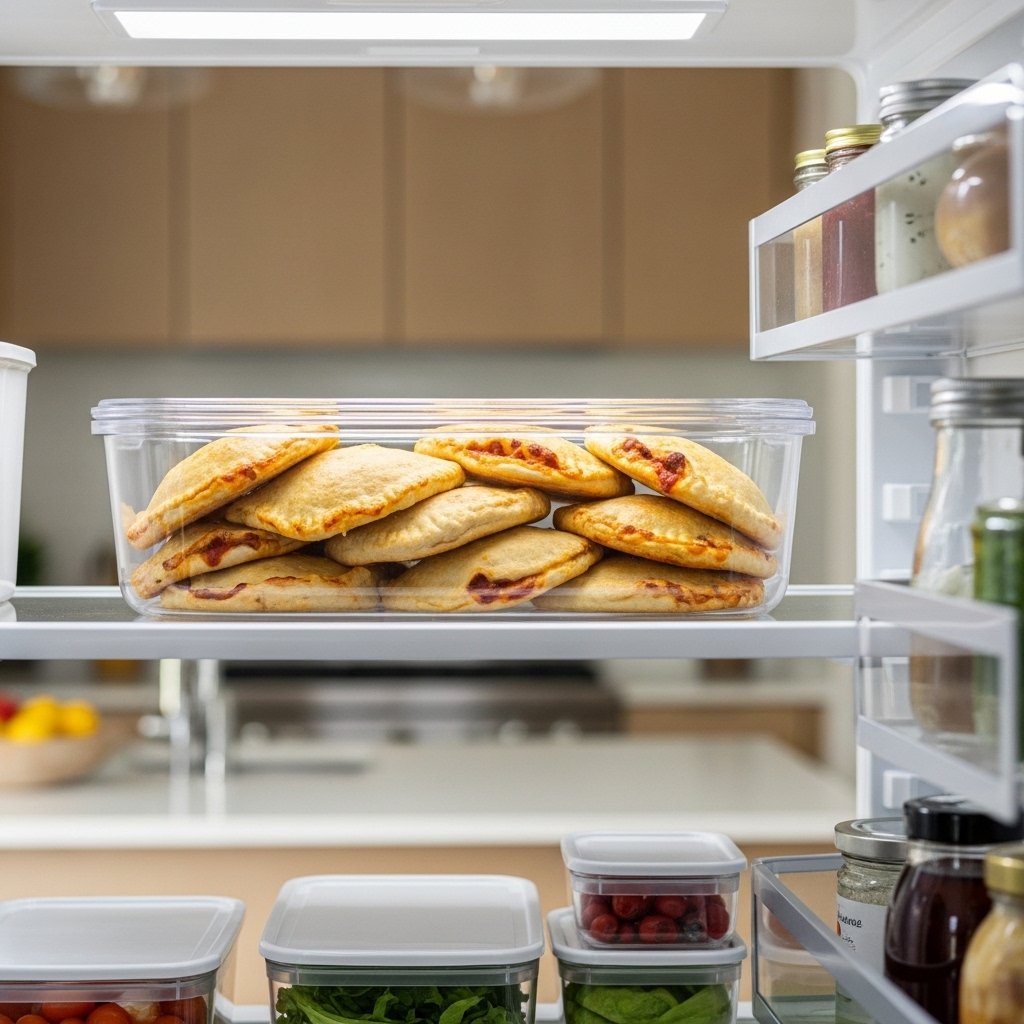
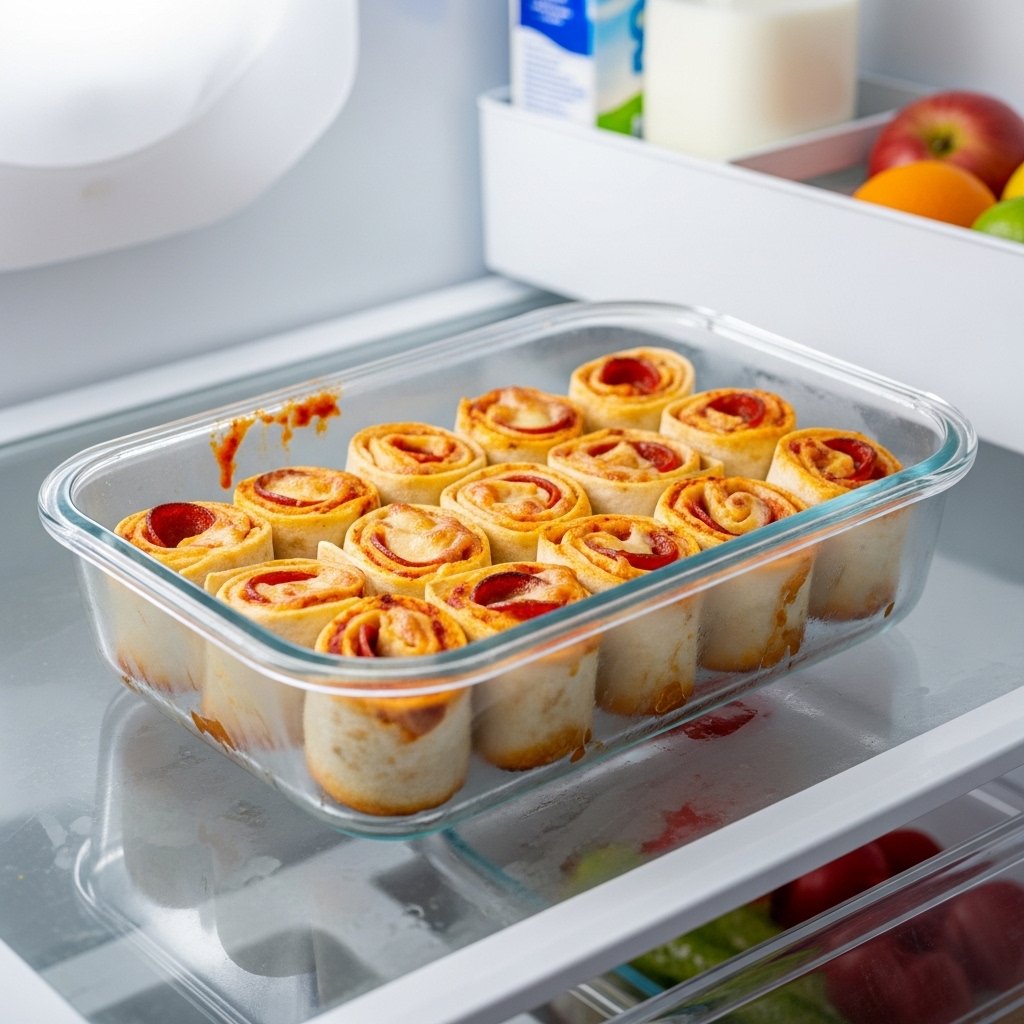
Storage & Reheating
To store your Tortilla Pizza Rolls:
- Keep in an airtight container in the fridge for up to 3 days
- Reheat in oven or air fryer for crispiness
- Avoid microwaving too long to prevent sogginess
- Freeze for up to 1 month for quick meals
These are perfect for prepping ahead of busy days.
Common Mistakes
Avoid these mistakes when making Tortilla Pizza Rolls That Make Lunchtime Fun and Fuss-Free for Kids:
- Using too much sauce
- Not rolling tightly
- Overcrowding the baking tray
- Skipping preheating
- Overcooking and drying them out
Keeping these in mind ensures perfect results every time.
FAQs
1. Can I make tortilla pizza rolls ahead of time?
Yes! Prepare and refrigerate before baking, then cook when ready.
2. Can I freeze them?
Absolutely. Freeze before or after cooking and reheat as needed.
3. What’s the best cheese to use?
Mozzarella is best, but blends work great too.
4. Are these good for lunchboxes?
Yes! They taste great warm or at room temperature.
Final Thoughts
These Tortilla Pizza Rolls That Make Lunchtime Fun and Fuss-Free for Kids are the perfect solution for busy parents and hungry kids. They’re quick, customizable, and packed with flavor—everything you want in a stress-free meal.
With minimal prep and endless variation options, this recipe proves that lunchtime doesn’t have to be boring or complicated. Once you try these tortilla pizza rolls, they’ll quickly become a family favorite you’ll make again and again.