When you need a comforting dinner that’s simple, satisfying, and packed with flavor, these 5-ingredient beef enchiladas are the answer. This recipe proves that you don’t need a long grocery list to make a meal that tastes rich, hearty, and homemade. With seasoned ground beef, enchilada sauce, tortillas, and plenty of melty cheese, this dish comes together quickly and bakes into bubbling perfection.
What makes these beef enchiladas so appealing is how effortless they are. They’re ideal for busy weeknights, meal prep, or feeding a hungry family without spending hours in the kitchen. The tortillas soak up the savory sauce, the beef filling stays juicy, and the cheese creates that irresistible golden top layer everyone loves.
Why You’ll Love These 5-Ingredient Beef Enchiladas
This recipe is everything a weeknight dinner should be: easy, filling, and full of flavor.
What Makes This Recipe So Good
- Only 5 simple ingredients
- Family-friendly and crowd-pleasing
- Minimal prep required
- Cheesy and comforting
- Great for leftovers
- Budget-friendly
These enchiladas taste like classic comfort food while keeping the cooking process stress-free.
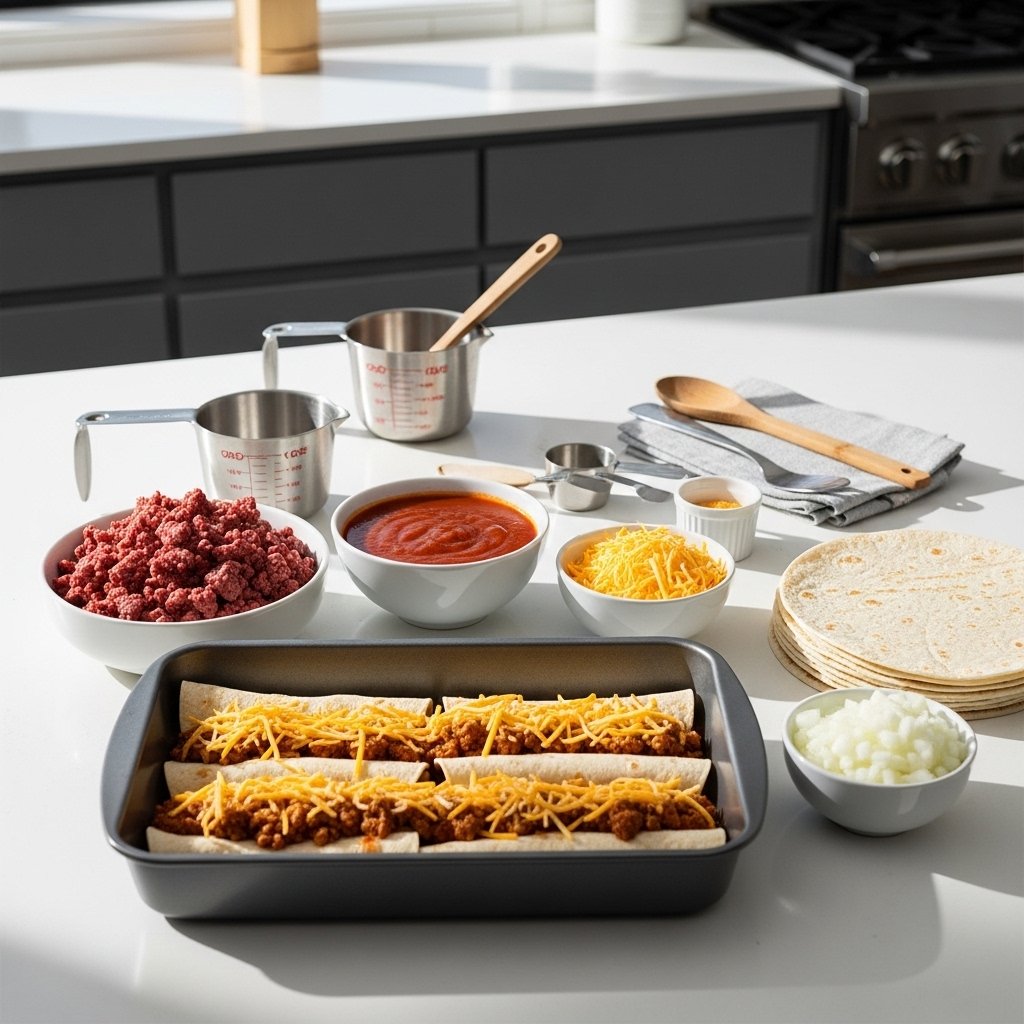
Ingredients for 5-Ingredient Beef Enchiladas
This recipe keeps things wonderfully simple.
You’ll Need:
- 1 pound lean ground beef
- 1 can (10–15 oz) enchilada sauce
- 1 1/2 cups shredded cheddar or Mexican cheese blend
- 8 small flour or corn tortillas
- 1 small onion, finely diced (optional but recommended for flavor)
That’s it. These basic ingredients create a rich, satisfying meal with minimal effort.
Ingredient Notes and Easy Upgrades
Best Beef to Use
Lean ground beef works best because:
- It cooks quickly
- Has great flavor
- Won’t leave too much grease
You can also use:
- Ground turkey
- Shredded rotisserie chicken
- Black beans for vegetarian option
Sauce Tip
Use a quality enchilada sauce because it’s one of the main flavors in the dish.
For extra flavor:
- Add taco seasoning
- Mix in green chiles
- Add garlic powder
Even with just five ingredients, small upgrades can make a difference.
How to Make 5-Ingredient Beef Enchiladas
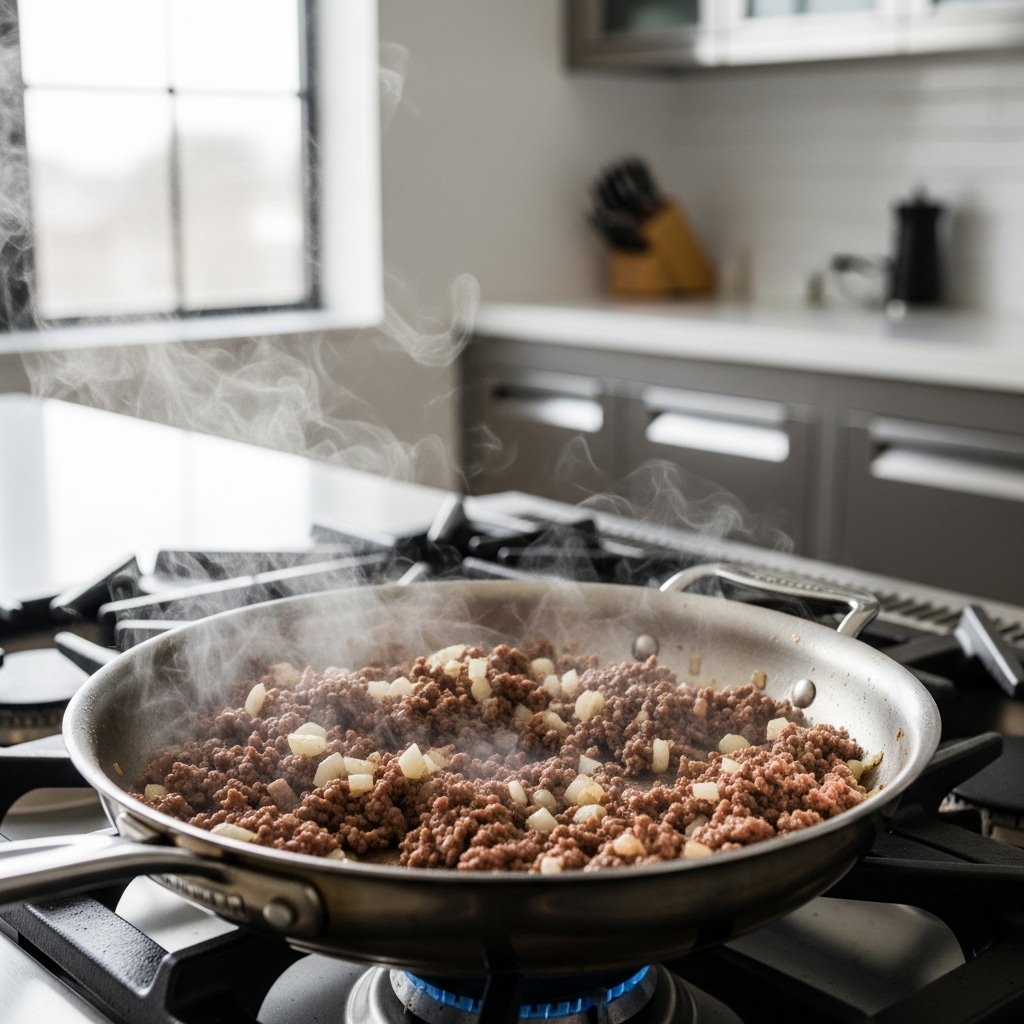
Step 1: Cook the Beef
Preheat oven to 375°F.
In a skillet over medium heat:
- Cook ground beef until browned
- Break it into crumbles
- Add diced onion if using
Drain excess grease.
Stir in a few spoonfuls of enchilada sauce for extra moisture and flavor.
This keeps the filling juicy.
Step 2: Fill and Roll the Enchiladas
Spread a little enchilada sauce in the bottom of a baking dish.
Fill each tortilla with:
- Cooked beef mixture
- Sprinkle of cheese
Roll tightly and place seam-side down in the dish.
Arrange them snugly so they stay together while baking.

Step 3: Add Sauce and Cheese
Pour remaining enchilada sauce evenly over the rolled tortillas.
Top generously with shredded cheese.
This creates:
- Moist enchiladas
- Golden cheesy top
- Rich baked flavor
Be generous with the sauce so the tortillas soften perfectly.
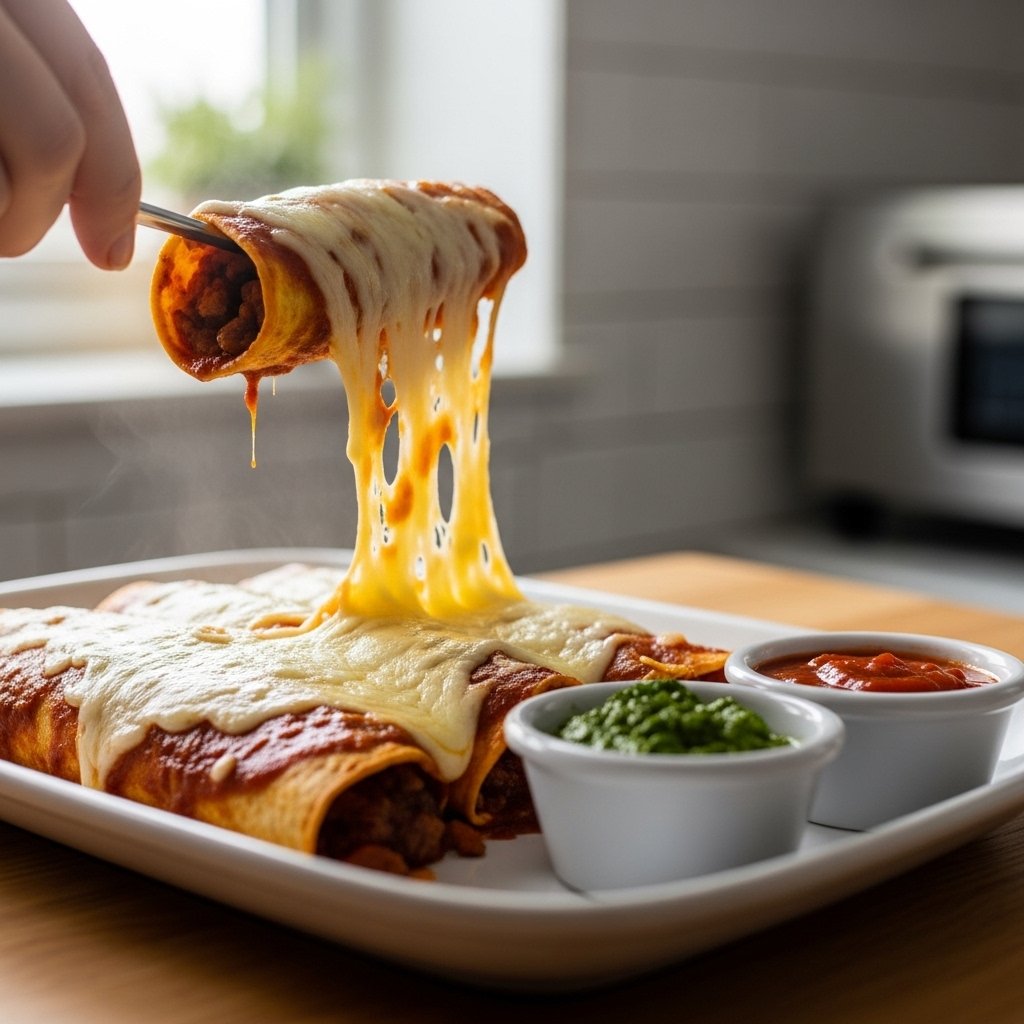
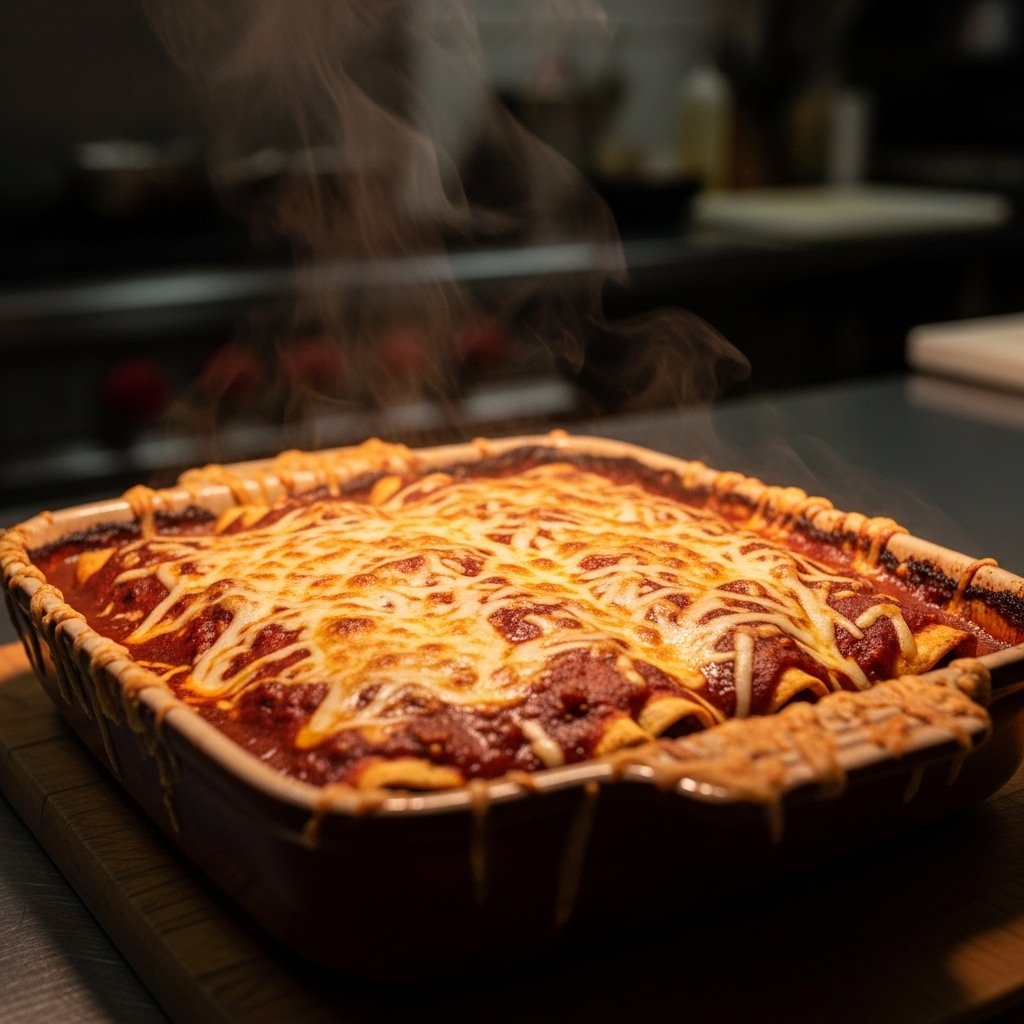
Step 4: Bake Until Bubbly
Bake uncovered for 20 to 25 minutes until:
- Cheese is melted
- Sauce is bubbling
- Edges are lightly golden
Let cool for 5 minutes before serving.
This helps everything set slightly for easier serving.
Tips for Perfect Beef Enchiladas
To make the best beef enchiladas every time:
- Don’t overfill tortillas
- Warm tortillas before rolling
- Use enough sauce
- Drain beef well
- Let rest before serving
These simple tips help with texture and flavor.
Variations and Customizations
These enchiladas are easy to personalize.
Easy Add-Ins
- Black beans
- Corn
- Jalapeños
- Bell peppers
Flavor Variations
- Add taco seasoning
- Use pepper jack cheese
- Top with avocado
This recipe is easy to make your own.
What to Serve With Beef Enchiladas
These enchiladas pair perfectly with:
- Mexican rice
- Refried beans
- Guacamole
- Chips and salsa
- Fresh salad
They’re great for:
- Weeknight dinners
- Potlucks
- Casual gatherings
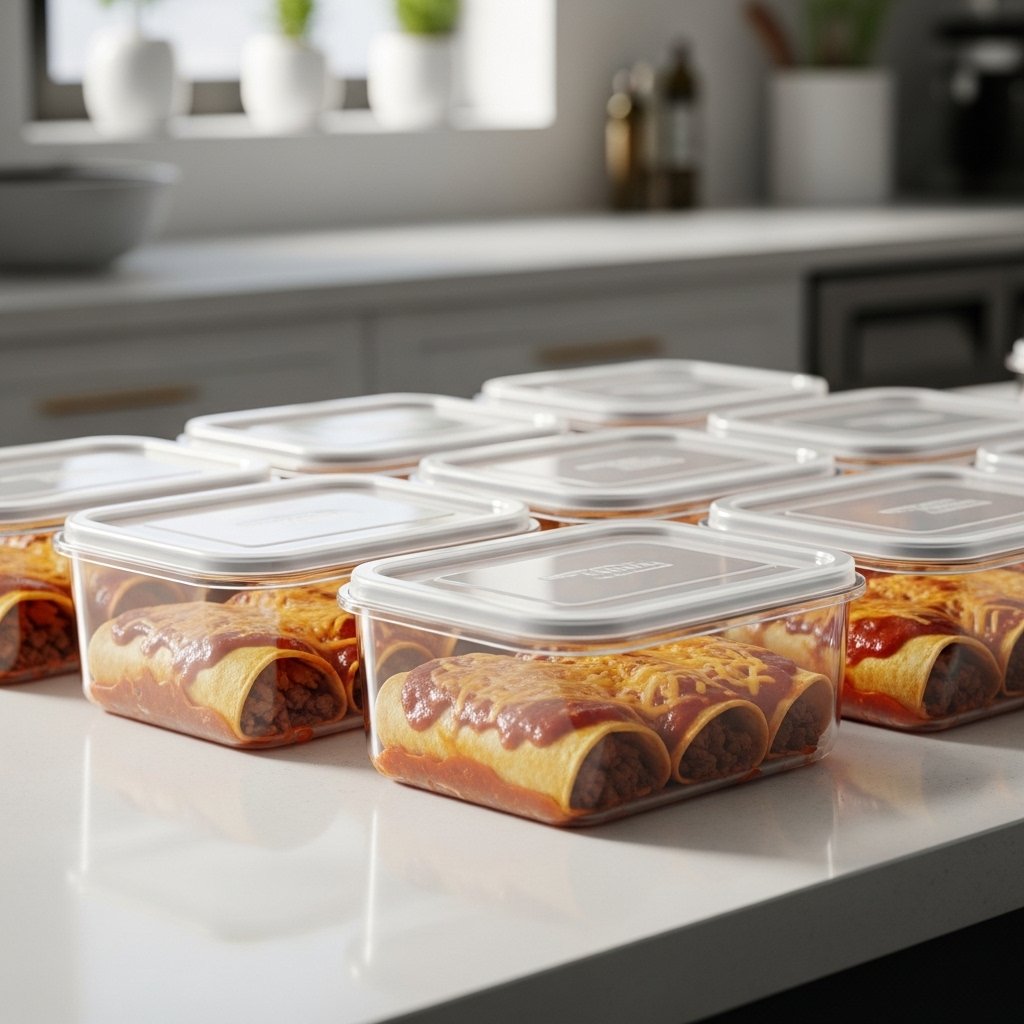
Storage and Reheating Tips
These enchiladas store beautifully.
Refrigerator
- Store covered up to 4 days
Freezer
- Freeze before or after baking up to 2 months
Reheat
- Oven for best texture
- Microwave for convenience
They taste just as comforting the next day.
Common Mistakes to Avoid
For perfect beef enchiladas, avoid:
- Dry beef filling
- Too little sauce
- Cold tortillas that crack
- Overbaking
- Skipping resting time
Attention to these details makes a big difference.
Frequently Asked Questions
Can I make these beef enchiladas ahead?
Yes. Assemble ahead and refrigerate before baking.
Can I freeze enchiladas?
Absolutely. They freeze very well.
What cheese works best?
Cheddar, Monterey Jack, or Mexican blend.
Can I use corn tortillas?
Yes. Just warm them first to prevent tearing.
How do I make them spicier?
Add jalapeños or spicy enchilada sauce.
Final Thoughts
These 5-ingredient beef enchiladas are proof that delicious comfort food doesn’t have to be complicated. They’re cheesy, hearty, easy to make, and perfect for nights when you want a homemade dinner without the fuss.
Whether you’re cooking for family, stocking up on leftovers, or just craving something warm and satisfying, this recipe delivers every time. One bite of these saucy, cheesy enchiladas, and they’re sure to become a regular favorite in your kitchen.