If you’re ready to elevate burger night with something bold, juicy, and packed with Mediterranean flavor, these juicy Greek style lamb burgers are exactly what your dinner routine needs. They’re savory, tender, and layered with fresh herbs, garlic, feta, and creamy toppings that make every bite unforgettable.
Unlike standard beef burgers, lamb burgers bring a rich, slightly earthy flavor that pairs beautifully with Greek-inspired ingredients like cucumber yogurt sauce, red onion, and fresh tomatoes. Whether you’re grilling outdoors, cooking indoors, or entertaining guests, this recipe delivers restaurant-quality flavor with simple ingredients and easy steps.
Why You’ll Love These Greek Style Lamb Burgers
These burgers are a fresh and exciting twist on a classic.
Why This Recipe Stands Out
- Rich, juicy flavor
- Mediterranean herbs and spices
- Easy to make
- Great for grilling or stovetop
- Perfect for entertaining
- Customizable toppings
They feel gourmet without being complicated.
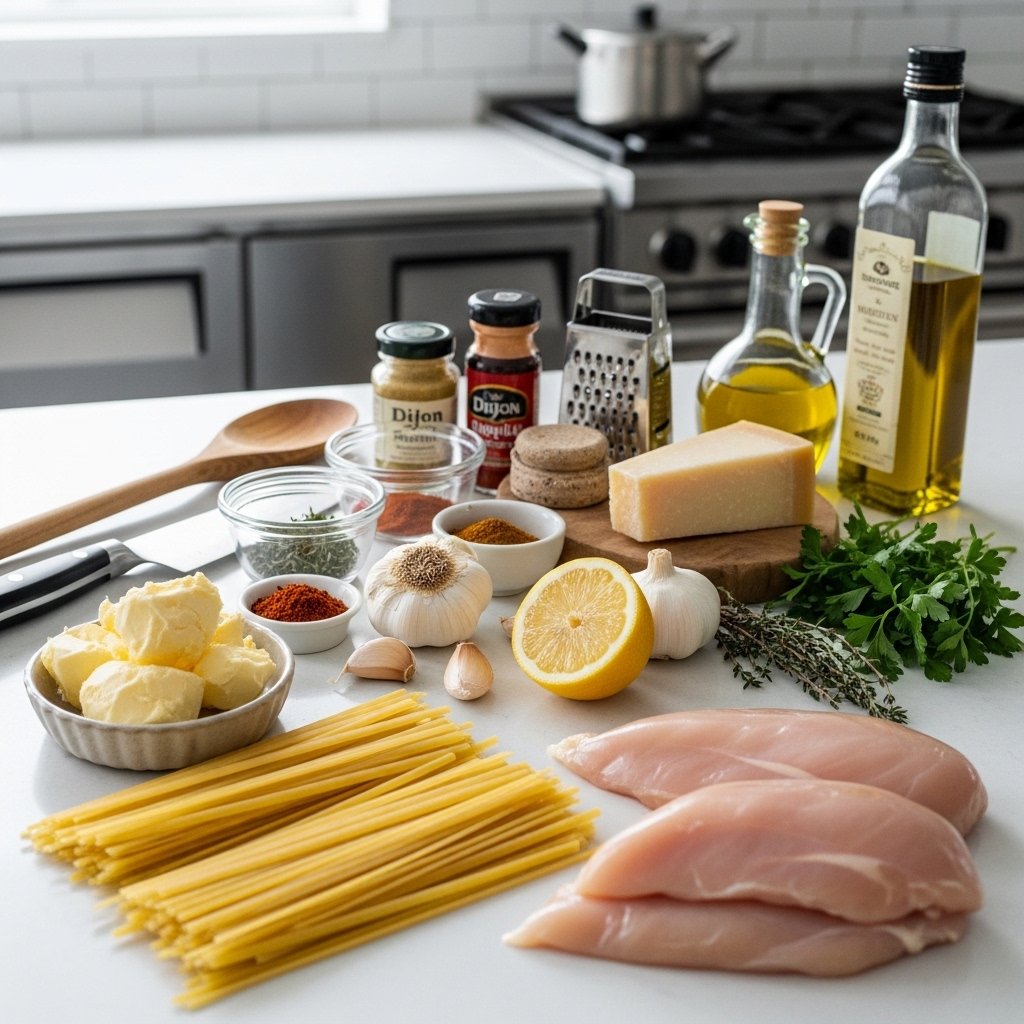
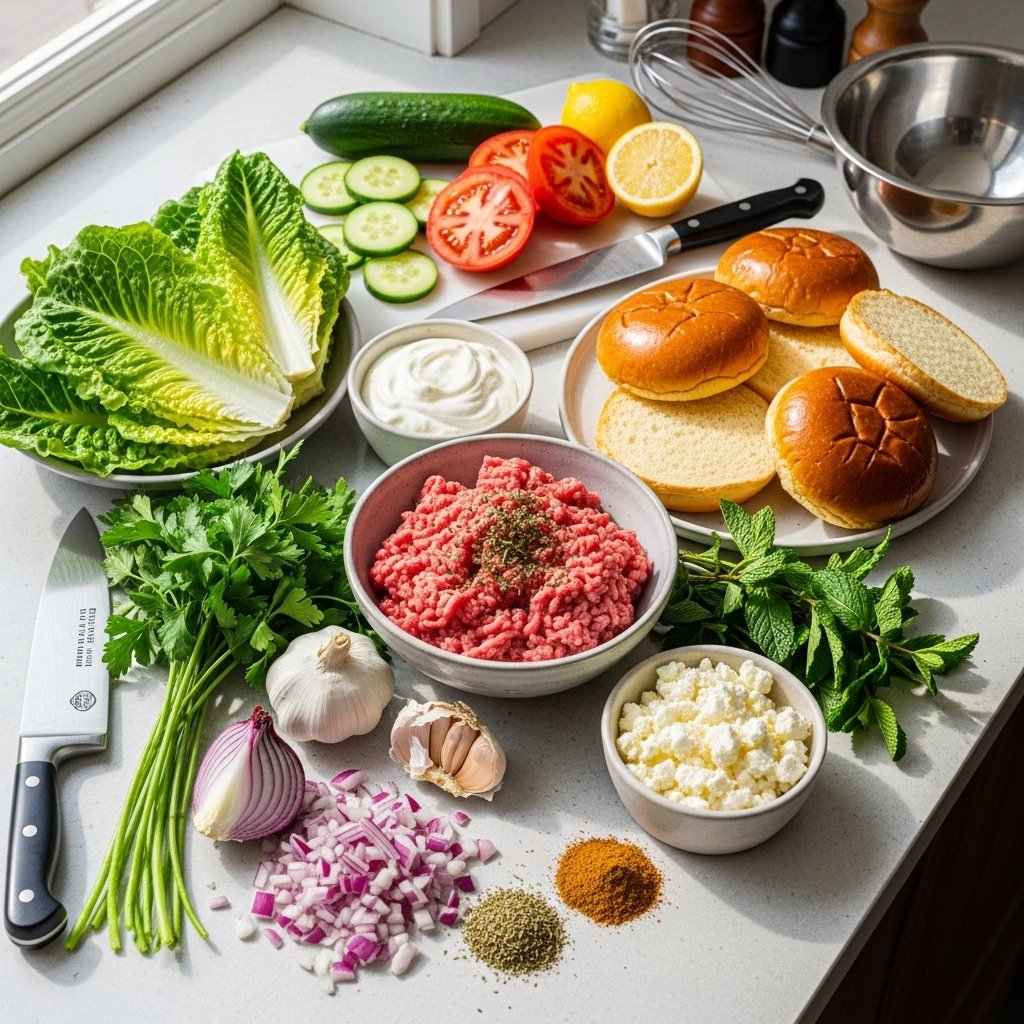
Ingredients You’ll Need
To make these Greek style lamb burgers, gather:
For the Lamb Patties
- 1 1/2 pounds ground lamb
- 3 garlic cloves, minced
- 1/4 cup finely diced red onion
- 2 tablespoons chopped fresh parsley
- 1 tablespoon chopped mint (optional)
- 1 teaspoon oregano
- 1 teaspoon cumin
- Salt and black pepper to taste
- 1 tablespoon olive oil
For the Toppings
- Brioche buns or pita buns
- Feta cheese
- Sliced tomato
- Red onion
- Lettuce
- Cucumber slices
For Tzatziki Sauce
- 1 cup Greek yogurt
- 1/2 cucumber, grated and drained
- 1 garlic clove, minced
- 1 tablespoon lemon juice
- Fresh dill
These ingredients create the perfect balance of savory, creamy, and fresh.
Ingredient Notes and Flavor Tips
Why Lamb Works So Well
Lamb is:
- Naturally flavorful
- Juicy and tender
Choose:
- Ground lamb with some fat for moisture
Herb Tip
Fresh herbs make:
- Brighter flavor
- Better freshness
Tzatziki Tip
Drain cucumber well.
This prevents watery sauce.
Step-by-Step Instructions
Step 1: Make the Tzatziki
Mix:
- Greek yogurt
- Grated cucumber
- Garlic
- Lemon juice
- Dill
Chill until serving.
This sauce adds creamy tang.

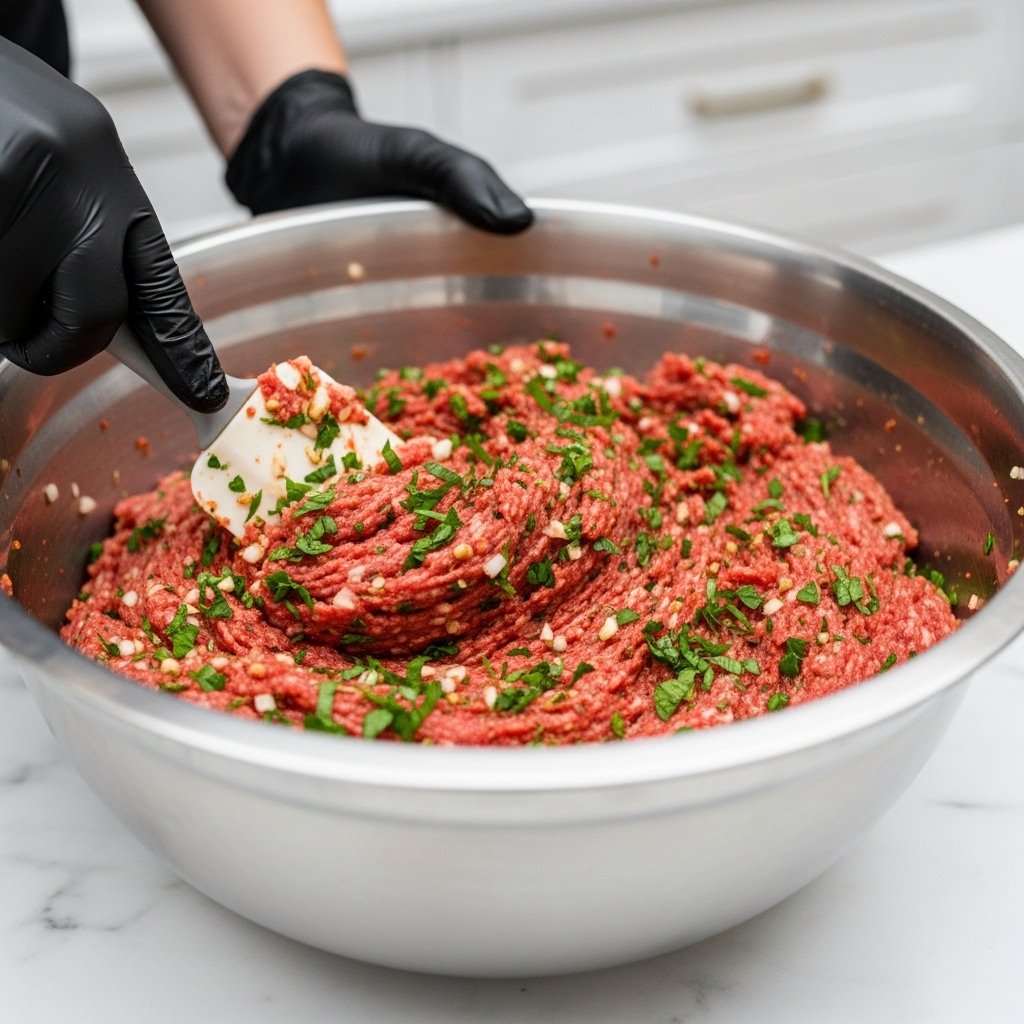
Step 2: Prepare the Lamb Patties
In large bowl, combine:
- Lamb
- Garlic
- Onion
- Herbs
- Spices
Mix gently.
Form into patties.
Avoid overmixing.
This keeps burgers tender.
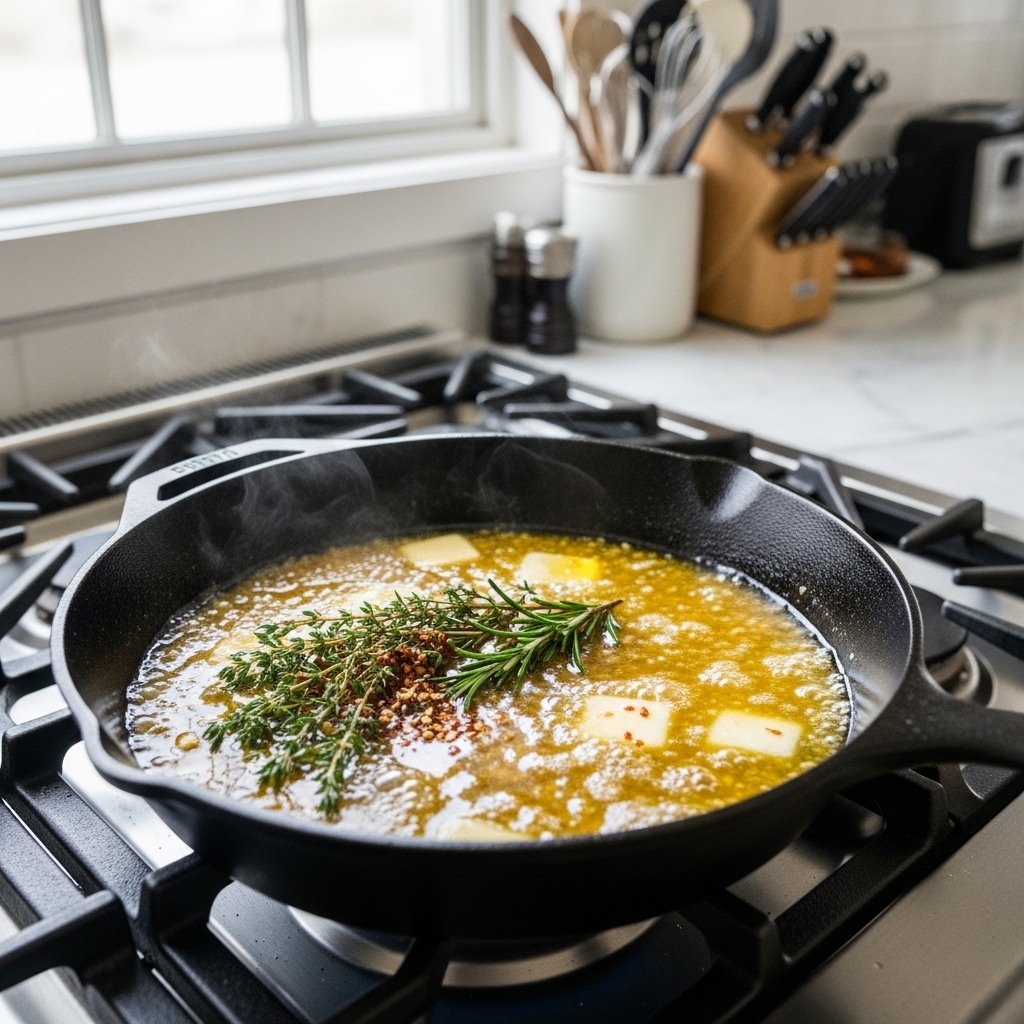
Step 3: Cook the Burgers
Cook on:
- Grill
- Cast iron skillet
Cook:
- 4–5 minutes per side
Until browned and juicy.
Rest briefly.
This locks in juices.

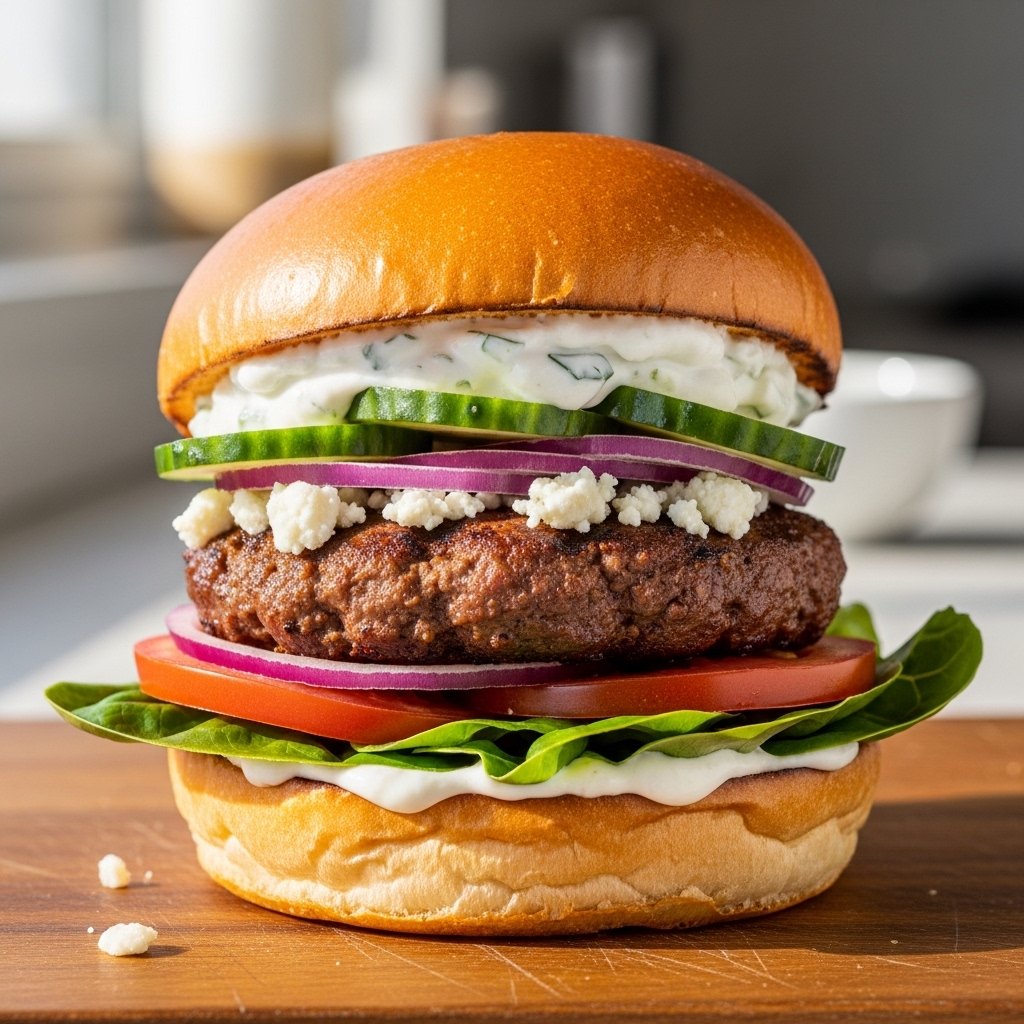
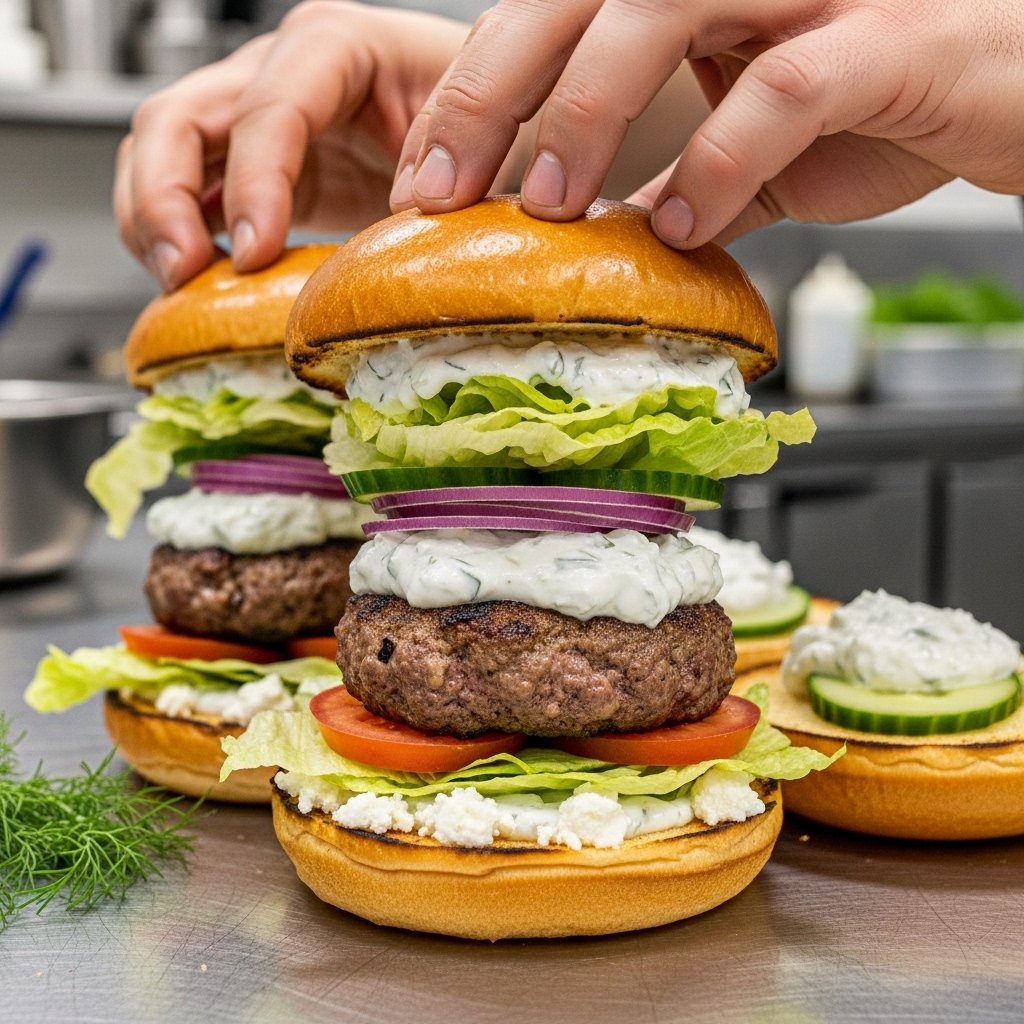
Step 4: Assemble the Burgers
Toast buns lightly.
Layer:
- Lettuce
- Lamb burger
- Feta
- Tomato
- Onion
- Tzatziki
Serve warm.
These burgers are bold and satisfying.
Tips for Perfect Lamb Burgers
For the best burgers:
- Don’t overwork meat
- Don’t overcook lamb
- Rest patties after cooking
- Toast buns
- Use fresh toppings
These details improve texture.
Variations and Customizations
This recipe is easy to adapt.
Great Add-Ons
- Roasted red peppers
- Pickled onions
- Hummus
Bun Alternatives
- Pita pockets
- Lettuce wraps
Cheese Options
- Goat cheese
- Halloumi
This keeps every burger night fun.
What to Serve With Greek Style Lamb Burgers
Pair with:
- Greek salad
- Roasted potatoes
- Sweet potato fries
- Lemon rice
Perfect for:
- Summer cookouts
- Weeknight dinners
- Entertaining
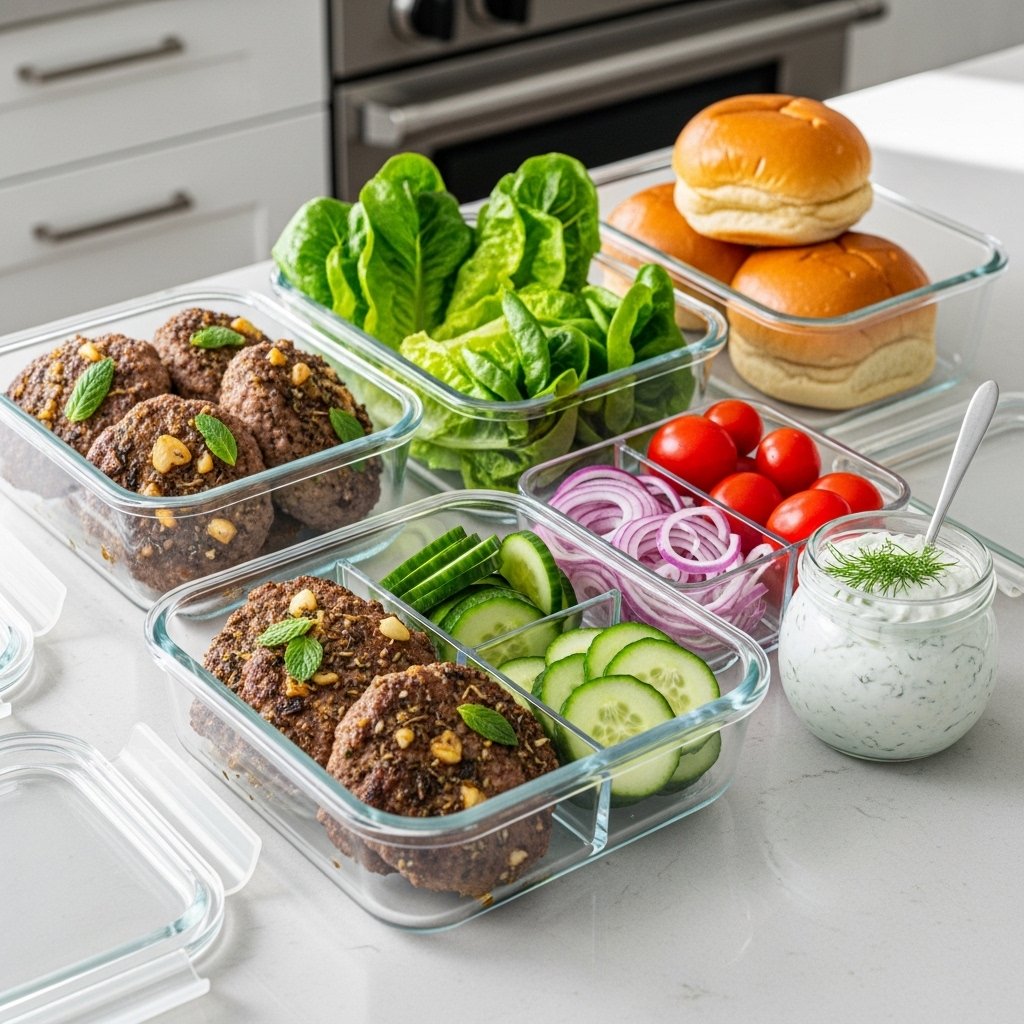
Storage and Reheating Tips
These burgers store well.
Refrigerator
- Patties: up to 3 days
Freezer
- Raw patties freeze well
Reheat
- Skillet over medium heat
Store toppings separately.
Common Mistakes to Avoid
For best results:
- Don’t overmix lamb
- Don’t skip seasoning
- Don’t cook on low heat only
- Don’t forget resting time
- Don’t use watery sauce
Small details matter.
Frequently Asked Questions
Can I grill these burgers?
Yes, they’re excellent grilled.
Can I make patties ahead?
Absolutely.
Can I use beef instead?
Yes, but lamb gives best flavor.
Is tzatziki necessary?
It adds great balance but is optional.
Can I make these low-carb?
Yes, use lettuce wraps.
Final Thoughts
These juicy Greek style lamb burgers are the perfect way to bring bold Mediterranean flavor to your dinner table. With tender seasoned lamb, creamy tzatziki, and crisp fresh toppings, every bite is layered with delicious texture and taste.
Whether you’re hosting a cookout, planning a special family dinner, or simply craving something different from the usual burger, this recipe is a guaranteed hit. Once you try these, burger night may never be the same again.