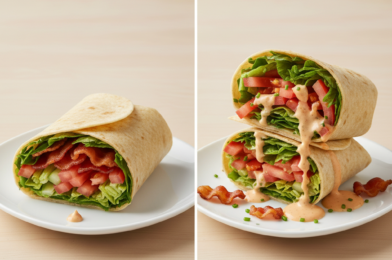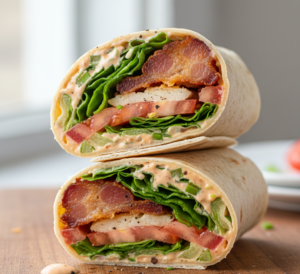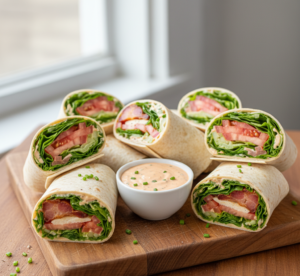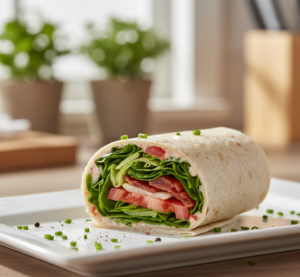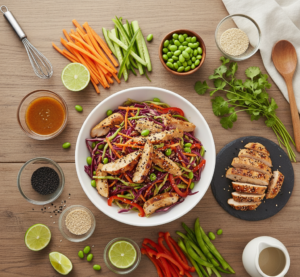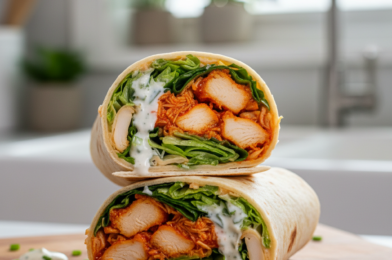
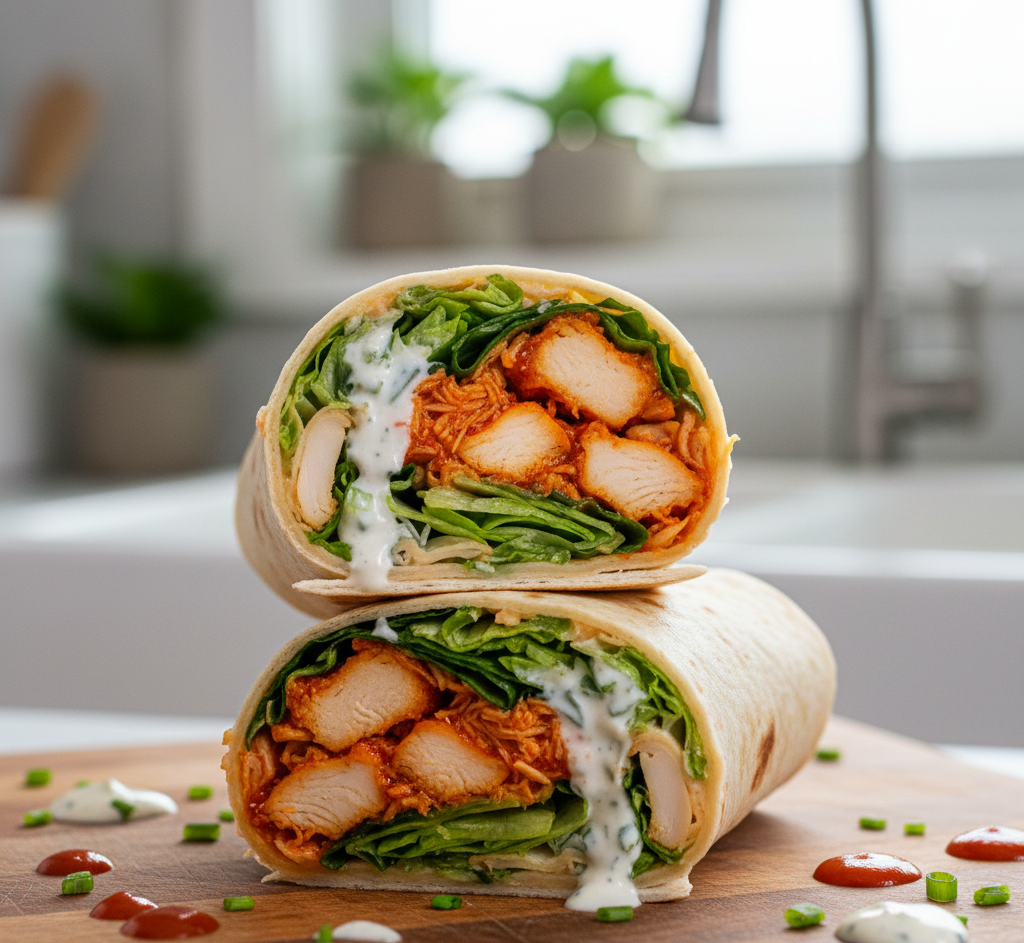
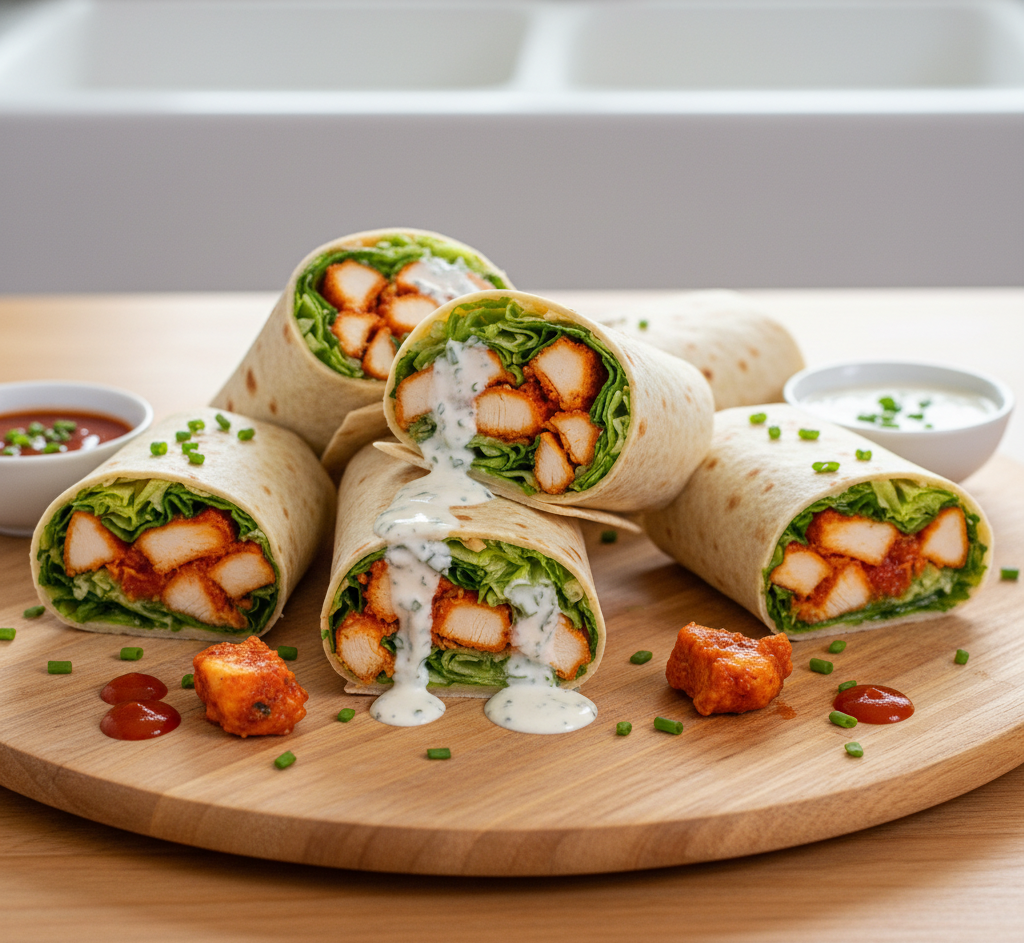
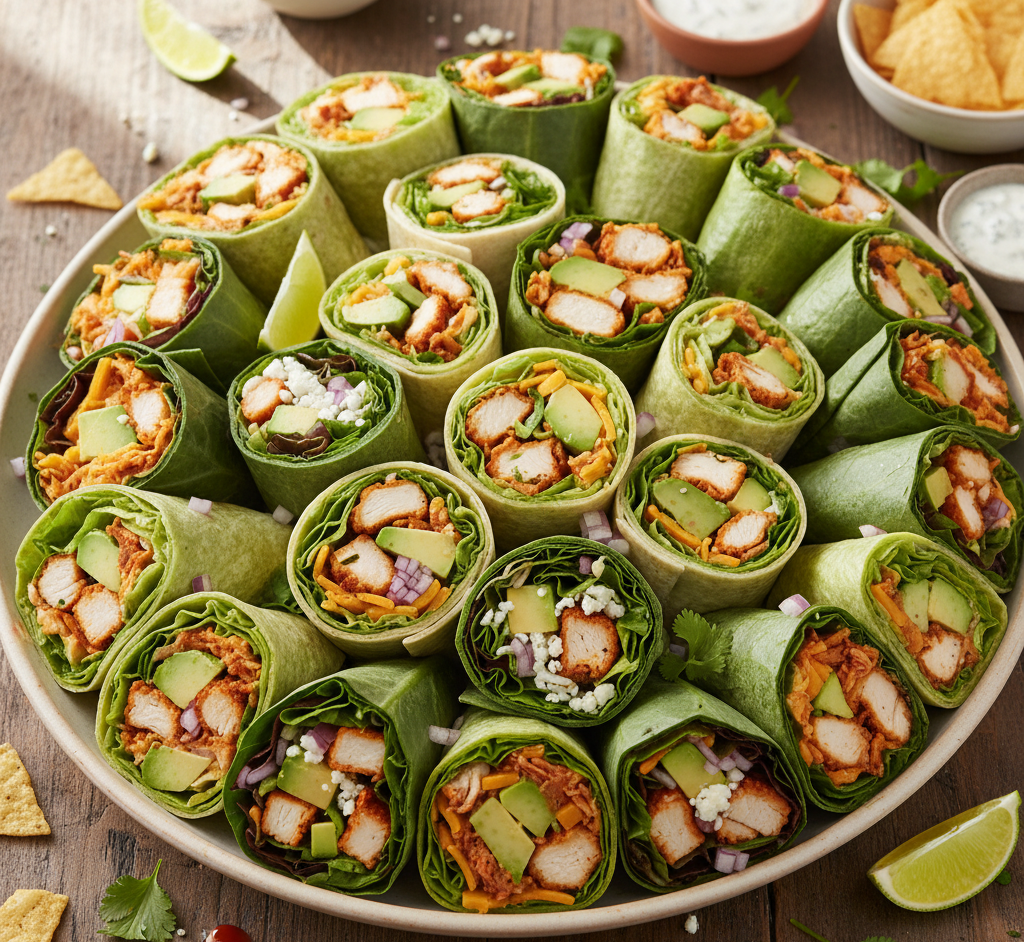
When you’re craving something bold, satisfying, and easy to prepare, these Quick Buffalo Chicken Wraps for Lunch hit all the right notes. They’re packed with juicy chicken tossed in spicy buffalo sauce, balanced with crisp veggies and a creamy dressing—all wrapped in a soft tortilla.
This recipe is perfect for busy weekdays, quick lunches, or even a casual dinner. It’s fast, flavorful, and incredibly versatile, making it a go-to meal you can whip up in no time. The combination of heat, crunch, and creaminess makes every bite exciting and satisfying.
Once you try these Quick Buffalo Chicken Wraps for Lunch, you’ll wonder how you ever lived without them.
Why You’ll Love These Quick Buffalo Chicken Wraps for Lunch
These Quick Buffalo Chicken Wraps for Lunch are a favorite for so many reasons:
- Ready in under 20 minutes
- Packed with bold buffalo flavor
- Perfect for lunch or dinner
- Easy to customize
- Great for meal prep
They deliver restaurant-quality flavor with minimal effort.
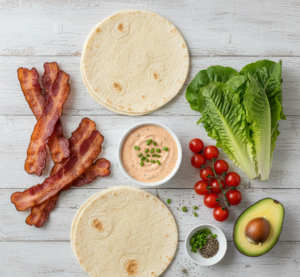
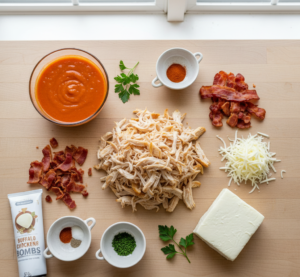
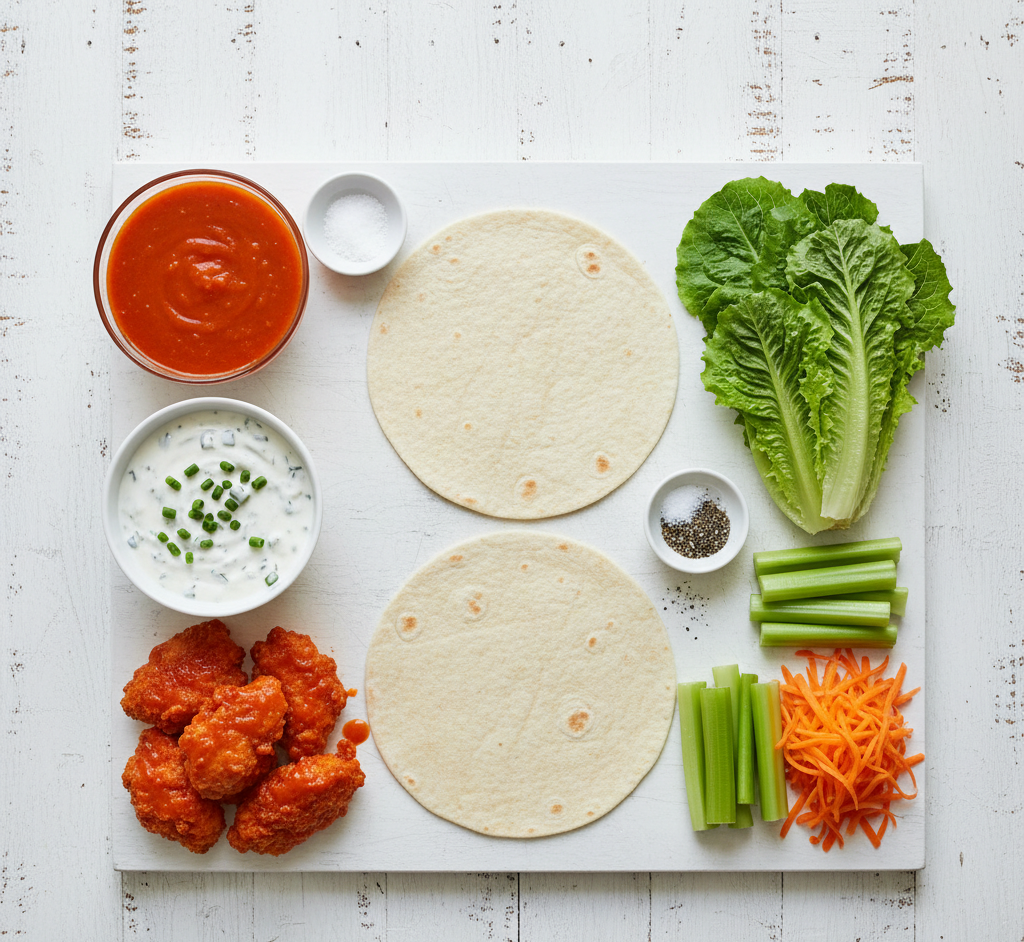
Ingredients
To make these delicious Quick Buffalo Chicken Wraps for Lunch, you’ll need:
For the Wraps:
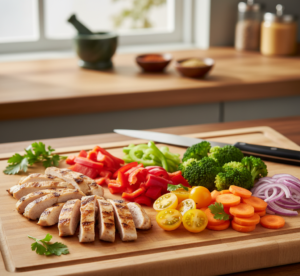
- 2 cups cooked chicken (shredded or diced)
- 1/3 cup buffalo sauce
- 4 large flour tortillas
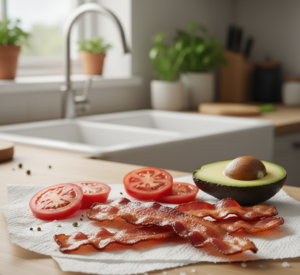
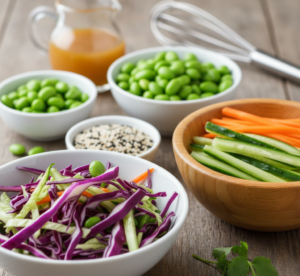
- 1 cup shredded lettuce
- 1/2 cup shredded carrots
- 1/2 cup diced celery
For the Sauce:
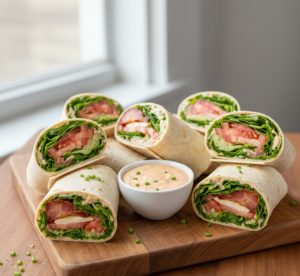
- 1/2 cup ranch or blue cheese dressing
Ingredient Notes
The flavor of these Quick Buffalo Chicken Wraps for Lunch comes down to the balance of spicy, fresh, and creamy ingredients.
Buffalo sauce brings the signature heat and tang, while ranch or blue cheese dressing cools things down perfectly. Using rotisserie chicken can save time, making this recipe even quicker to prepare.
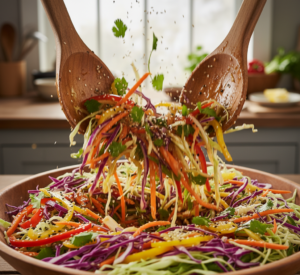
Fresh vegetables like lettuce, carrots, and celery add crunch and freshness that balance the richness of the chicken.

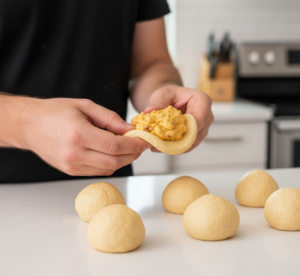
Step-by-Step Instructions
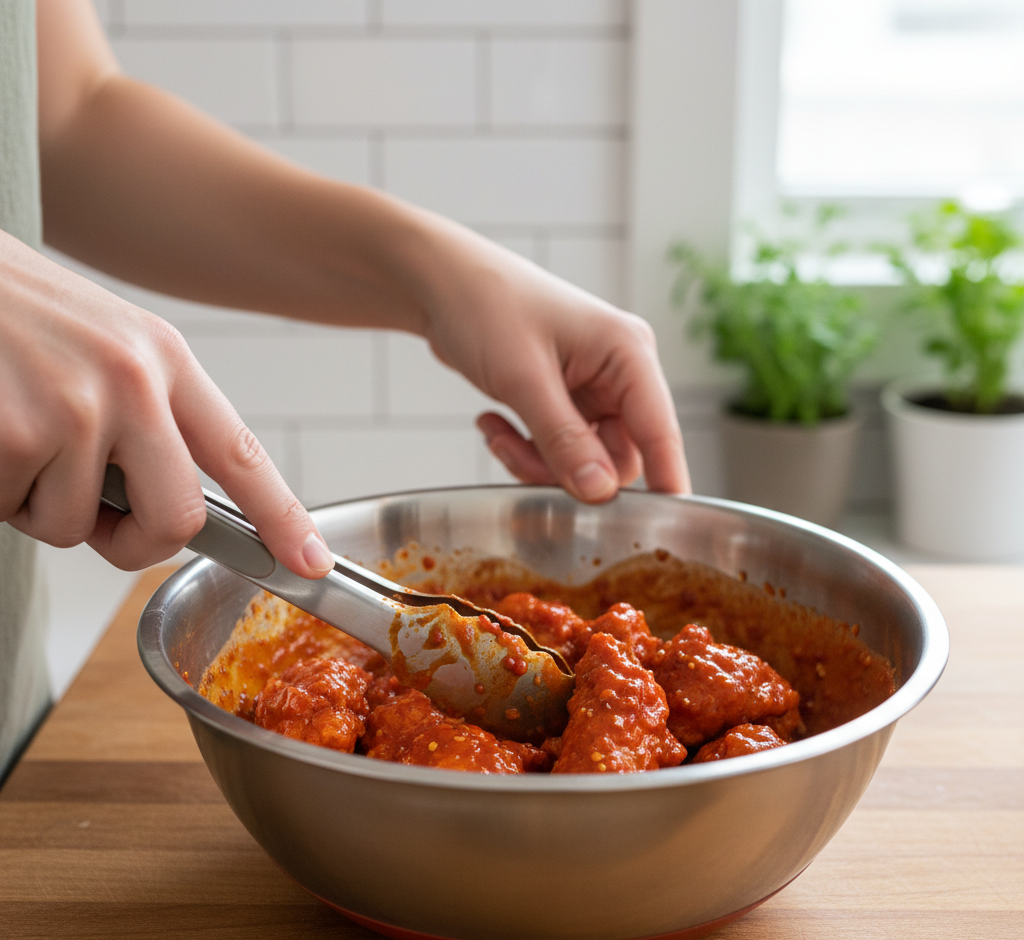
Step 1: Prepare the Chicken
In a bowl, toss cooked chicken with buffalo sauce until evenly coated.
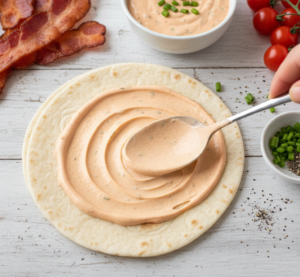
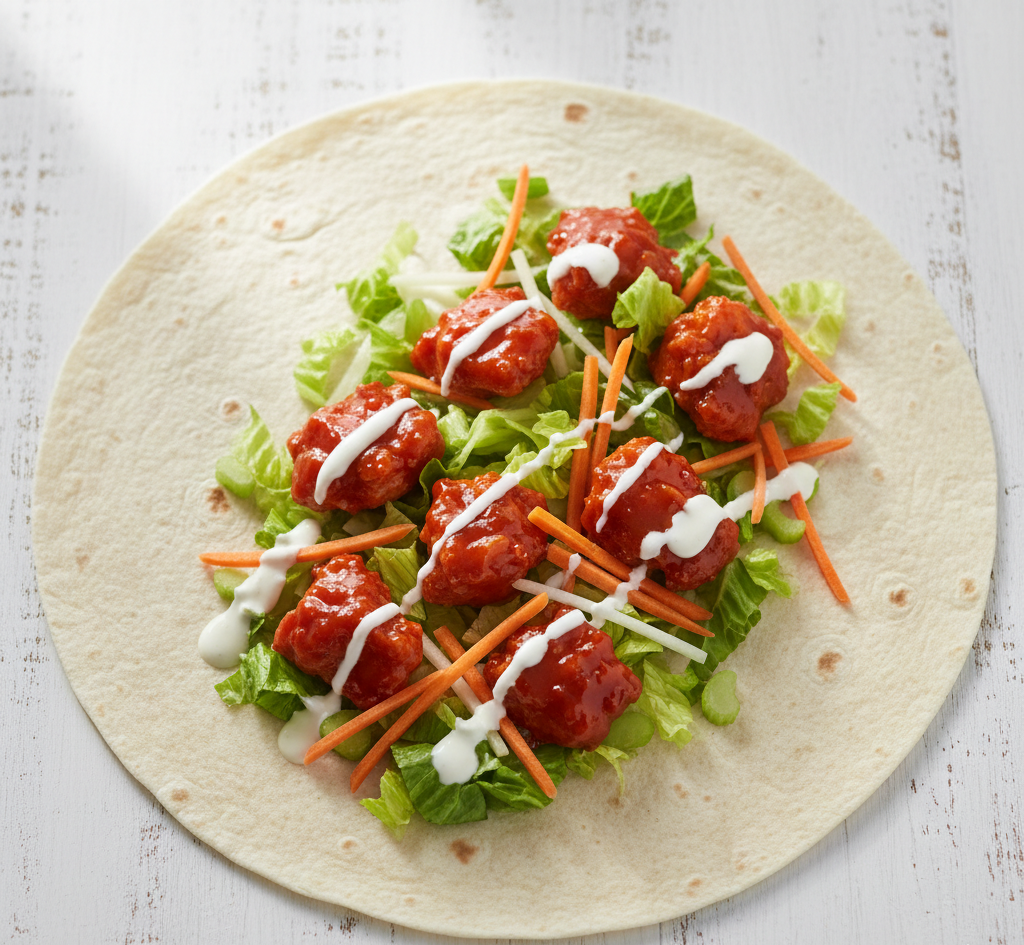
Step 2: Prepare the Wrap Base
Lay tortillas flat and spread a layer of ranch or blue cheese dressing.
Step 3: Add the Fillings
Layer buffalo chicken, lettuce, carrots, and celery onto each tortilla.
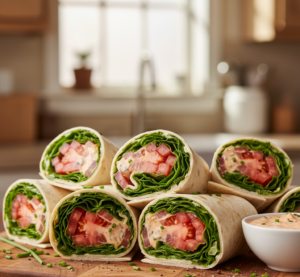
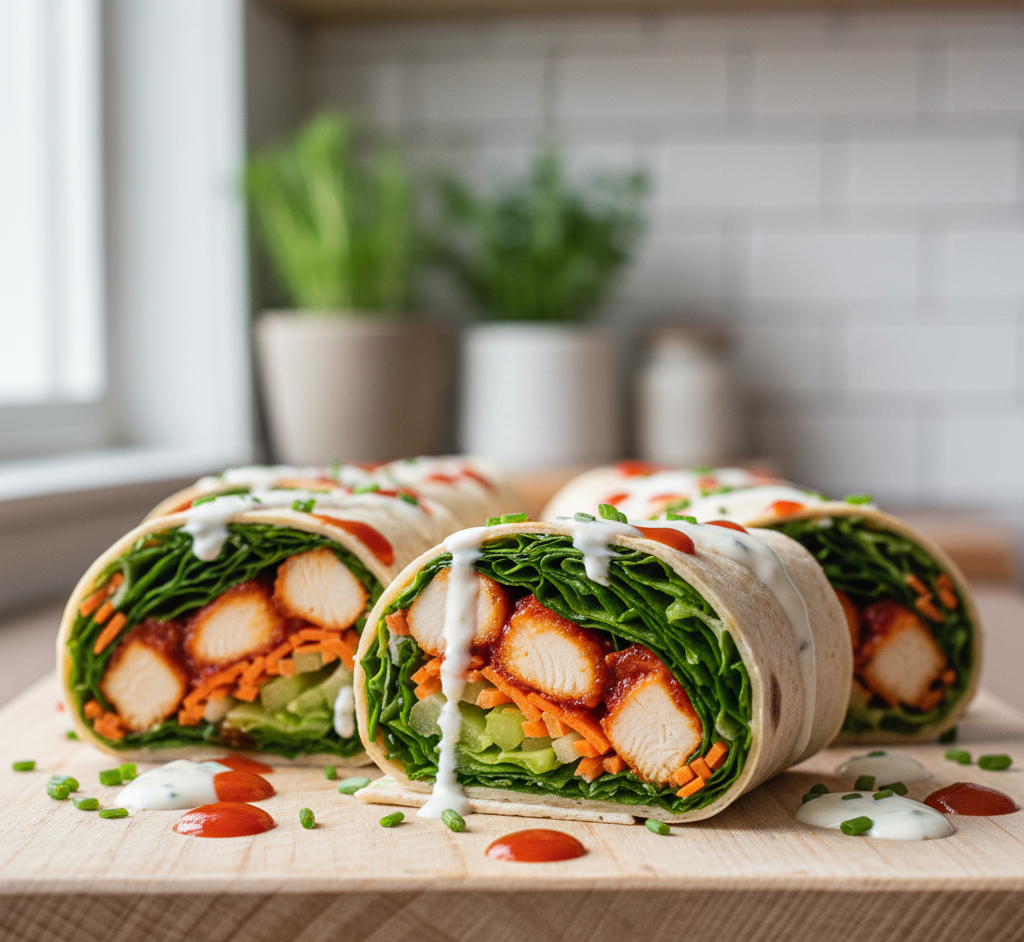
Step 4: Wrap and Serve
Roll tightly into wraps, slice in half, and serve immediately.
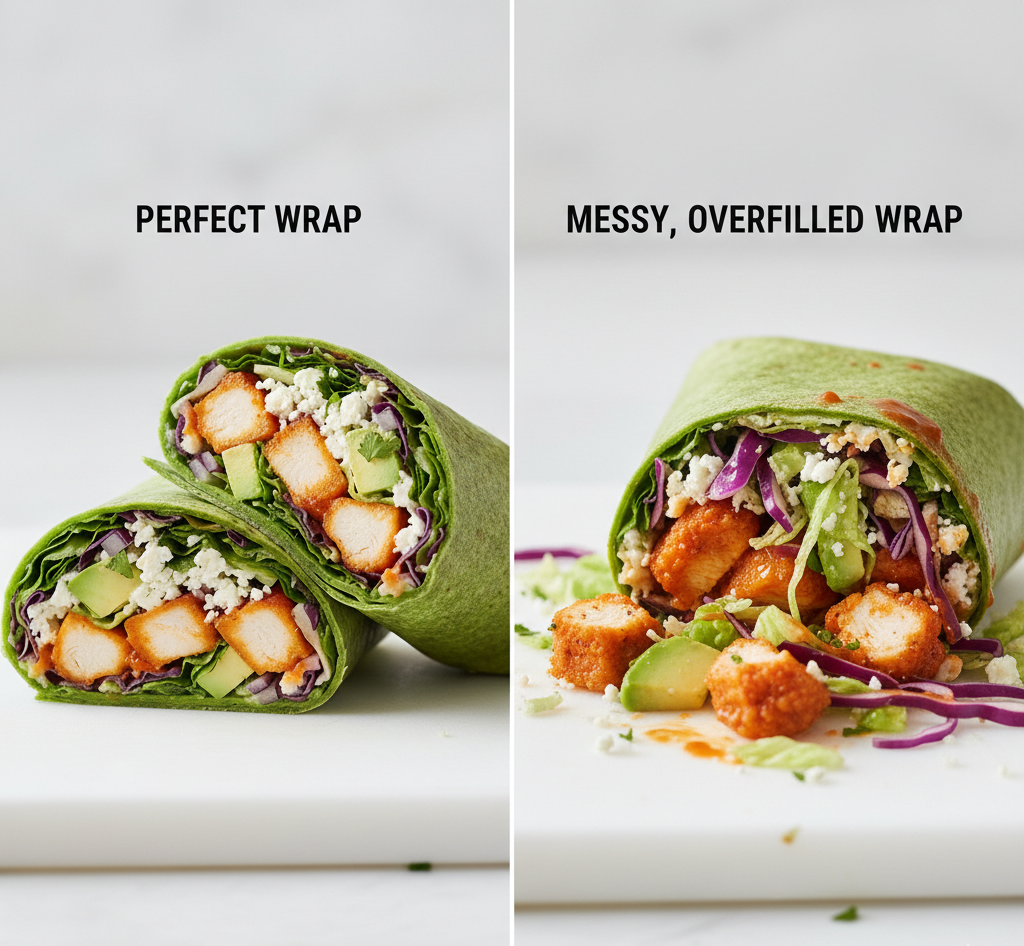
Tips for Perfect Results
To make the best Quick Buffalo Chicken Wraps for Lunch, follow these tips:
- Use warm chicken for better flavor absorption
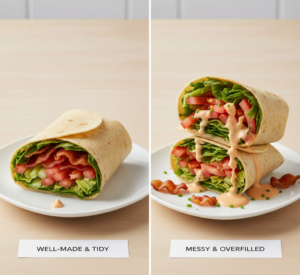
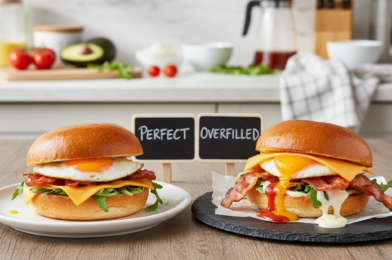
- Don’t overfill the wraps
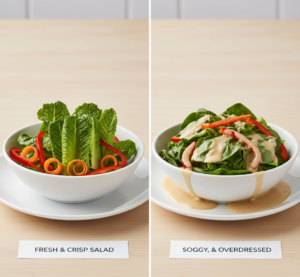
- Use fresh, crisp vegetables
- Balance the spice with enough dressing
- Roll tightly for clean presentation
These tips ensure a perfect wrap every time.
Variations
These Quick Buffalo Chicken Wraps for Lunch are easy to customize:
- Add shredded cheese for extra richness
- Use whole wheat or spinach tortillas
- Add avocado for creaminess
- Make it low-carb with lettuce wraps
- Add hot sauce for extra heat
Each variation adds a unique twist while keeping the bold buffalo flavor.

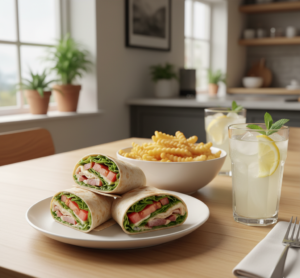
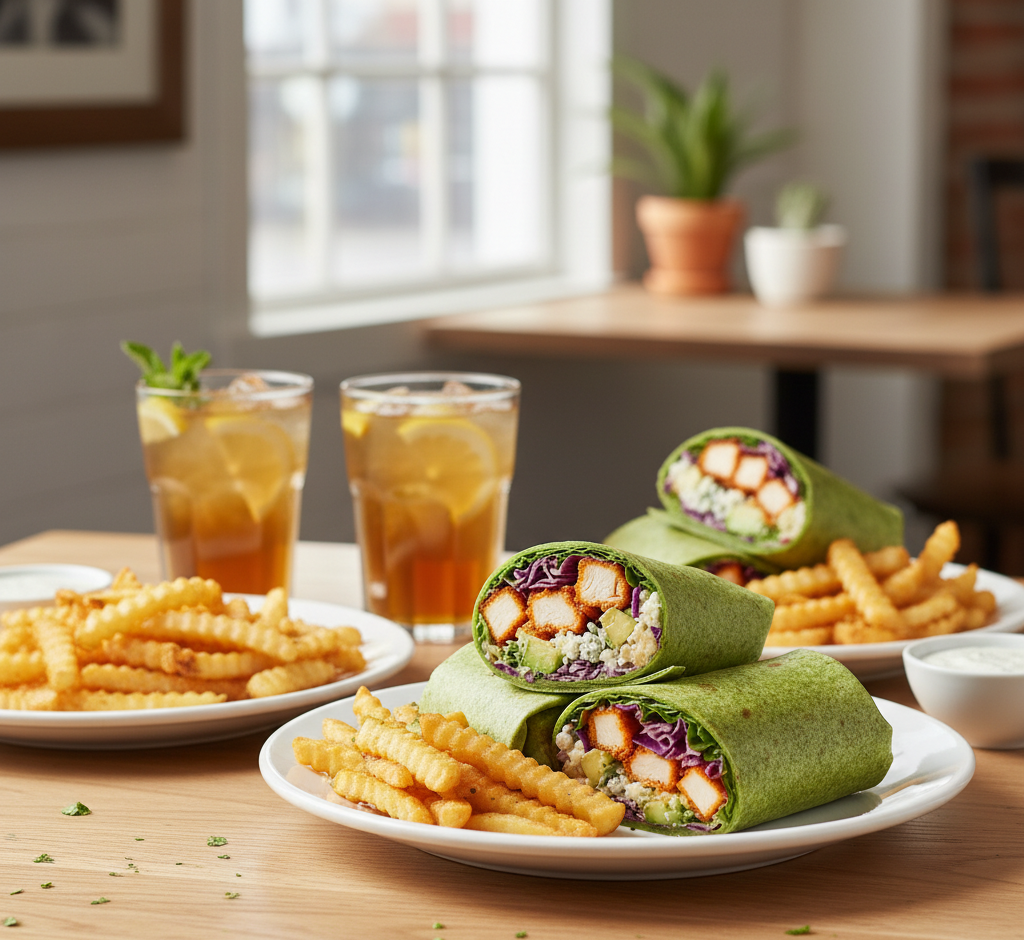
What to Serve With It
Pair your Quick Buffalo Chicken Wraps for Lunch with:
- French fries or sweet potato fries
- Side salad
- Chips
- Pickles
- Iced tea or soda
These sides create a complete and satisfying meal.
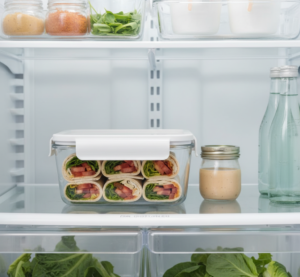
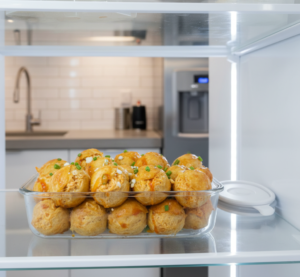
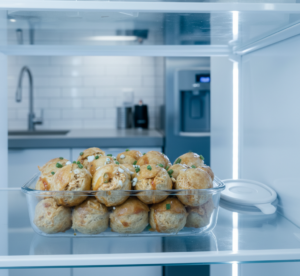
Storage & Reheating
To store your Quick Buffalo Chicken Wraps for Lunch:
- Wrap tightly and refrigerate for up to 2 days
- Store components separately for best texture
- Reheat chicken only if needed
- Avoid reheating assembled wraps
Proper storage keeps everything fresh and delicious.

Common Mistakes
Avoid these mistakes when making Quick Buffalo Chicken Wraps for Lunch:
- Overfilling the wraps
- Using too much sauce
- Not balancing flavors
- Using soggy vegetables
- Rolling loosely
Avoiding these ensures the best results.
FAQs
1. Can I make these wraps ahead of time?
Yes, but store ingredients separately for best freshness.
2. Can I use rotisserie chicken?
Absolutely—it’s a great time-saving option.
3. Are buffalo chicken wraps spicy?
They can be, but you can adjust the sauce to your preference.
4. Can I make them healthier?
Yes, use whole wheat tortillas and light dressing.
Final Thoughts
These Quick Buffalo Chicken Wraps for Lunch are the perfect combination of bold flavor, quick prep, and satisfying texture. Whether you’re making a fast lunch or an easy dinner, they deliver every time.
With their spicy buffalo kick, creamy dressing, and crisp veggies, these wraps are guaranteed to become a regular in your meal rotation. Give them a try—you won’t be disappointed!