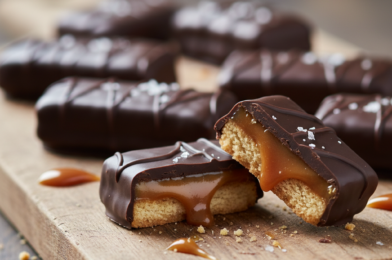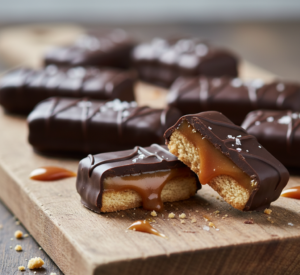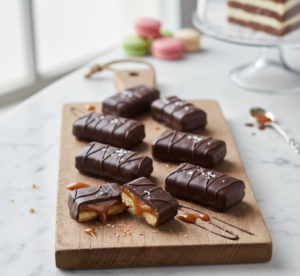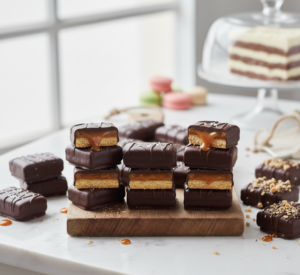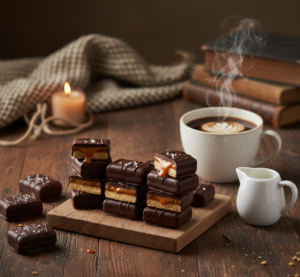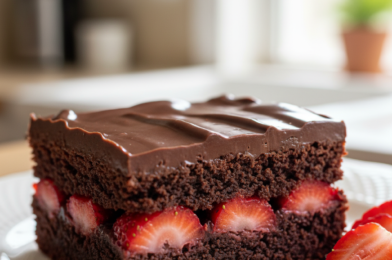
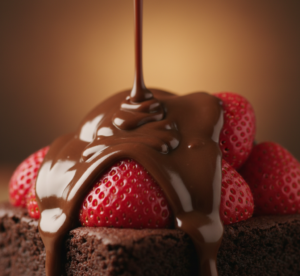
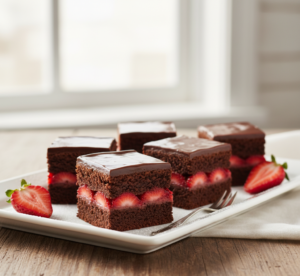
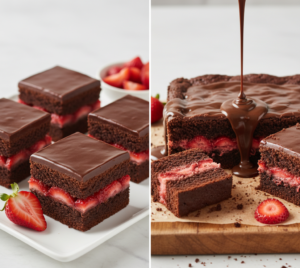
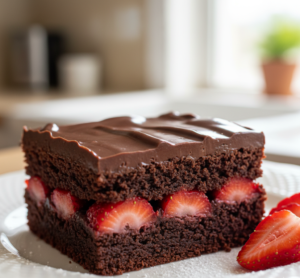
If you’re looking for a show-stopping dessert that combines elegance with pure indulgence, these Chocolate Covered Strawberry Brownies are exactly what you need. Imagine a rich, fudgy brownie base layered with juicy fresh strawberries and topped with a smooth, glossy chocolate coating—it’s the ultimate chocolate lover’s dream.
This recipe takes inspiration from classic chocolate-covered strawberries and transforms them into a decadent, sliceable dessert that’s perfect for holidays, date nights, or special occasions. Not only do these brownies look stunning, but they also deliver an incredible balance of flavors—deep chocolate richness, bright berry freshness, and silky sweetness.
Once you try these Chocolate Covered Strawberry Brownies, you’ll find yourself making them again and again for any event that calls for something truly special.

Why You’ll Love These Chocolate Covered Strawberry Brownies
There are so many reasons to fall in love with these Chocolate Covered Strawberry Brownies:
- Rich, fudgy brownie base
- Fresh strawberries add natural sweetness and brightness
- Smooth chocolate ganache topping
- Perfect for celebrations or romantic desserts
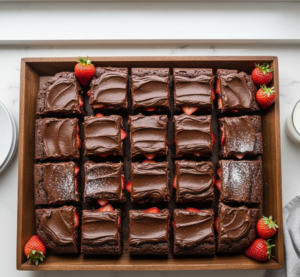
- Beautiful presentation with minimal effort
These brownies are as impressive as they are delicious.
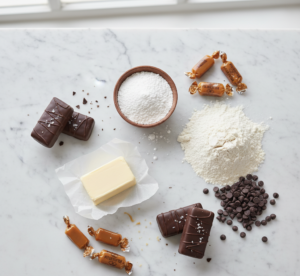
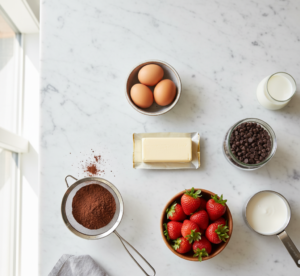
Ingredients
To make these irresistible Chocolate Covered Strawberry Brownies, you’ll need:
For the Brownie Base:
- 1 cup unsalted butter
- 1 1/2 cups granulated sugar
- 3/4 cup cocoa powder
- 3 large eggs
- 1 teaspoon vanilla extract
- 1 cup all-purpose flour
- 1/2 teaspoon salt
For the Topping:
- 2 cups fresh strawberries (hulled and sliced)
- 1 1/2 cups semi-sweet chocolate chips
- 1/2 cup heavy cream
Ingredient Notes
To get the best results from your Chocolate Covered Strawberry Brownies, quality ingredients make all the difference.
Use fresh, ripe strawberries for the best flavor and texture. Semi-sweet chocolate chips create a balanced ganache that isn’t overly sweet. If you prefer a deeper chocolate flavor, you can use dark chocolate instead.
The brownie base should be rich and fudgy, so avoid overmixing the batter to maintain that perfect dense texture.
Step-by-Step Instructions
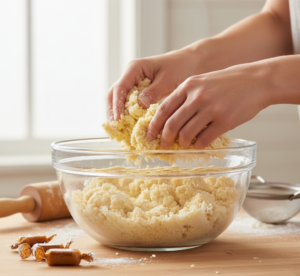
Step 1: Make the Brownie Batter
Melt butter and mix with sugar and cocoa powder. Add eggs and vanilla, then stir in flour and salt until combined.

Step 2: Bake the Brownies
Pour batter into a lined baking pan and bake at 350°F (175°C) for 20–25 minutes. Let cool completely.
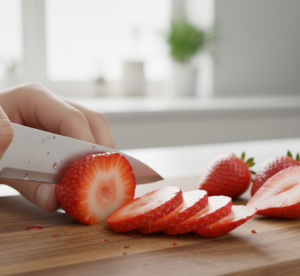
Step 3: Add the Strawberry Layer
Arrange sliced strawberries evenly over the cooled brownie base.
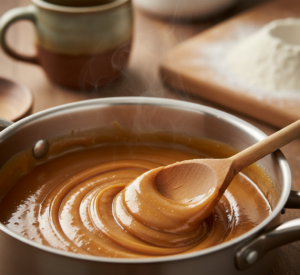
Step 4: Make the Ganache
Heat heavy cream and pour over chocolate chips. Stir until smooth and glossy.
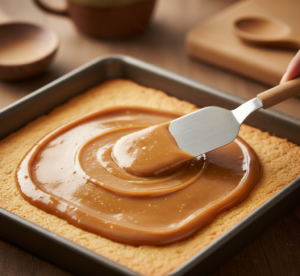
Step 5: Add Chocolate Topping
Pour ganache over strawberries, spreading evenly. Chill until set.
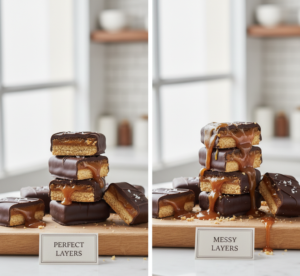
Tips for Perfect Results
To master Chocolate Covered Strawberry Brownies, follow these tips:
- Let brownies cool completely before adding toppings
- Pat strawberries dry to avoid excess moisture
- Use high-quality chocolate for smooth ganache
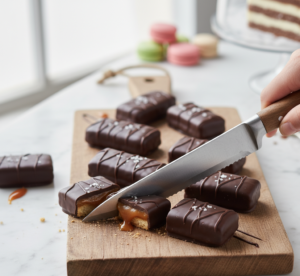
- Chill thoroughly before slicing
- Use a sharp knife for clean cuts
These tips ensure a professional-looking and delicious dessert.
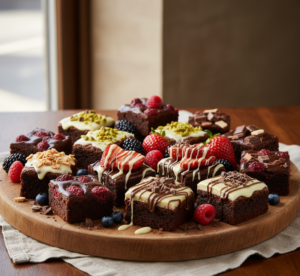
Variations
These Chocolate Covered Strawberry Brownies are easy to customize:
- Add white chocolate drizzle for contrast
- Use raspberries instead of strawberries
- Add a cheesecake layer for extra richness
- Sprinkle chopped nuts for crunch
- Use gluten-free flour for dietary needs
Each variation adds a unique twist while keeping the core flavors intact.
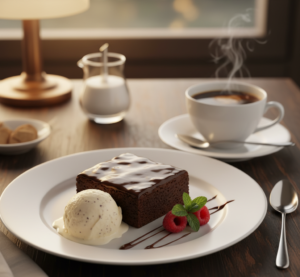
What to Serve With It
Pair your Chocolate Covered Strawberry Brownies with:
- Vanilla ice cream
- Fresh whipped cream
- Coffee or espresso
- Champagne or dessert wine
- Fresh berries
These pairings elevate the dessert even more.

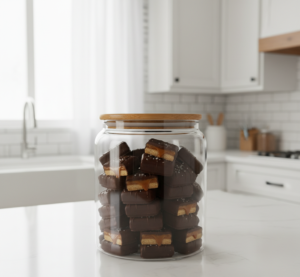
Storage & Reheating
To keep your Chocolate Covered Strawberry Brownies fresh:
- Store in airtight container in refrigerator for up to 4 days
- Keep chilled due to fresh fruit
- Let sit at room temperature before serving
- Not ideal for freezing due to strawberries
Proper storage maintains flavor and texture.
Common Mistakes
Avoid these mistakes when making Chocolate Covered Strawberry Brownies:
- Adding strawberries to warm brownies
- Not drying strawberries properly
- Overbaking the brownie base
- Using low-quality chocolate
- Skipping chilling time
Avoiding these ensures perfect layers and flavor.
FAQs
1. Can I use frozen strawberries?
Fresh strawberries are best, as frozen ones release too much moisture.
2. How do I get clean slices?
Chill thoroughly and use a sharp knife wiped clean between cuts.
3. Can I make this recipe ahead of time?
Yes, it’s perfect for making a day in advance.
4. Can I use boxed brownie mix?
Absolutely! It’s a great shortcut for busy days.
Conclusion
These Chocolate Covered Strawberry Brownies are the perfect blend of rich chocolate and fresh fruit, making them a standout dessert for any occasion. They’re beautiful, indulgent, and surprisingly easy to make at home.
Whether you’re celebrating something special or just treating yourself, this recipe delivers a bakery-quality dessert that’s guaranteed to impress. Once you try it, you’ll understand why it’s such a crowd favorite!