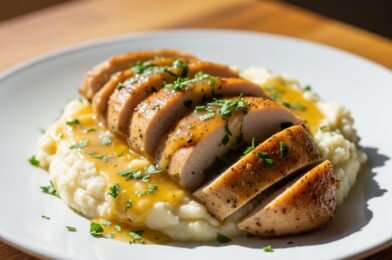
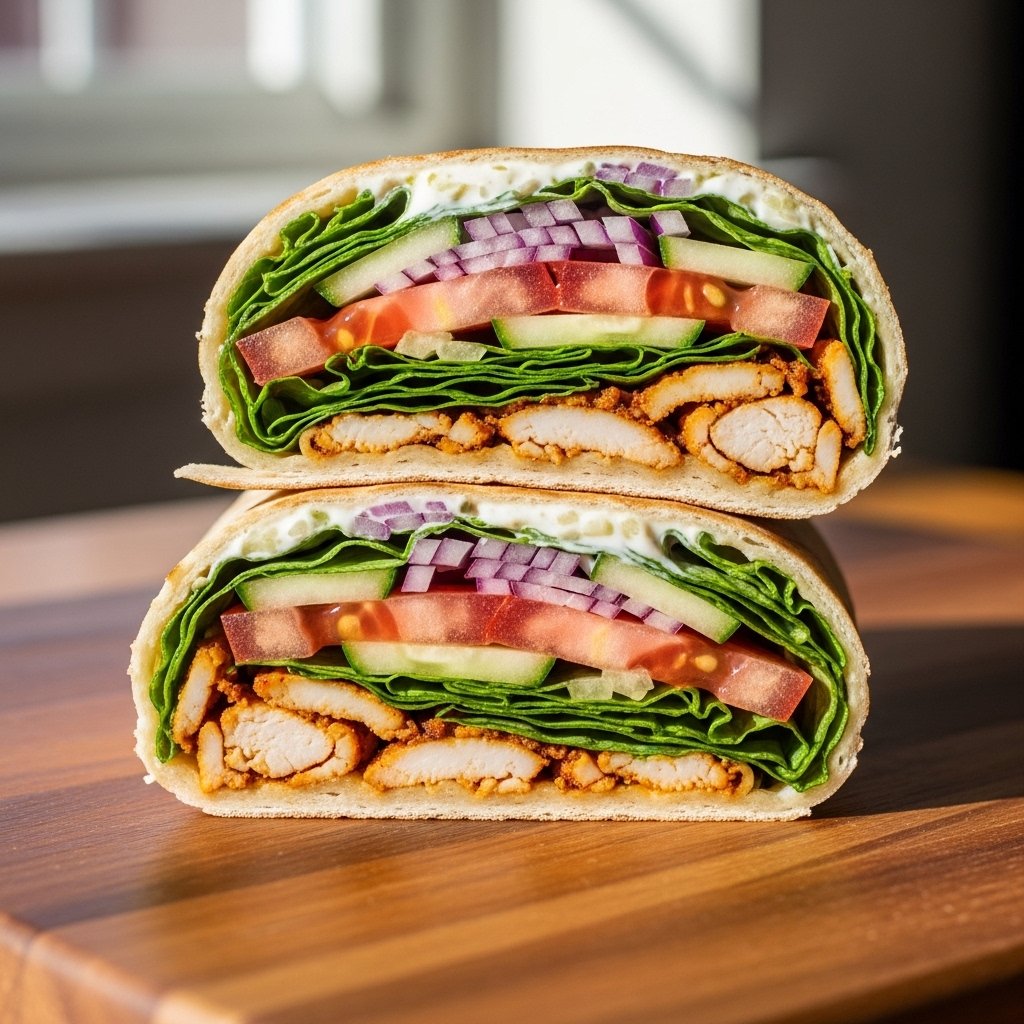
If you’ve been craving a meal that’s fresh, bold, and bursting with flavor, these Mediterranean chicken shawarma wraps with garlic sauce are exactly what you need. They combine juicy marinated chicken, crisp vegetables, warm flatbread, and creamy garlic sauce into one irresistible handheld meal.
This recipe brings all the delicious flavors of your favorite Mediterranean restaurant right into your own kitchen. Best of all, these wraps are surprisingly easy to make and perfect for weeknight dinners, meal prep lunches, or casual entertaining. Once you taste the tender shawarma-style chicken wrapped in soft pita with tangy toppings, you’ll want to make them on repeat.

Why You’ll Love These Chicken Shawarma Wraps
These homemade wraps are loaded with flavor and texture.
What Makes This Recipe Special
- Bold Mediterranean spices
- Juicy, tender chicken
- Creamy homemade garlic sauce
- Fresh crunchy toppings
- Easy to customize
- Great for meal prep
They’re satisfying, fresh, and better than takeout.
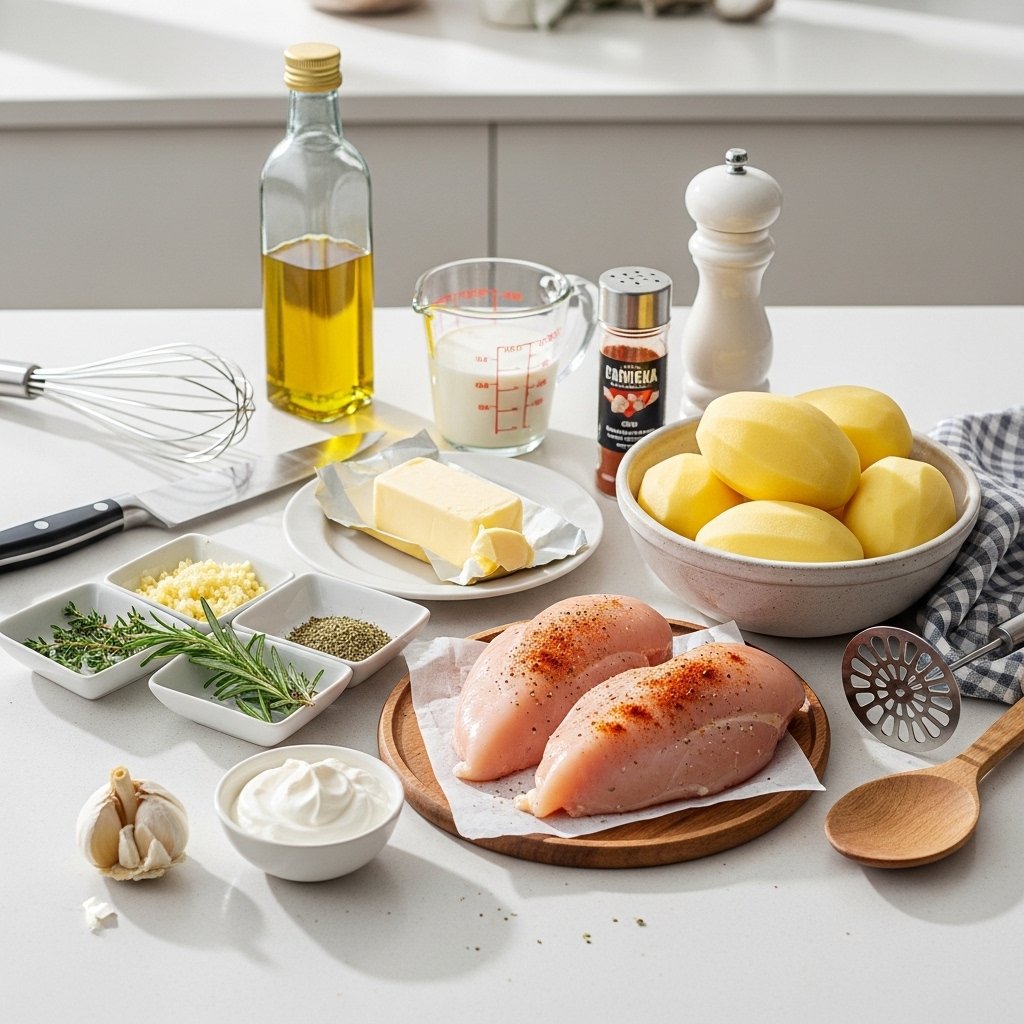
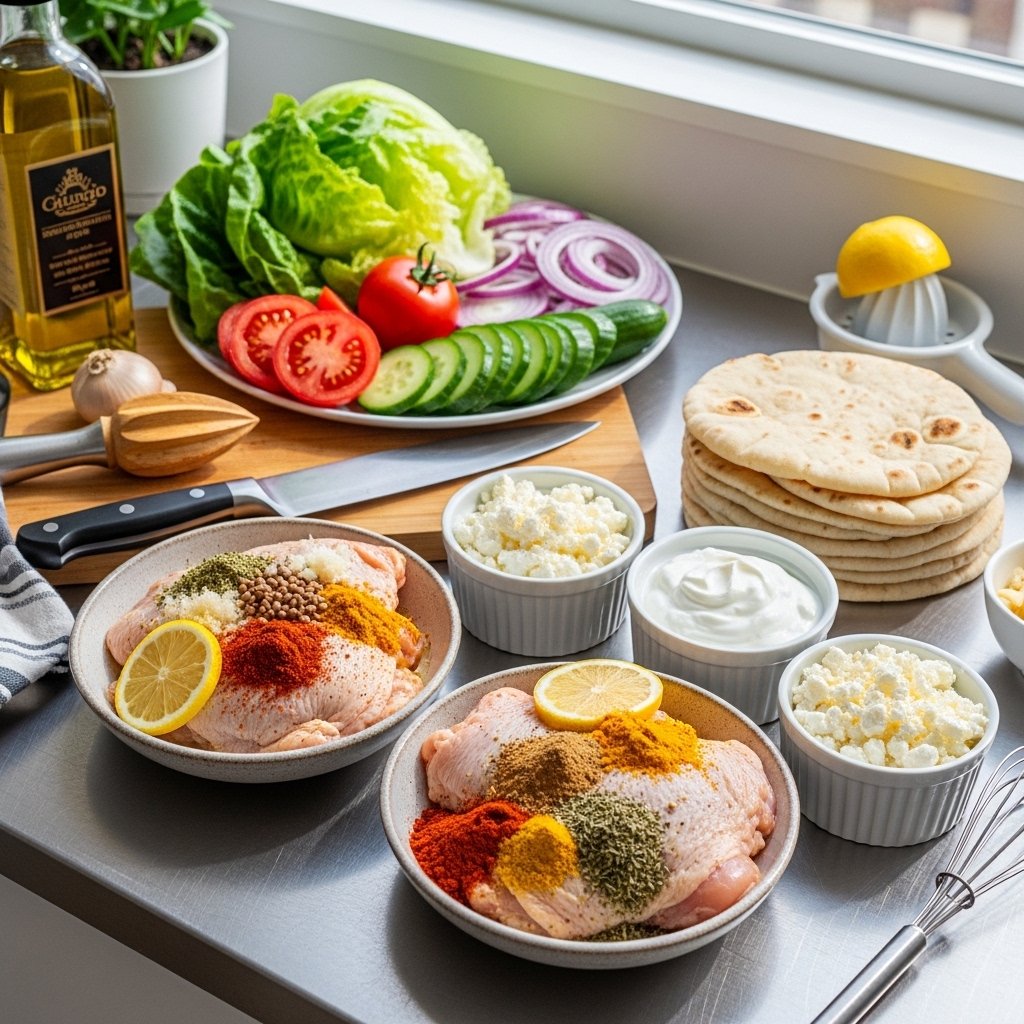
Ingredients You’ll Need
To make these Mediterranean chicken shawarma wraps, gather:
For the Chicken Marinade
- 1 1/2 pounds boneless skinless chicken thighs or breasts
- 2 tablespoons olive oil
- 3 garlic cloves, minced
- 1 tablespoon lemon juice
- 1 teaspoon paprika
- 1 teaspoon cumin
- 1 teaspoon coriander
- 1/2 teaspoon turmeric
- 1/2 teaspoon oregano
- Salt and pepper to taste
For the Garlic Sauce
- 1/2 cup Greek yogurt or mayo
- 2 garlic cloves, minced
- 1 tablespoon lemon juice
- 1 tablespoon olive oil
- Salt to taste
For Assembly
- Pita bread or flatbread
- Lettuce
- Tomatoes
- Cucumbers
- Red onion
- Feta (optional)
These ingredients create layers of fresh Mediterranean flavor.
Ingredient Notes and Prep Tips
Best Chicken Cut
Chicken thighs are best because:
- They stay juicy
- They absorb marinade well
Chicken breasts also work.
Marinade Tip
Marinate:
- At least 30 minutes
- Overnight for deeper flavor
Garlic Sauce Tip
Fresh garlic makes:
- Brighter flavor
- Better balance
This sauce brings the wraps together.
Step-by-Step Instructions
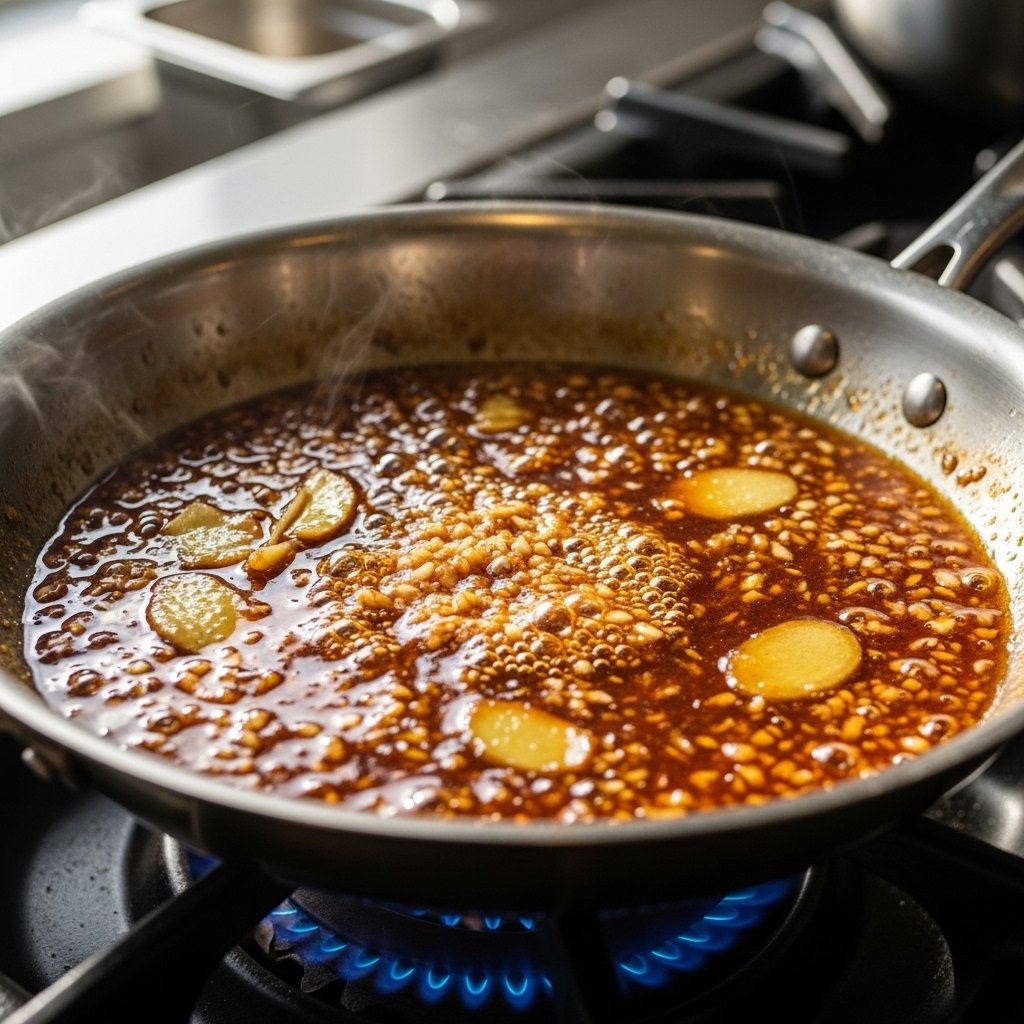
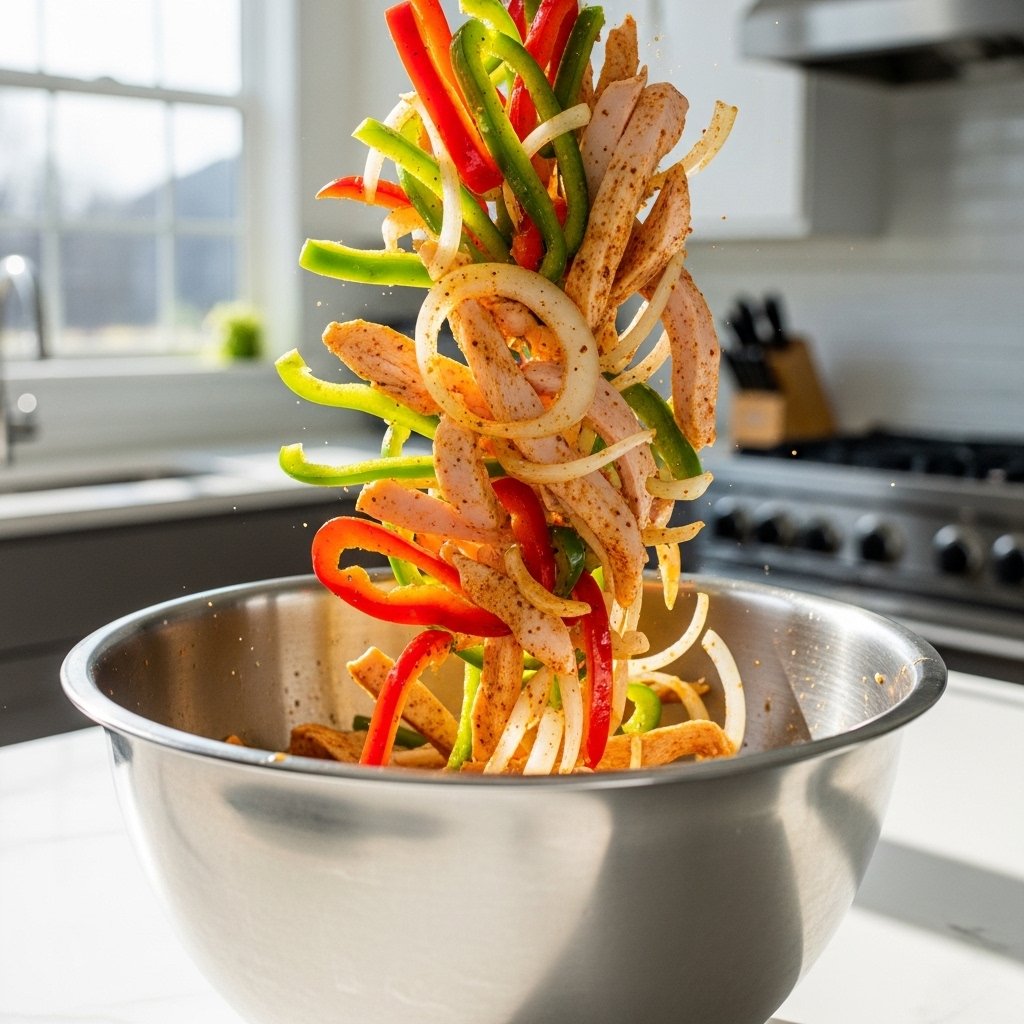
Step 1: Marinate the Chicken
In bowl, mix:
- Olive oil
- Garlic
- Lemon juice
- Spices
Coat chicken well.
Cover and marinate.
This step builds signature shawarma flavor.
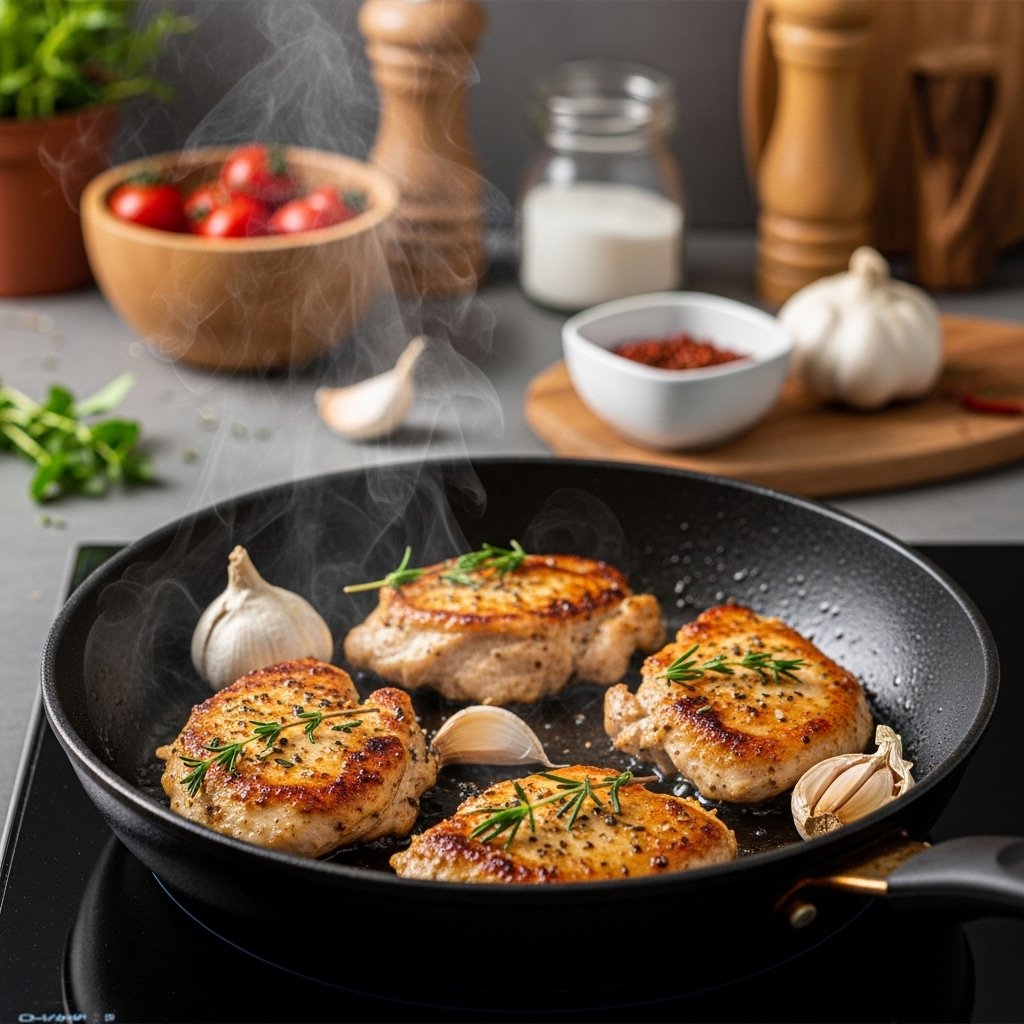
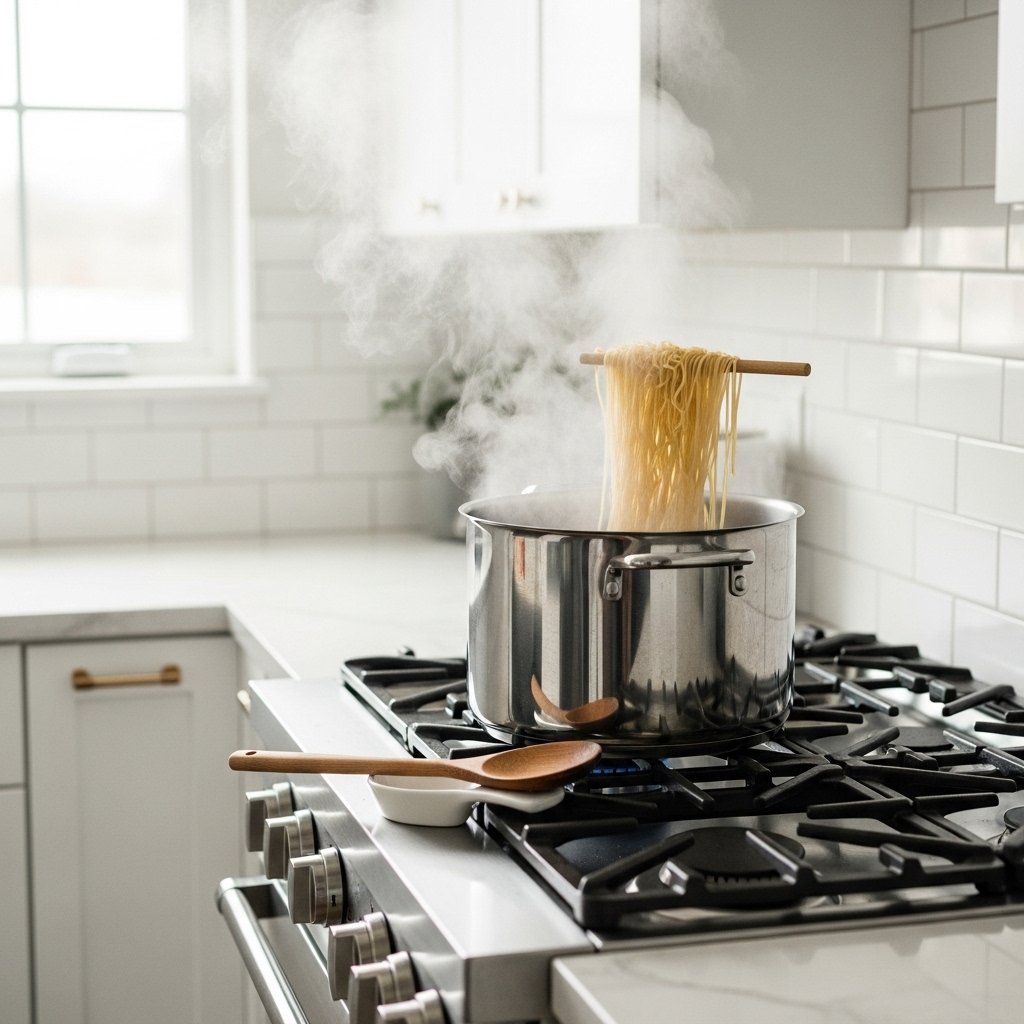
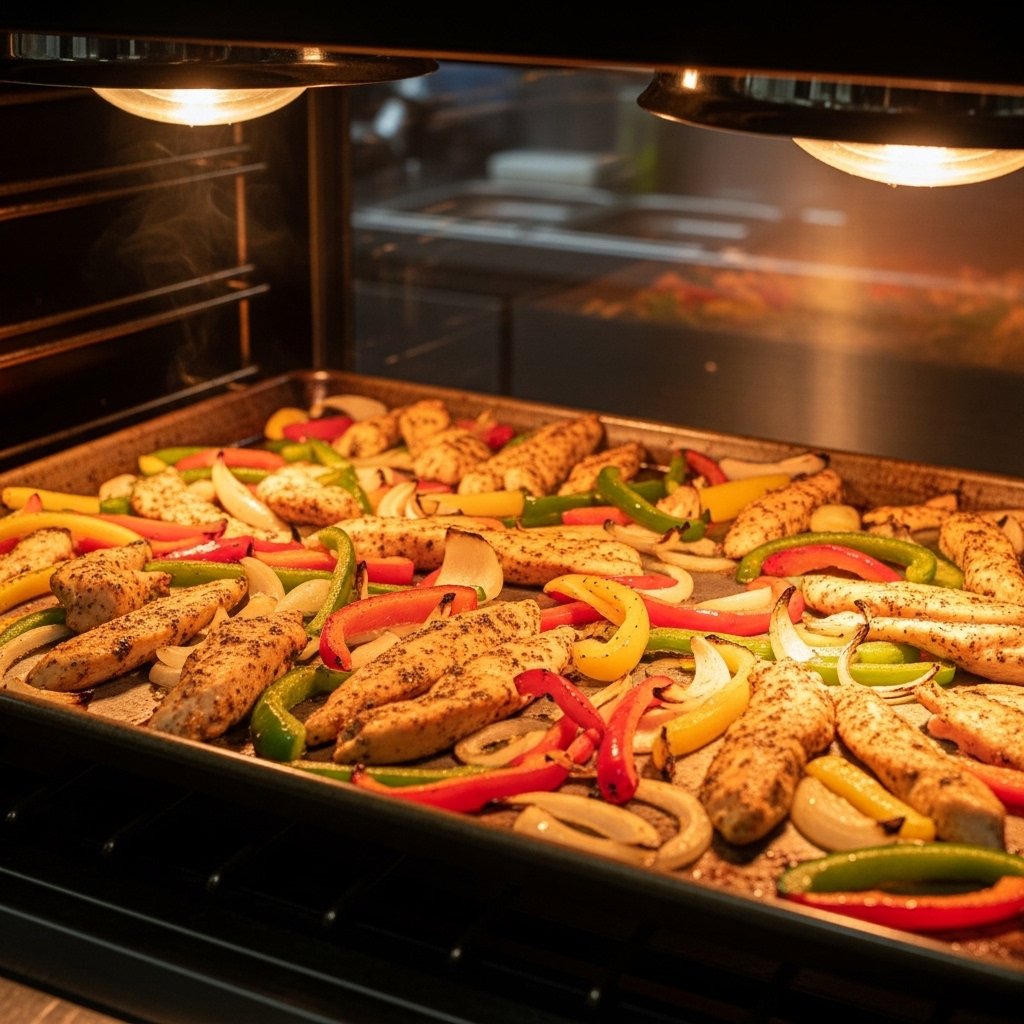
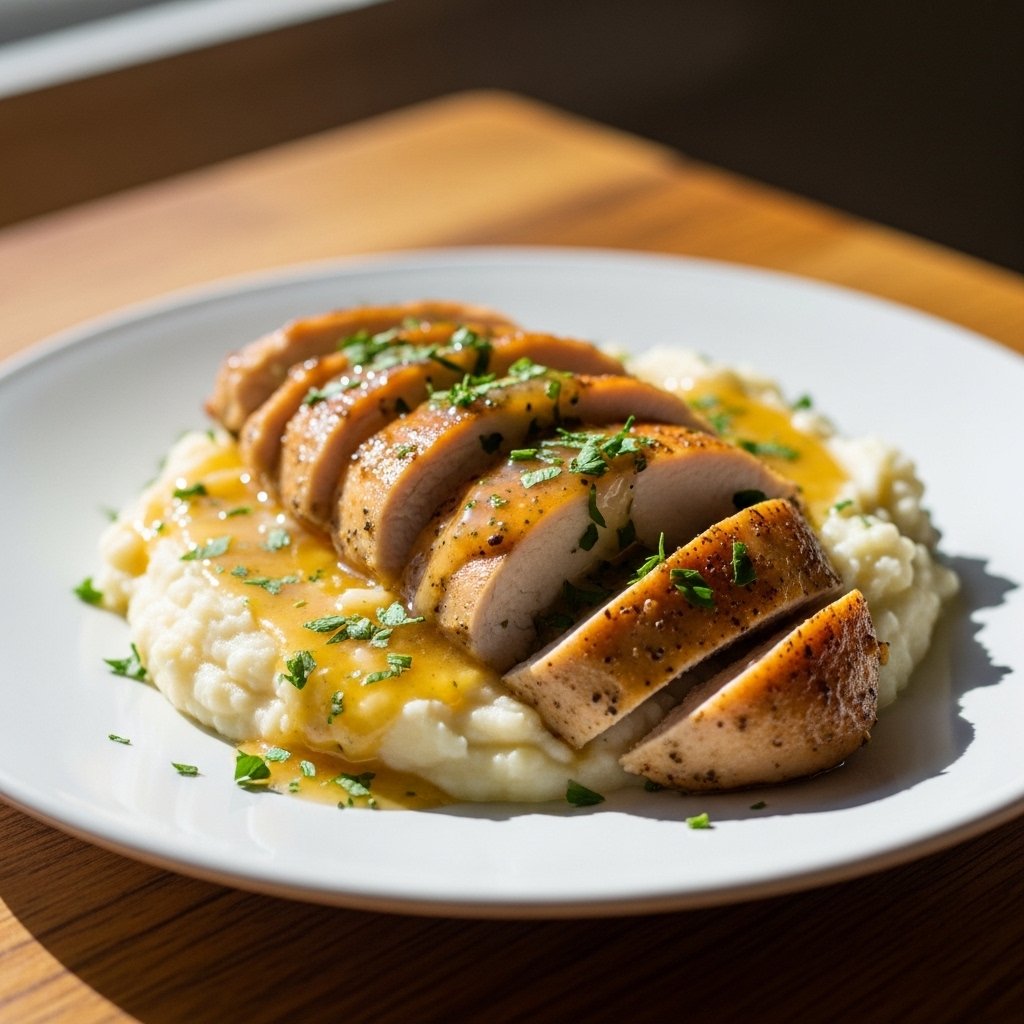
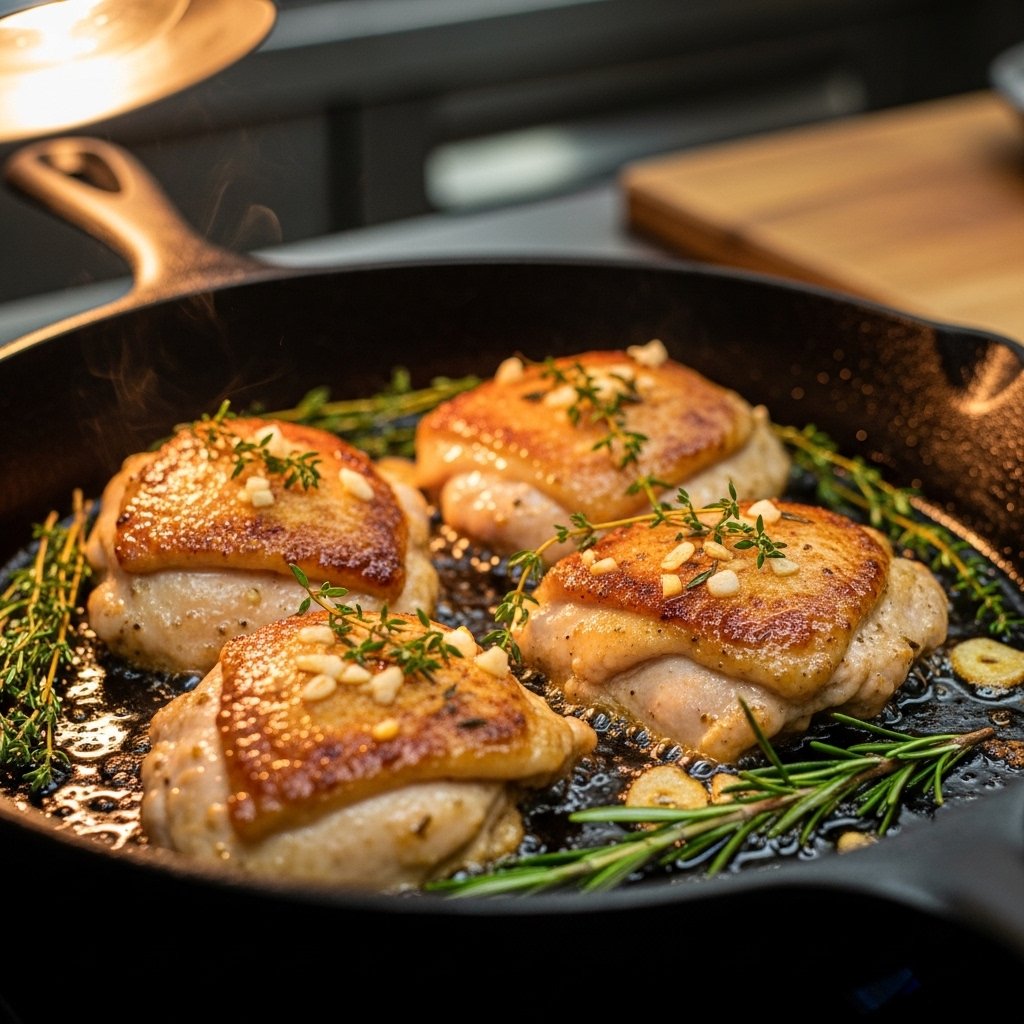
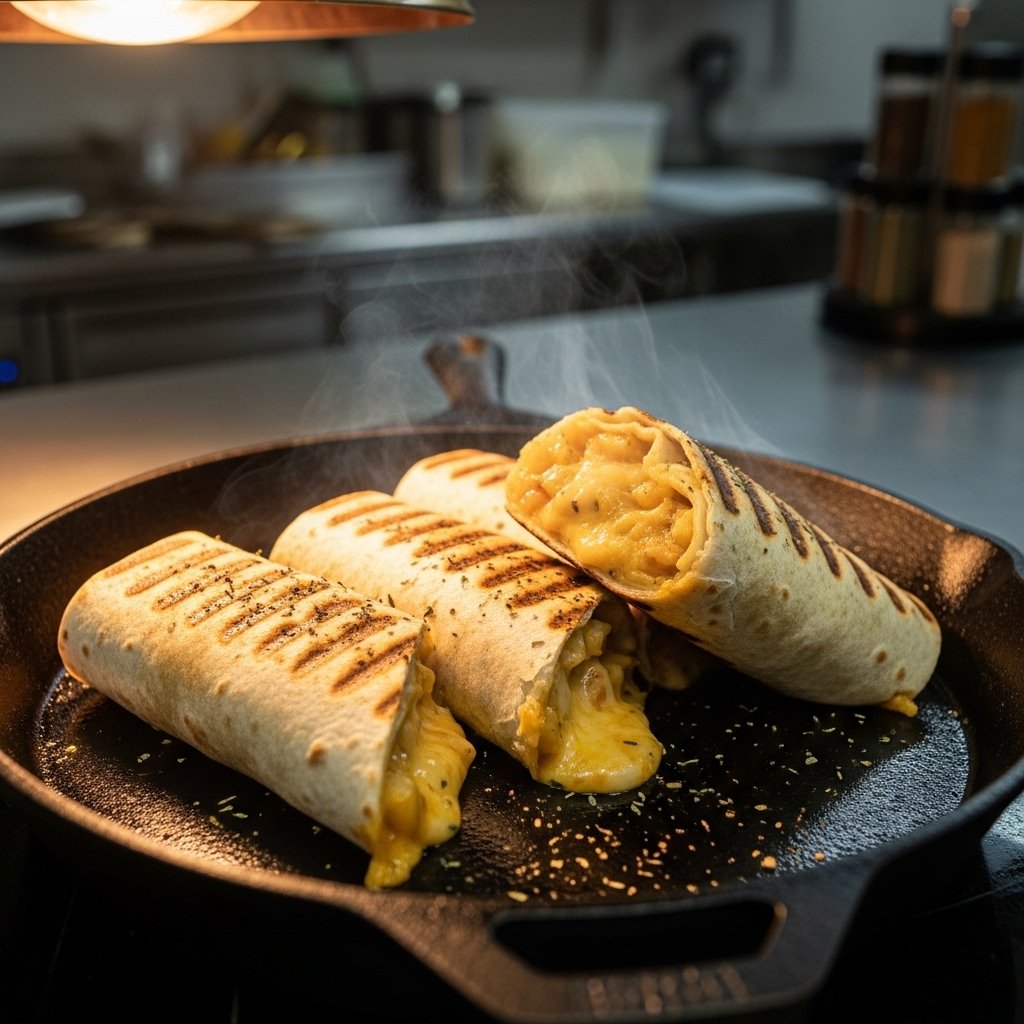
Step 2: Cook the Chicken
Heat skillet, grill pan, or oven.
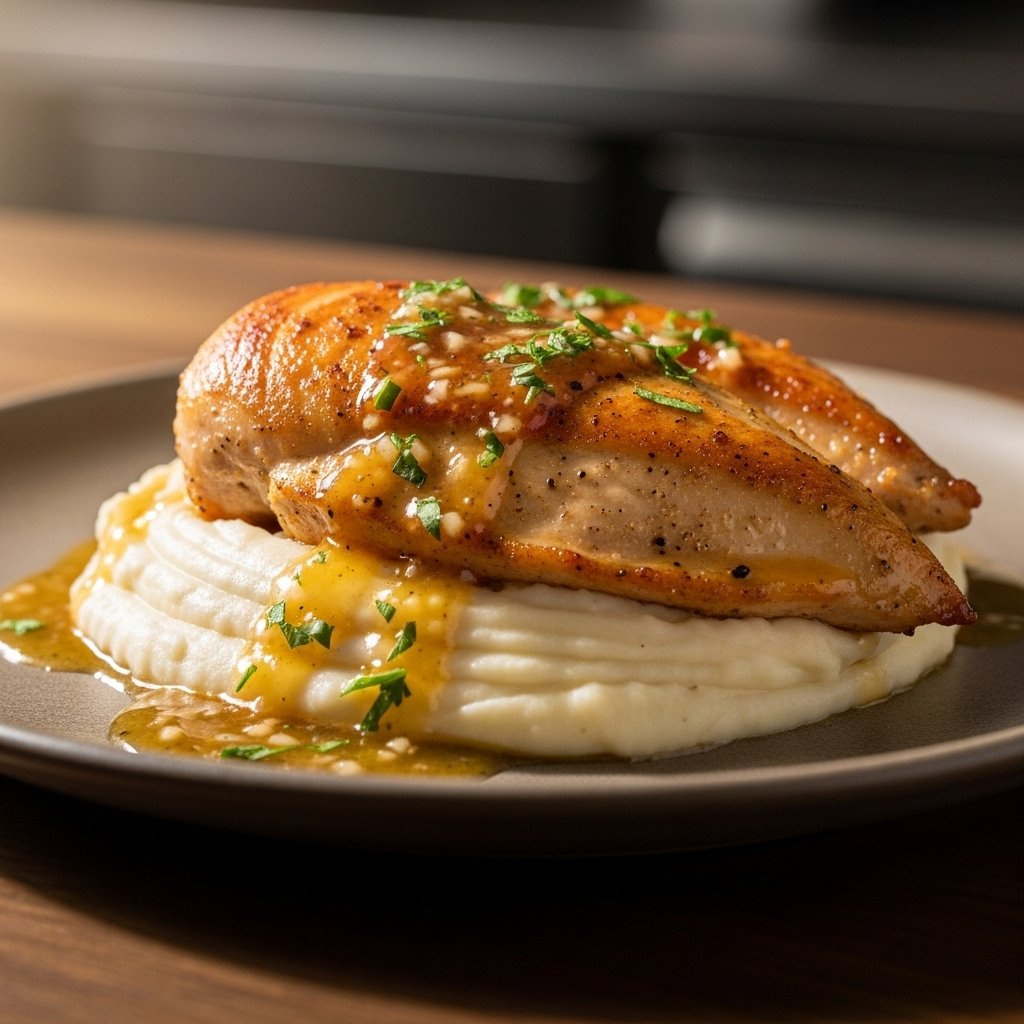
Cook chicken until:
- Golden outside
- Juicy inside
- Fully cooked
Rest briefly.
Slice thinly.
This creates tender flavorful filling.
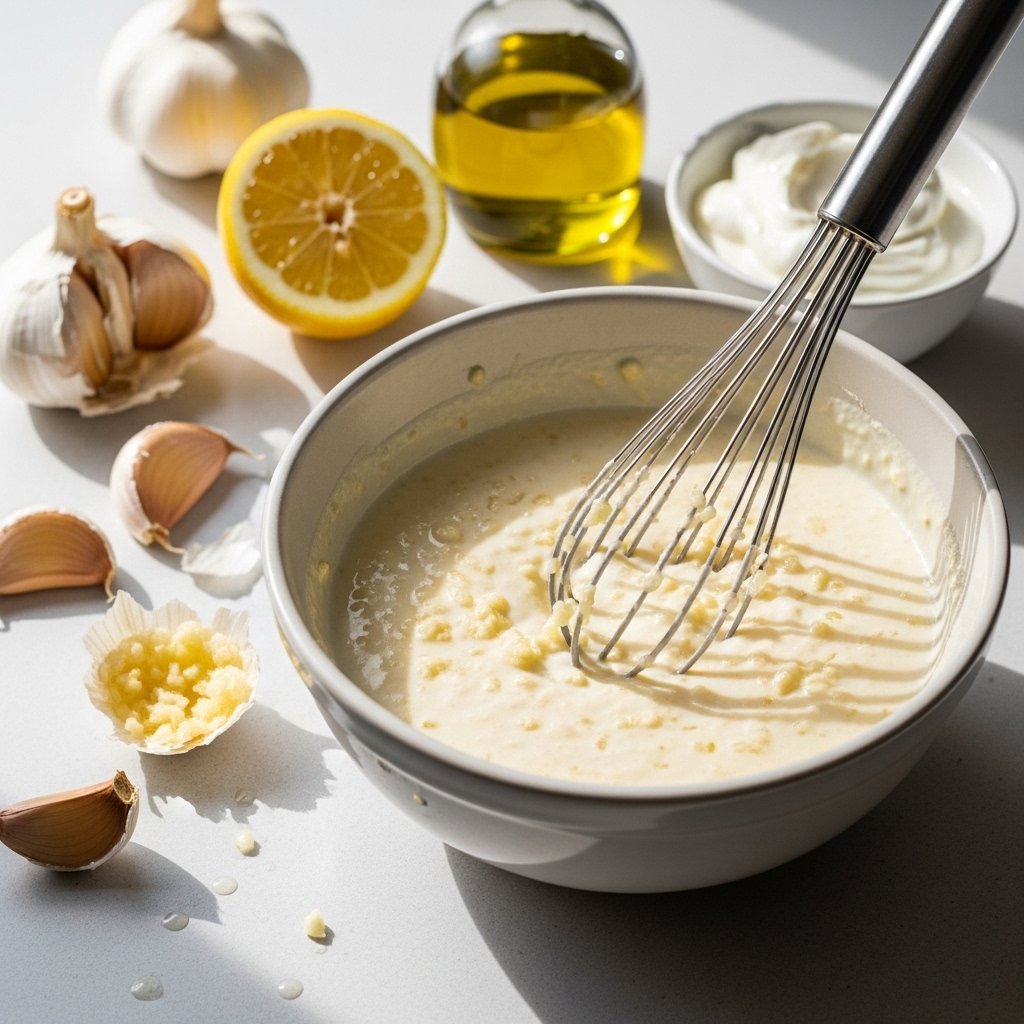
Step 3: Make the Garlic Sauce
Whisk together:
- Yogurt or mayo
- Garlic
- Lemon juice
- Olive oil
- Salt
Mix until smooth.
Chill until ready.
This creamy sauce adds richness and tang.
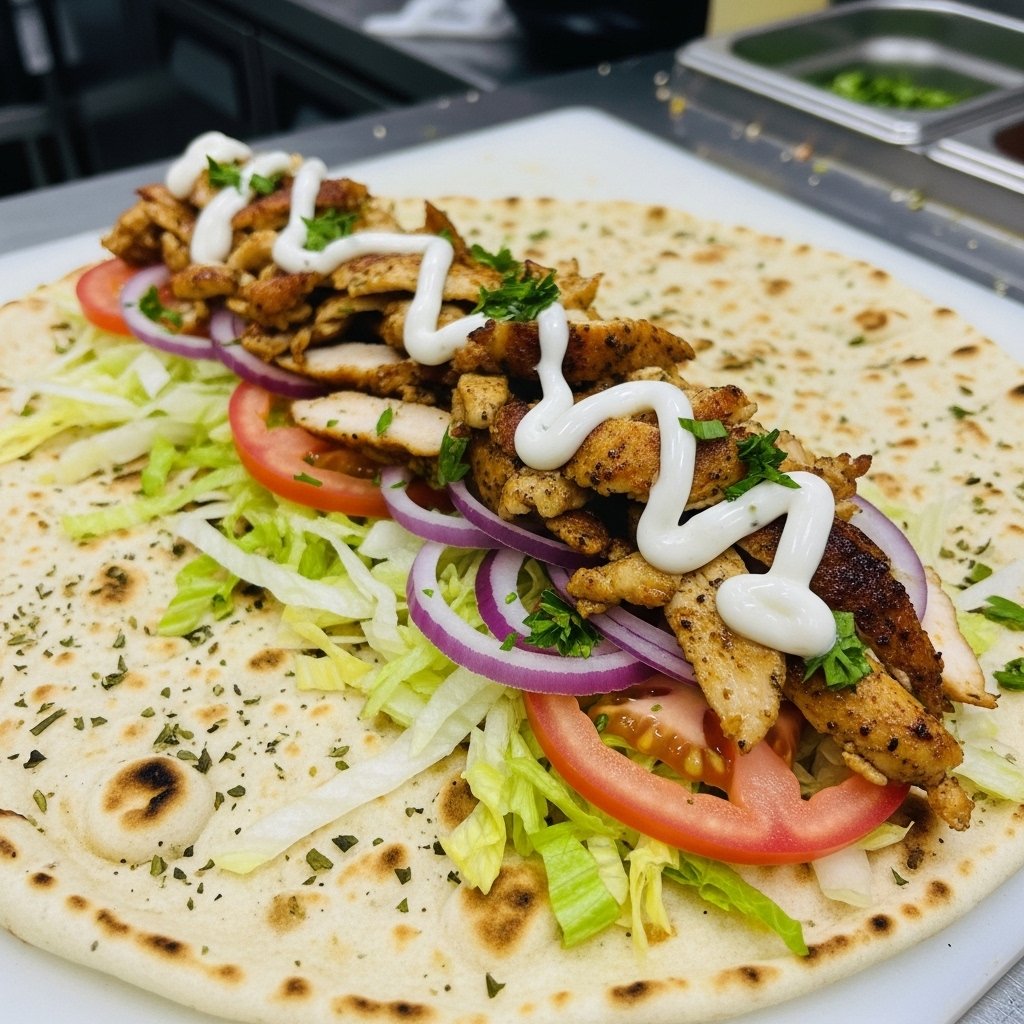
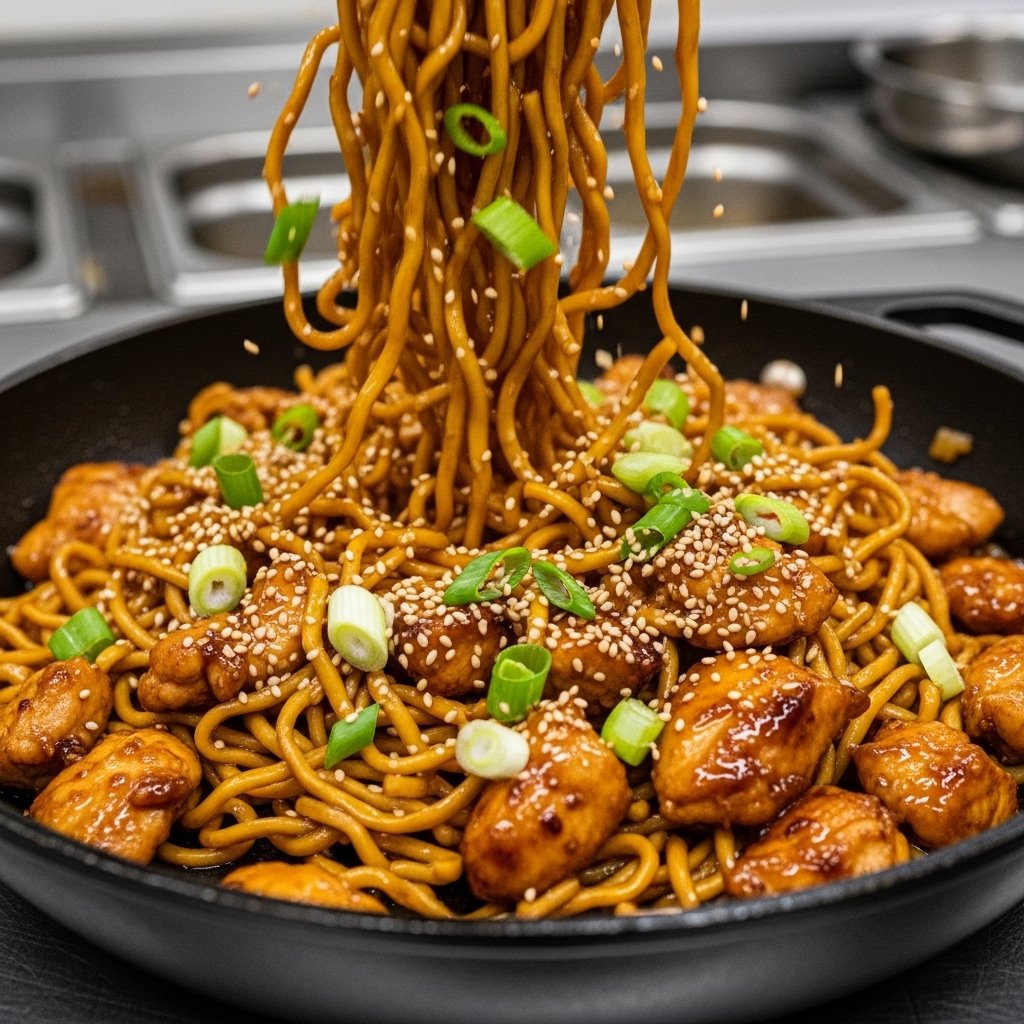
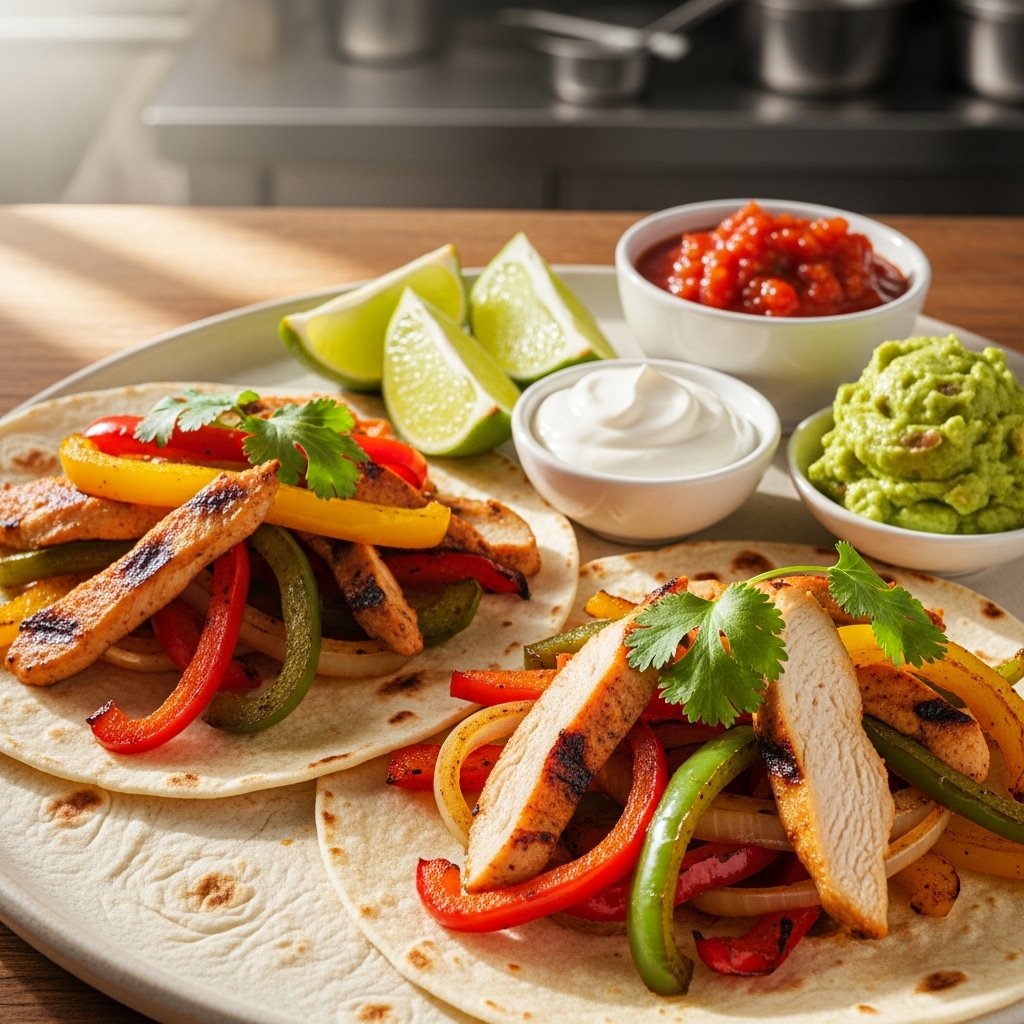
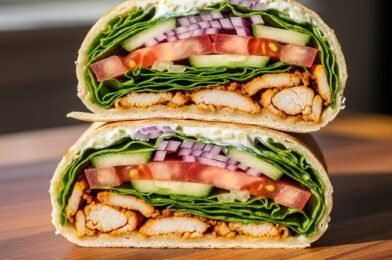
Step 4: Assemble the Wraps
Warm pita or flatbread.
Layer:
- Lettuce
- Chicken
- Tomatoes
- Cucumbers
- Onion
- Garlic sauce
Wrap tightly.
Serve immediately.
These wraps are fresh and incredibly satisfying.

Tips for Perfect Shawarma Wraps
For the best results:
- Don’t skip marinating
- Slice chicken thinly
- Warm bread first
- Use fresh vegetables
- Don’t overfill wraps
These simple steps improve flavor and texture.
Variations and Customizations
This recipe is easy to adapt.
Delicious Add-Ons
- Pickled onions
- Hummus
- Tzatziki
- Roasted peppers
Low-Carb Option
- Serve in lettuce wraps
Extra Protein
- Add chickpeas
This keeps meals exciting.
What to Serve With Chicken Shawarma Wraps
Pair with:
- Hummus and pita chips
- Greek salad
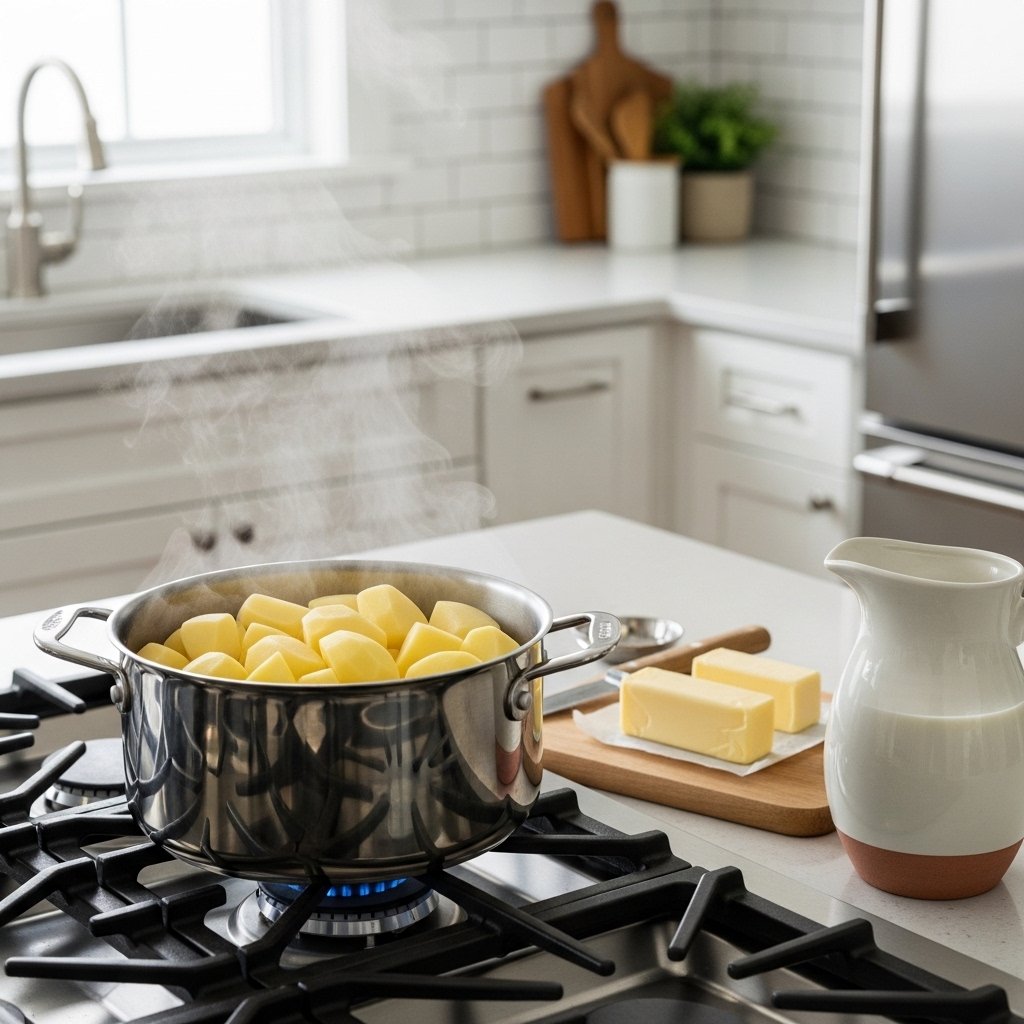
- Roasted potatoes
- Rice pilaf
Perfect for:
- Family dinners
- Lunch prep
- Gatherings
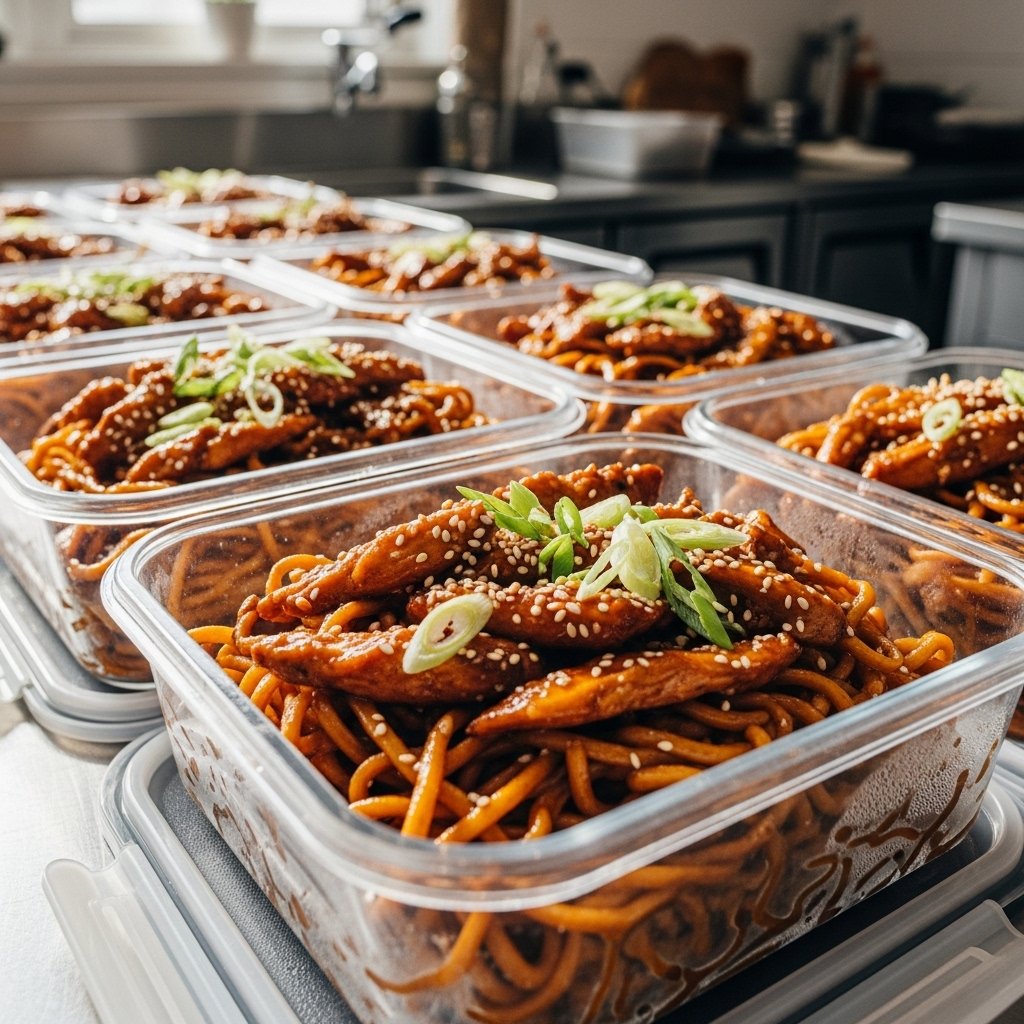
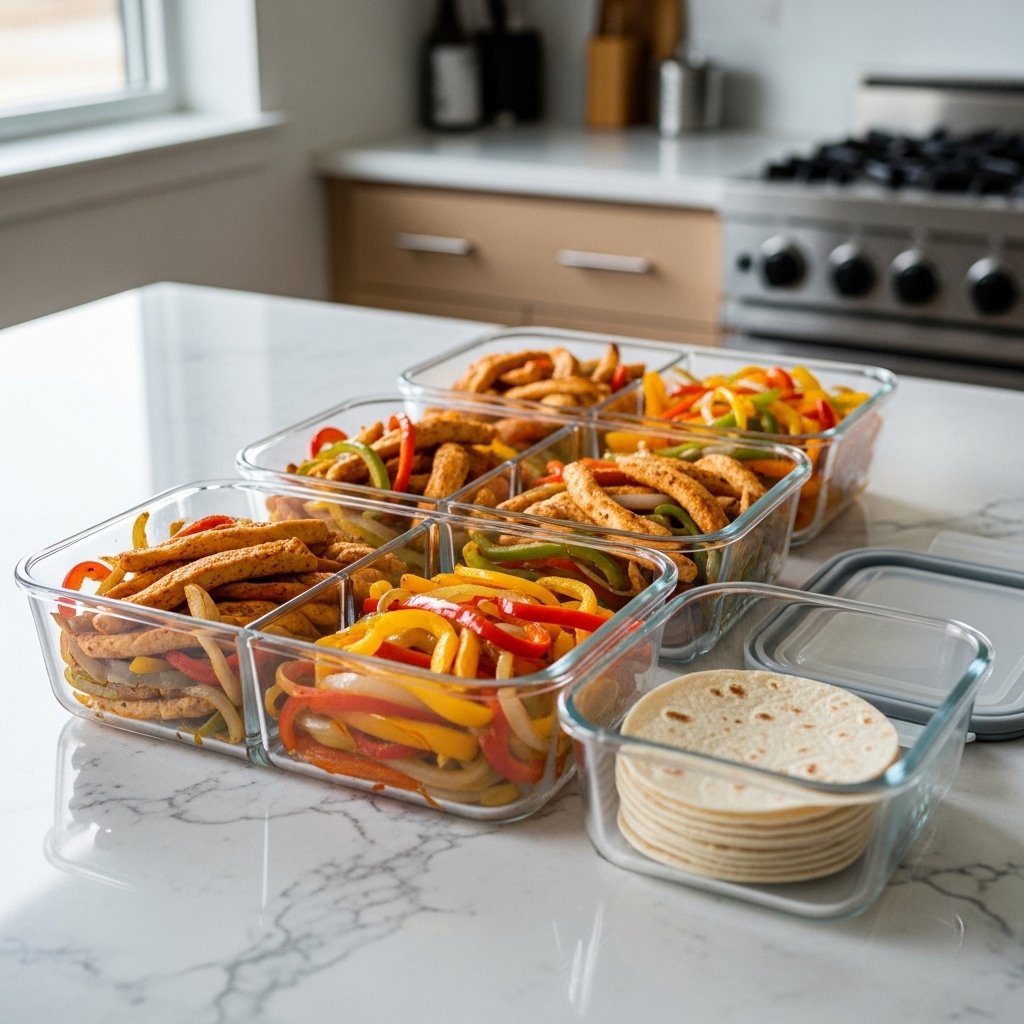
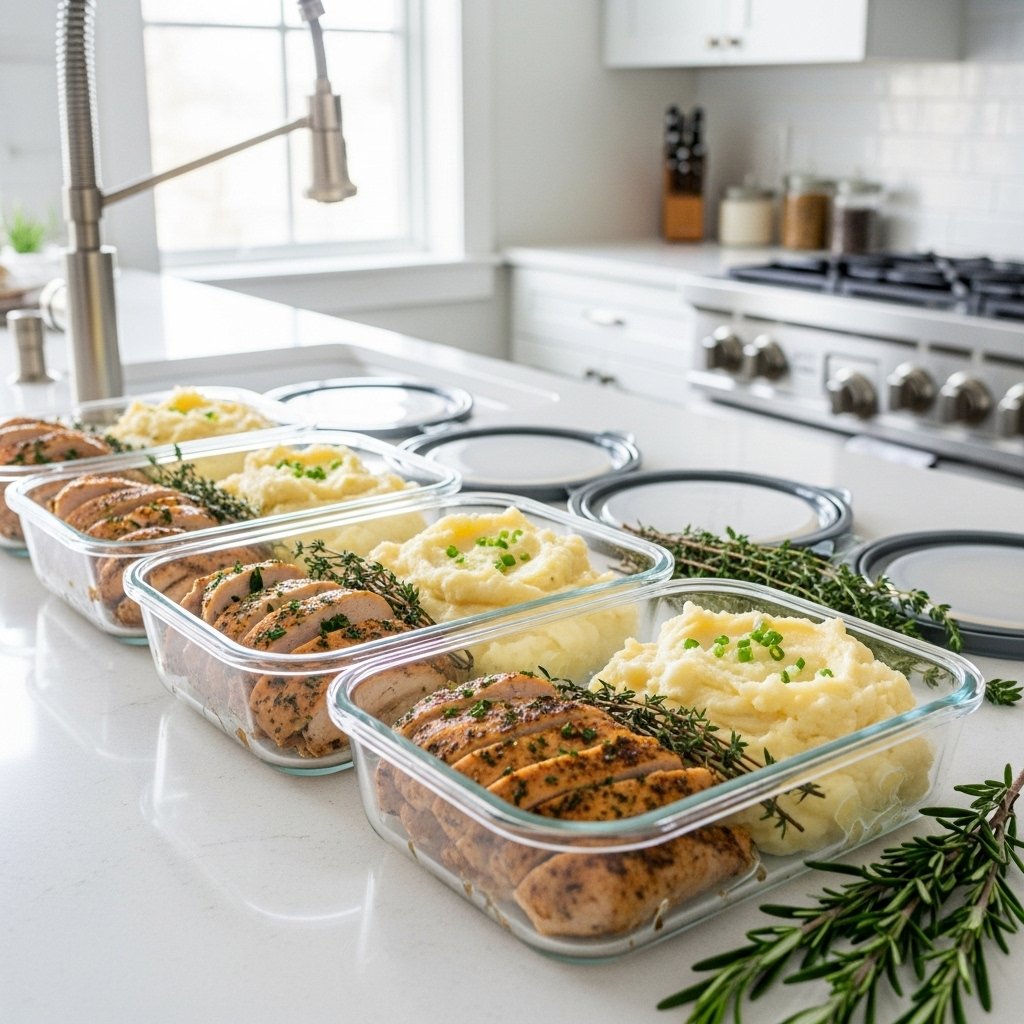
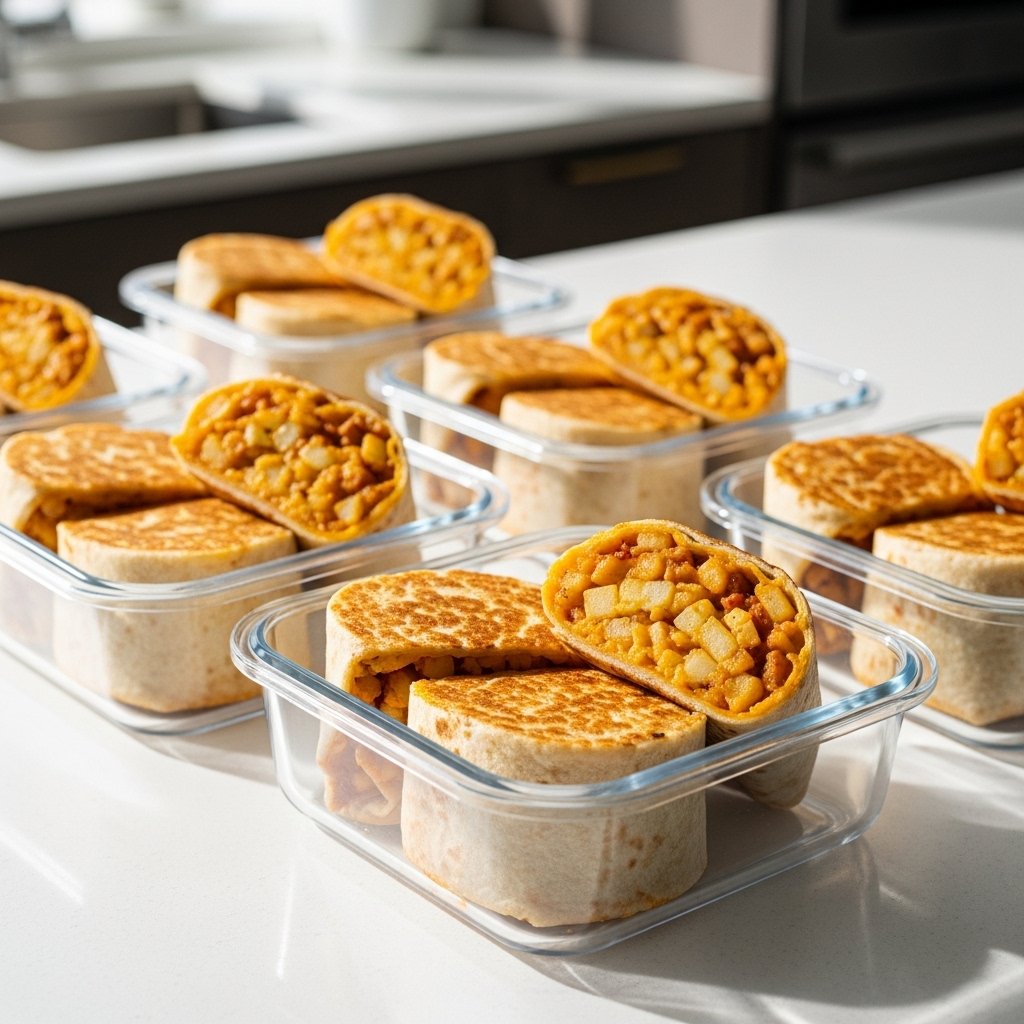
Storage and Reheating Tips
These wraps are meal prep friendly.
Refrigerator
- Chicken keeps 4 days
- Sauce keeps 3–4 days
Reheat
- Warm chicken separately
- Assemble fresh wraps
Store veggies separately for freshness.
Common Mistakes to Avoid
For the best wraps:
- Don’t skip resting chicken
- Don’t overcook chicken
- Don’t use cold pita
- Don’t overload wraps
- Don’t skip sauce seasoning
Balance is key.
Frequently Asked Questions
Can I grill the chicken?
Yes, grilled chicken tastes amazing here.
Can I make it ahead?
Yes, prep components ahead.
Can I freeze the chicken?
Yes, cooked chicken freezes well.
Is the garlic sauce spicy?
No, it’s creamy and mild.
Can I use naan instead of pita?
Absolutely.
Final Thoughts
These Mediterranean chicken shawarma wraps with garlic sauce are the perfect mix of fresh, savory, and satisfying. With juicy spiced chicken, crisp toppings, and creamy sauce wrapped in warm bread, every bite feels special.
Whether you’re making them for a quick weeknight dinner, easy lunches, or casual entertaining, this recipe delivers restaurant-worthy flavor with simple ingredients. Once you make these at home, they’ll quickly become one of your most requested meals.