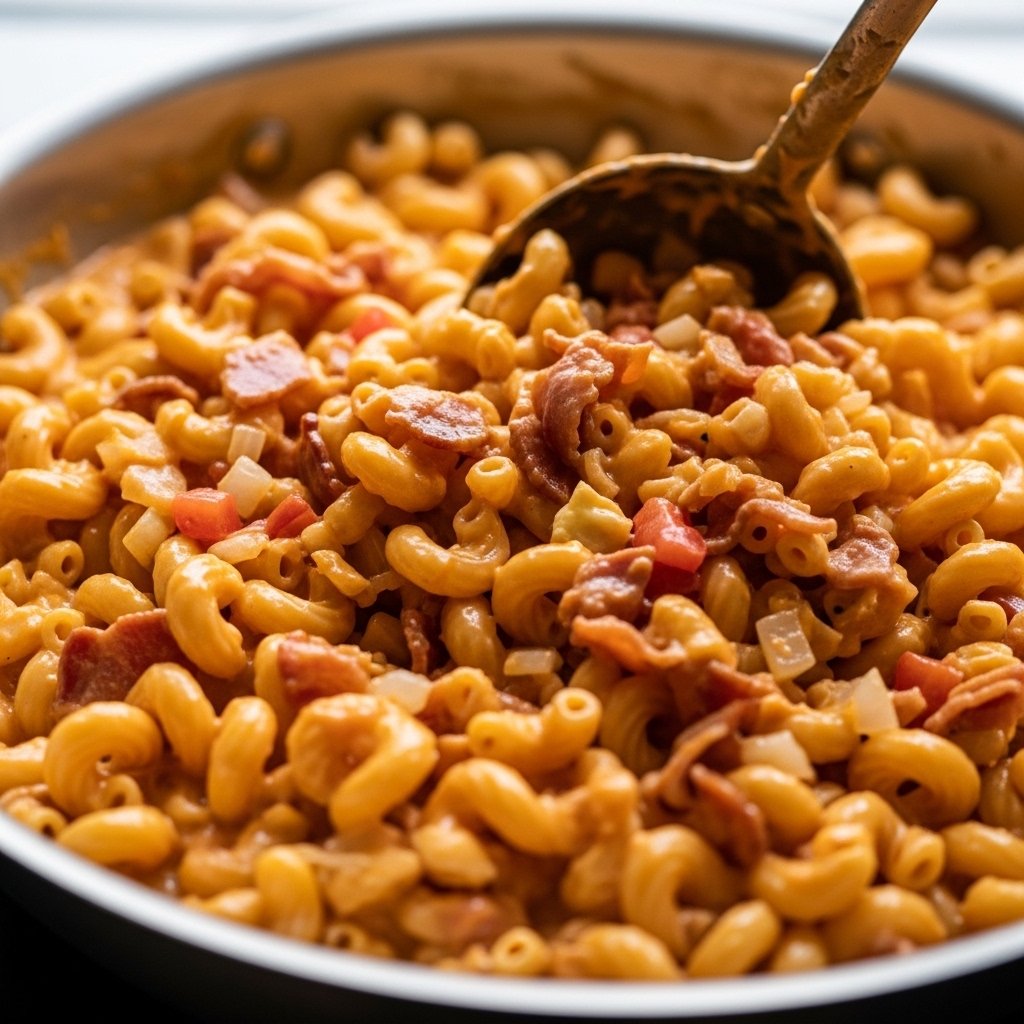
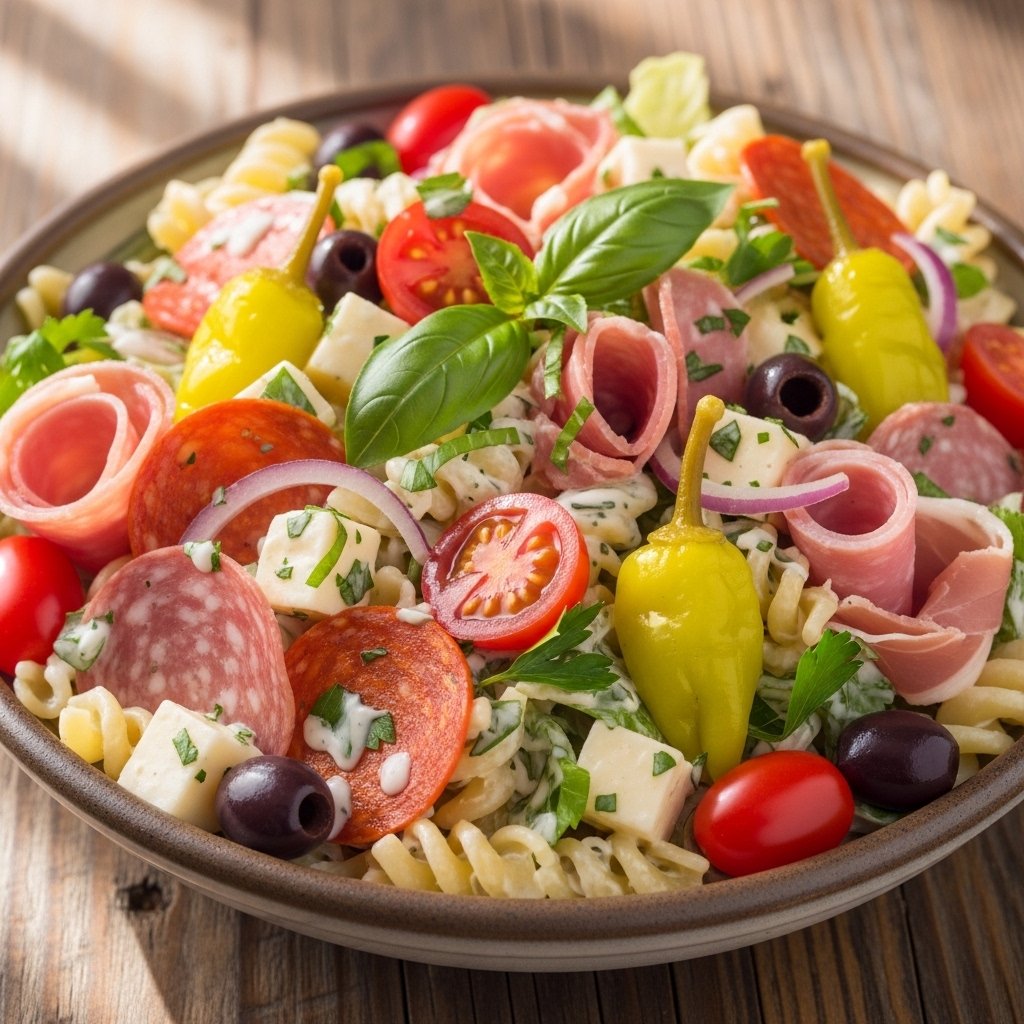
If you love bold deli flavors and refreshing pasta salads, this Savory Italian Grinder Pasta Salad is about to become your new obsession. Inspired by the viral Italian grinder sandwich, this recipe transforms all those classic flavors—salami, ham, cheese, crisp veggies, and creamy dressing—into a hearty pasta salad.
It’s perfect for summer gatherings, meal prep lunches, potlucks, or even a quick dinner. Every bite is creamy, tangy, savory, and packed with texture.

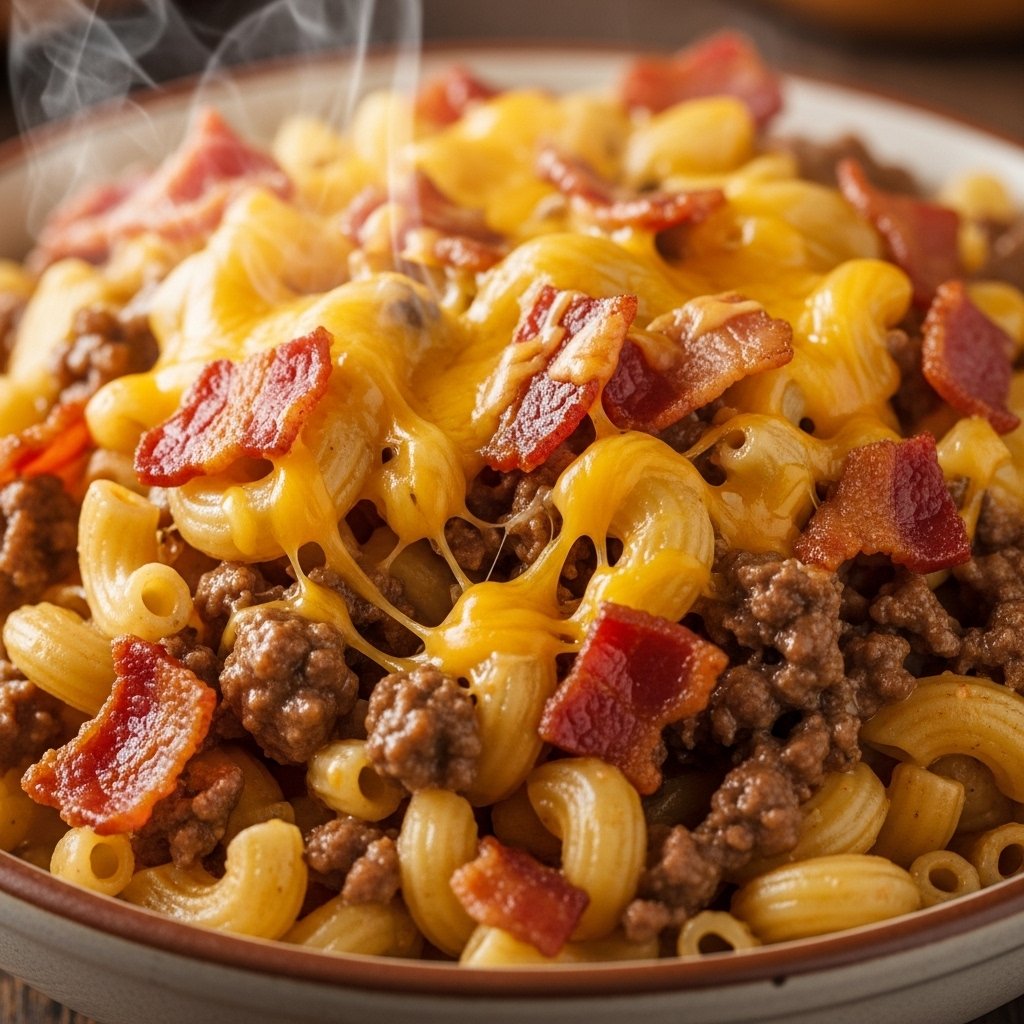
Why You’ll Love This Savory Italian Grinder Pasta Salad
This Italian grinder pasta salad recipe is a must-try because:
- Bold deli sandwich flavors in pasta form
- Perfect for meal prep and gatherings
- Creamy, crunchy, and satisfying texture
- Easy to customize with ingredients you love
- Ready in under 30 minutes
It’s a fun twist on a classic grinder sandwich.
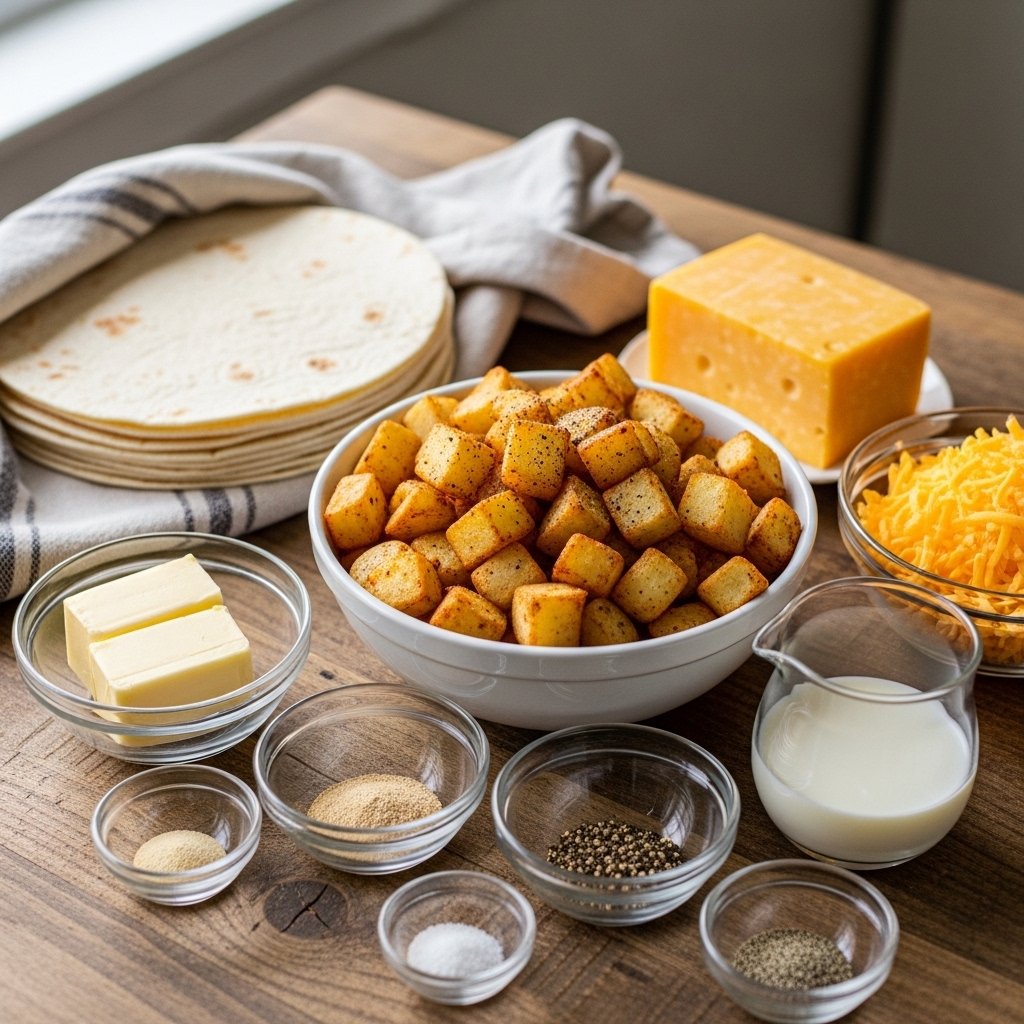
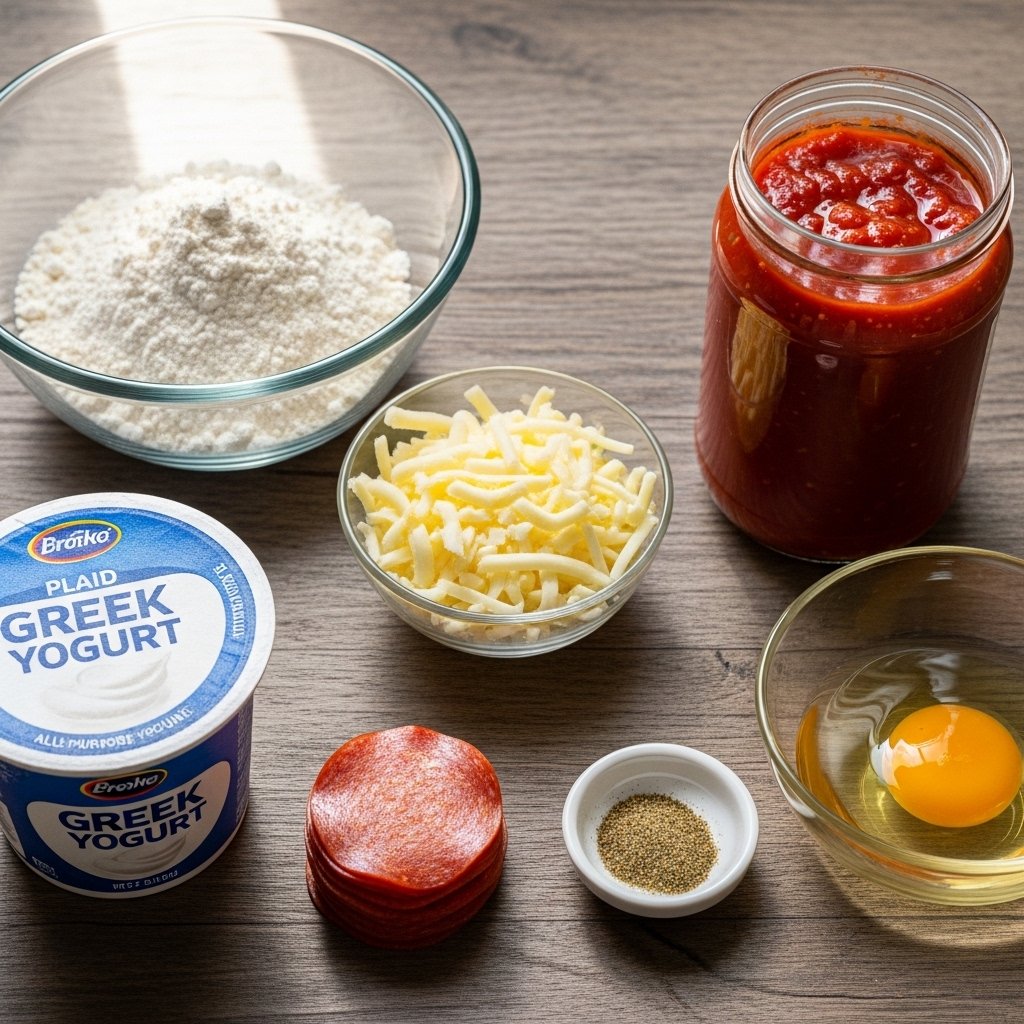
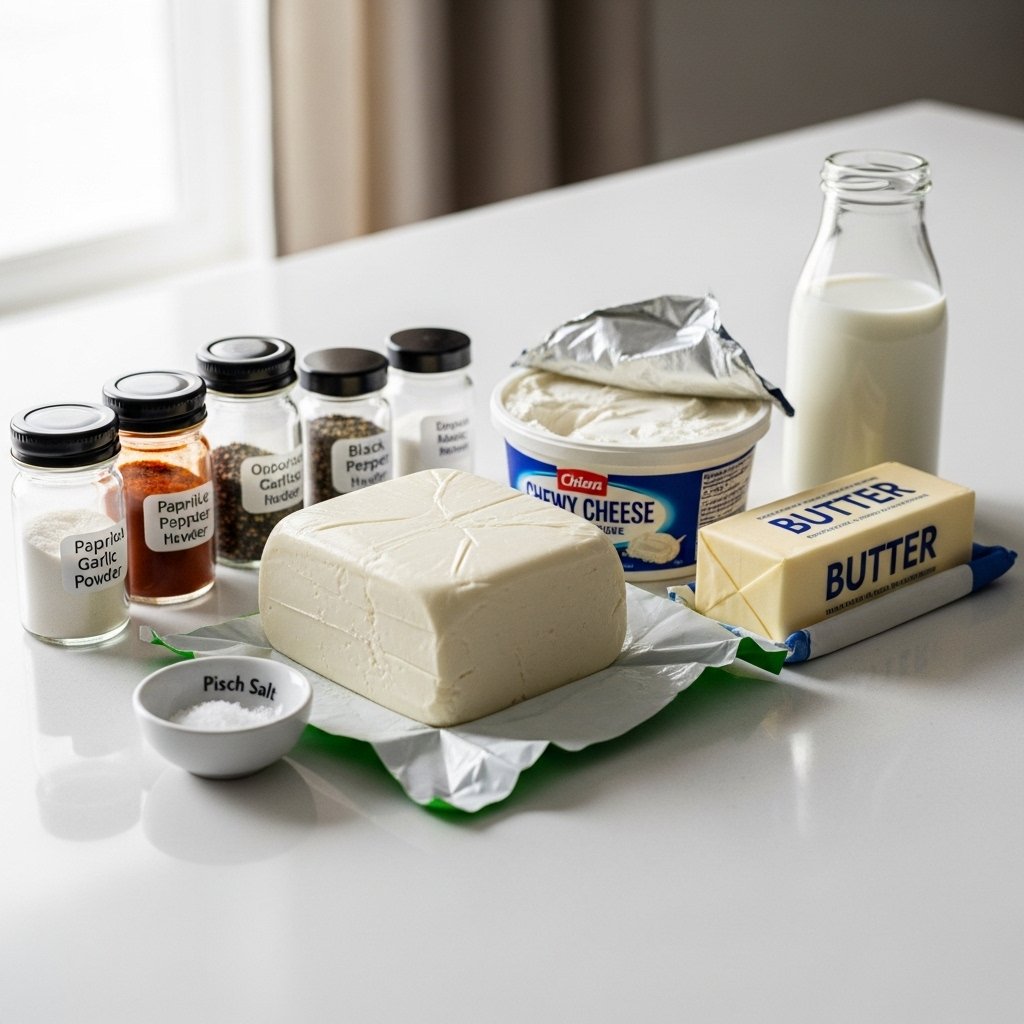
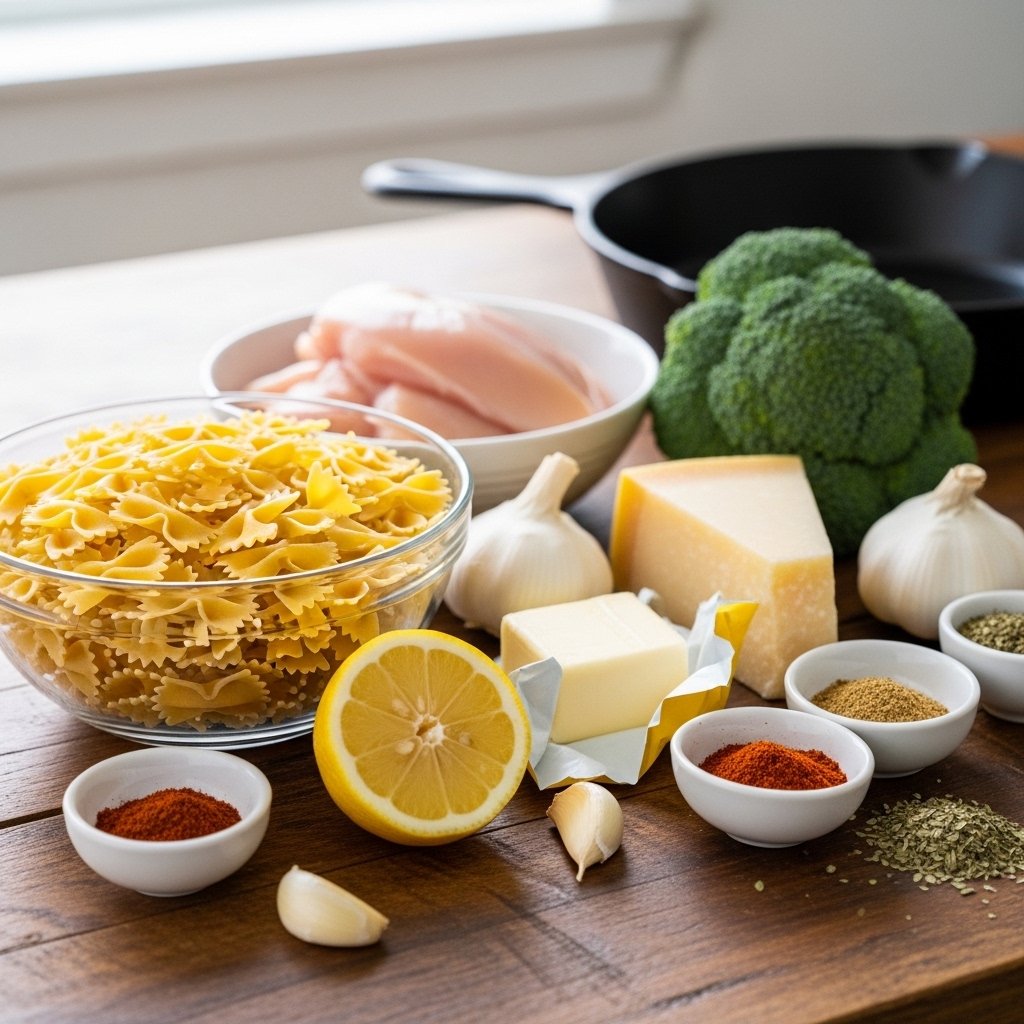
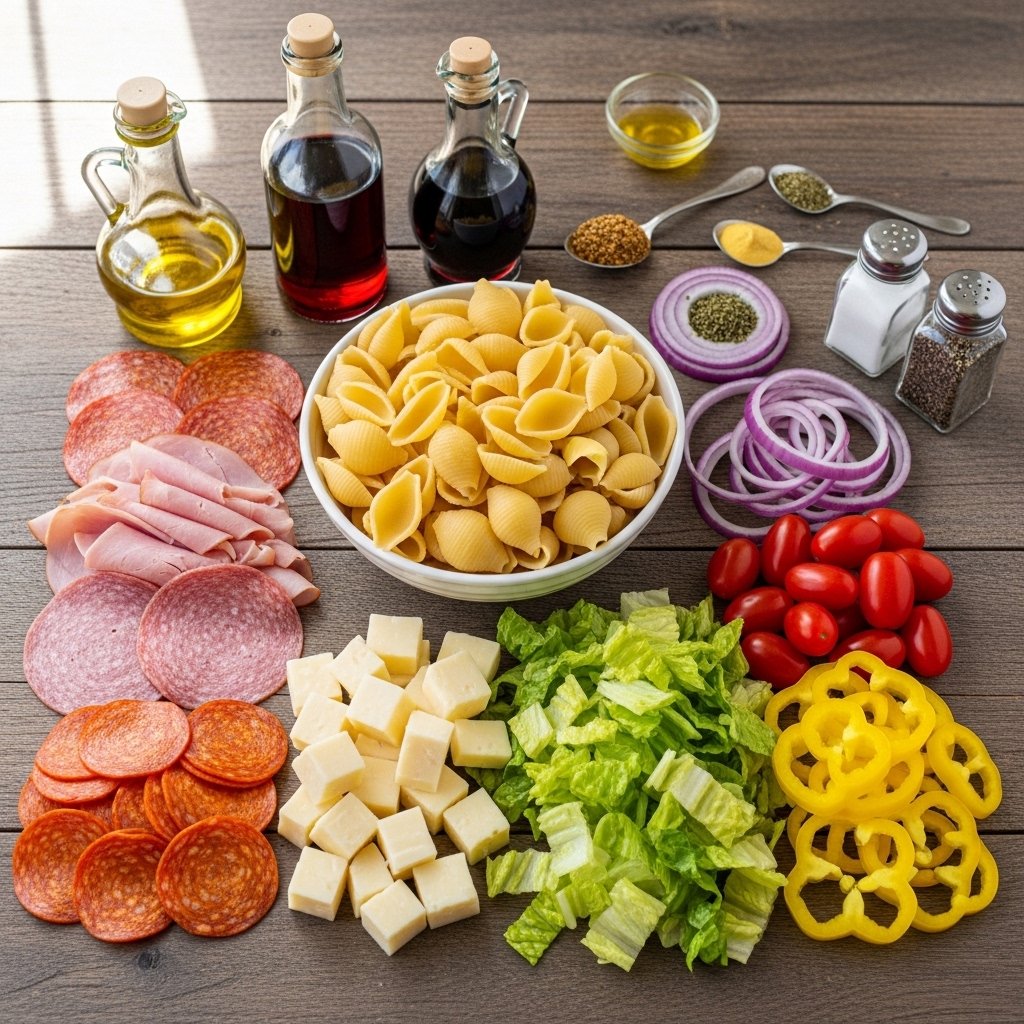
Ingredients
To make this Savory Italian Grinder Pasta Salad, you’ll need:
- 12 oz pasta (rotini or penne)
- ½ cup salami, sliced
- ½ cup ham, chopped
- ½ cup pepperoni slices
- 1 cup provolone or mozzarella cheese cubes
- 1 cup romaine lettuce, chopped
- 1 cup cherry tomatoes, halved
- ½ red onion, thinly sliced
- ½ cup banana peppers
- ½ cup mayonnaise
- ¼ cup olive oil
- 2 tbsp red wine vinegar
- 1 tsp Italian seasoning
- Salt and pepper to taste
Ingredient Notes
Each ingredient builds the iconic Italian grinder pasta salad flavor:
- Pasta: Holds creamy dressing and toppings
- Deli meats: Salami, ham, and pepperoni bring bold flavor
- Cheese: Provolone or mozzarella adds creaminess
- Veggies: Add crunch and freshness
- Dressing: Creamy tangy mix ties everything together
Step-by-Step Instructions
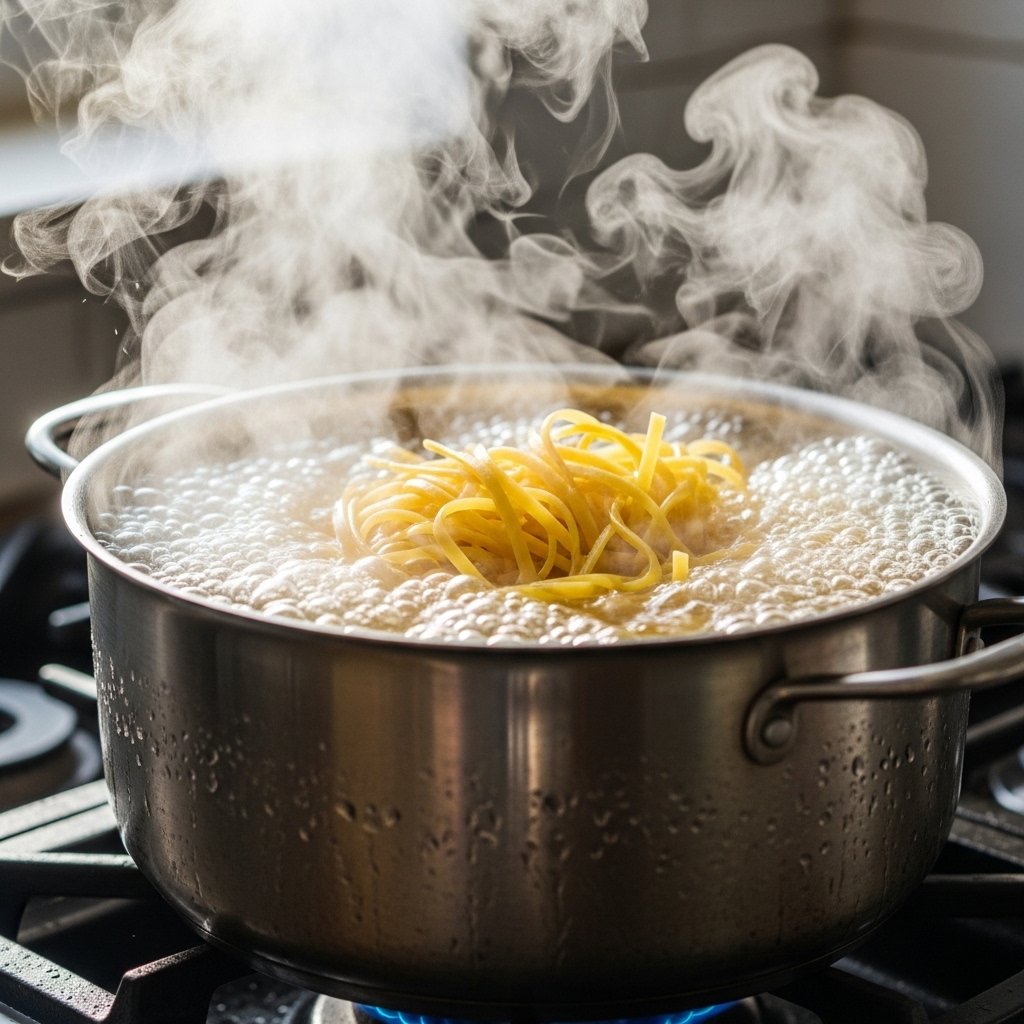
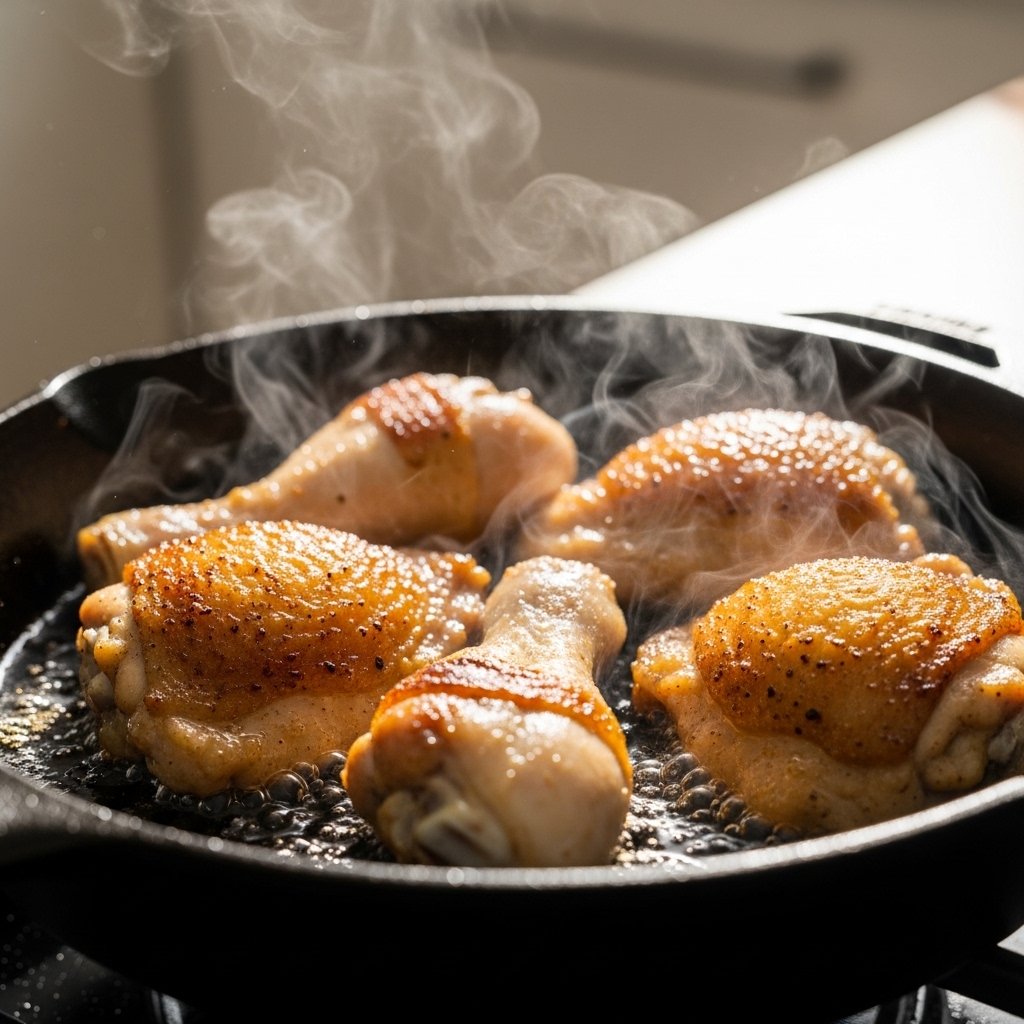
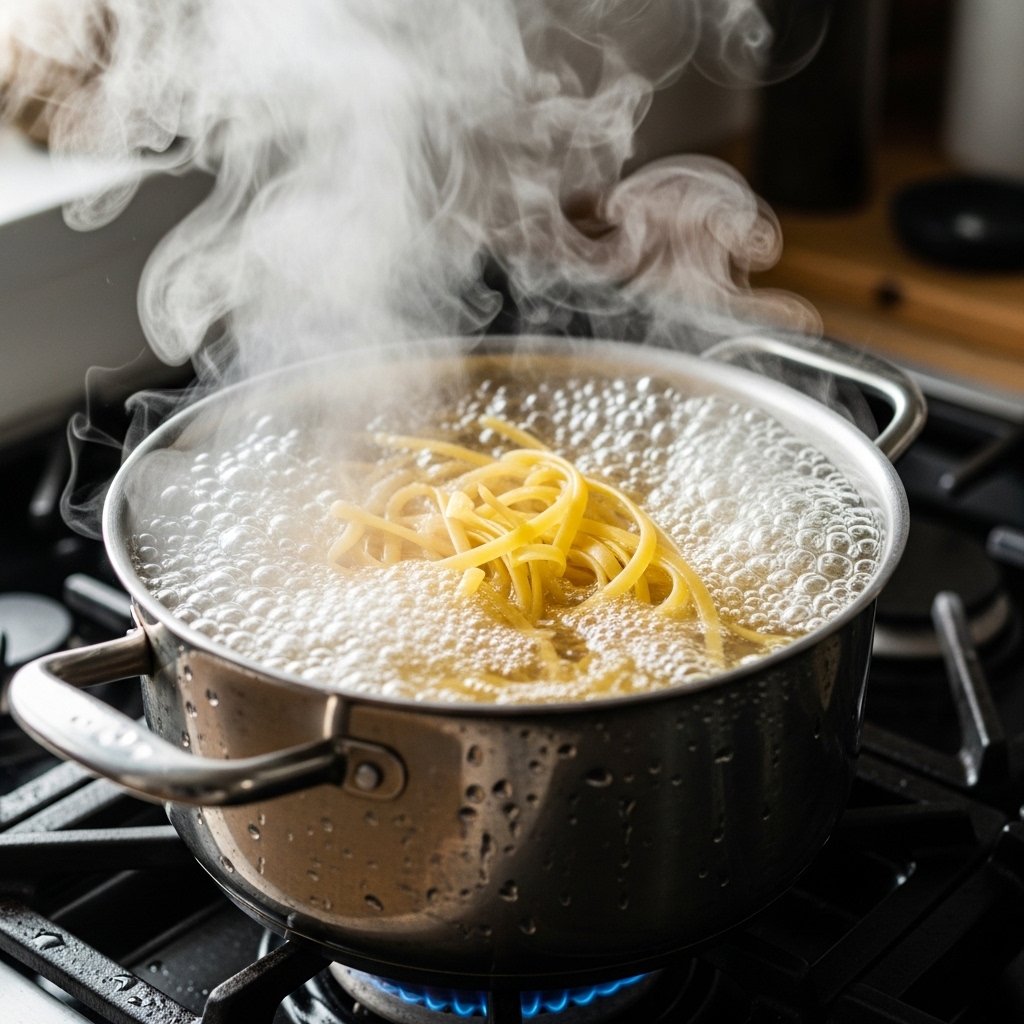
1. Cook the Pasta
Boil pasta until al dente, then drain and cool.
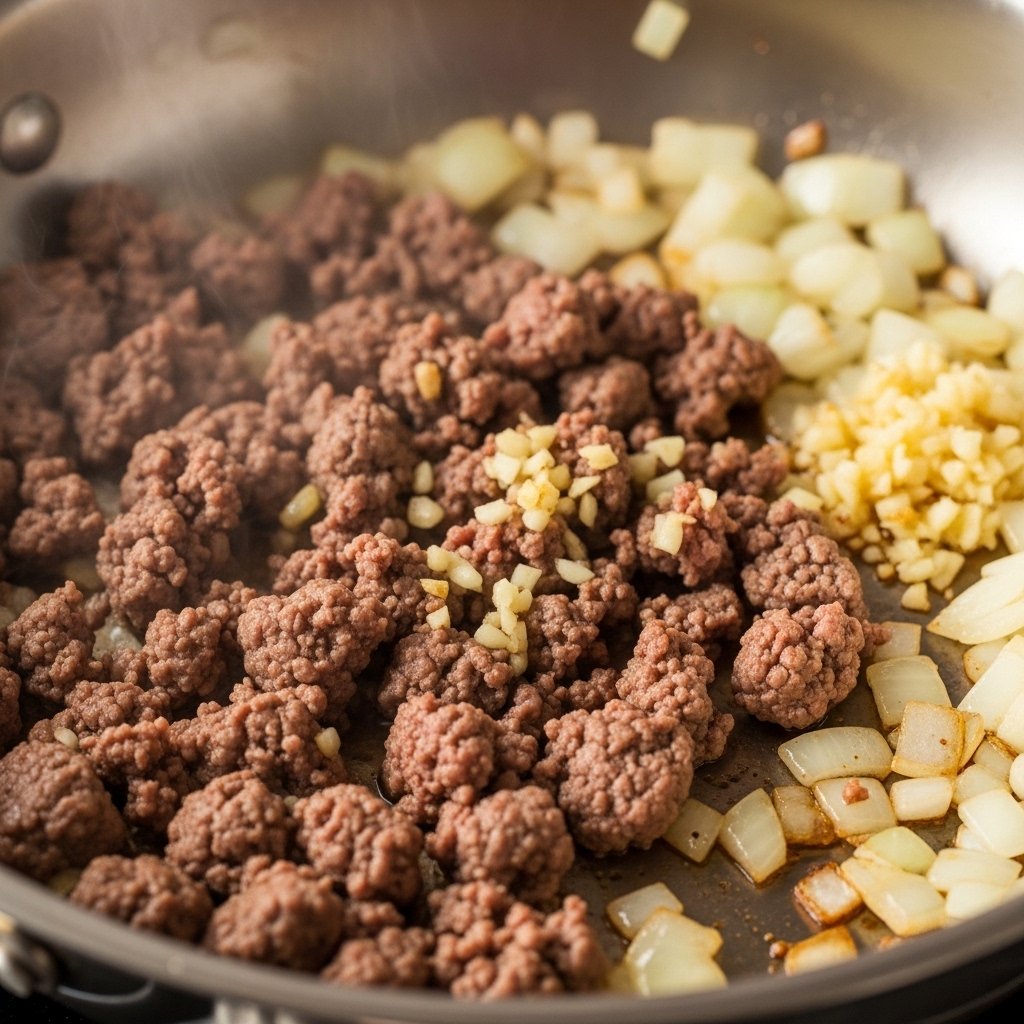
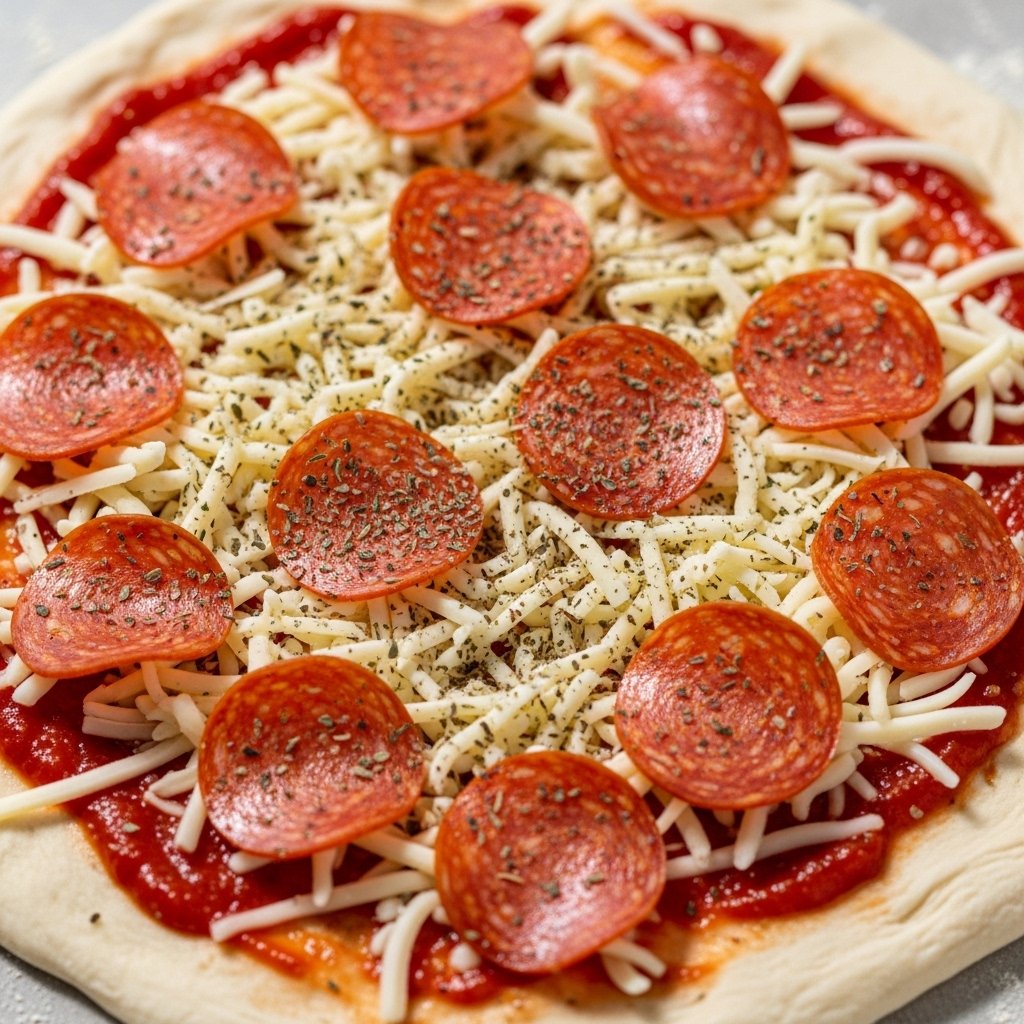
2. Prepare Ingredients
Slice meats, chop vegetables, and cube cheese.

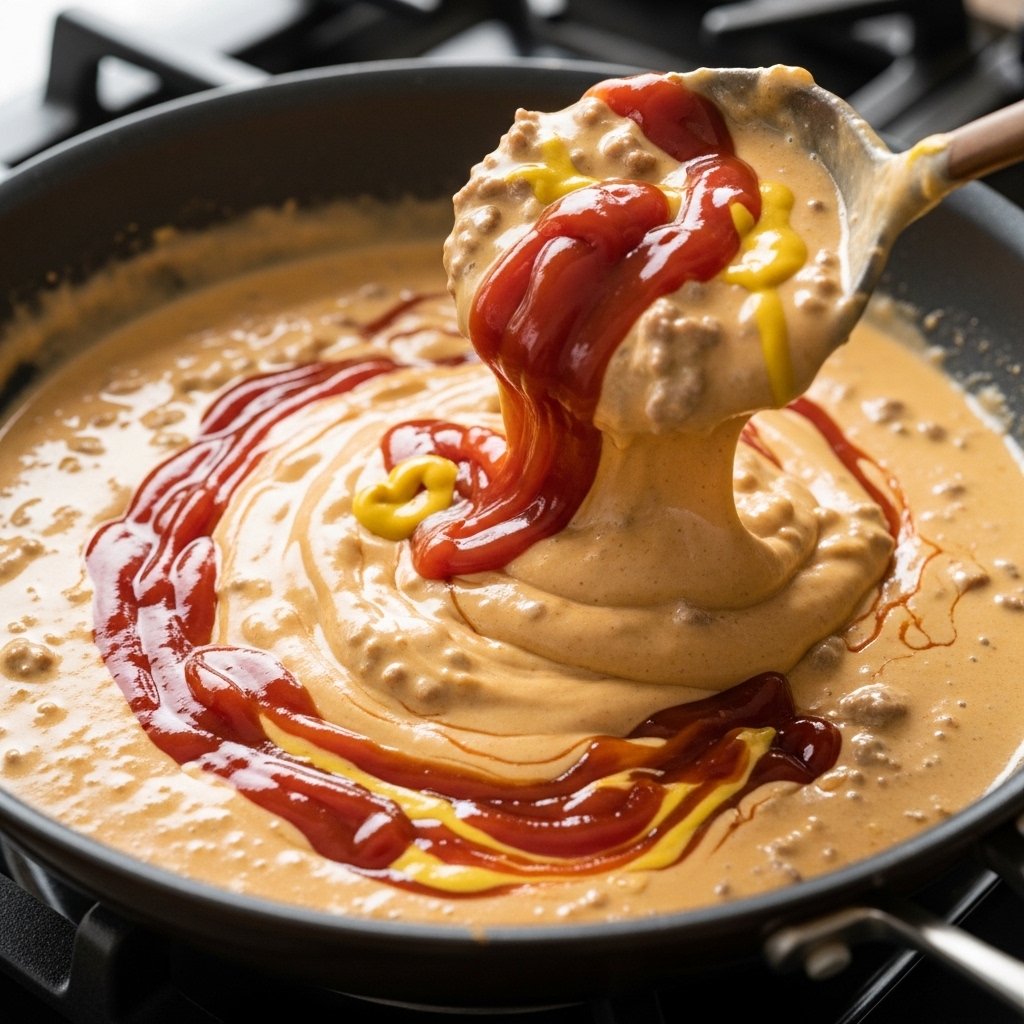
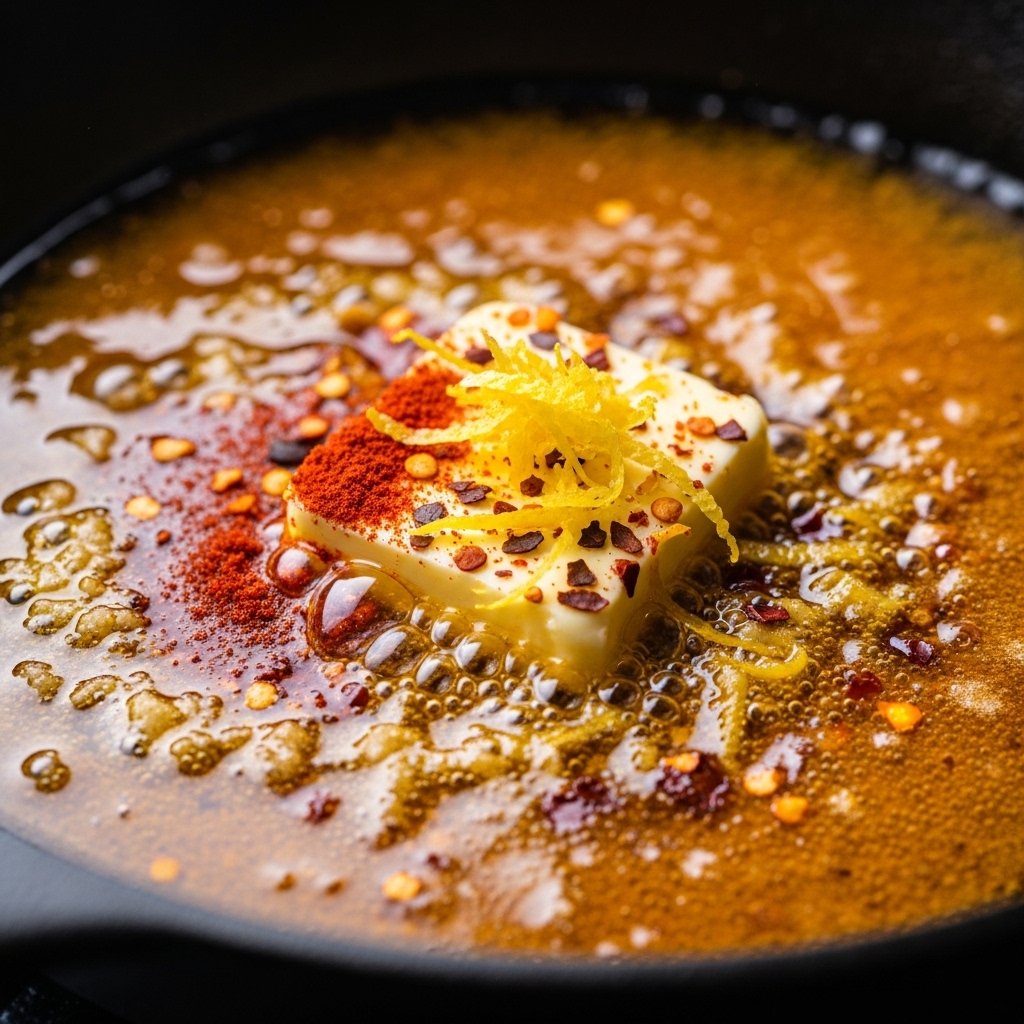
3. Make the Dressing
Mix mayo, olive oil, vinegar, Italian seasoning, salt, and pepper.
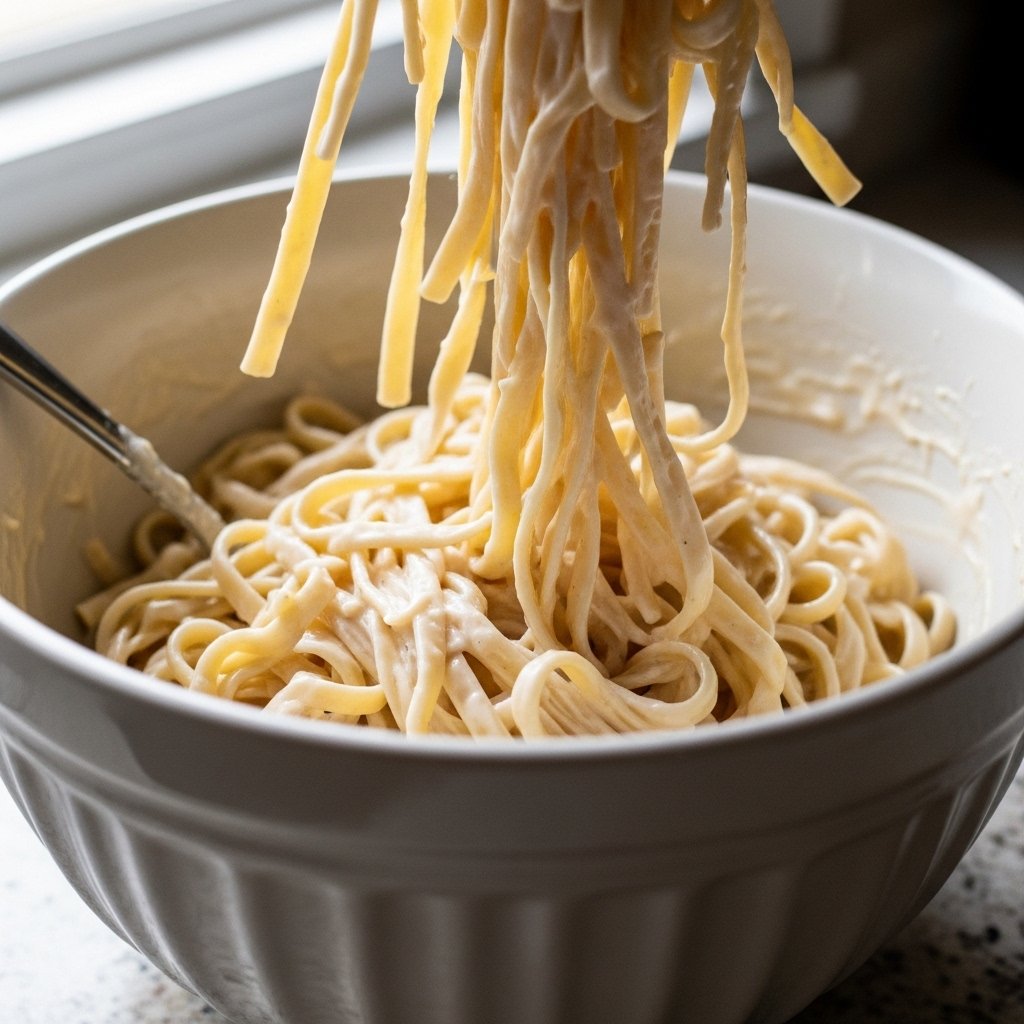
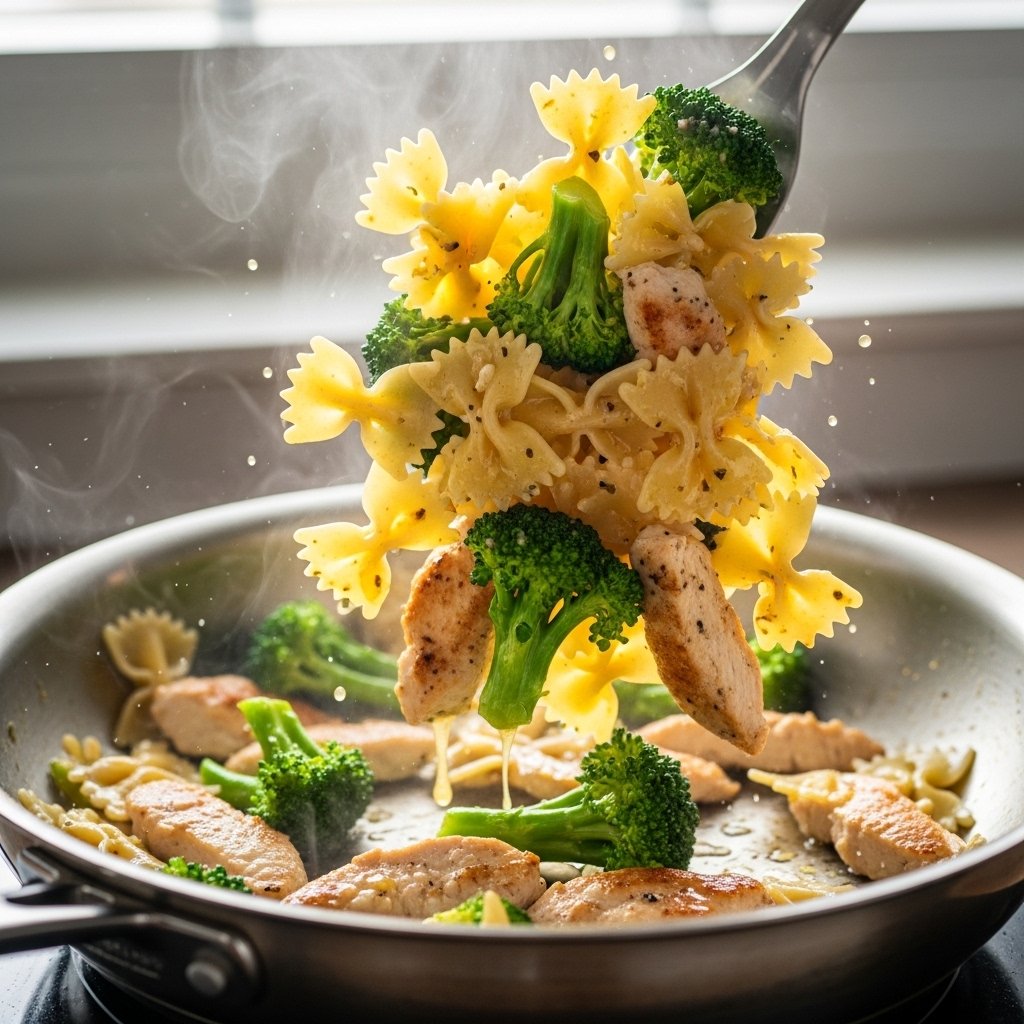
4. Combine Pasta and Dressing
Add pasta to large bowl and toss with dressing.

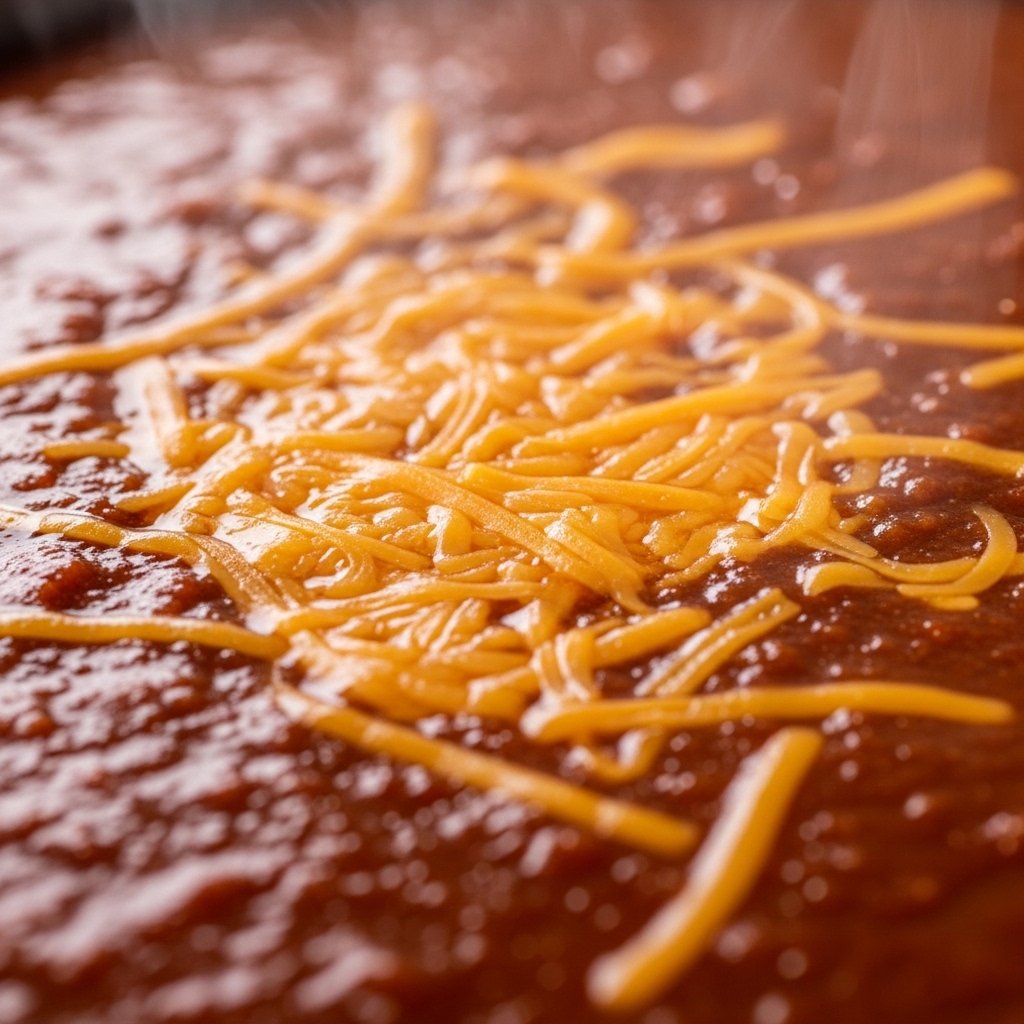
5. Add Meats and Cheese
Mix in salami, ham, pepperoni, and cheese cubes.
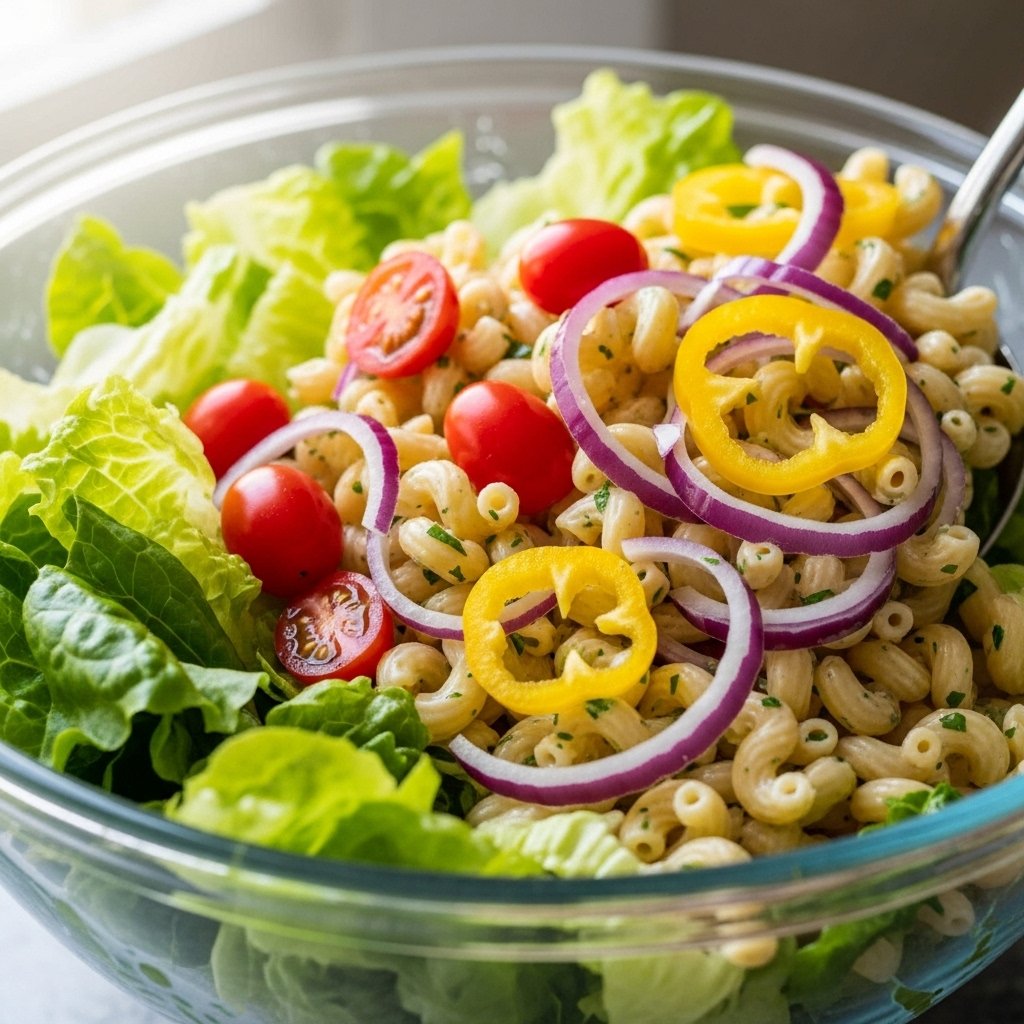
6. Add Vegetables
Fold in lettuce, tomatoes, onions, and banana peppers.

7. Chill and Serve
Refrigerate briefly and serve cold.
Tips for Perfect Results
To make the best Italian grinder pasta salad, follow these tips:
- Cool pasta completely before mixing
- Slice ingredients evenly for balanced bites
- Add lettuce last to keep it crisp
- Let salad chill for deeper flavor
- Adjust dressing to taste
Variations
Try these delicious twists:
Spicy Grinder Pasta Salad
Add hot peppers or spicy mayo.
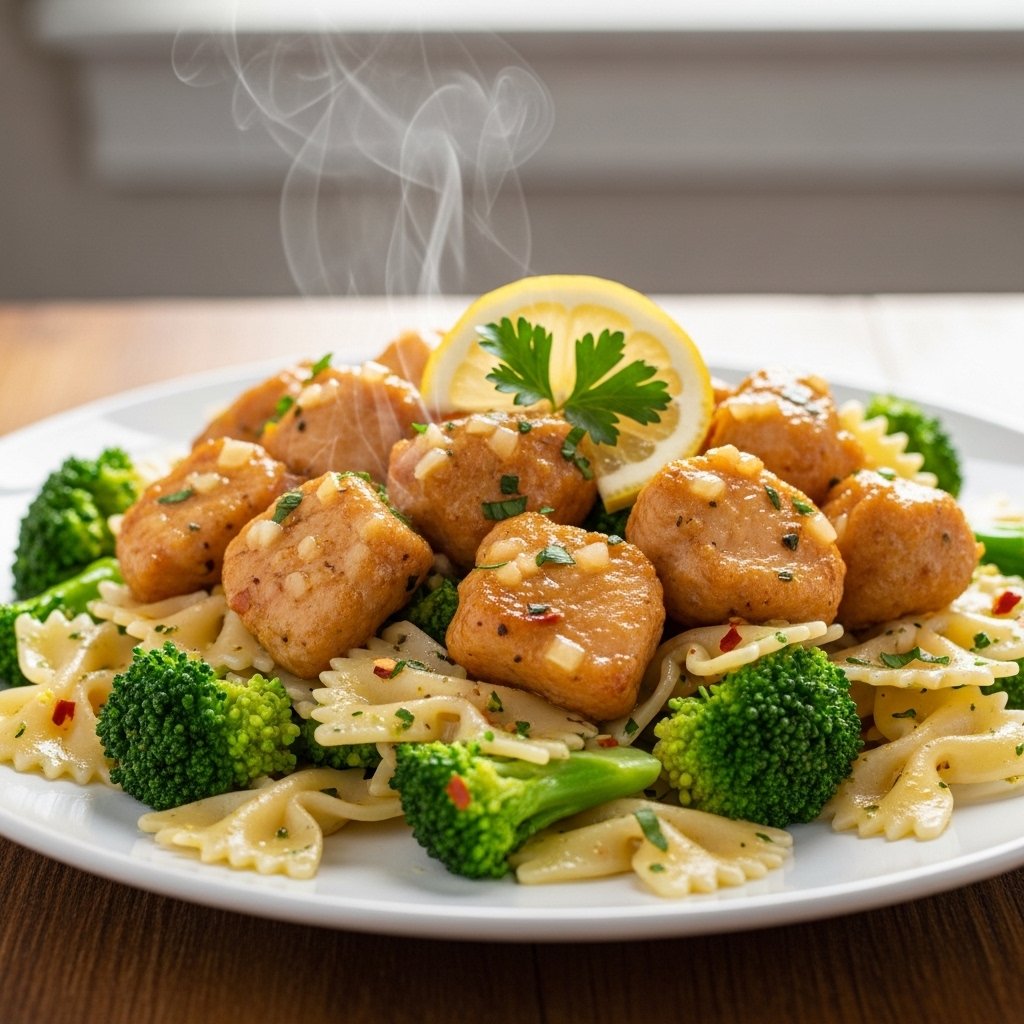
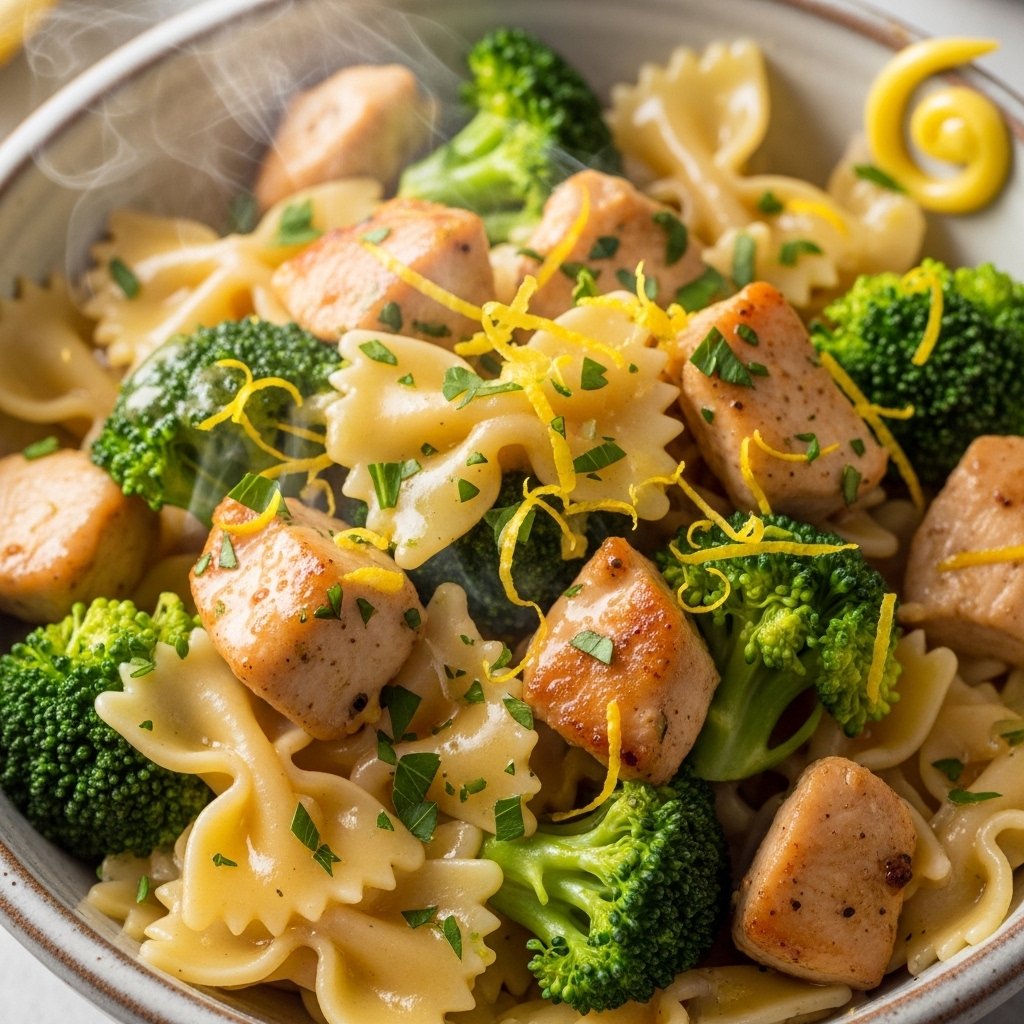
Chicken Grinder Version
Replace deli meats with grilled chicken.
Low-Carb Version
Use cauliflower instead of pasta.
Extra Cheesy Version
Add parmesan and extra mozzarella.

What to Serve With It
This grinder pasta salad pairs well with:
- Garlic bread
- Soup
- Chips or crackers
- Fresh fruit
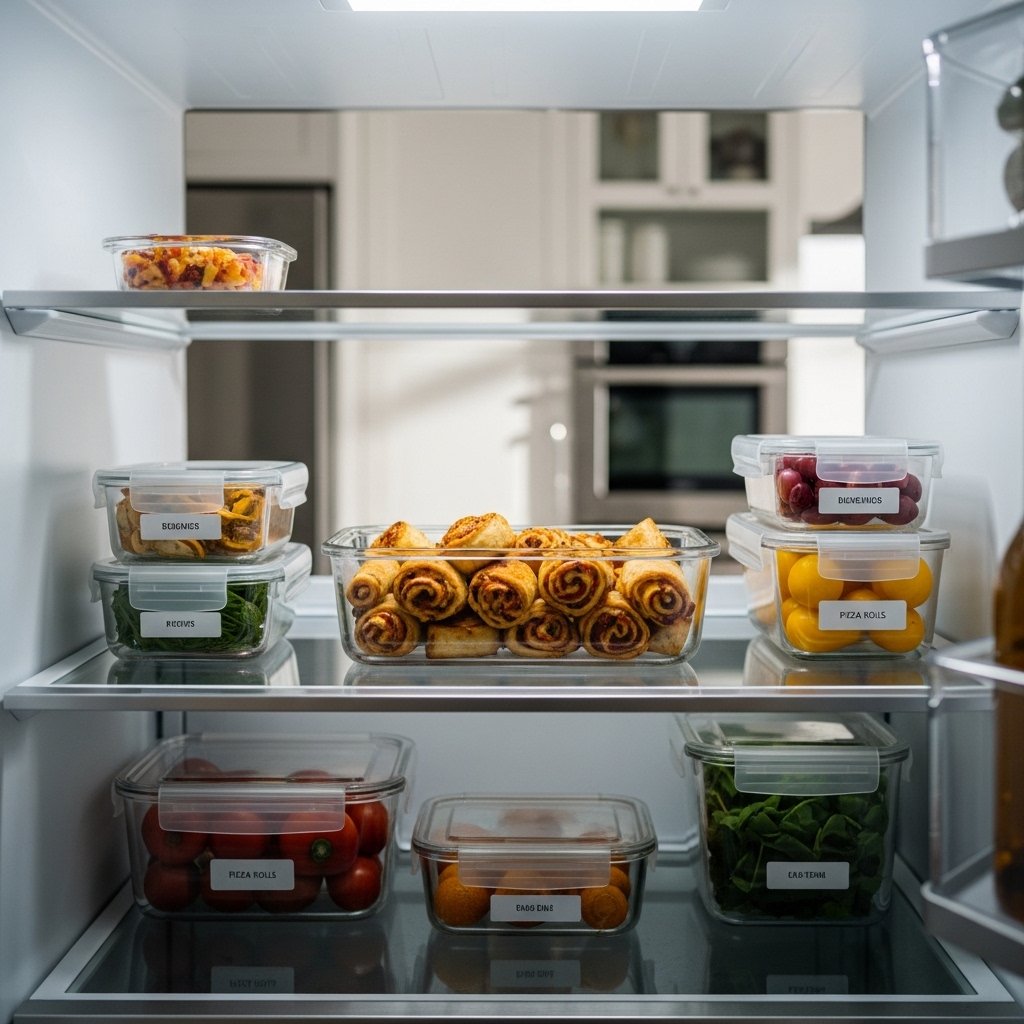
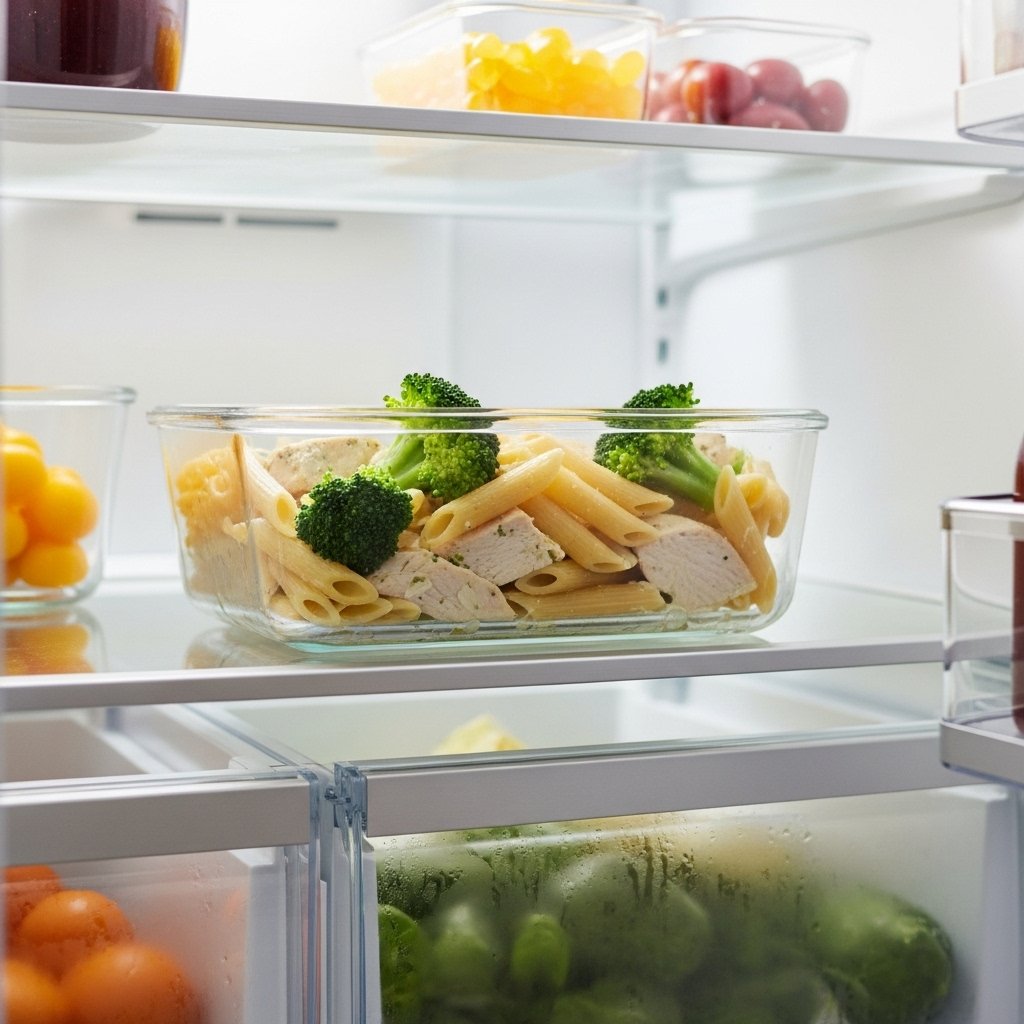
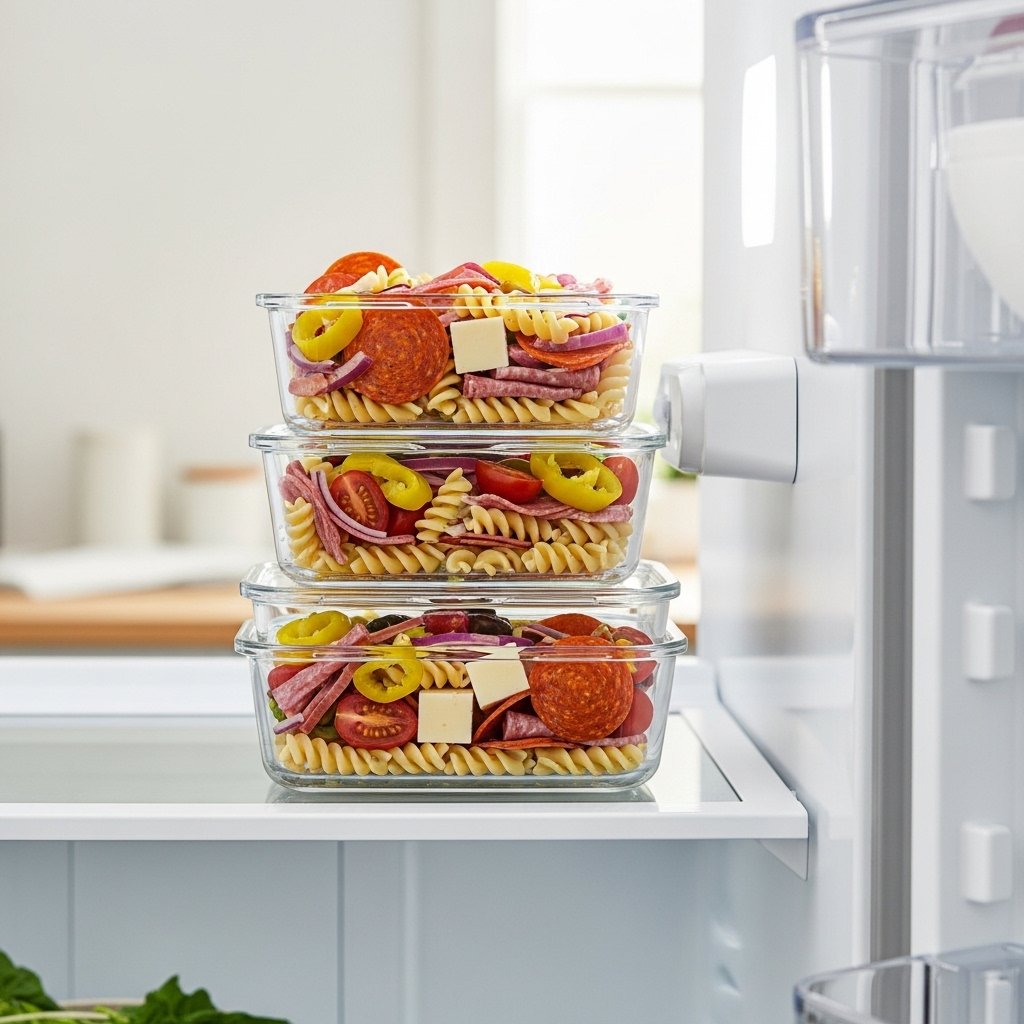
Storage & Reheating
- Store in airtight container in fridge
- Lasts 3–4 days
- Do not freeze (texture changes)
- Stir before serving again
Common Mistakes to Avoid
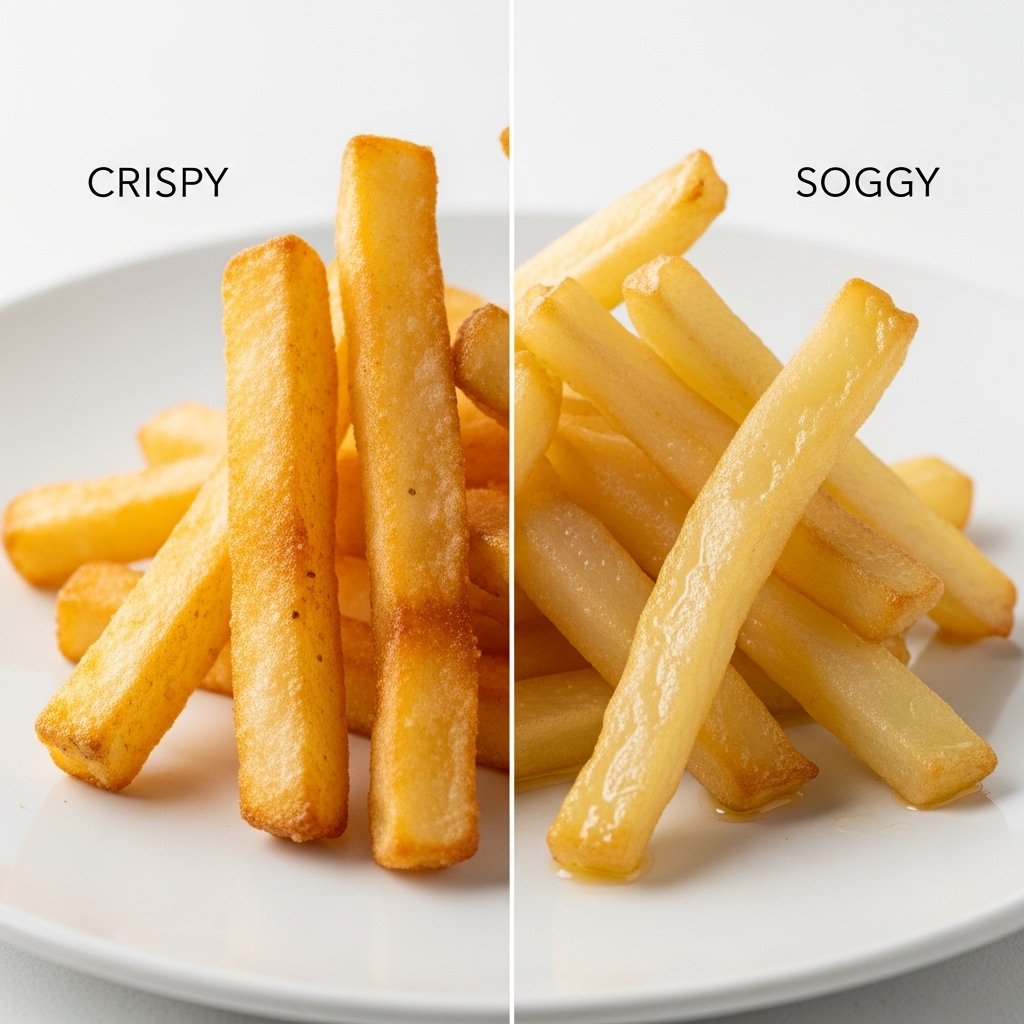
- Using warm pasta (makes salad soggy)
- Overdressing the salad
- Skipping chilling time
- Cutting ingredients too large
FAQs
1. What is grinder pasta salad?
It’s a pasta version of the viral Italian grinder sandwich.
2. Can I make it ahead?
Yes, it’s perfect for meal prep.
3. What pasta works best?
Short pasta like rotini or penne works best.
4. Can I make it healthier?
Yes, use light mayo or Greek yogurt.
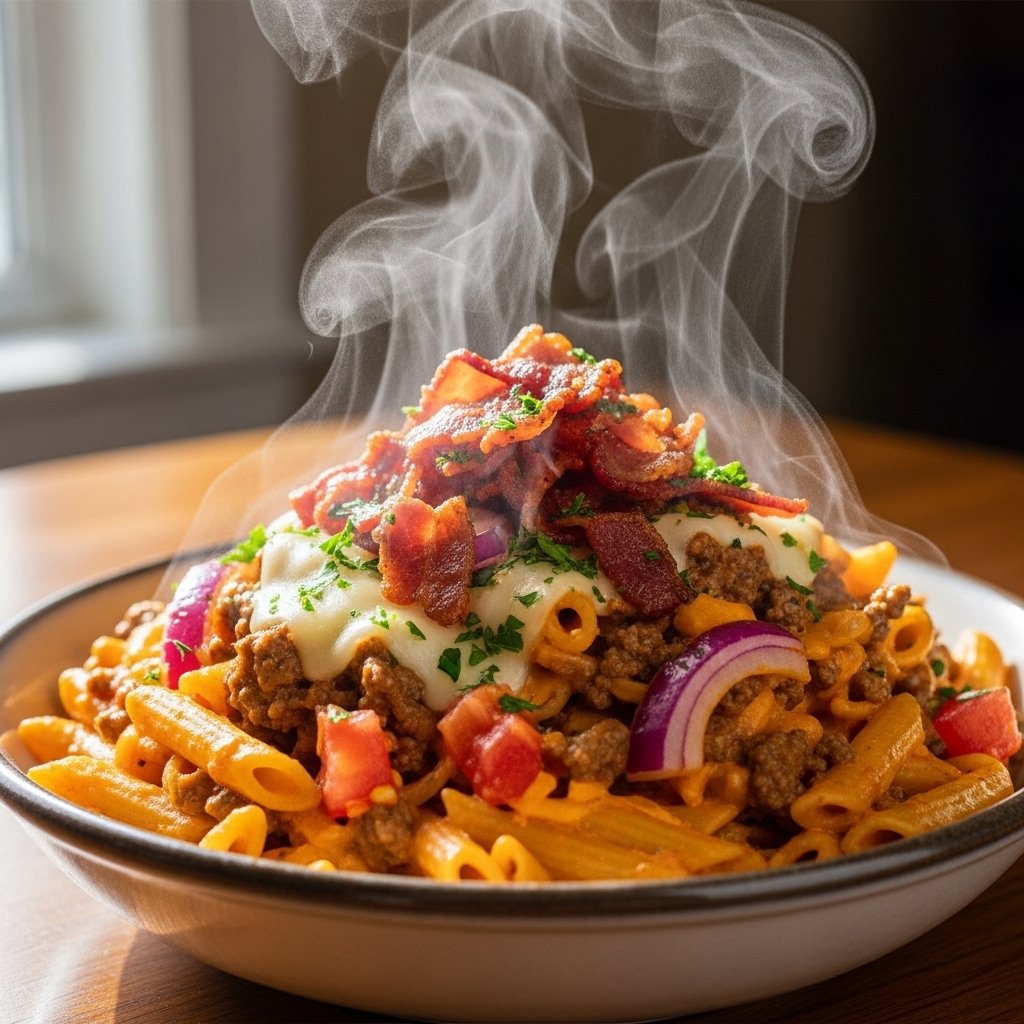
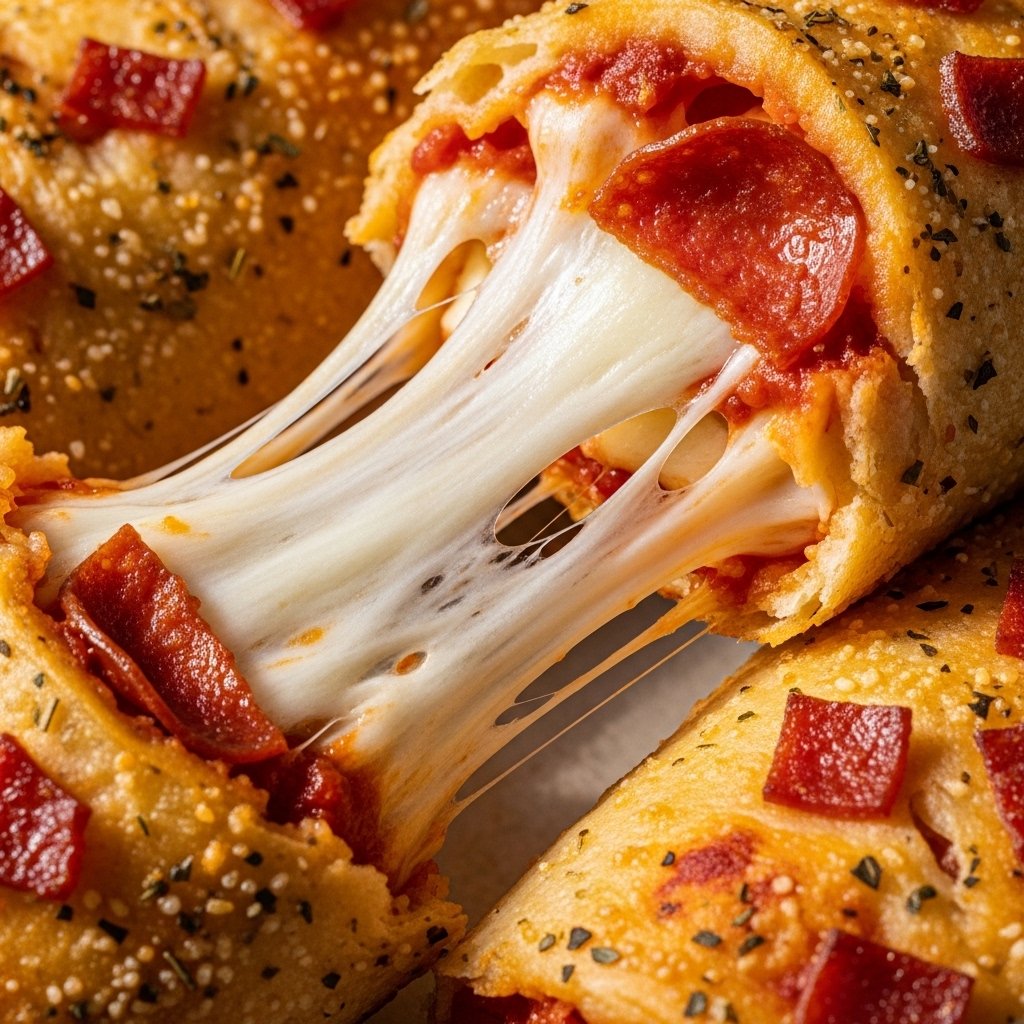
Final Thoughts
This Savory Italian Grinder Pasta Salad is bold, creamy, and full of deli-inspired flavor. It’s easy to make, perfect for gatherings, and guaranteed to impress anyone who tries it.
Once you make it, it will quickly become a go-to recipe for lunch or potlucks.