Introduction
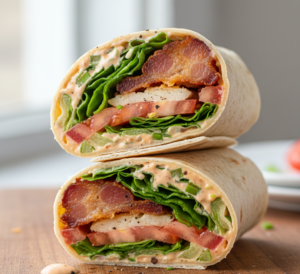
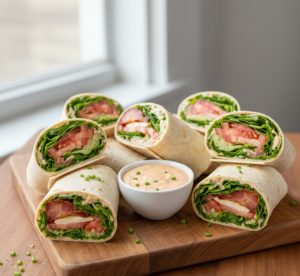
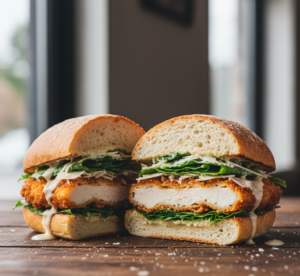
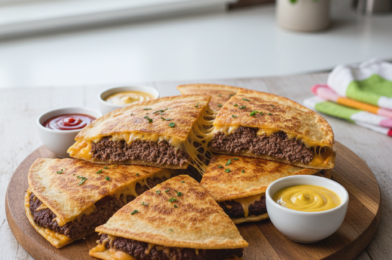
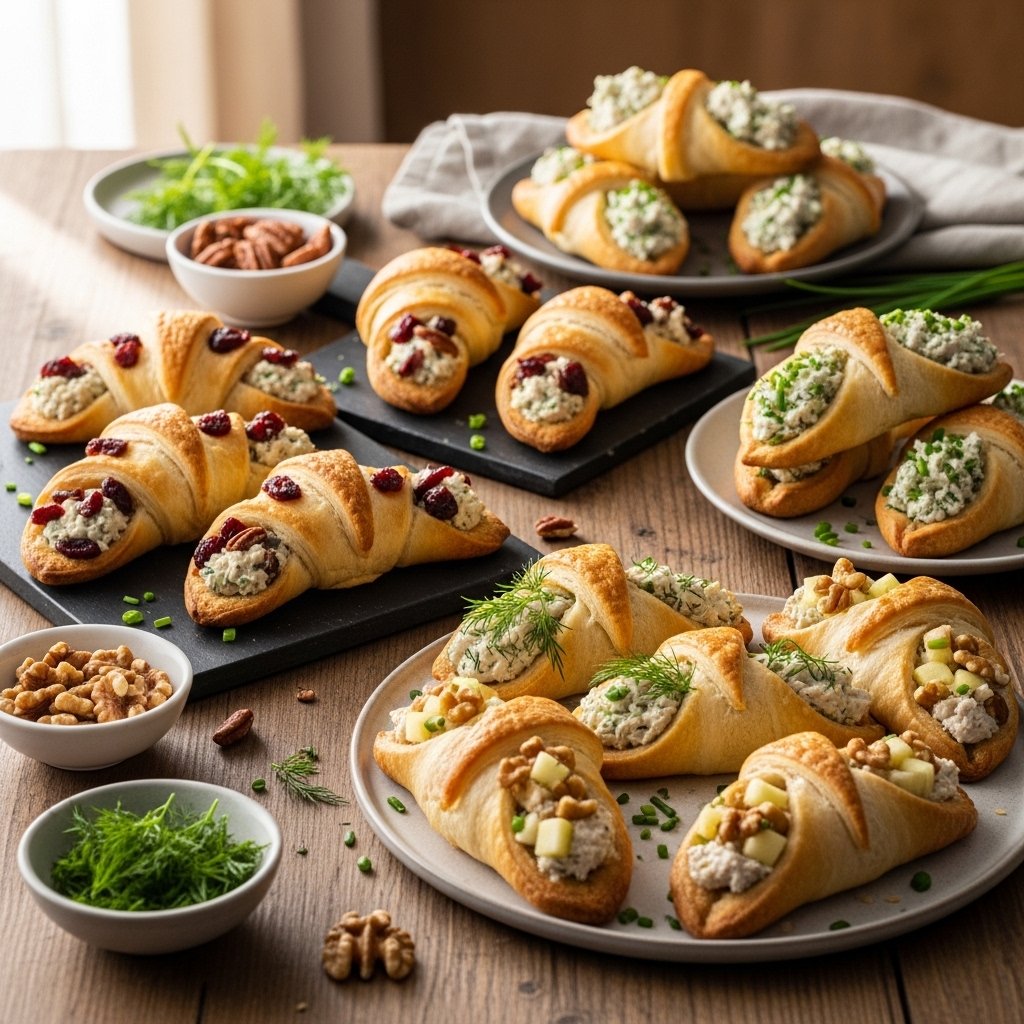
If you’re planning a spring brunch or a festive holiday spread, these classic Easter chicken salad crescent rolls are the perfect addition to your table. Light, creamy chicken salad tucked inside buttery, flaky crescent rolls creates a dish that’s both comforting and refreshingly bright.
This recipe combines tender chicken, crisp vegetables, and a creamy dressing with soft, golden pastry. It’s ideal for Easter celebrations, baby showers, picnics, or any occasion where you want something elegant yet easy to prepare.

Why You’ll Love This Recipe
These classic Easter chicken salad crescent rolls are a must-try for spring entertaining.
- Perfect for Easter brunch and gatherings
- Light, fresh, and flavorful
- Easy to make ahead of time
- Beautiful presentation for holiday tables
- Crowd-pleasing and family-friendly
They strike the perfect balance between comfort food and fresh seasonal flavors.
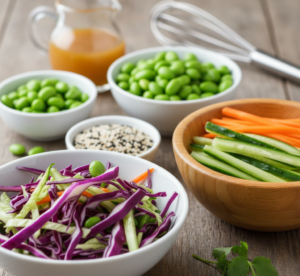
Ingredients
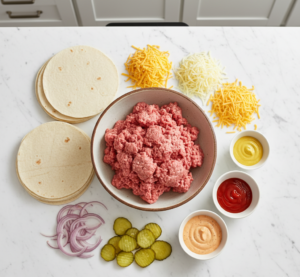
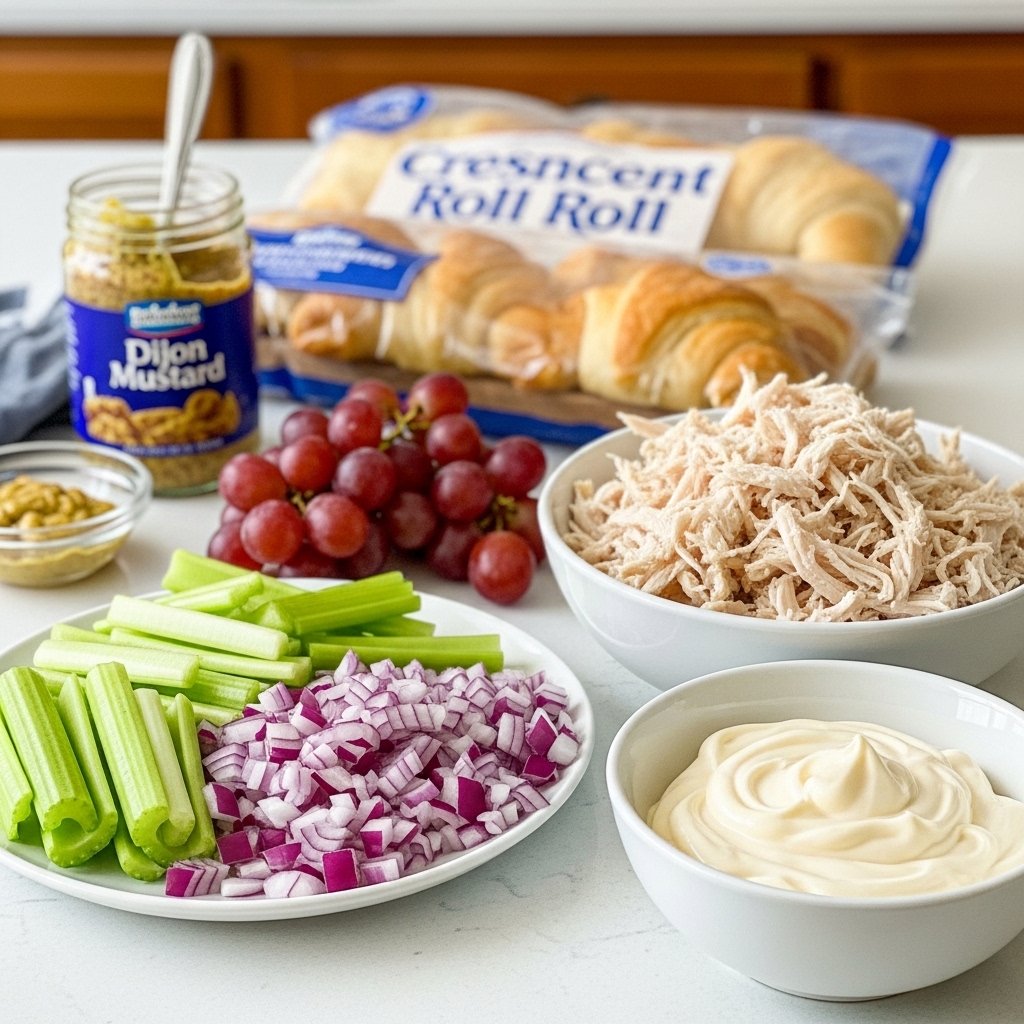
To make these delicious Easter chicken salad crescent rolls, you’ll need:
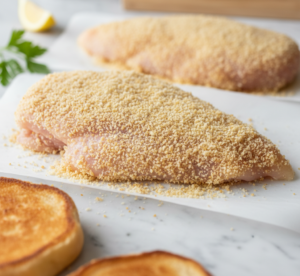
- 2 cups cooked chicken (shredded or diced)
- 1 can crescent roll dough
- ½ cup mayonnaise
- 1 tablespoon Dijon mustard
- ½ cup celery (finely chopped)
- ¼ cup red onion (finely diced)
- ¼ cup grapes or dried cranberries (optional)
- Salt and pepper to taste
- Optional: chopped parsley or dill
Ingredient Notes
The beauty of classic Easter chicken salad crescent rolls lies in the balance of textures and flavors.
- Use rotisserie chicken for convenience and flavor
- Add grapes or cranberries for a sweet contrast
- Fresh herbs like dill or parsley brighten the dish
- Finely chopped vegetables ensure even texture
- High-quality mayonnaise creates a creamy base
Feel free to adjust ingredients based on your taste preferences.
Step-by-Step Instructions
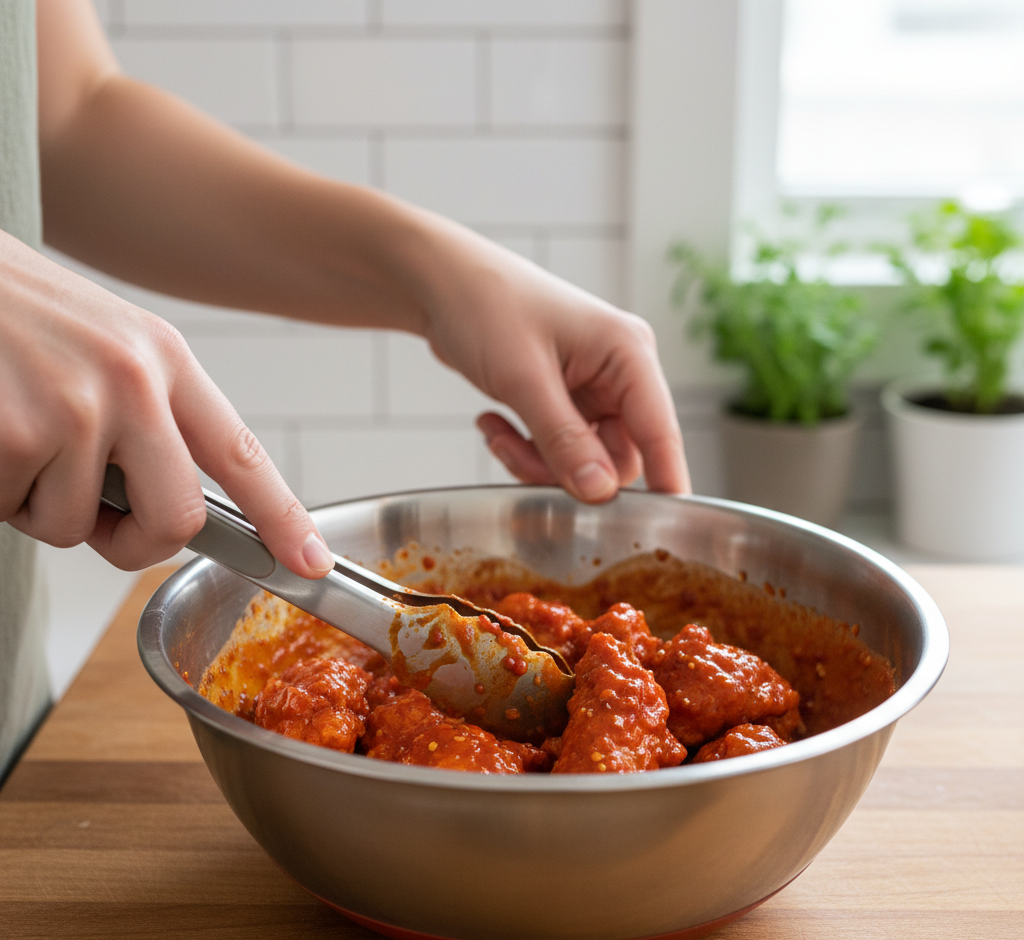
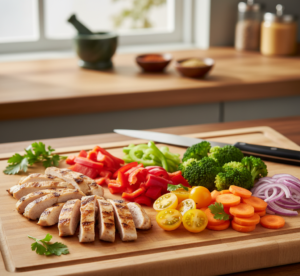
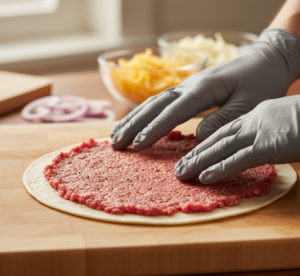
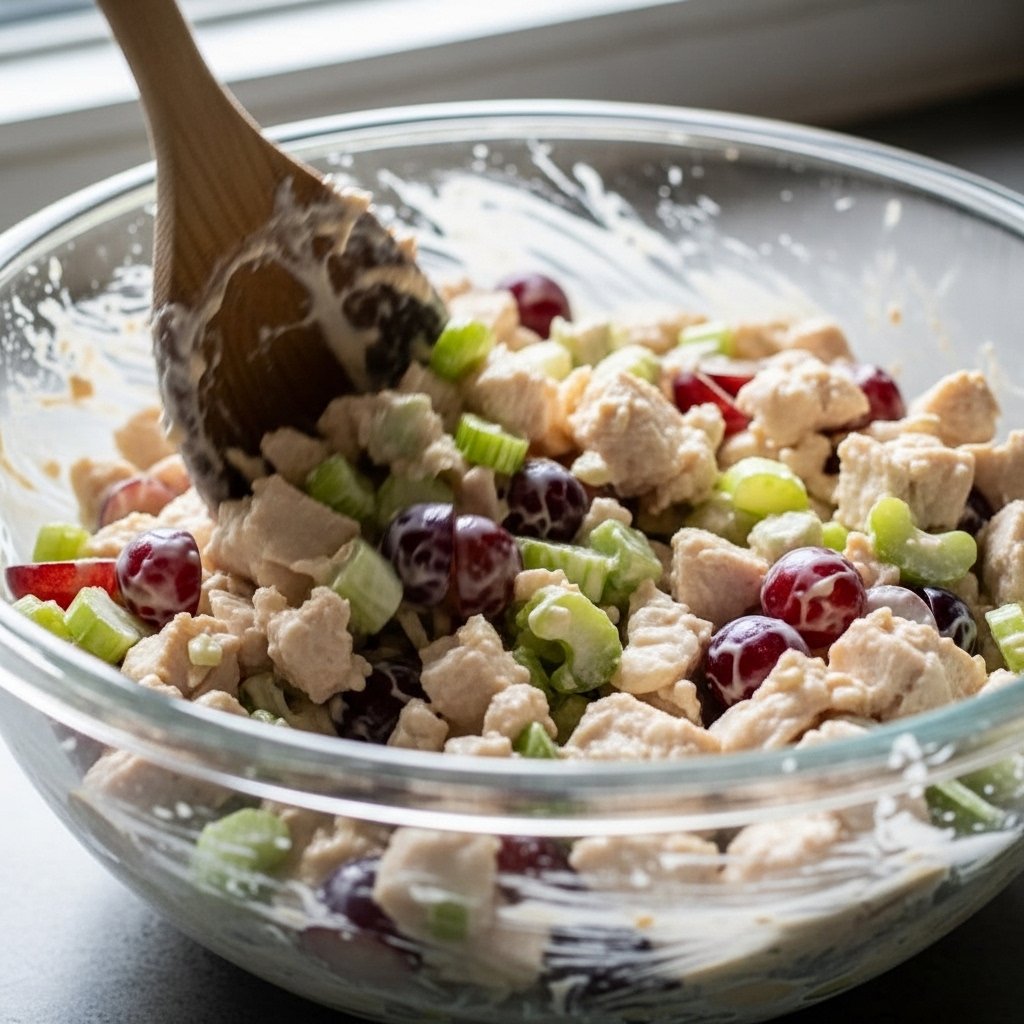
1. Prepare the Chicken Salad
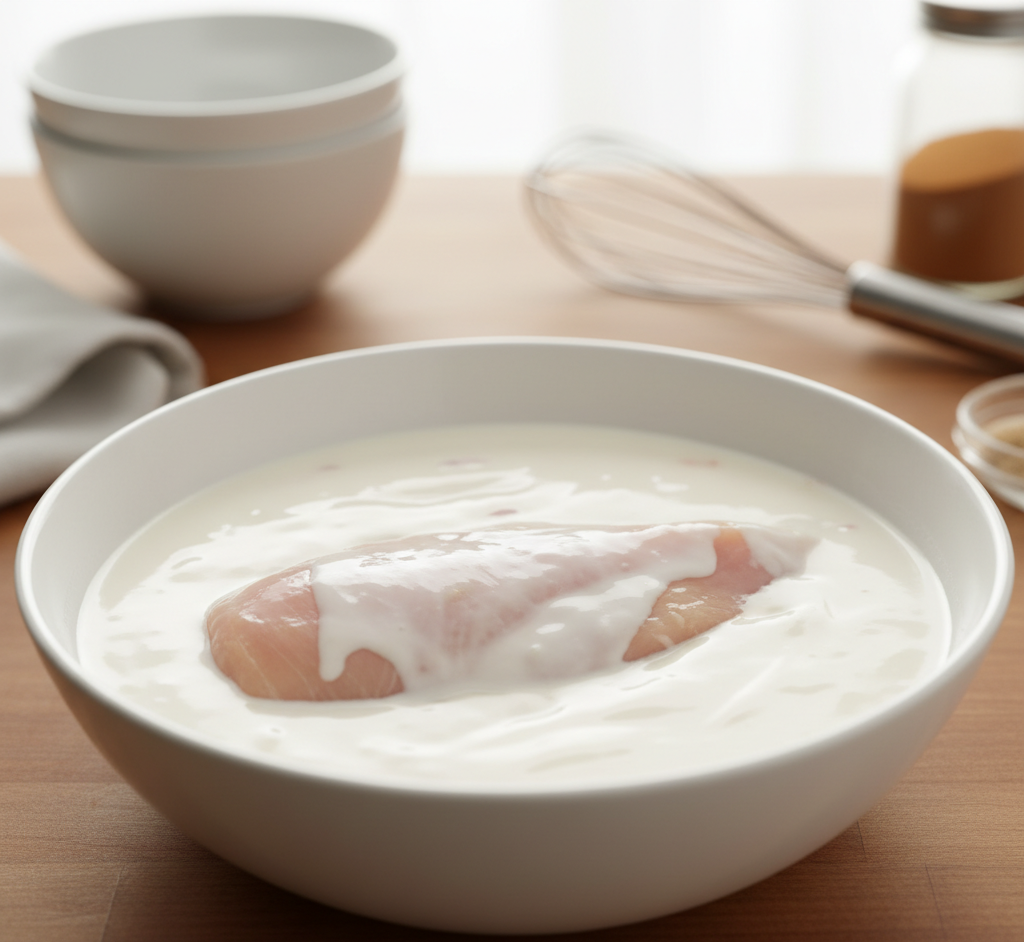
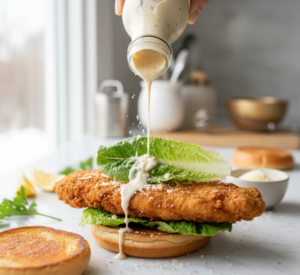
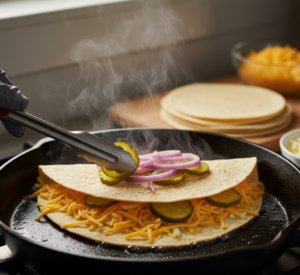
In a large bowl, combine shredded chicken, mayonnaise, Dijon mustard, celery, onion, and optional grapes. Mix until creamy and well combined. Season with salt and pepper.
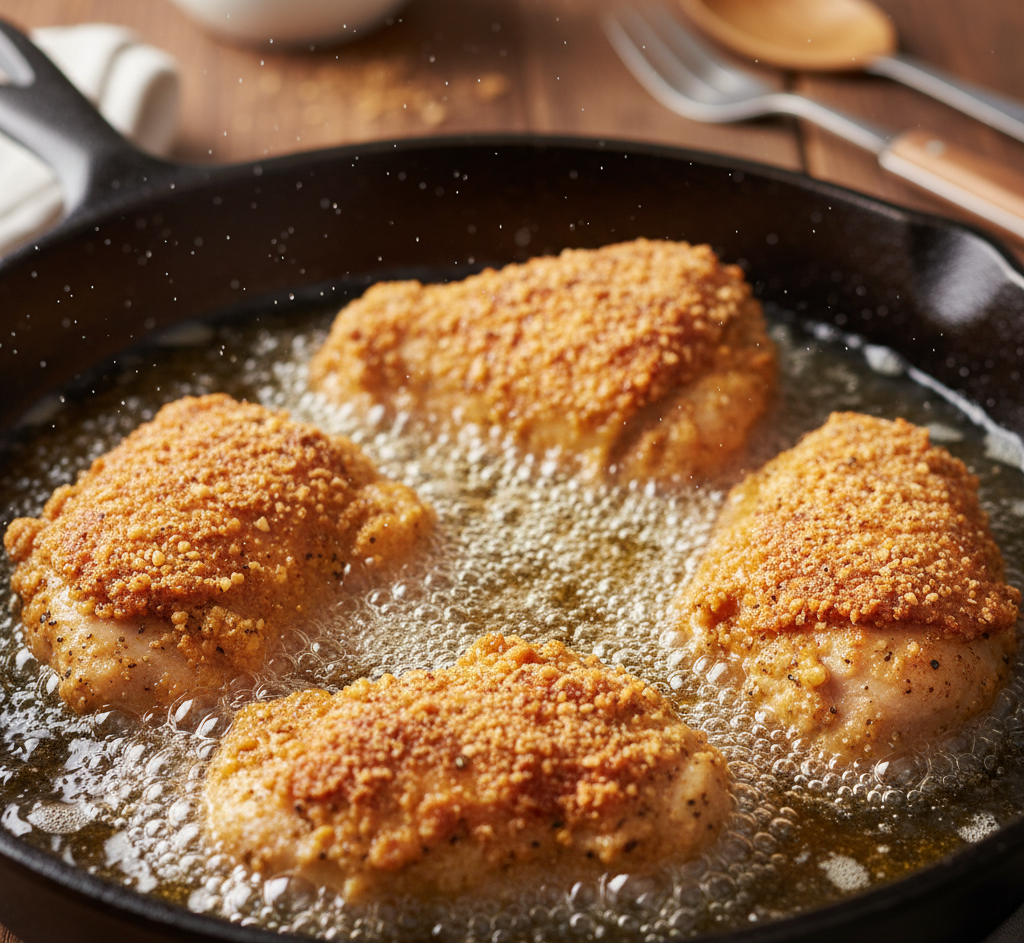
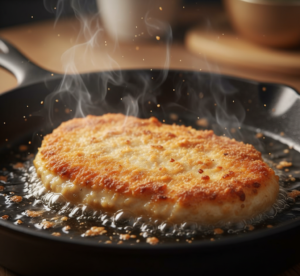
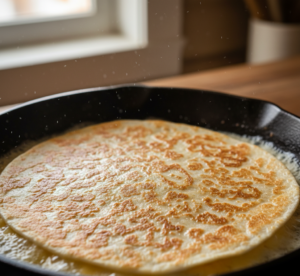
2. Bake the Crescent Rolls
Preheat oven to 375°F (190°C). Unroll crescent dough and bake according to package instructions until golden brown. Let cool completely.
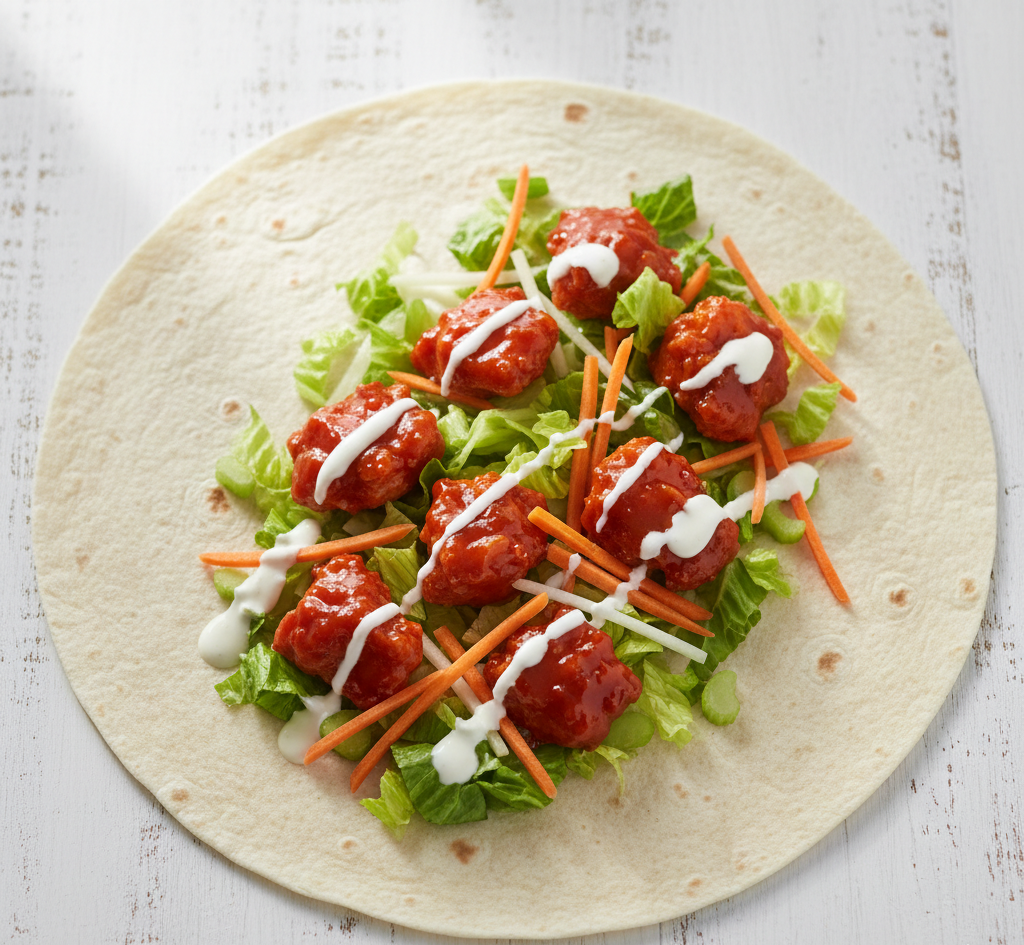
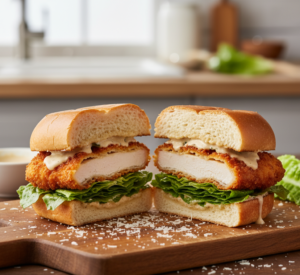
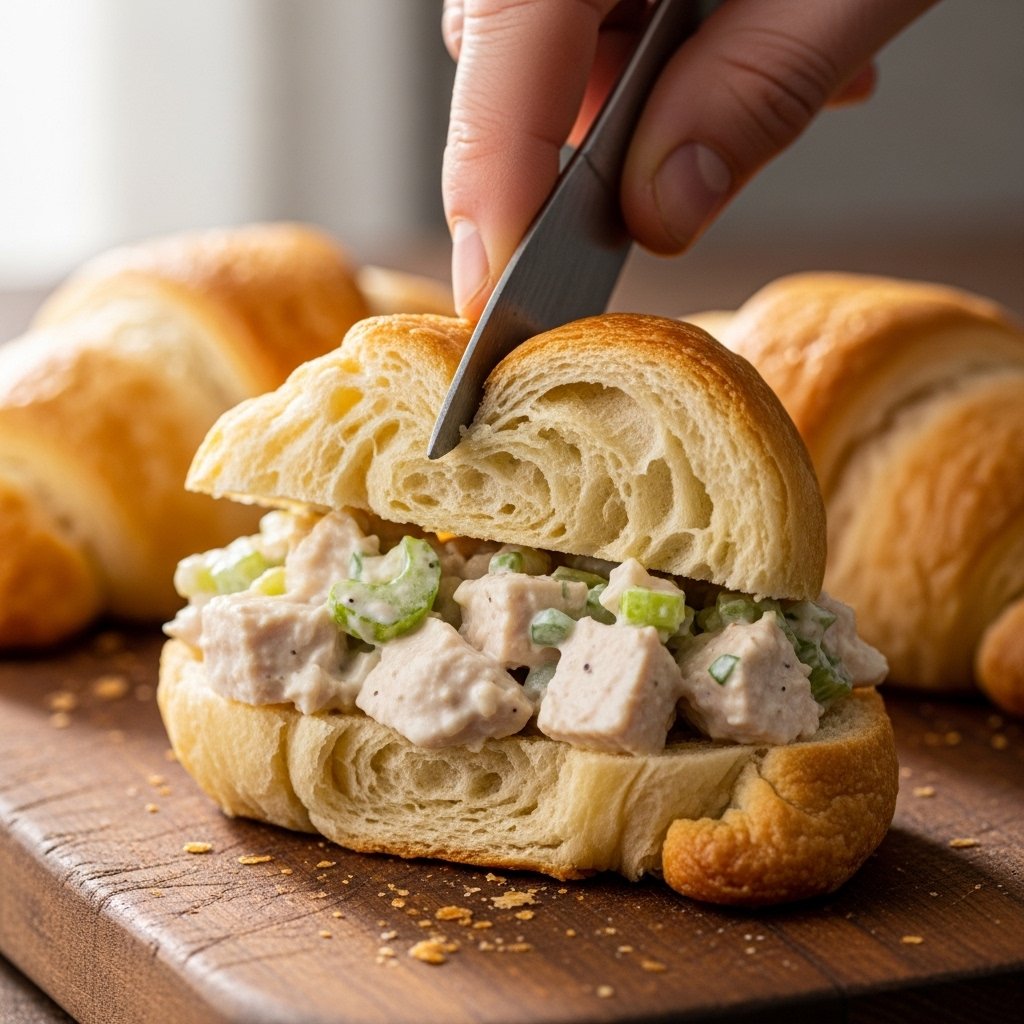
3. Slice and Fill
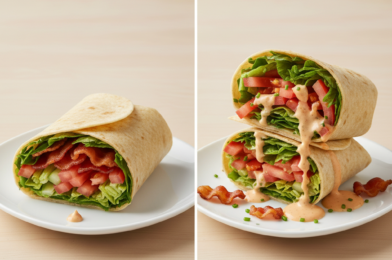
Once cooled, slice crescent rolls in half and generously fill with chicken salad.
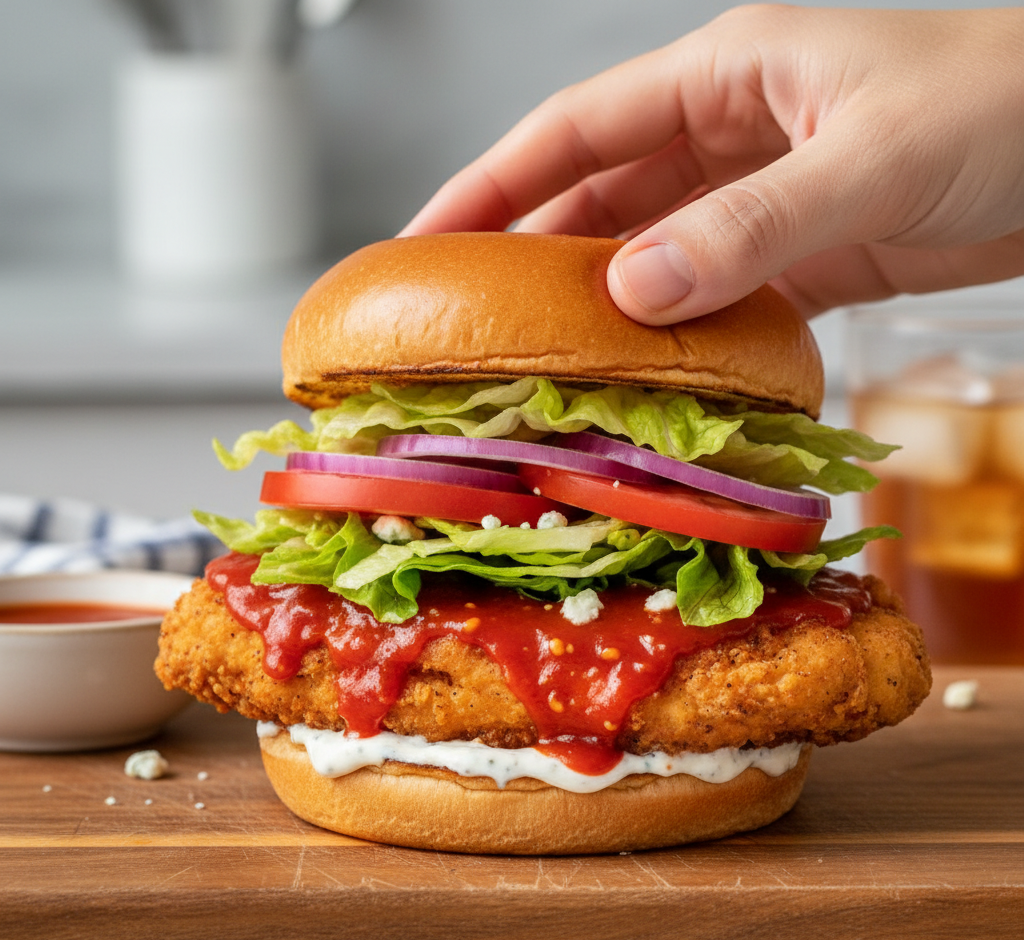
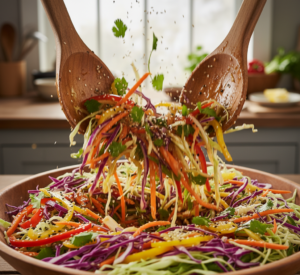
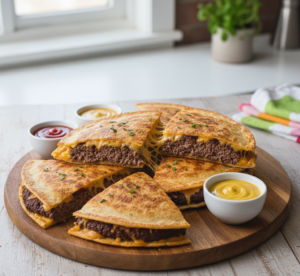
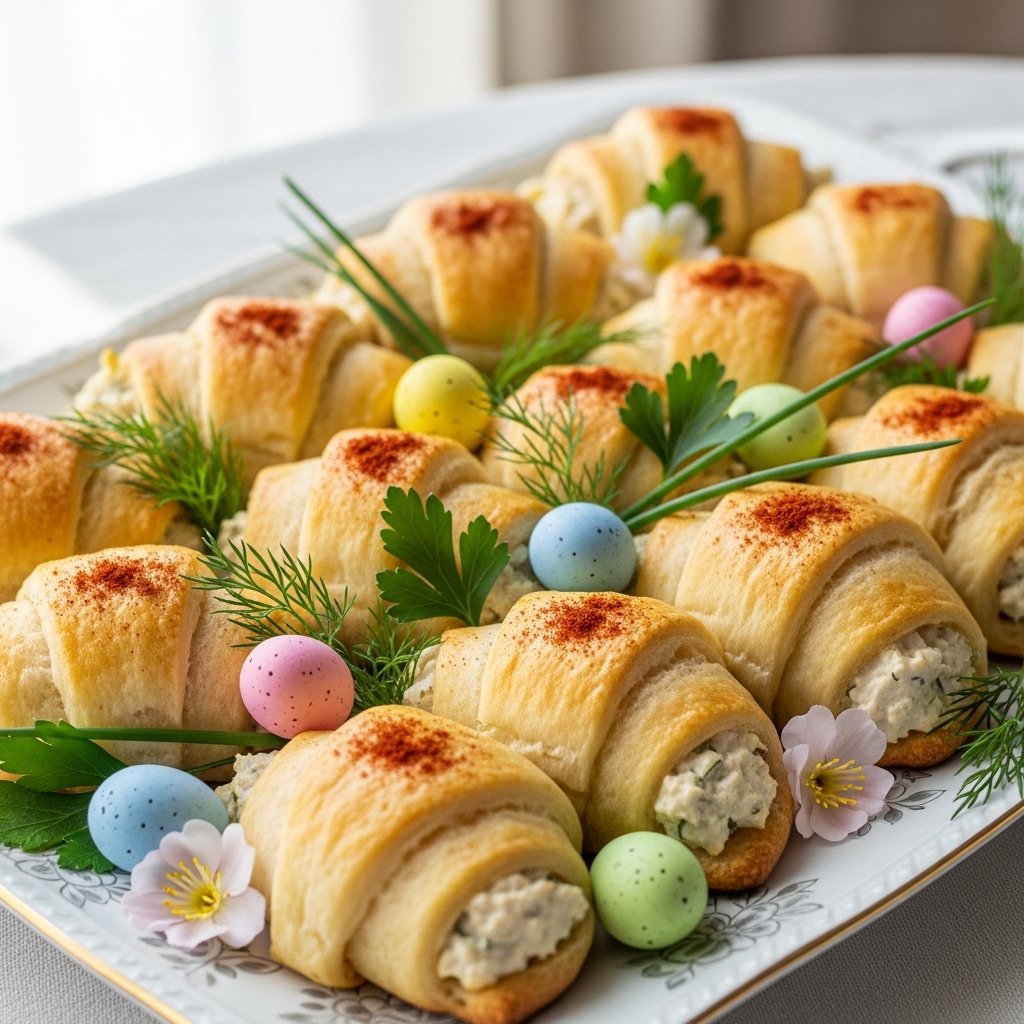
4. Assemble and Garnish
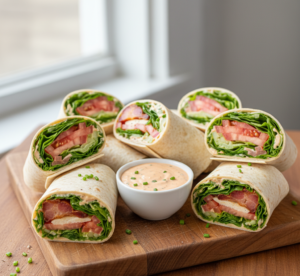
Arrange filled rolls on a serving platter and garnish with fresh herbs for a festive look.
Tips for Perfect Results
To make the best classic Easter chicken salad crescent rolls, follow these expert tips:
- Chill chicken salad before serving for best flavor
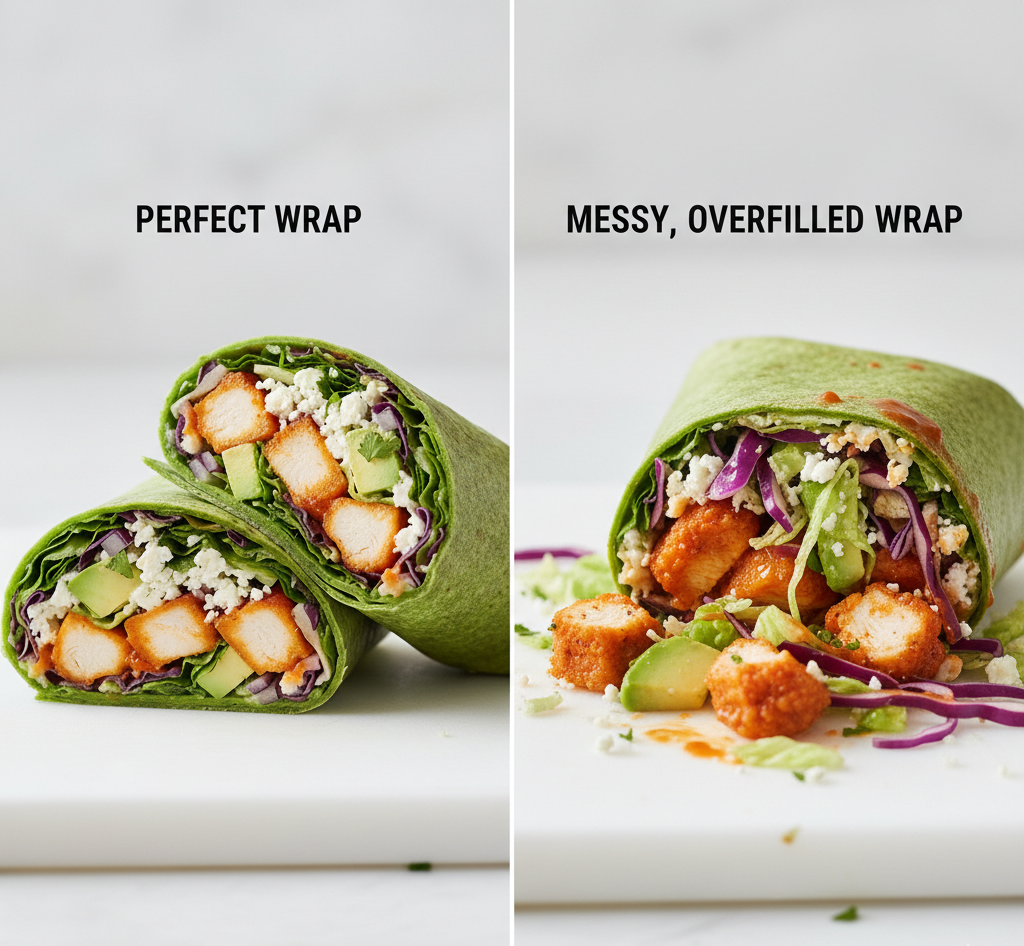
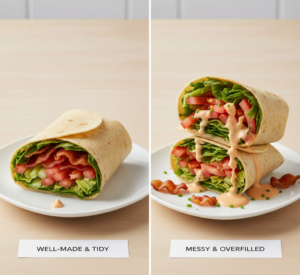
- Don’t overfill rolls to avoid mess
- Use freshly baked crescent rolls for best texture
- Add herbs just before serving for freshness
- Taste and adjust seasoning before assembling
Variations
These rolls are easy to customize for different tastes.
Light Version
Use Greek yogurt instead of mayonnaise.
Crunchy Version
Add chopped nuts like almonds or pecans.
Savory Twist
Add bacon bits or shredded cheese.
Sweet & Savory
Include apples or extra grapes for a fruity touch.
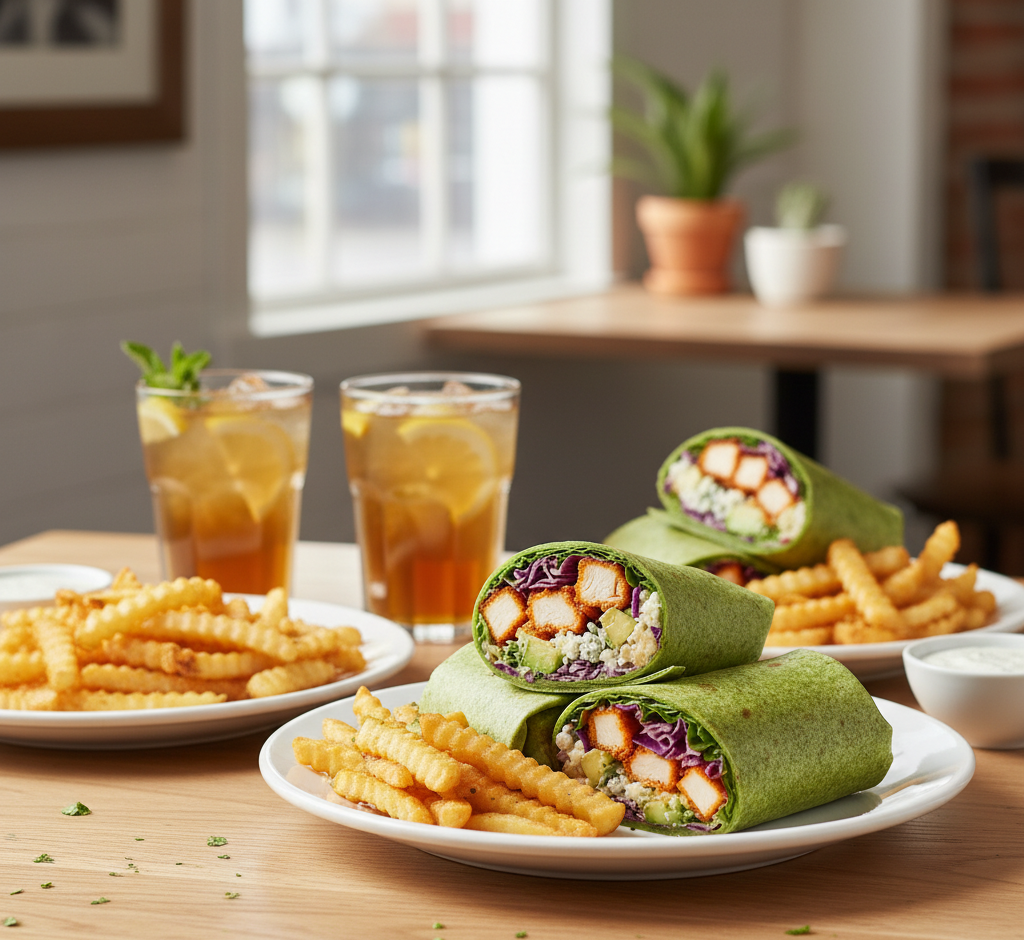
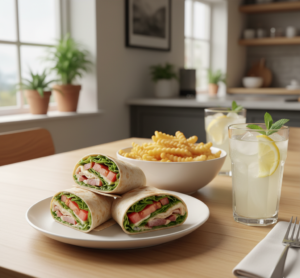
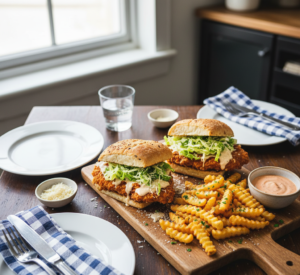
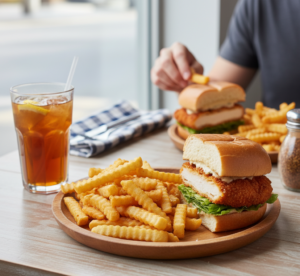
What to Serve With It
These classic Easter chicken salad crescent rolls pair beautifully with:
- Fresh fruit salad
- Spring green salad
- Deviled eggs
- Lemonade or iced tea
- Light soups like vegetable or chicken broth
They make a perfect addition to any brunch spread.
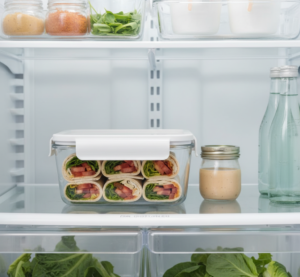
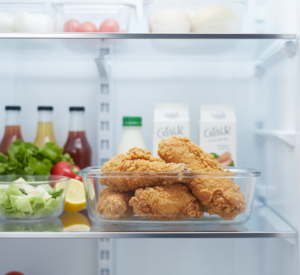
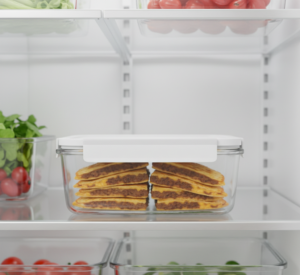
Storage & Reheating
For best freshness:
- Refrigerator: Store chicken salad separately for up to 3 days
- Crescent rolls: Store in airtight container for 2 days
- Assembly: Fill rolls just before serving
- Reheating: Not recommended once assembled

Common Mistakes to Avoid
Avoid these mistakes when making classic Easter chicken salad crescent rolls:
- Filling rolls while still warm (makes them soggy)
- Using too much dressing
- Not seasoning properly
- Overloading with too many mix-ins
- Skipping chilling time
FAQs
1. Can I make chicken salad ahead of time?
Yes, it actually tastes better after chilling for a few hours.
2. What chicken works best?
Rotisserie chicken is the easiest and most flavorful option.
3. Can I make this recipe healthier?
Yes, substitute Greek yogurt for mayonnaise.
4. Are these served cold or warm?
They’re best served chilled or at room temperature.
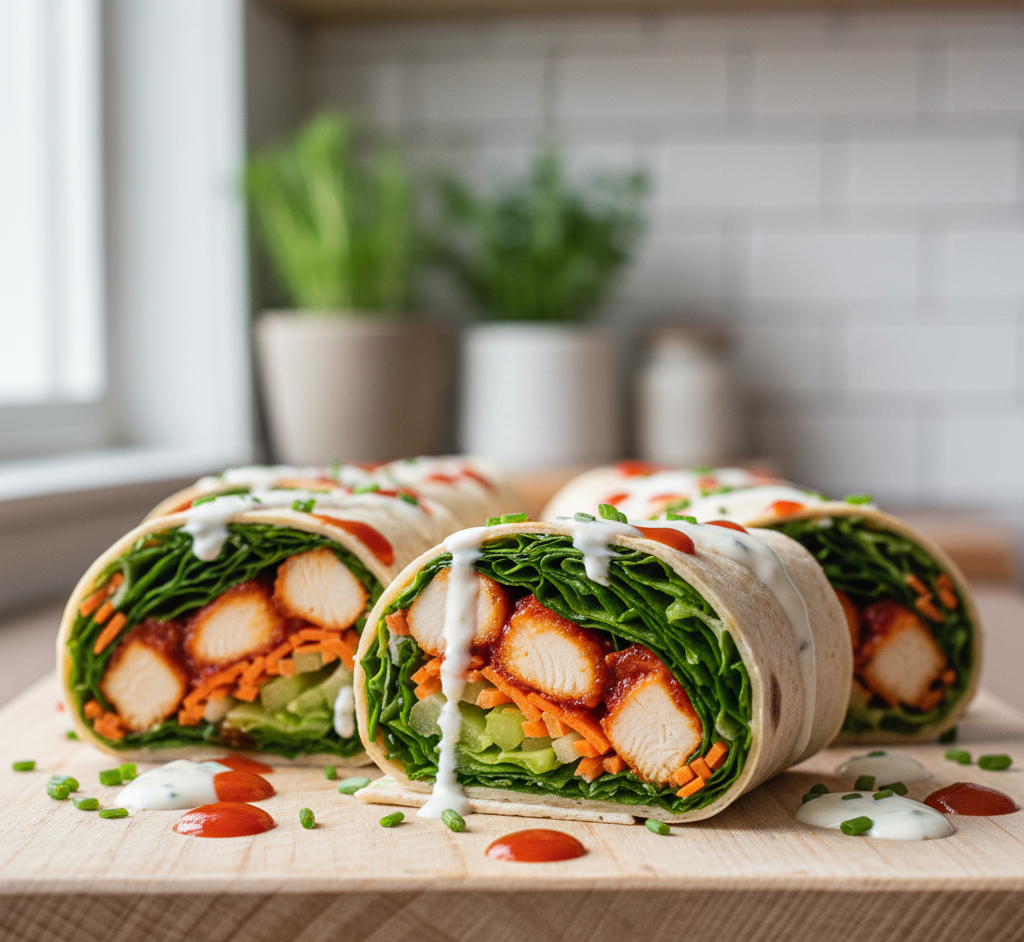
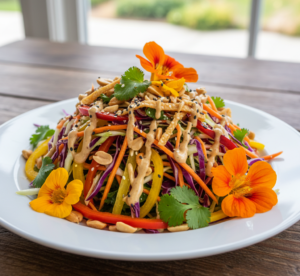
Final Thoughts
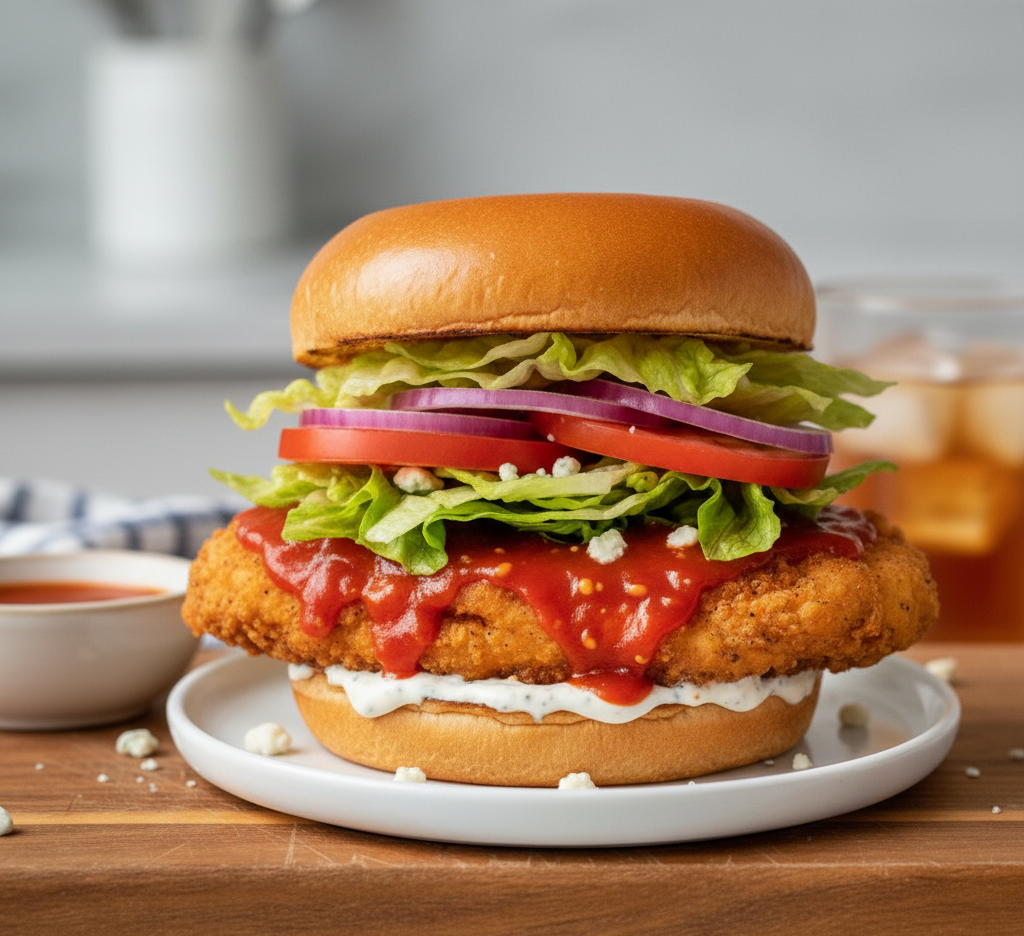
These classic Easter chicken salad crescent rolls are the perfect combination of creamy, flaky, and fresh flavors. They’re easy to prepare, beautiful to serve, and ideal for any spring celebration.
Whether you’re hosting Easter brunch or looking for a light and elegant dish, this recipe delivers both flavor and simplicity. Once you try it, it’s sure to become a seasonal favorite in your kitchen.