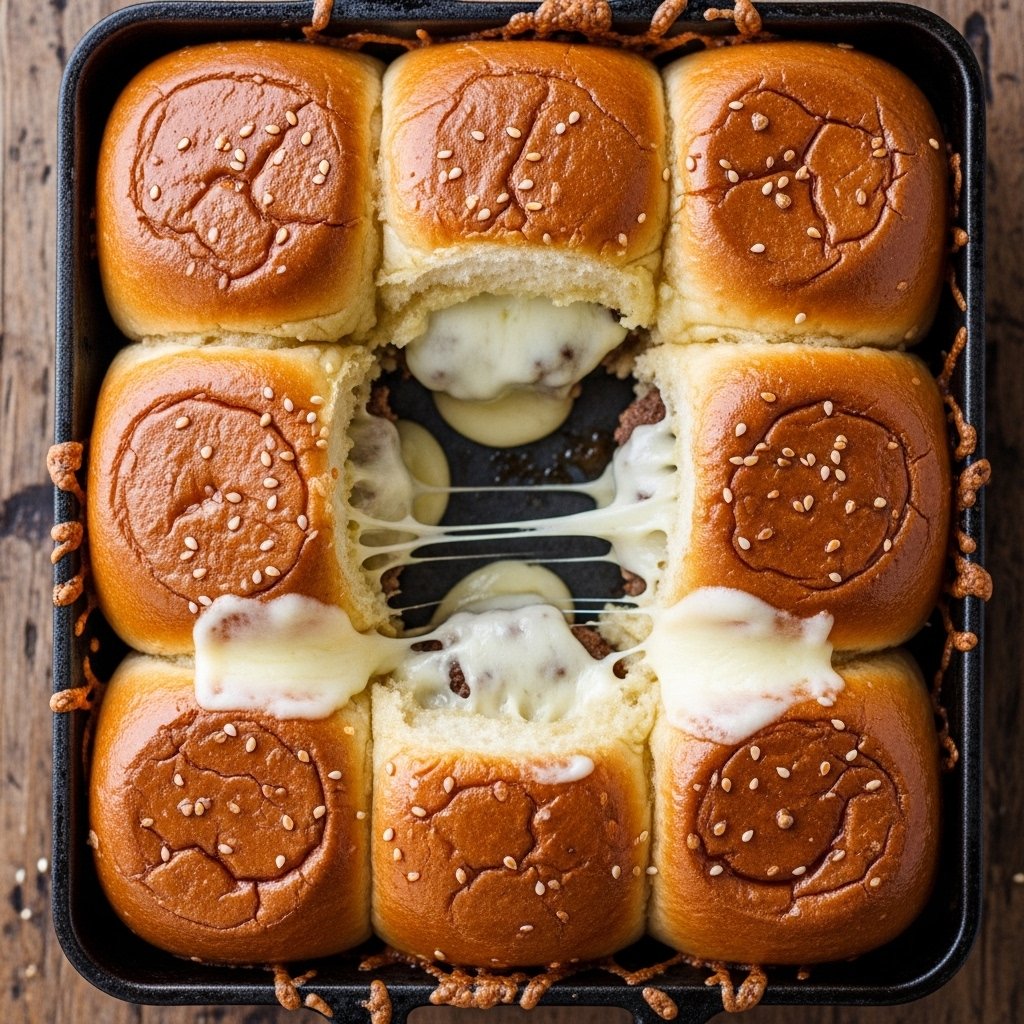
Welcome to a world of food recipe delights, where simple ingredients transform into unforgettable meals. Whether you’re a beginner in the kitchen or a seasoned home cook, having a collection of easy, flavorful recipes is essential for everyday life. This guide is designed to help you create delicious dishes without stress, using approachable techniques and ingredients you likely already have on hand.
From quick lunches to satisfying dinners, these food recipe delights are all about maximizing flavor while minimizing effort. Get ready to bring joy back into your kitchen with recipes that are both practical and exciting.
Why You’ll Love These Food Recipe Delights
There’s something incredibly satisfying about cooking meals that are both easy and delicious. These food recipe delights are designed to fit into your busy lifestyle without sacrificing taste.
Here’s why you’ll love them:
- Quick and simple preparation
- Budget-friendly ingredients
- Perfect for beginners
- Family-approved flavors
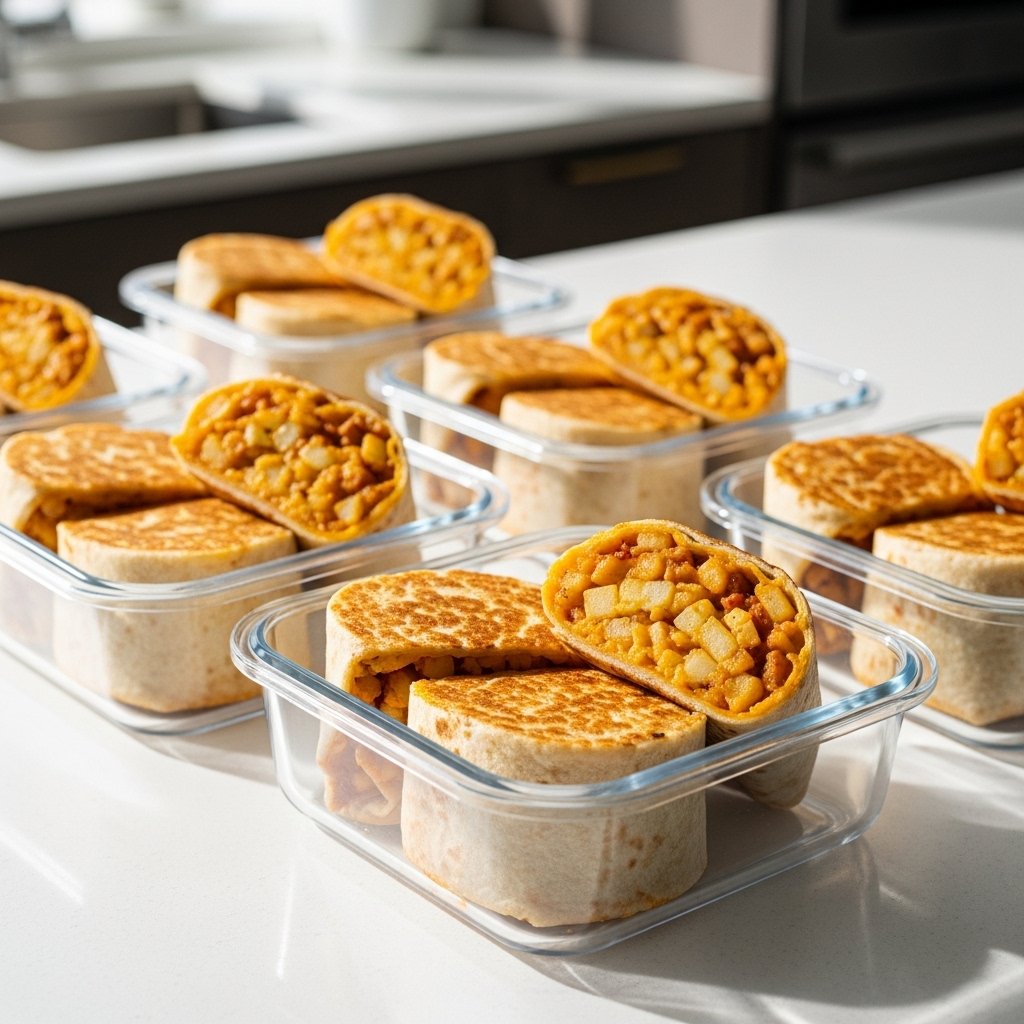
- Great for meal prep
These recipes are built to make your life easier while keeping your meals exciting.
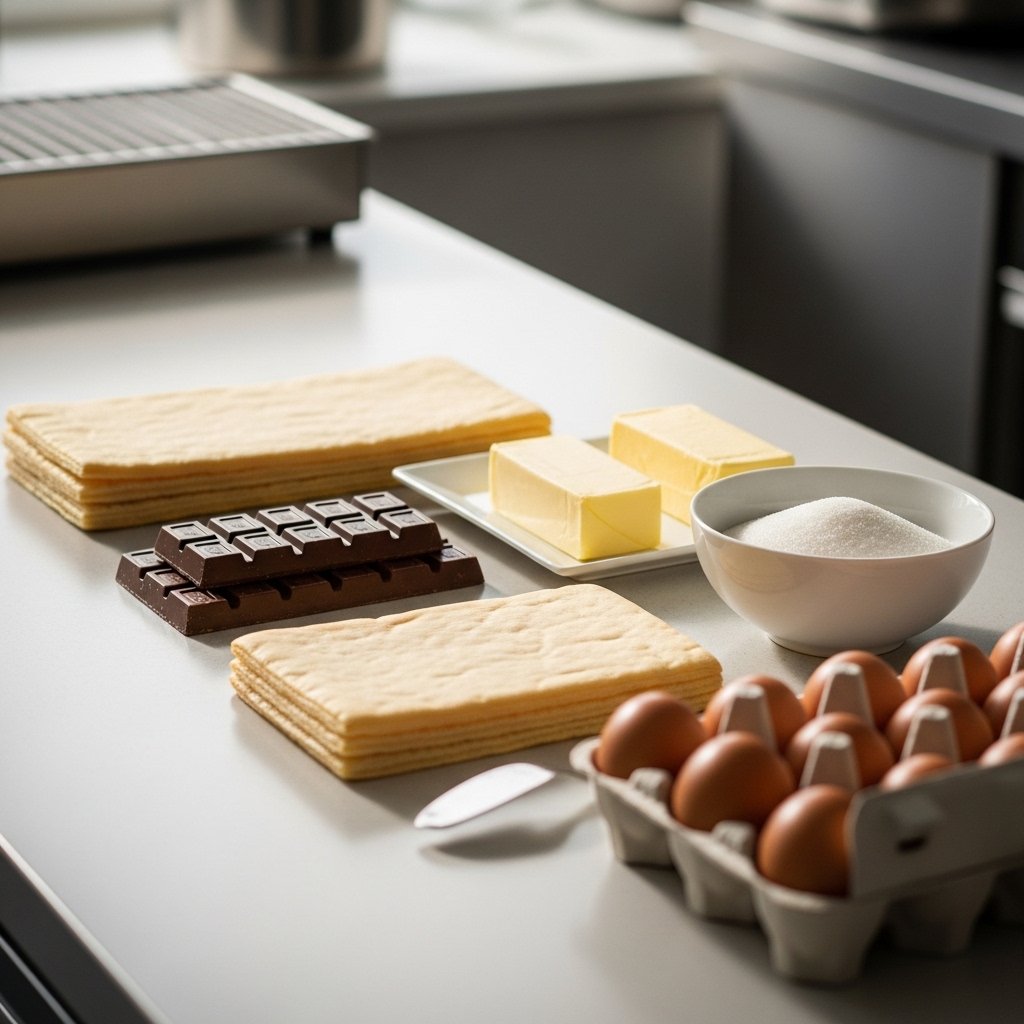
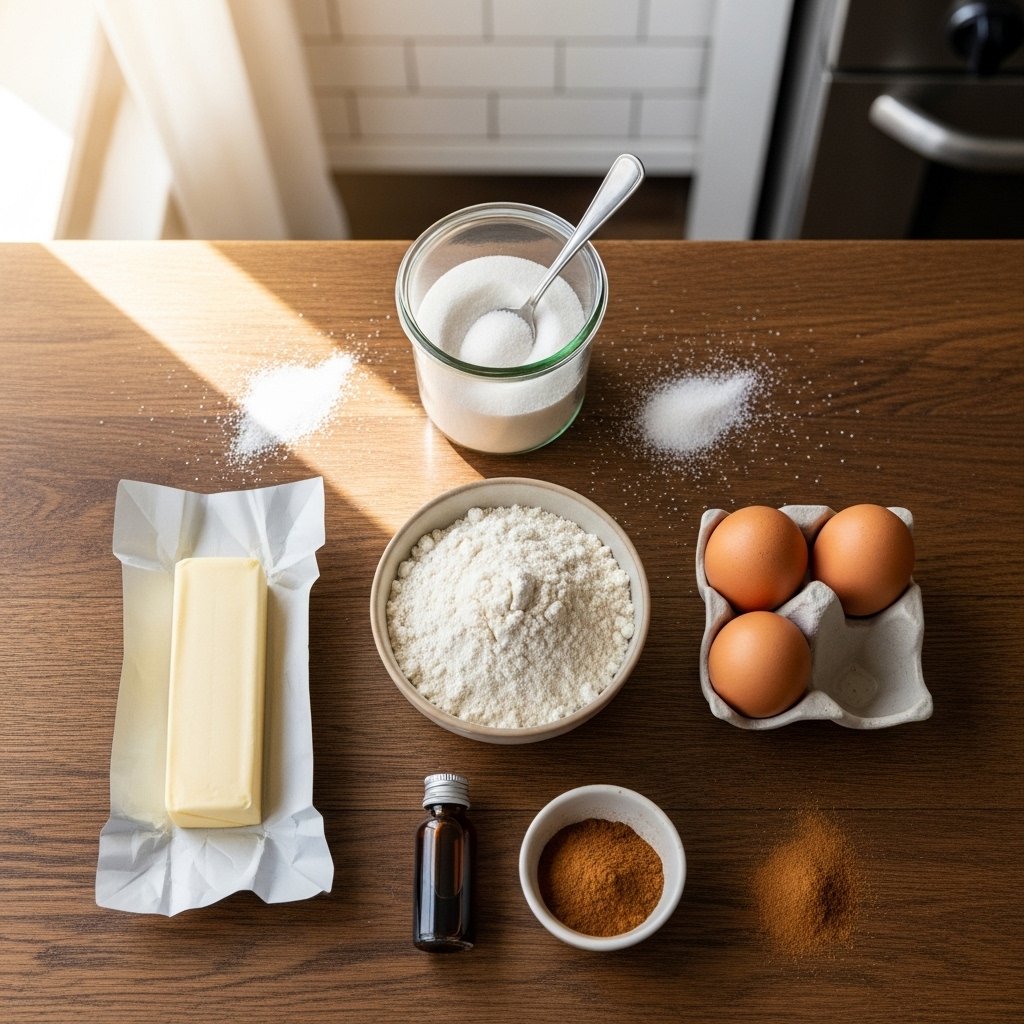
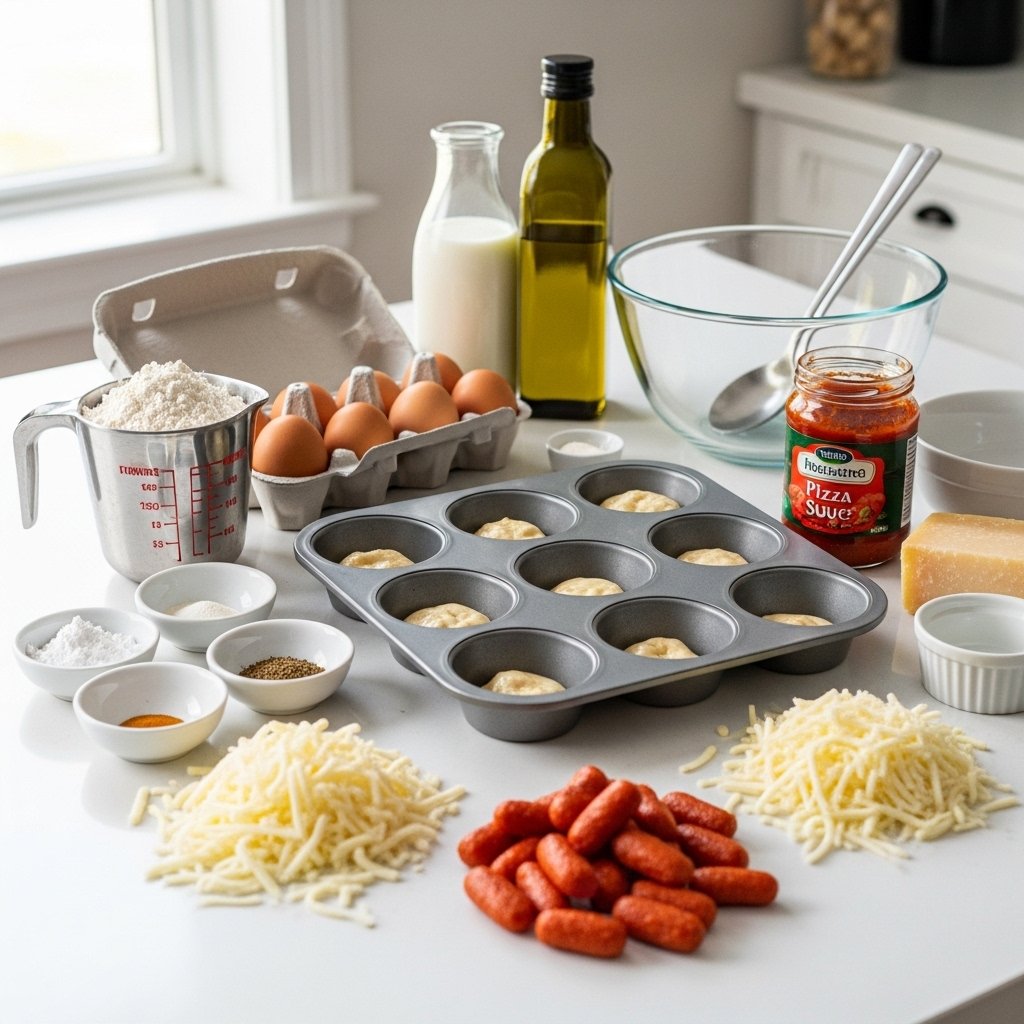
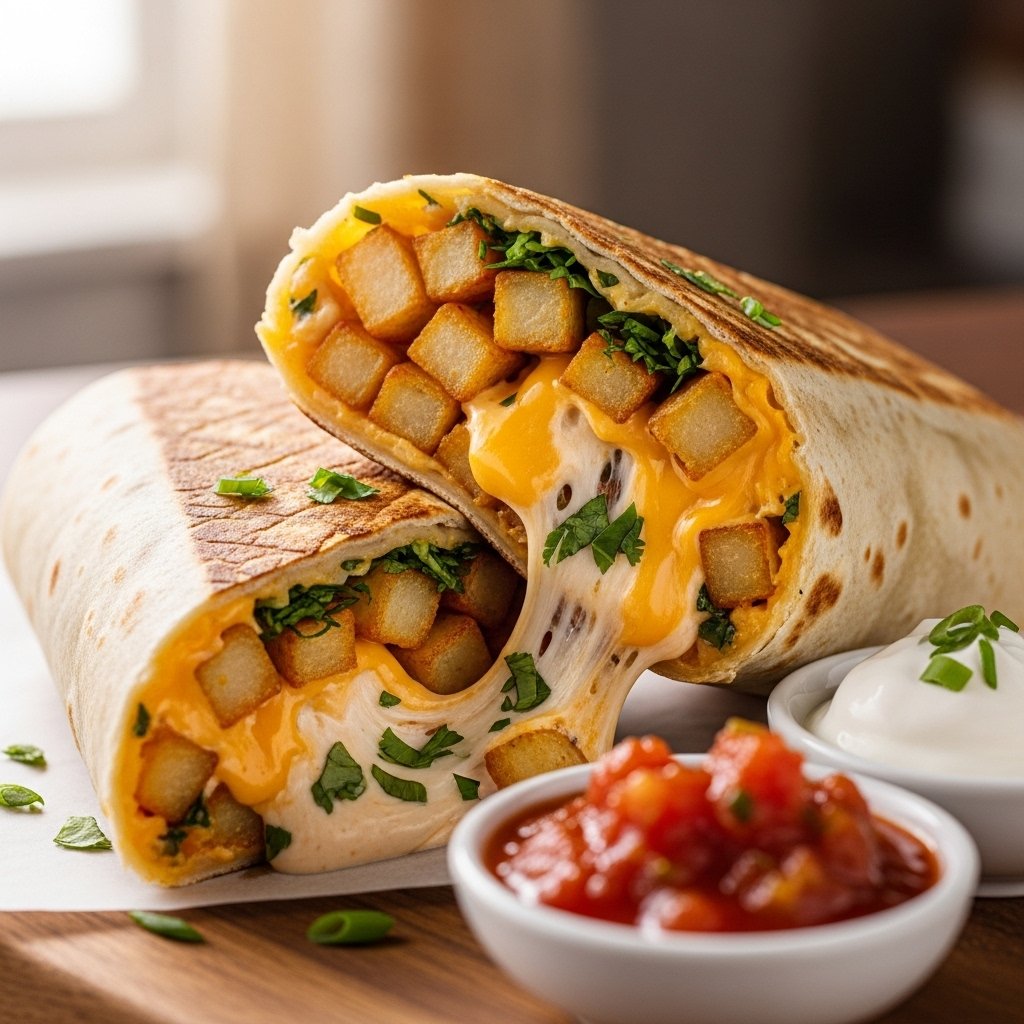
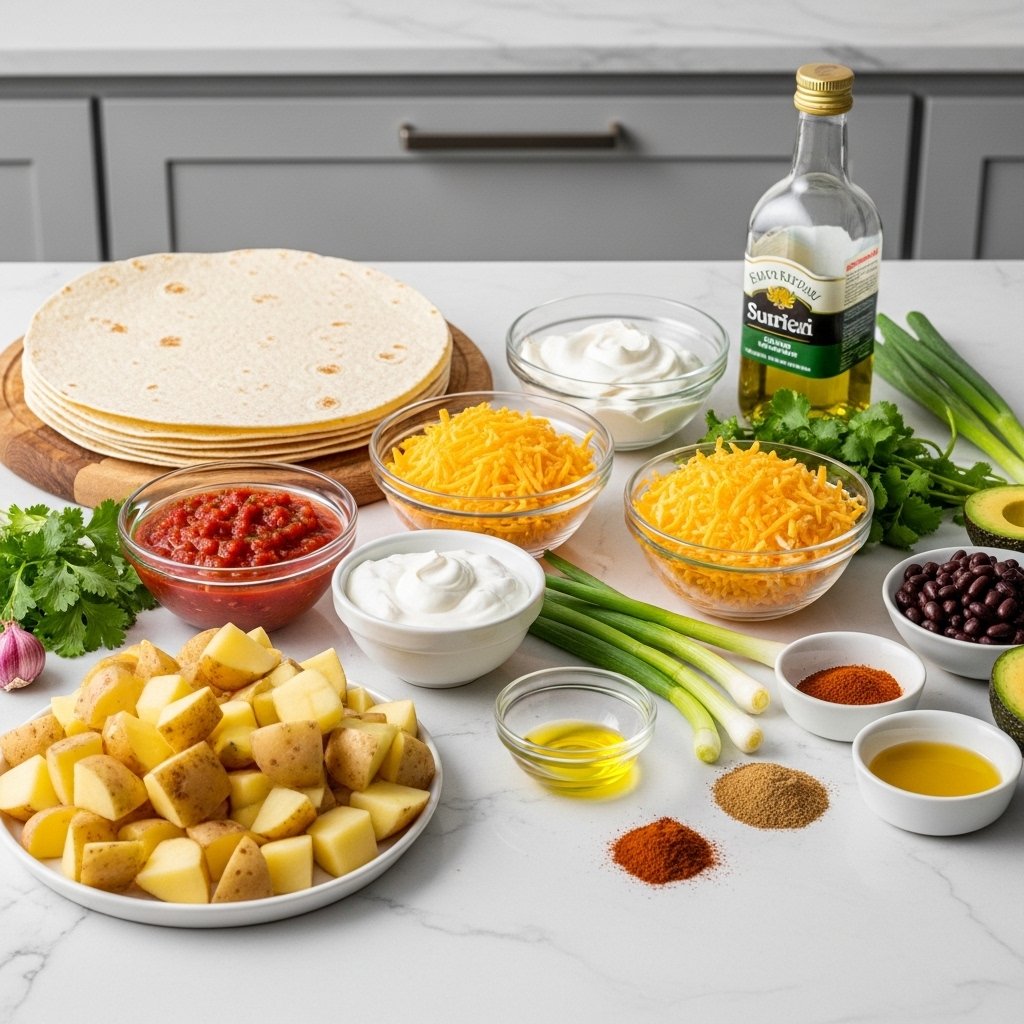
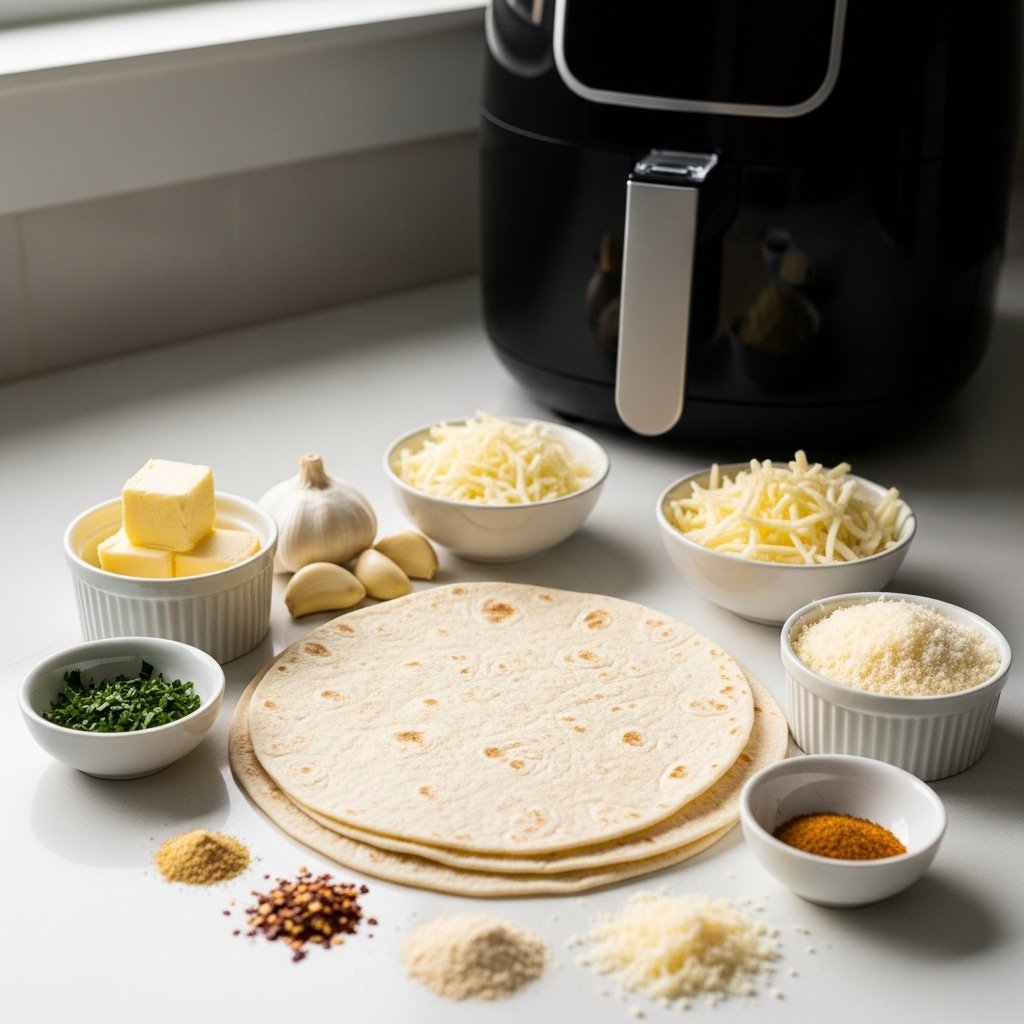
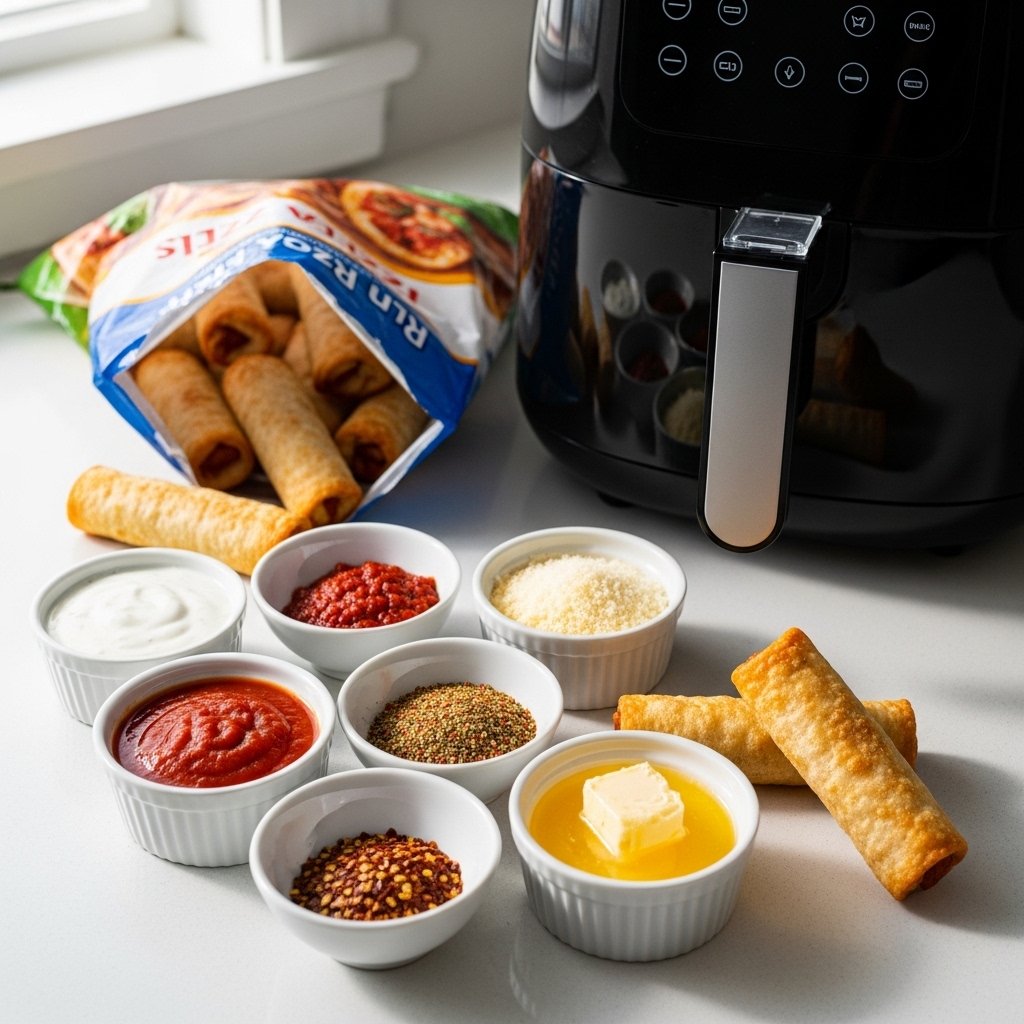
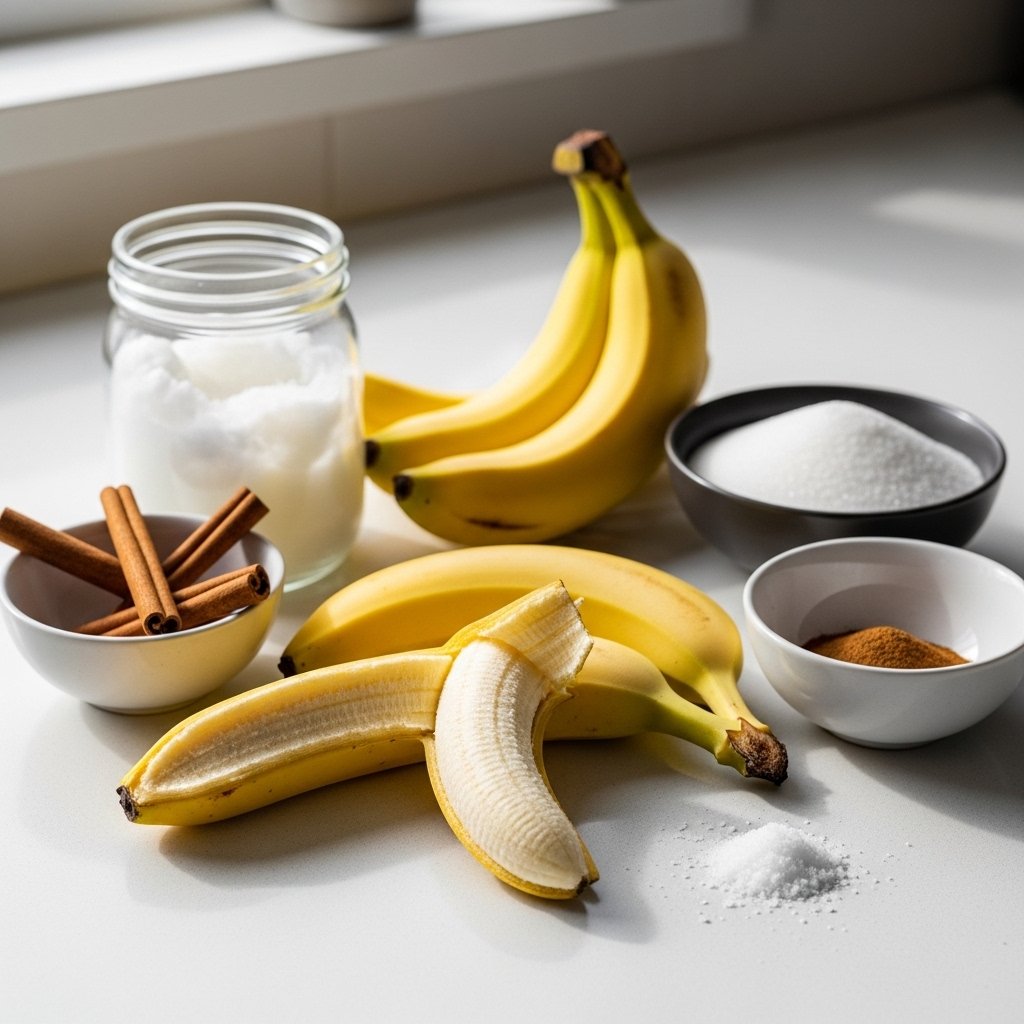
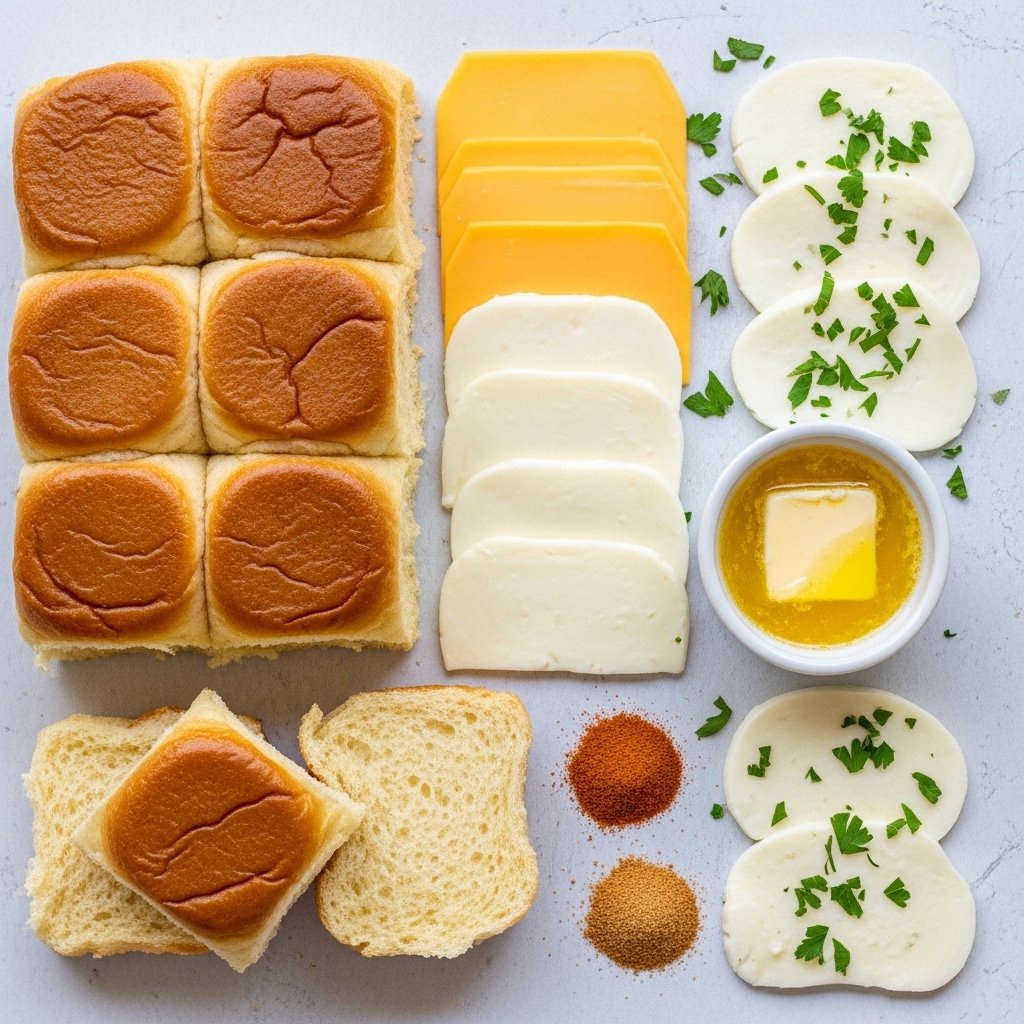
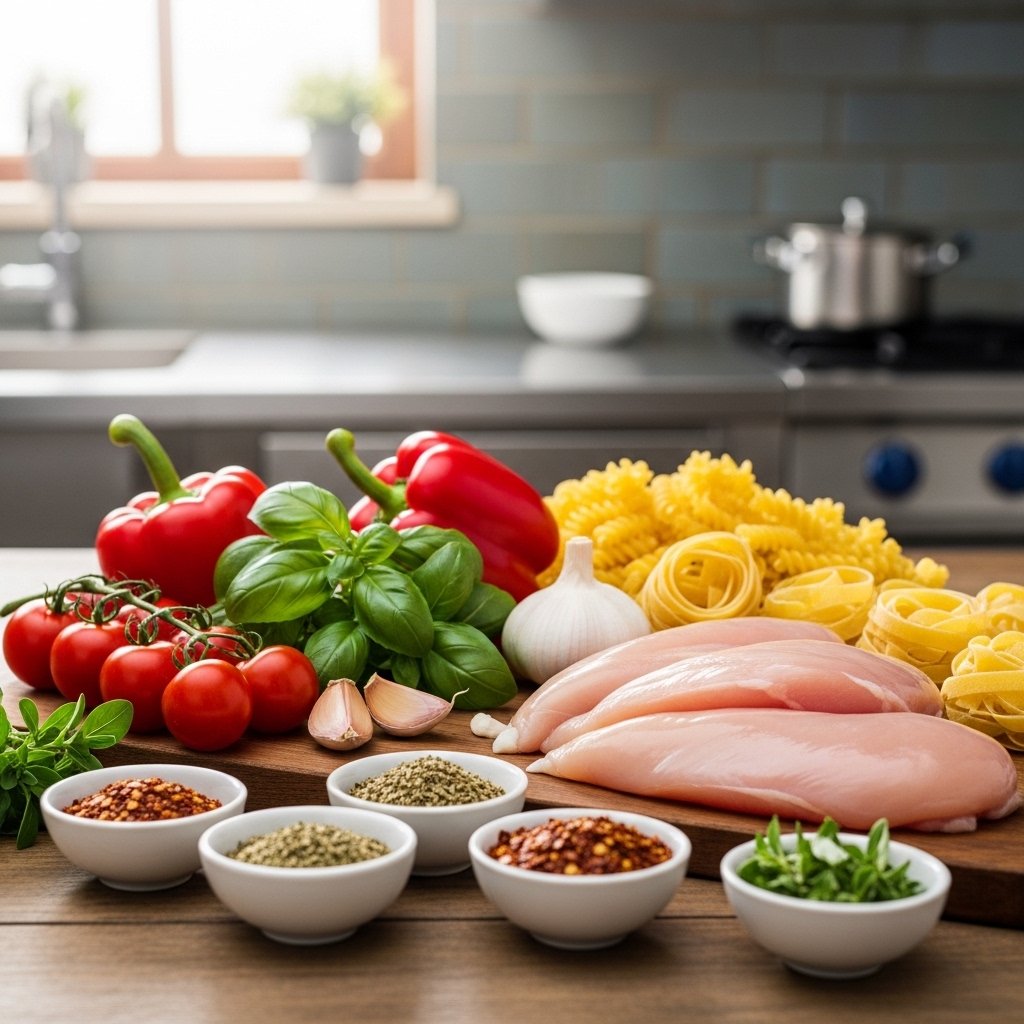
Ingredients for Everyday Cooking
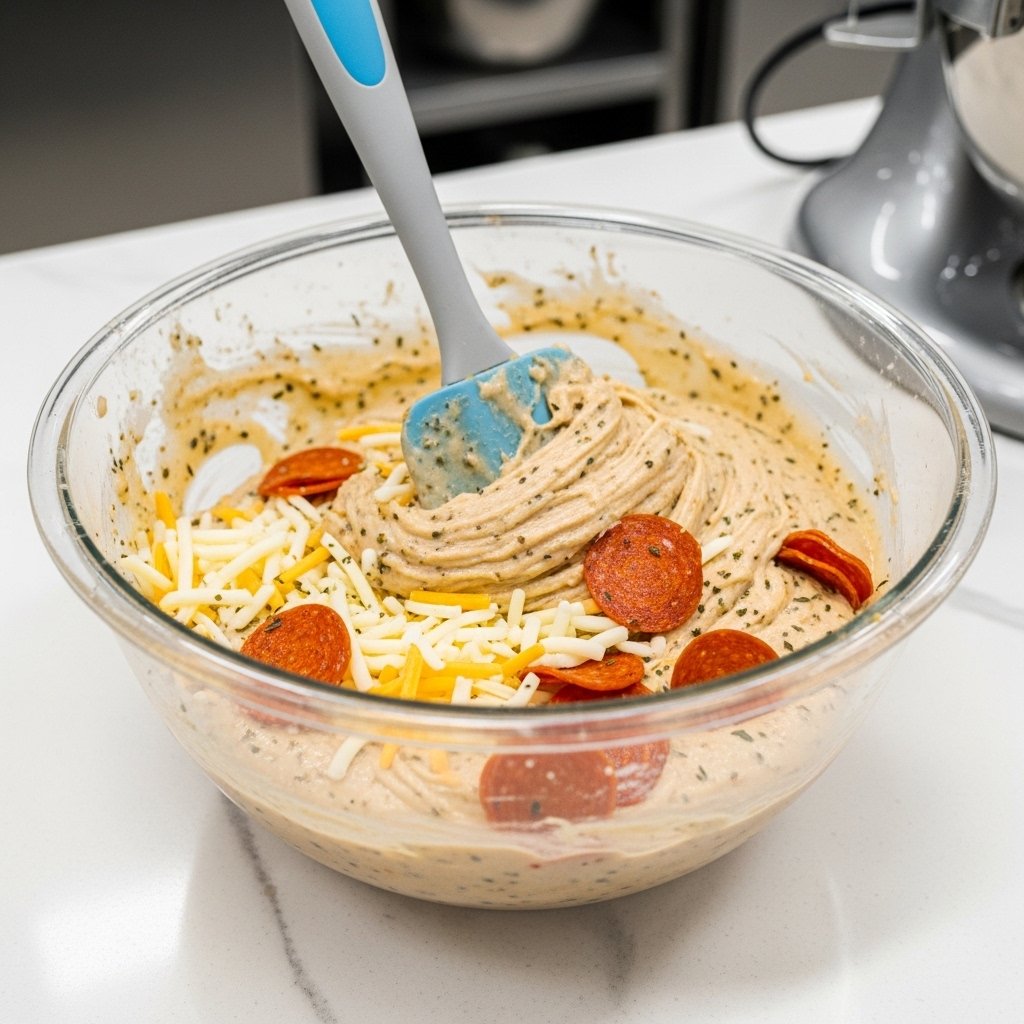
The beauty of food recipe delights lies in their simplicity. Most recipes rely on staple ingredients that are easy to find and versatile.
Common ingredients include:
- Fresh vegetables (bell peppers, onions, spinach)
- Proteins (chicken, eggs, beans)
- Grains (rice, pasta, tortillas)
- Herbs and spices
- Olive oil and butter
Keeping these on hand ensures you’re always ready to cook something delicious.
Ingredient Notes & Smart Substitutions
Flexible Proteins
Swap chicken for tofu, shrimp, or beef depending on your preference.
Fresh vs. Frozen
Frozen vegetables work just as well and save time.
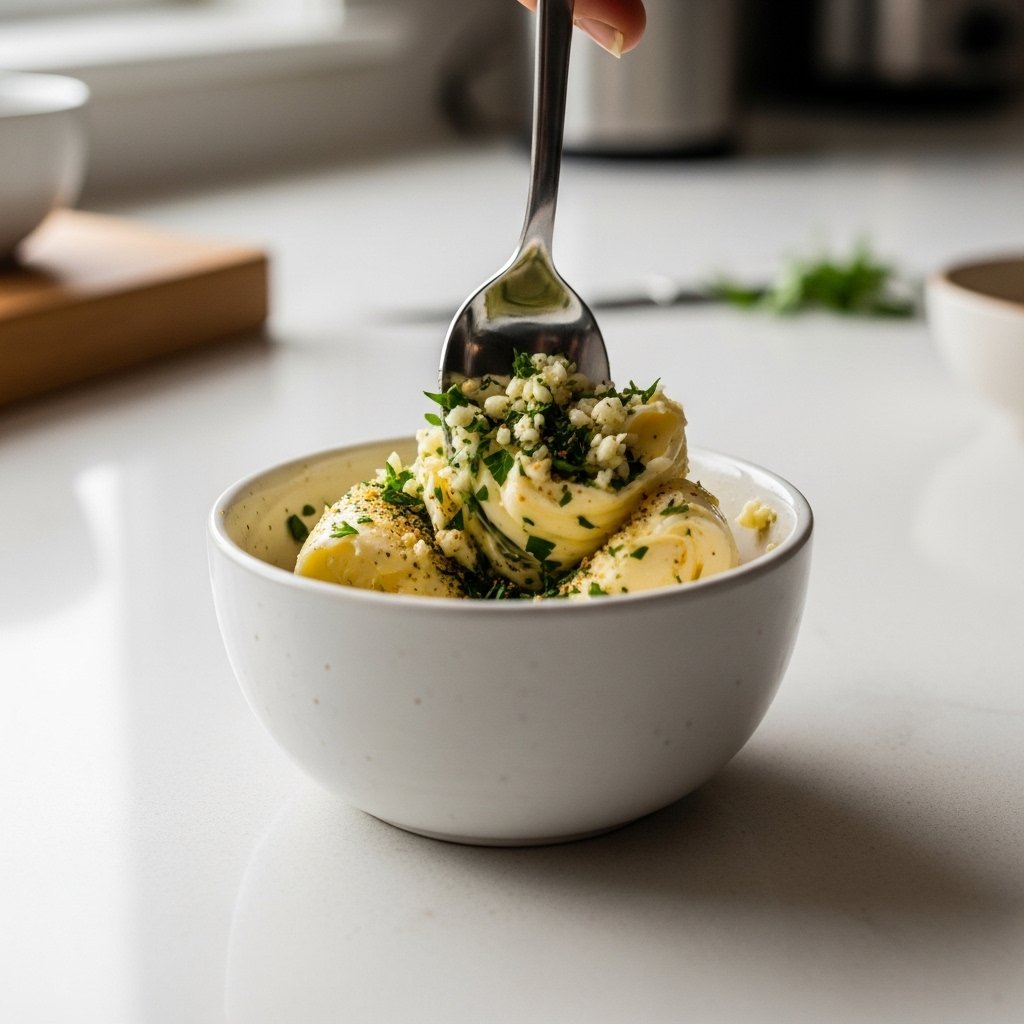
Flavor Boosters
Garlic, lemon juice, and herbs can elevate any dish instantly.
These substitutions make your food recipe delights adaptable and stress-free.
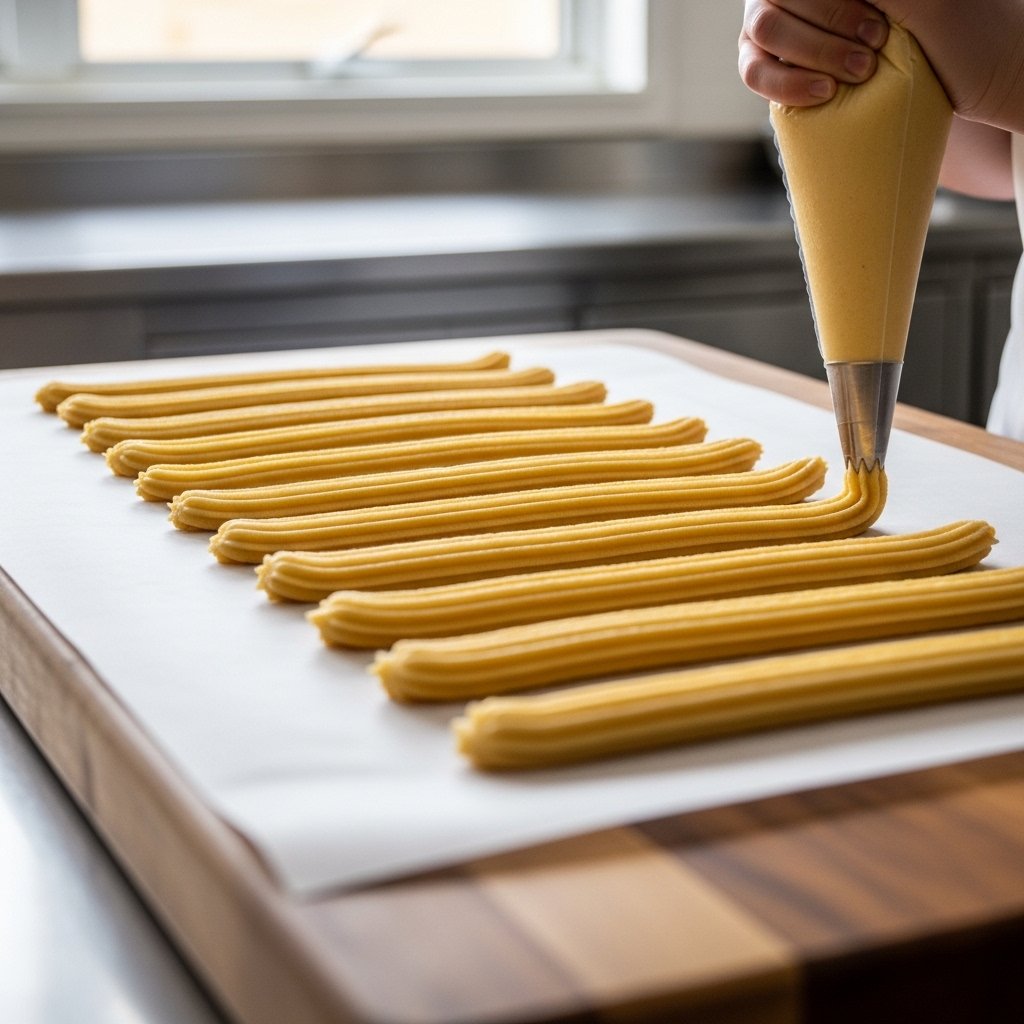
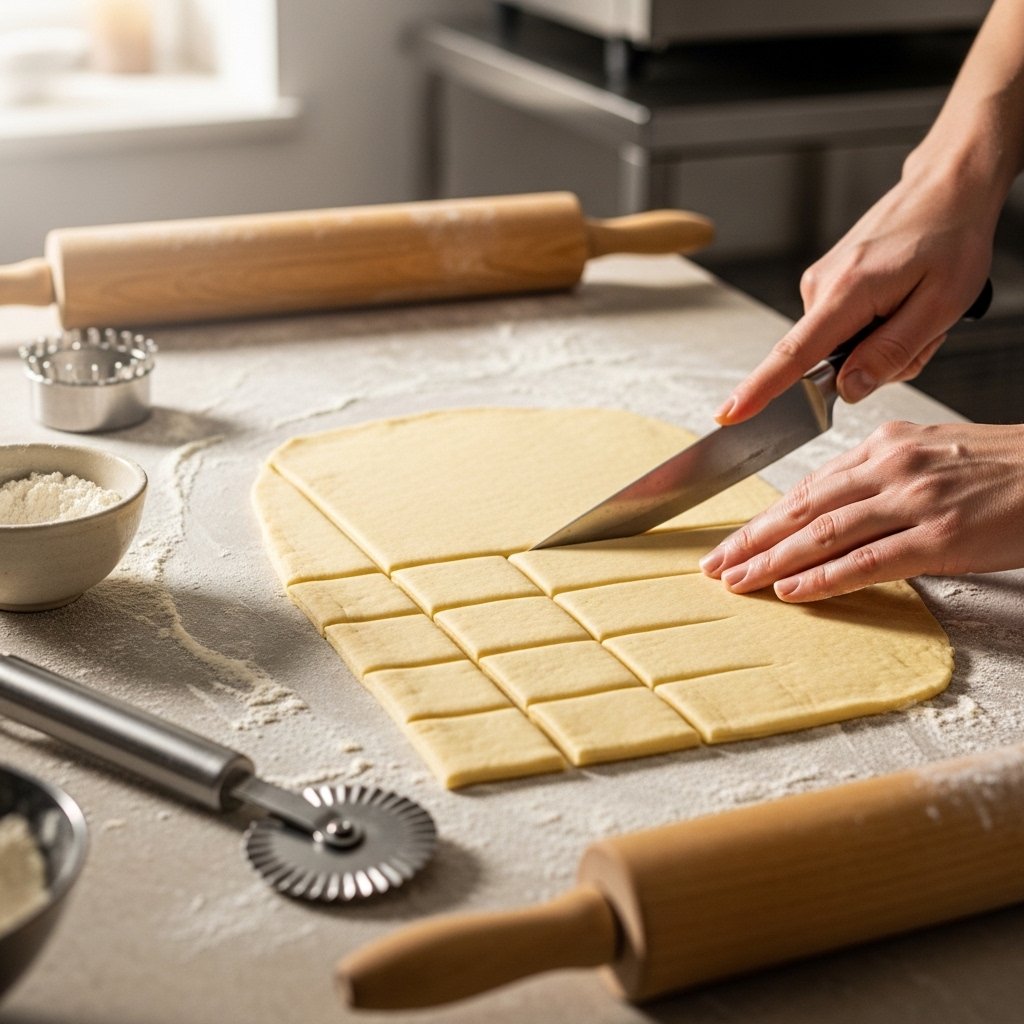
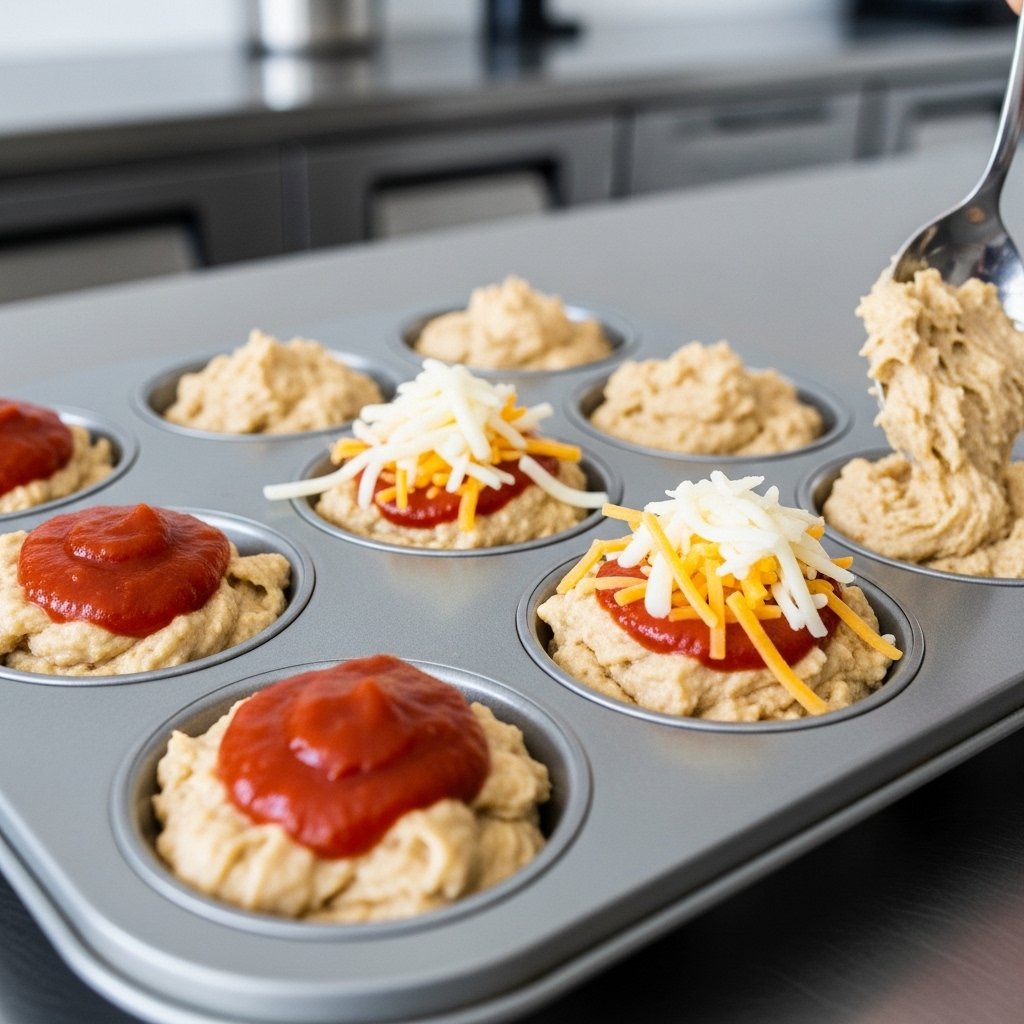
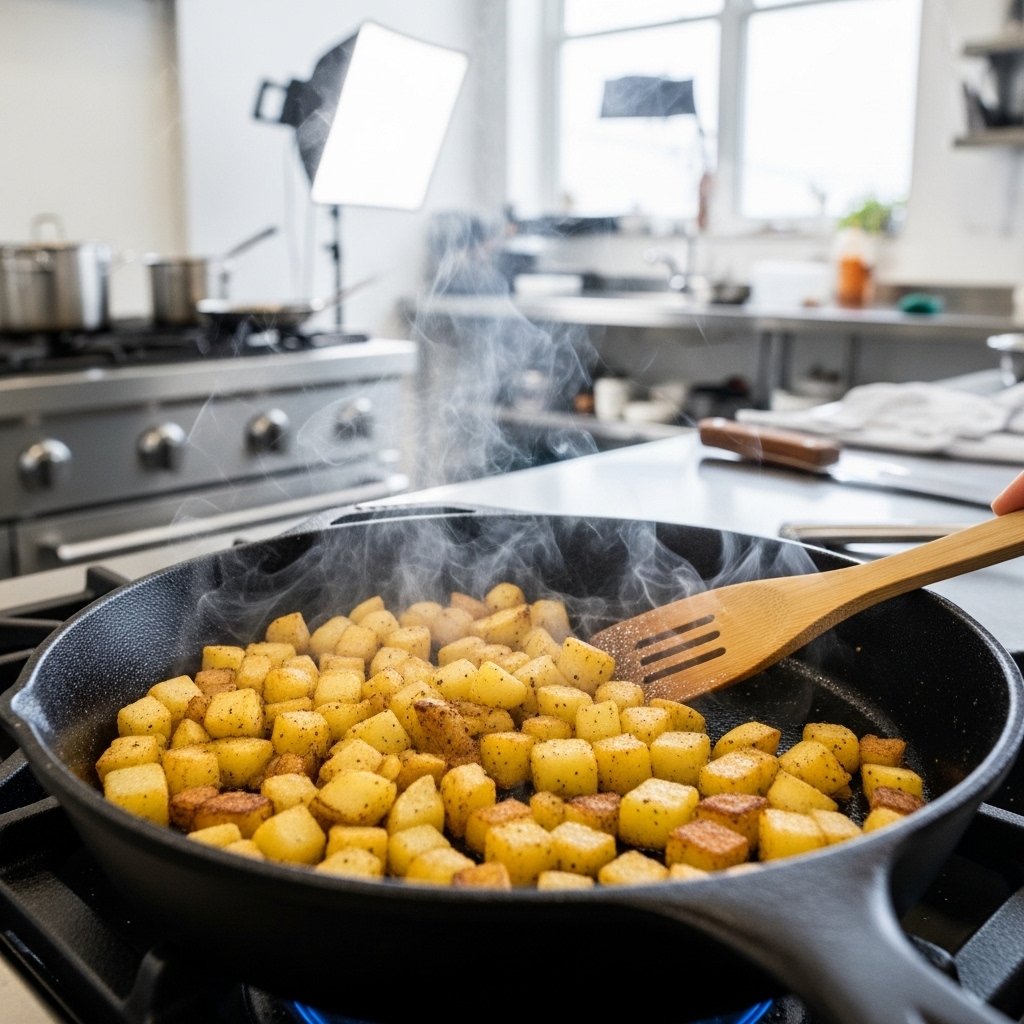
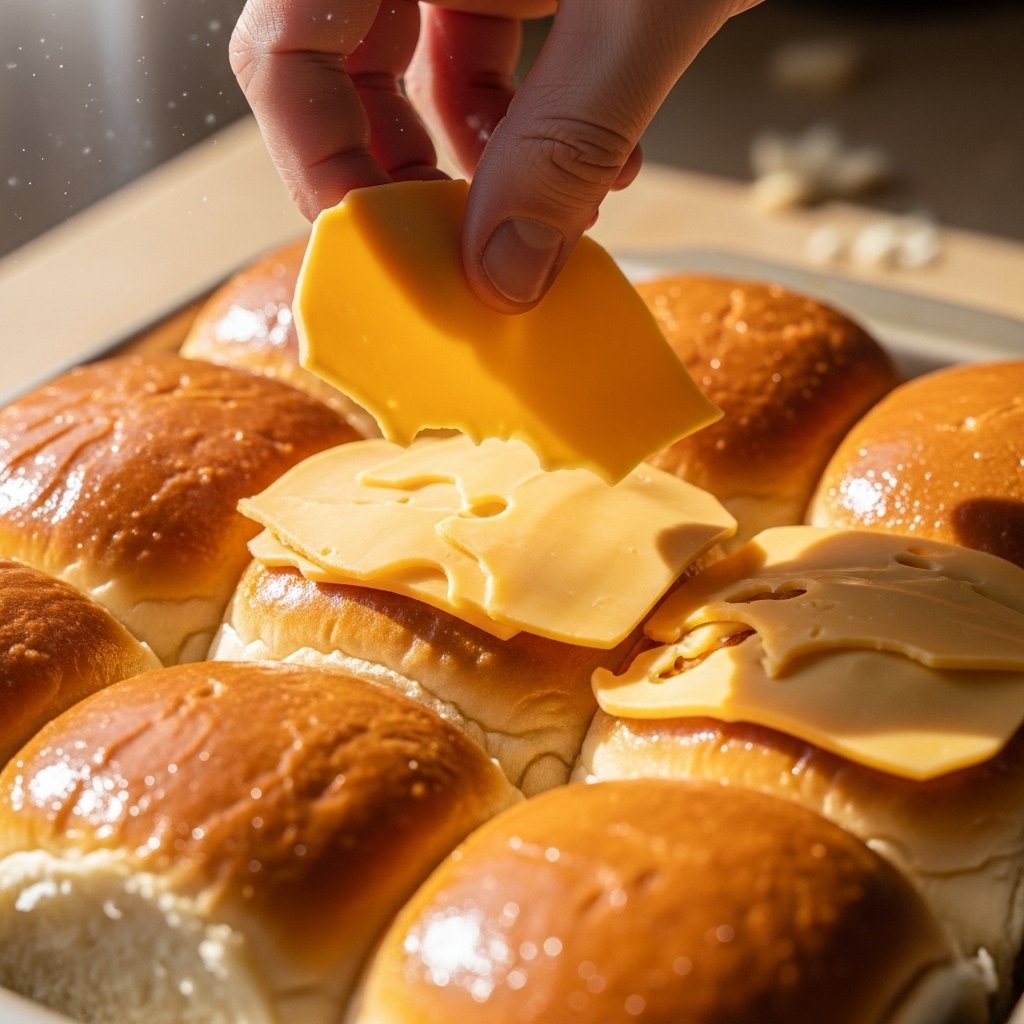
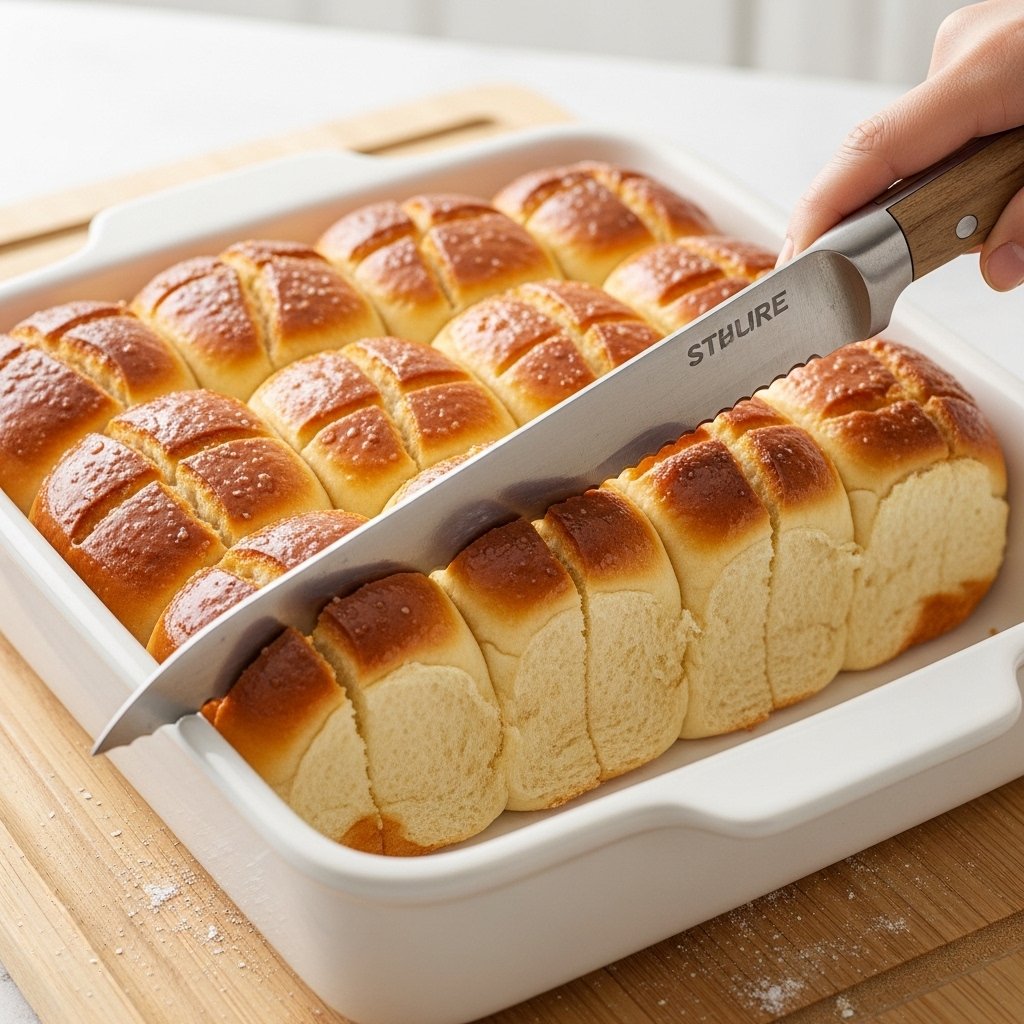
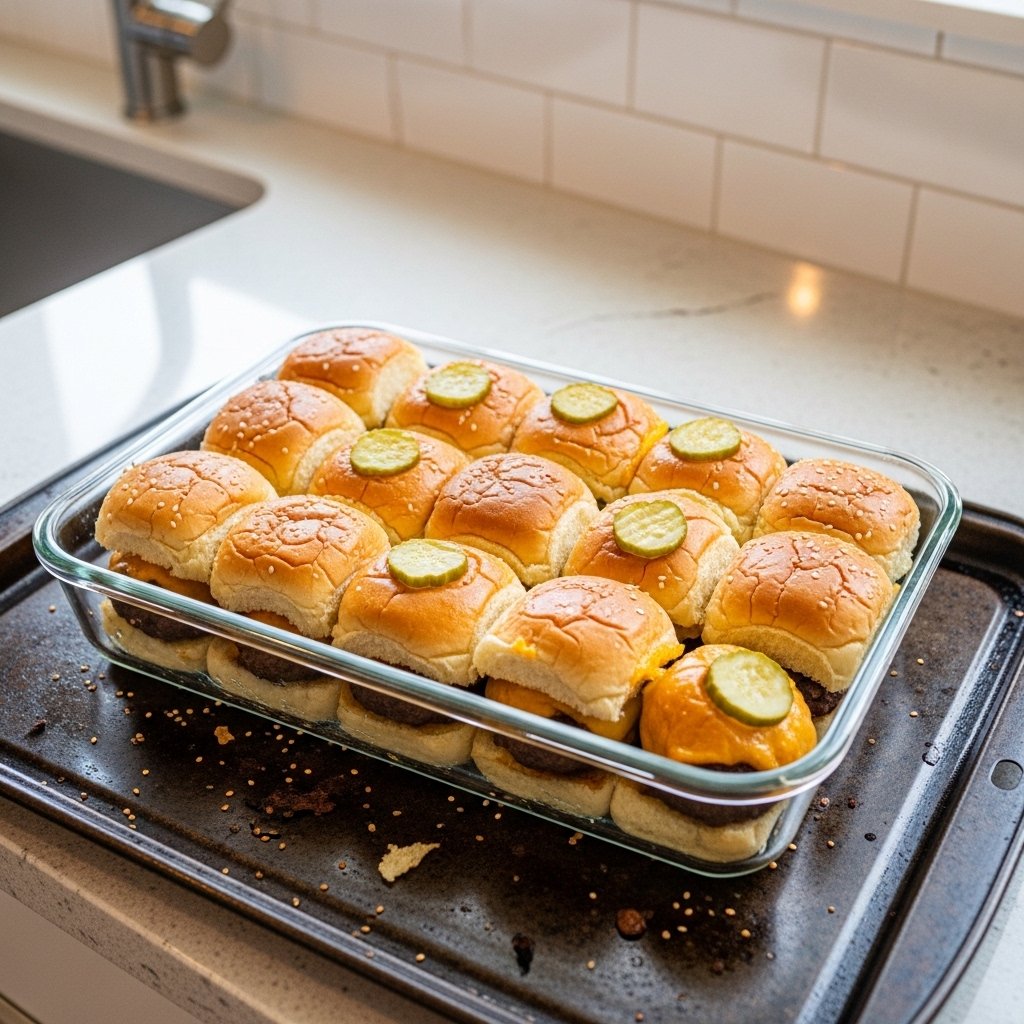
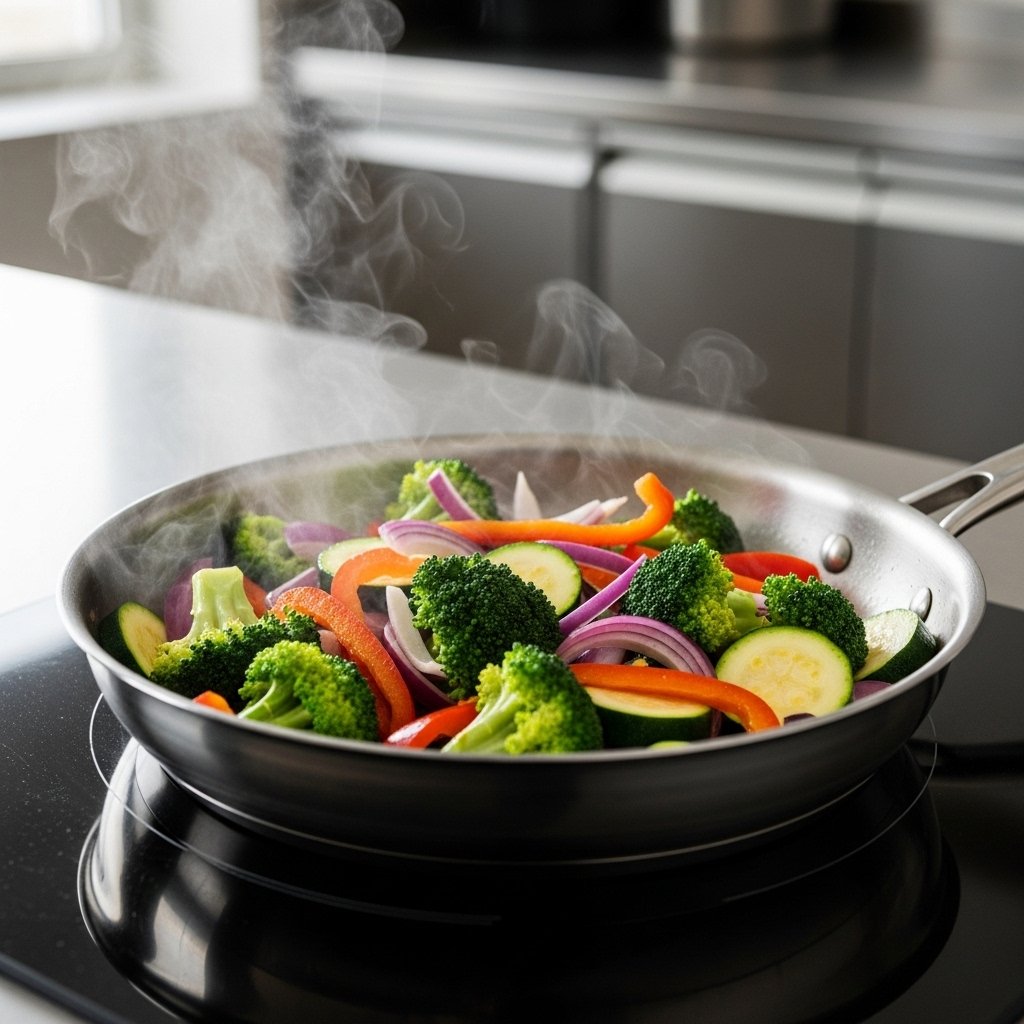
Step-by-Step Cooking Basics
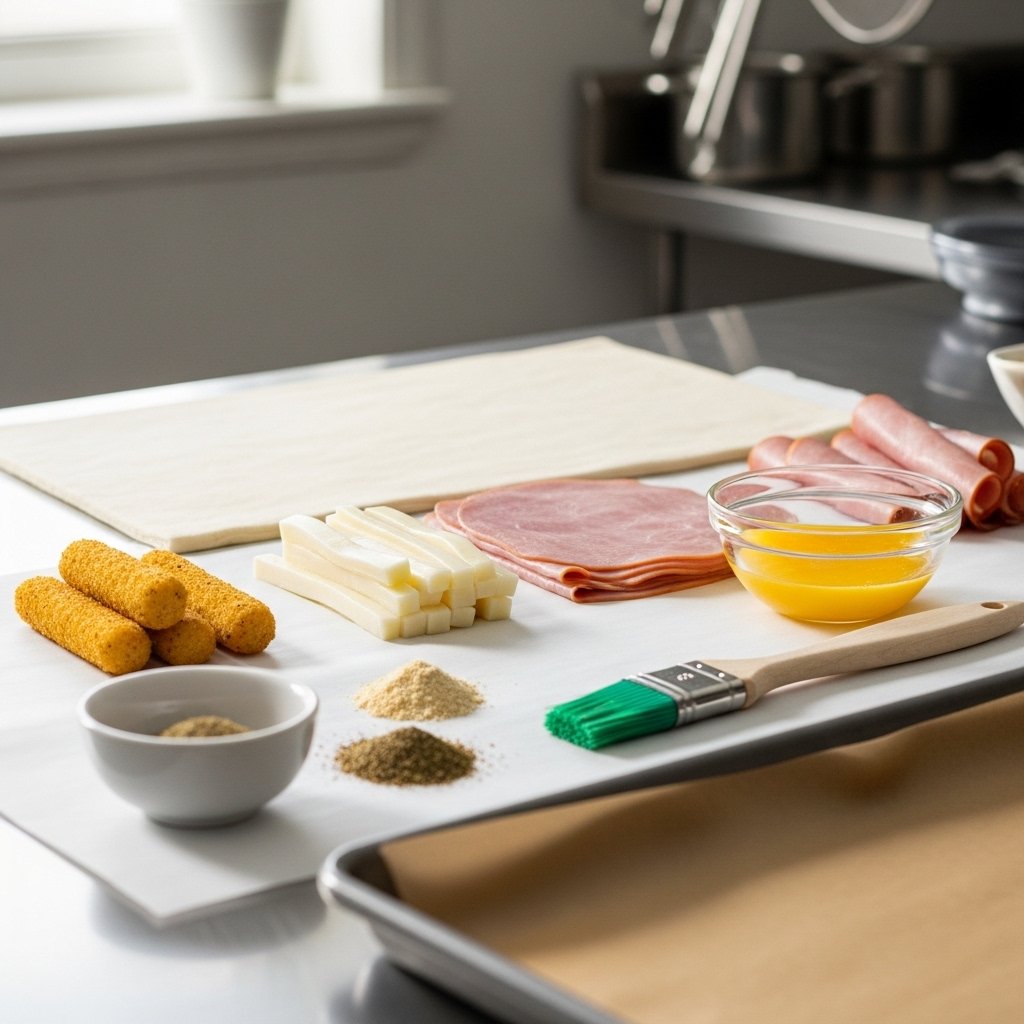
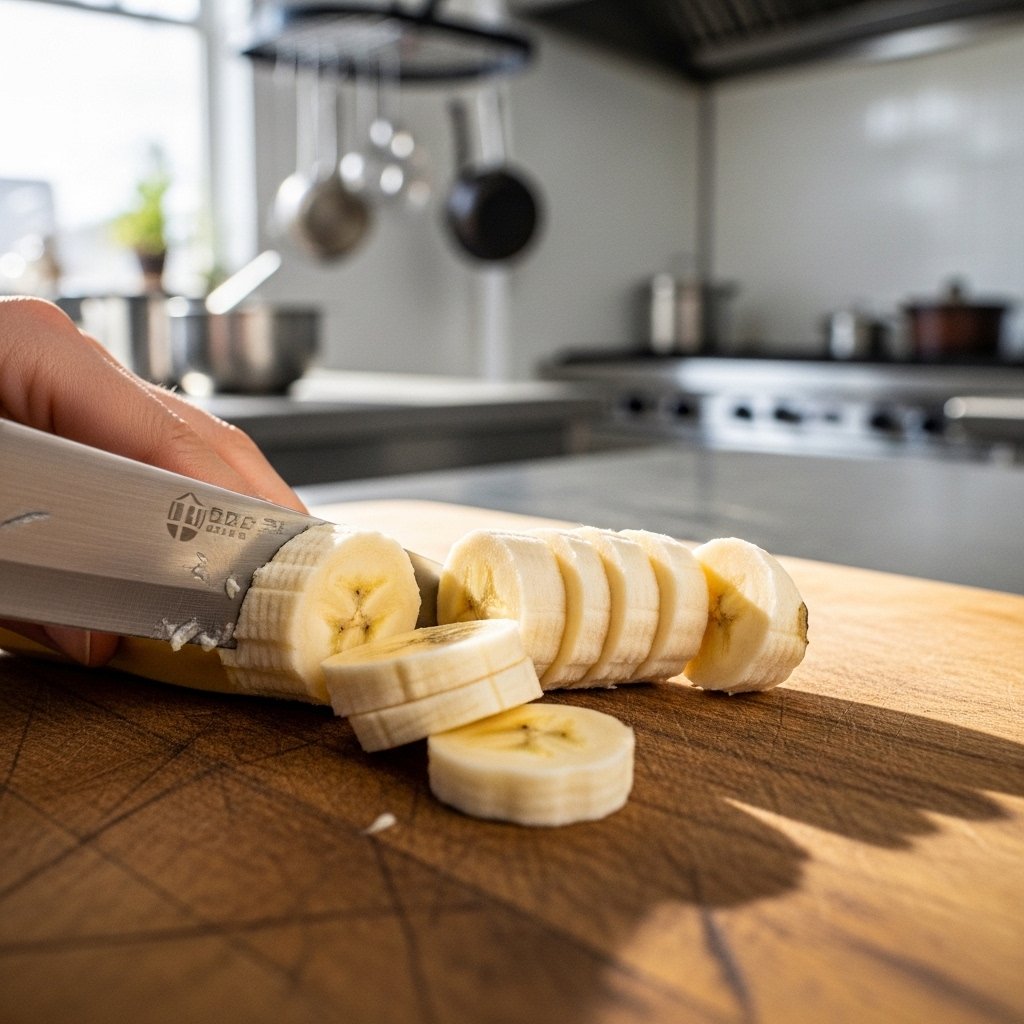
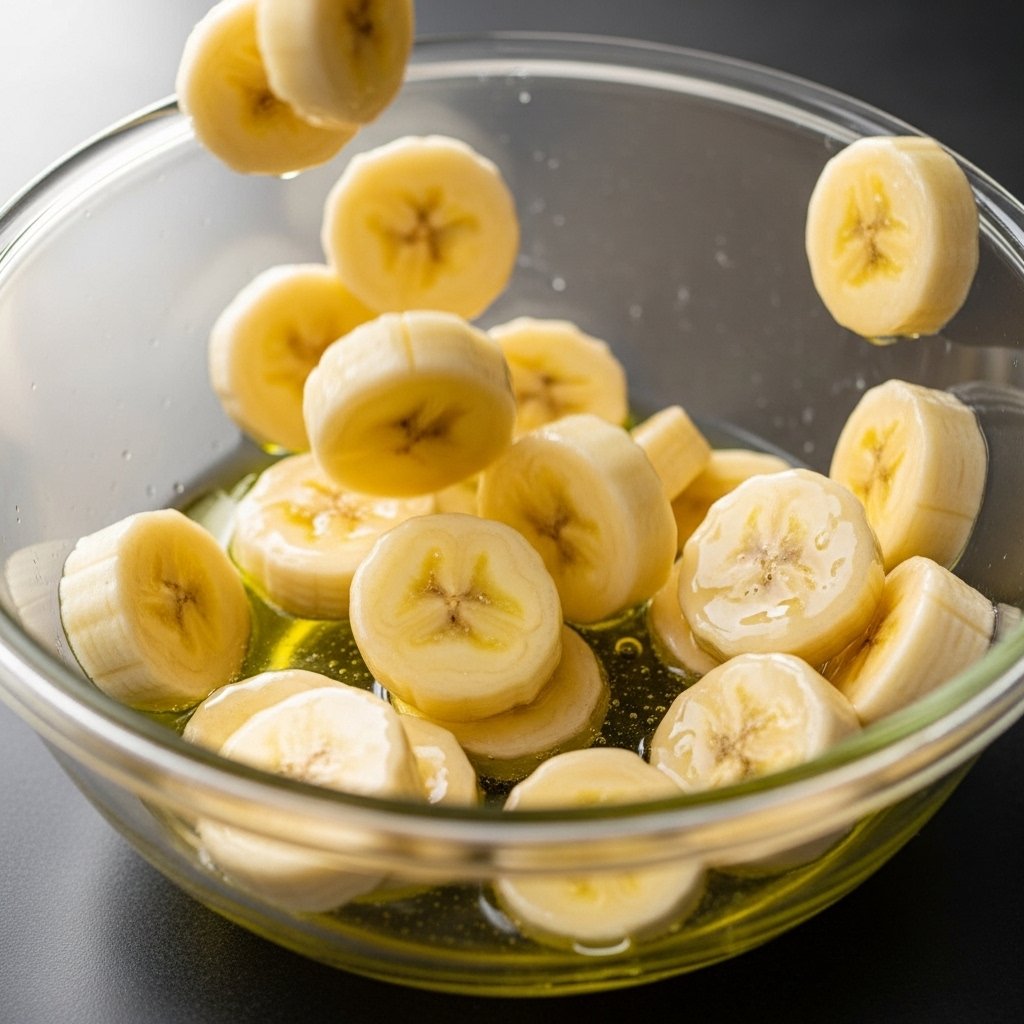
Step 1: Prep Ingredients
Wash, chop, and measure everything before cooking to save time.
Step 2: Build Flavor
Start with aromatics like garlic and onions in oil.
Step 3: Cook Protein
Add your protein and cook until done.
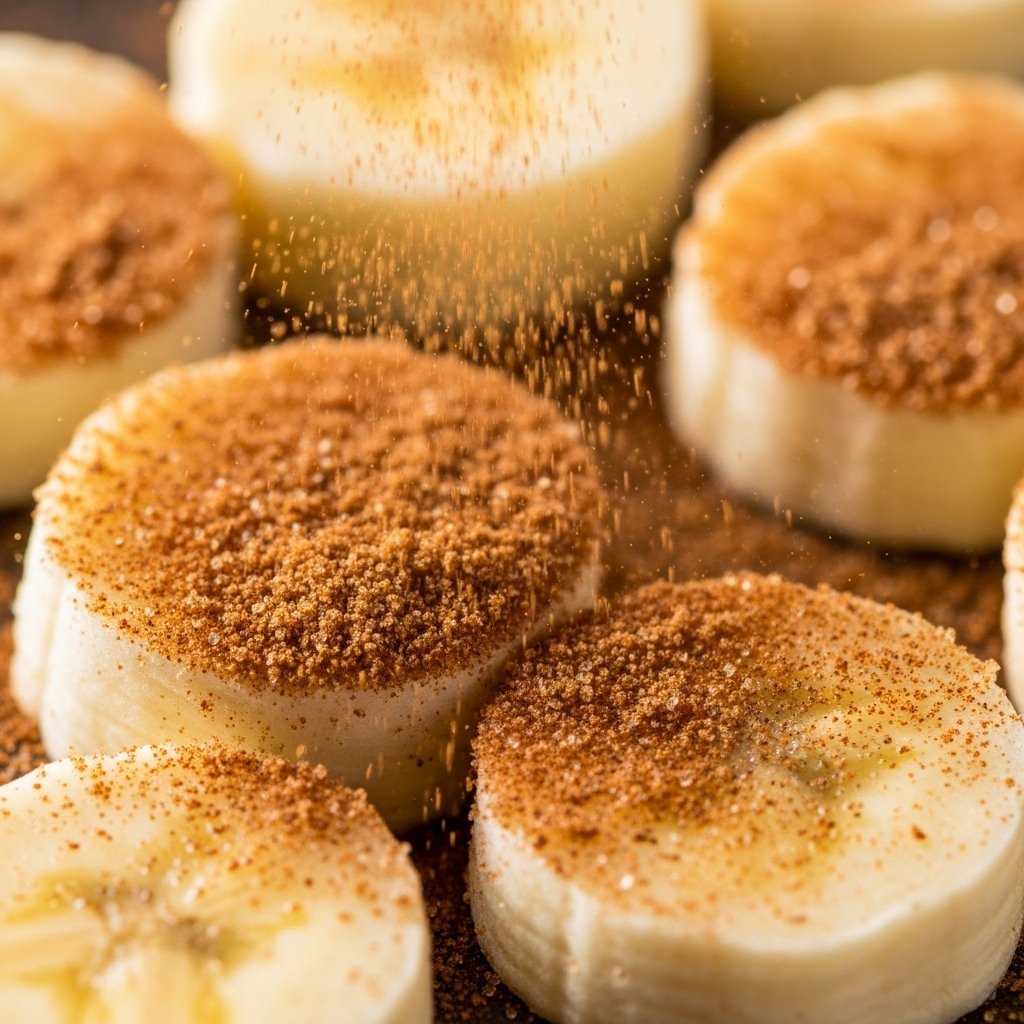
Step 4: Add Vegetables & Seasoning
Incorporate veggies and season generously.
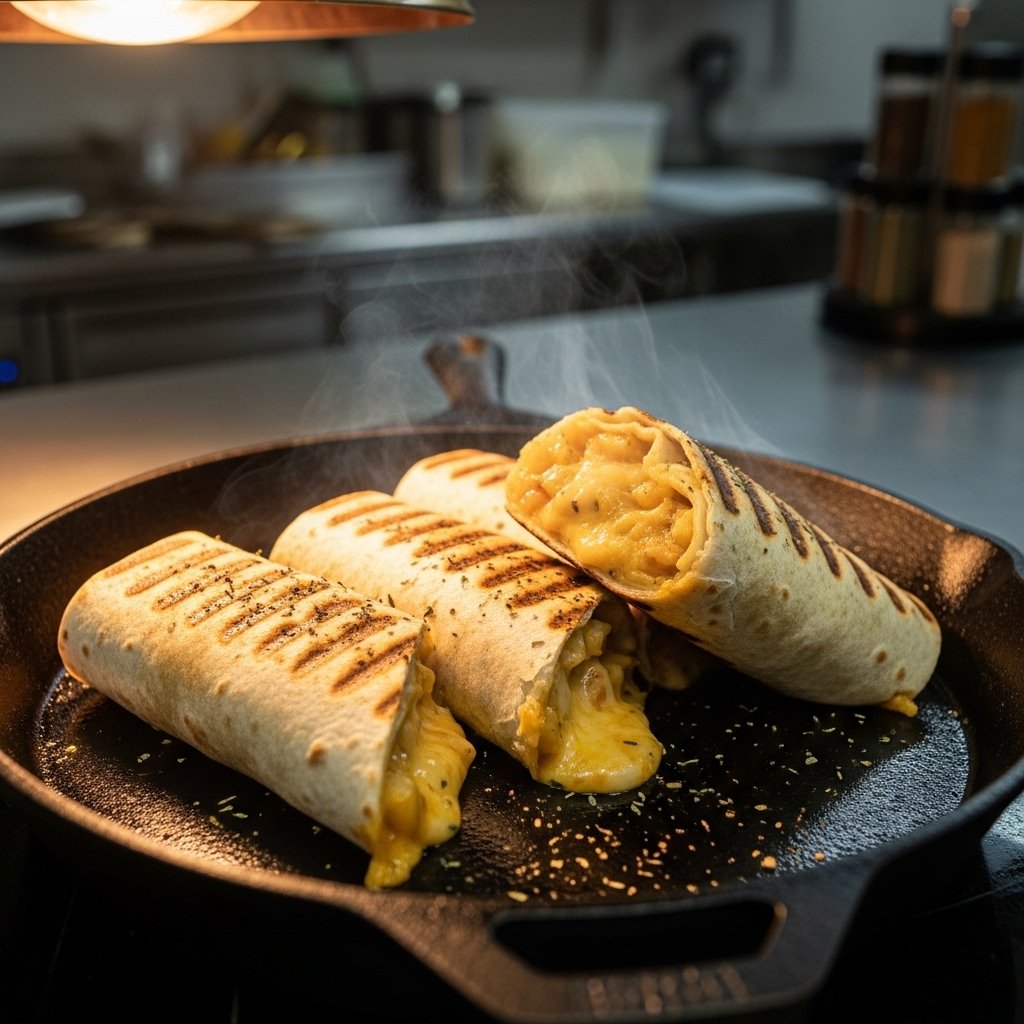
Step 5: Finish & Serve
Taste, adjust seasoning, and serve warm.
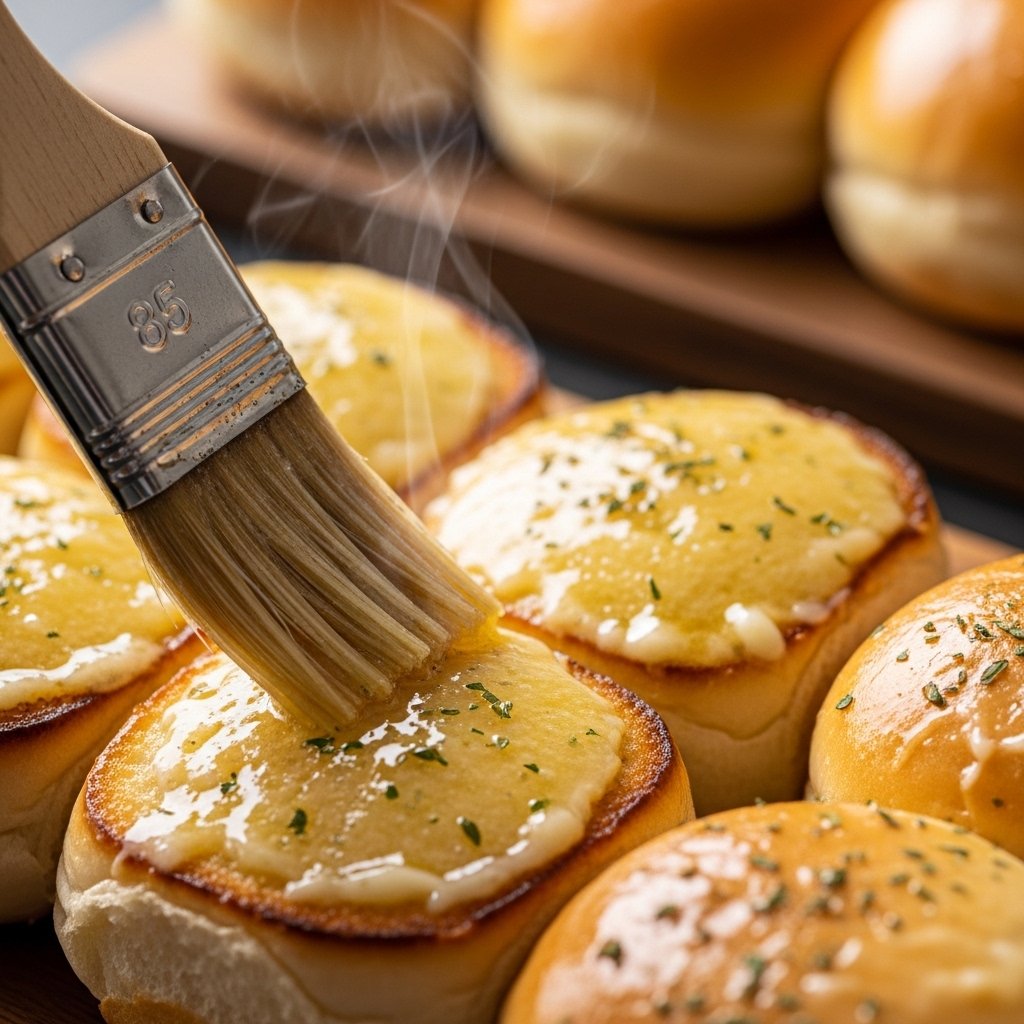
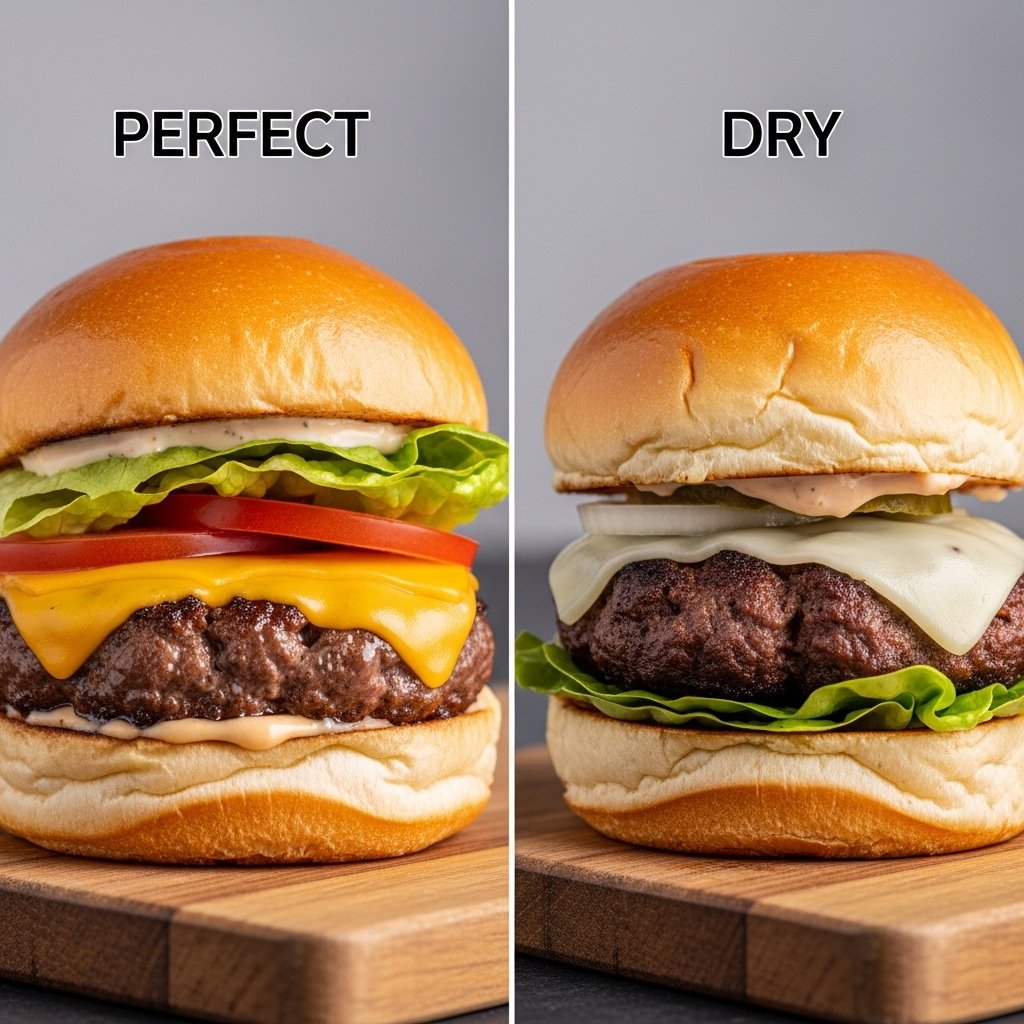
Tips for Perfect Results
To master food recipe delights, keep these tips in mind:
- Don’t overcrowd the pan
- Season in layers
- Taste as you cook
- Use fresh ingredients when possible
These small habits make a big difference in your final dish.
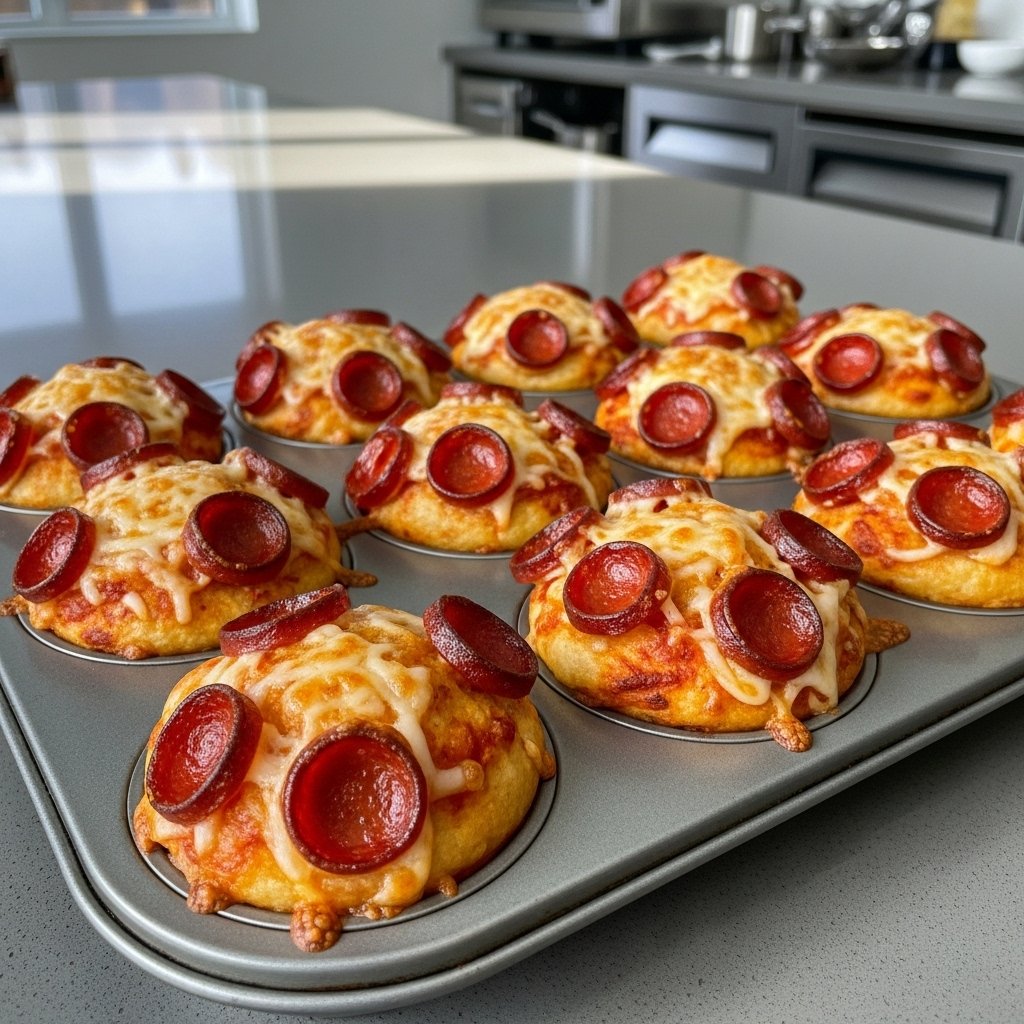
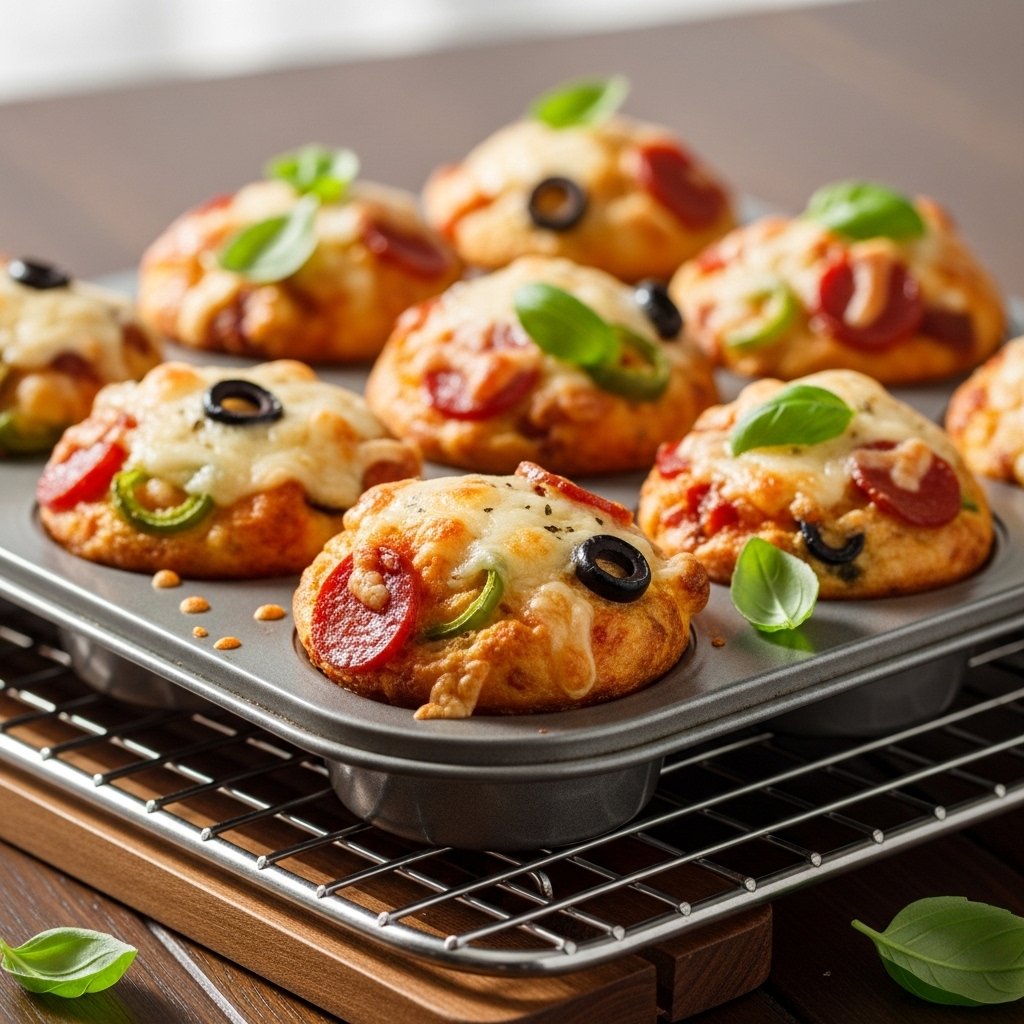
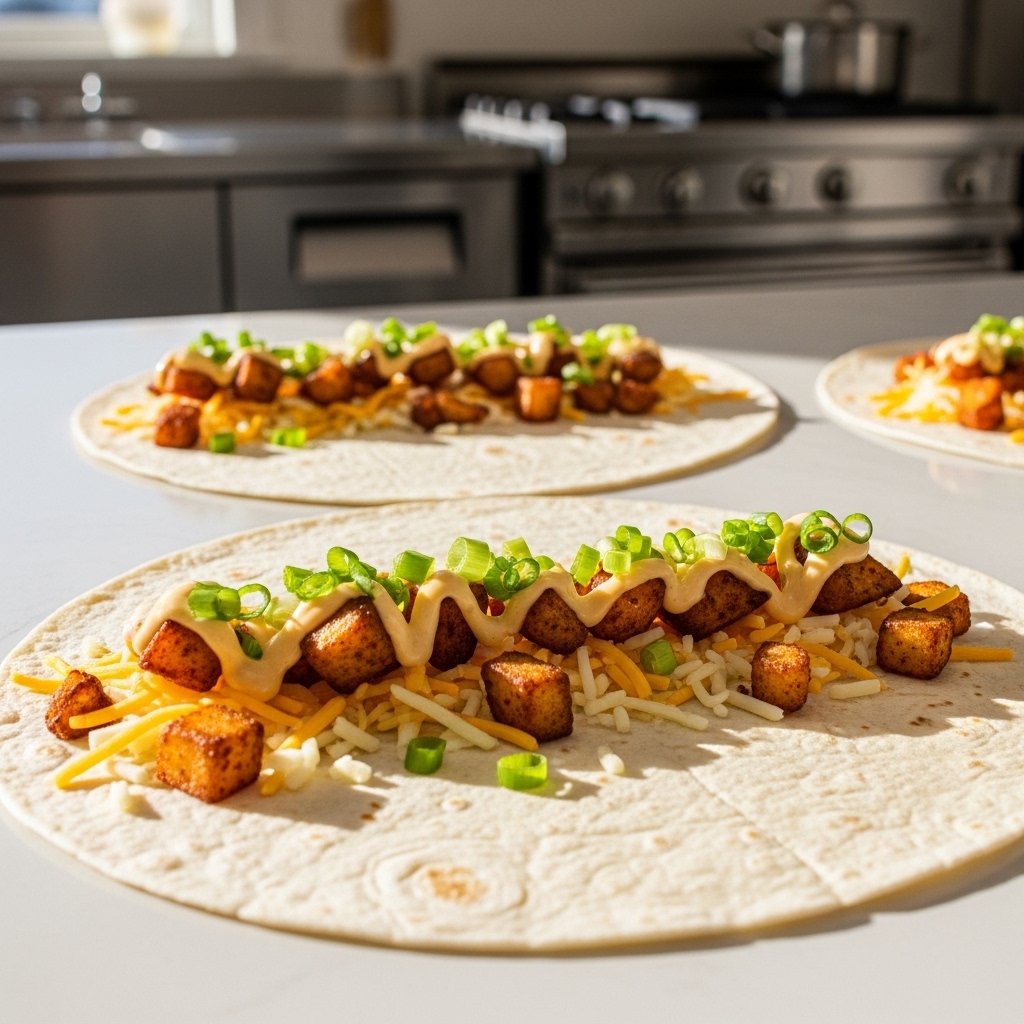
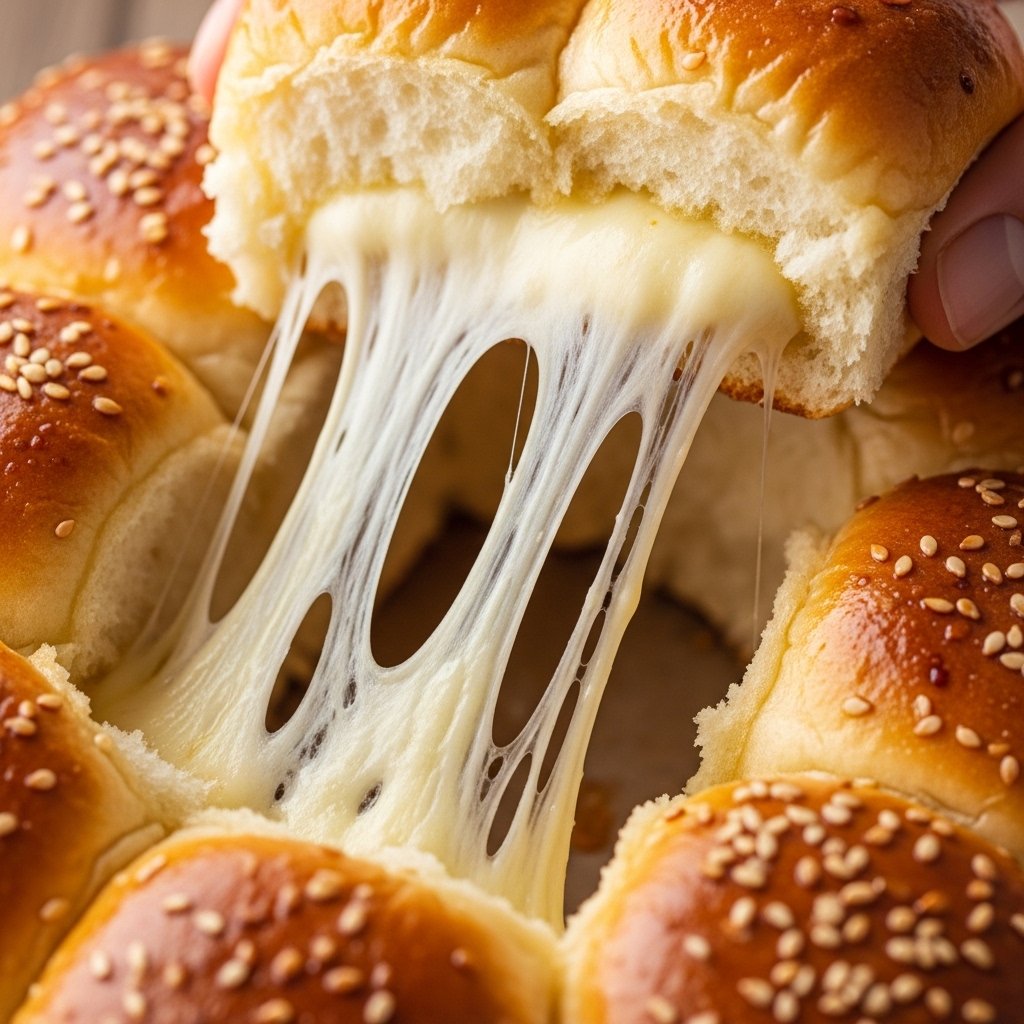
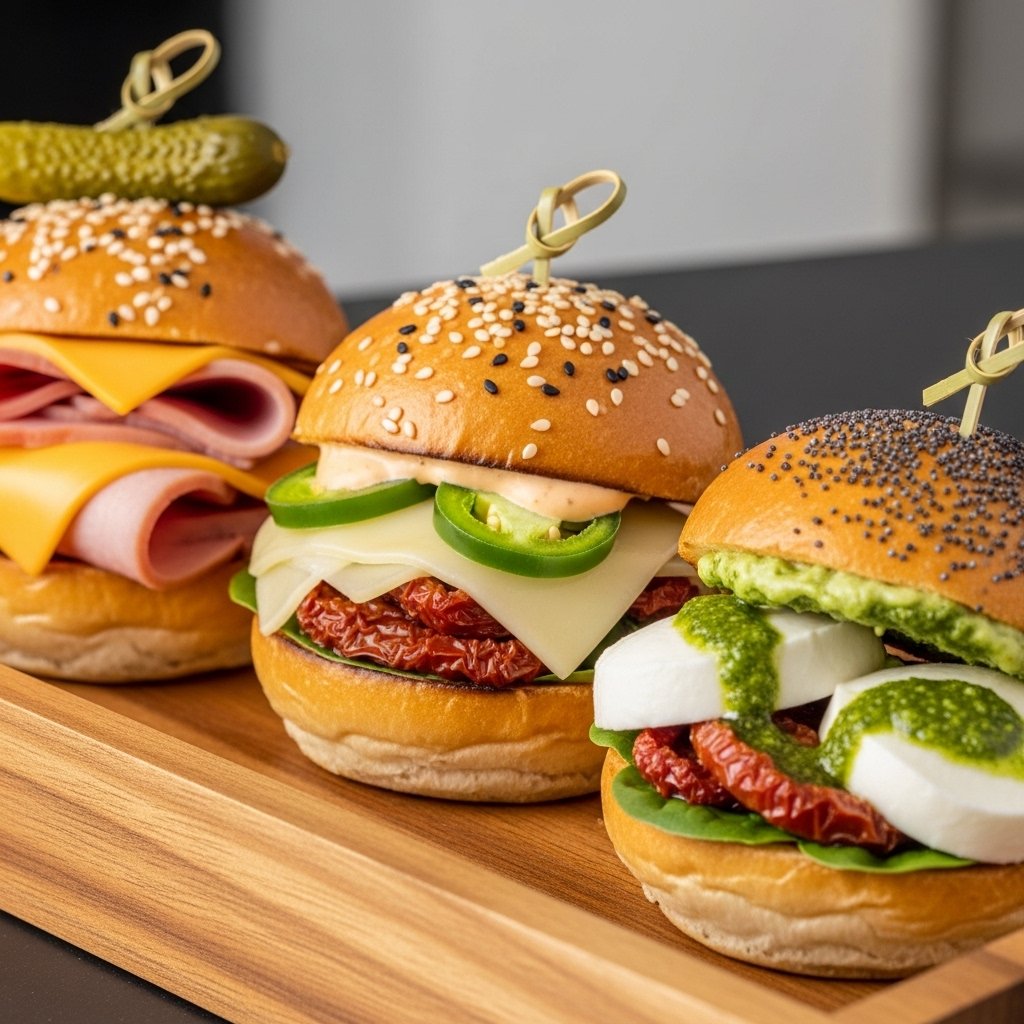
Easy Variations to Try
One-Pan Meals
Reduce cleanup with everything cooked in one pan.
Low-Carb Options
Swap grains for cauliflower rice or lettuce wraps.
Vegetarian Versions
Replace meat with beans or plant-based proteins.
Spicy Twist
Add chili flakes or hot sauce for extra heat.
These variations keep your food recipe delights fresh and exciting.
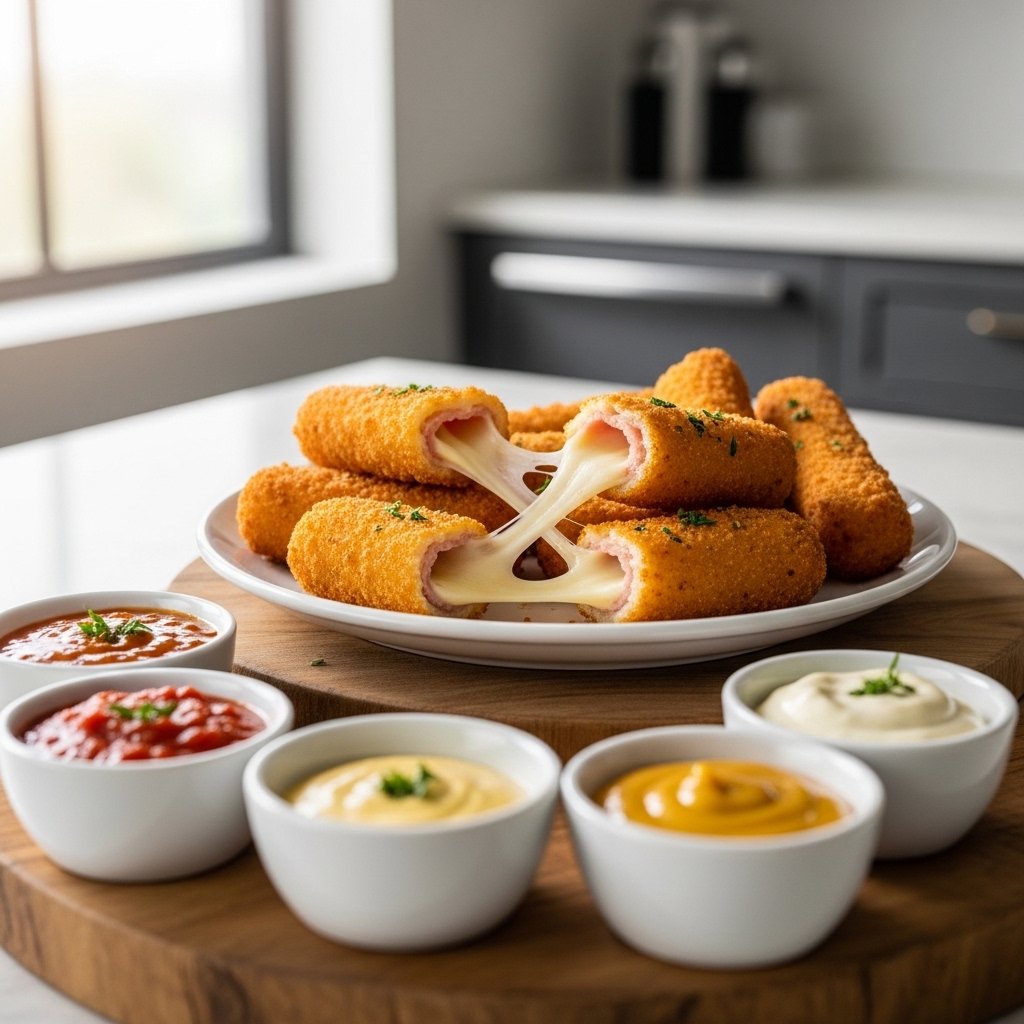
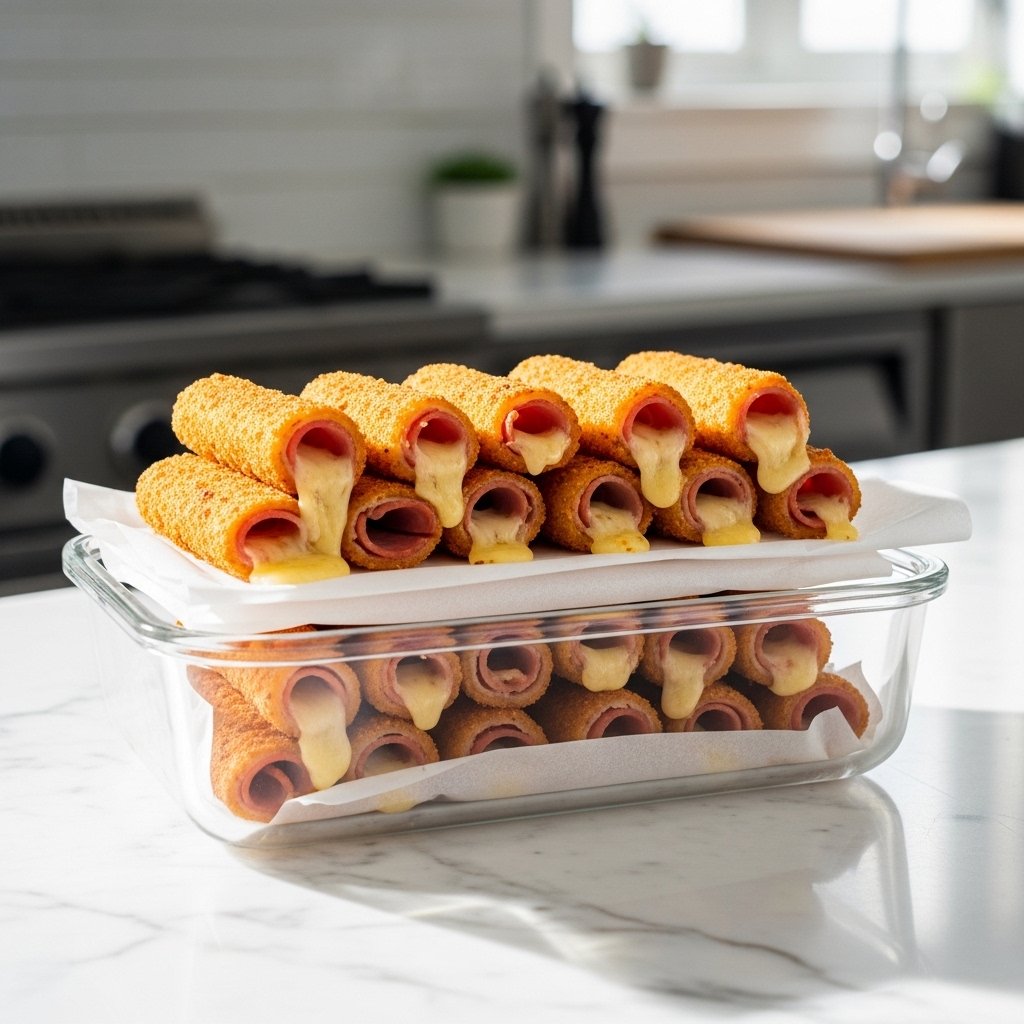
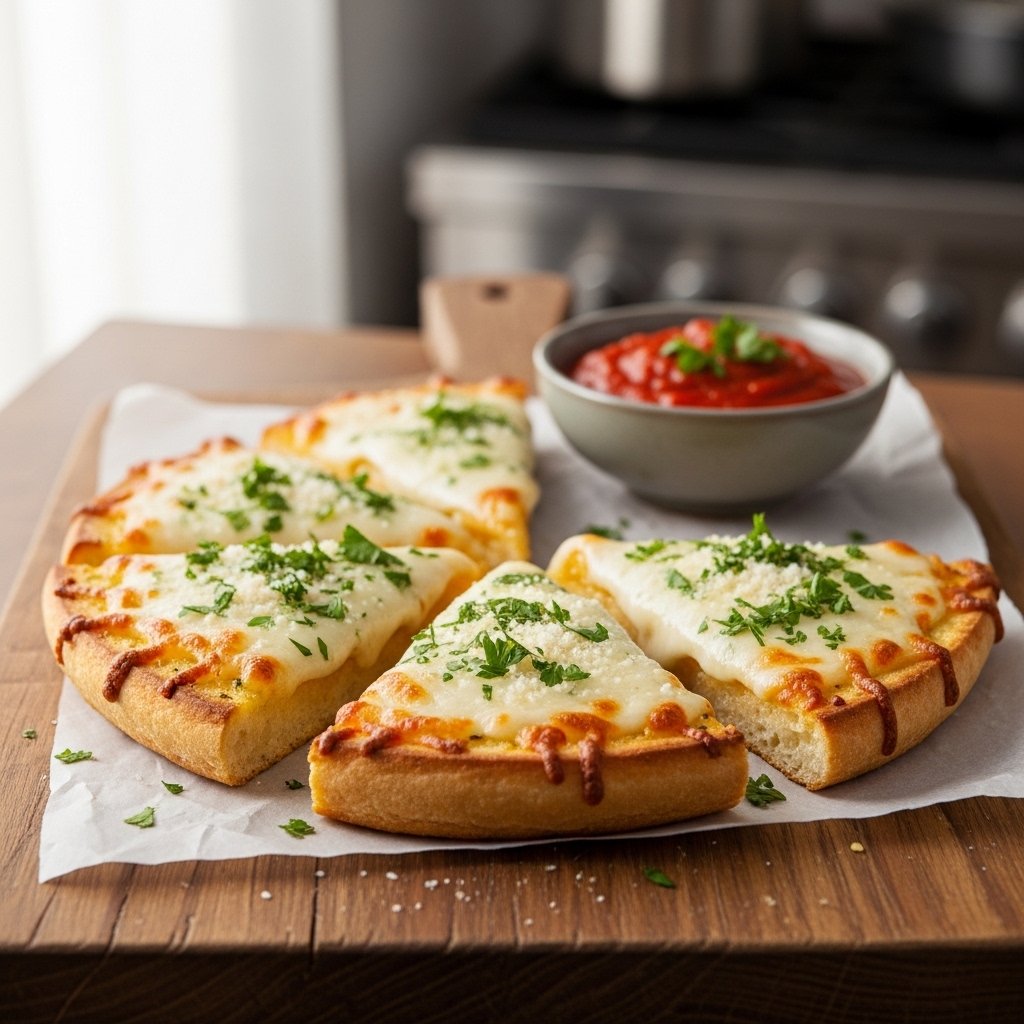
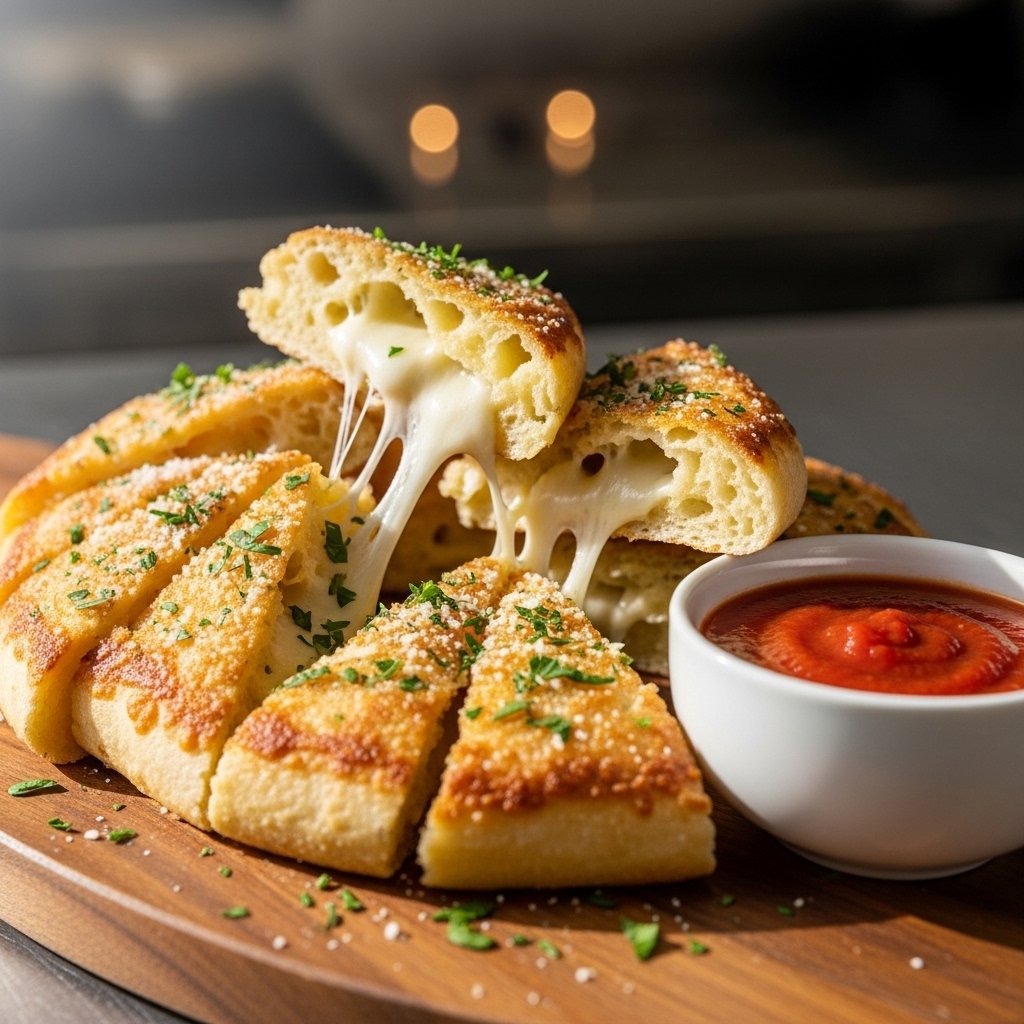
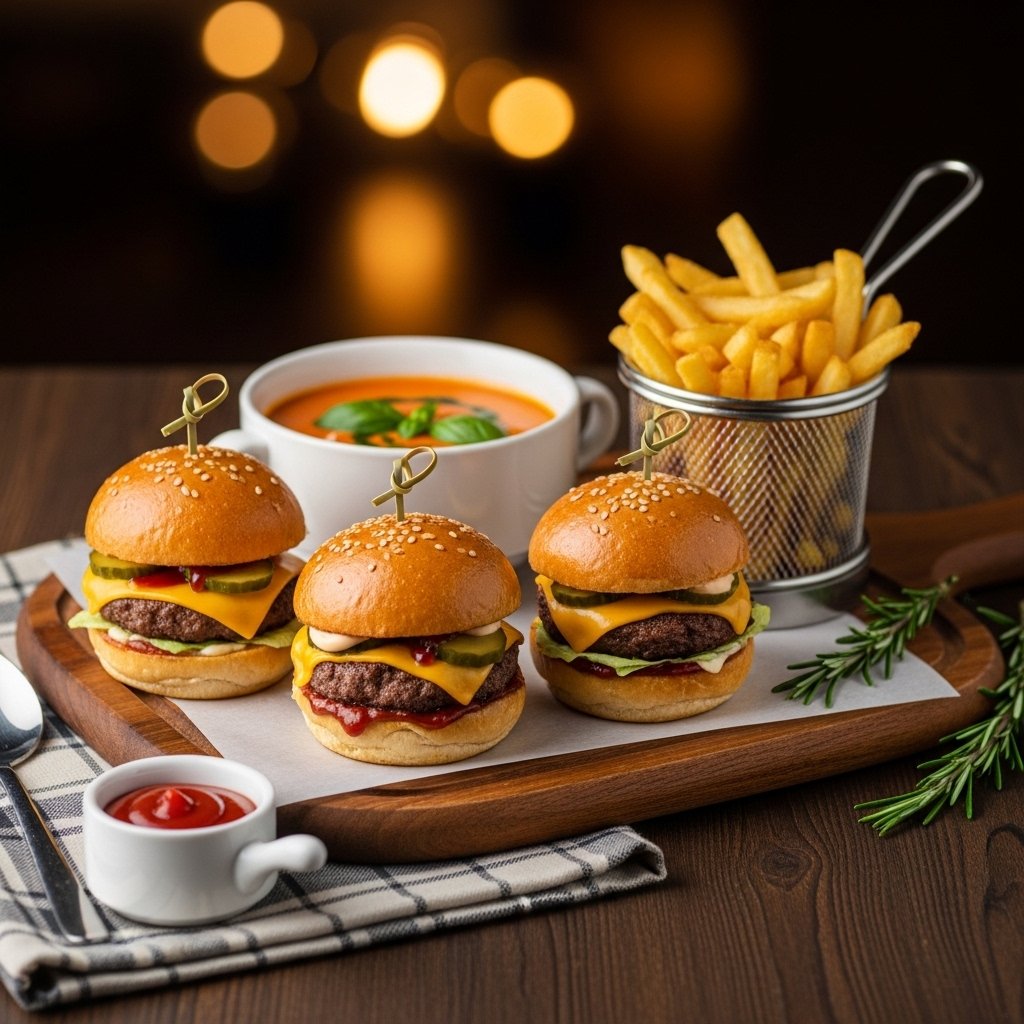
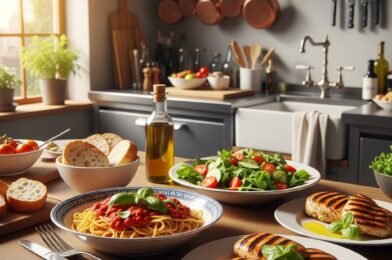
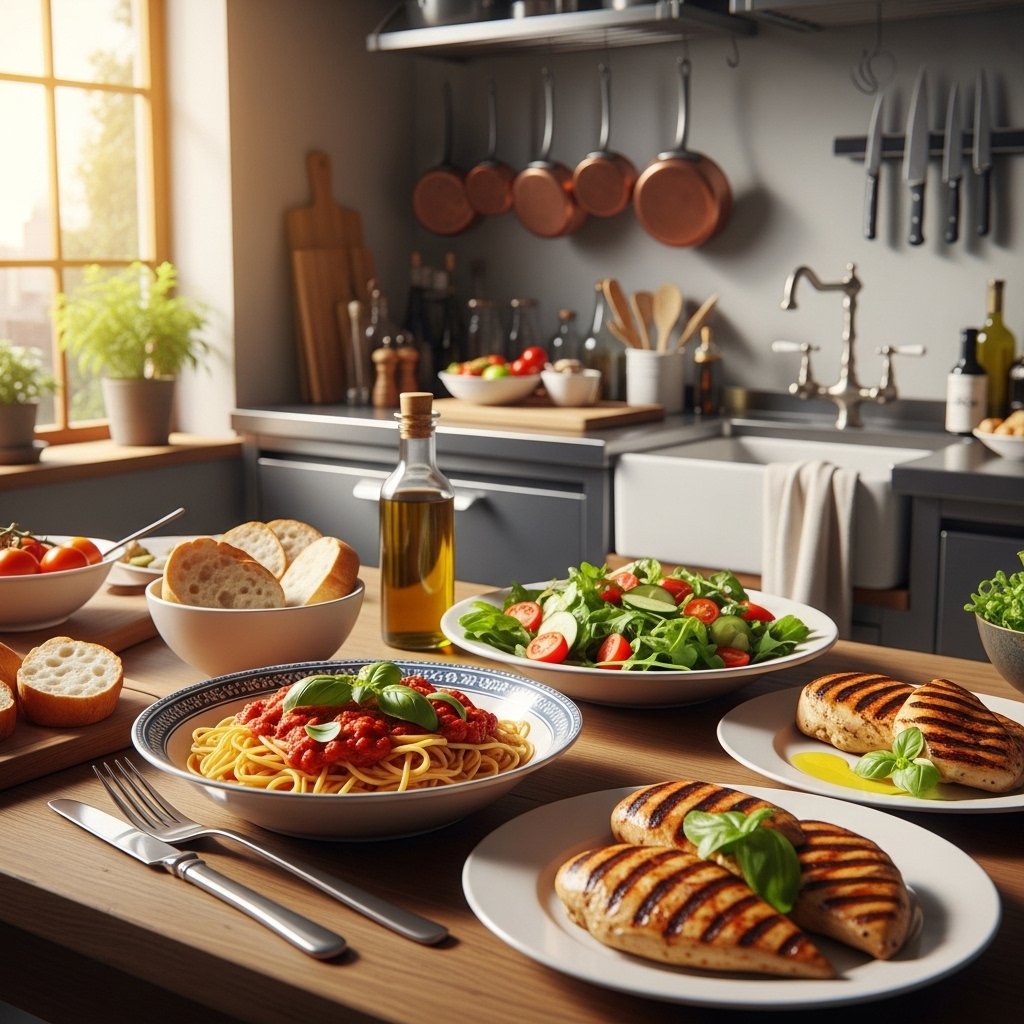
What to Serve With These Dishes
Pair your meals with:
- Fresh salads
- Crusty bread
- Simple soups
- Light desserts
Balancing your plate makes every meal more satisfying.
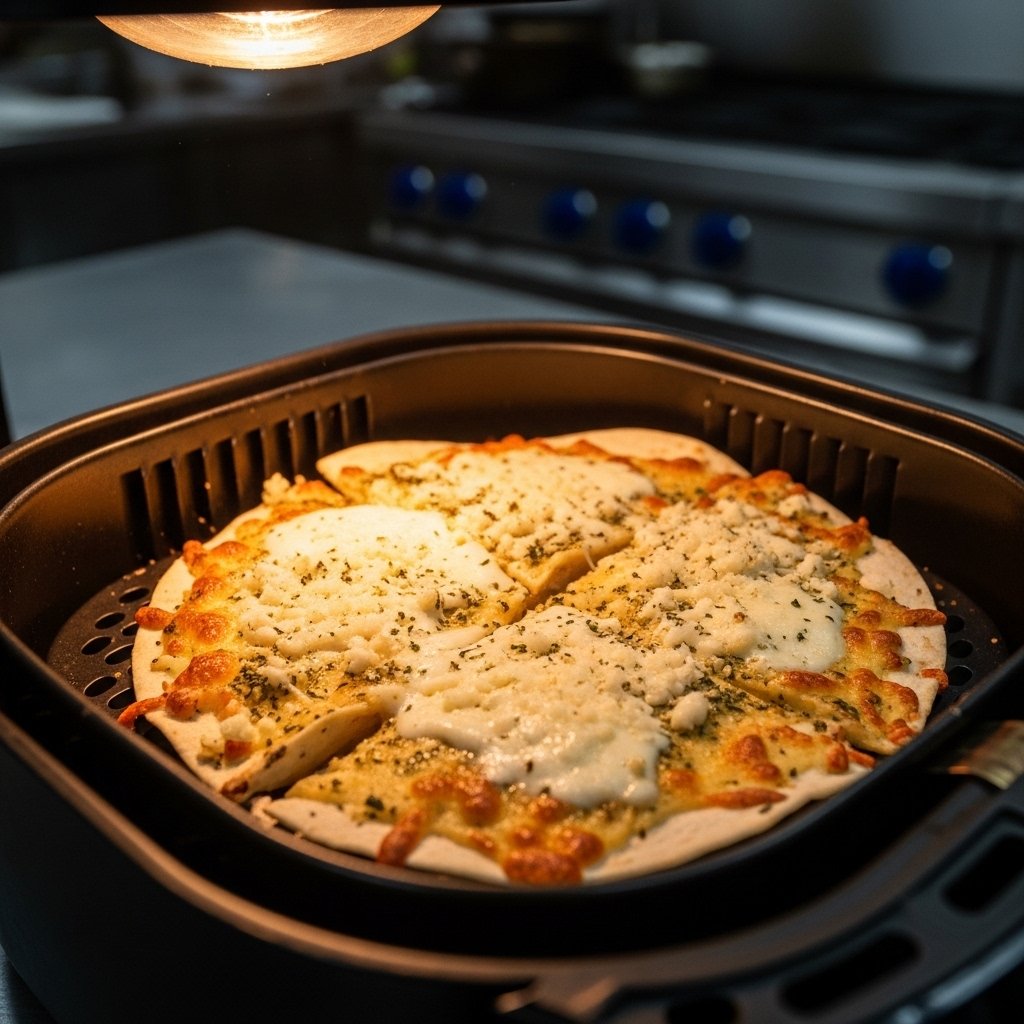
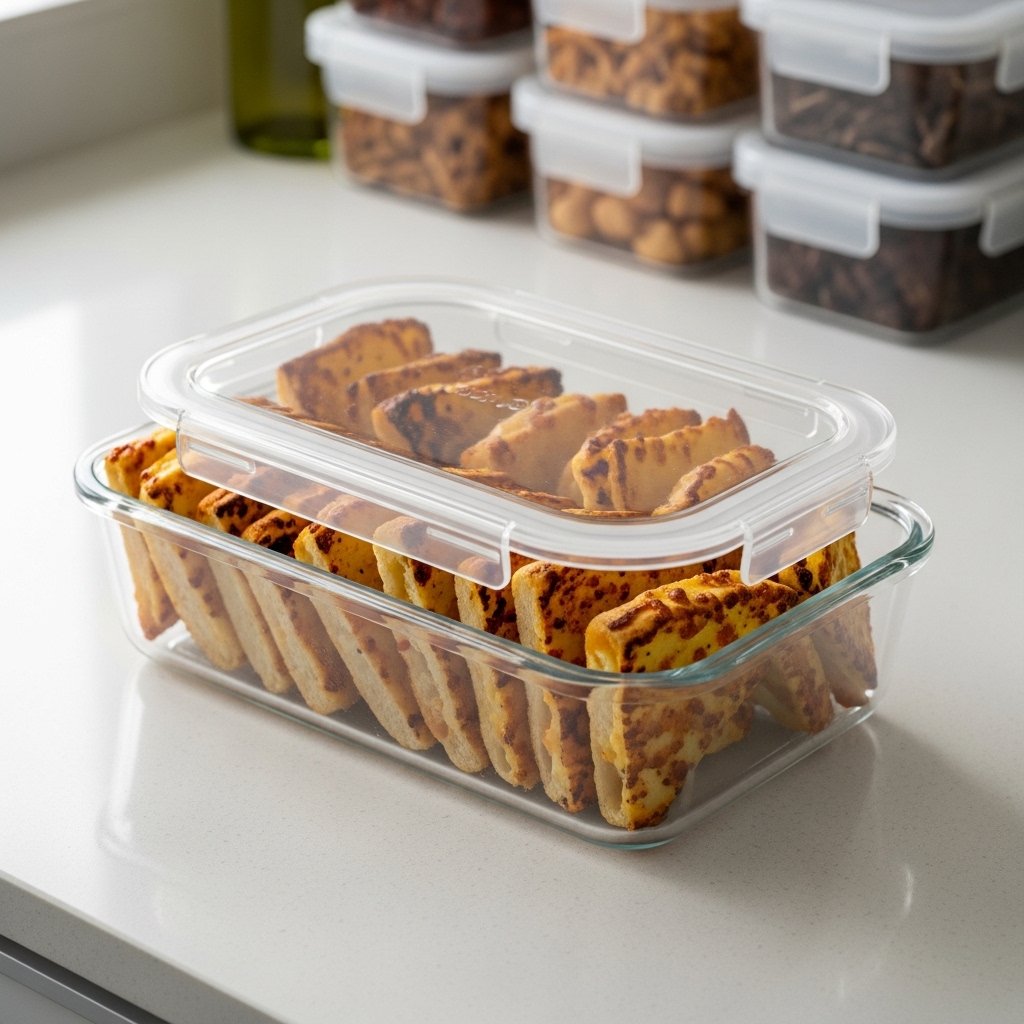
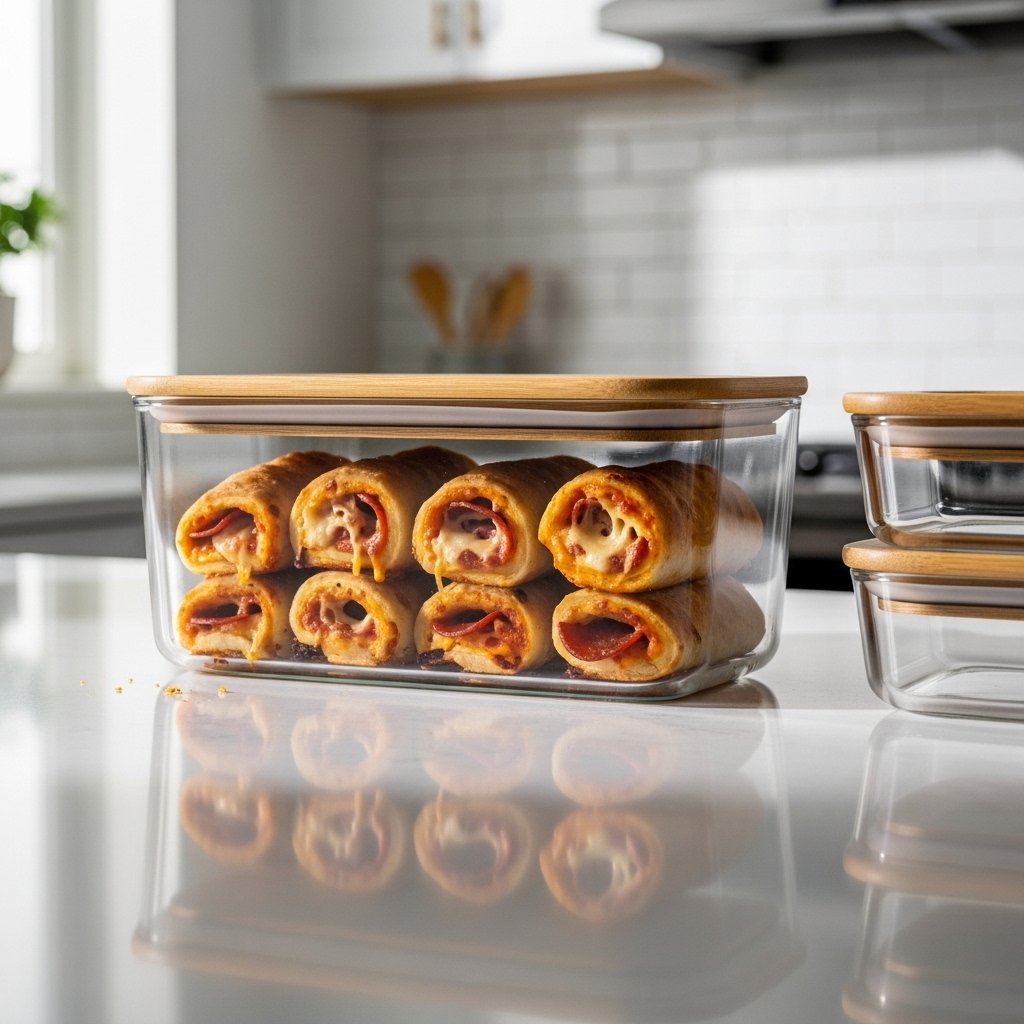
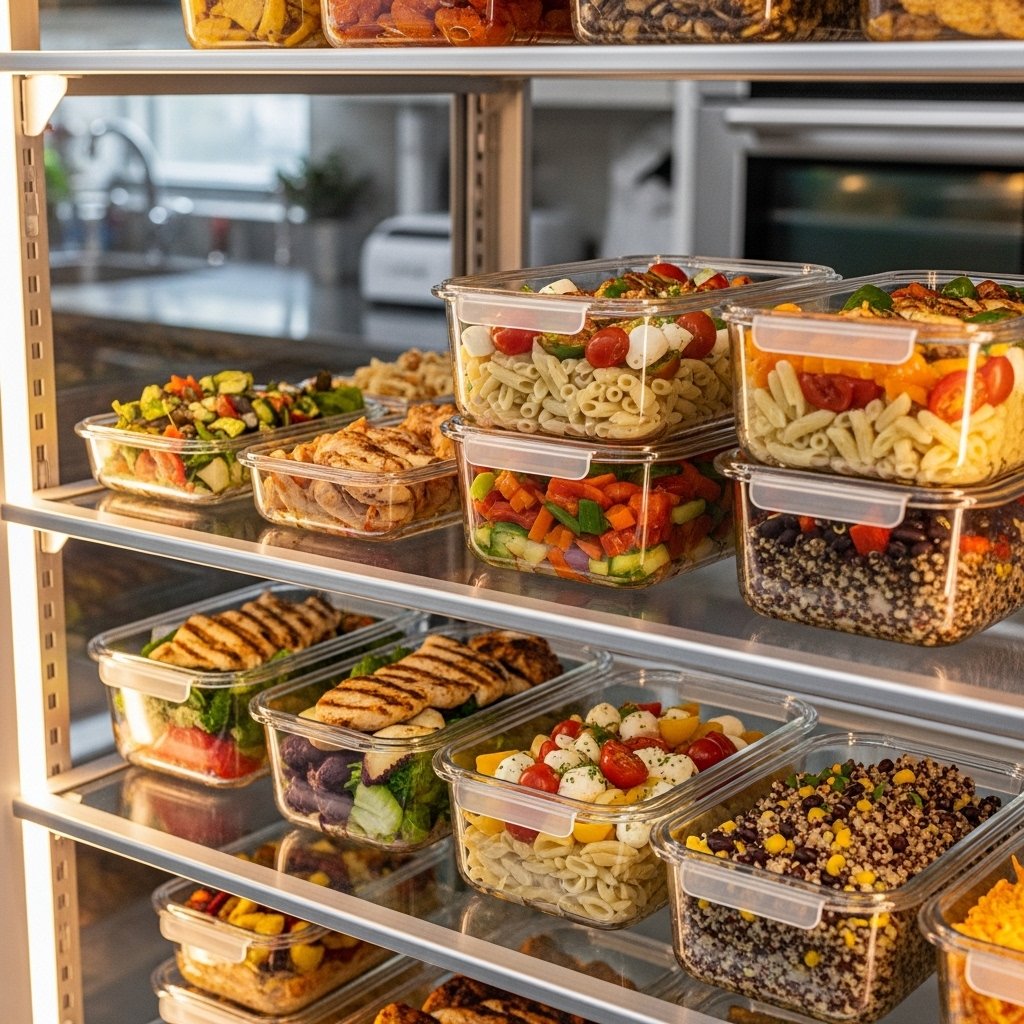
Storage & Reheating Tips
Storage
- Store leftovers in airtight containers for up to 3–4 days
Reheating
- Reheat on stovetop or microwave with a splash of water to keep moisture
Common Mistakes to Avoid
Even simple food recipe delights can go wrong if you’re not careful:
- Overcooking proteins
- Under-seasoning
- Skipping prep work
- Using too much heat
Avoiding these mistakes ensures consistently great meals.
Frequently Asked Questions
What are the easiest meals to start with?
Simple stir-fries, pasta dishes, and wraps are great beginner options.
How can I make meals healthier?
Use fresh ingredients, reduce processed foods, and control portion sizes.
Can I meal prep these recipes?
Absolutely! These dishes are perfect for prepping ahead.
What tools do I need?
Basic kitchen tools like a pan, knife, and cutting board are enough.
How do I add more flavor?
Use herbs, spices, citrus, and sauces to enhance taste.
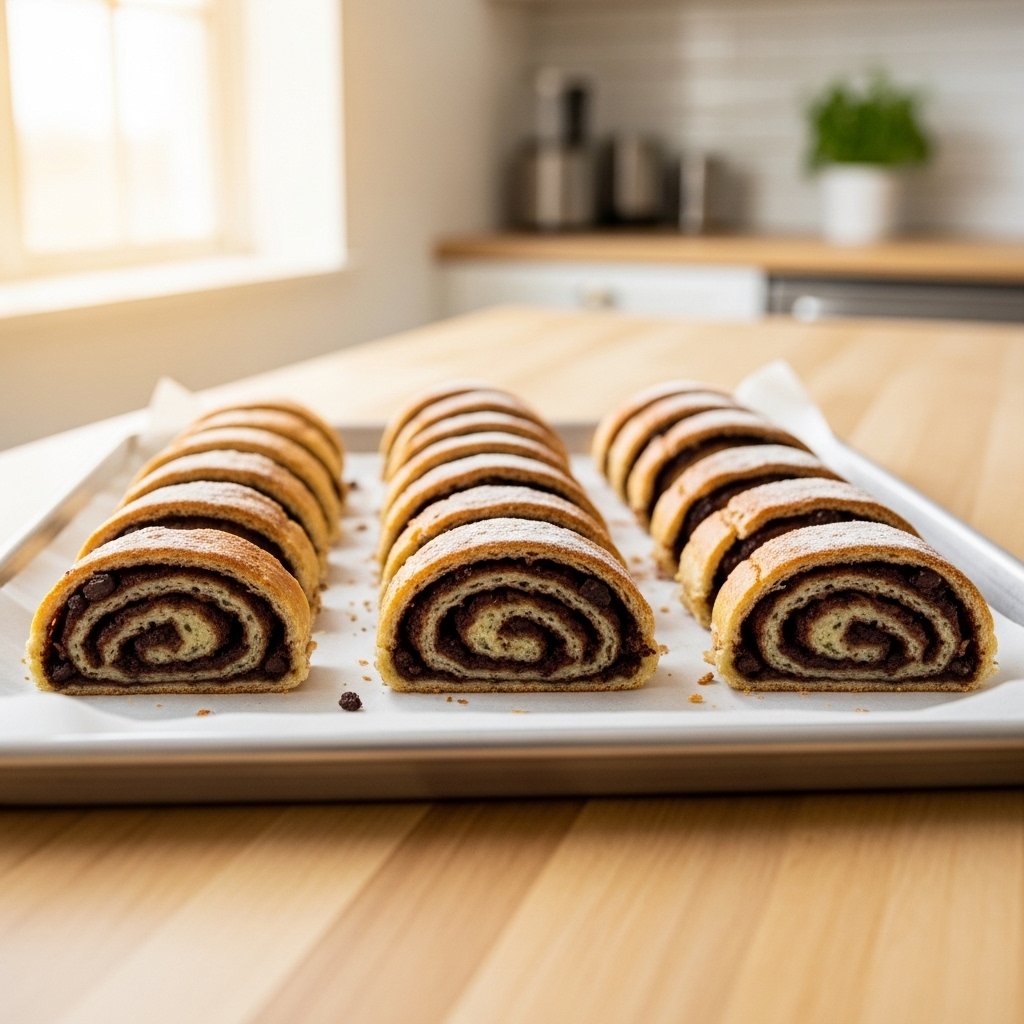
Final Thoughts
These food recipe delights prove that cooking doesn’t have to be complicated to be delicious. With simple ingredients, smart techniques, and a little creativity, you can create meals that are both satisfying and memorable.
Whether you’re cooking for yourself or your family, these recipes will help you enjoy the process and the results. Once you start exploring these easy dishes, you’ll never run out of inspiration in the kitchen!