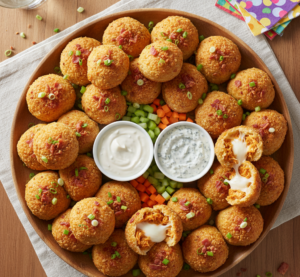
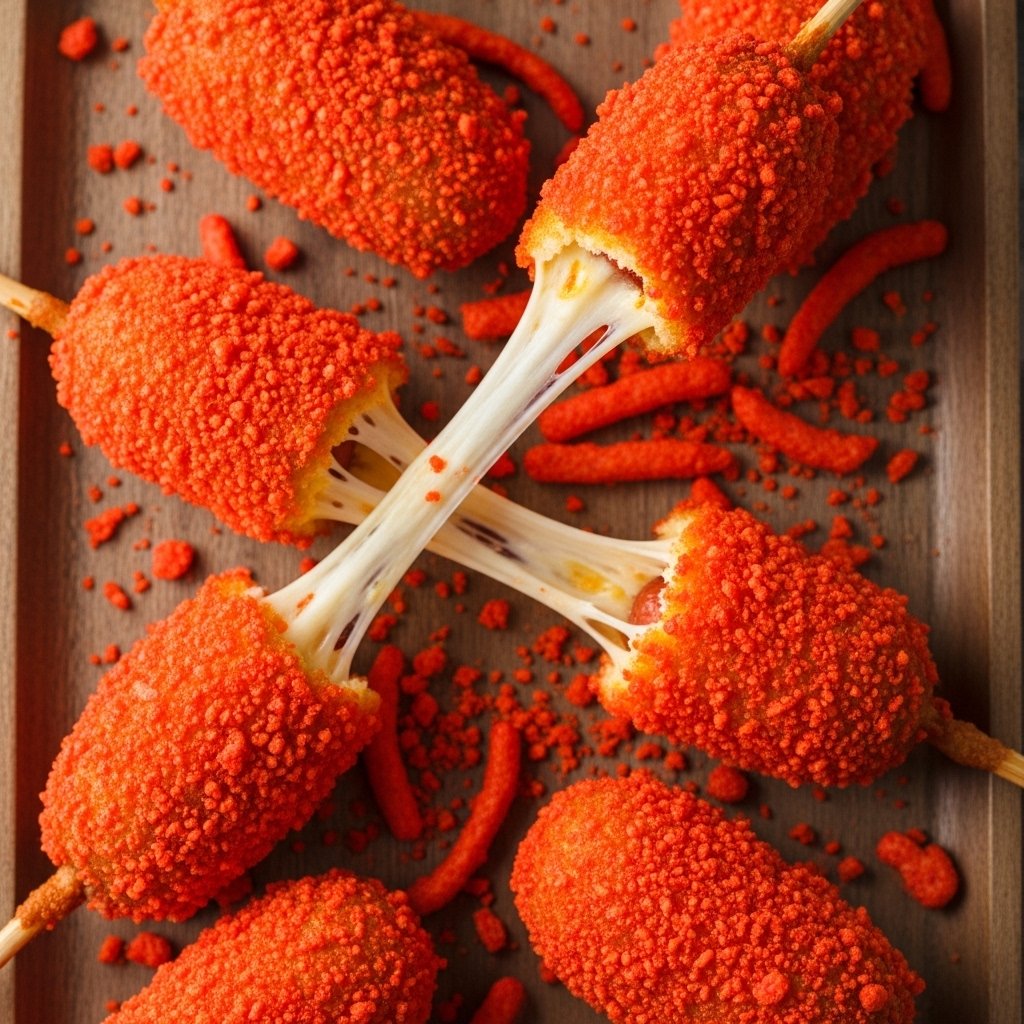
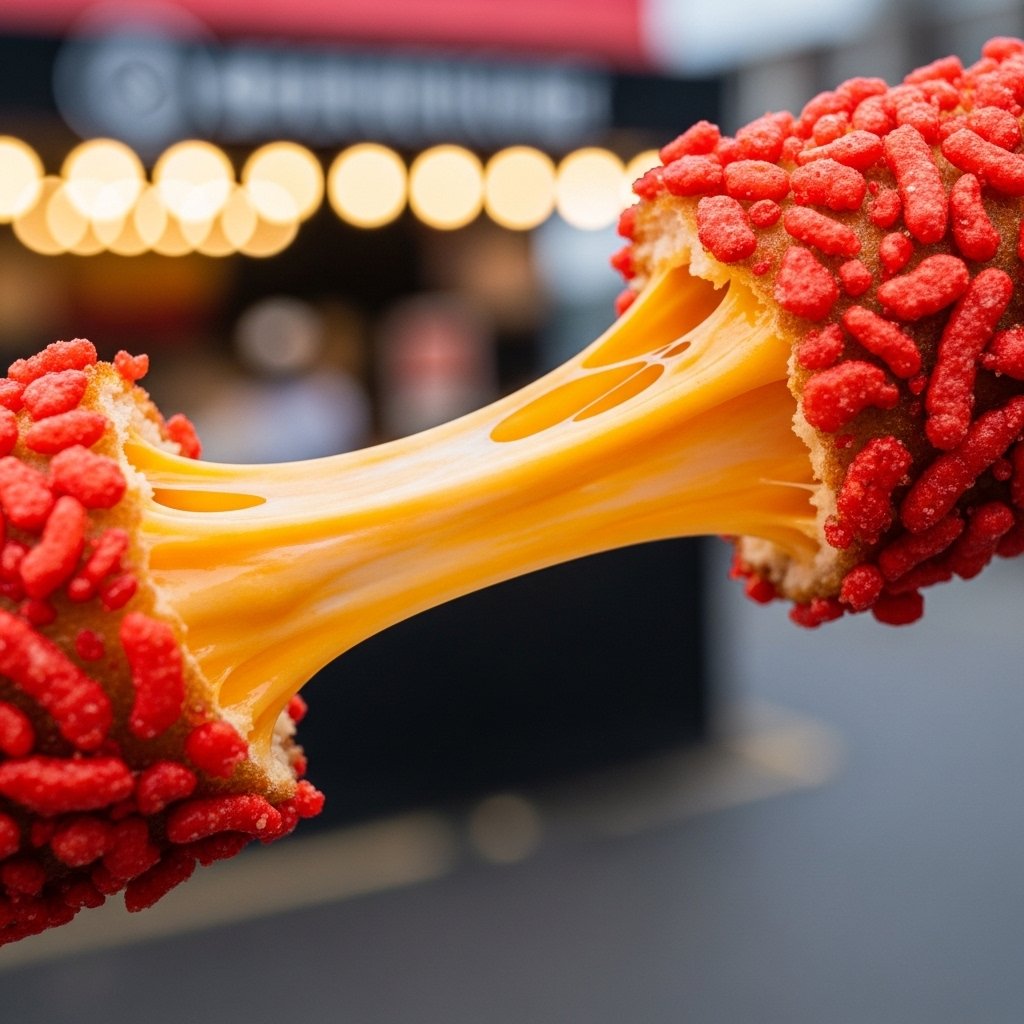
If you’re obsessed with viral street food, bold flavors, and over-the-top cheesy snacks, these Hot Cheetos Korean Mozzarella Corn Dogs are going to blow your mind. Imagine a crispy golden corn dog stuffed with gooey mozzarella cheese, coated in crunchy Hot Cheetos, and fried to perfection.
This Hot Cheetos Korean Mozzarella Corn Dogs recipe takes inspiration from popular Korean street food and gives it a spicy American twist. The result? A crunchy, cheesy, spicy snack that’s absolutely addictive.
Perfect for parties, game nights, or indulgent cravings, these corn dogs are fun to make and even more fun to eat.

Why You’ll Love These Hot Cheetos Korean Mozzarella Corn Dogs
There are so many reasons to fall in love with Hot Cheetos Korean Mozzarella Corn Dogs:
- Ultra crispy Hot Cheetos coating
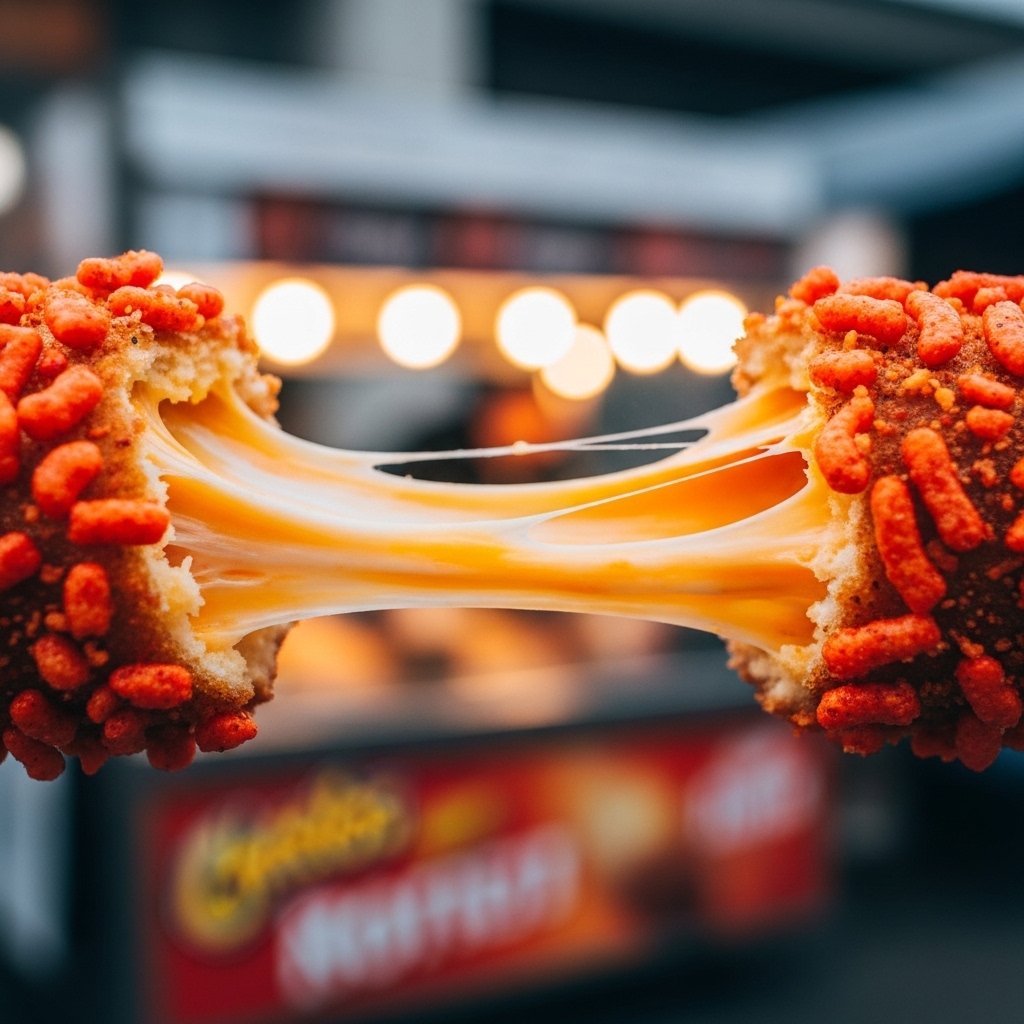
- Gooey, stretchy mozzarella center
- Bold spicy and cheesy flavor combo
- Viral street food experience at home
- Perfect for parties and snacks
Every bite is crunchy, spicy, and cheesy perfection.
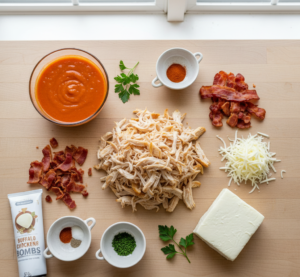
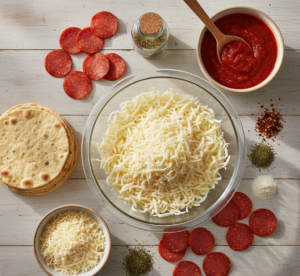
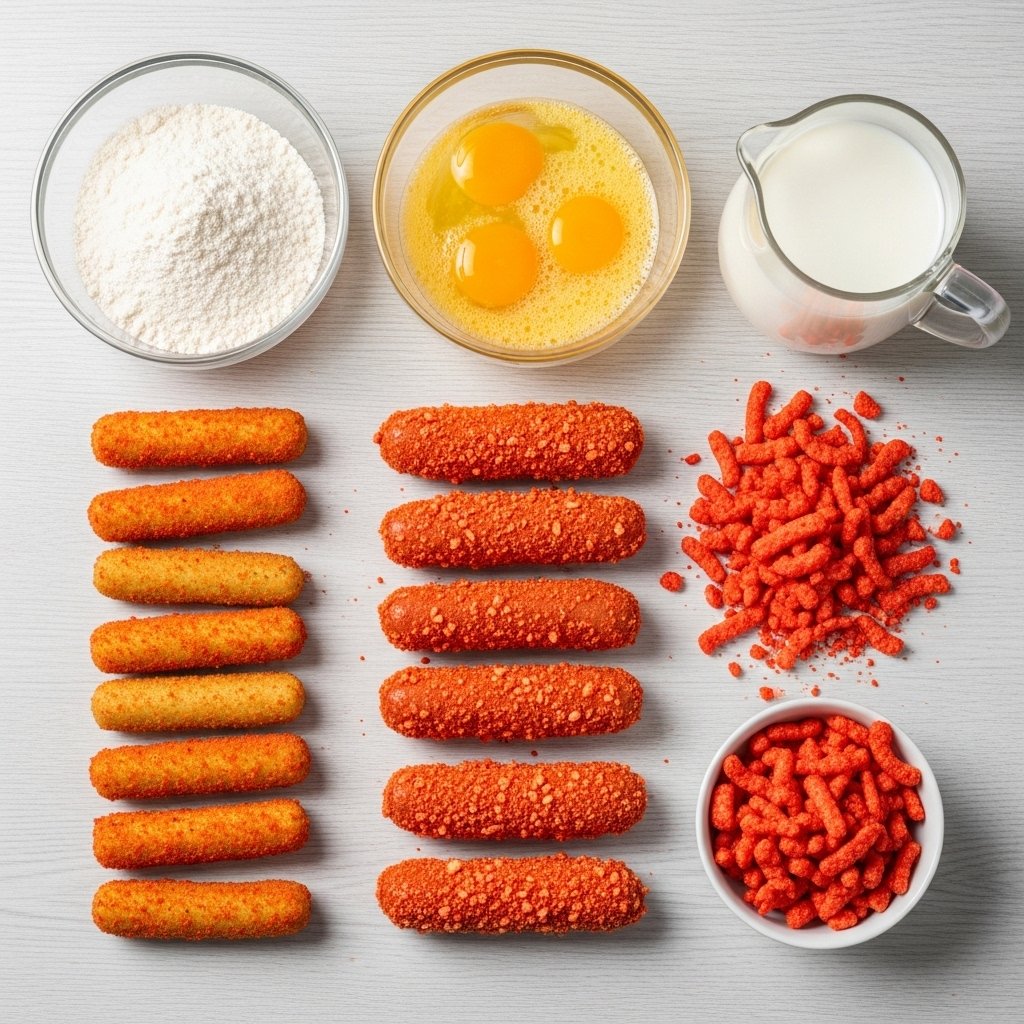
Ingredients
To make Hot Cheetos Korean Mozzarella Corn Dogs, you’ll need:
For the Corn Dogs:
- 4 mozzarella cheese sticks
- 4 hot dogs (optional variation)
- Wooden skewers
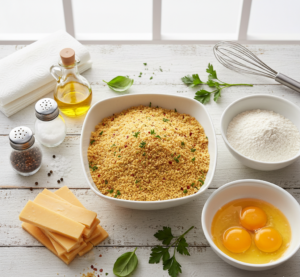
For the Batter:
- 1 cup all-purpose flour
- 1/2 cup milk
- 1 teaspoon sugar
- 1 teaspoon baking powder
- 1/4 teaspoon salt
- 1 egg
For the Coating:
- 2 cups crushed Hot Cheetos
- 1 cup panko breadcrumbs (optional for extra crunch)
For Frying:
- Vegetable oil
Ingredient Notes
The magic of Hot Cheetos Korean Mozzarella Corn Dogs comes from texture contrast.
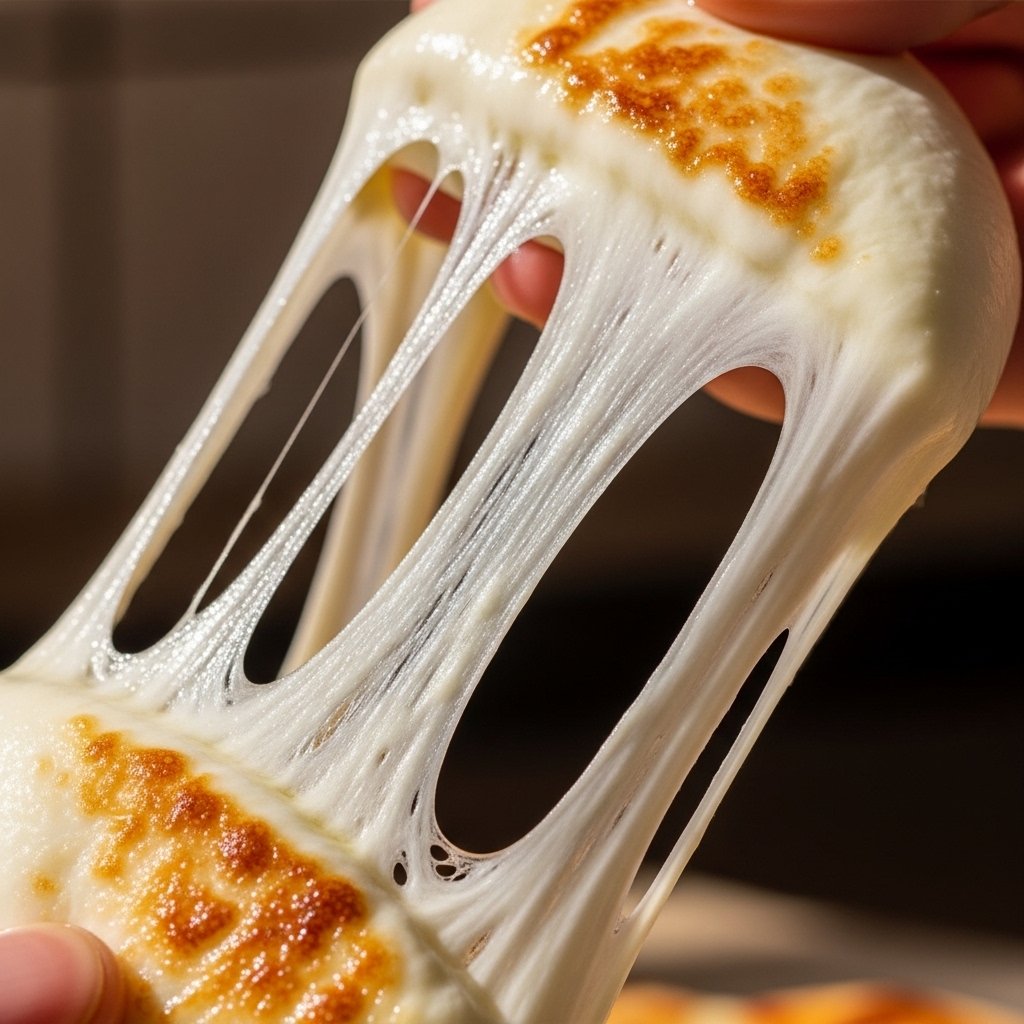
Mozzarella cheese is the best choice because it melts beautifully and creates that iconic cheese pull. Hot Cheetos add a spicy crunch that makes this recipe unforgettable.
If you want extra crunch, combining Hot Cheetos with panko breadcrumbs creates a more balanced coating.
Step-by-Step Instructions
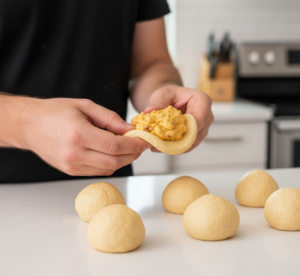
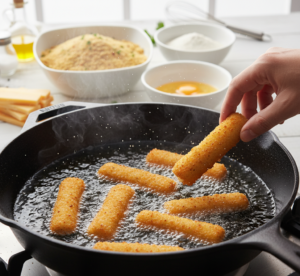
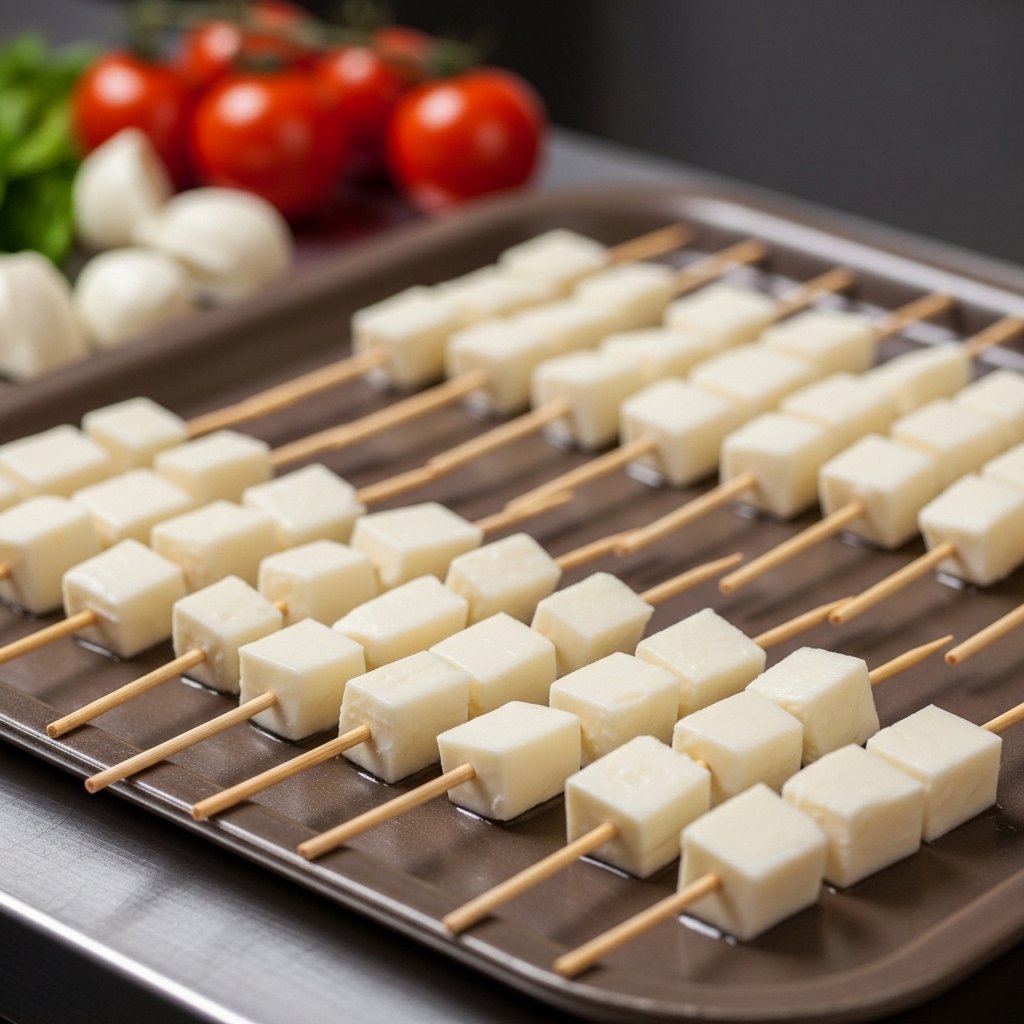
Step 1: Prepare Skewers
Insert skewers into mozzarella sticks or hot dogs and freeze for 20 minutes.
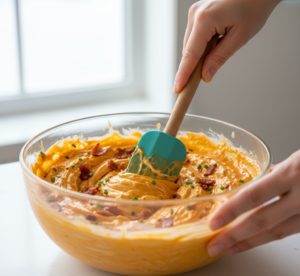
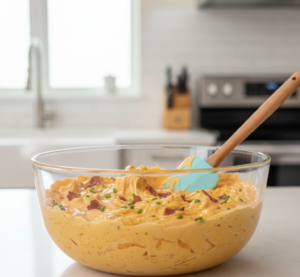
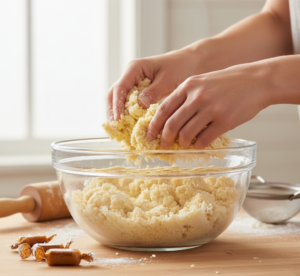
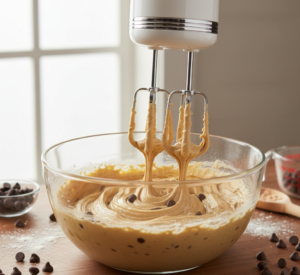
Step 2: Make Batter
Mix flour, milk, egg, sugar, baking powder, and salt until smooth.
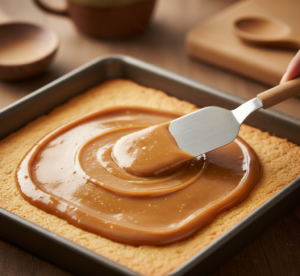
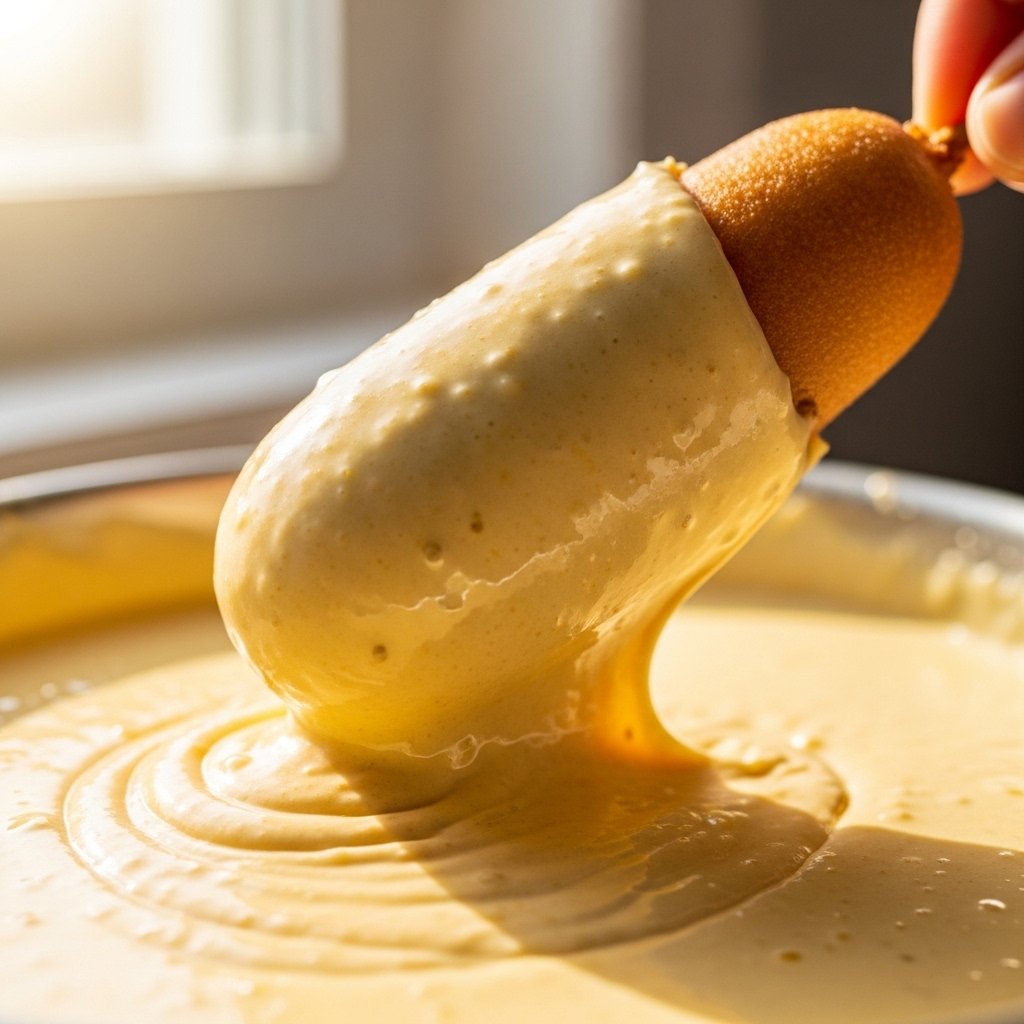
Step 3: Coat Corn Dogs
Dip skewered cheese or hot dogs into batter evenly.
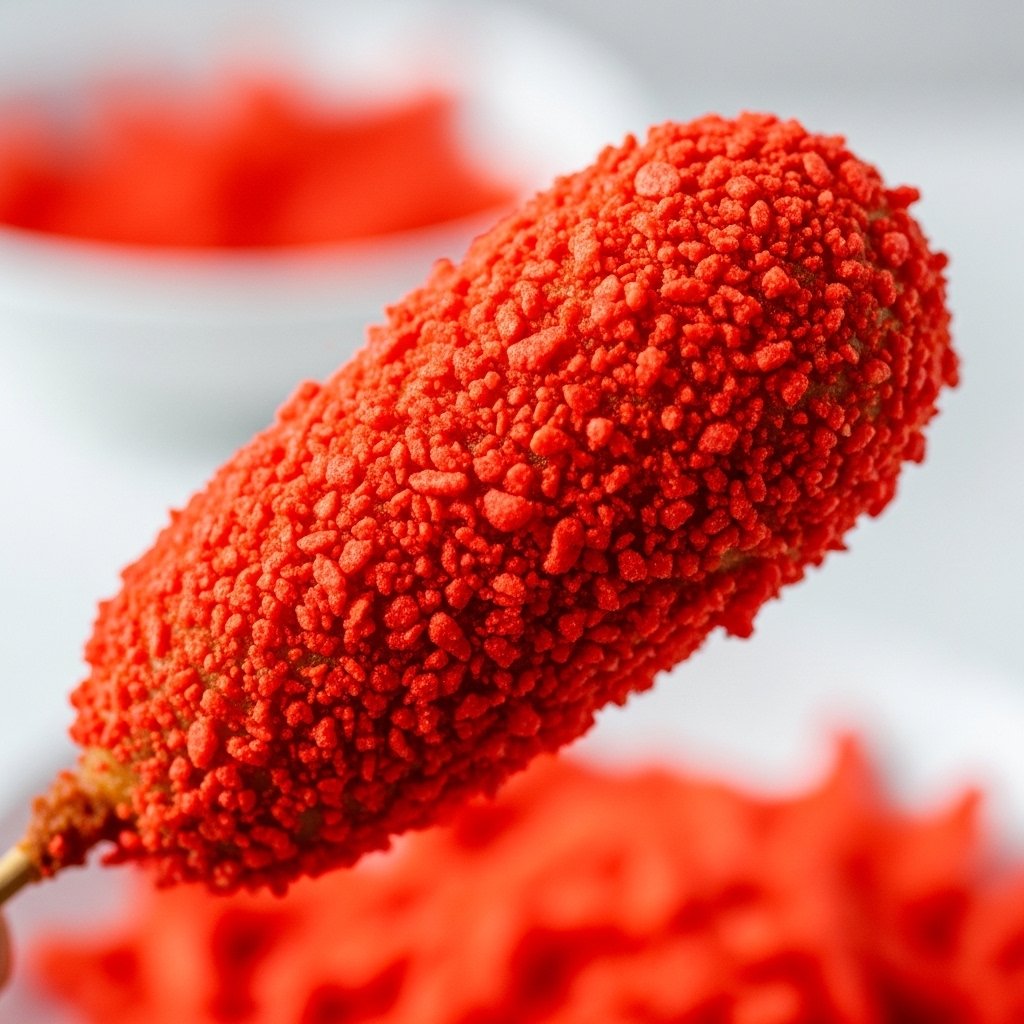
Step 4: Add Hot Cheetos Coating
Roll battered corn dogs in crushed Hot Cheetos until fully covered.
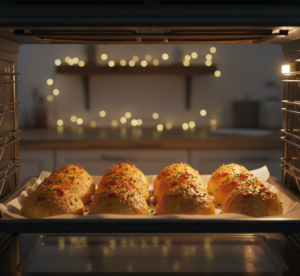
Step 5: Fry
Deep fry at 350°F until golden and crispy.
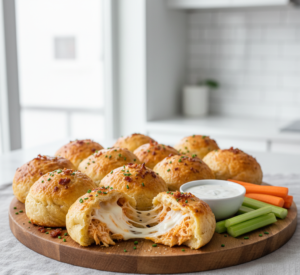
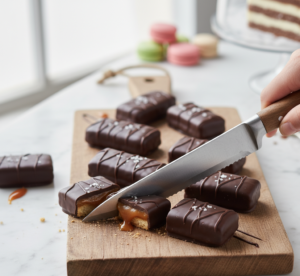
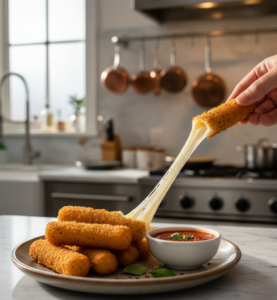
Step 6: Serve
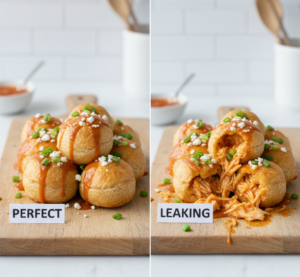
Let cool slightly before enjoying the cheese pull.
Tips for Perfect Results
To make the best Hot Cheetos Korean Mozzarella Corn Dogs, follow these tips:
- Freeze cheese before frying to prevent melting too fast
- Use fresh oil for crisp texture
- Crush Hot Cheetos finely for better coating
- Don’t overcrowd frying pan
- Serve immediately for best cheese pull
These tips guarantee perfect street food results.
Variations
This Hot Cheetos Korean Mozzarella Corn Dogs recipe is easy to customize:
- Add spicy mayo drizzle
- Use cheddar or pepper jack cheese
- Mix Hot Cheetos with panko for lighter crunch
- Add sausage inside cheese
- Make mini bite-sized corn dogs
Each variation gives a fun twist.
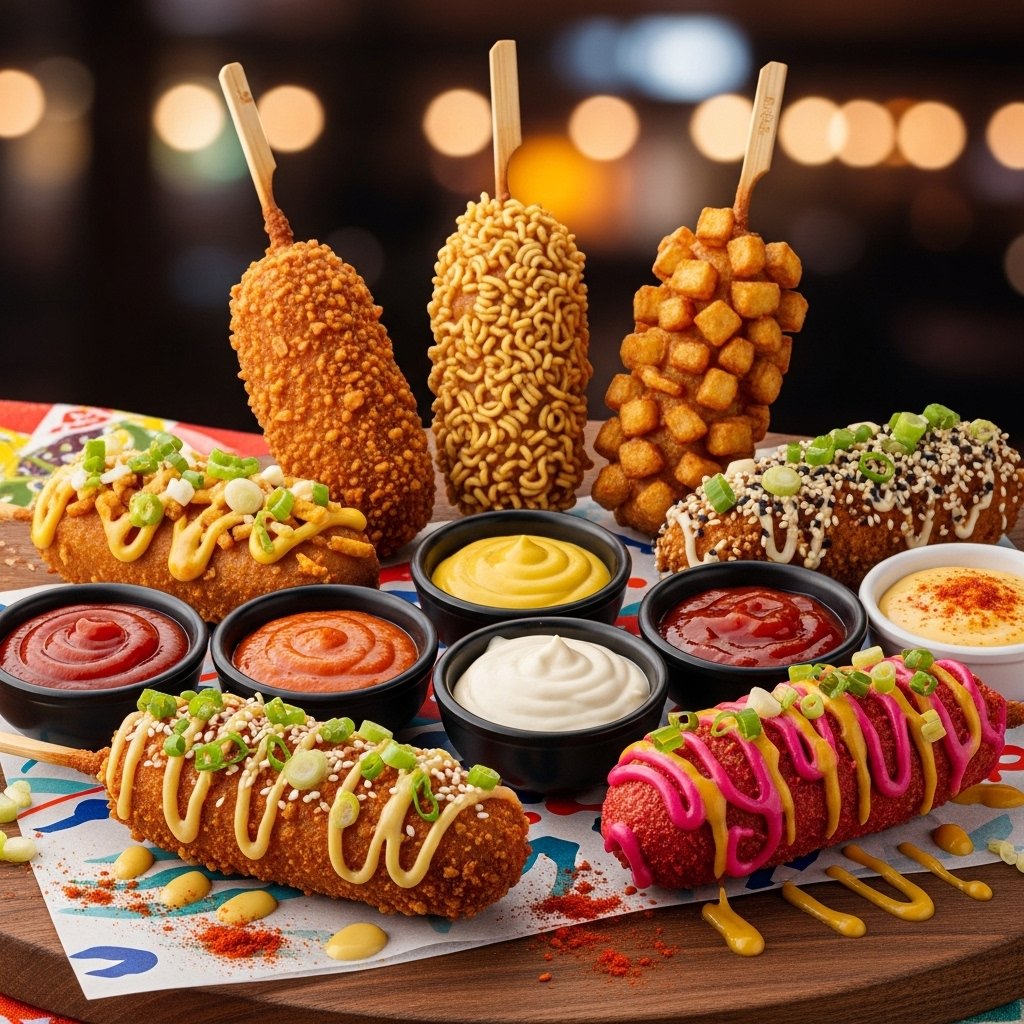
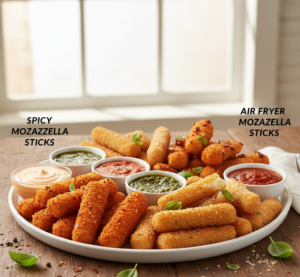
What to Serve With It
Pair your Hot Cheetos Korean Mozzarella Corn Dogs with:
- Spicy mayo or ranch
- Ketchup or mustard
- Milkshake or soda
- Fries or onion rings
- Bubble tea
These pairings complete the street food experience.

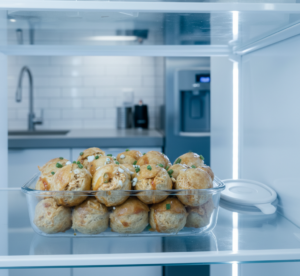
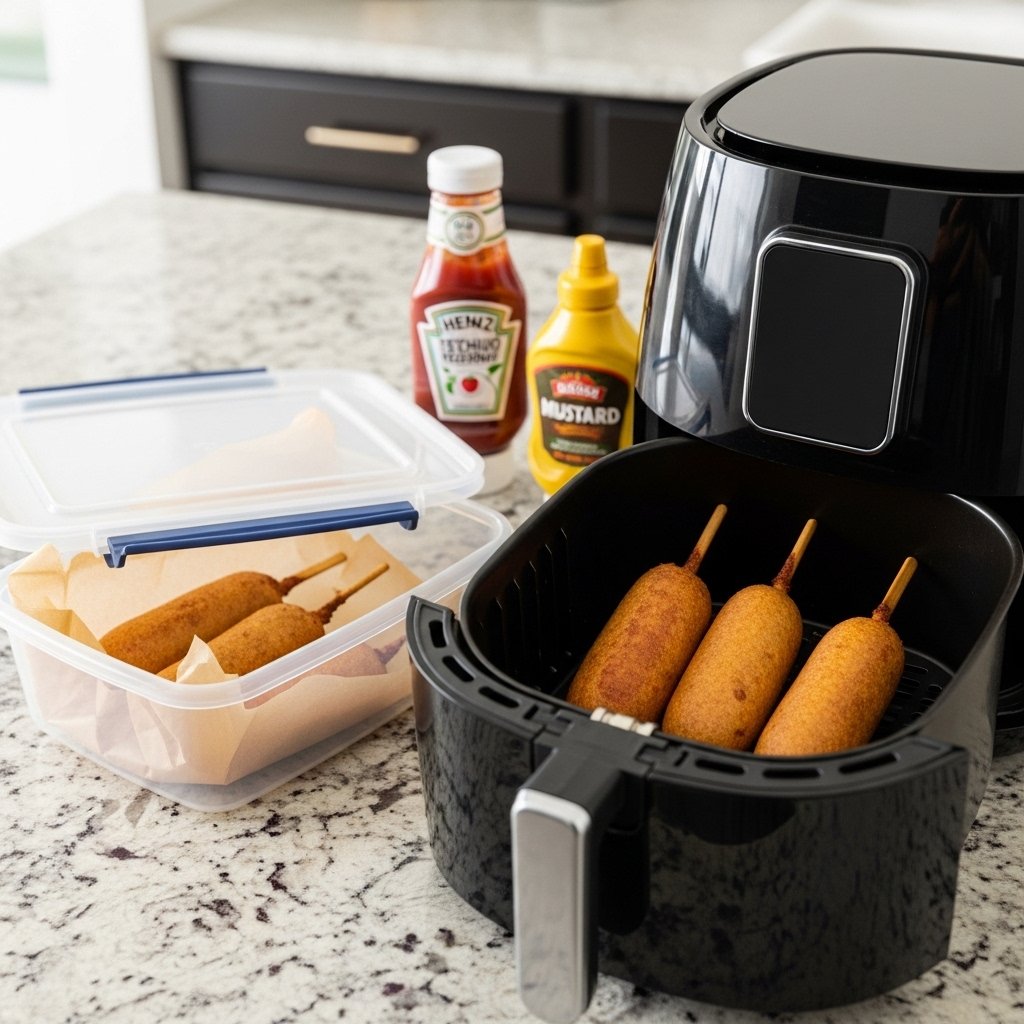
Storage & Reheating
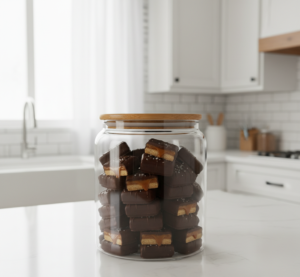
To store Hot Cheetos Korean Mozzarella Corn Dogs:
- Store in airtight container for 1–2 days
- Reheat in air fryer or oven
- Avoid microwaving for best texture
- Freeze before frying for meal prep
This helps maintain crispiness.
Common Mistakes
Avoid these mistakes when making Hot Cheetos Korean Mozzarella Corn Dogs:
- Not freezing cheese before frying
- Oil not hot enough
- Overloading batter
- Using too thick coating
- Overfrying and burning coating
Avoiding these ensures perfect results.
 .
.
FAQs
1. Can I bake instead of fry?
Yes, but frying gives the best crispy texture.
2. What cheese works best?
Mozzarella is best for stretchiness.
3. Can I make them ahead?
Yes, assemble and freeze before frying.
4. Are they very spicy?
Hot Cheetos add mild to medium heat depending on brand.
Final Thoughts
These Hot Cheetos Korean Mozzarella Corn Dogs are the ultimate fusion snack—crispy, spicy, cheesy, and completely addictive. They bring together the best of Korean street food and American flavor in one unforgettable bite.
Whether you’re making them for a party or just craving something bold and fun, this recipe delivers every time. Once you try them, you’ll understand why they went viral—they’re absolutely irresistible!